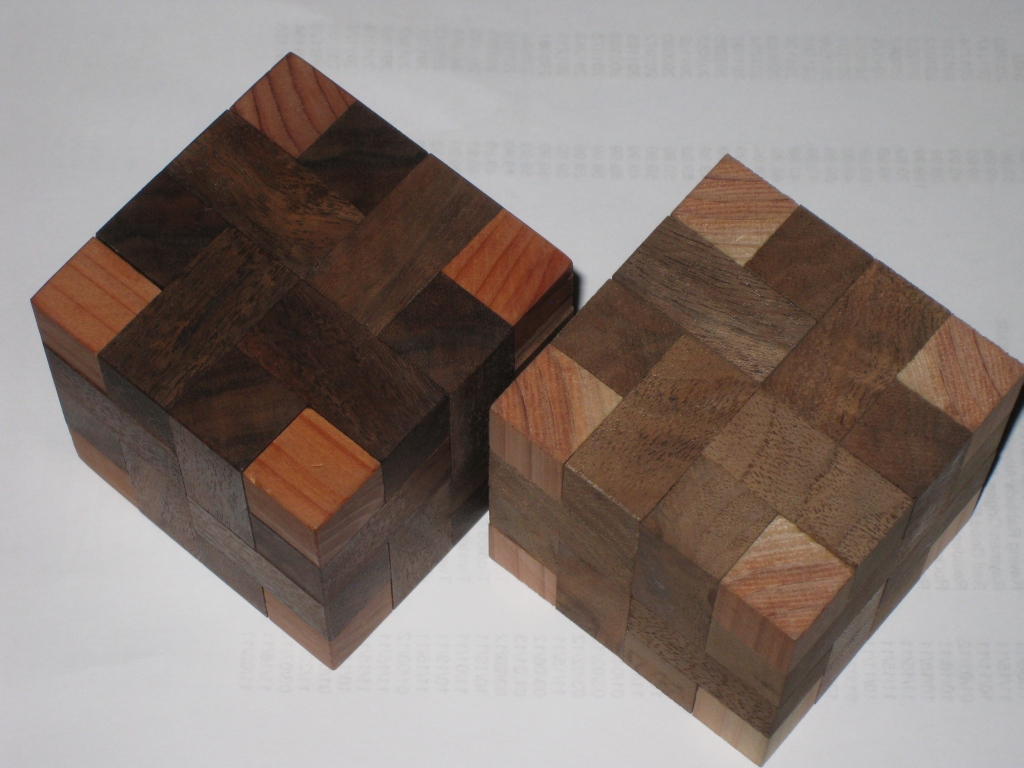
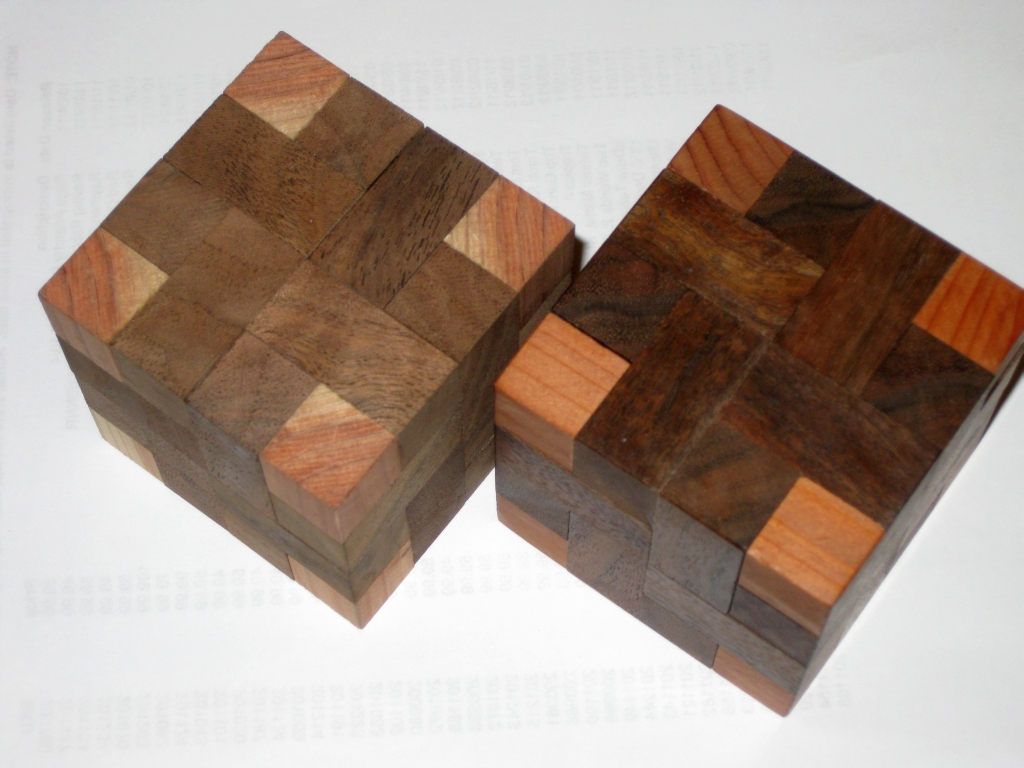
Recently I wrote about my first attempt at building a puzzle in wood, from scratch. You can read about that here.
At the end of that post, I had a working puzzle, that I was very proud of, but it still wasn’t finished. By that I mean that it was finished to the point it worked as a puzzle, but there was no finish on the wood. So I set about resolving that and with advice from a few fellow puzzle makers, here’s the result of that process.
First up was to sand the outside of the puzzle, so it is ready for the eventual finish, and to break all the edges of the puzzle. Working my way through the grits, I sanded at 120, 150, 180 and 220 grit. Straight off the saw, the edges are all very sharp, and it’s not the nicest thing to hold. By passing the edges over some 220 grit sand paper, it takes that sharp edge off, and makes the puzzle much more appealing in your hands.
Next thing to do was to apply a coat of lacquer to the puzzle pieces. This does a couple of things. It brings out the grain in the wood and gives some sort of protection to the wood from our greasy fingers. Going with some recommendations, I used 1 part satin lacquer, 2 parts lacquer thinner to apply a very thin coat. Leaving the pieces for 10 minutes after applying then rubbing off any excess with a soft clean rag.
The results are pretty obvious when you look at the two puzzles side by side. Given how much time I spent getting the tolerances right, you’ll be pleased to know that the lacquer really doesn’t add any thickness to the pieces given how thinly the lacquer mix is applied. It’s pretty much flush with the surface, so no real issues that I can tell, and my puzzle making friends seem to concur.
After that it’s time to apply a couple of coats of wax to the pieces. This helps to make sure that things slide nicely. I had a liquid wax recommended to me, as it’s much easier to brush a liquid into a corner than it is to use a wax paste and a rag. If you’re interested, I’m using Watco Satin Finishing Wax.
Finally I use some Renaissance Wax to buff and polish the outside faces. It’s not cheap stuff, but it is effective. You really don’t need much which is probably just as well. This really brings out the wood, and gives a good protective layer to the outside of the puzzle. If it’s good enough for the British Museum, its got to be good enough for my puzzles!
If you’re wondering, the first fully completed puzzle is now in the collection of a good friend. I’m waiting for him to open the puzzle to let me know what he thinks of it!


I have just two things to say:
Beautiful!!!
Awesome!!!
If only I could manage such a thing!
Thanks Kevin!
Pingback: Tubular Burr « Neil's Puzzle Building Blog