I’ve had a request sent to me about making puzzles from Lego, so I thought rather than reply to the person individually, I’d throw something up here, so that everyone can benefit.
I already commented in a previous post that LiveCube was a possibly way to create Burr puzzles, however as I already mentioned, they are not as easily available, and from what I have been told, when you add shipping from the US it’s a rather expensive way to go.
Given this, I was asked what Bricks and plates you’d need to be able to create Burr puzzles from Lego. This post is my attempt to answer that.
I should say, that there are many ways to go about creating a burr piece. There are a lot of Lego designers out there who are far better than I am, however at it’s simplest, the process is fairly easy.
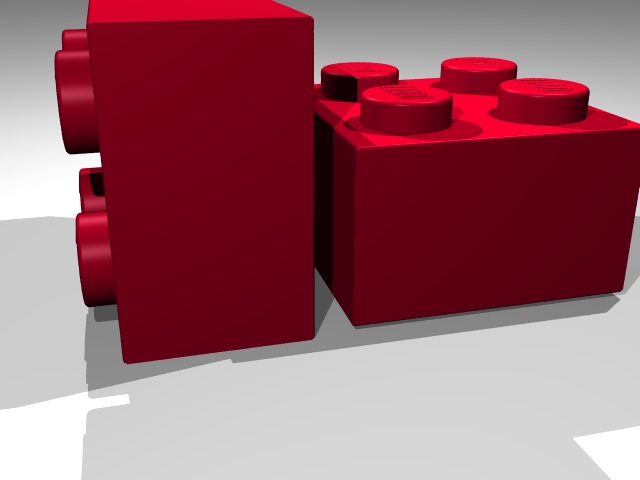
The first problem we have to overcome is that a brick is not a cube, as you can see here.
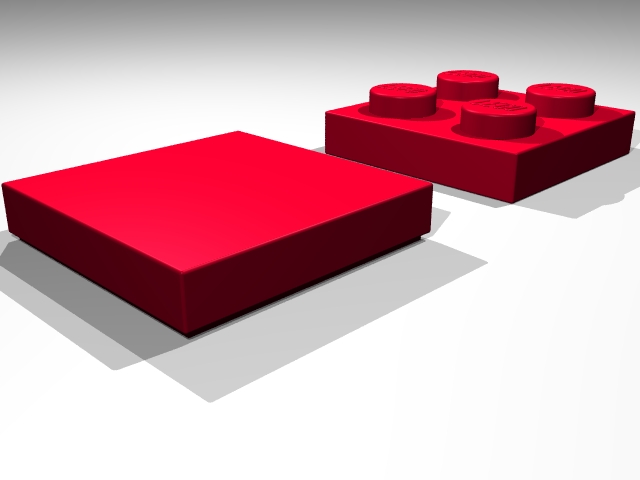
So to make it square, we need to add a couple of plates. Now the type of plate we add depends on whether the piece is going to form part of the Burr body, or the top of the Burr. For an ‘internal’ piece, we use a standard plate. For the top we use a ’tile with groove’. The images below show the two pieces we will use.
Now that we have the basic pieces, how do we make a cube? Well the dimensions of a lego brick ‘cube’ are 5x5x3. Each stud on a Lego brick represents 2.5 units. Each plate is 1 unit high. So to get a cube, we need one brick and two plates.
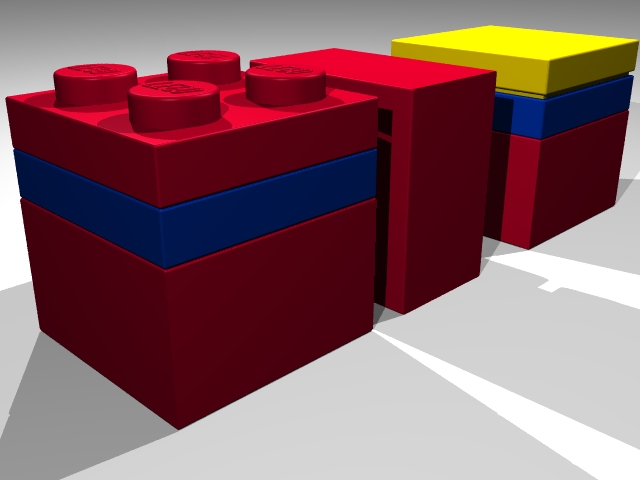
So as you can see, the height now matches the width, and we have a cube. Building up Burr pieces is fairly simple from this point. Take the piece you want to build, and using those dimensions, create the part in Lego. Having longer bricks and plates does help to make the whole thing more stable, as long as you remember that each brick requires 2 plates to make it square then you’ll be fine. Of course, if you think about the height of 2 bricks, that’s 10 units. You can make that from 3 bricks and 1 plate or 2 bricks and 4 plates, or 10 plates.
The skill comes in working out how to get the tiles in the right place so that you have smooth surfaces on the top of each Burr piece. Equally, the piece made from 3 bricks and one tile has far less pieces, and by definition less joins, so should be more stable. That’s not always true however , as the thin plates have a greater surface area per thickness, so don’t ‘bend’ as easily!
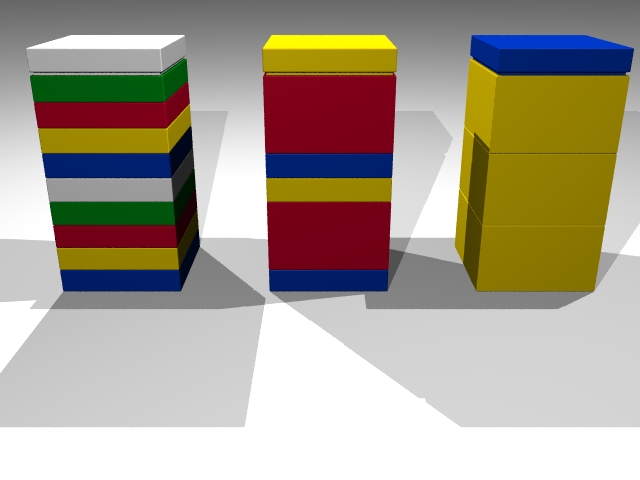
The example below shows a basic Burr piece made from Lego.
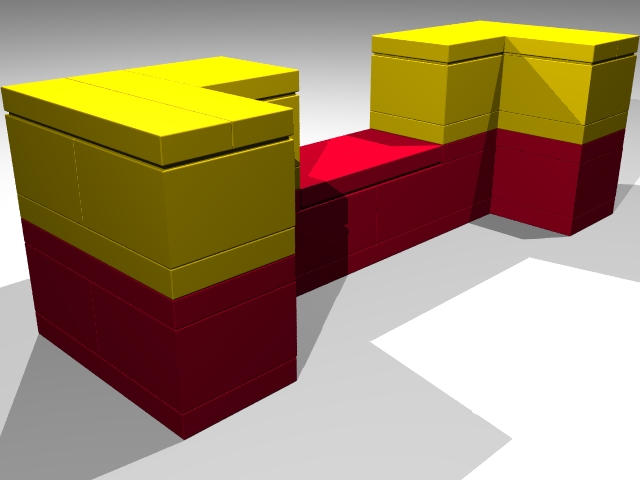
Each ‘layer’ is in a separate colour so that it is easier to see the height of the piece. Creating this piece is left as an exercise for the reader, however the parts used are:
4 – 2×2 brick (part #3003)
2 – 2×4 brick (part #3001)
2 – 2×6 brick (part #2456)
4 – 2×2 plate (part #3022)
6 – 2×4 plate (part #3020)
1 – 2×8 plate (part #3034)
6 – 1×4 tile (part #2431)
2 – 2×2 tile (part #3068b)
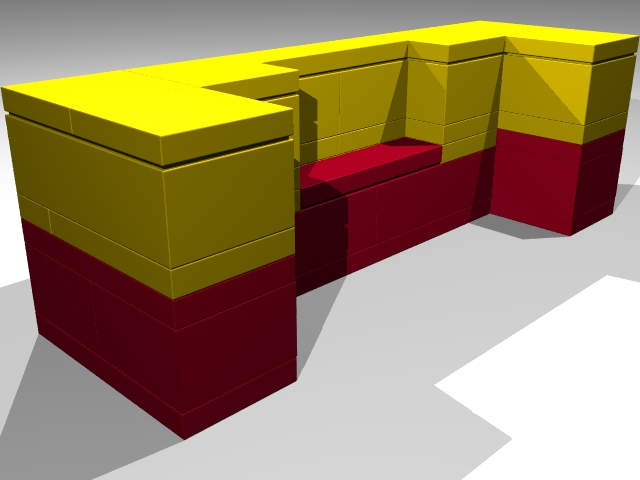
So that covers the basic burr parts. What happens when we need a half sized wall? Well it’s fairly simple, we just use a 1×2 brick and plates. The part above is modified to give a more complex piece just to show the difference.
So from that you should have the basics. I highly recommend getting LDraw, there’s a link under Puzzle Creation tools, and also a GUI designer such as MLCad for Windows or Bricksmith for Mac. There a good tutorials on using these on the LDraw website. The tools will help you to build the pieces ahead of time, and work out how best to build each piece. It can make things quicker, depending on how familiar you are with building in Lego. If I’m honest, most of the time, I build it in Lego first, and come back to LDraw later!