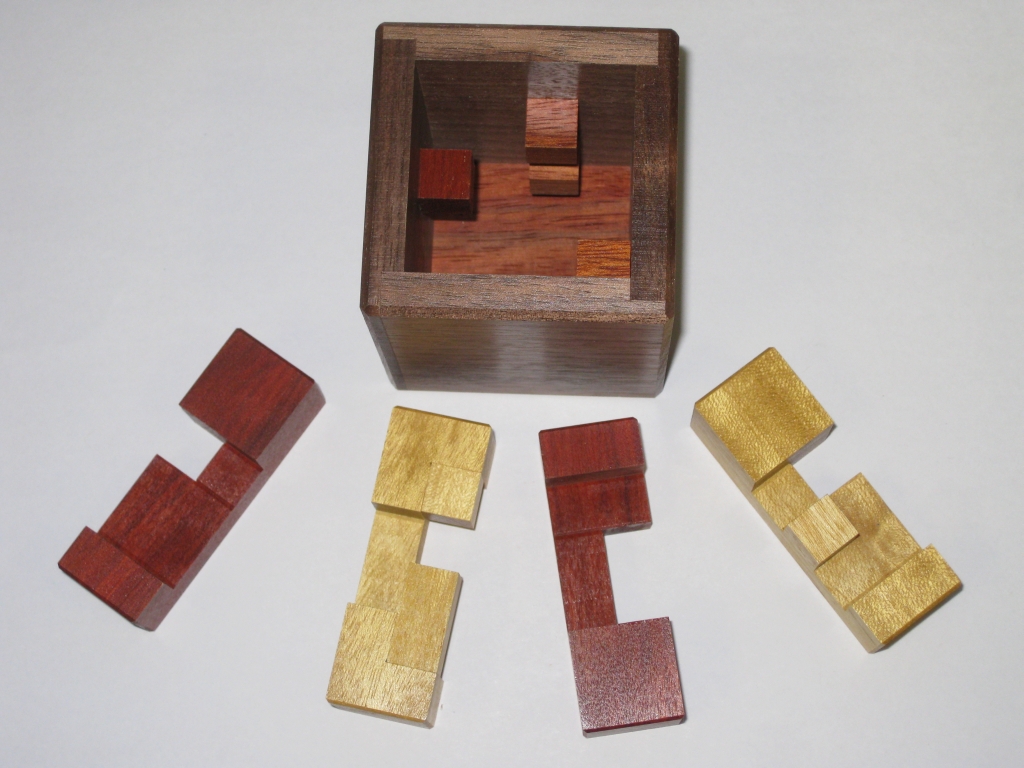
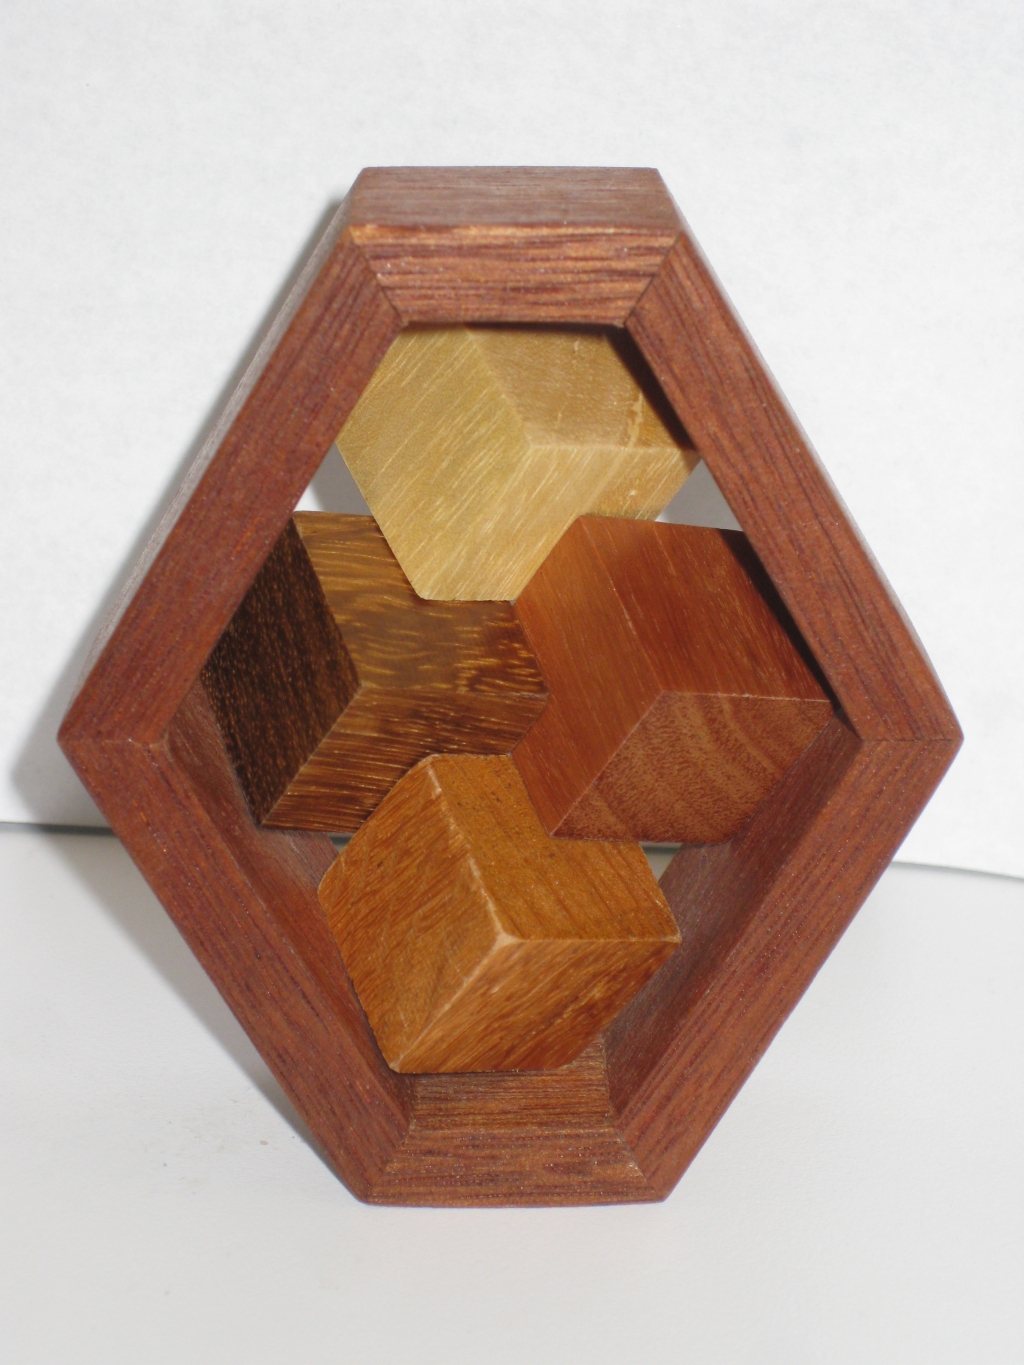
Way back in 2011, when I was at a puzzle party here in the Bay Area, I had a play with a clever little puzzle, by Iwahiro called the ODD Puzzle. A simple three-piece packing puzzle, that was anything but simple. It’s taken me three years, but I now have a copy of my own …. and I had to make it myself!
Odd Puzzle by Hirokazu Iwasawa (a.k.a. Iwahiro), made by TheJuggler
Back when I first saw the puzzle, the only copy available was a version by Philos. It was made from Beech and measured 4.7″ x 4.7″ x 3″. The fairly plain appearance hid a superb puzzle, that was the grand prize winner at IPP28. Now it’s mostly sold out everywhere you look, and no real indication of when or if it will be available again. The only place I’ve been able to find it is at Puzzle Sport in Germany.
I played around with the copy at Stan’s and really liked the puzzle. It was clever and really needed you to spend time playing with the pieces in the box to understand just how they interacted with each other, and what movements are possible. I was unfortunate that the puzzle was sitting in its solved state when I picked it up, and it was more of a challenge to remove the pieces for me. If I’d not seen the solution I think I would have required a lot more time to understand how it would be possible to get the pieces in there. I had mostly forgotten about this puzzle which if I’m honest is rather a shame.
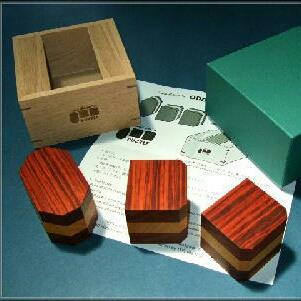
The facebook picture that started all this.
Fast forward three years, and I spotted a Craftsman copy of the puzzle made by Iwahiro on one of my friend’s Facebook pages as his profile picture. (ed: There’s a funny story there, but I’ll come back to that.) Seeing that picture spurred me into hunting for a copy, and having failed, I asked a couple of my puzzle friends if anyone had a copy of the puzzle. Amusingly, the closest (geographically) to me had a copy of the puzzle, and agreed to lend it to me. A couple of days later, we met up and exchanged a few puzzles, had the obligatory play with a few new additions to each of our collections, and he left me with a copy of the ODD Puzzle, as well as a puzzle from his collection where a couple of glue joints had broken, that he asked me to fix for him.
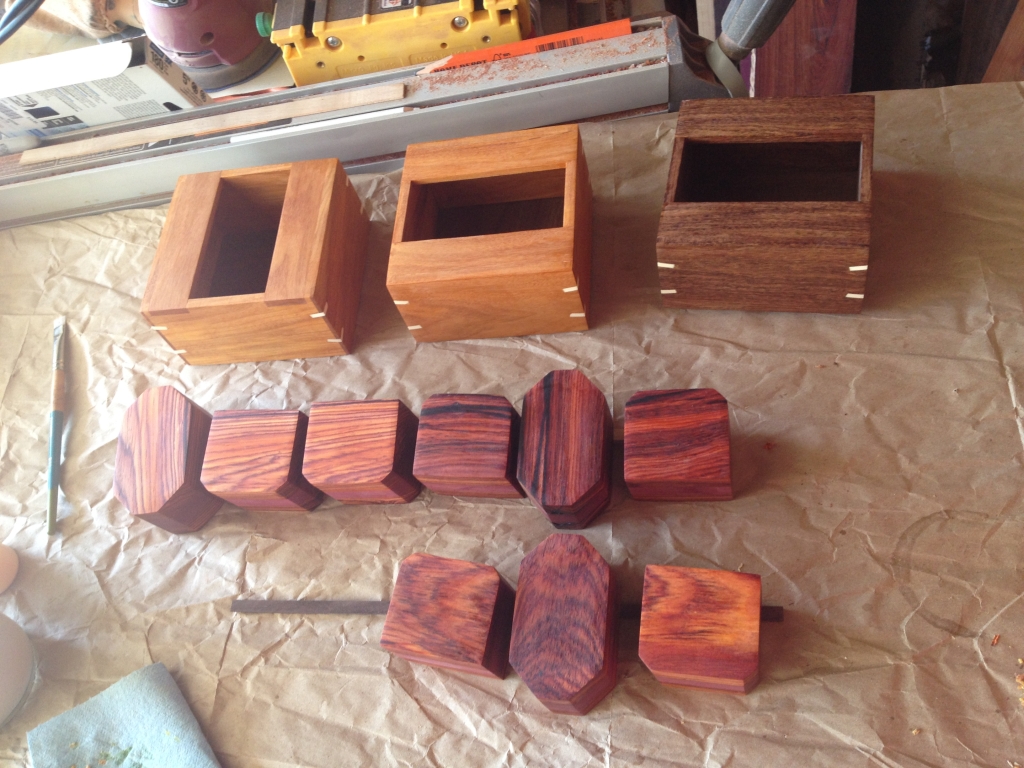
Fairly quickly I took a host of measurements from the reference copy, and set about making a copy of my own. I really liked the look of the craftsman version with the ‘core’ having a different wood to the outer parts of the pieces so looking through my stock, I picked out some Lacewood and Yellowheart to make the pieces. Rather than describe the process in detail, the images below should show the highlights. (As ever, click for larger versions.)
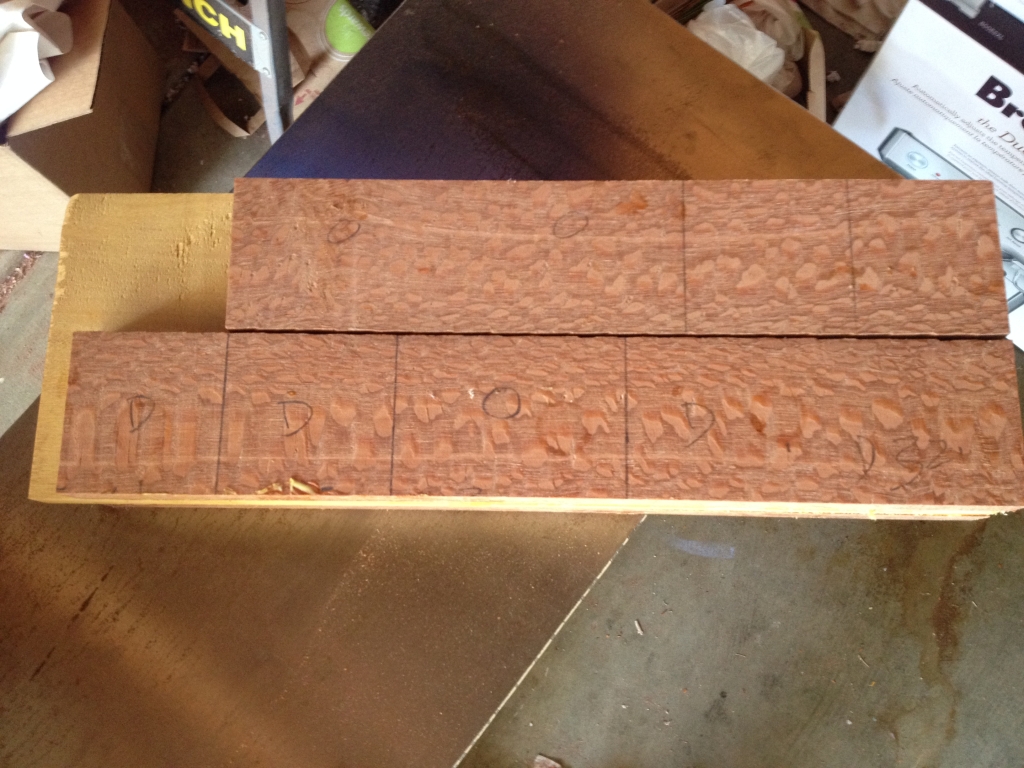
Initial glueup of the pieces
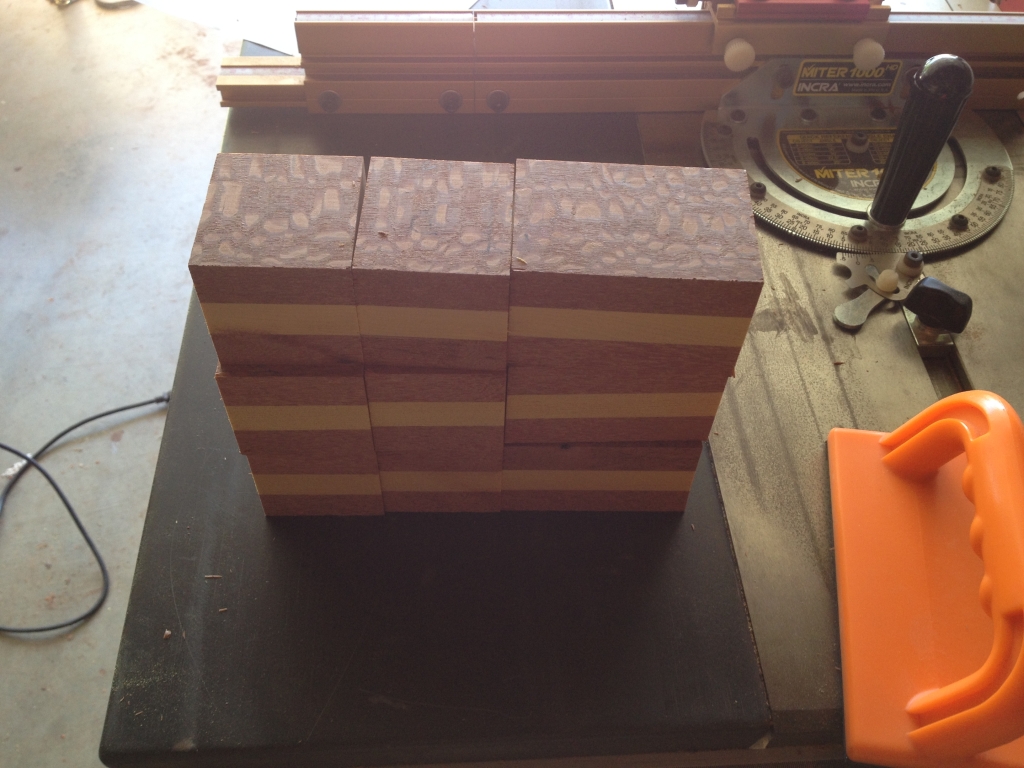
Basic blocks cut

ODD shapes, ‘O’ still too thick
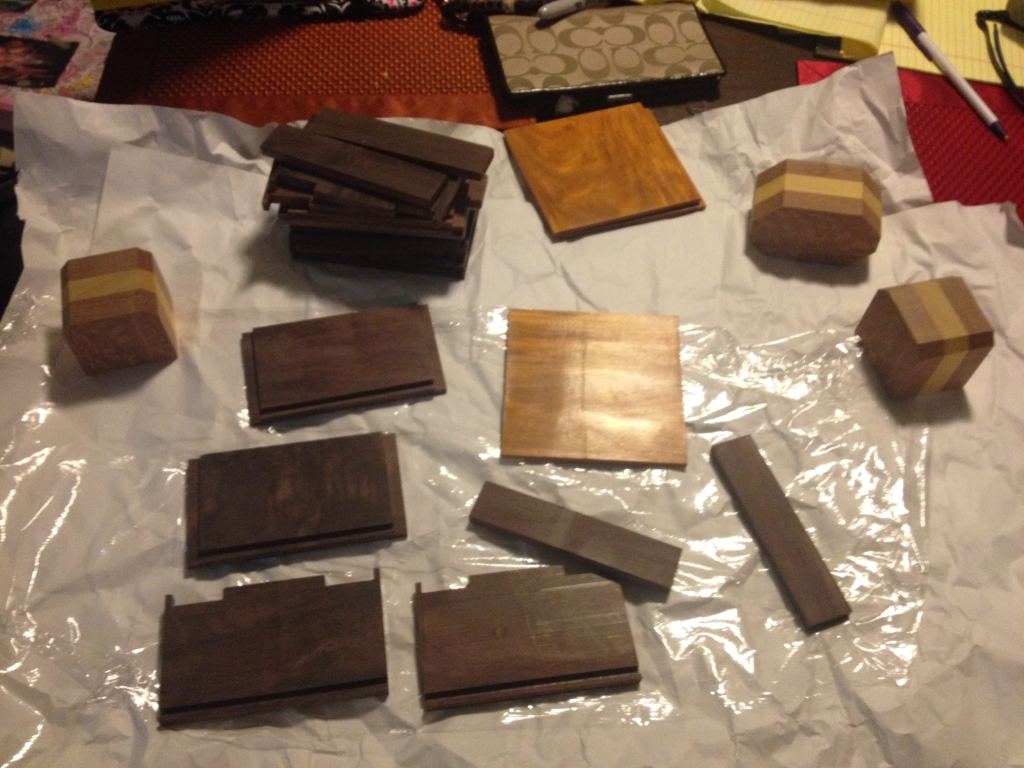
Boxes cut, and ready for glueup. Base pre-finished.
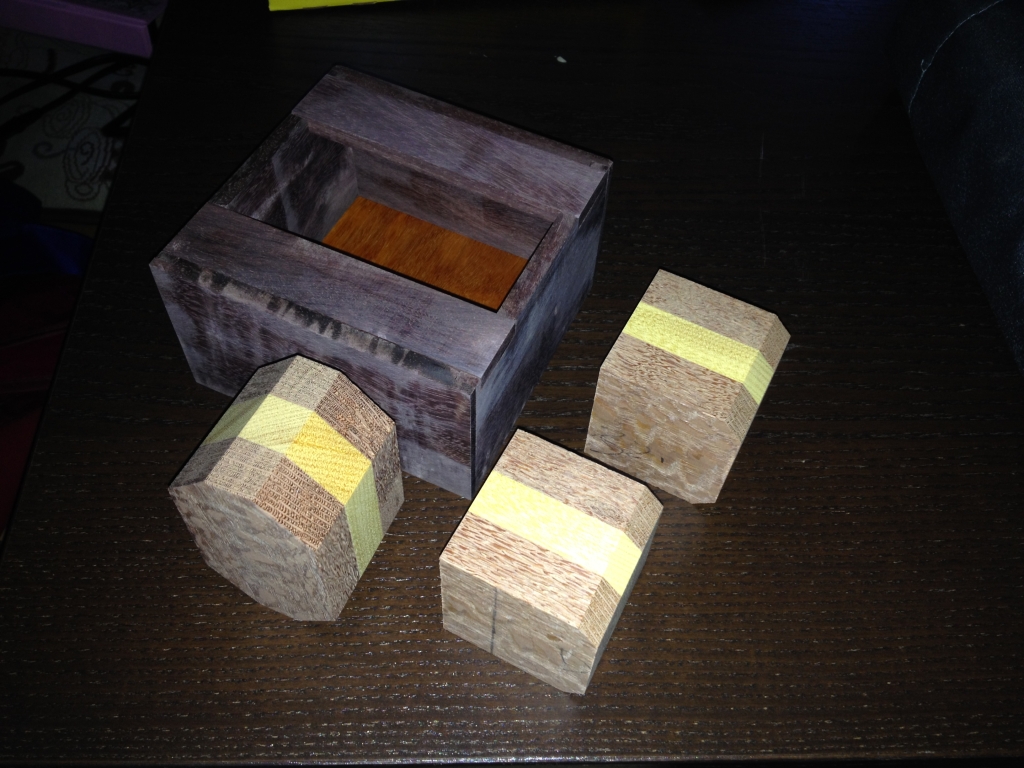
Box glued up, unsanded and still no finish yet
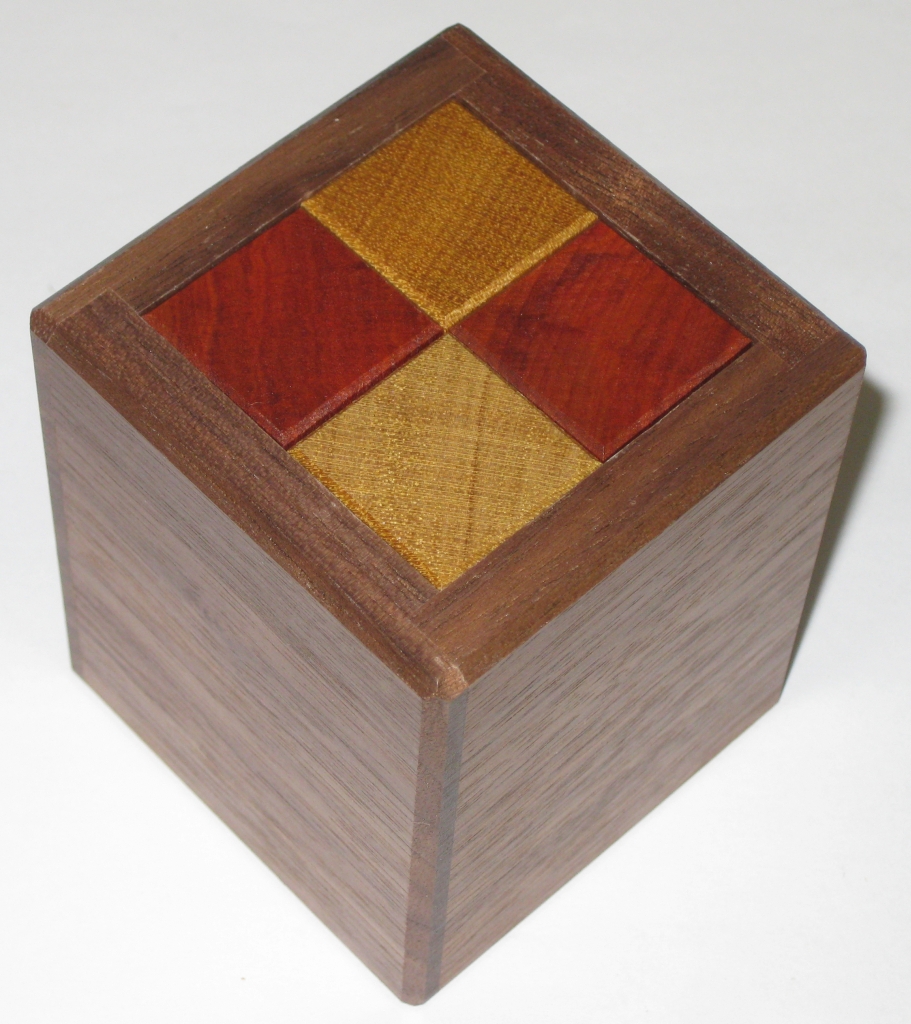
Finished!
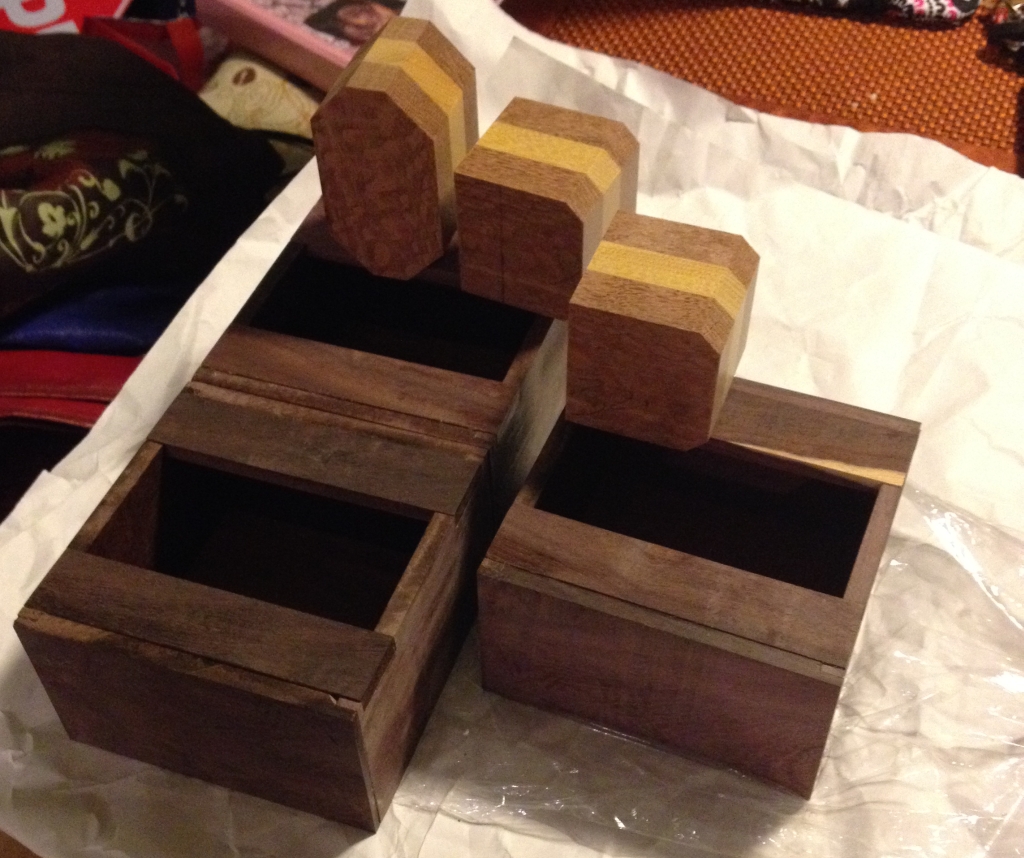
Of course as you can see, when you’re making one, it’s not a lot more work to make two, or three, so I made three copies. When I was posting pictures, on my own Facebook pages during the build, I was contacted about buying copies, so I’m glad I made extra. One interesting build fact is that I pre-finished the bases before I glued up the boxes. The reason being that I was going to be unable to finish the inside of the base once the box was glued together. One benefit to pre-finishing is that the glue won’t stick to the finish, so the base will be truly floating. I also pre-finished the inside walls of the box before I glued on the strips that create the gap. Again, I wasn’t going to be able to get a brush inside the box to finish it to the level I wanted, so I finished it first, leaving clear areas where I was gluing up the pieces so that the glue would stick.

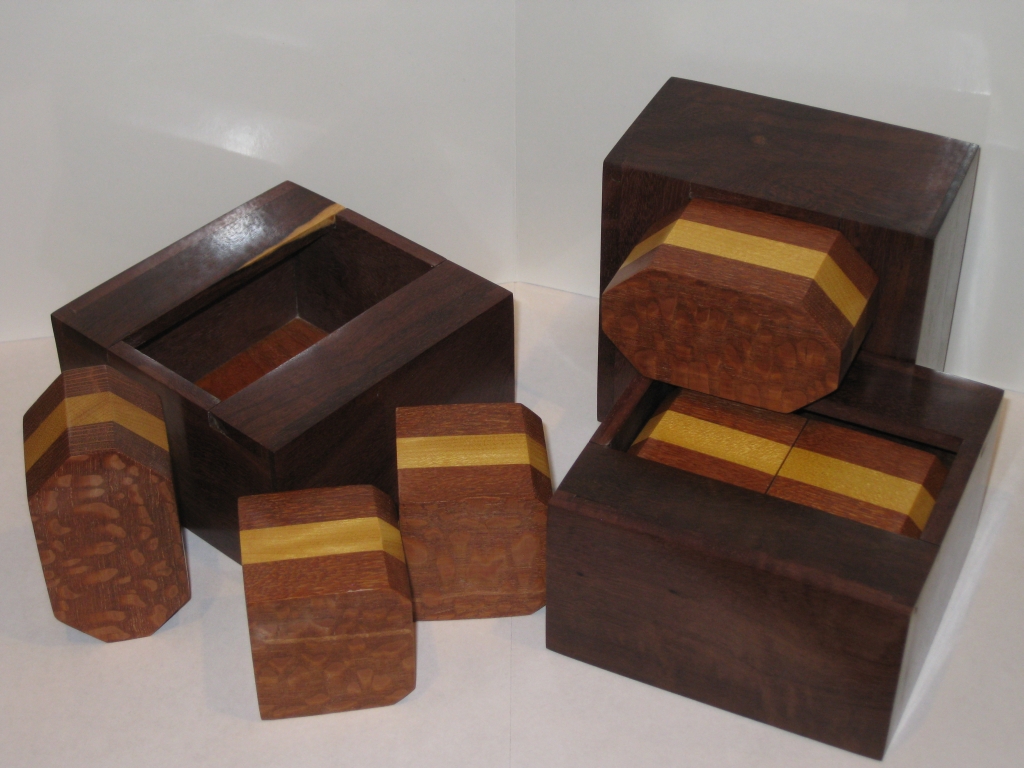
Iwahiro’s version, next to my copy
As a quick comparison, the pieces for both copies are identical in size, and can be interchanged between the boxes. In Iwahiro’s version he has mitred joints in the box with slip feathers for strength. I used a shoulder joint on my box and didn’t add splines (a.k.a. slip feathers). I did however change the way the top of the box is made, extending my slats all the way through the sides, making that joint stronger, unlike Iwahiro’s version where the slats are entirely inside the box. There’s not real difference, just a choice I made.
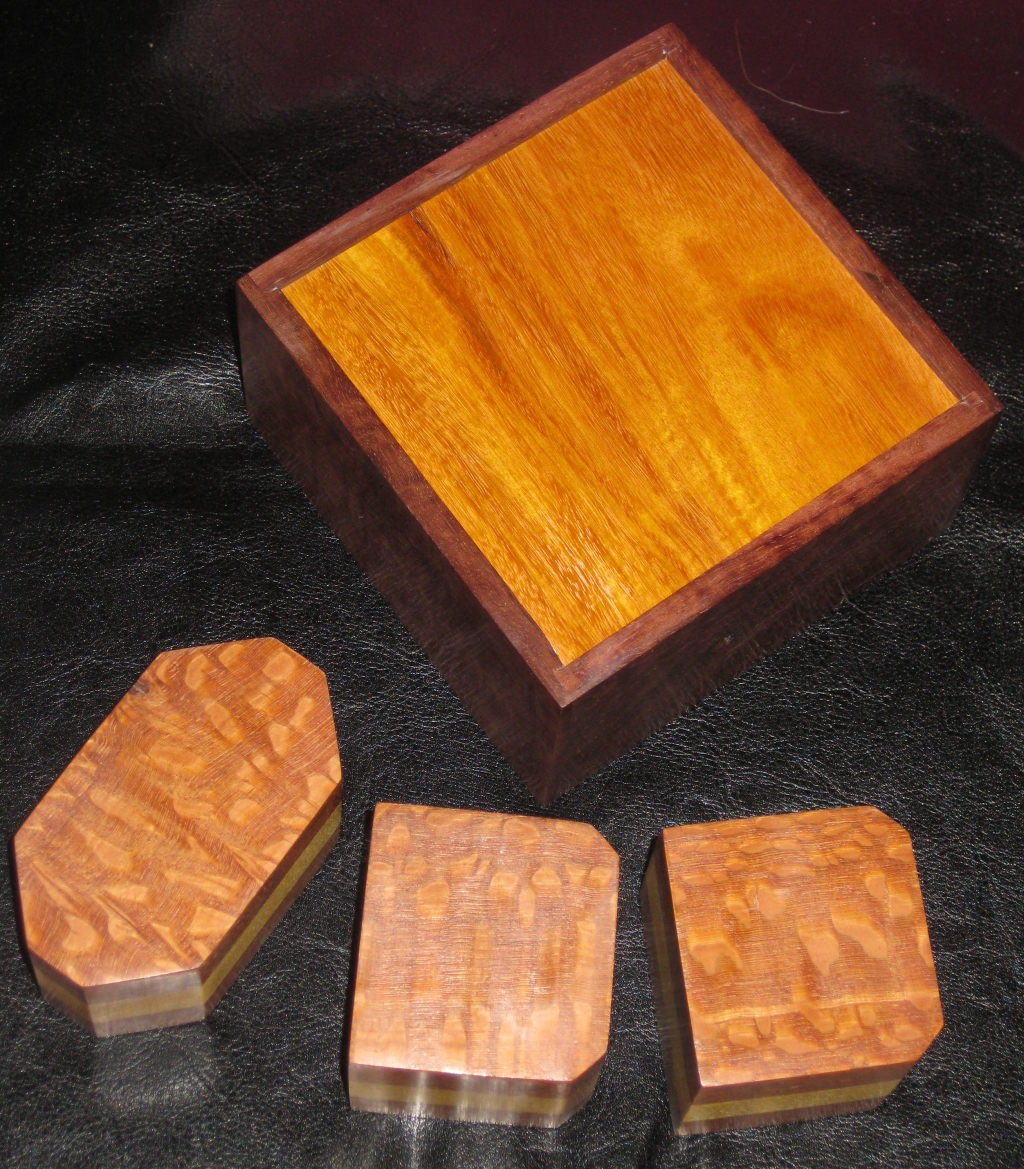
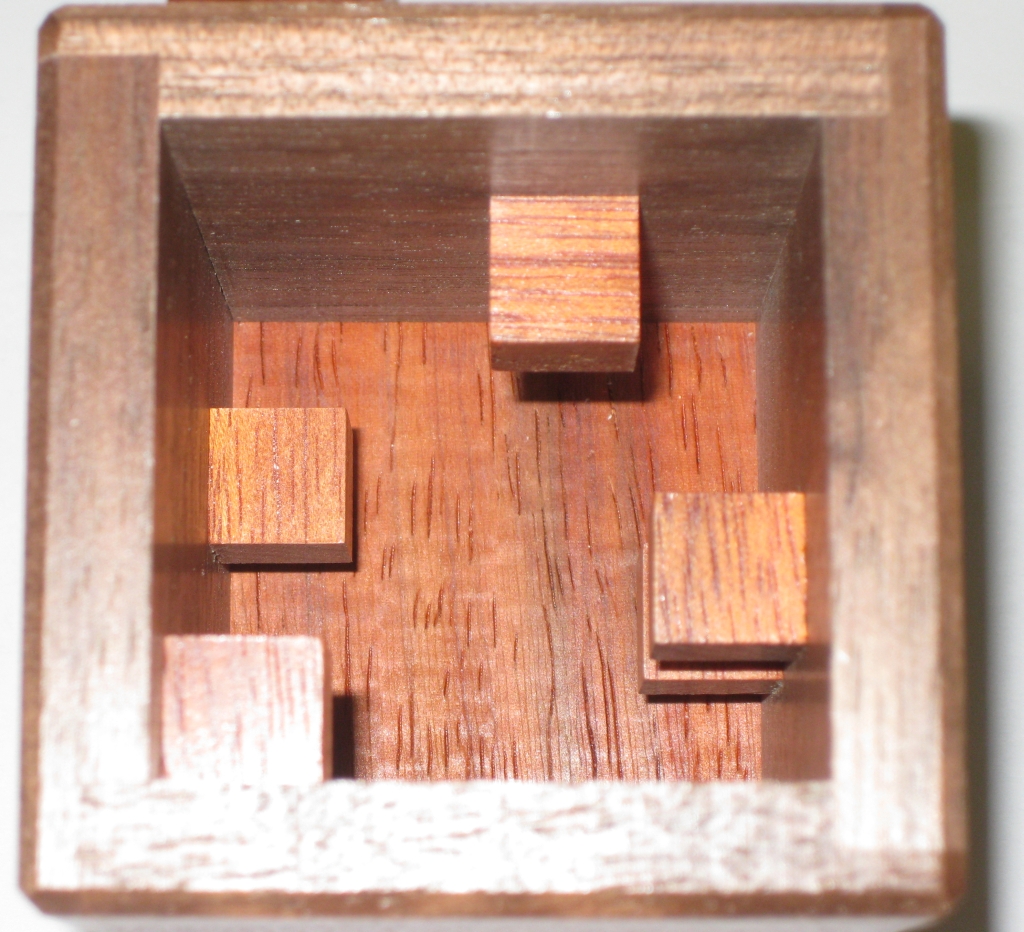
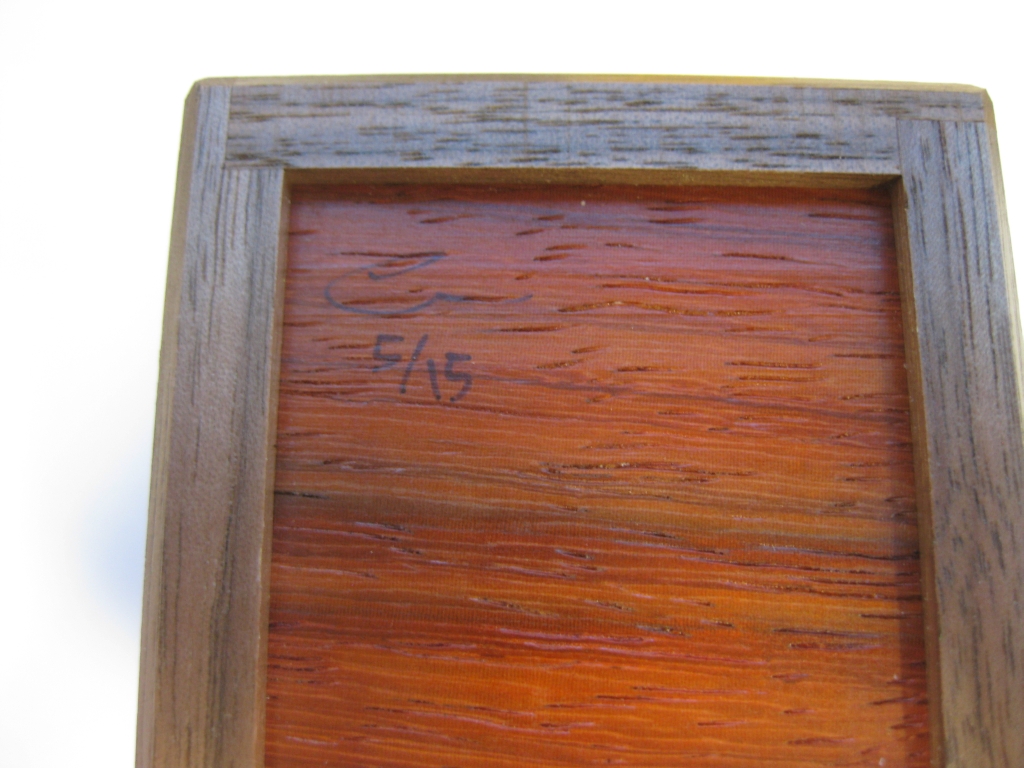
A look at the bottom of the puzzle made from Chakte Viga
My the boxes in my copies are made from Katalox with a Chakte Viga base. I think the contrast between the dark, almost black sides with the bright orange base looks great, but then I wouldn’t have done it if I hadn’t.
This was the first time I’d used the Beall Wood Buff system since I bought it. Fellow puzzle maker John Devost uses it on most of the puzzles he makes, and having used it now, I can see why. The finish achieved is incredible. It’s a high gloss shine, which really makes the wood look great, and gives it an amazingly smooth feel. It also means that the pieces in the ODD puzzle slide against each other with virtually no friction. That means that the slick plastic sheet added in the bottom of Iwahiro’s version isn’t needed in the copies I made.
One of my friends commented that the only thing missing from my copy was the slip feathers on Iwahiro’s box. I joked that I’d considered adding Holly slip feathers, but in the end didn’t do so. (Now I didn’t mention at the time that I didn’t have a jig built that would allow me to create slip feathers in a box) All I can say to that now is …
Different wood choices, and slip feathers added
They’re not quite finished yet, (and I’ll update this when they are) but I’ve added the slip feathers, purely for the aesthetic of them, and rather than have them flat, I put them at an angle just to add detail.
I mentioned earlier that there was a funny story related to me making the puzzles. As I mentioned, I was prompted to make these having seen the picture on a friend’s Facebook. After posting pictures of the copy I’d made, the friend who had the picture sent me a message asking if I could send him measurements of the puzzle, so he could make his own. He didn’t have a copy, and seeing me making my copies kicked him into deciding he should make his own copy, since he’d been meaning to do it for a while. So, I was prompted into making a copy having seen his photo, which prompted him … Well it amused me at least!