It’s been quite a while since I’ve sat down and written anything on my blog, and I’m sure many of my readers had given up on me. I am still here, I’m still puzzling, and still making more new puzzles, so nothing has really changed. Life sometimes just gets busy, and the time to sit down and write something worthy of reading is the thing that slips through the cracks first. That said, today I’m looking at the newest puzzle to come from Revomaze, which they kindly sent me a copy to review for you. This is the Copper V1 puzzle.
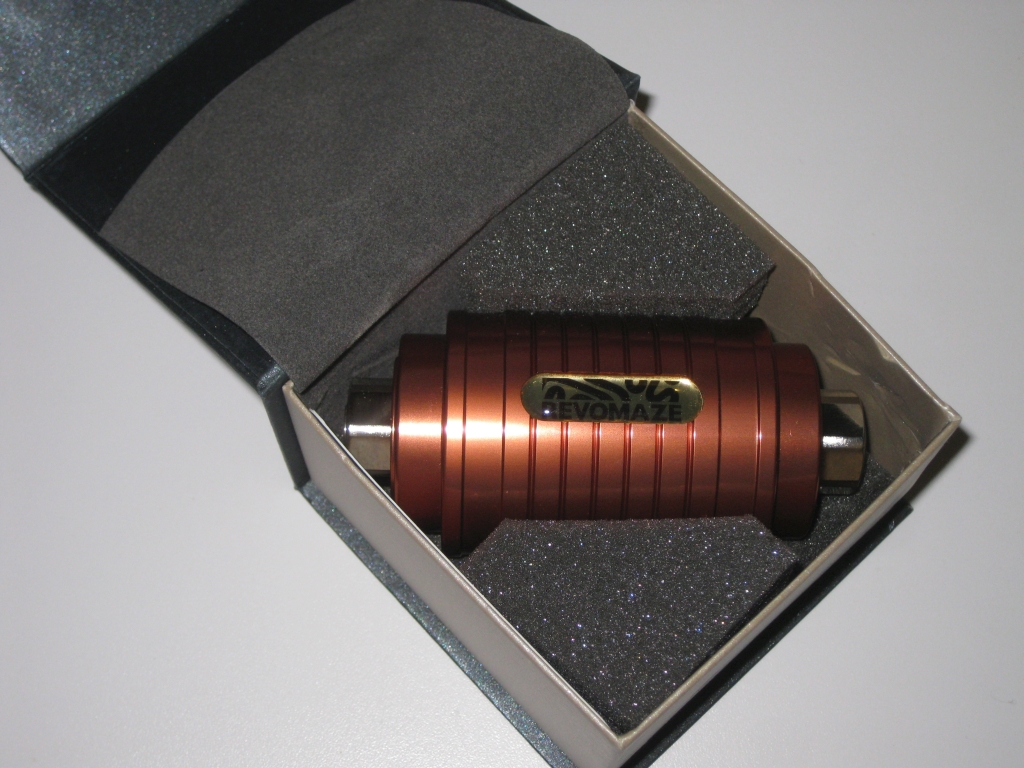
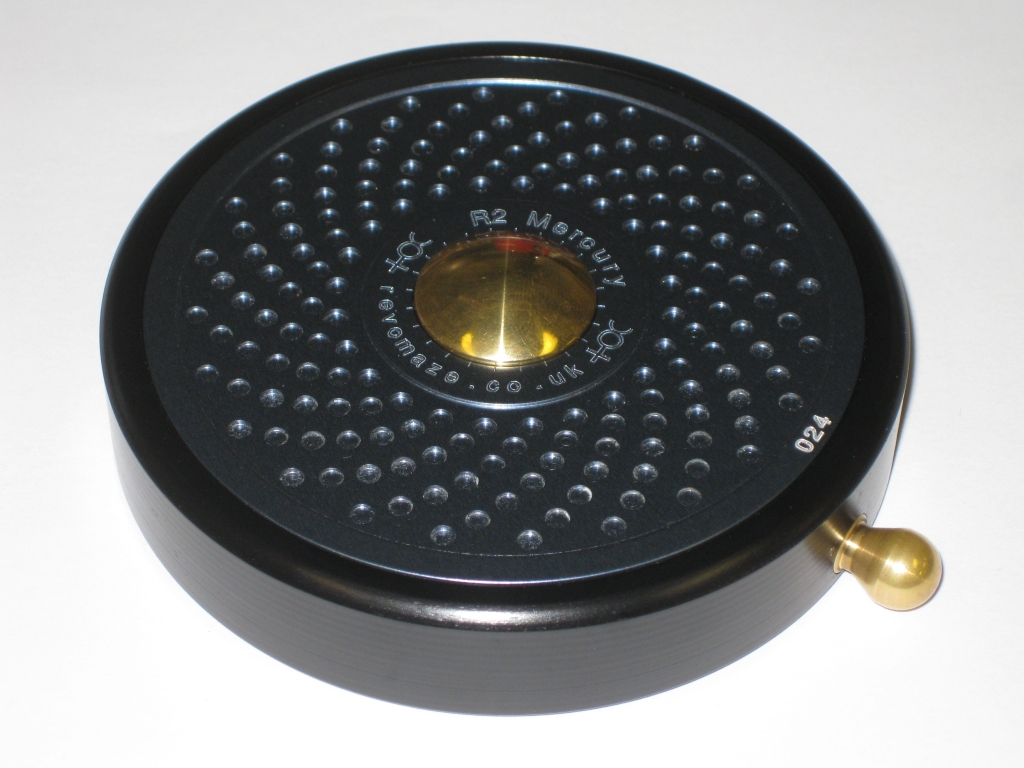
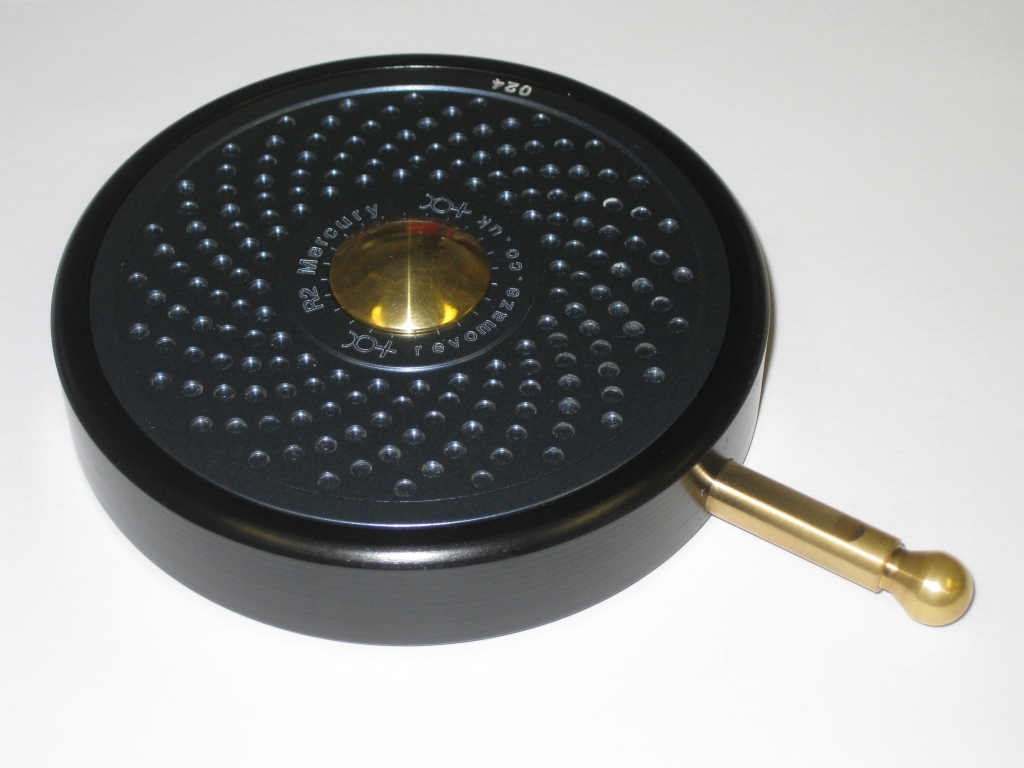
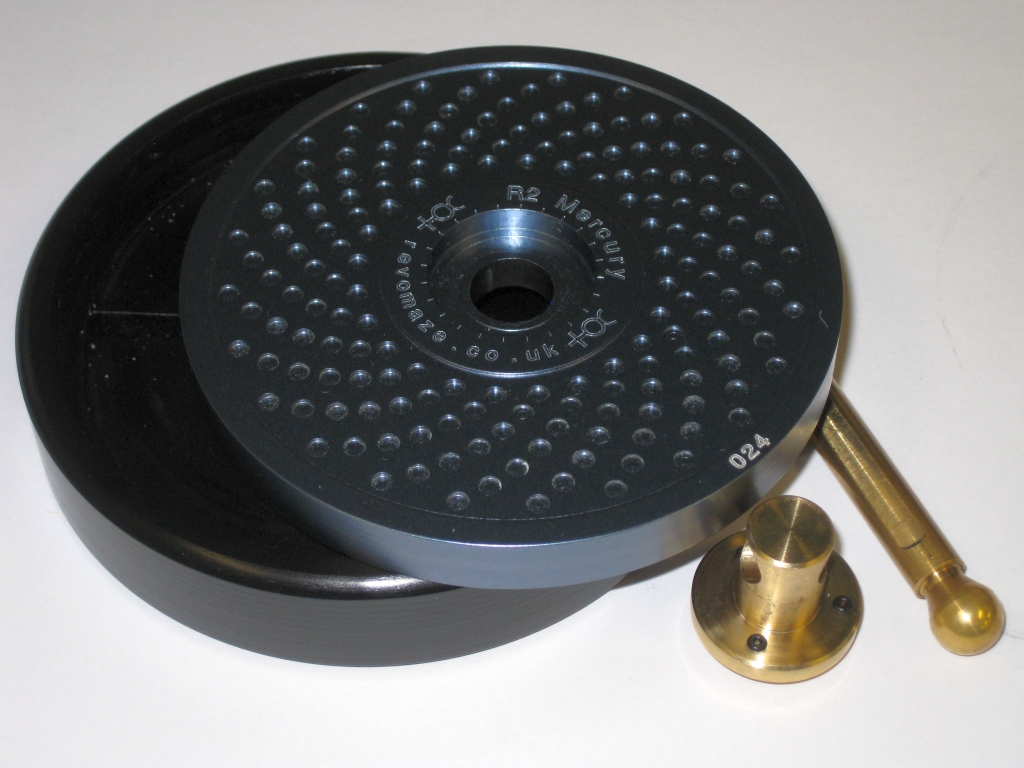
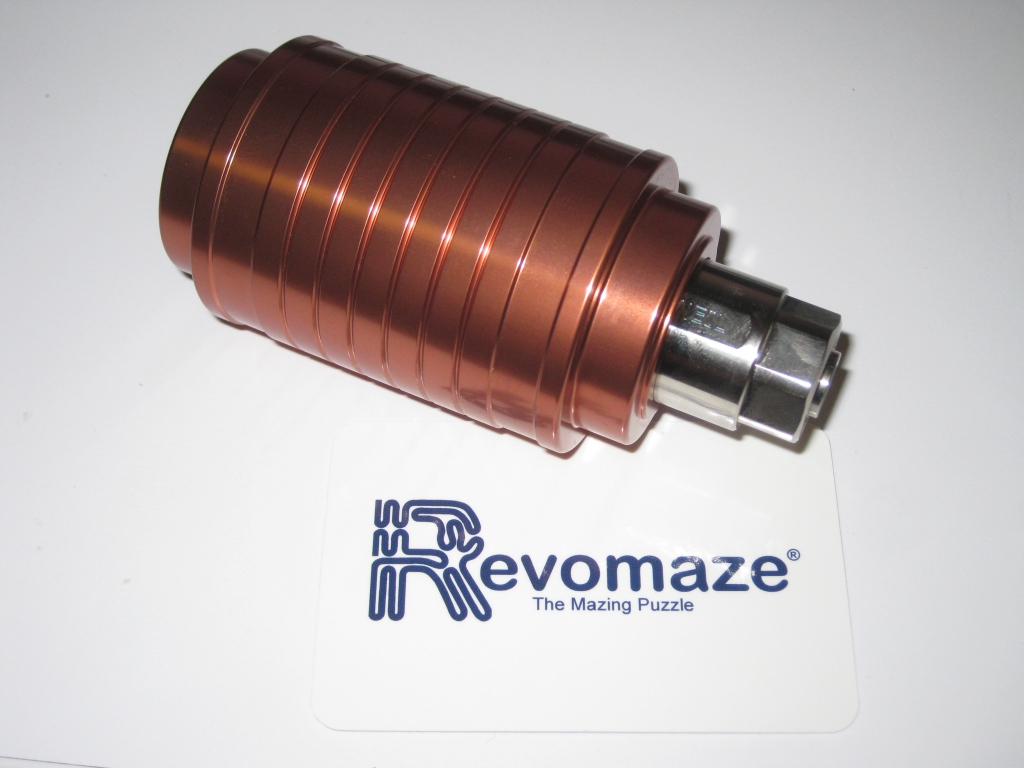
The Revomaze R1 Copper
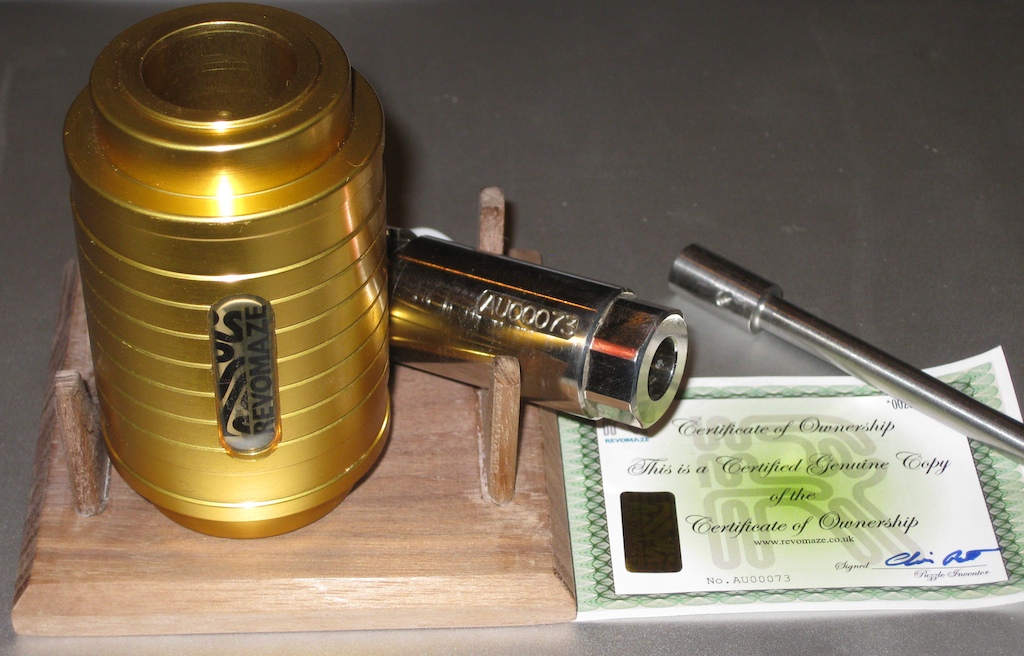
The newer puzzles coming from Revo HQ are showing up in these nice new boxes, which give the puzzle a little extra padding during transit, and leave you with a good looking box to keep the puzzle in when you’re not solving it or displaying it somewhere else. There’s still a little work needs to be done on the box to prevent the core from taking a knock during transit but this is a good step forward from the old fish net and plastic bag wrapping we had seen. Much more fitting of a puzzle in this price range, and quality.
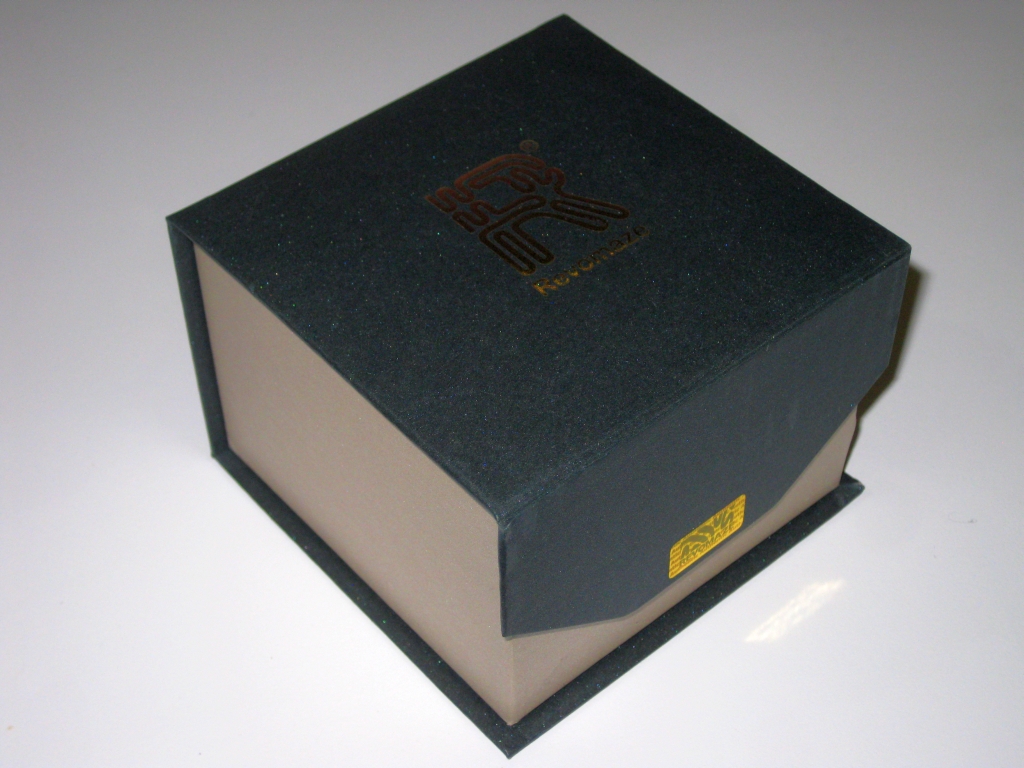
New Boxes
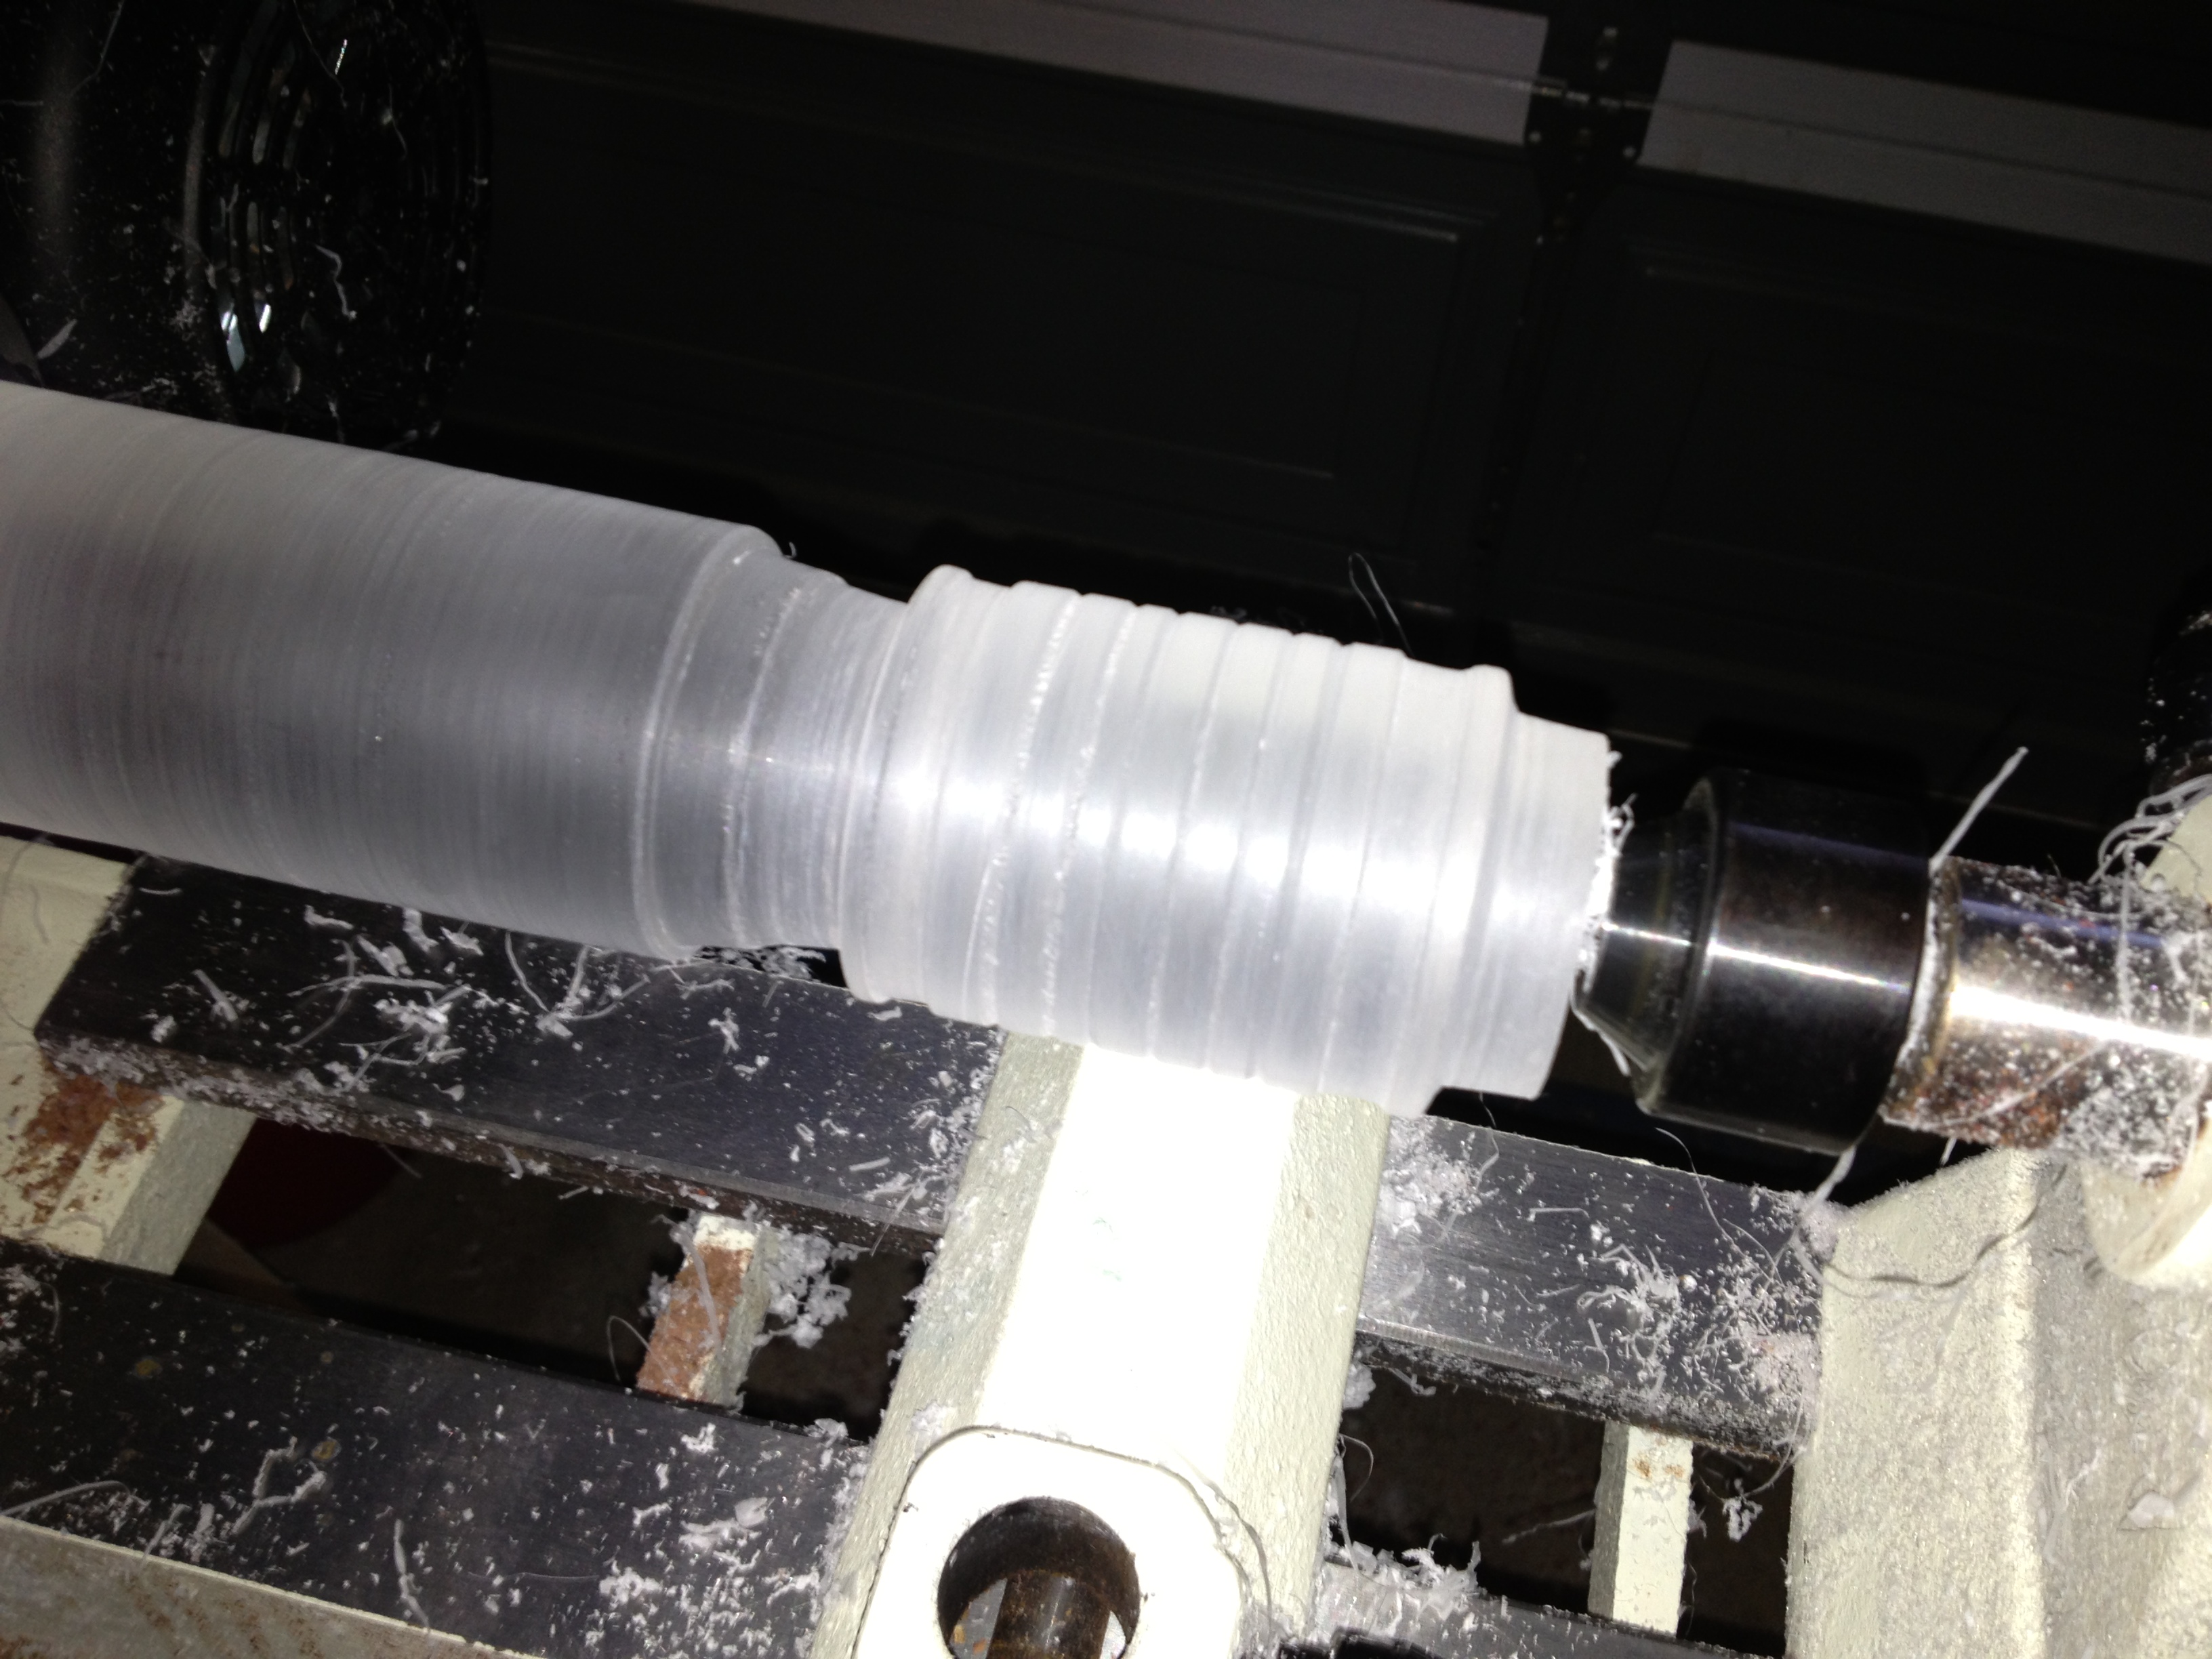
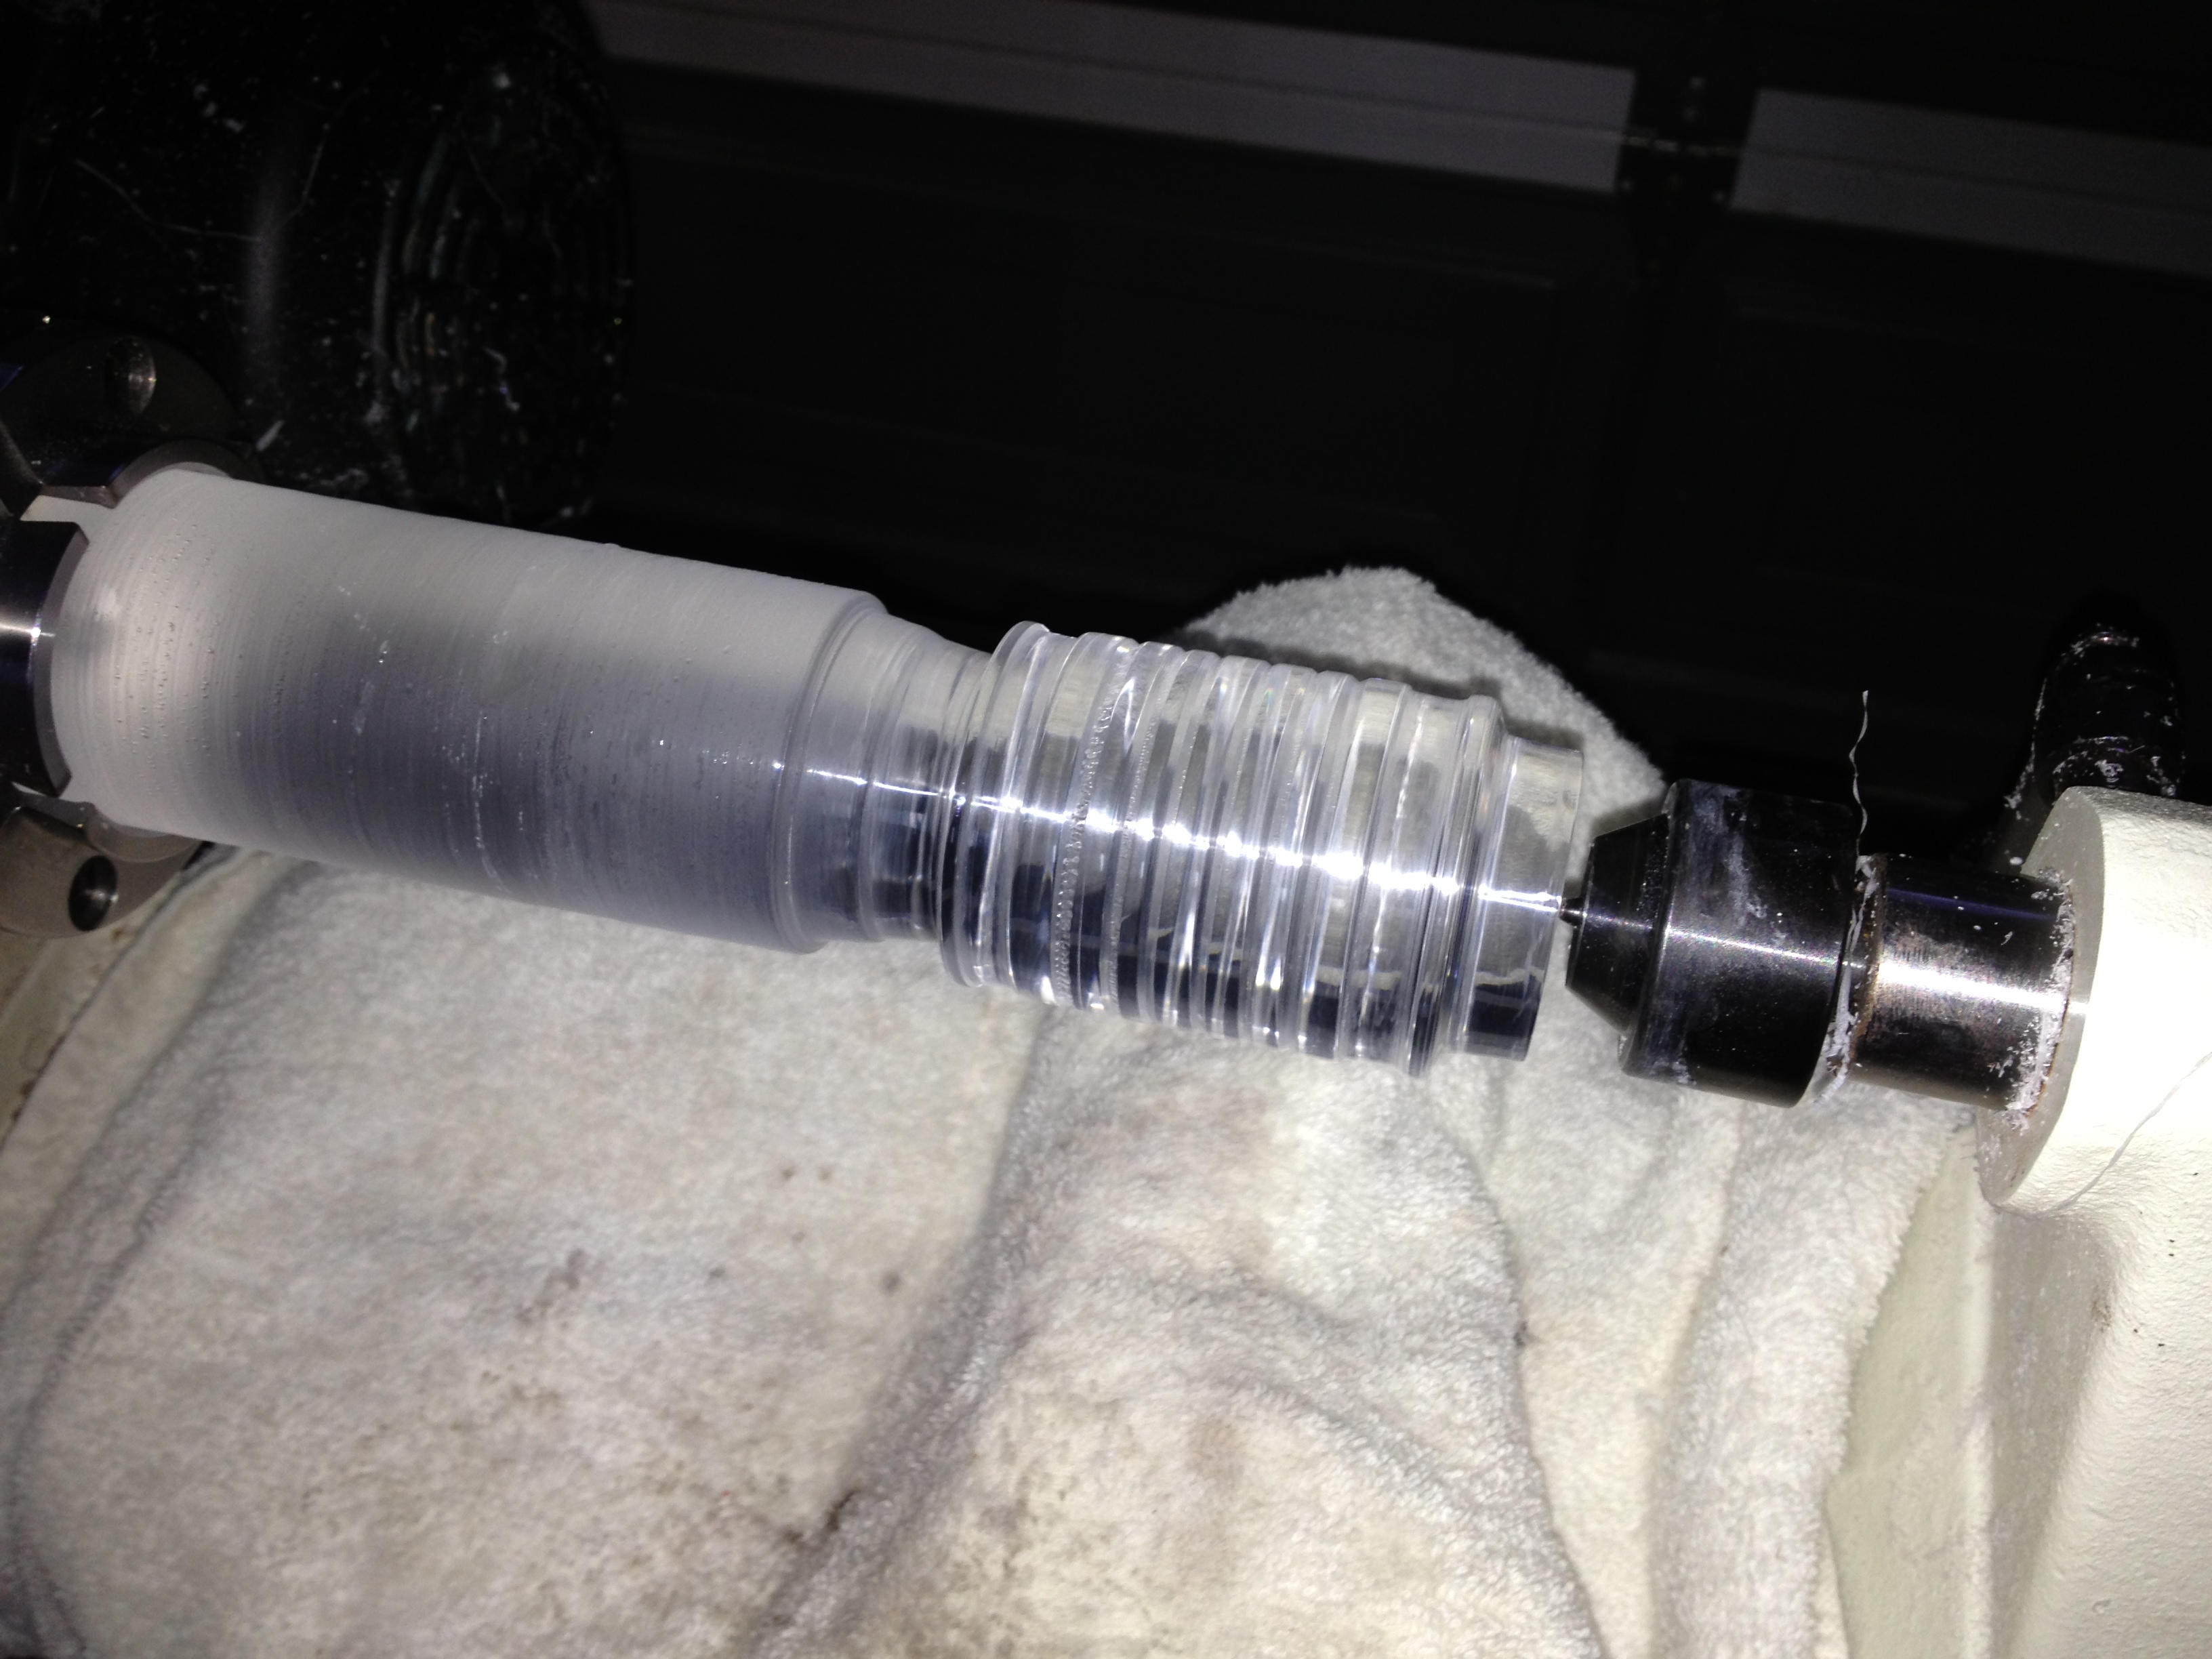
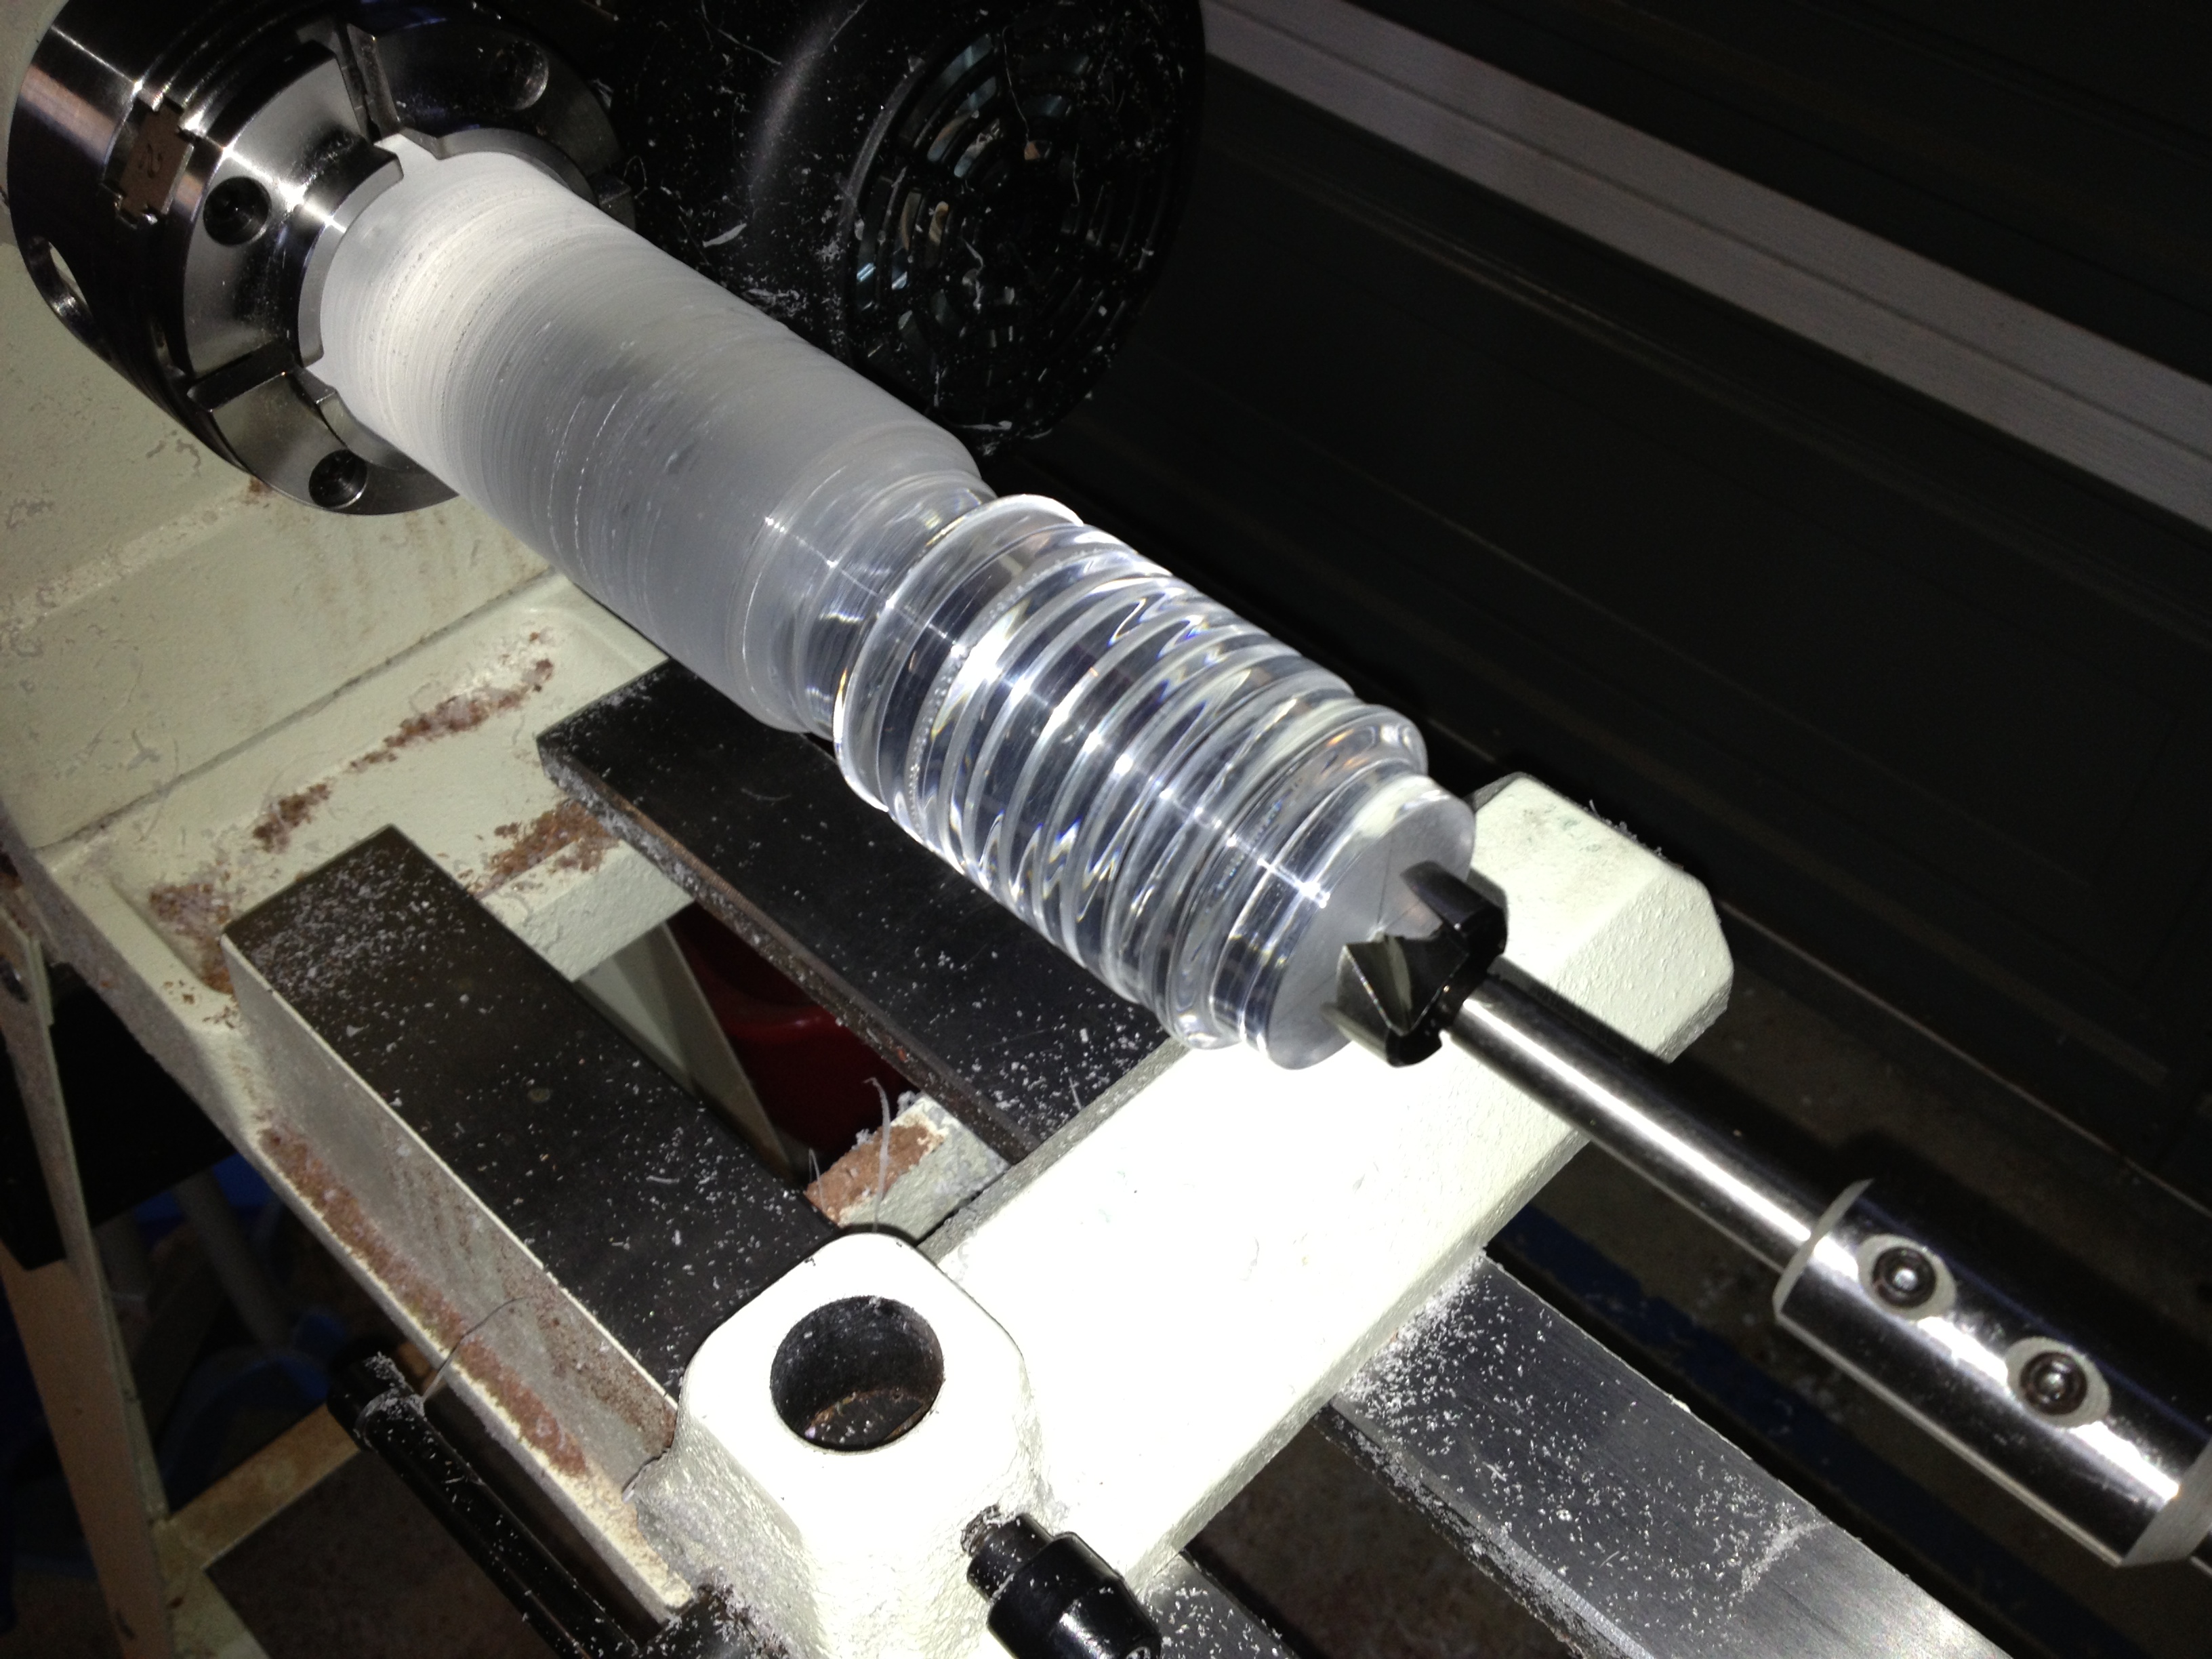
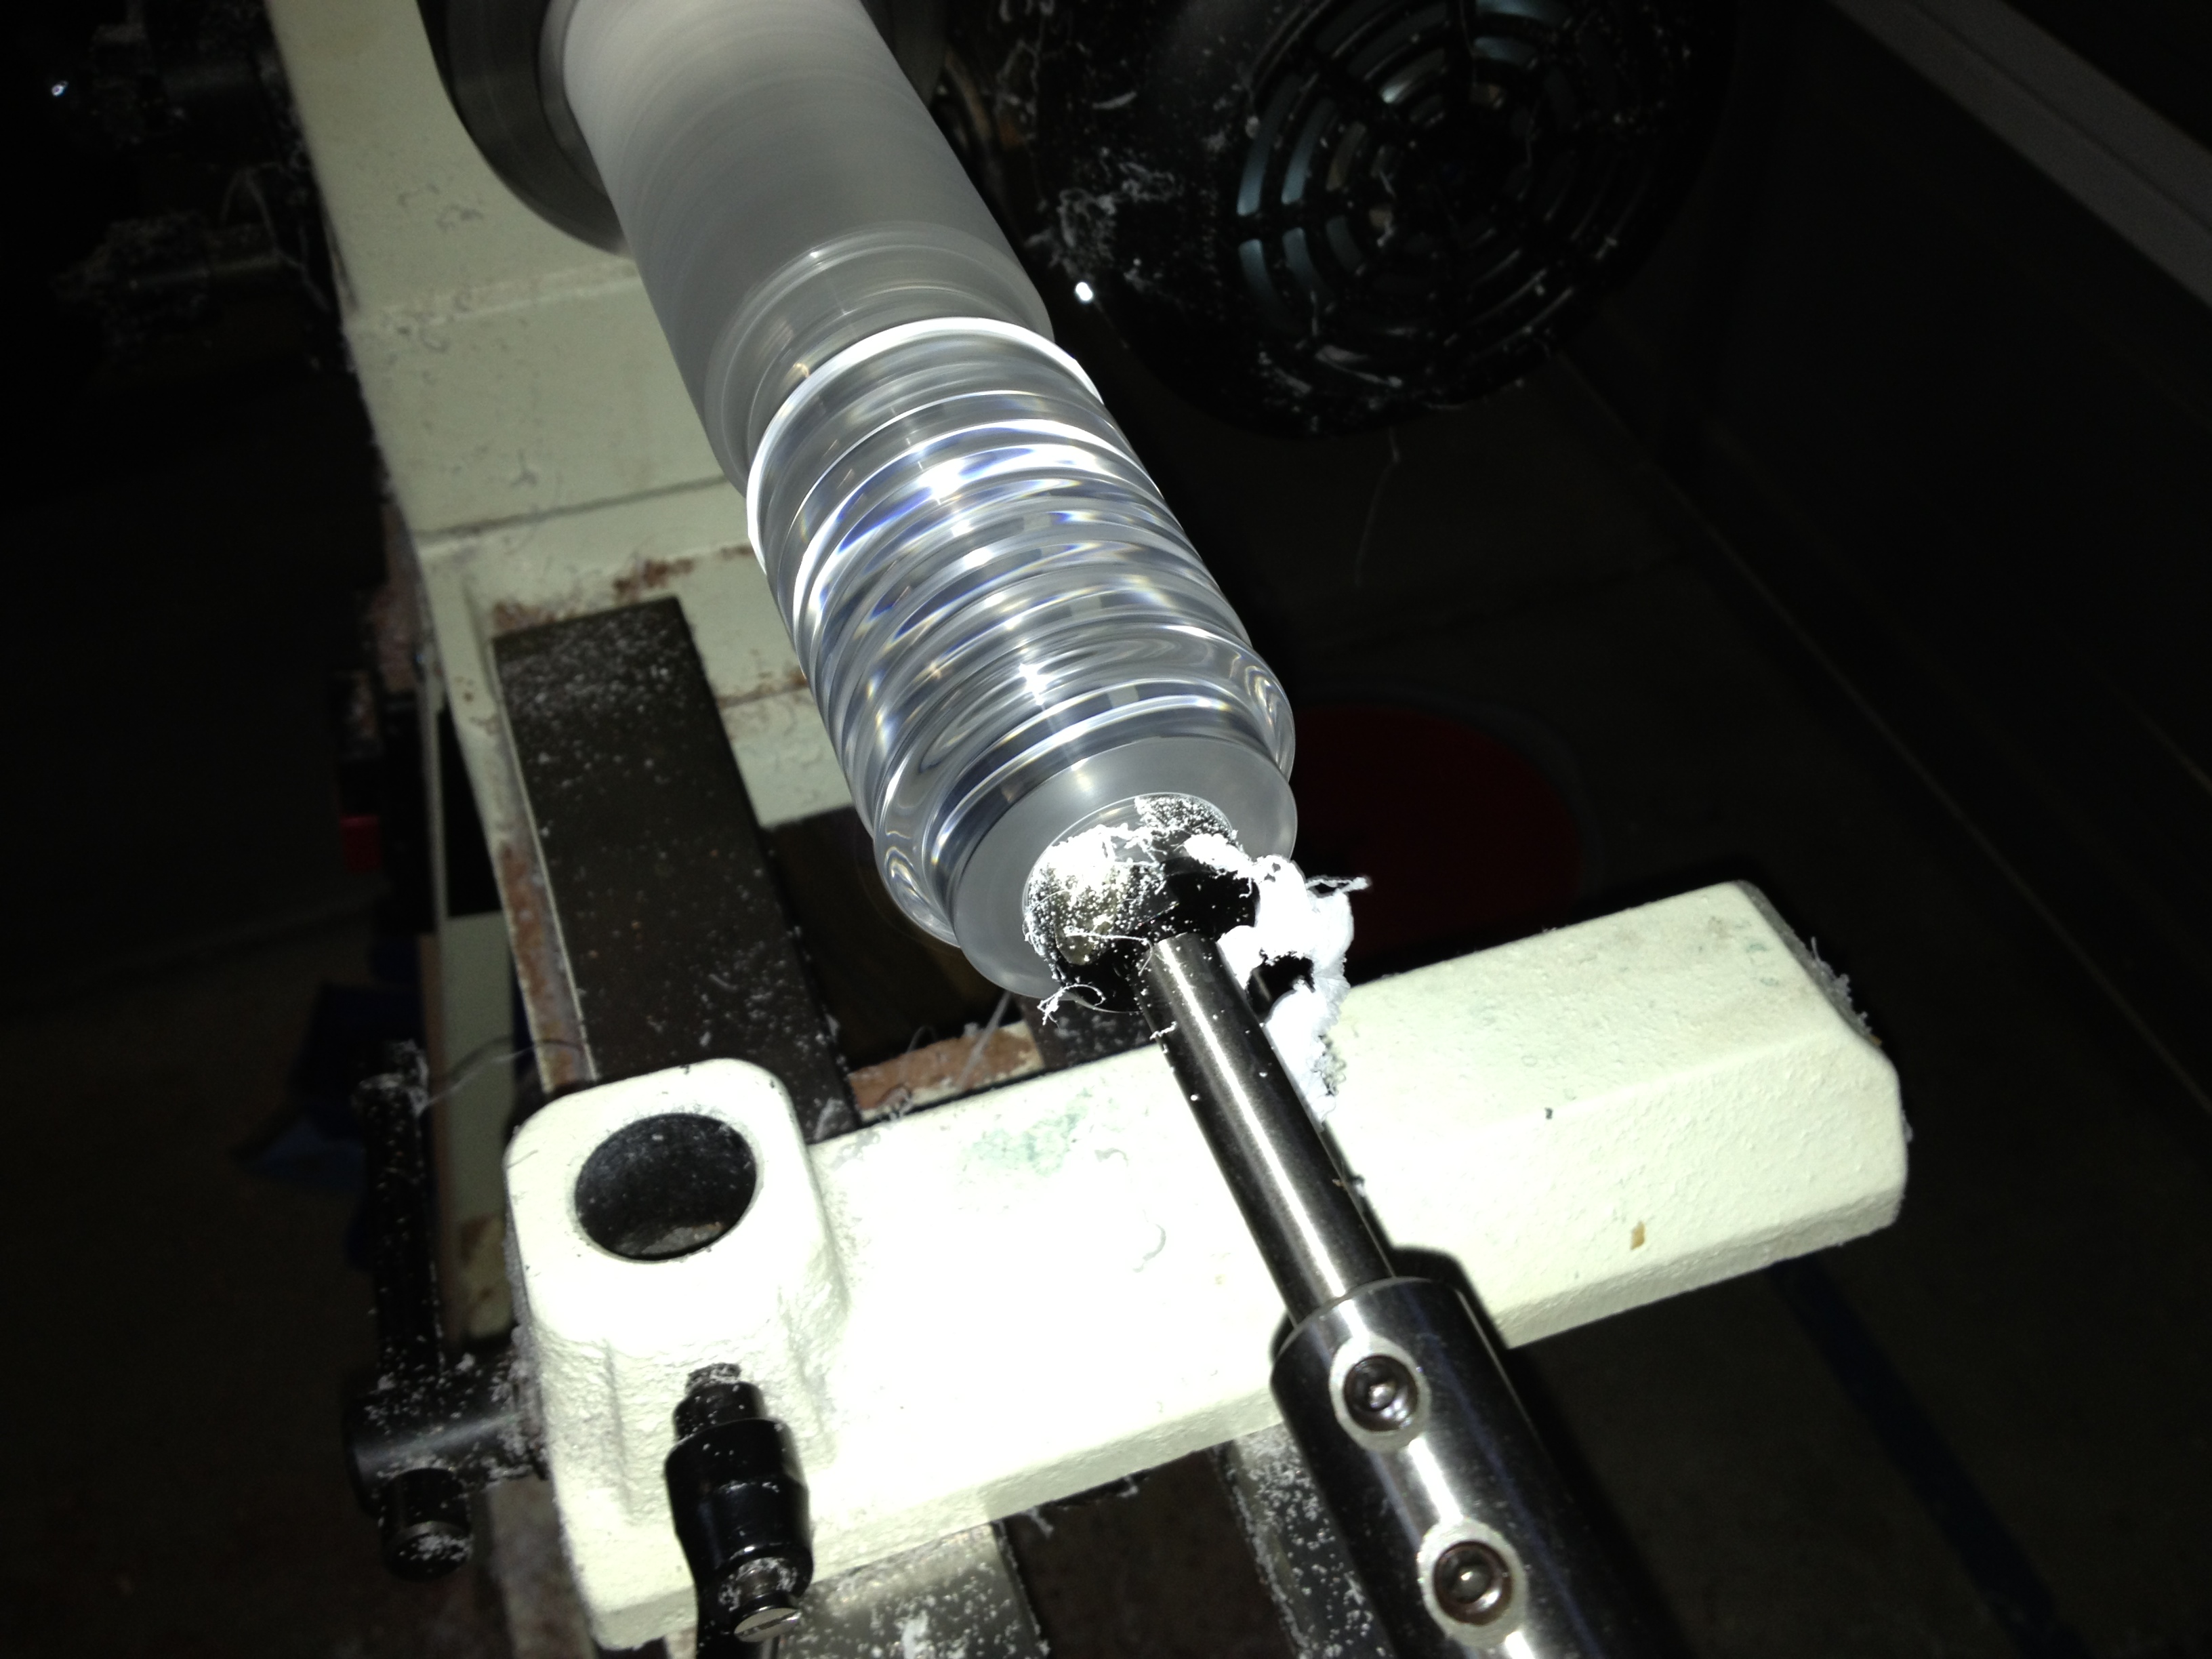
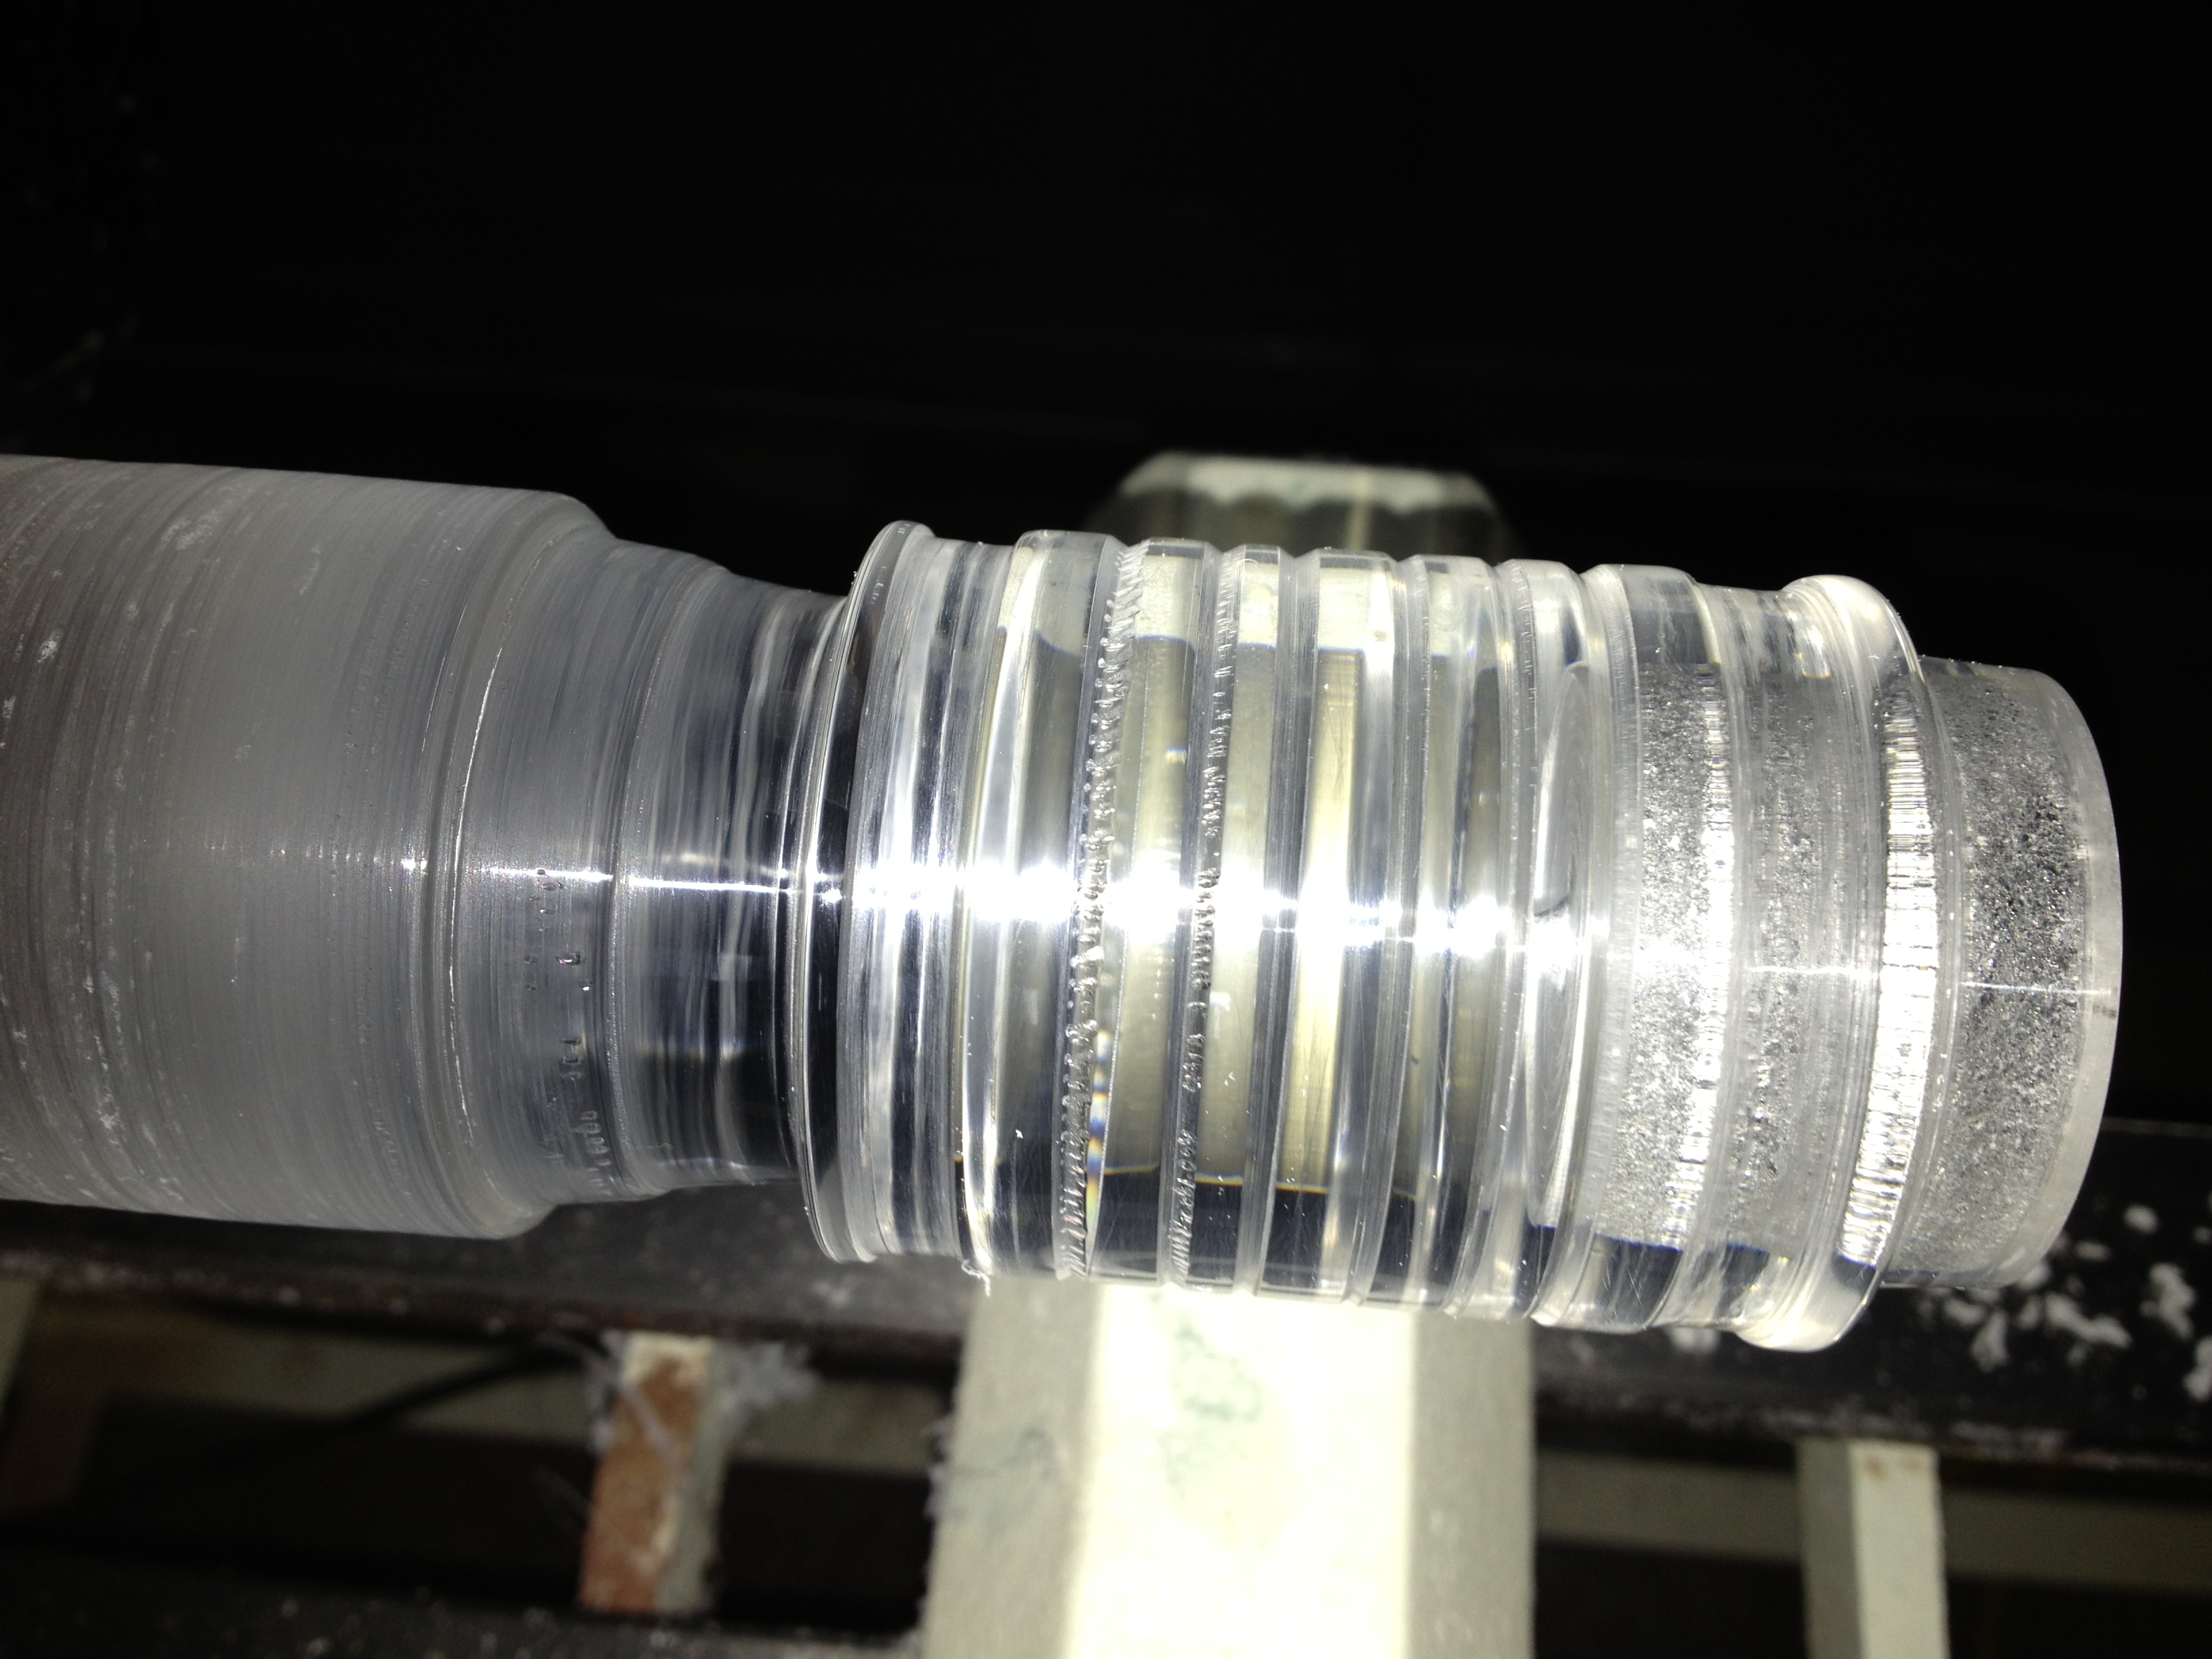
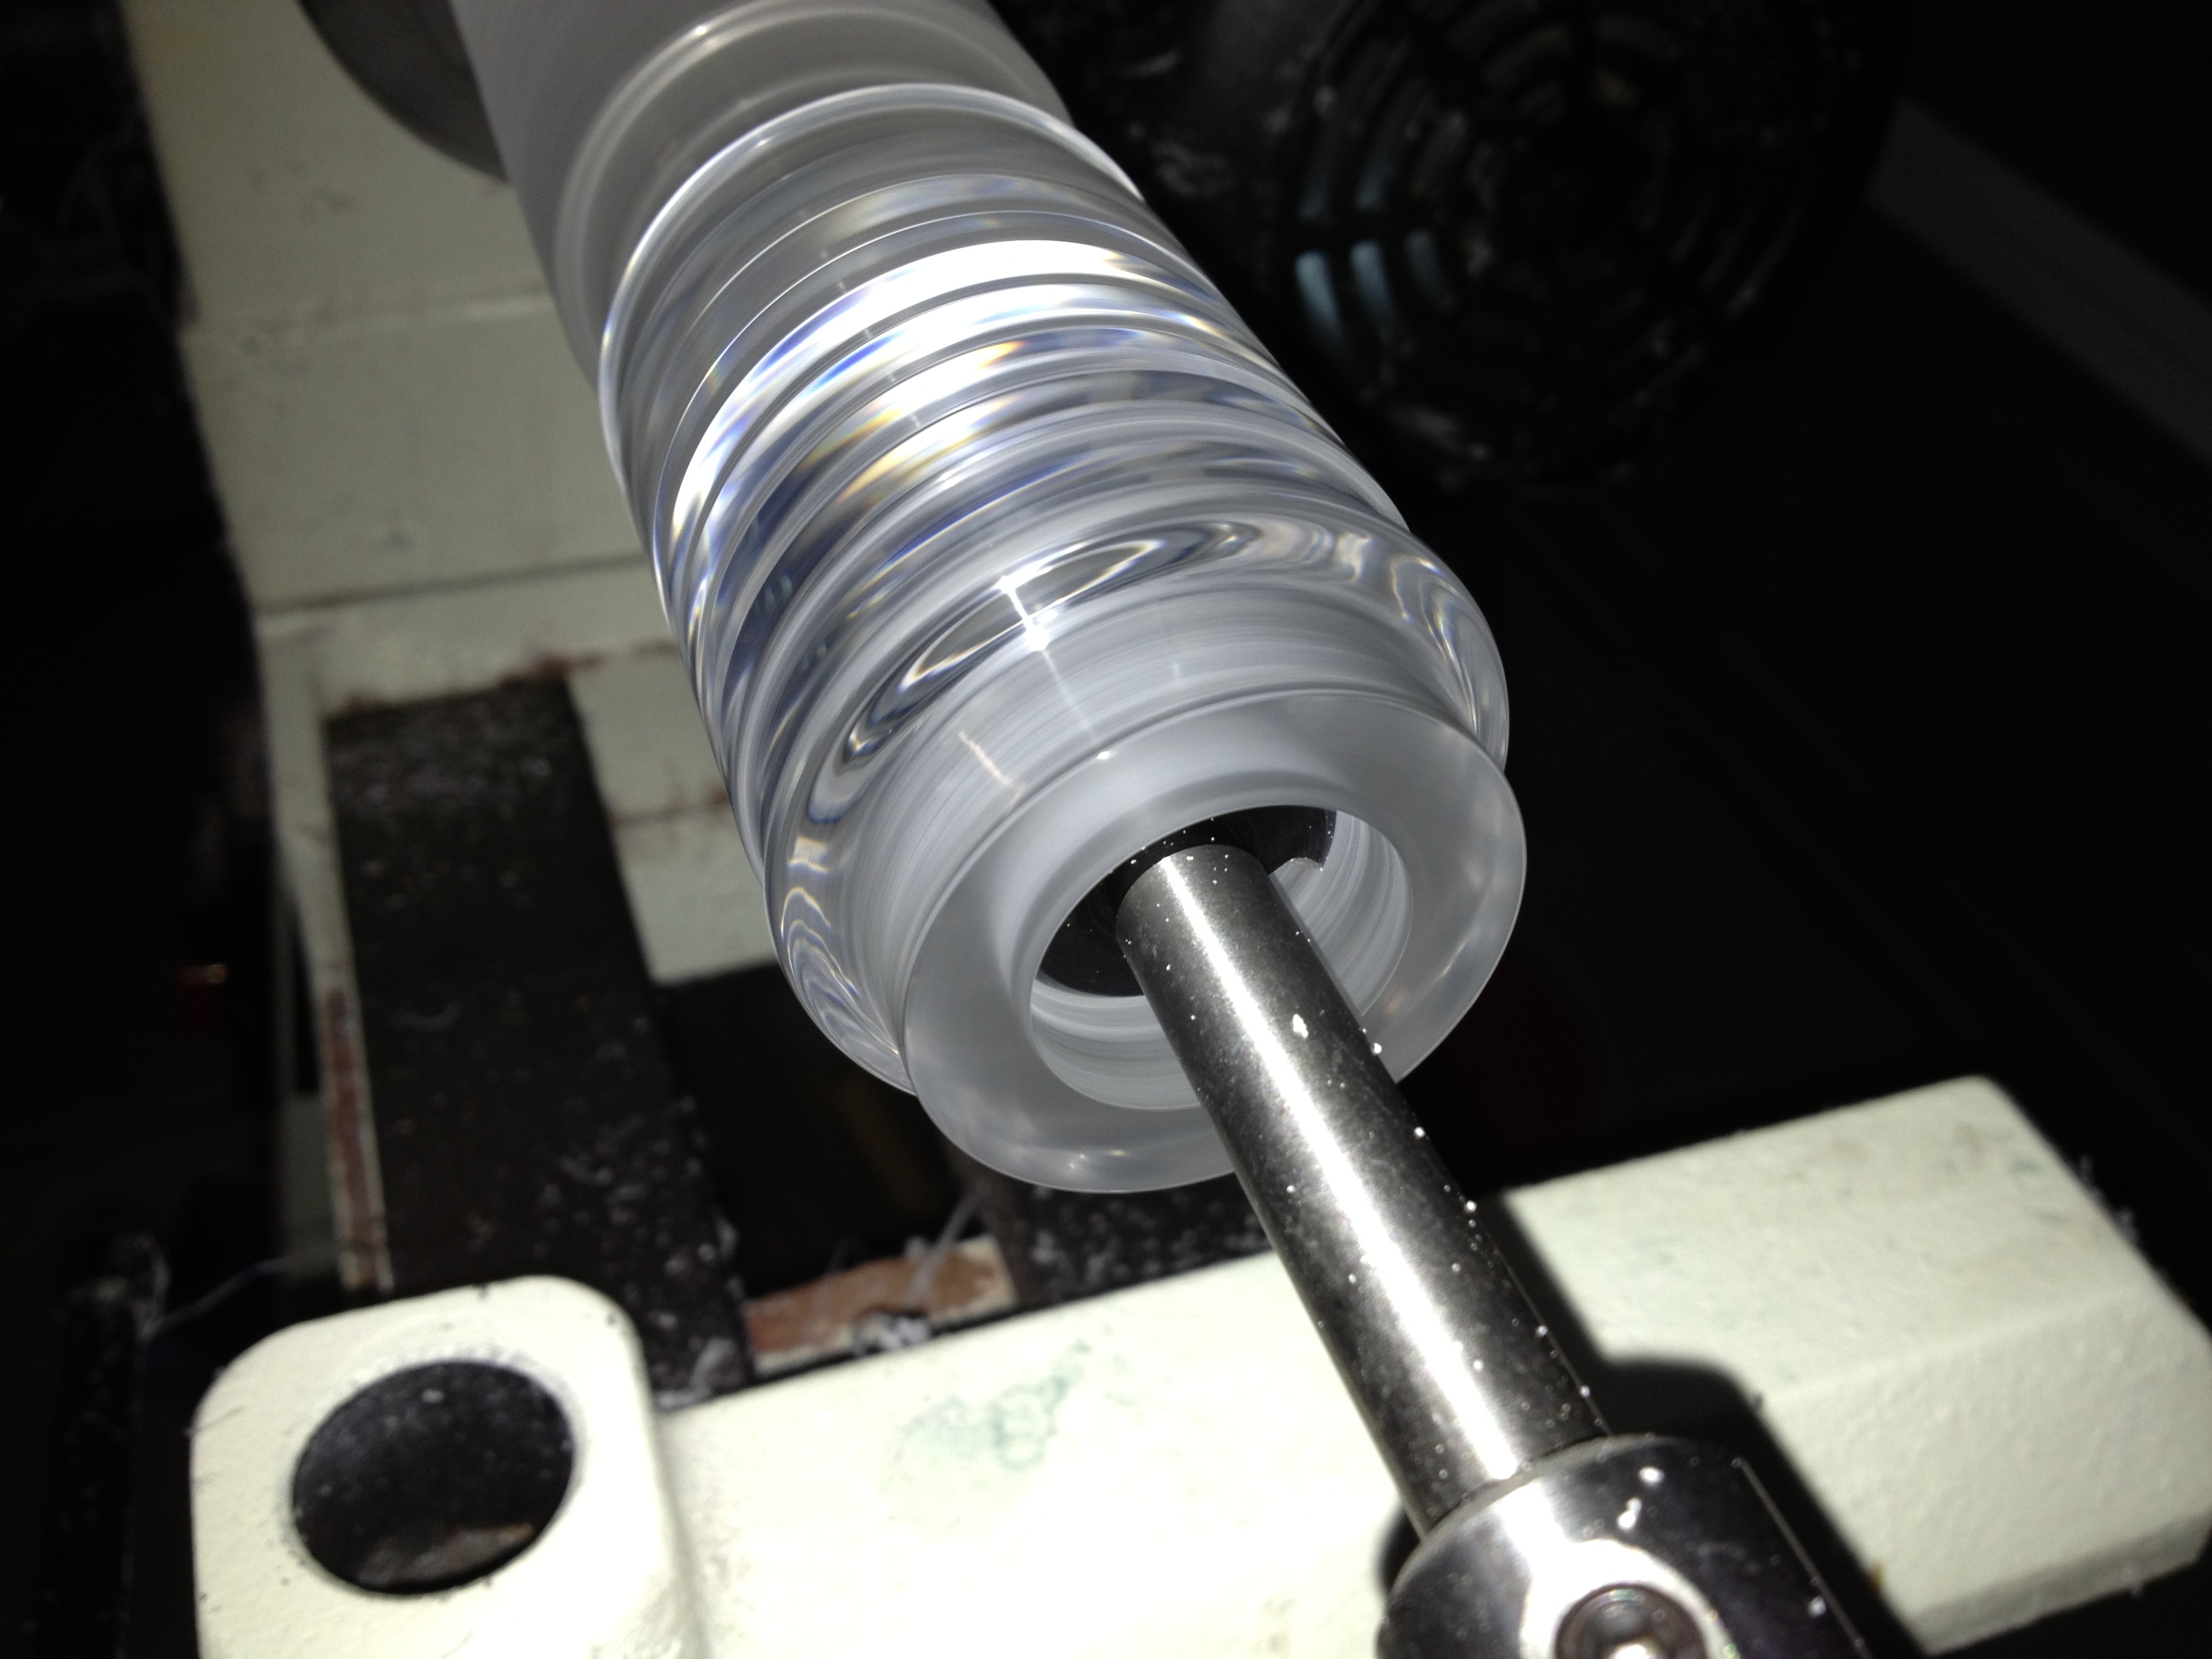
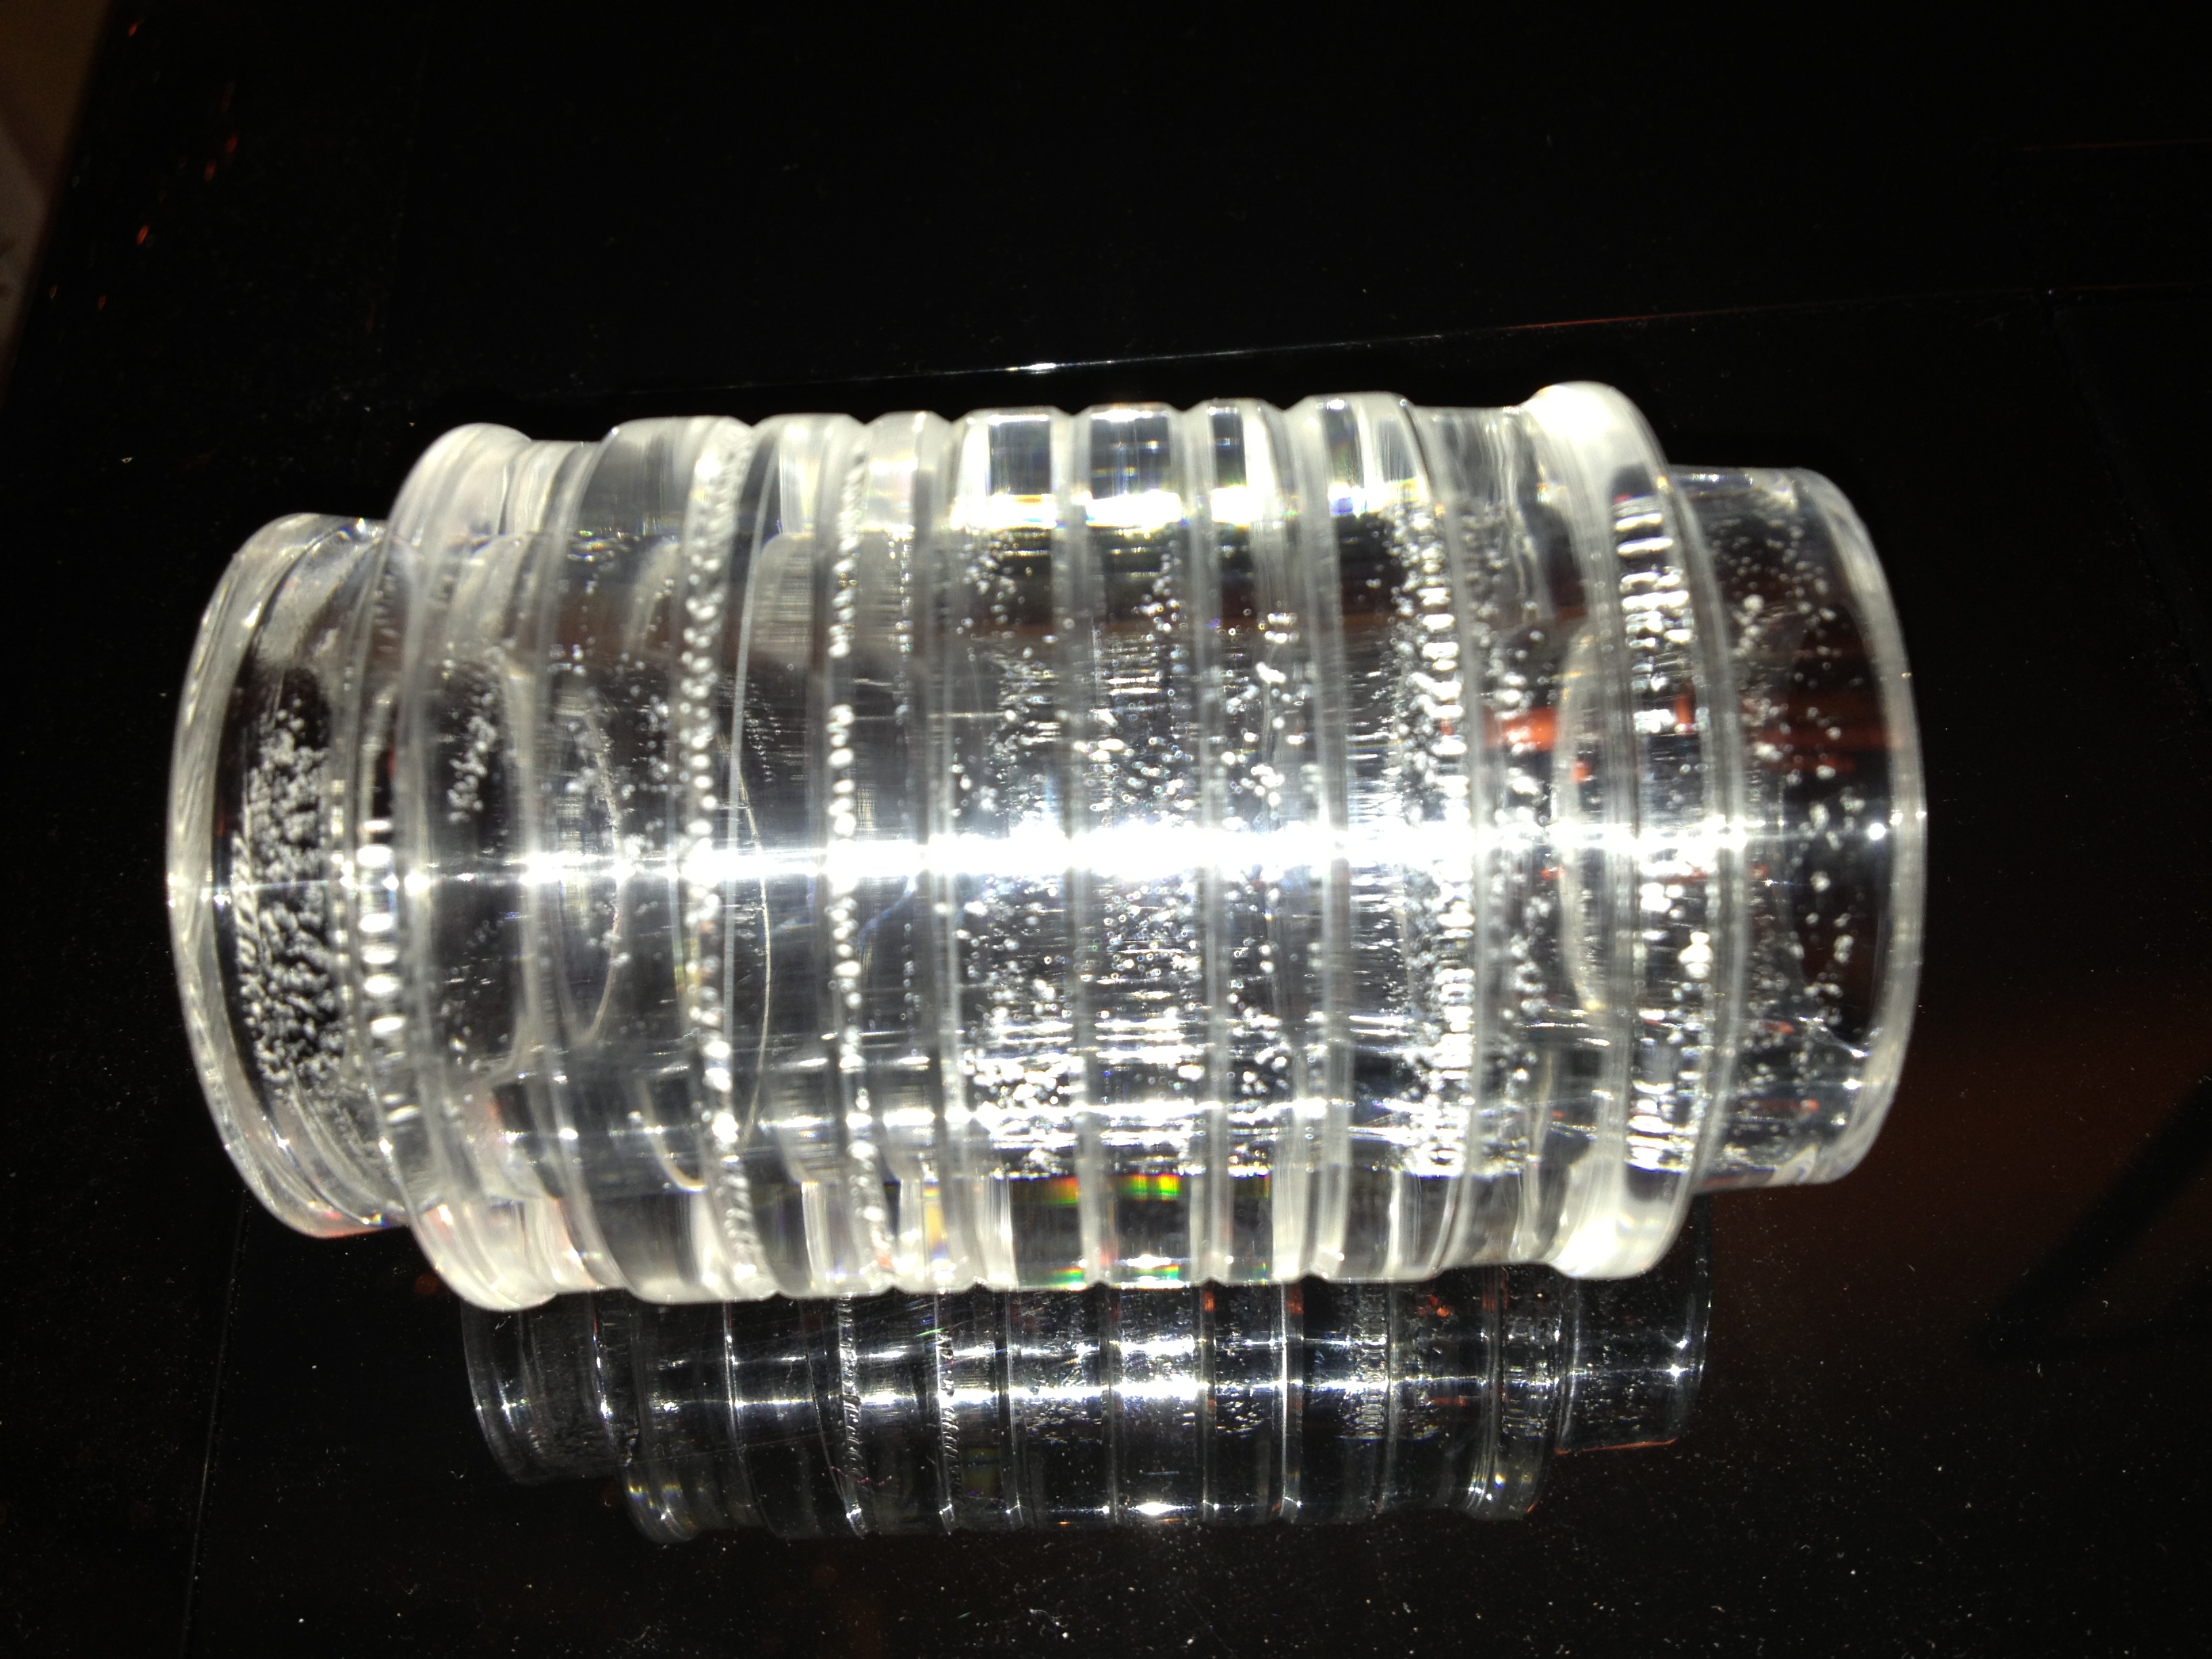
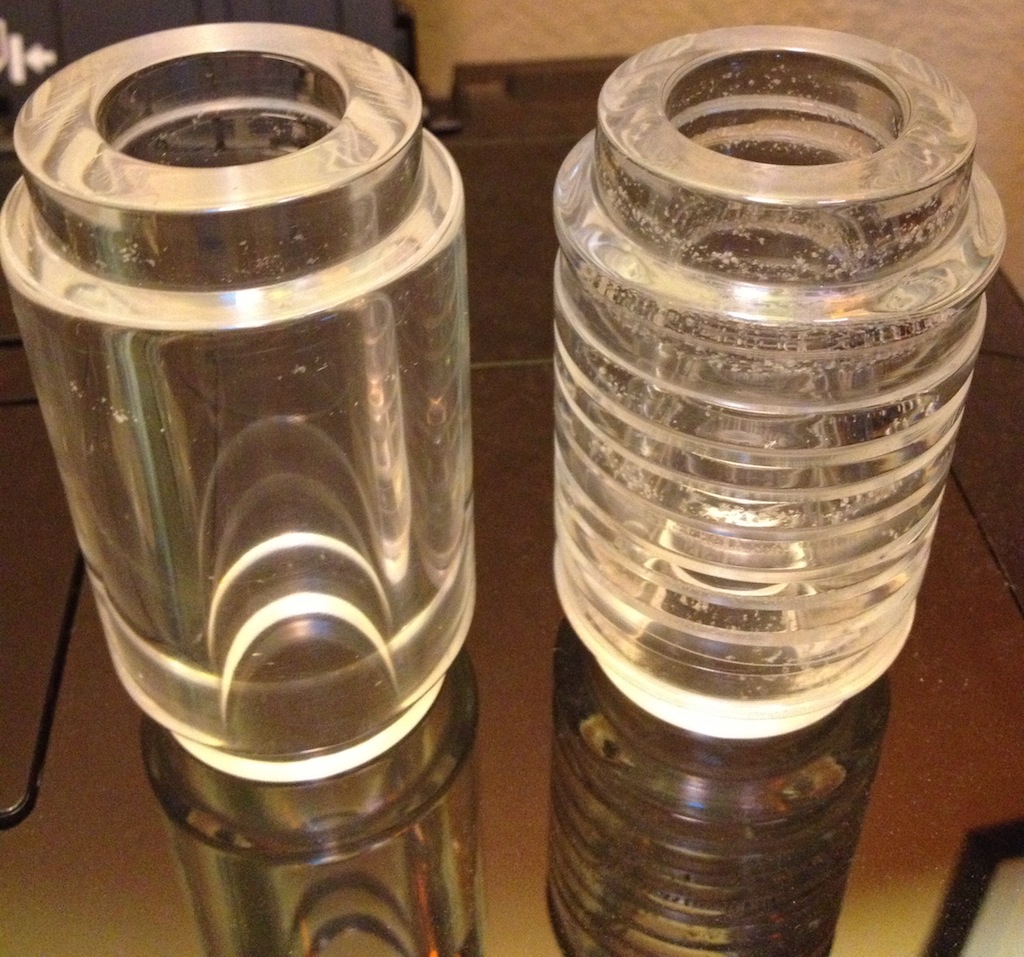
As with all the Revo puzzles I’ve had in the past, the initial look and feel is great. These are still high quality puzzles, made with an attention to detail. The Copper, like it’s predecessors weighs in around the 600g mark and certainly put a strain on my hands again.
It had been over a year since I’d worked on a Revo R1, and the familiar sore hands and fingers were back. It’s recommended to work on the puzzle in short sessions, and I can’t agree more. If you’ve not played with one for a while, your hands are going to thank you for taking a break. Fortunately there are convenient spots in the puzzle where you can put it down and not lose progress.
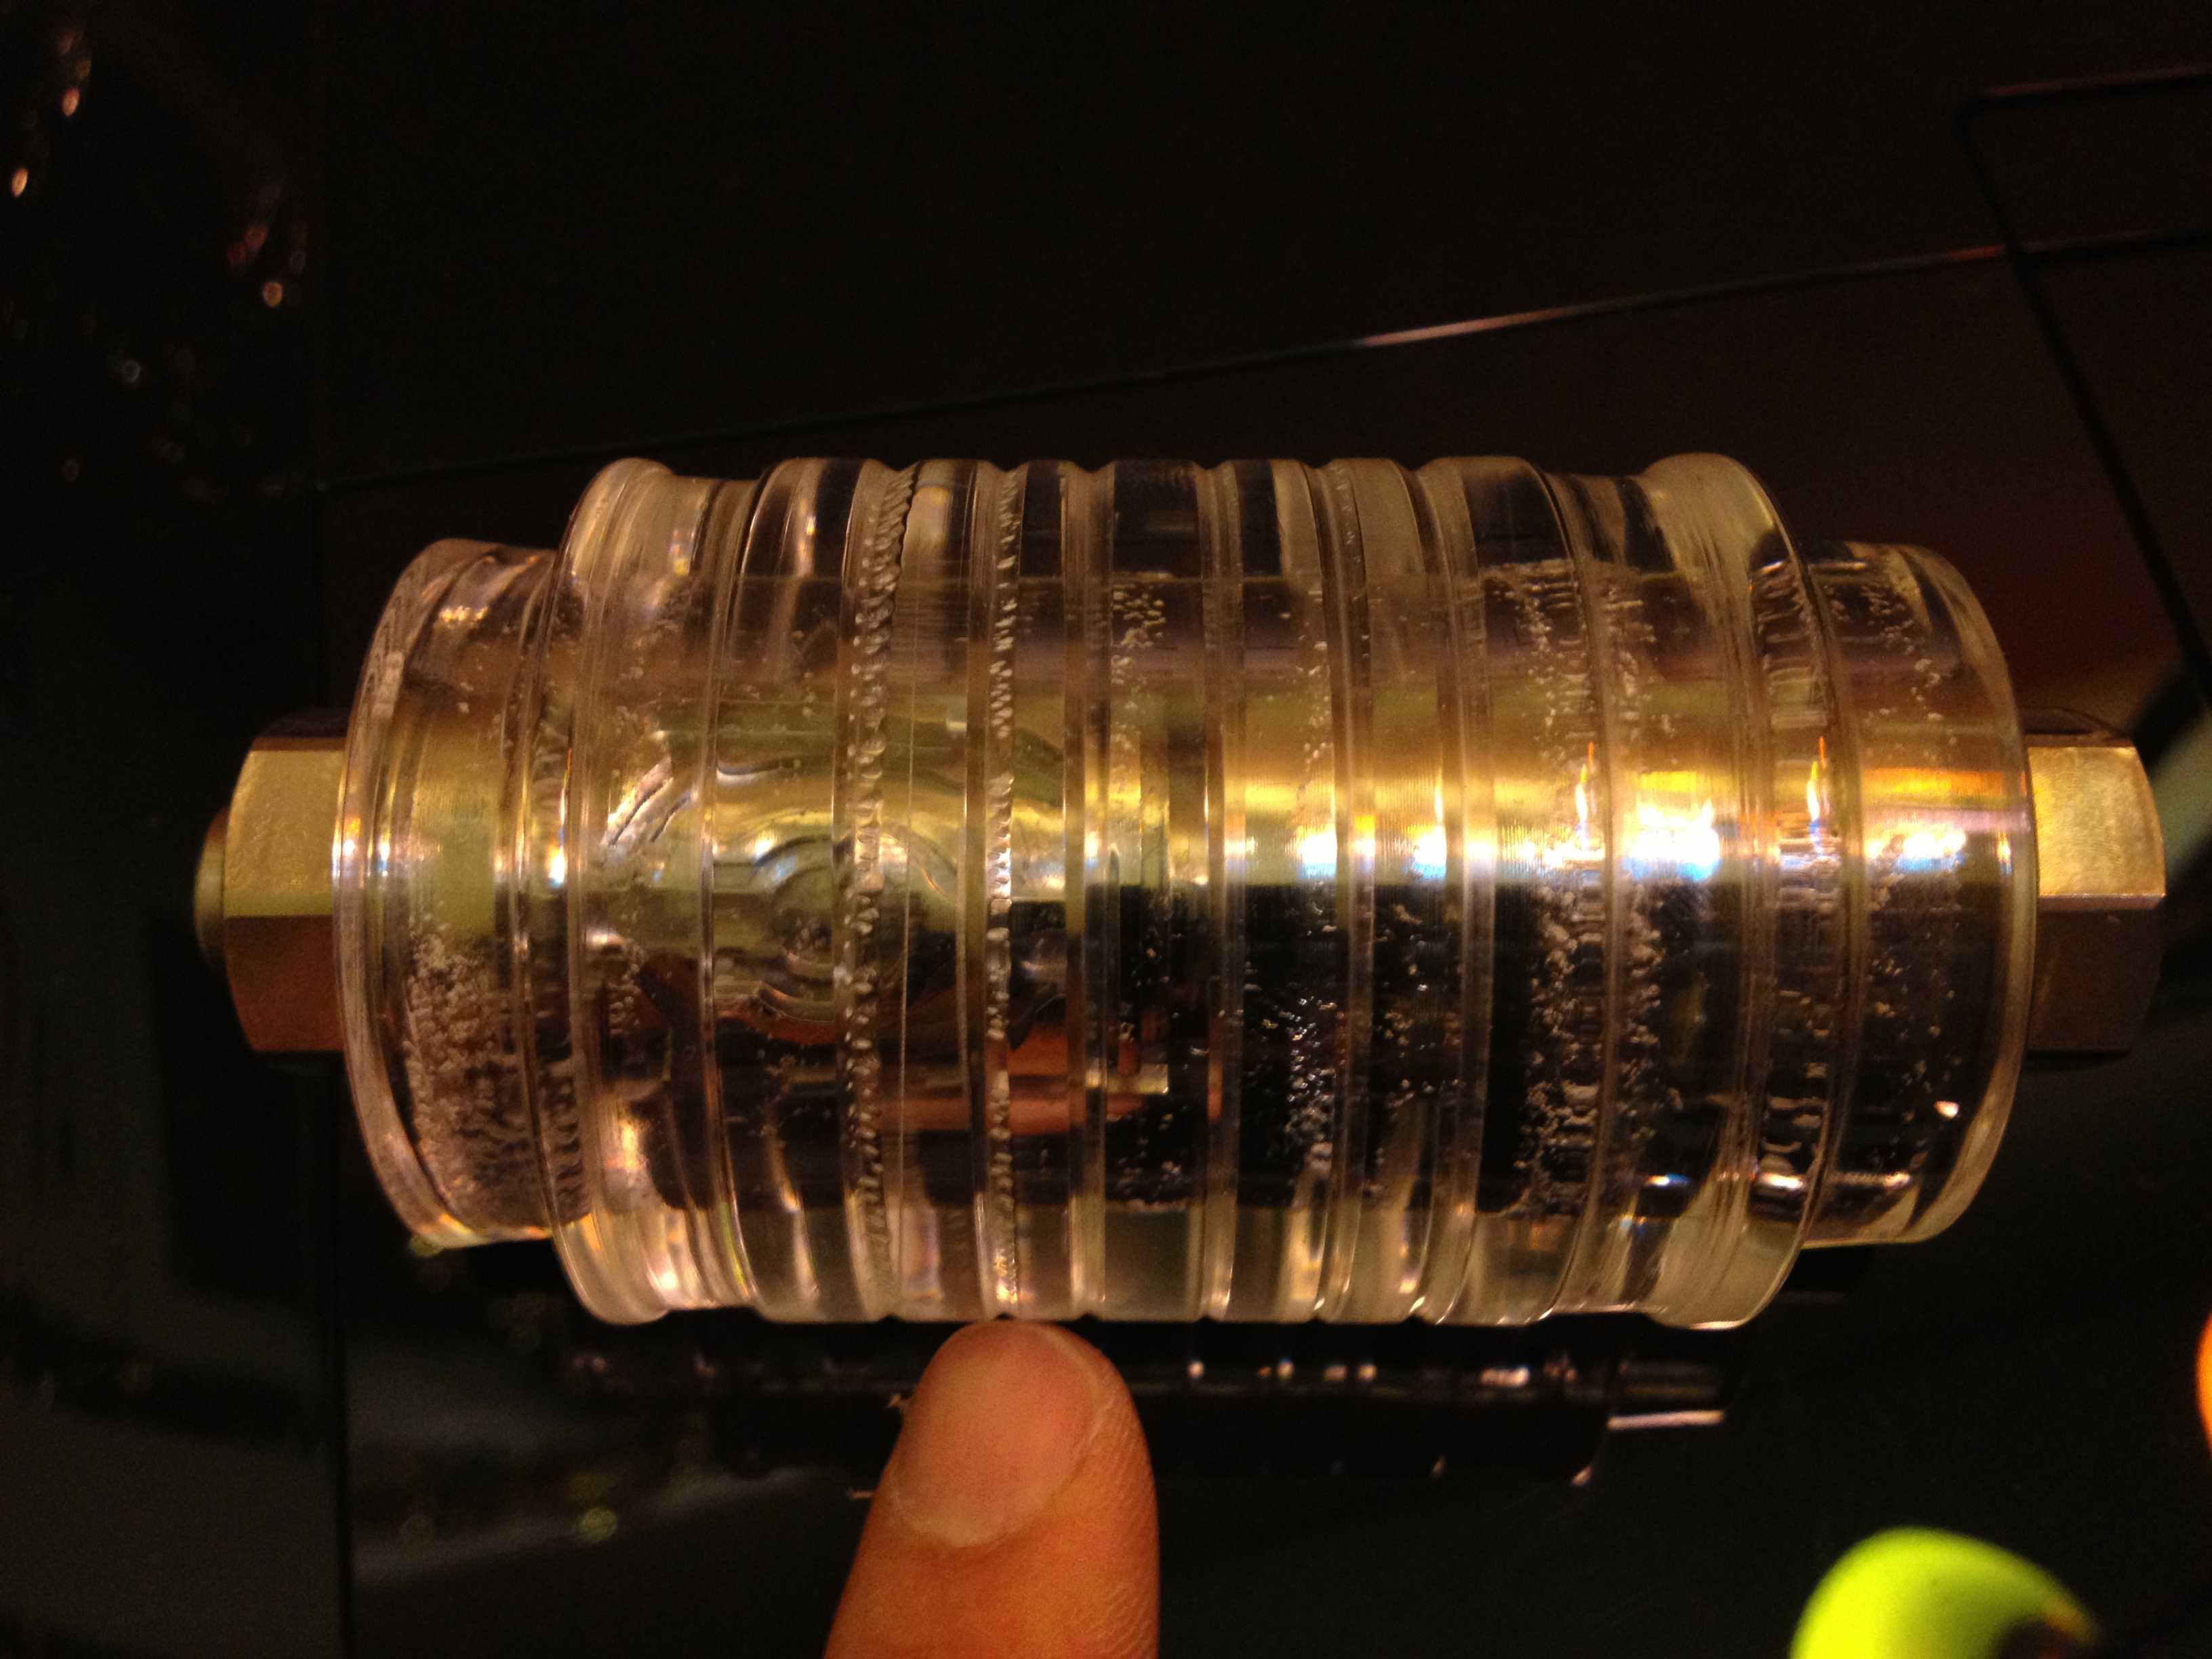
The Copper is a move back to the original static maze style, such as the Blue and Green puzzles, which I and many other puzzlers really enjoyed. There’s no moving sliders, or free floating ball bearings in this puzzle to confuse and confound you. Just a traditional maze, with Chris’ own devilish traps and pitfalls to navigate. That said it’s not all old and familiar stuff in here. There’s been a couple of modifications to the pin that are going to catch the unwary puzzler, so be warned, this isn’t simple by any measure.
As a regular reader you’ll know I own (almost) all the available Revomaze puzzles, and have successfully opened all of them with varying solve times from a few months to a few days. They’re all challenging puzzles, and all for different reasons. I enjoy the puzzles that either make me think or are just enjoyable to solve. Bronze still ranks as my favourite in the series, with Blue being a close second. The reason for those choices comes down to two things. Bronze was a significant challenge to understand the dynamic features, but wasn’t so difficult to be frustrating. Blue is just a really fun puzzle. While initially difficult to understand what was going on, once you understood the principles of the puzzle, it was both repeatable, and enjoyable to solve. Now add to that the Revo Mini which is a tiny scaled version of the blue maze, and there’s a lot of positives from those two designs.
The Copper claims to “Triple the fun”, and I’ll agree to some extent with that statement. The internals are unlike any of the static mazes to have come before, and there’s certainly more in there. As far as the fun, the initial part of the puzzle contains one of my least favourite features in a hidden maze puzzle. The dreaded bridge.
Much like the Green, the bridge frustrated me more than provided fun, and Copper has that same frustration level for me. Don’t take that as a negative on the puzzle as a whole, just that it’s not one of my favourite challenges. The dexterity sections can be overly difficult and if you fail near the end, restarting can be quite off-putting. That said, the satisfaction when you complete it is certainly well earned.
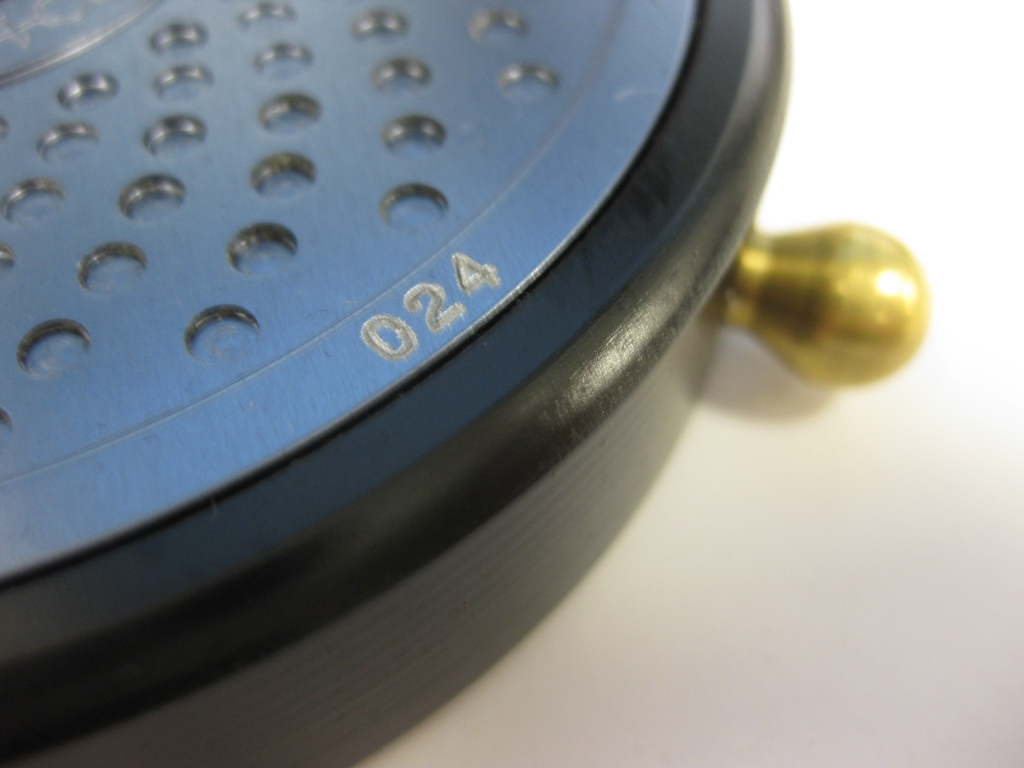
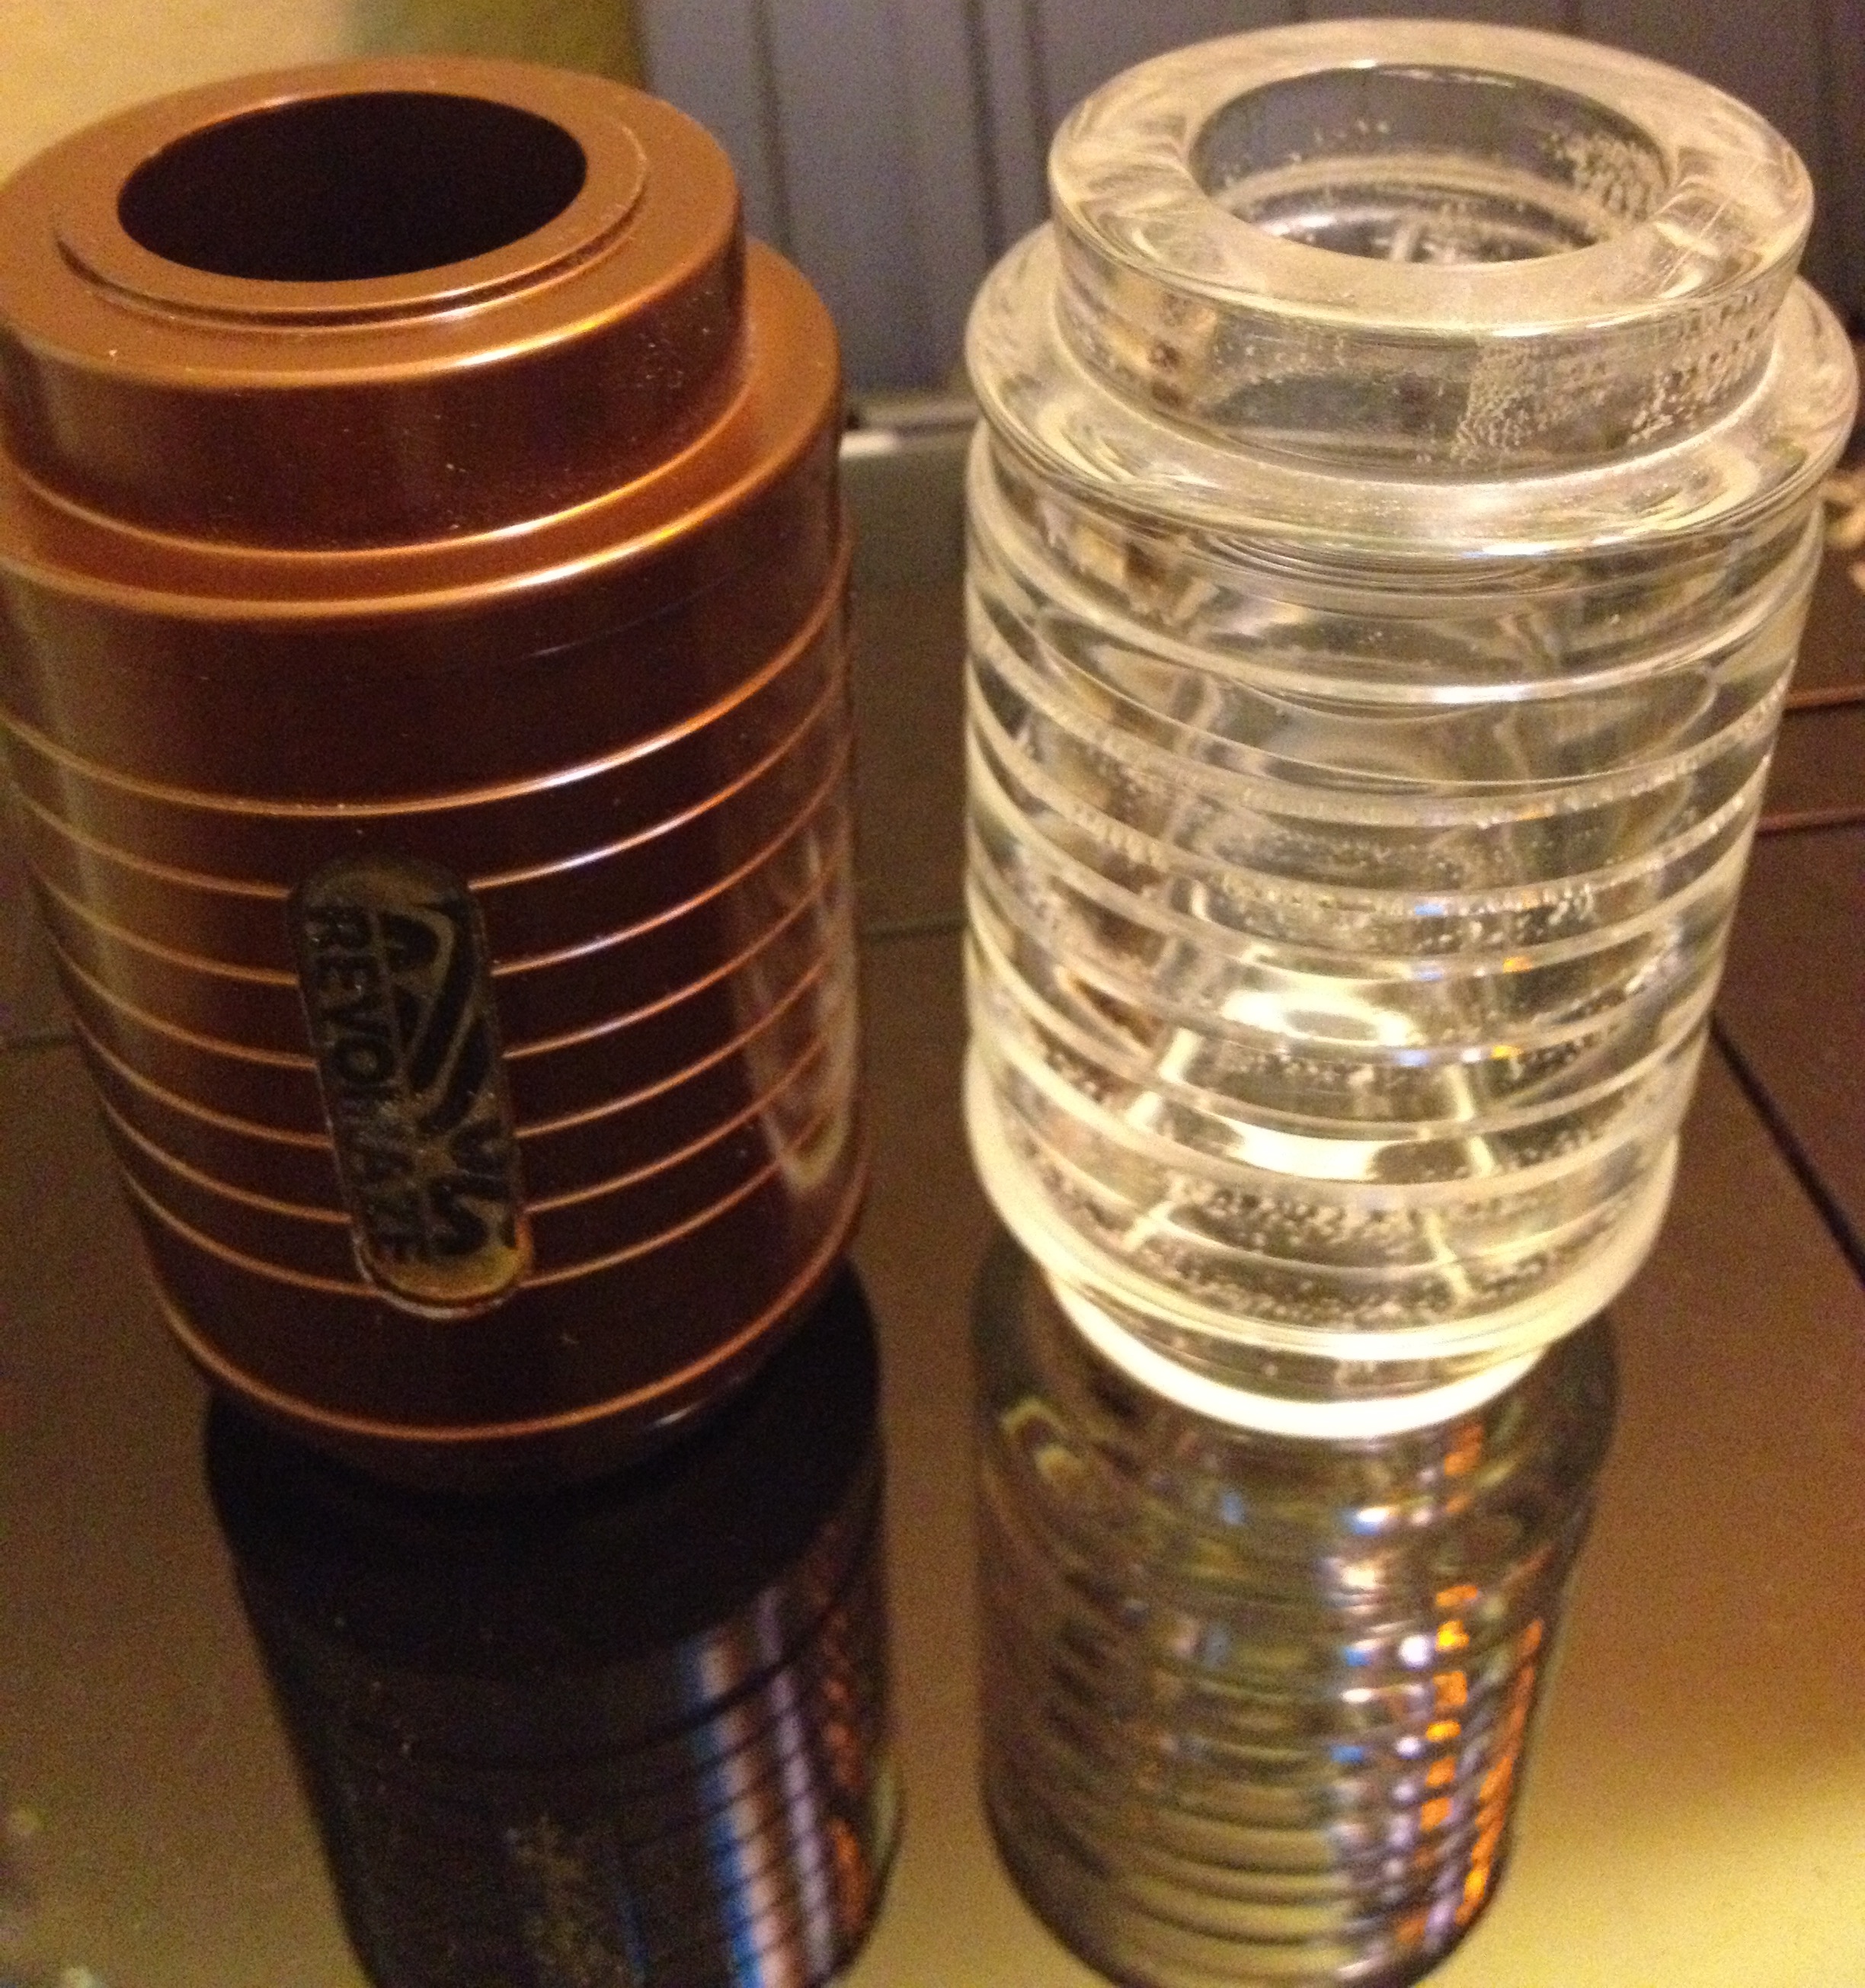
Personalised Serial ‘Number’
Given that Chris now has many of the machines in house, personalised engraving is possible as you can see from the serial number on my puzzle. I certainly didn’t request this, and it was great to have this reveal as I started working on the puzzle.
One thing of note, at least for me is the strength of the spring in the copy I have. I’m not sure if this is across the board or not, but I feel that the movement of the puzzle is quite “stiff”. The power of the spring along with the modifications to the pin made the navigation more challenging than I remember. There’s a lot packed into this puzzle, and with sore fingers I found it quite the task to keep making progress in a single session. Taking regular breaks is the only way to get through this one. I don’t think we’ll see anyone doing speed runs to get the fasted solve time in the near future. I think most will be happy to solve the puzzle, and see the work that went into the core when they’re done.
If you’re on the fence about getting a Copper, and want a serious challenge, without the worry of ball bearings running awry, or dynamic devices to confound, then go ahead and pick one up. There’s a lot to like about this puzzle.