Tag Archives: Video Review

The Yot

… not a UFO

The Yot (or perhaps it’s toY backwards?) from Hi-Q Products is a puzzle which has intrigued me for quite some time now, but I’ve seemed to always have another puzzle that I wanted turn up and mean that I put off getting one. Well that’s no longer the case, as my recent shipment from Puzzle Master included one of these fine puzzles.


Note: Video now available in 720p HD.

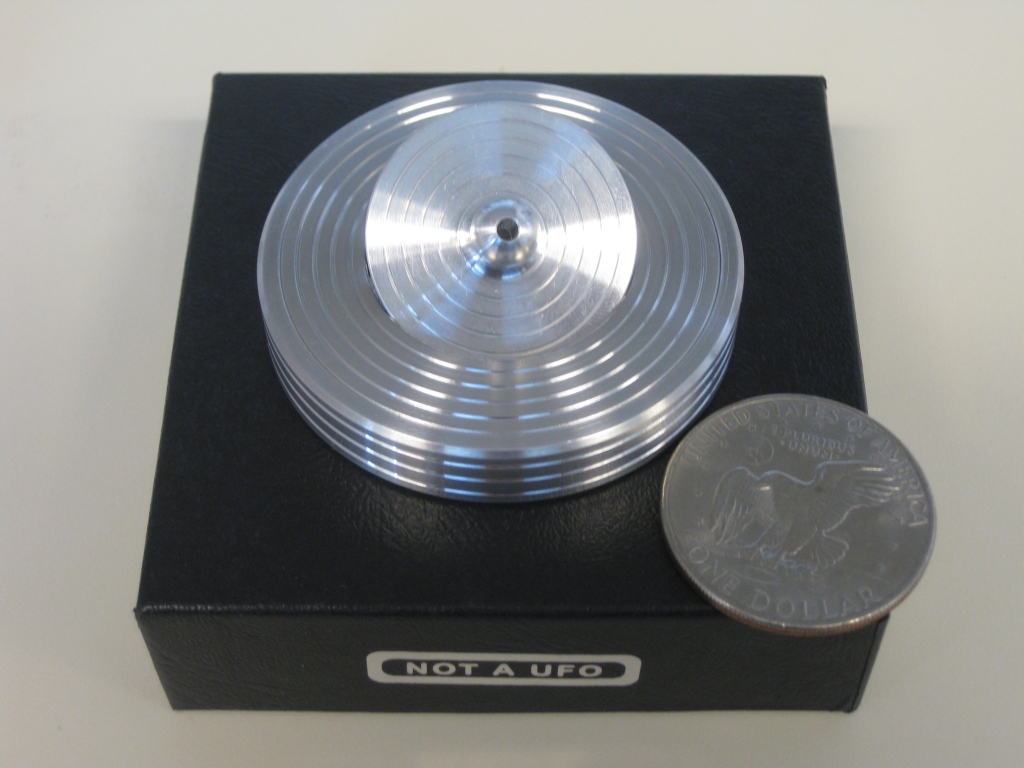
The Yot is a great looking puzzle, carved from a block of aluminium and measuring 2.75″ in diameter with a silver dollar trapped inside. My Silver Dollar is from 1972 so is a little older than I am. As a non American, I wasn’t in the USA when these coins were in regular circulation, so it’s nice to have one, and what better way to keep it than inside a puzzle? The Yot has a really good weight in your hand and the little handle on the top is well shaped giving a very tactile feel to it. There is a hole in that nub in the top of the puzzle, which may lead you to thinking it’s part of the solution. If anything I think it’s there to prevent a vacuum from forming between the lid and the coin, but may help to disguise the real solution.

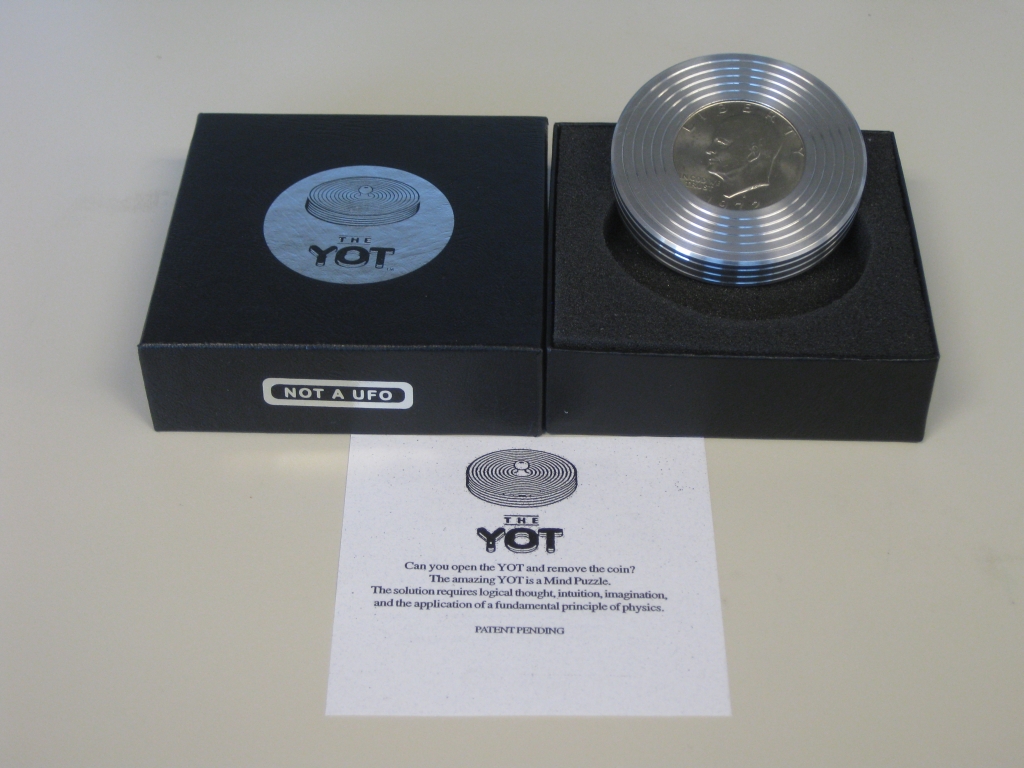
The Yot in its box

The Yot in its box

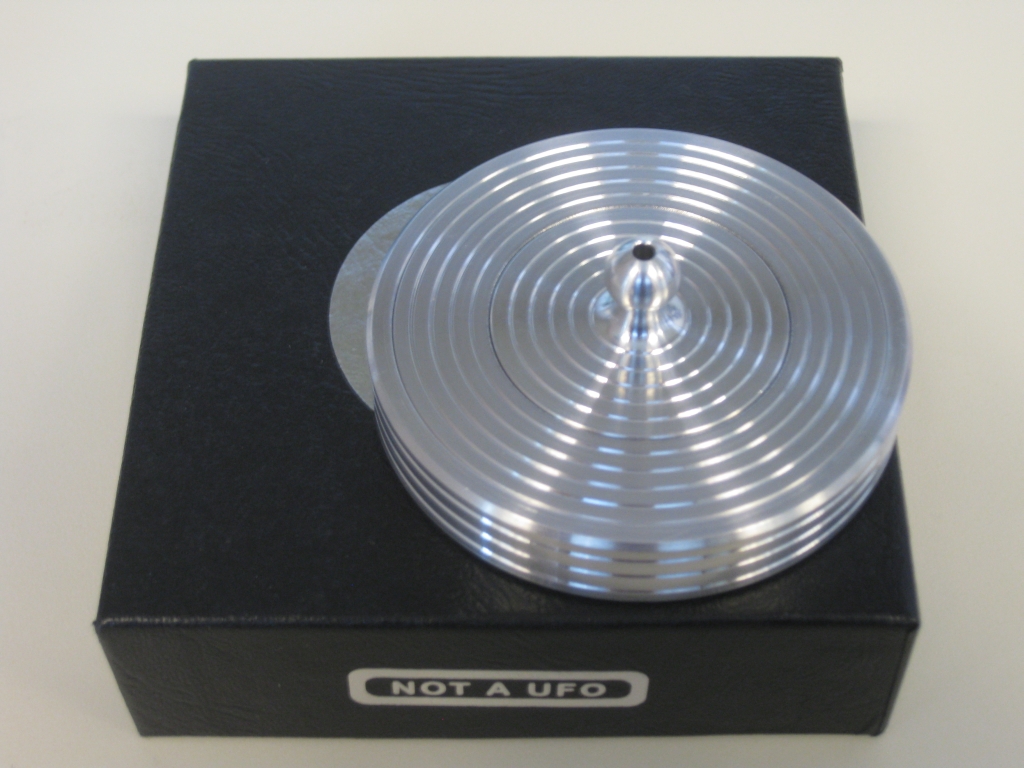
The top of the Yot

The top of the Yot

The puzzle itself isn’t terribly difficult to open, and I opened it within a few seconds of taking it out of the box for the first time. The solution is fairly common to a number of puzzles, and really given the shape is one of only a few possibilities that could be hidden in such a small puzzle. Now if you’re reading this, you’re probably thinking, why would I spend nearly $40 on a puzzle that I’ll open so quickly? Well first off, it’s a very high quality puzzle that is well made, and very precisely machined, so from that aspect, it’s worth the price tag. Perhaps the real reason is that given how well made the puzzle is; the simple mechanism, works repeatedly without fail. Even the box it comes in, while simple, is still well finished and adds to the quality feel you get from the puzzle. The only caveat to that is the badly over photocopied piece of paper in the top of the box giving you info about the puzzle.

The Yot opened, and no this picture won't help you solve it.

The Yot opened, and no this picture won't help you solve it.

The real fun with the Yot is being able to open it in front of one of your friends, showing them that all you need to do is lift the top straight off, then closing the puzzle and handing it to them, and watch them struggle to open it. It does take a little practice to be able to perform the trick that is required to opening it without your audience seeing what you have done, but once you can, the look on their faces is priceless. Even better, you can hand them it in the solved state, so they can take the top off, and almost invariably, they open it, re-close it then turn it over with a smile of their face, then fail to re-open it when they turn it back around, which just leaves them more puzzled than they were to start with.

As a nice touch, it’s possible to remove the coin from the Yot, and close it back up. Now the base of the removable top is visible, however the mechanism and any clue as to how the puzzle works is still hidden, so you could even pass it out like this to show that there’s nothing tricky about the coin. A nice touch and a good piece of design to boot.

The Yot is also available in a collectors edition from yot.com directly where the body is 18k gold, and has an antique silver dollar trapped inside. While it’s a lot more expensive than the basic version, it’s a nice touch and if you’re a collector it may be worth looking at. I’ll be honest, without the puzzle being a little more challenging I doubt I’d consider getting the collectors version, but if you’ve won the lottery, then why not. Editors note: Given the price of gold today, and the solid silver dollar contained within, this may even be an investment.

The Yot II has a different solution to the original, so I may have to pick one up and see how much different it is. It’s in a larger package, so clearly there’s more room in there for an additional mechanism.

If you need a few hints as to how to open the puzzle, then you can go to the Yot’s website, and they have a few clues there. It’s not a full solution, but really you shouldn’t need it.

There are a number of other puzzlers out there have already reviewed the Yot, so have a look at Brian’s review or Oli’s. Jerry also has written about the Yot and the Yot II, so there’s no shortage of thoughts on this puzzle.

Overall, I’d say if you’re an experienced puzzler, you’re not going to have a problem in opening this very quickly, but opening the puzzle in front of someone then watching their face as they fail to open it by doing “the same thing you just did” is priceless. A fun puzzle, a great coffee table item, plus a nice way to store your silver dollar. If you don’t have one, it’s a nice addition to a collection, and would make a very nice gift.
Vinco’s Twisted Halfcubes & Diagra

A while back, I got in touch with Vaclav Obsivac and placed an order for several of his puzzles. Amongst those, I asked for a copy of the Twisted Half Cubes, and Diagra puzzles.

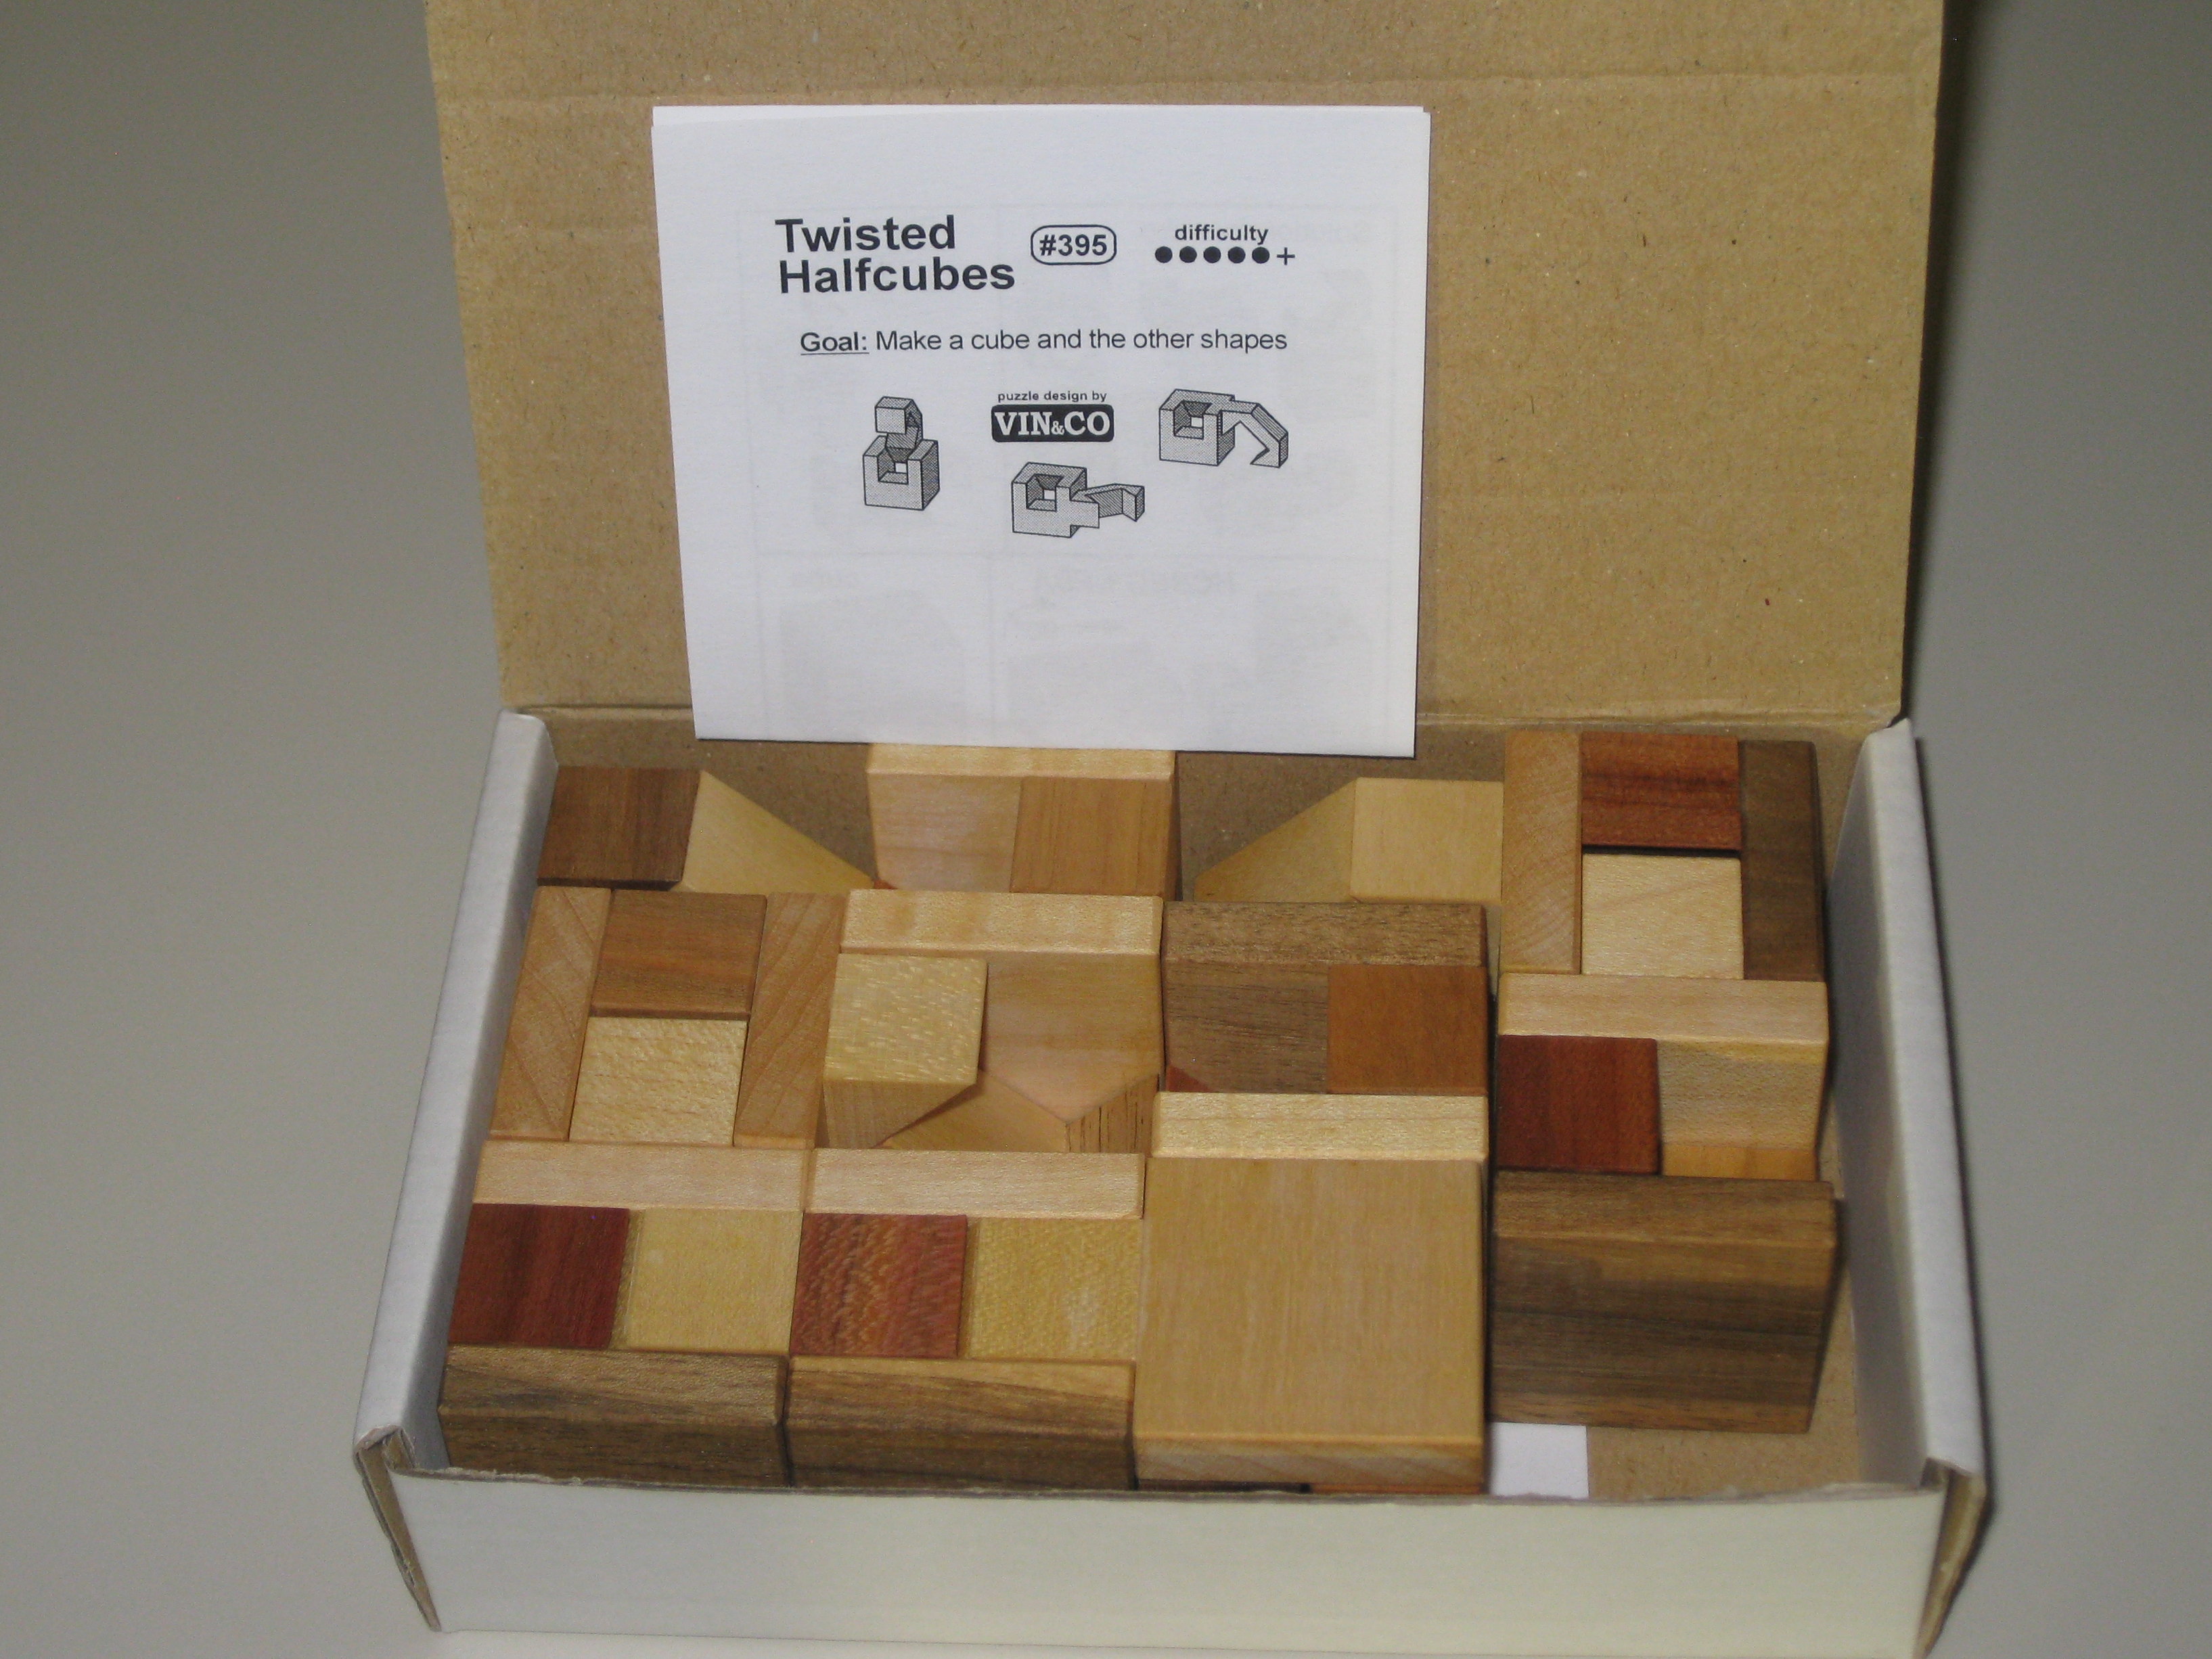
Vinco's Twisted Half Cubes in the box

Vinco's Twisted Half Cubes in the box

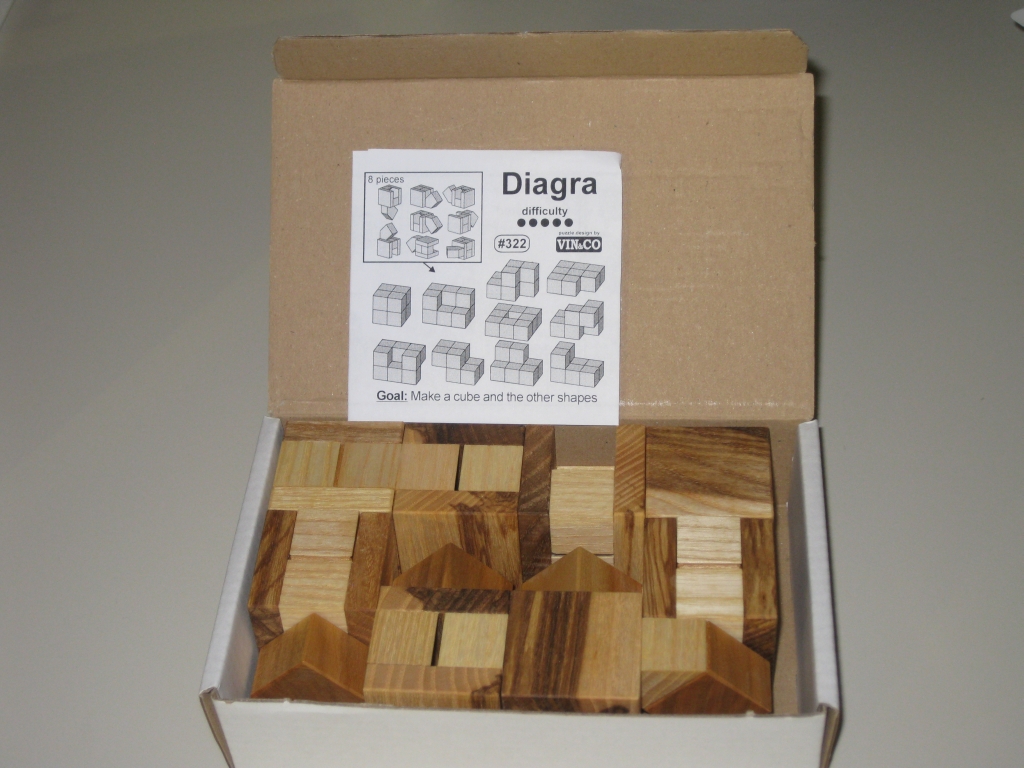
Vinco's Diagra in the box

Vinco's Diagra in the box

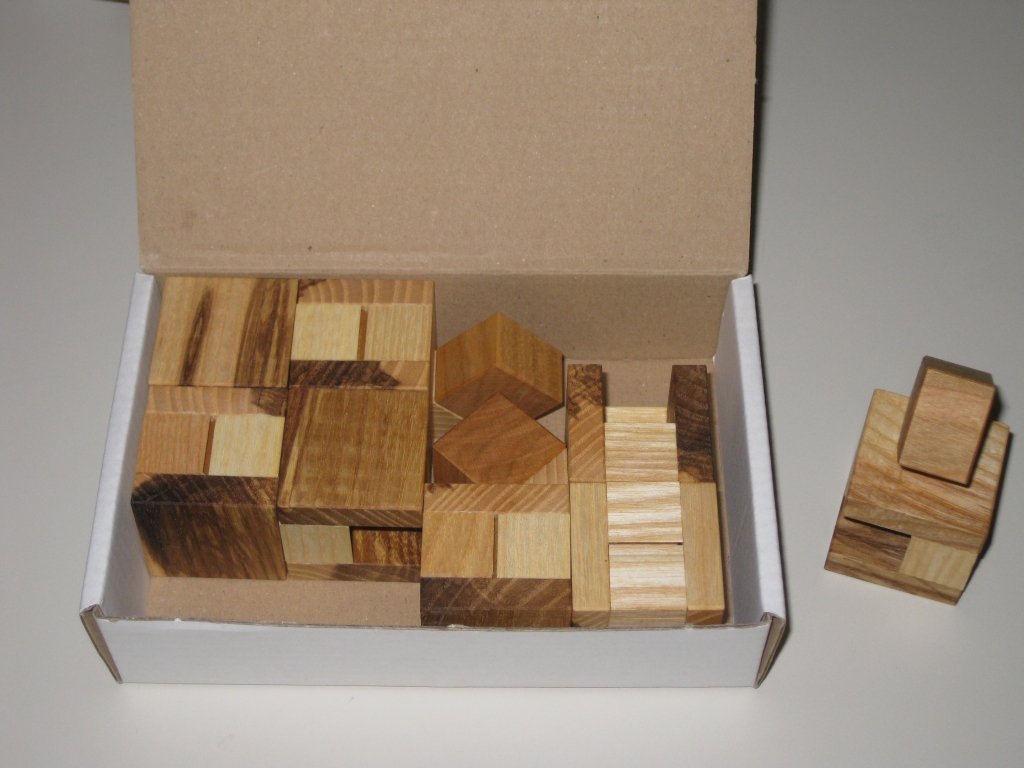
Packing the pieces back into the box is a puzzle of its own!

Packing the pieces back into the box is a puzzle of its own!

To look at, both of these puzzles look very similar. Indeed, they have the same basic idea at their root. Both puzzles have eight pieces which combine together to create solid cubes. The goal of the puzzles is to create various solid shapes with no ‘legs’ sticking out of the final assembly. This sounds pretty simple, but I can assure you that it’s really not. In all honesty, putting the pieces back into the box provides a packing puzzle of its own, as the box is too small for all the pieces to be placed in without some level of interconnection!

All of the puzzles in this series are made from varying woods, and have been lightly waxed. No stains are used, so the natural wood is left on show, which is one of the factors that I really admire from Vinco’s puzzles. As with all of the Vinco puzzles, these are made to the same high quality and tolerances that you’d expect from this master craftsman; and none are expensive at around €14 each. At that price, these are really hard to pass up.

The Halfcubes sets

The Halfcubes sets courtesy of Vinco's website

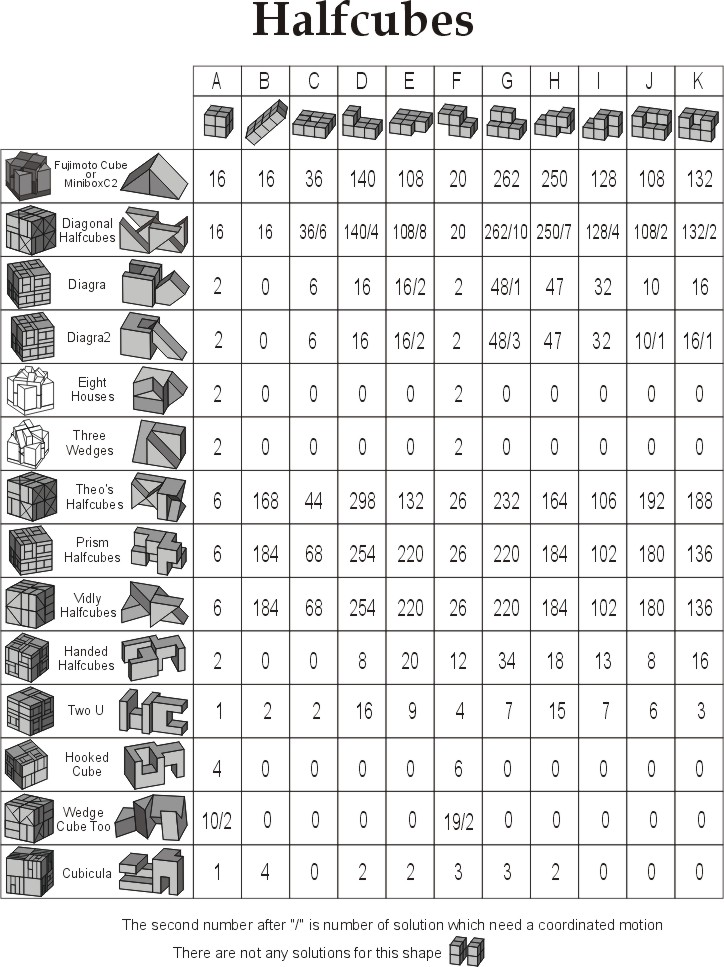
The beauty of the set of these puzzles, which includes (naming just a few) the Diagonal Halfcubes, Vidly Halfcubes, Prism Halfcubes, Two U, Cubicula, Hooked Halfcubes and Handed Halfcubes, reviewed by Kevin (where he also reviews Diagra), is that you can own all of them and they all provide a new and unique challenge. Despite the basic idea being the same, each puzzle is a new challenge, and requires a new way of thinking to solve it. The partial list is shown in the chart here, along with not only the suggested solution shapes for each puzzle, but also how many different ways each shape can be created. There’s a lot of puzzling possible and that’s if you only try for the suggested solutions. Click on the image to the right to see a list of many of the puzzles in the series in a more readable size.


Twisted Halfcubes

The eight pieces of the Twisted Halfcubes puzzle

The eight pieces of the Twisted Halfcubes puzzle

With the Twisted Halfcubes, the legs of the puzzles are all hook shaped, and hook around the small internal cube on another piece, linking the two puzzle pieces together in such a way that they will support each other. The differing angles at which the legs are attached make the problems more complex, as you need to find the right pieces to take the puzzle in the direction you need. In most cases, it’s not possible to create a closed solution by simply adding the next piece to the previous in a sequential manner. Most closed loops need you to approach the puzzle by thinking about two halves which will rotate together into the final shape. I really like this feature as it adds an extra challenge to the puzzle space, and also limits the use of programs like Burr Tools for solving the shapes.

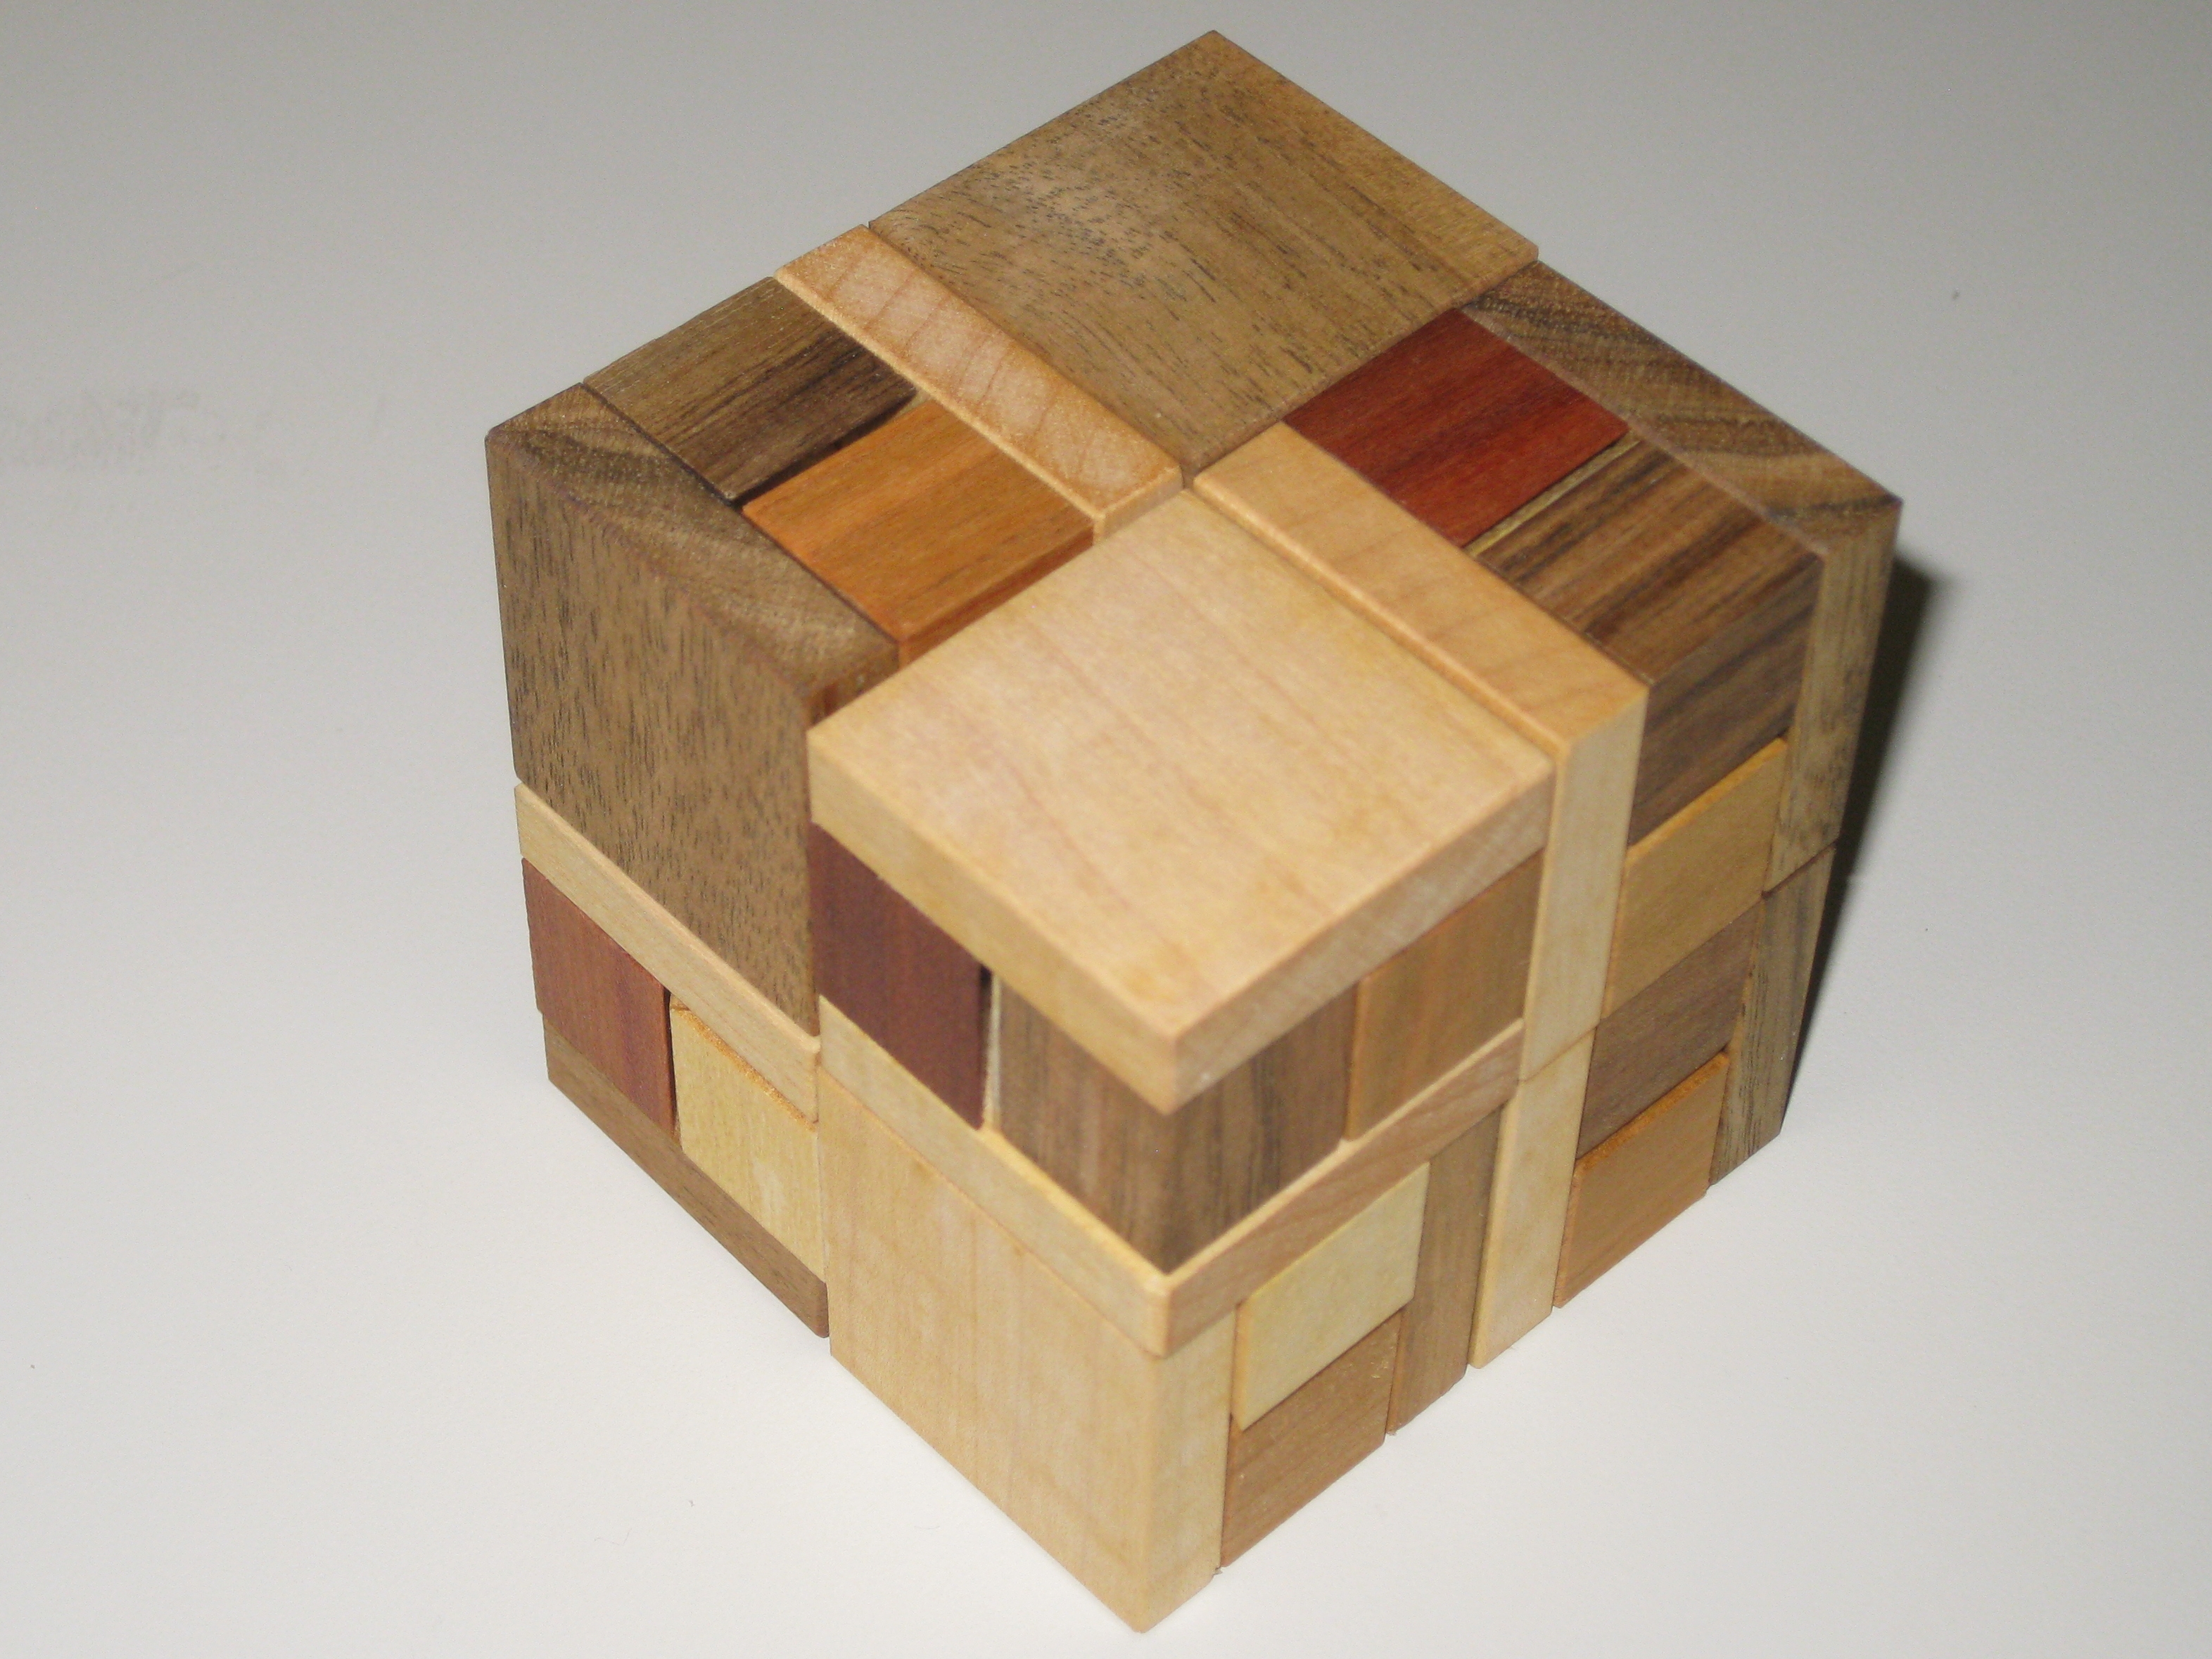
Twisted Half Cube, Super Cube Solution

Twisted Half Cube, Super Cube Solution

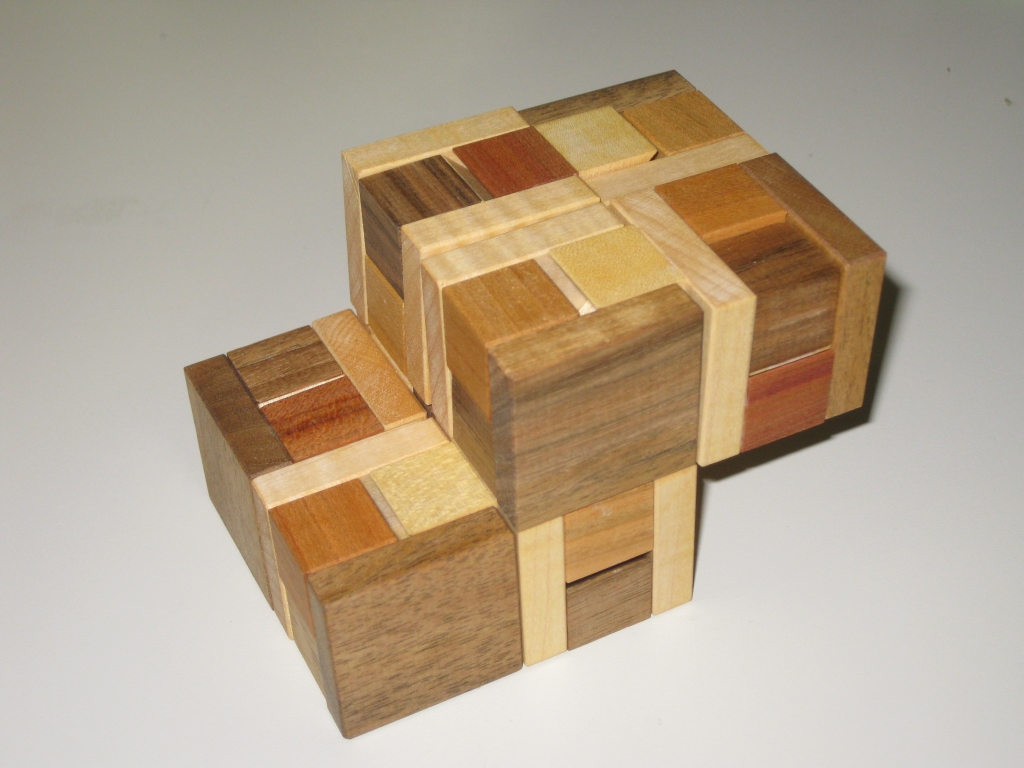
Twisted Half Cubes 'Z' Solution

Twisted Half Cubes 'Z' Solution

Vinco sets a number of possible solution shapes of which just a couple are shown above. The solution on the right shows how the pieces support themselves when placed together, so shapes where some pieces do not need to be resting against the desk are possible. I promise that there’s nothing out of view of the camera holding the pieces up.

Diagra

The eight pieces of the Diagra puzzle

The eight pieces of the Diagra puzzle

Similar in design to the Twisted Halfcubes, here the hooks have been replaced by square blocks, meaning that all pieces slide into each other. The difference here to the Twisted puzzle is that coordinate motion solutions are now possible, as the pieces are no longer hooked to one another but slide together. Again, the interesting location of the ‘legs’ makes for some challenging goal shapes and the approach to joining the pieces together is different from the previous puzzle.

I would say that the basic shapes are easier in Diagra, and perhaps this is a more enjoyable set to play with since it’s faster to put the pieces together and take them apart than it is with Twisted Halfcubes. The challenge level does step up a notch when you start looking for the coordinate motion solutions though, so don’t underestimate the challenge from this one.

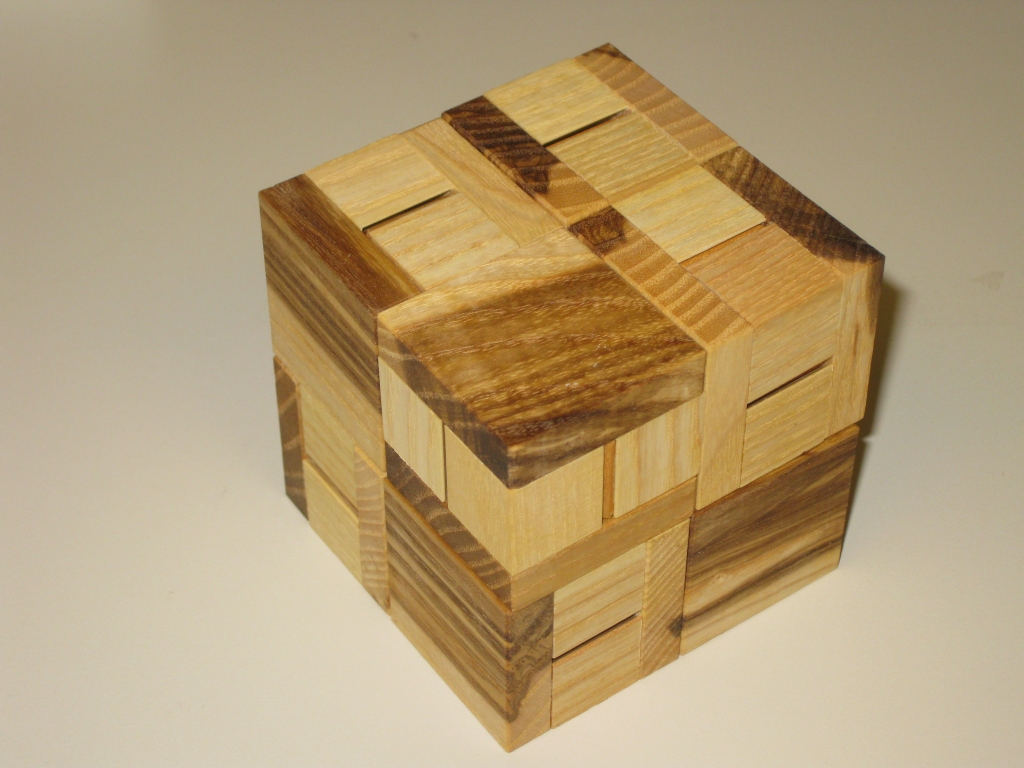
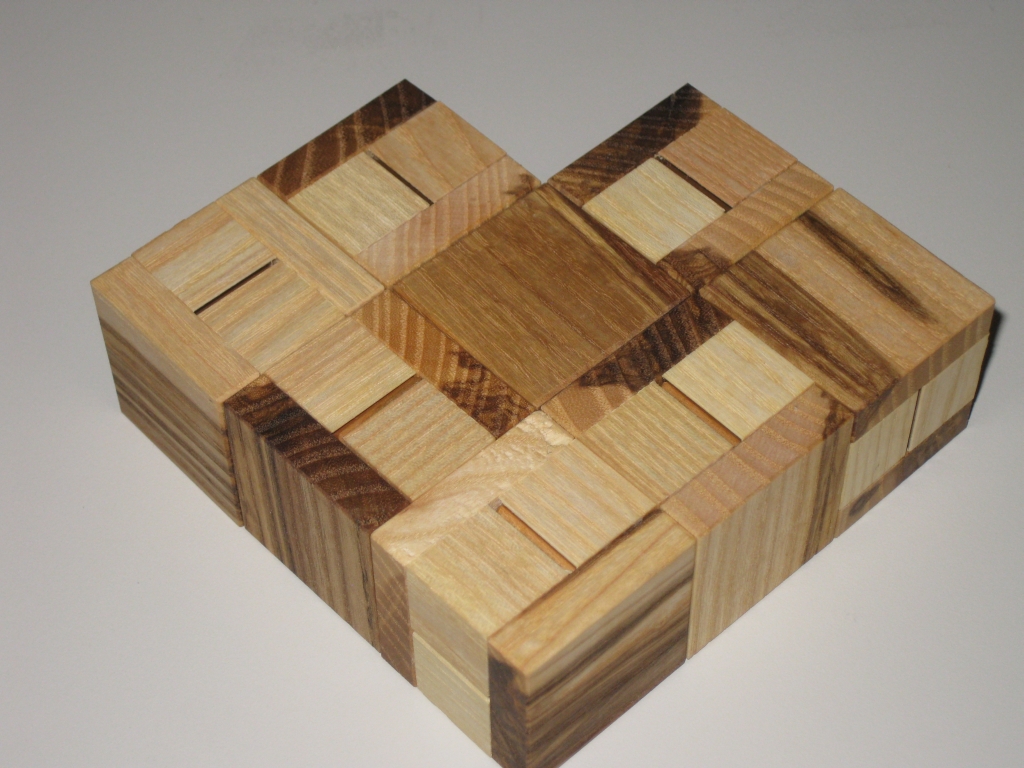
Diagra Super Cube solution

Diagra Super Cube solution

Diagra 'Heart" solution which required coordinate motion

Diagra 'Heart' solution - requires coordinate motion

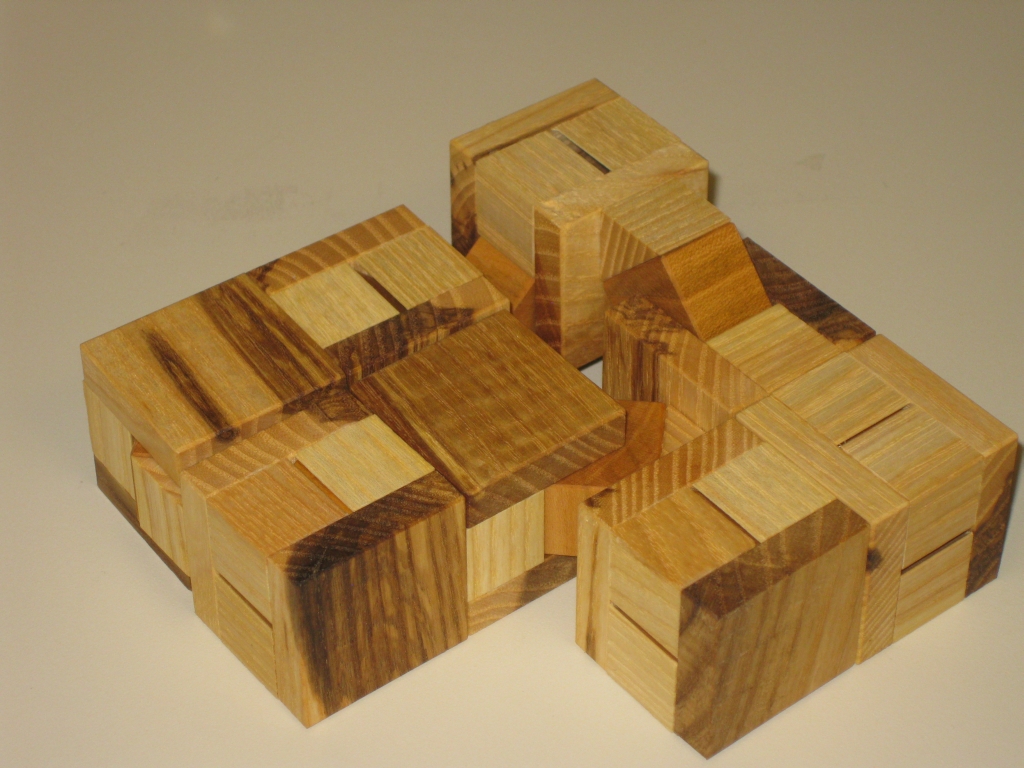
Coordinate motion solutions in Diagra!

Coordinate motion solutions in Diagra!

As noted in the comments for the solution above on the right, a coordinate motion is required to make this shape. The image on the left shows how the three sub-units join together to make the final shape, and all slide together at the same time, with a satisfyingly smooth movement. Have a look at the very short video below to see this in action.


The beauty of these puzzles are that you’re limited only by your imagination as to the shapes you can create. These make a great set of building blocks, and just playing with connecting them in different orientations is as much fun as trying to create the specific patterns on the short instruction sheet provided. I’ve spent a lot of time doing just this, and as such find it a great stress toy when it’s a rough day at work!

You can order these puzzles directly from Vinco or through Puzzle Master, and I highly recommend any of the Halfcubes series. I will certainly be picking up more of them myself.

Stickman #2 – Revisited

Some time ago I wrote about the Stickman puzzle box I’d won on a Puzzle Paradise auction. Since then the puzzle has been on a bit of a journey, and as a result I felt it was time to revisit this puzzle.

When I won the puzzle, I spent some time talking with its creator Robert Yarger, and he mentioned that it was a really solid puzzle, and he’d have no issues handing it round for people to try. Well with that in mind, I took it with me to the California Puzzle party. Unfortunately, when it was there, something went a bit wrong, and the puzzle jammed. I was able to shut the puzzle, but there was something very strange going on. Sadly, I had to put the puzzle back in my bag, and that meant no-one else was able to play with it that day.

I wrote to Robert and described what was happening. He instantly offered to take the puzzle back and see if he could figure out what had happened, even mentioning that if he couldn’t fix it, he’d find a way to make things right by me. (As a fellow puzzler has mentioned, nice bloke that Stick guy!) Interestingly, this was only the third Stickman puzzle that Robert has ever had to repair, and one of those was due to an accidental high dive from a shelf. Given the number of puzzles he’s made, and some of the incredibly intricate work he does, that’s a pretty good recommendation of his work.

So I packed the box up, and sent it off. A few days later Robert got in touch to tell me that he had found the problem and would be able to fix it. Before I knew what was happening, Robert had the box all back together and it was back in the mail to me.

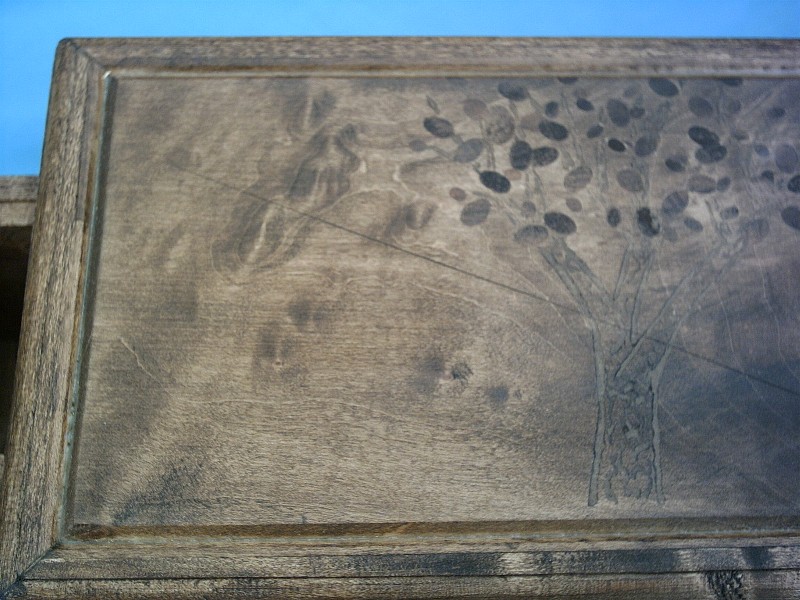
The top before repair

The top before repair

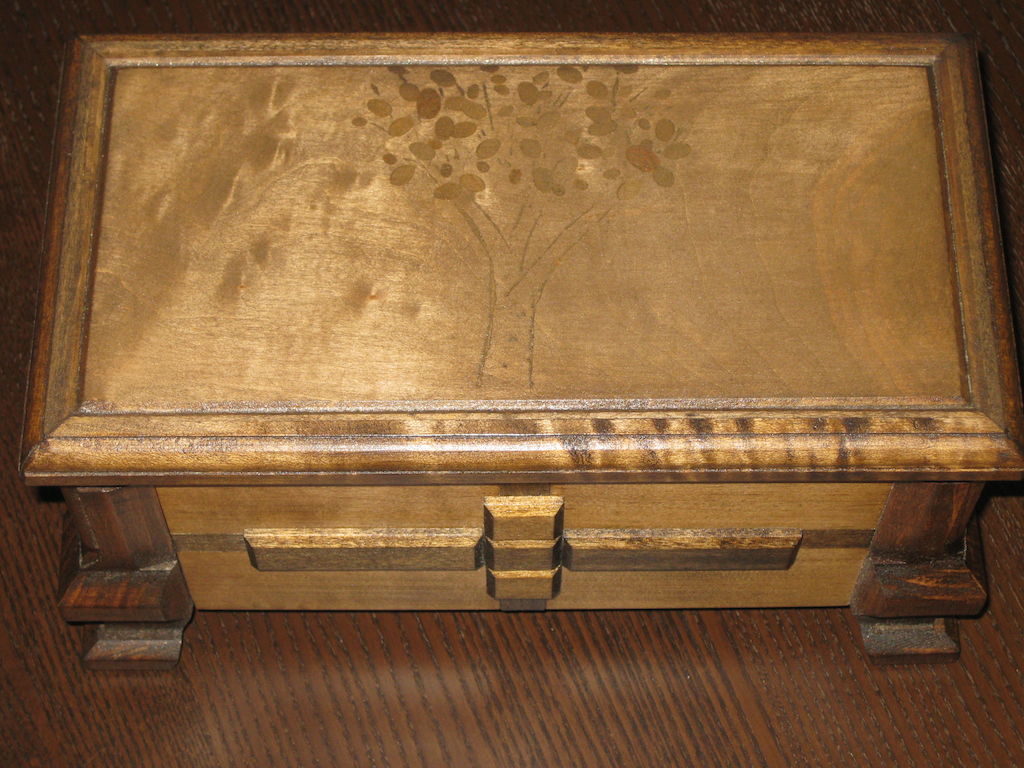
Top after repair

Top after repair

While Robert had the box, he did a little restoration on the top. As you may remember, there was a scratch on the top of the box from the original creation. Robert mentioned that it was common on his early work. Seems like he wasn’t too happy about that scratch being there as he sanded the box down to remove it, then refinished the box, so now it’s even better than new.

It turns out that what had happened is that on one side of the puzzle, the internal stops had broken and was now free floating inside the puzzle. For a 10 year old puzzle, it wasn’t anything anyone using the puzzle had done, but just a case of old age. To fix things, the part which came free has now been replaced and a much deeper groove cut into the side to embed things firmly. No chance of that coming free again.

Here’s just a few pictures from Robert’s surgery. These don’t give anything away. I’ve kept the pictures of the internals for myself. Thanks have to go out to Robert though for sending me the pictures. He certainly didn’t need to show what goes on inside his puzzle!

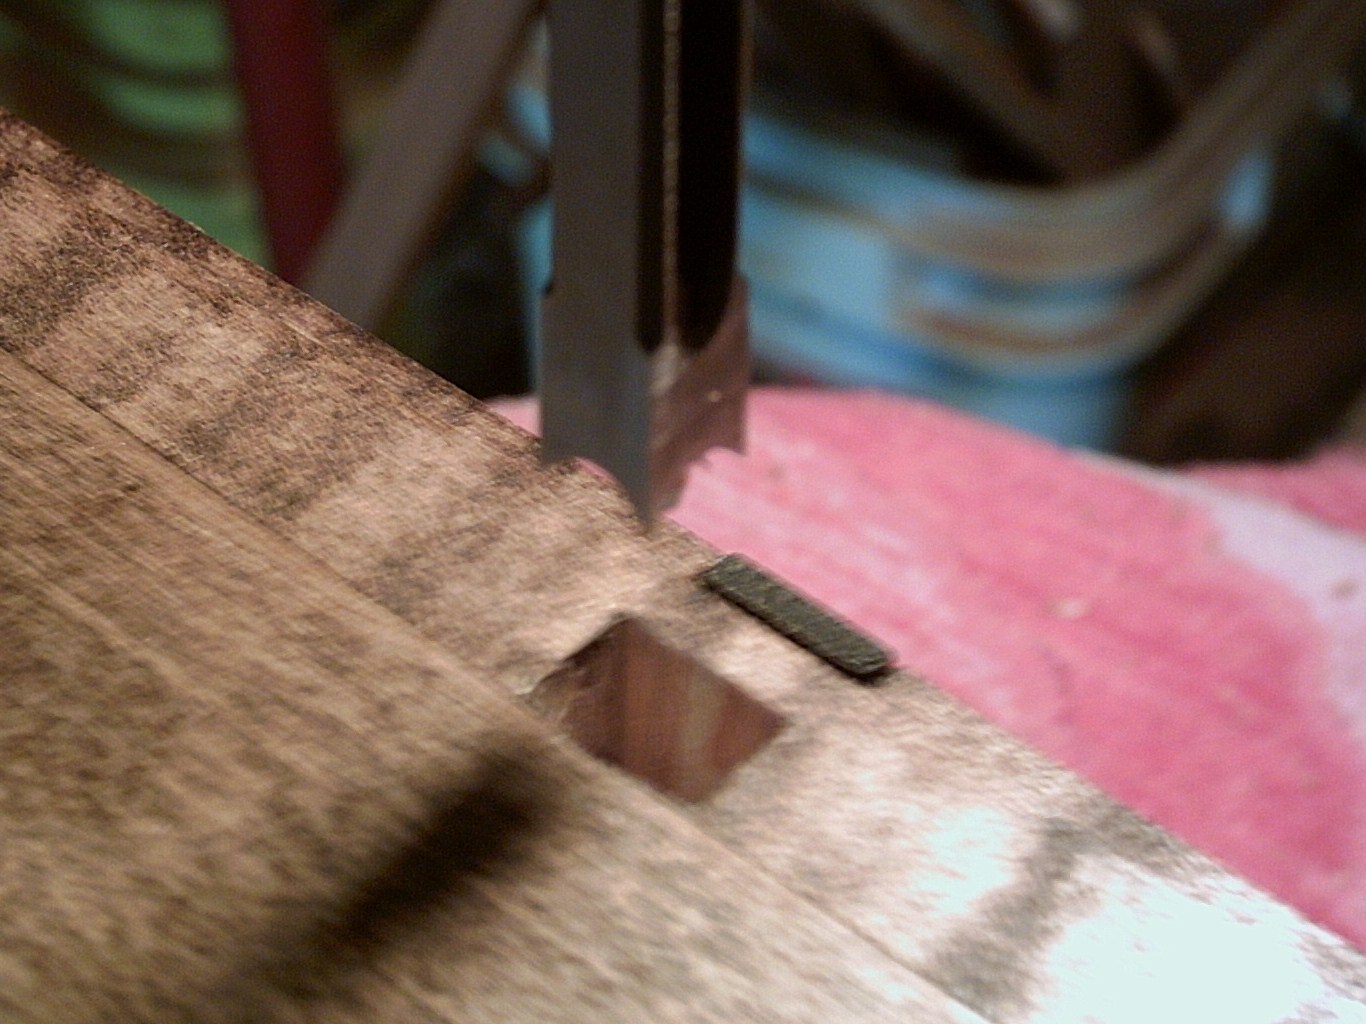
This looks drastic, taking a mortiser to the bottom

This looks drastic, taking a mortiser to the bottom

The inside of the box

The inside of the box


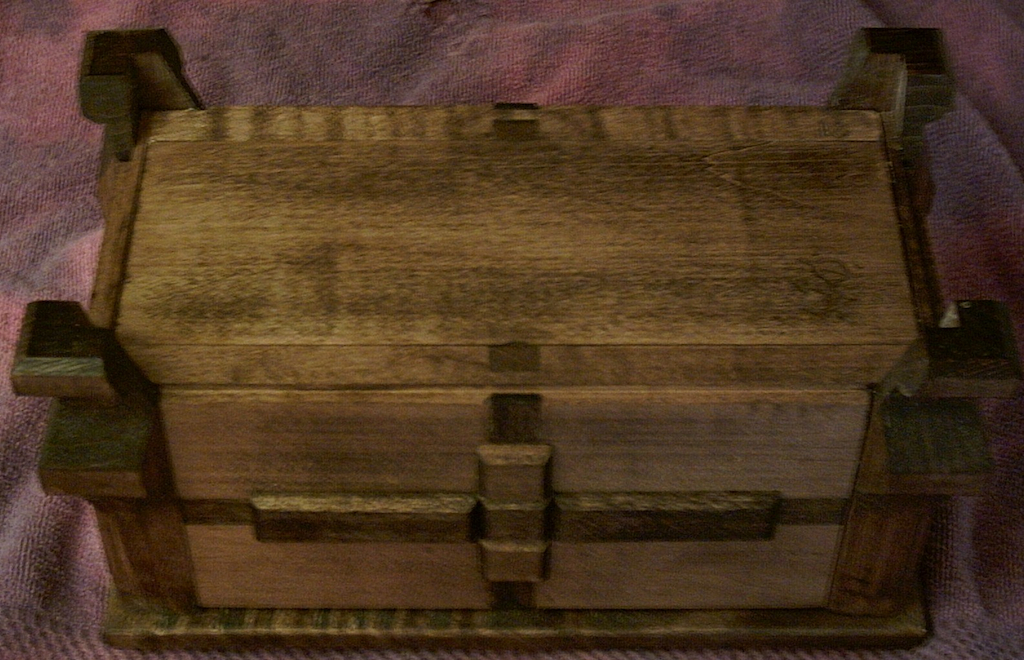
Back as good as new

Back as good as new

Popplock T6

The Popplock T6 is the latest trick lock to be made by Ranier Popp. This review is a little special as it’s the first video puzzle review I’ve done. Things are a little rough round the edges, and if you like it, then I’ll do more, and hopefully they’ll get better over time.

Despite what I say in the video, the rivets are copper, not brass. Sorry.

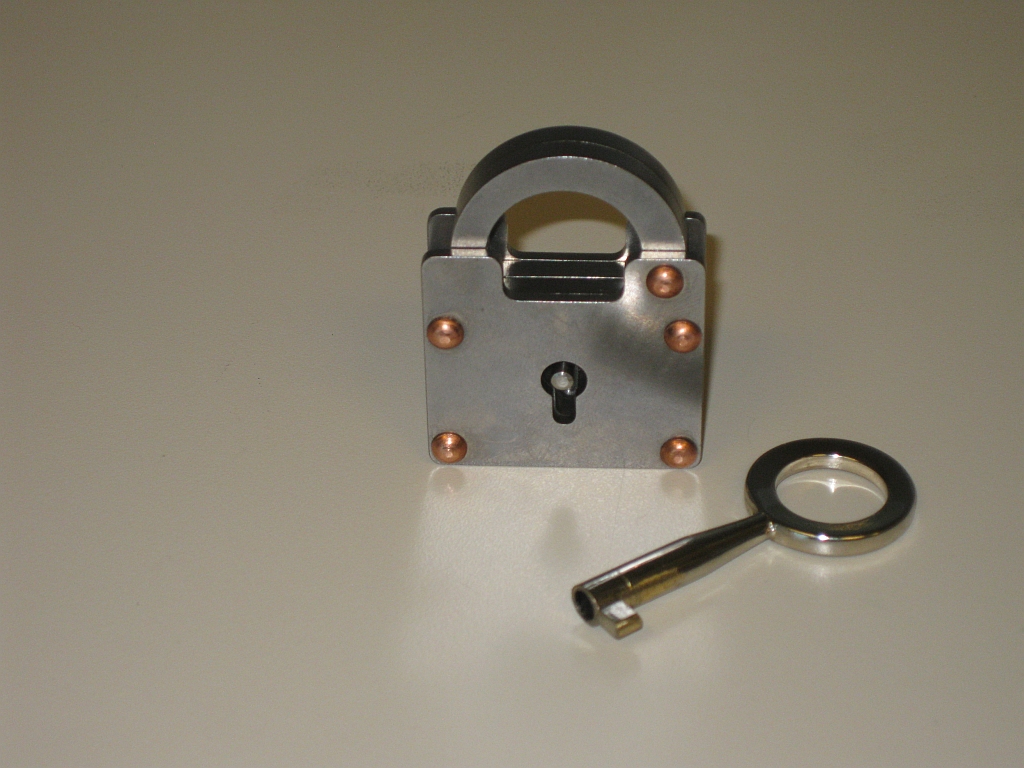
The T6 is 1.5″ square and comes in two different versions. A copper riveted version, and an aluminium riveted version. The mechanism for both is the same, and it’s only the external appearance which differs. Personally, I really liked the copper look so decided to get this version for my collection. An interesting note is that the direction the hasp opens is mirrored between the two versions. You can see the differences on Ranier’s site here. I bought mine through Wil Strijbos, and jumped on the chance when he mentioned he had some available. They are also available currently from Puzzle Master.

Popplock T6 front

Popplock T6

The lock is constructed from stainless steel and as a result is fairly heavy, and very solidly built. There’s no worry about damaging this lock if it’s dropped, or passed around for people to play with. The key supplied looks to be brass (some of the silver plating on mine has rubbed off) so you know they key is solid too, and no chance of it breaking, unlike some early Popplocks where the keys weren’t so robust. As you’d expect all the tools you need to open the lock are included, no paper clips or acetylene torches required.

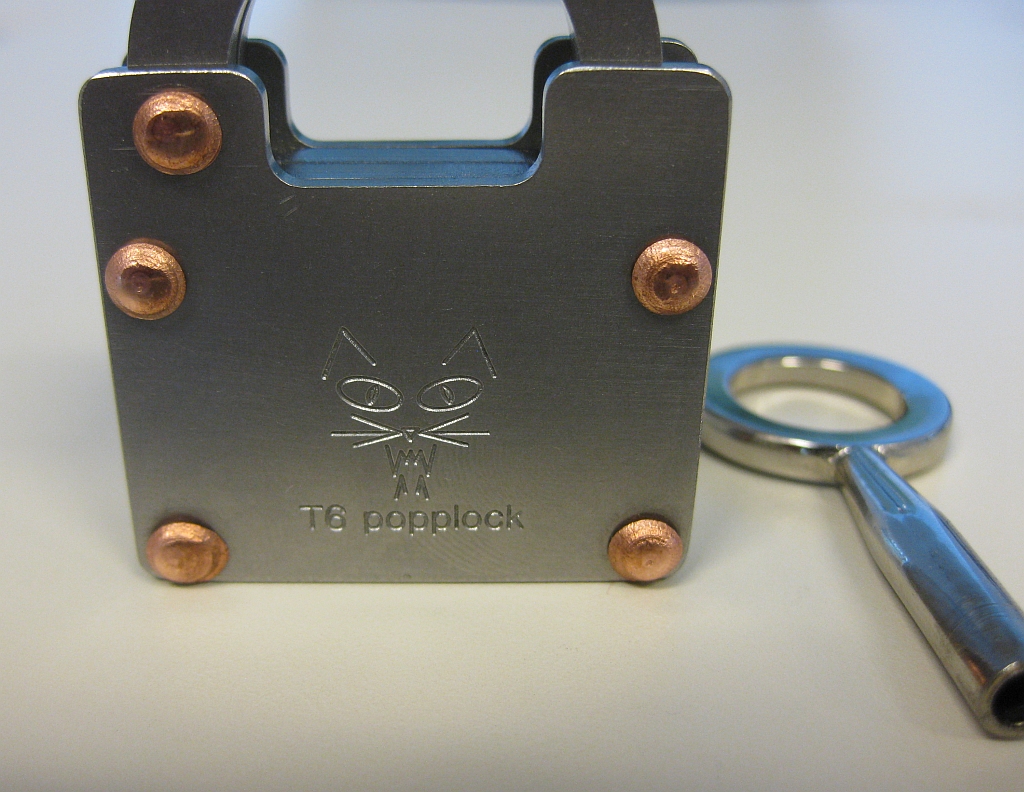
Popplock logo on the back

Popplock logo on the back

The back of the lock sports the familiar feline Popplock logo engraved into the lock, and the copper rivets mirror those on the front.

I freely admit that I’m no expert on solving trick locks. This is the first Popplock I own, and only the second trick lock in my collection. I took a fairly systematic approach to the puzzle, poking and prodding the rivets and anything which may not be as it appeared before putting the key in the lock and turning it. The movement of the key in the lock is very smooth, and there’s no real feedback turning the key in either direction. Not to mention that turning the key in either direction doesn’t open the lock! I can tell you’re surprised by this news.

Fairly quickly I noticed that there are two levels the key can be inserted at, and two ‘discs’ inside the lock which the key turns. The key can only be removed when the top disc is back to its starting position, but the bottom disk can be left at any point. Turning the key you notice a small notch in the upper disk. Surely that is important. Investigating further I found a similar notch in the lower disk and also a dot on the disk. With these reference points, I started to get a feel for what was required to open the lock, but I still had no idea how to execute it.

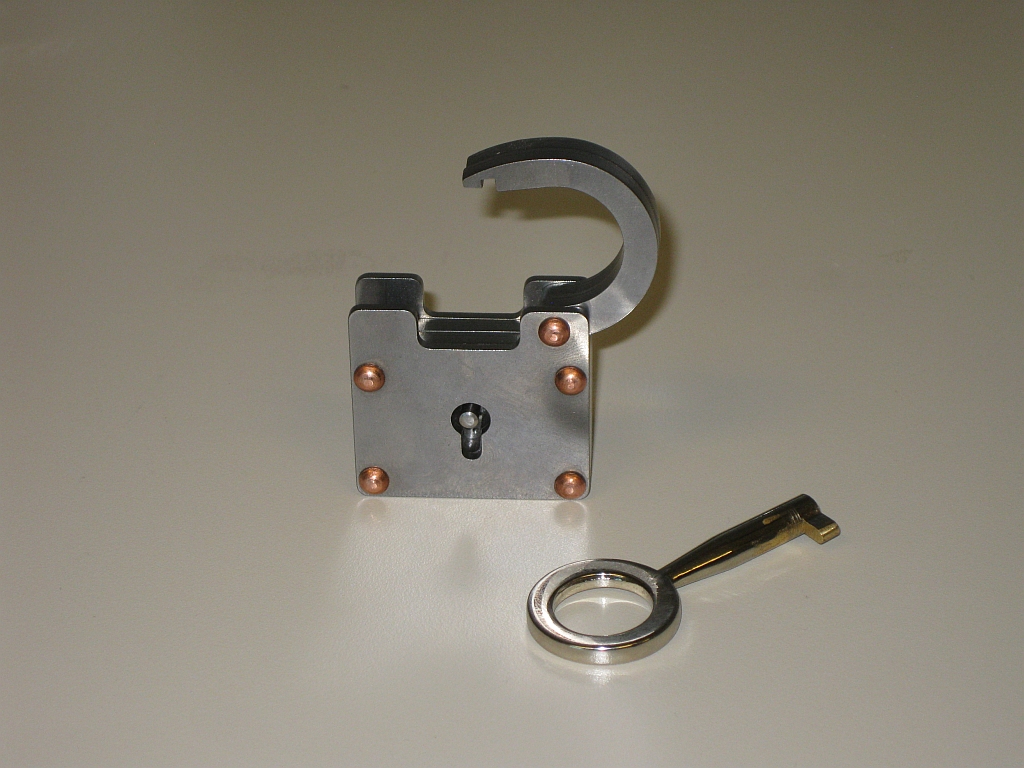
The opened lock

The opened lock

It took around two hours and a lot of trial and error to figure out how to open the lock, and all I can say is that it’s a clever yet simple mechanism. The mechanism is very cleverly disguised and really requires you to examine everything and assume nothing. As Ranier Popp states on his website, it’s not easy to solve. I highly recommend this puzzle, and if you’re new to trick locks, or to the Popplock series, this is a great puzzle lock to own. I may have to hunt down the rest of the series now!