At the end of the first post on my Matrioshka build, I’d finished gluing up the ‘ends’ as I think of them for each of the puzzle pieces. I still hadn’t cut out the centre sections (or as I’m referring to them, the bridges) that join the two ends of each puzzle piece together, and I still had a lot of sanding to do so that the pieces were all the same size. In this second part, I go through that process, and get closer to the finished puzzle.
On a side note, I originally referred to this project as a MaTRIOshka, however what I’m actually building is a single layer of Vin&Co’s puzzle. Stewart Coffin originally referred to this assembly in “The Puzzling World of Polyhedral Dissections”, which I have been reading recently as the Expanding Box puzzle. There Mr. Coffin refers to this as a curiosity more than a puzzle, but I’m going to continue on none the less with this build. It is helping me learn about puzzle creation and improve my skills, although I dare say that as with most puzzle creators early works, this will be less than impressive. The bottom line is that it is still a nice co-ordinate motion puzzle.
With 12 ‘ends’ all glued together, I had quite a task to remove all the excess glue from the pieces, and sand them all down to a nice smooth finish. I had deliberately left the pieces slightly larger than they would be for the final glue-up, so that I had some room for cutting errors and the like. This is fairly standard, as it’s easier to correct for problems with your saw being slightly off, or gluing issues when you have a little extra material to work with.

Puzzle Pieces before sanding - not pretty!
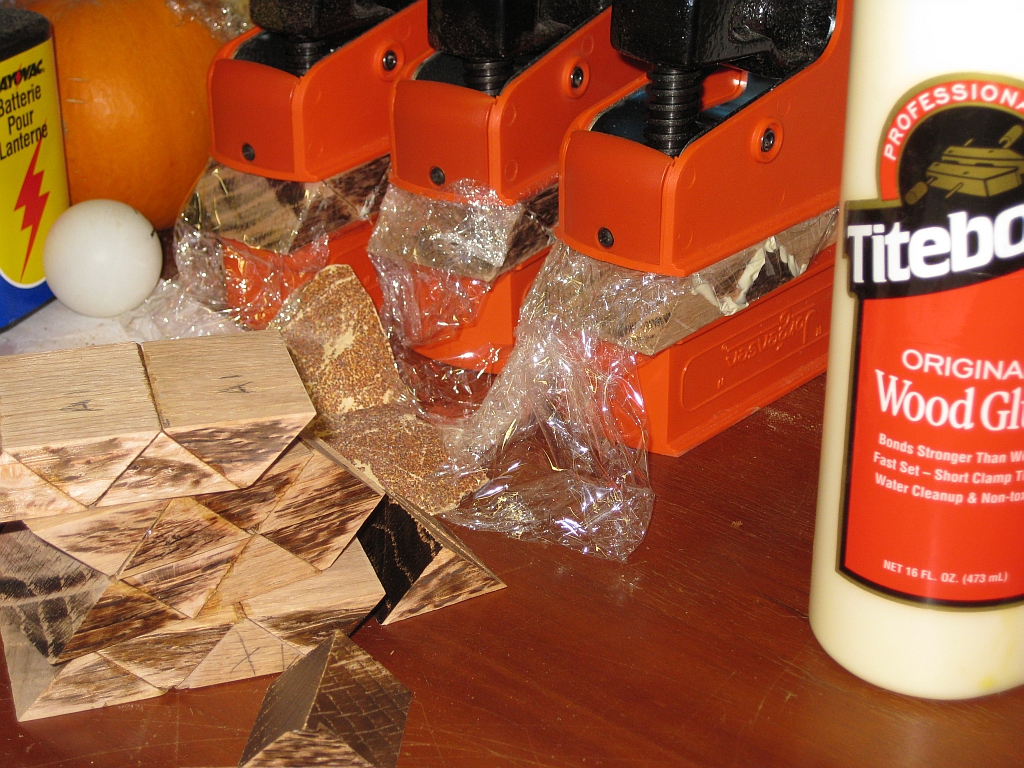
As you can see from one of the pieces, things weren’t exactly pretty at this stage. Yes I could probably have allowed the glue to set for about 30 minutes, and then scraped off the excess, but I let things sit overnight without touching them, so I may have created more work for myself here that I needed to. You’ll also note that there are apparent gaps between the individual pieces. As I mentioned, this is a learning experience, and I expected that I would have a problem like this! (Oh, and the large lump of tearout on one of the pieces is pretty obvious too.)
If you’re wondering about the interesting pattern in the dry glue, this is because I’m using plastic wrap to prevent glue getting onto my clamps. It’s effective at keeping the glue where it needs to be, but until I build some gluing jigs, I’m left with this sort of mess.
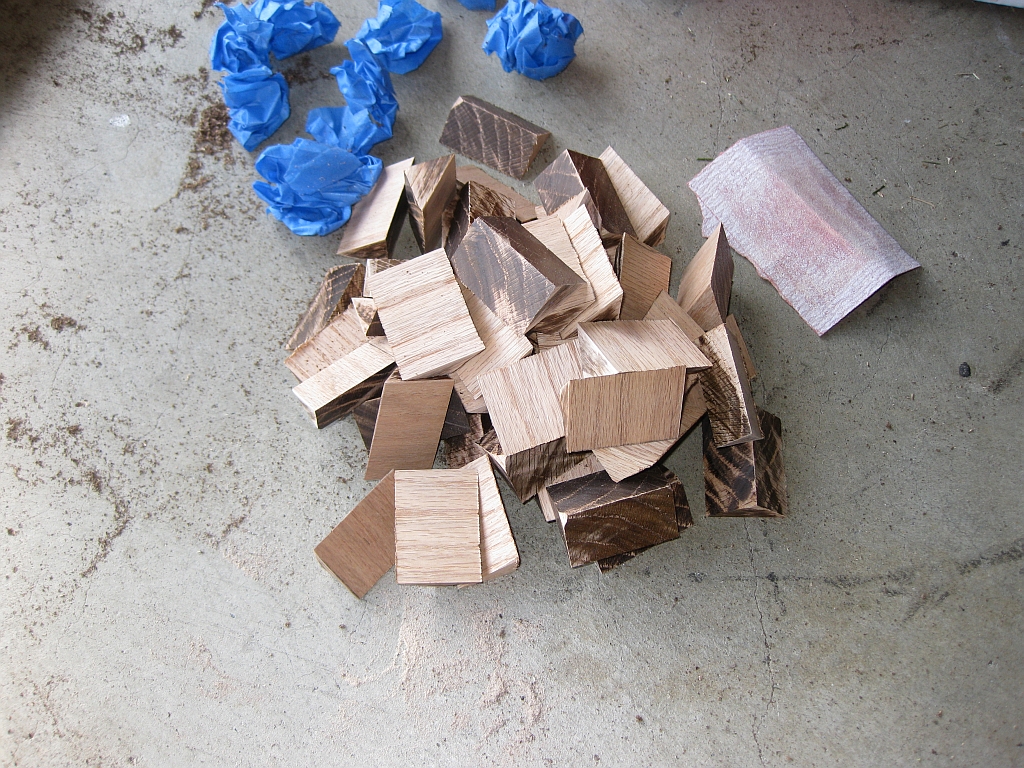
After a lot of sanding, and some time measuring each piece against a ‘perfect’ reference piece, I was left with 12 identical pieces. The puzzle has six sides, which are all identical, so this would be the basis of the finished pieces. (ok, so I only photographed 10 pieces. The other two were on my workbench.)

Sanded End Pieces
As yet I still hadn’t cut any wood for the join between each end of the piece. I’ll be honest here, I still hadn’t entirely figured out how these should be cut, the angles required on the cut etc.

Some stock laminated together to give the thickness I needed
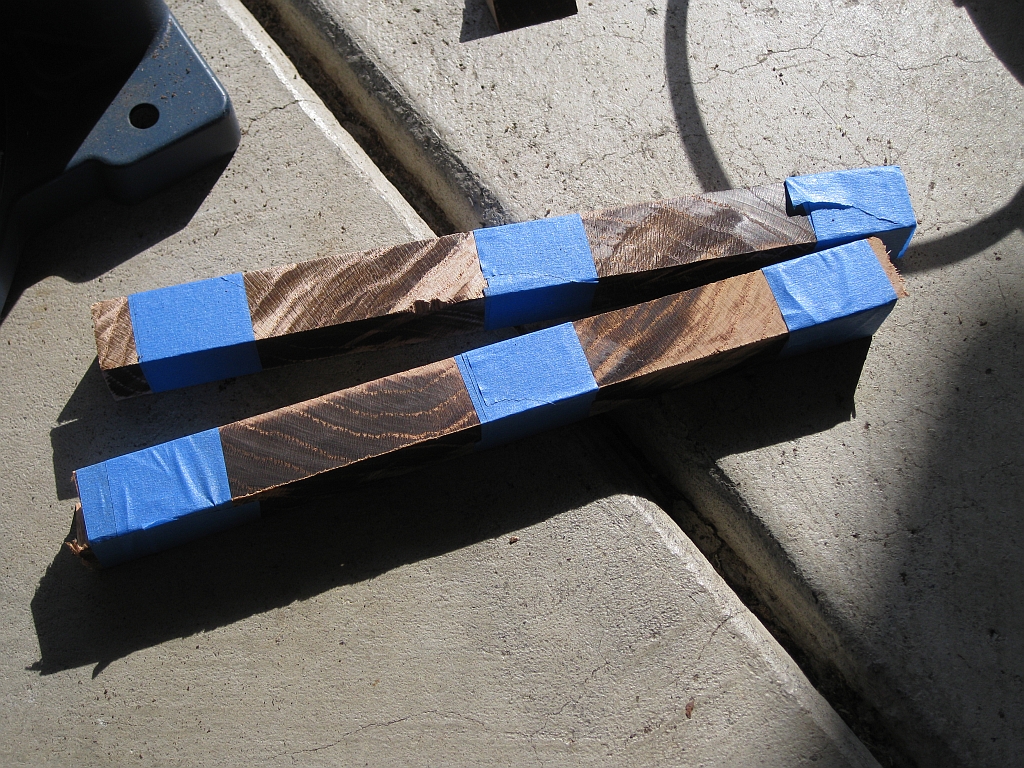
All I could tell from the pictures I was working from was the length of the piece, and that the base touched one side of the end and the top of the triangle touched the other side. Note: I had not started reading Stewart Coffin’s book at this point which told you exactly how to make this! (Thanks Stewart) With that information on hand, I decided the best thing to do was to just go for it. I cut six rectangular blocks which were a match for the dimensions of the end of my end piece, marked the mid point on the end, and took to the band saw. (These rough cut pieces are what you see in the image above. Note that they were only true on one side, as I was cutting to a point on the other so I didn’t care!)

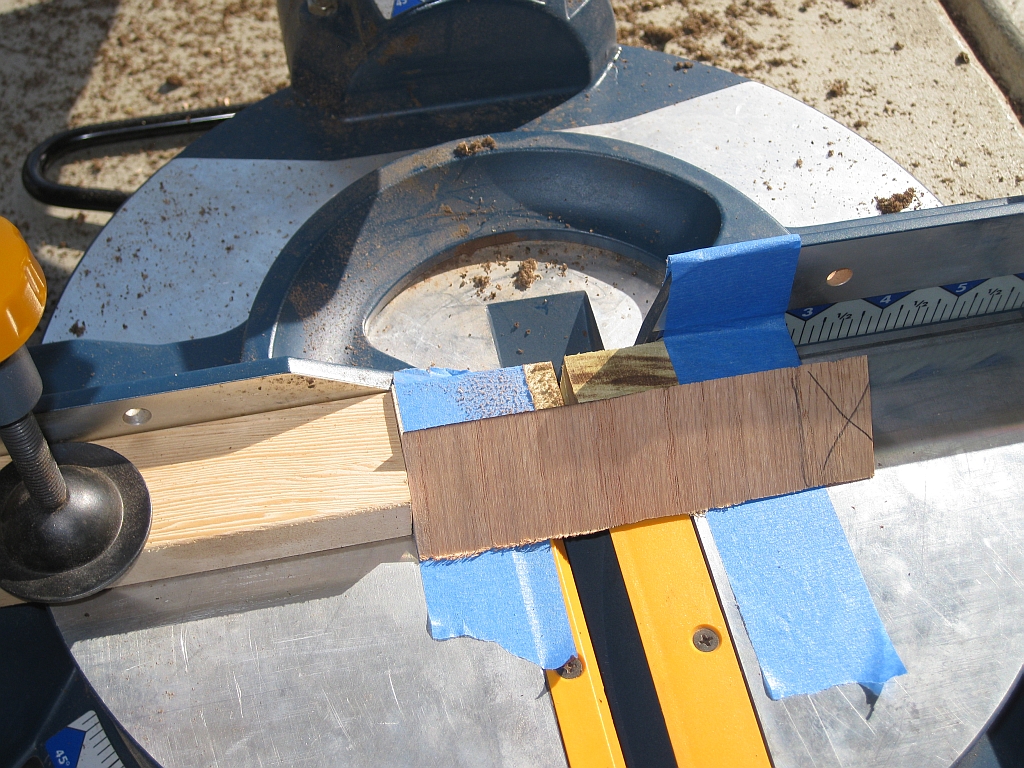
The rectangular stock marked up for cutting to make the bridge
As I have learned, I cut close to my lines, but didn’t go over, to allow me to sand the pieces to the perfect size. You may notice from the image, that my lines are not in pencil Given the accuracy of the cuts I wanted, I used a hobby knife to make the lines. This gives a much more accurate line than pencil, since the edge is much thinner, and also helps to prevent tearout by severing the ends of the fibres if you’re working across the grain. Yes, these marks are in end grain so it’s not helping me here, but I though it worth mentioning.
Note: If you’ve not figured it out already, all the images I upload are at least twice the size you see here. Click the image to see the full size version, and to browse all images for this blog entry.
The result was six identical pieces which would form the bridge between each end of each puzzle piece. So far, so good. Now the interesting thing I found out taking this approach, and working purely from pictures, is that the piece required for the bridge is a standard triangular cross-section, the same as the rest of the pieces in the puzzle. The only difference is that the bridge is slightly taller than the end pieces. Going back to Coffin’s book, this is exactly what he shows, so this was confirmation that I had this right.

The Bridge pieces ready for assembly
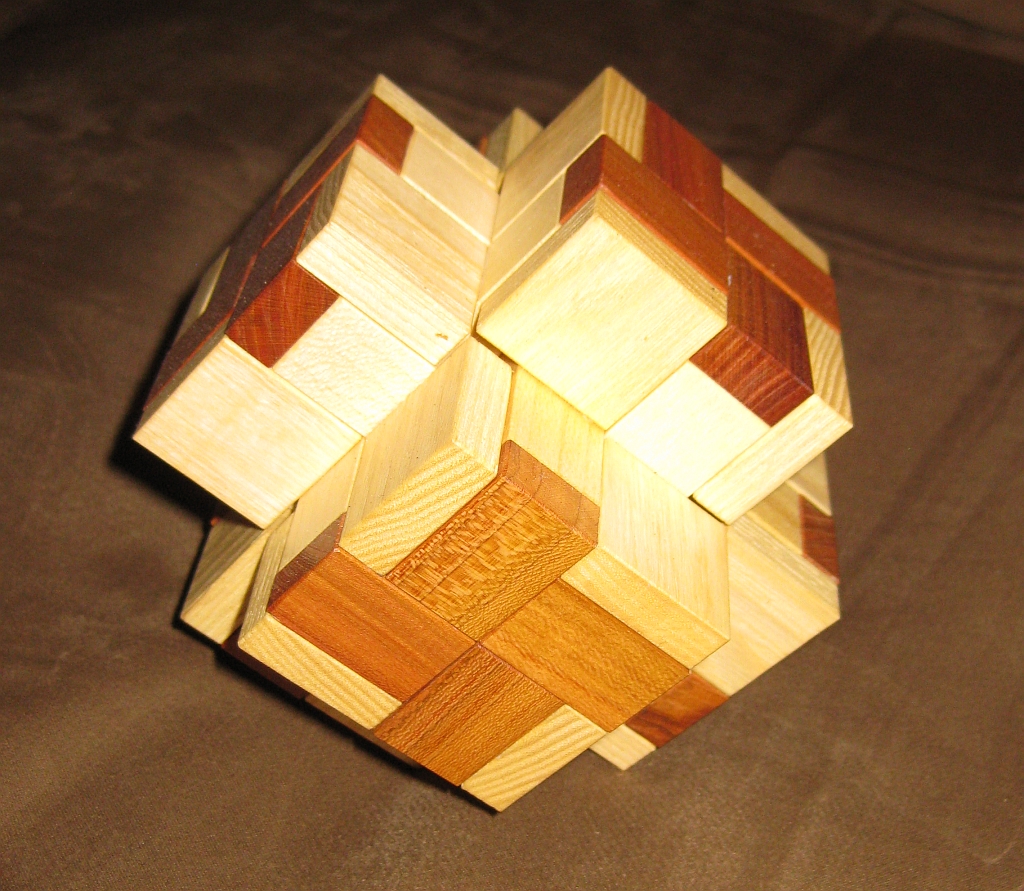
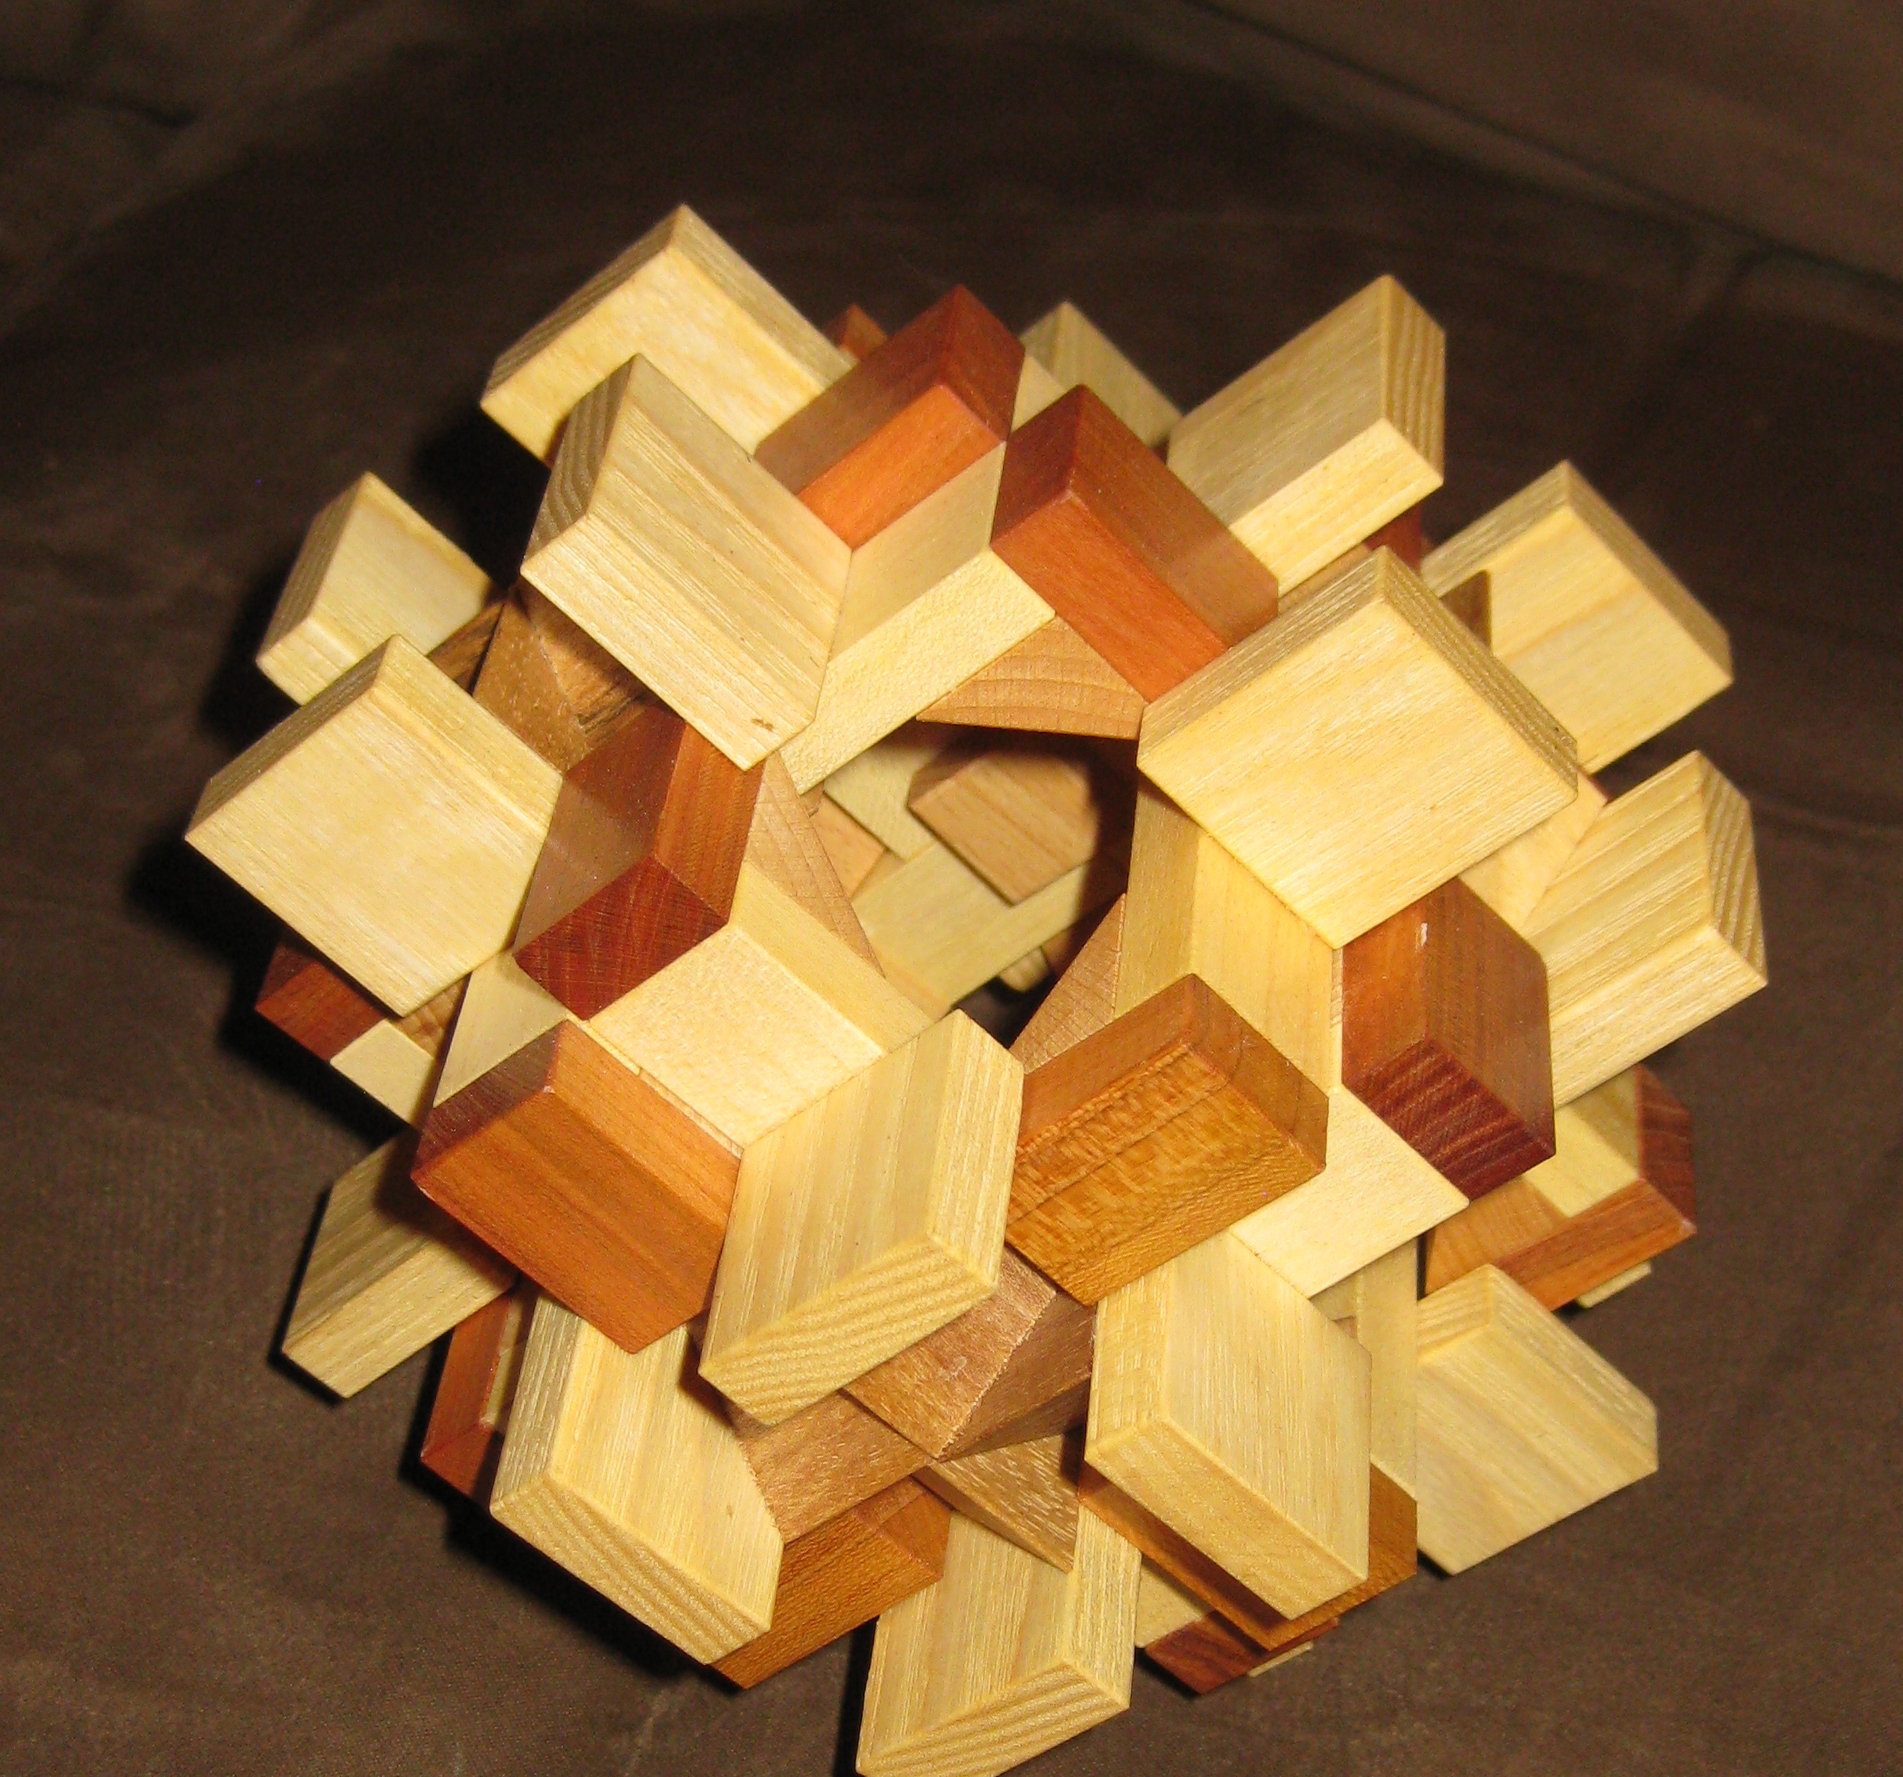
In the next part, I’ll look at tackling the problem of gluing up the final pieces and seeing if this thing actually works. On a side note, I have my copy of Vinco’s Matrioshka now, and the puzzle I’m building is large enough that the Matrioshka will fit inside it. So does this mean I’m actually building a Quadrioshka?