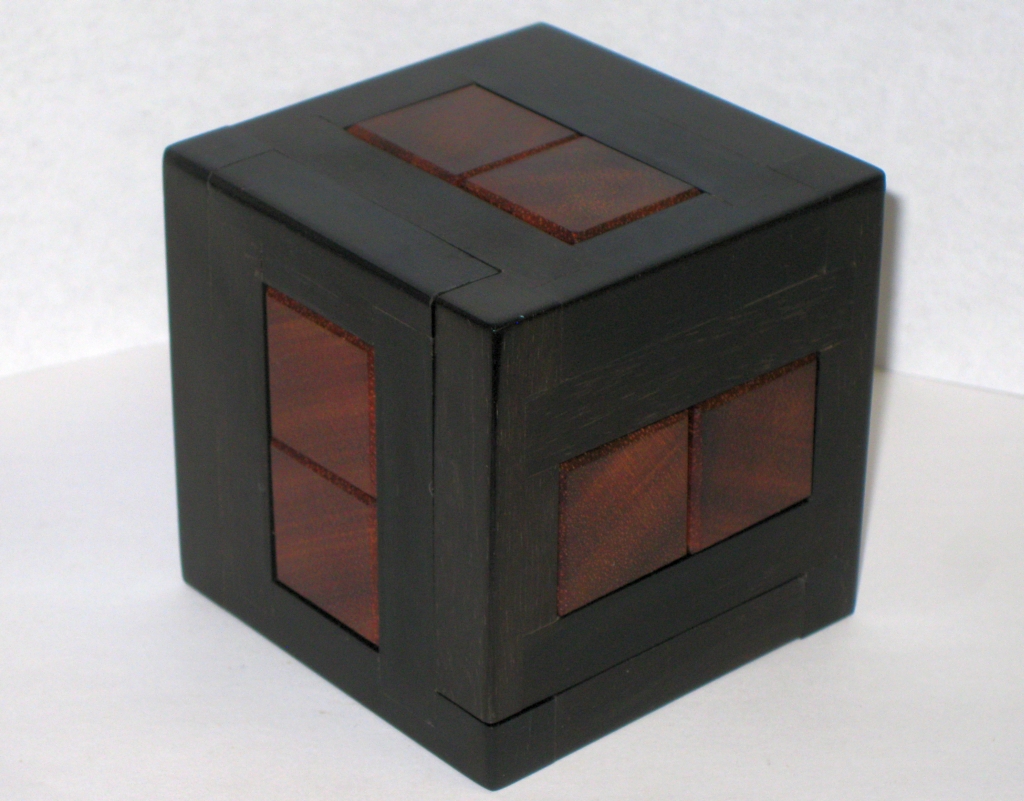
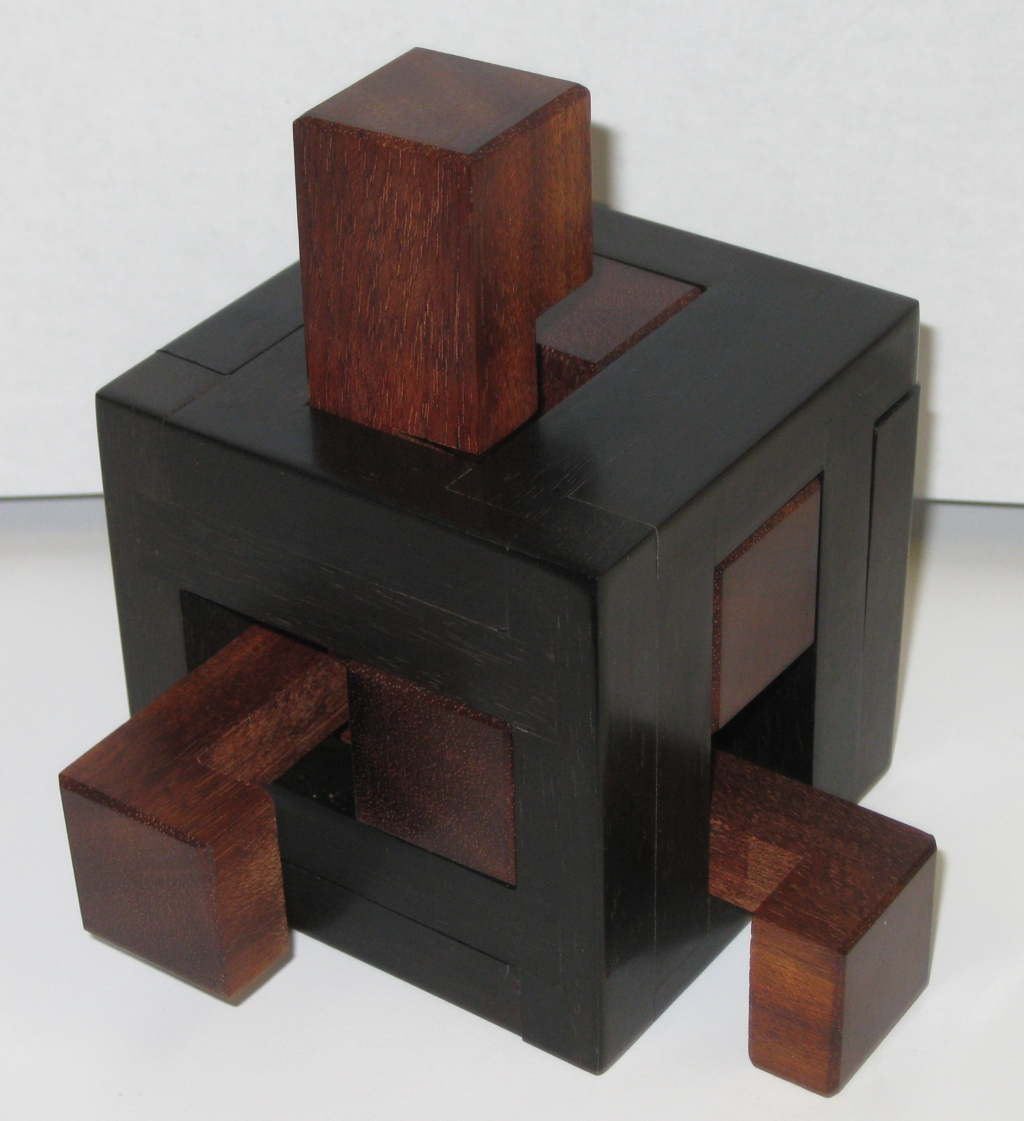
In the recent batch of puzzles from Eric Fuller, Shake Something caught my eye. From a new designer, Dan Fast, this packing puzzle uses four burr pieces in a box to create an interesting challenge. It’s always good to see a new designer creating puzzles which are both fun and different, and when they’re made by Eric, you know they’ll be well made. In this case Eric’s living in the future, but it’s all good.
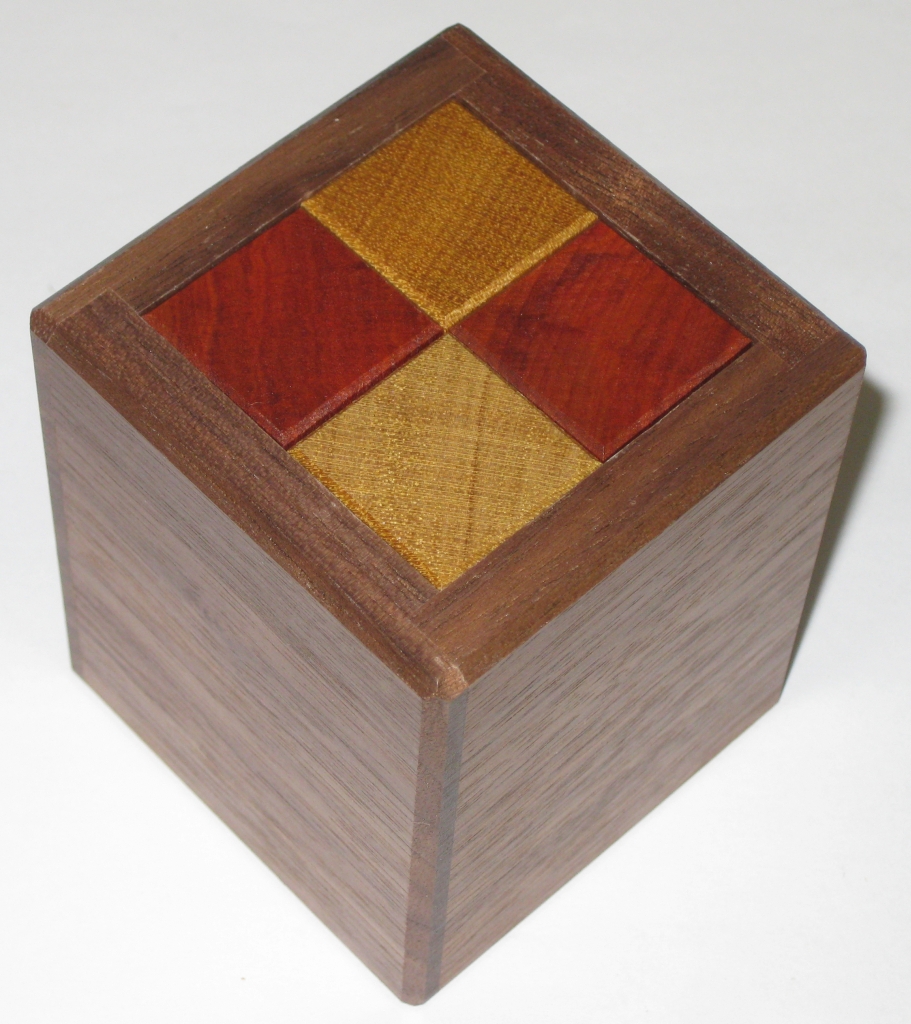
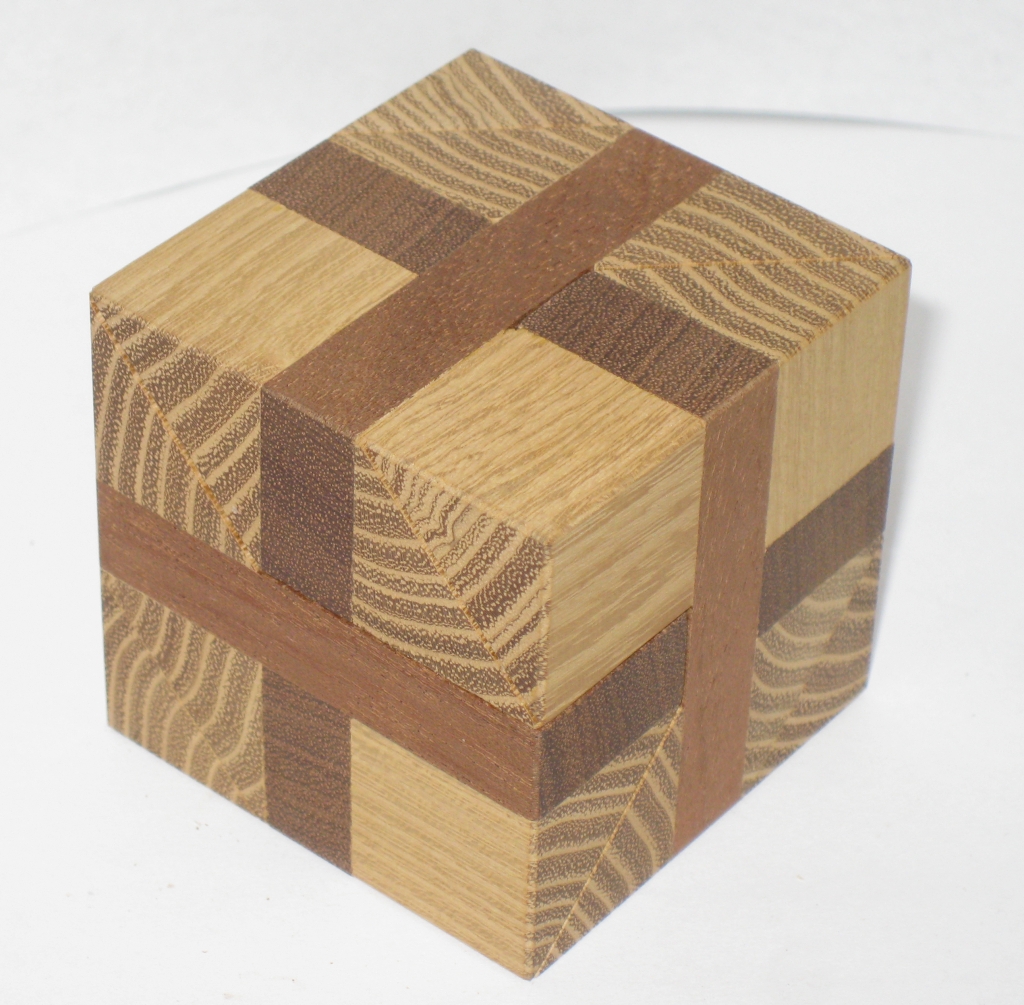
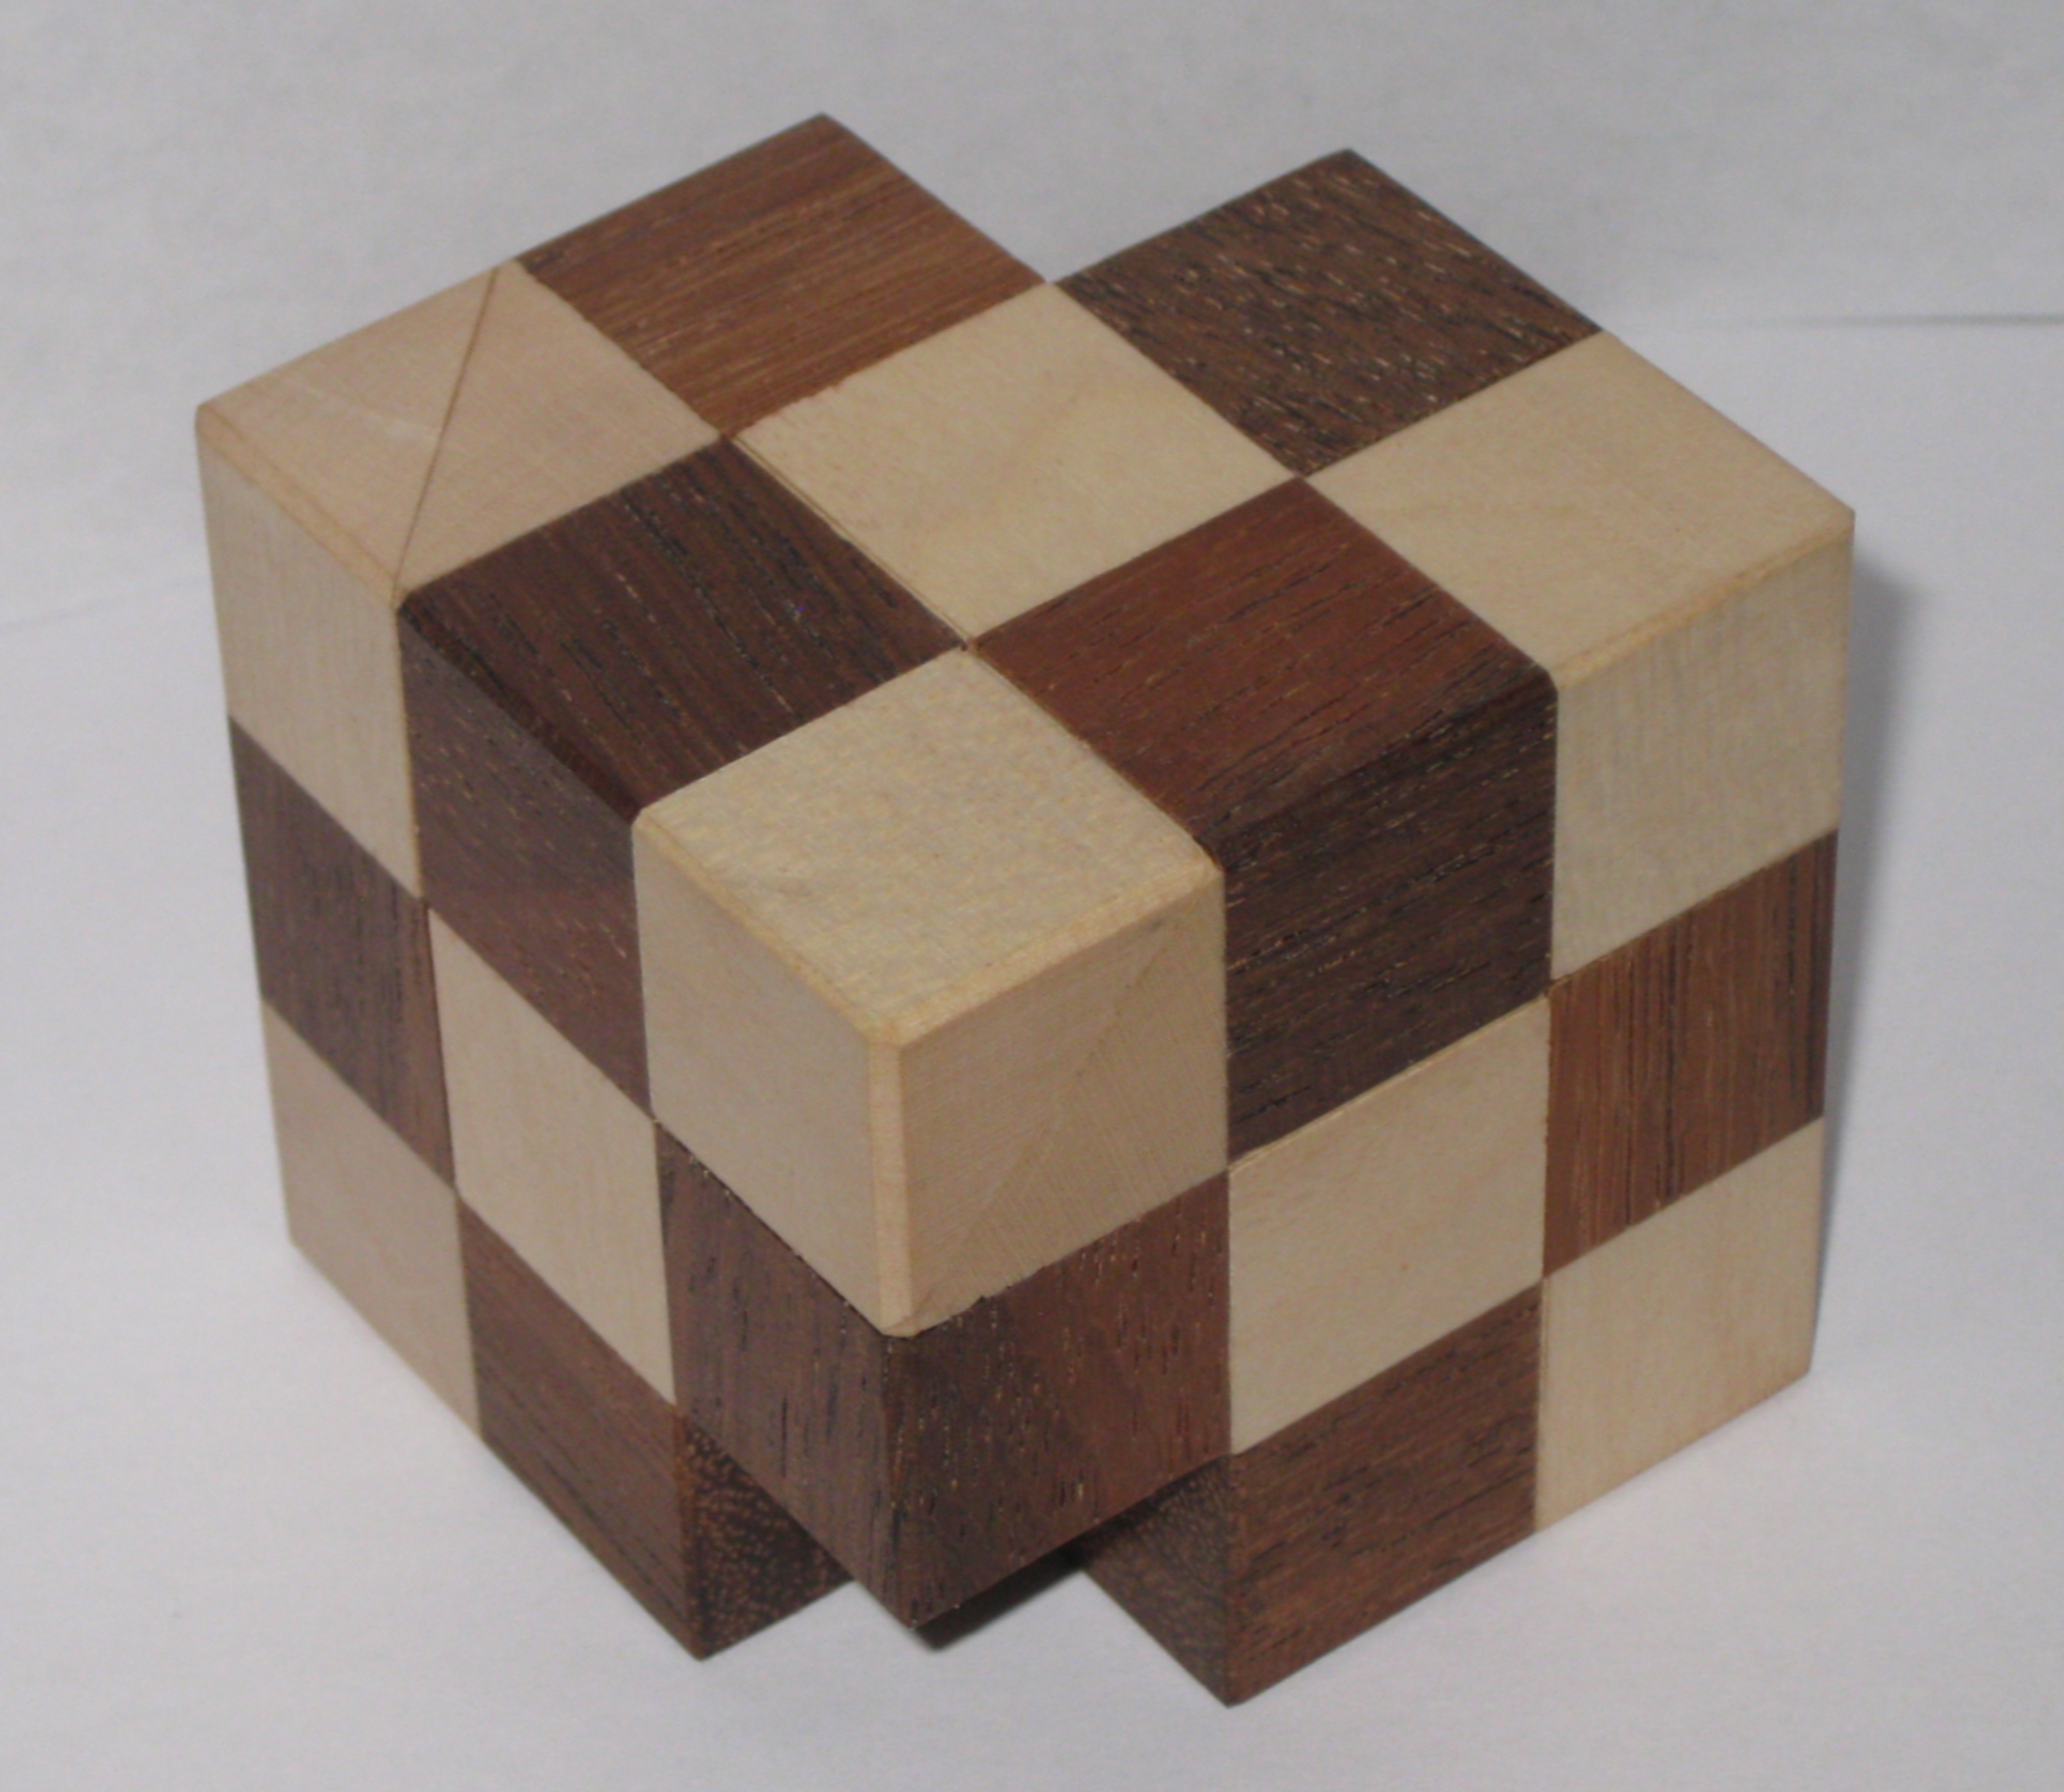
Shake Something by Dan Fast
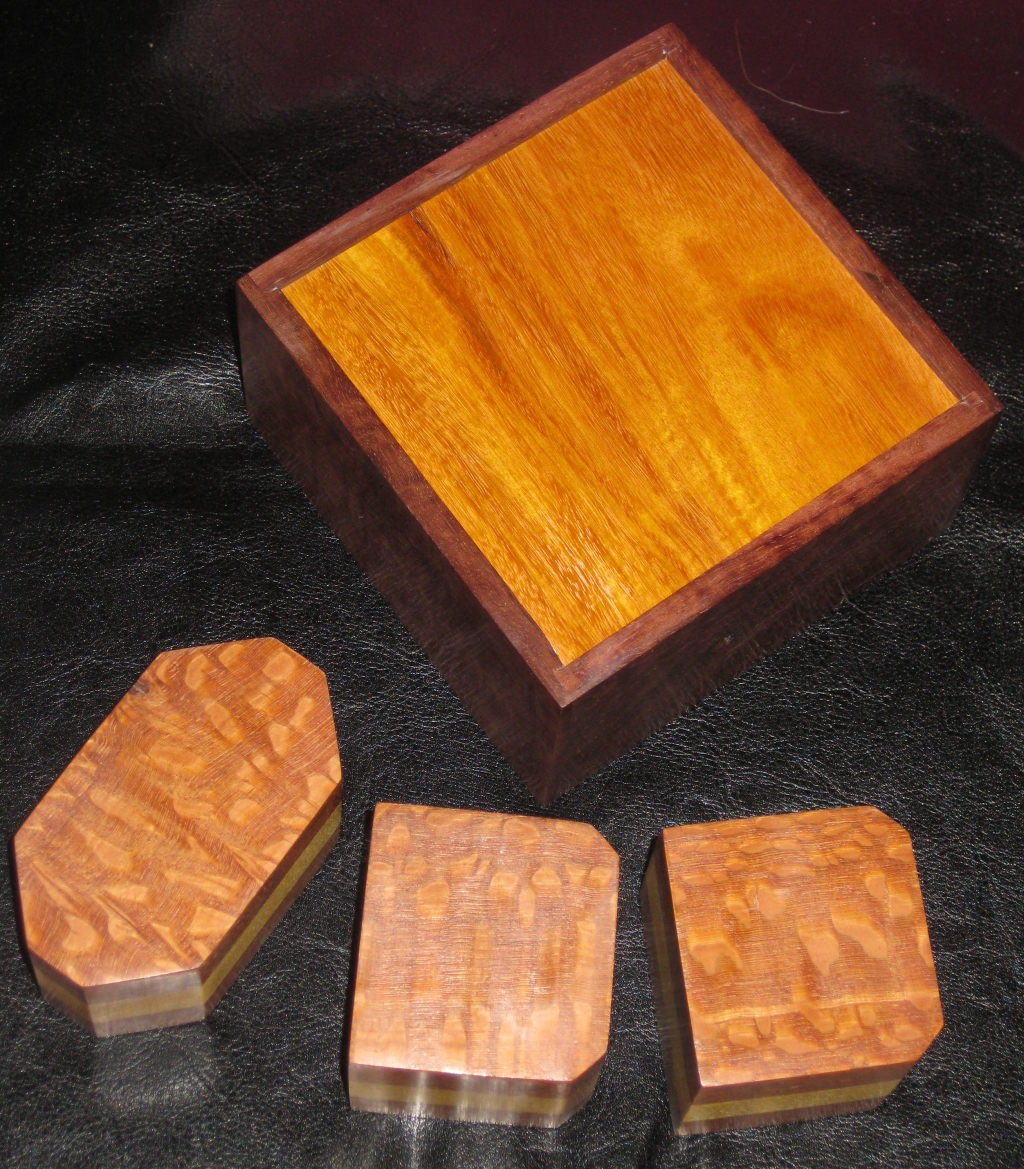
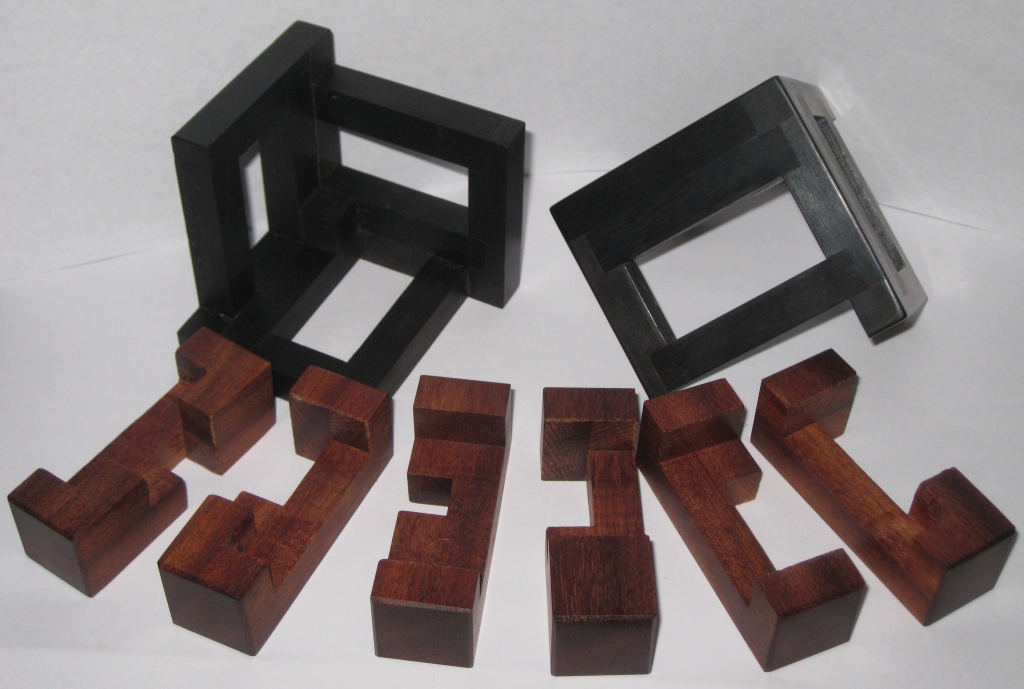
Made from a Walnut box with Paduak base and internal pins, with Yellowheart and Chakte Viga pieces the puzzle looks great. 38 copies were made for sale, and all sold out quickly, as is common for Eric’s puzzles. It’s a good sign for Dan, and I look forward to seeing more of his designs.
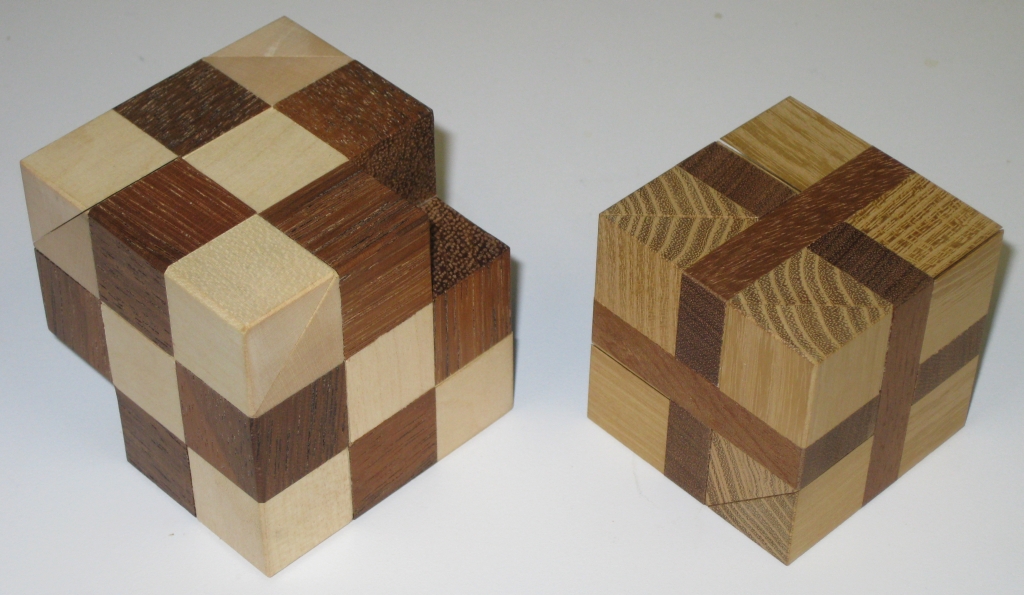
The pieces have a superb contrast, and do make the solution easier. It’s a good sized puzzle, measuring 2.5″ x 2.5″ x 2.825″ making manipulation of the pieces easy. Eric mentioned that there was plenty of room inside the puzzle for wood movement, however I’ve found from my own copy that a couple of the pieces are rather tight. The last piece to come out, I actually believed was glued into the box by the blocks on the walls and didn’t come out. As it happens, it was just an incredibly tight fit, and with a little encouragement it did come out. The pieces are all burr style pieces, and all feel solid so there’s no worry about breaking anything. Equally, the pins are well attached to the box, so they’re unlikely to come off without some serious abuse.
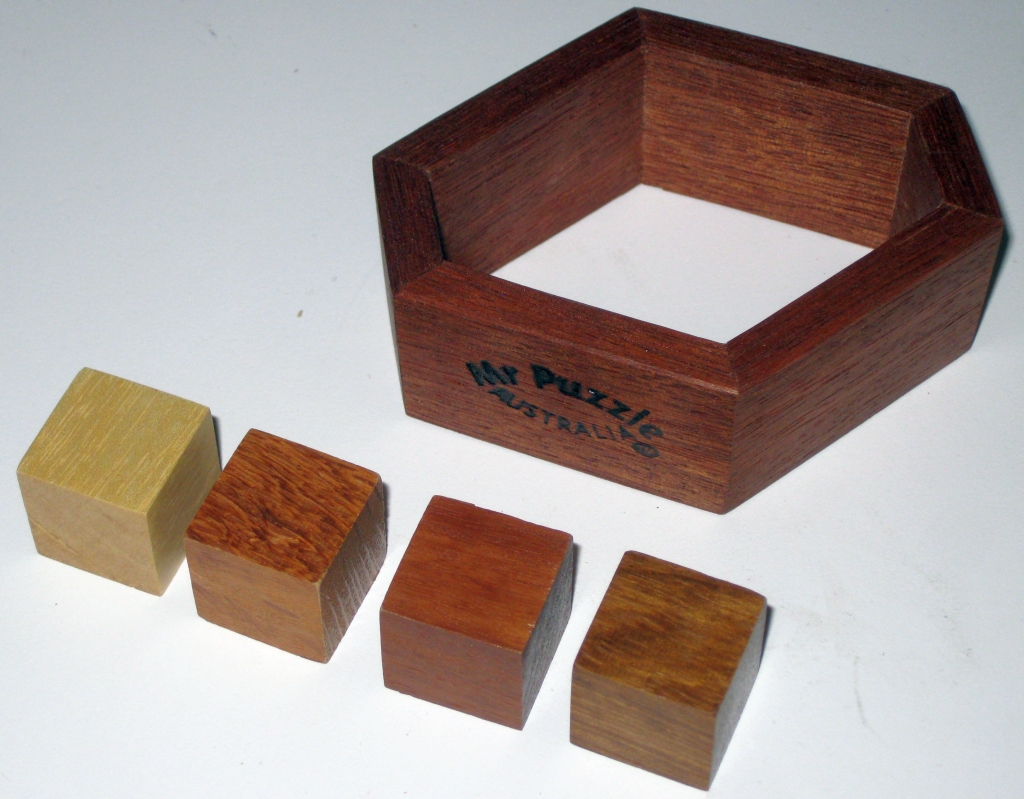
The goal of the puzzle is to remove the burr pieces and return them to their box. What makes the puzzle different is that for the most part, it’s not possible to manipulate the pieces directly, but instead you need to shake, turn and jiggle the box to move the pieces. To make things more interesting, the internal blockages in the box remain hidden, meaning you can’t see the interactions between the pieces, and need to carefully observe and react to the obstructions you find.
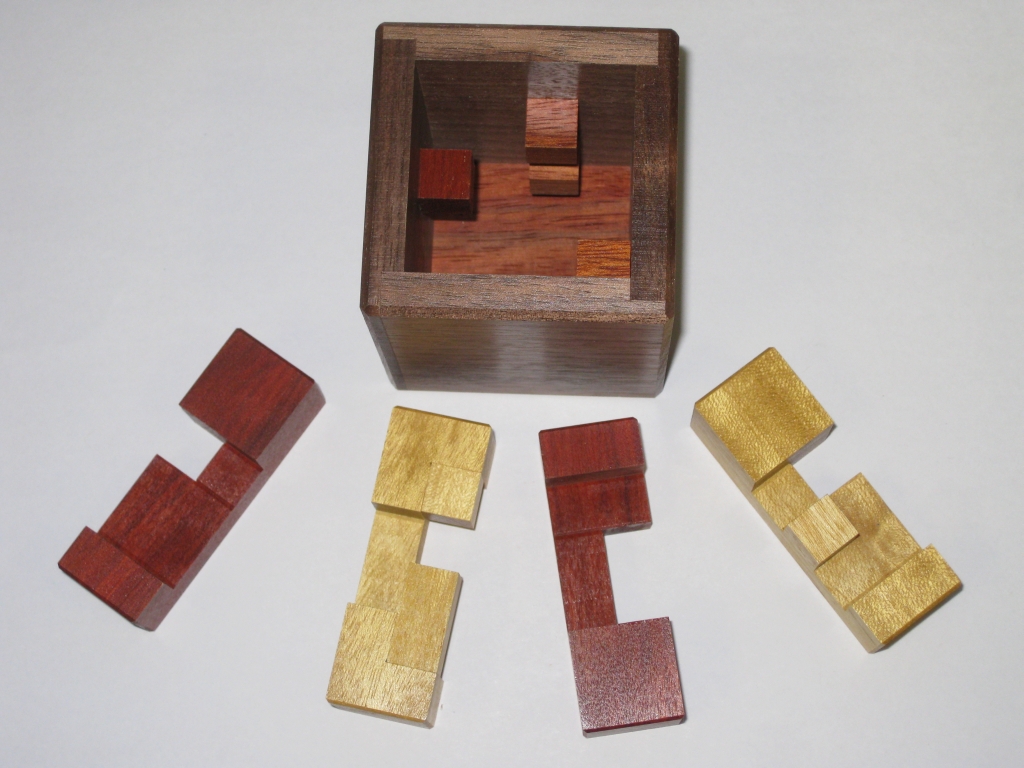
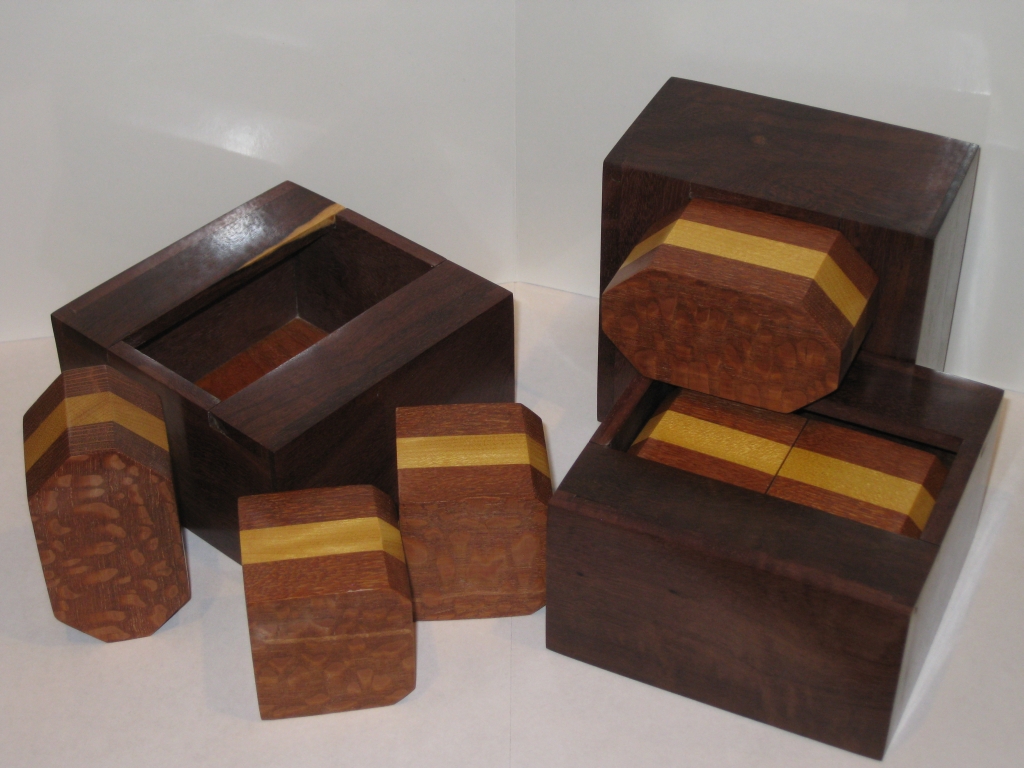
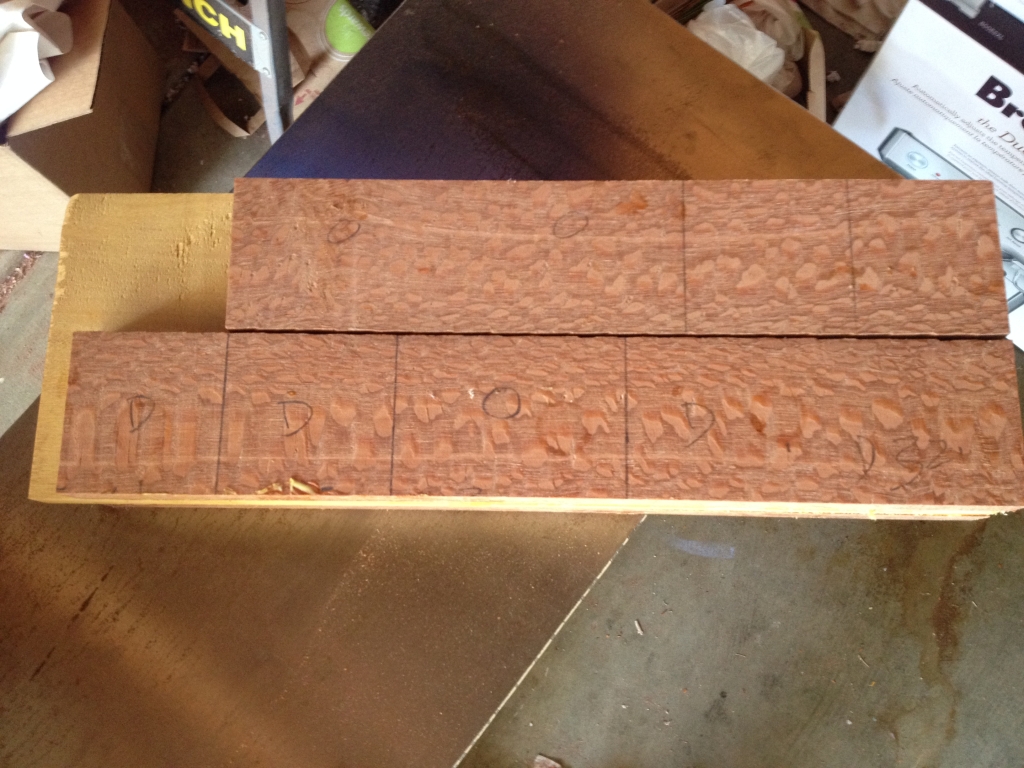
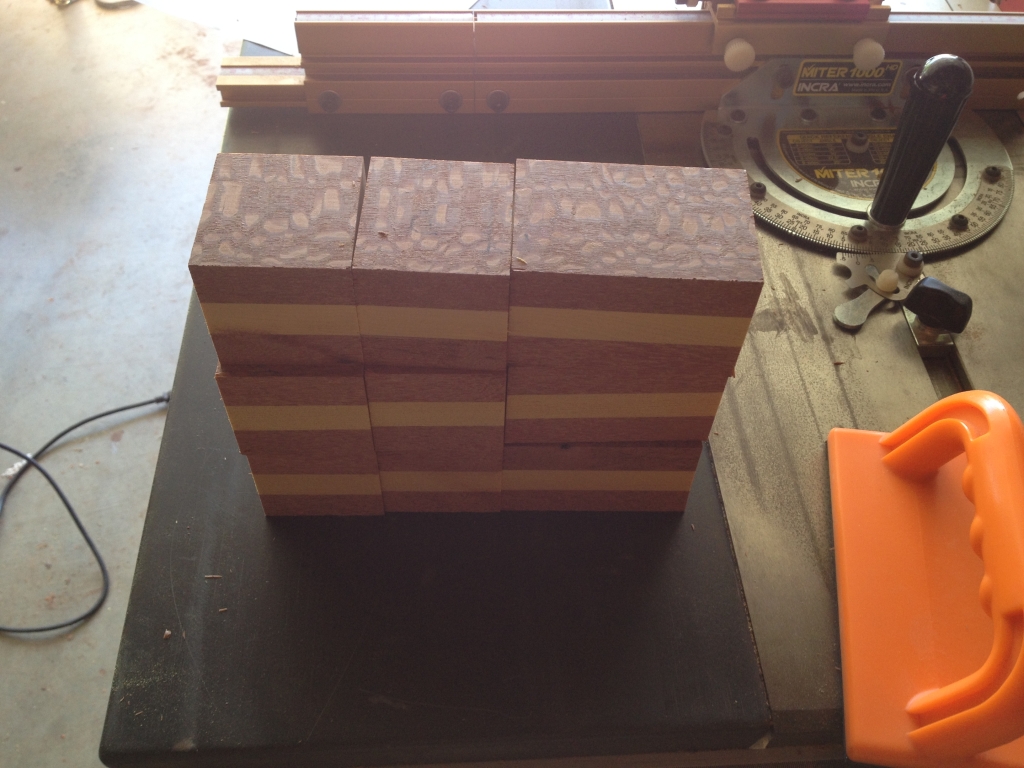
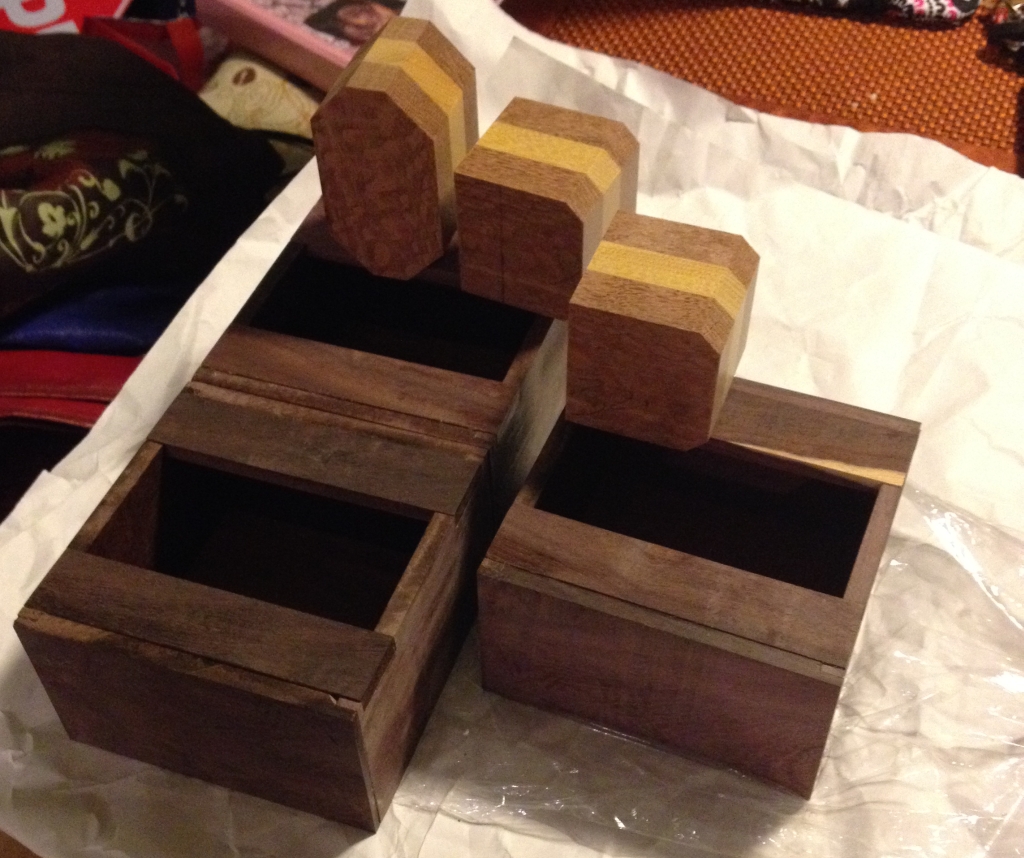
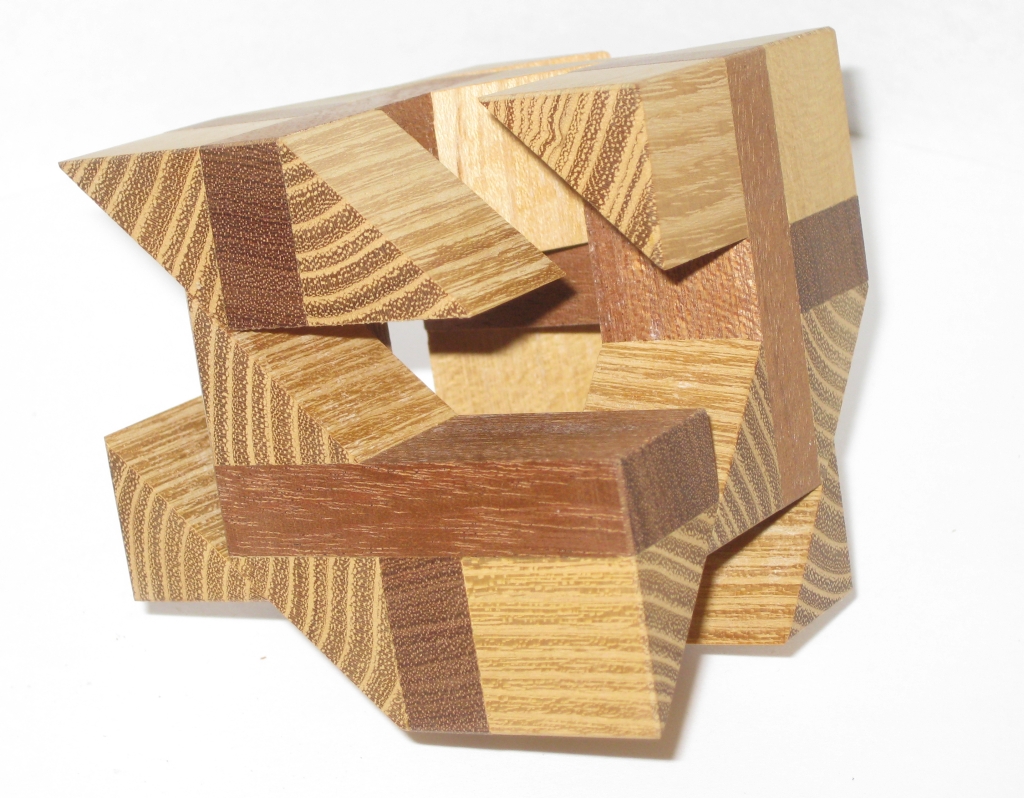
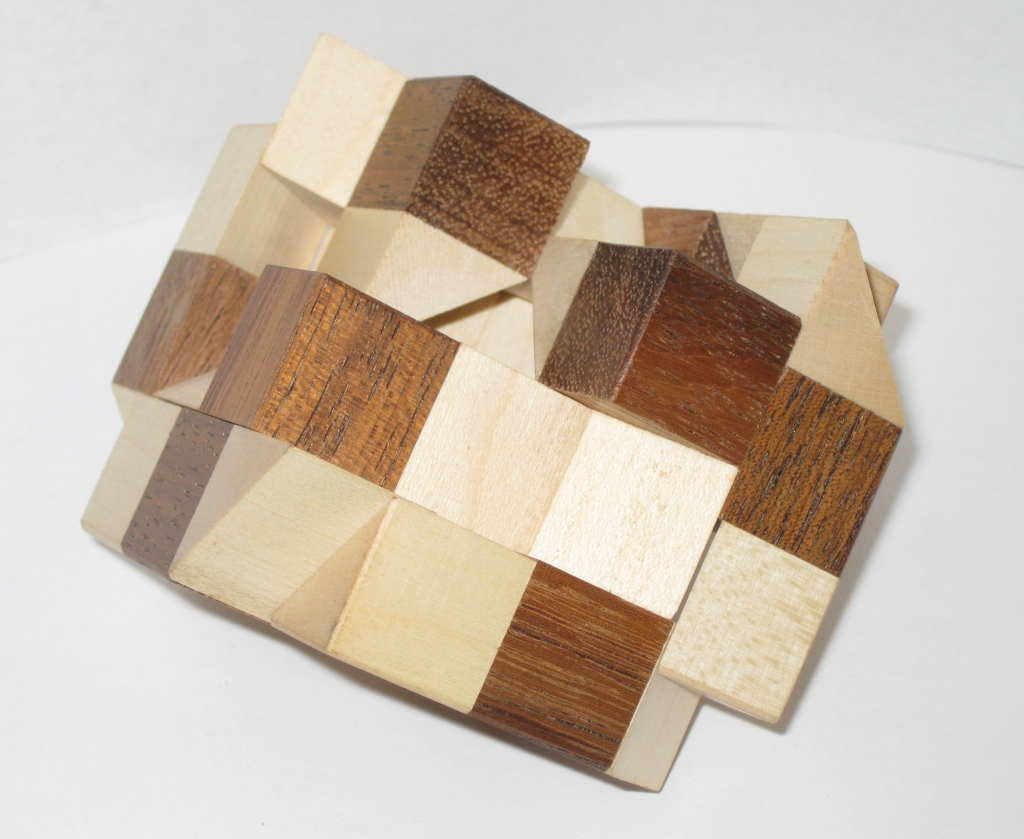
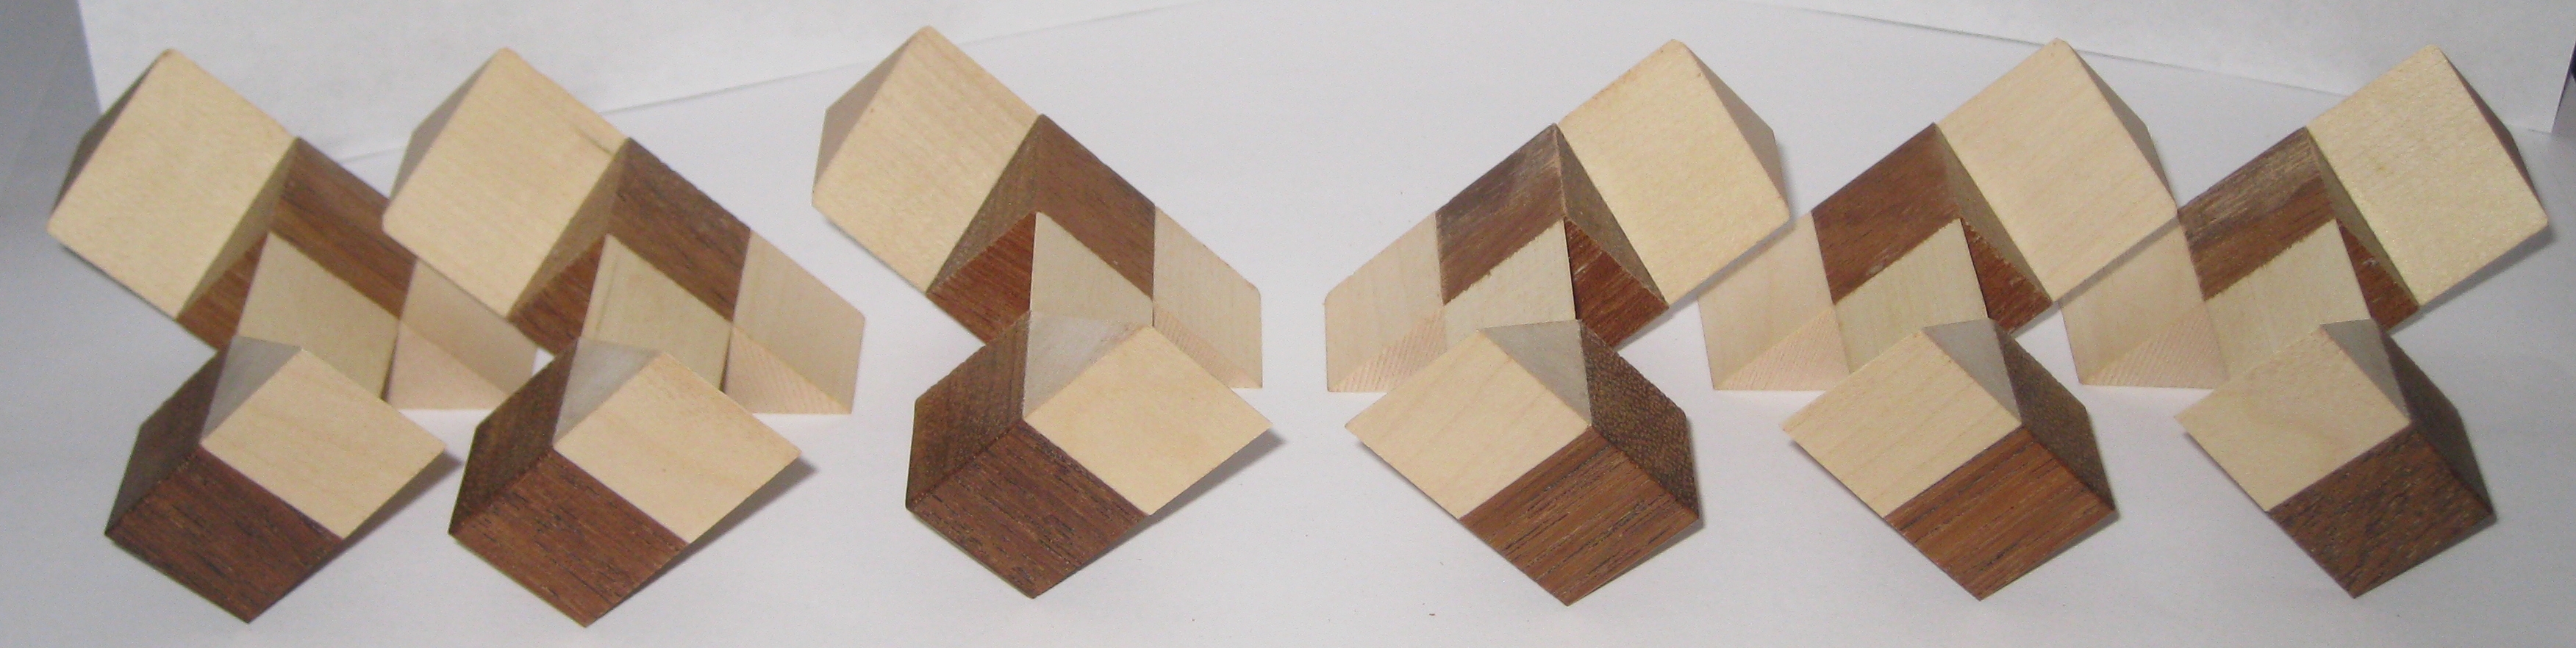
Shake Something pieces
In total, there are 14 moves required to remove the first piece, with a total complexity of 14.2.4. I found that removing the pieces wasn’t too much of a challenge, taking around 5 minutes, however I didn’t pay all that much attention to how the pieces came out, and left them scrambled before trying to put them back into the box. I think this was my own folly, as I thought it was fairly straight forward when taking it apart.
As it turns out, I had a much bigger challenge putting it back together, and it took several hours over a few nights to get it back to the starting position. As I mentioned previously, given that I have one piece which I thought was stuck in place, I was only having to worry about 3 pieces, as there was one which had to be in the right place and orientation. Still I got lots of puzzling for my money!
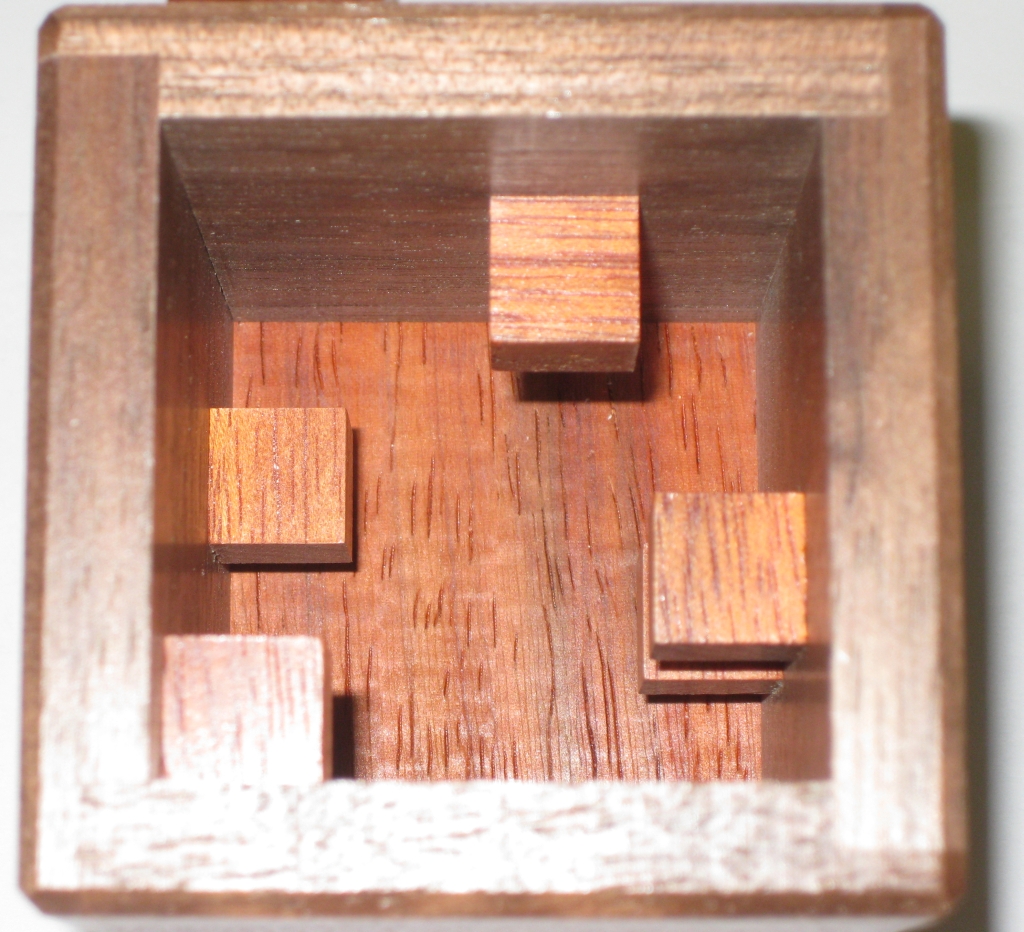
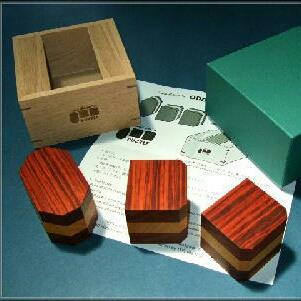
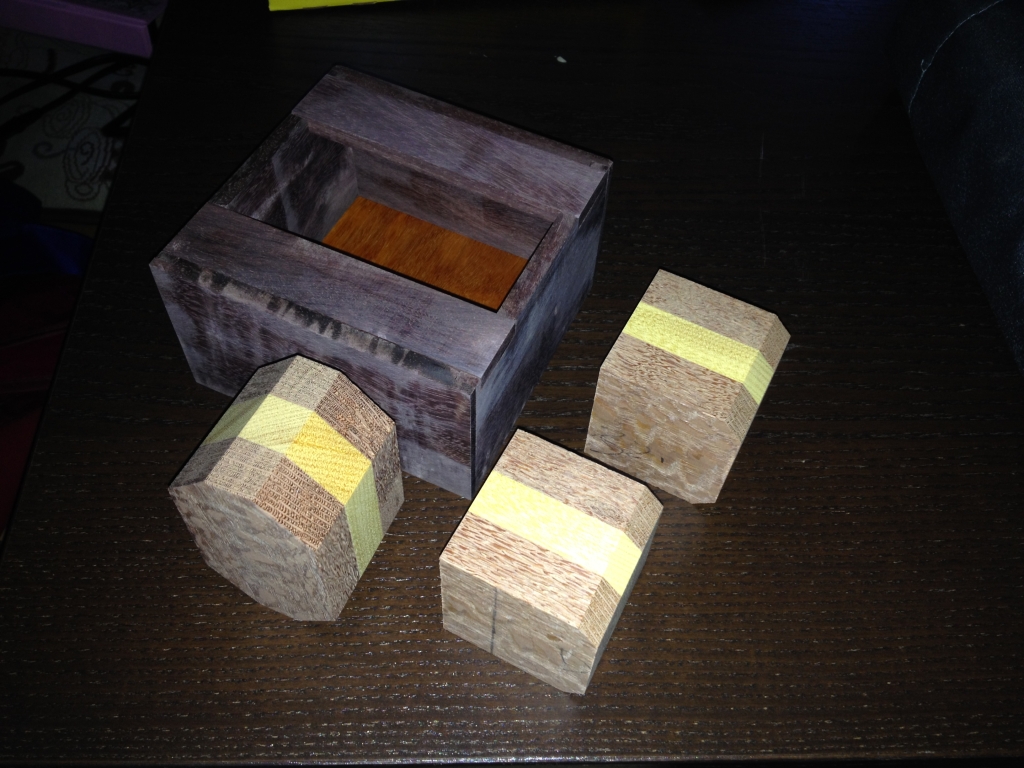
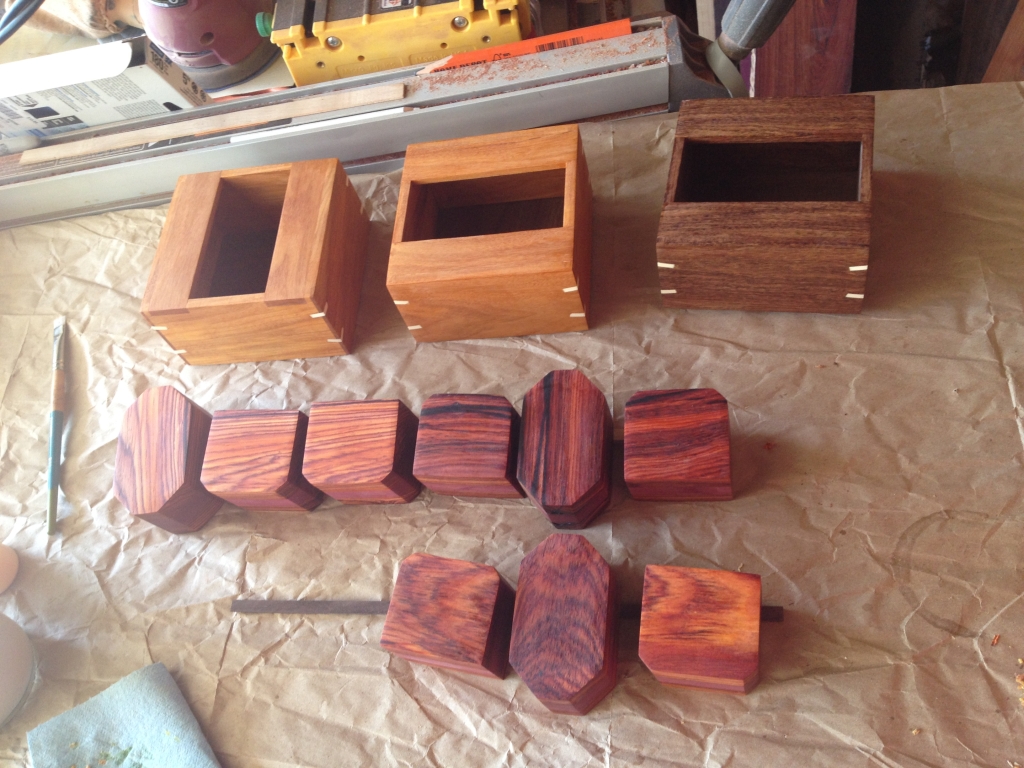
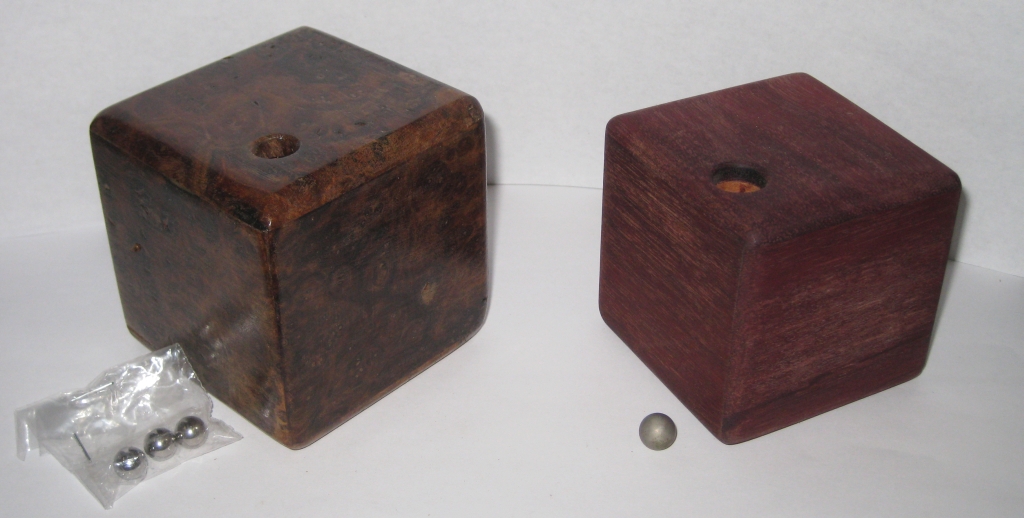
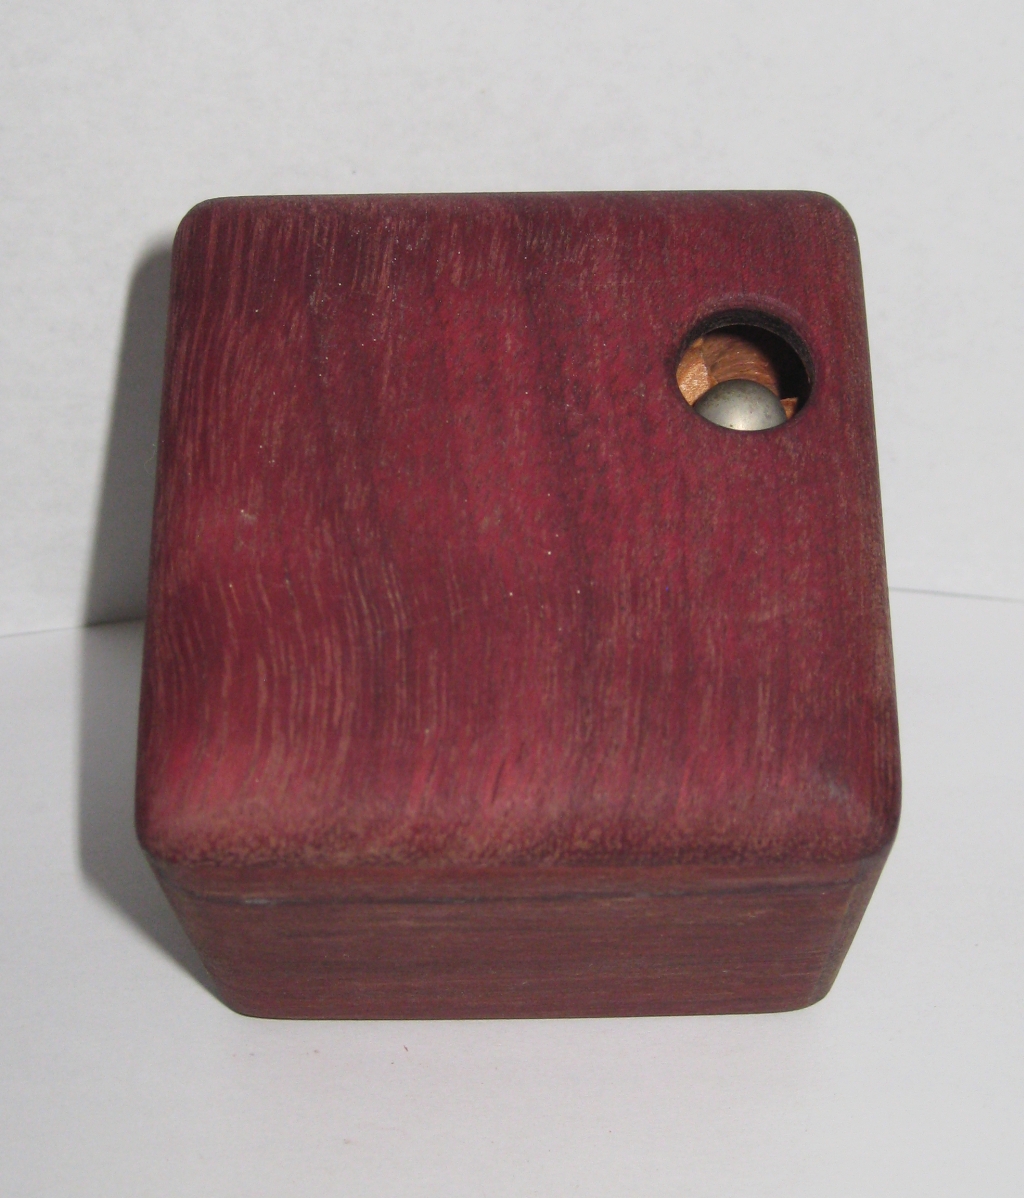
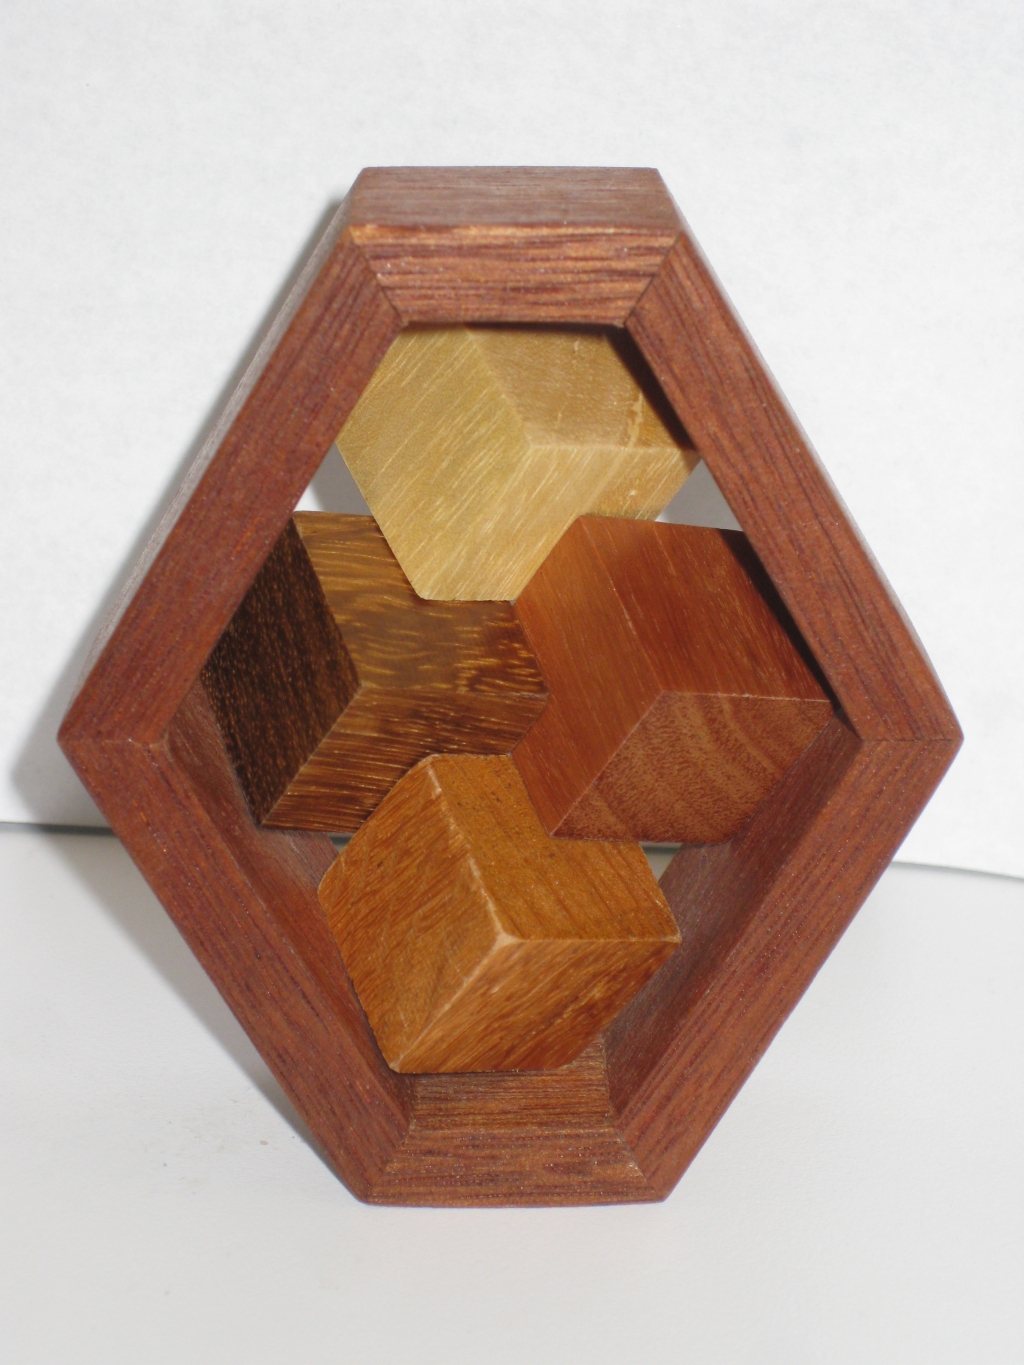
Shake Something’s knobbly box
With all the pieces removed, you can see the blocks on the inside of the box which interact with the burr pieces, and make the puzzle both challenging, and a lot of fun. Having solved the puzzle without the need for help, I was pretty happy, so took the expected step of plugging the puzzle into Burr Tools, and seeing what it came up with. Apparently there are 1924 ways that the pieces can fit in the box, but only 3 ways to assemble the pieces. That means that if you didn’t have the walls of the box glued together, there would be 1924 ways to put the pieces together, however with them glued up, only 3 of the possible combinations can be assembled into the solution. I feel pretty good having found one of the three on my own. It’s certainly manageable, and I highly recommend that you give it a try before just asking Burr Tools to help.
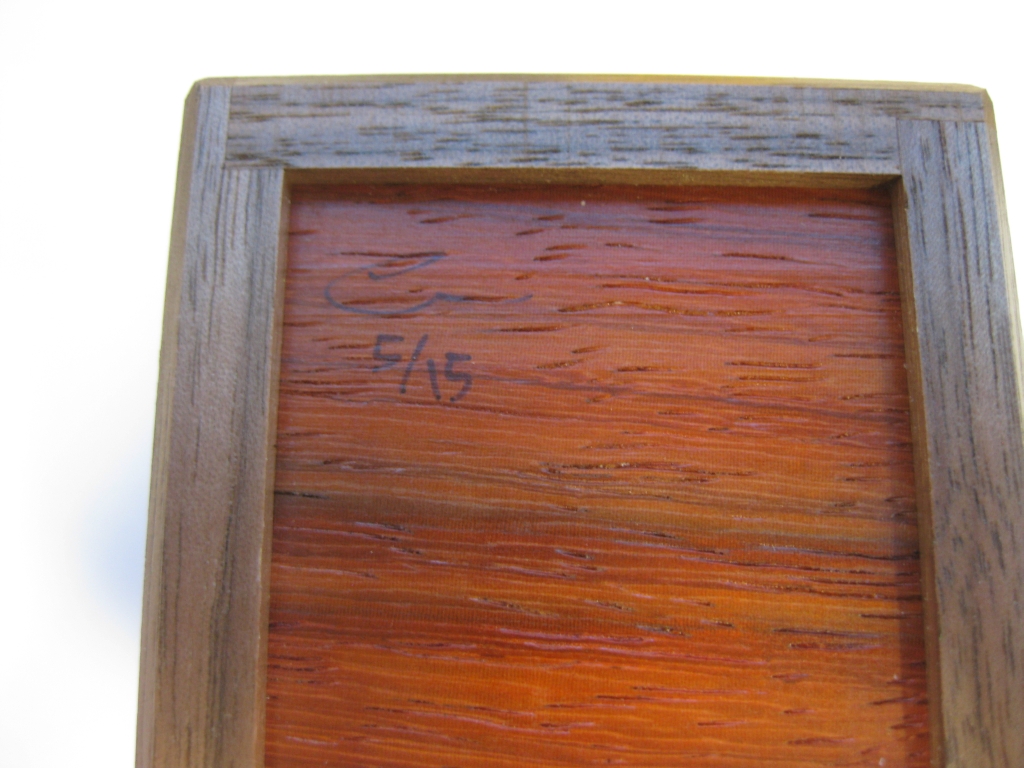
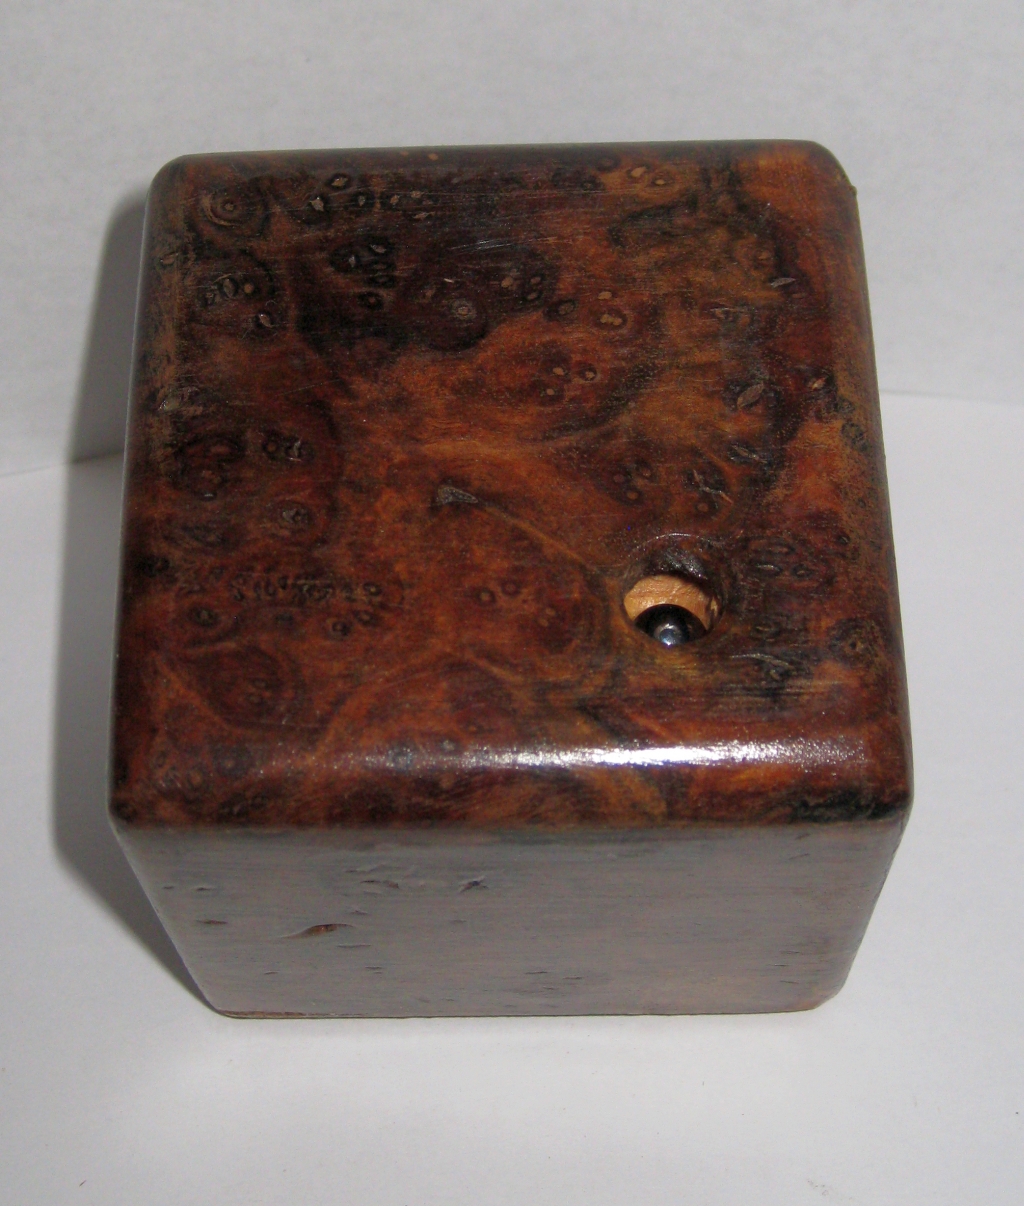
Eric is living in the Future
No doubt I confused you at the start of my post, by suggesting Eric was living in the future. Looking at how he signed this box, perhaps my comment makes more sense. Apparently Eric made this in May 2015. Guess I slept well last night! (Either that or Eric has a time machine, and I’d really like to borrow it!)


