Category Archives: Puzzle Creation

Revomaze Clear Sleeve – Followup

This entry is part 7 of 11 in the series Revomaze

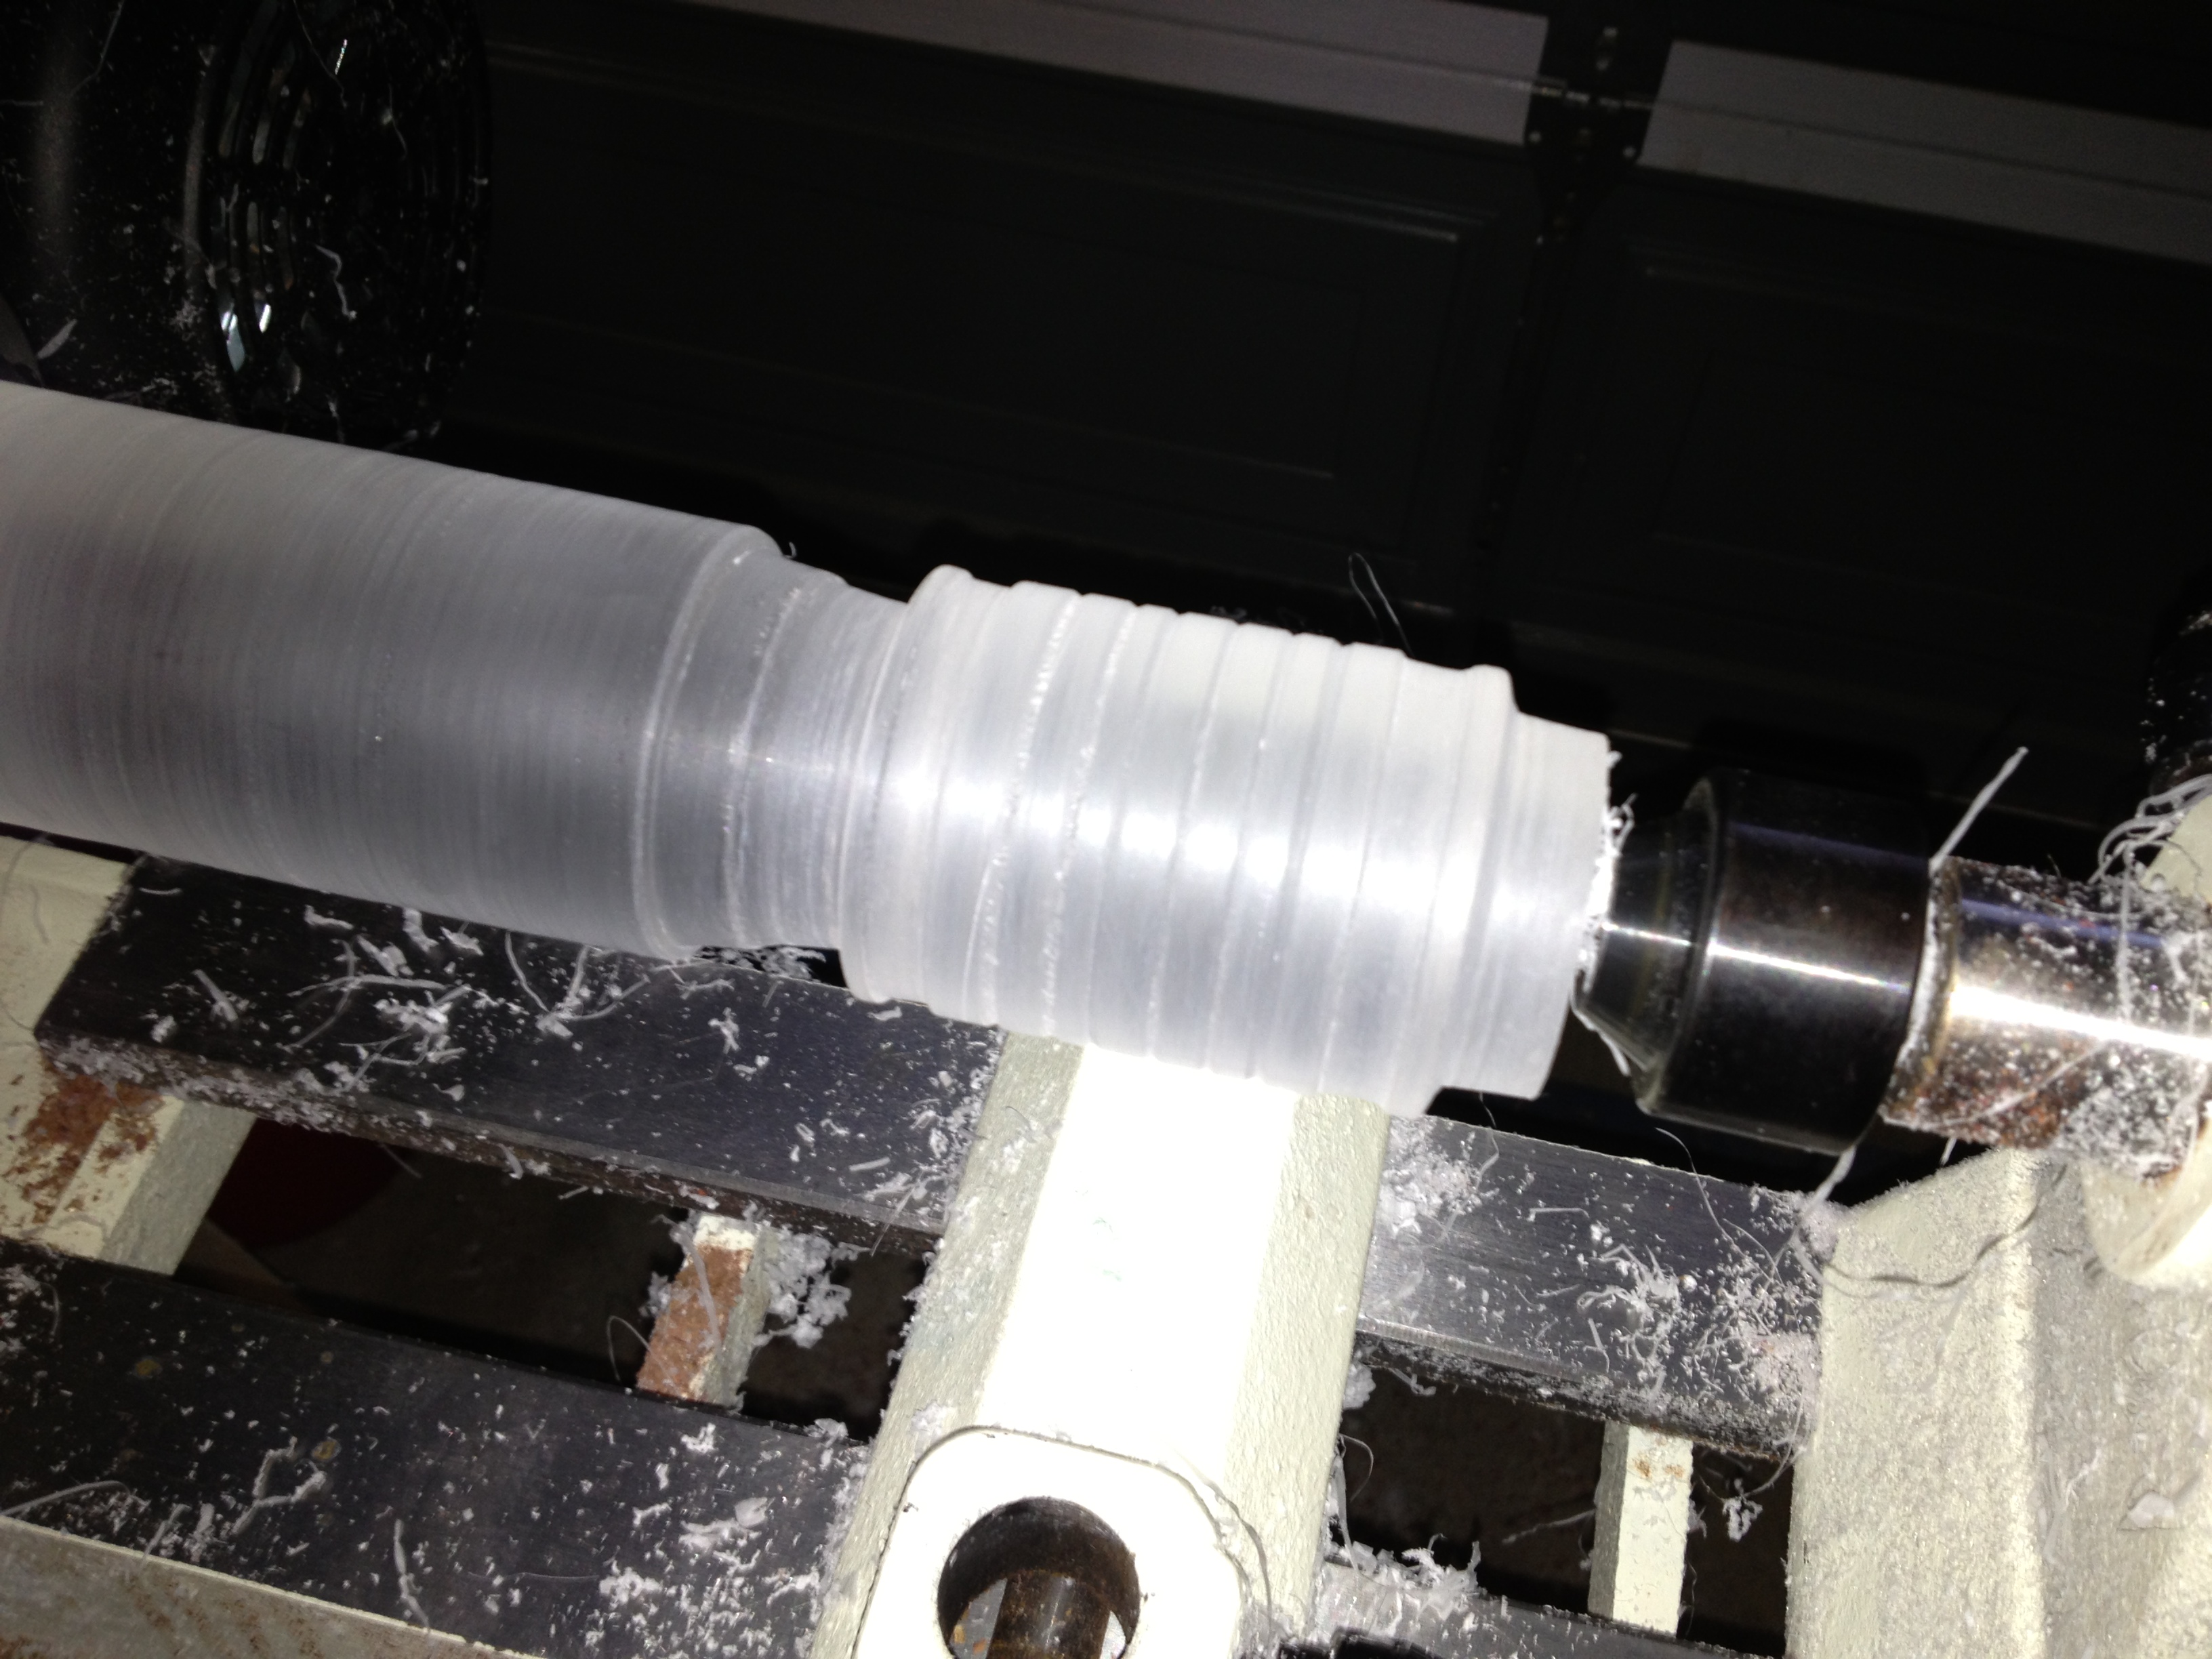
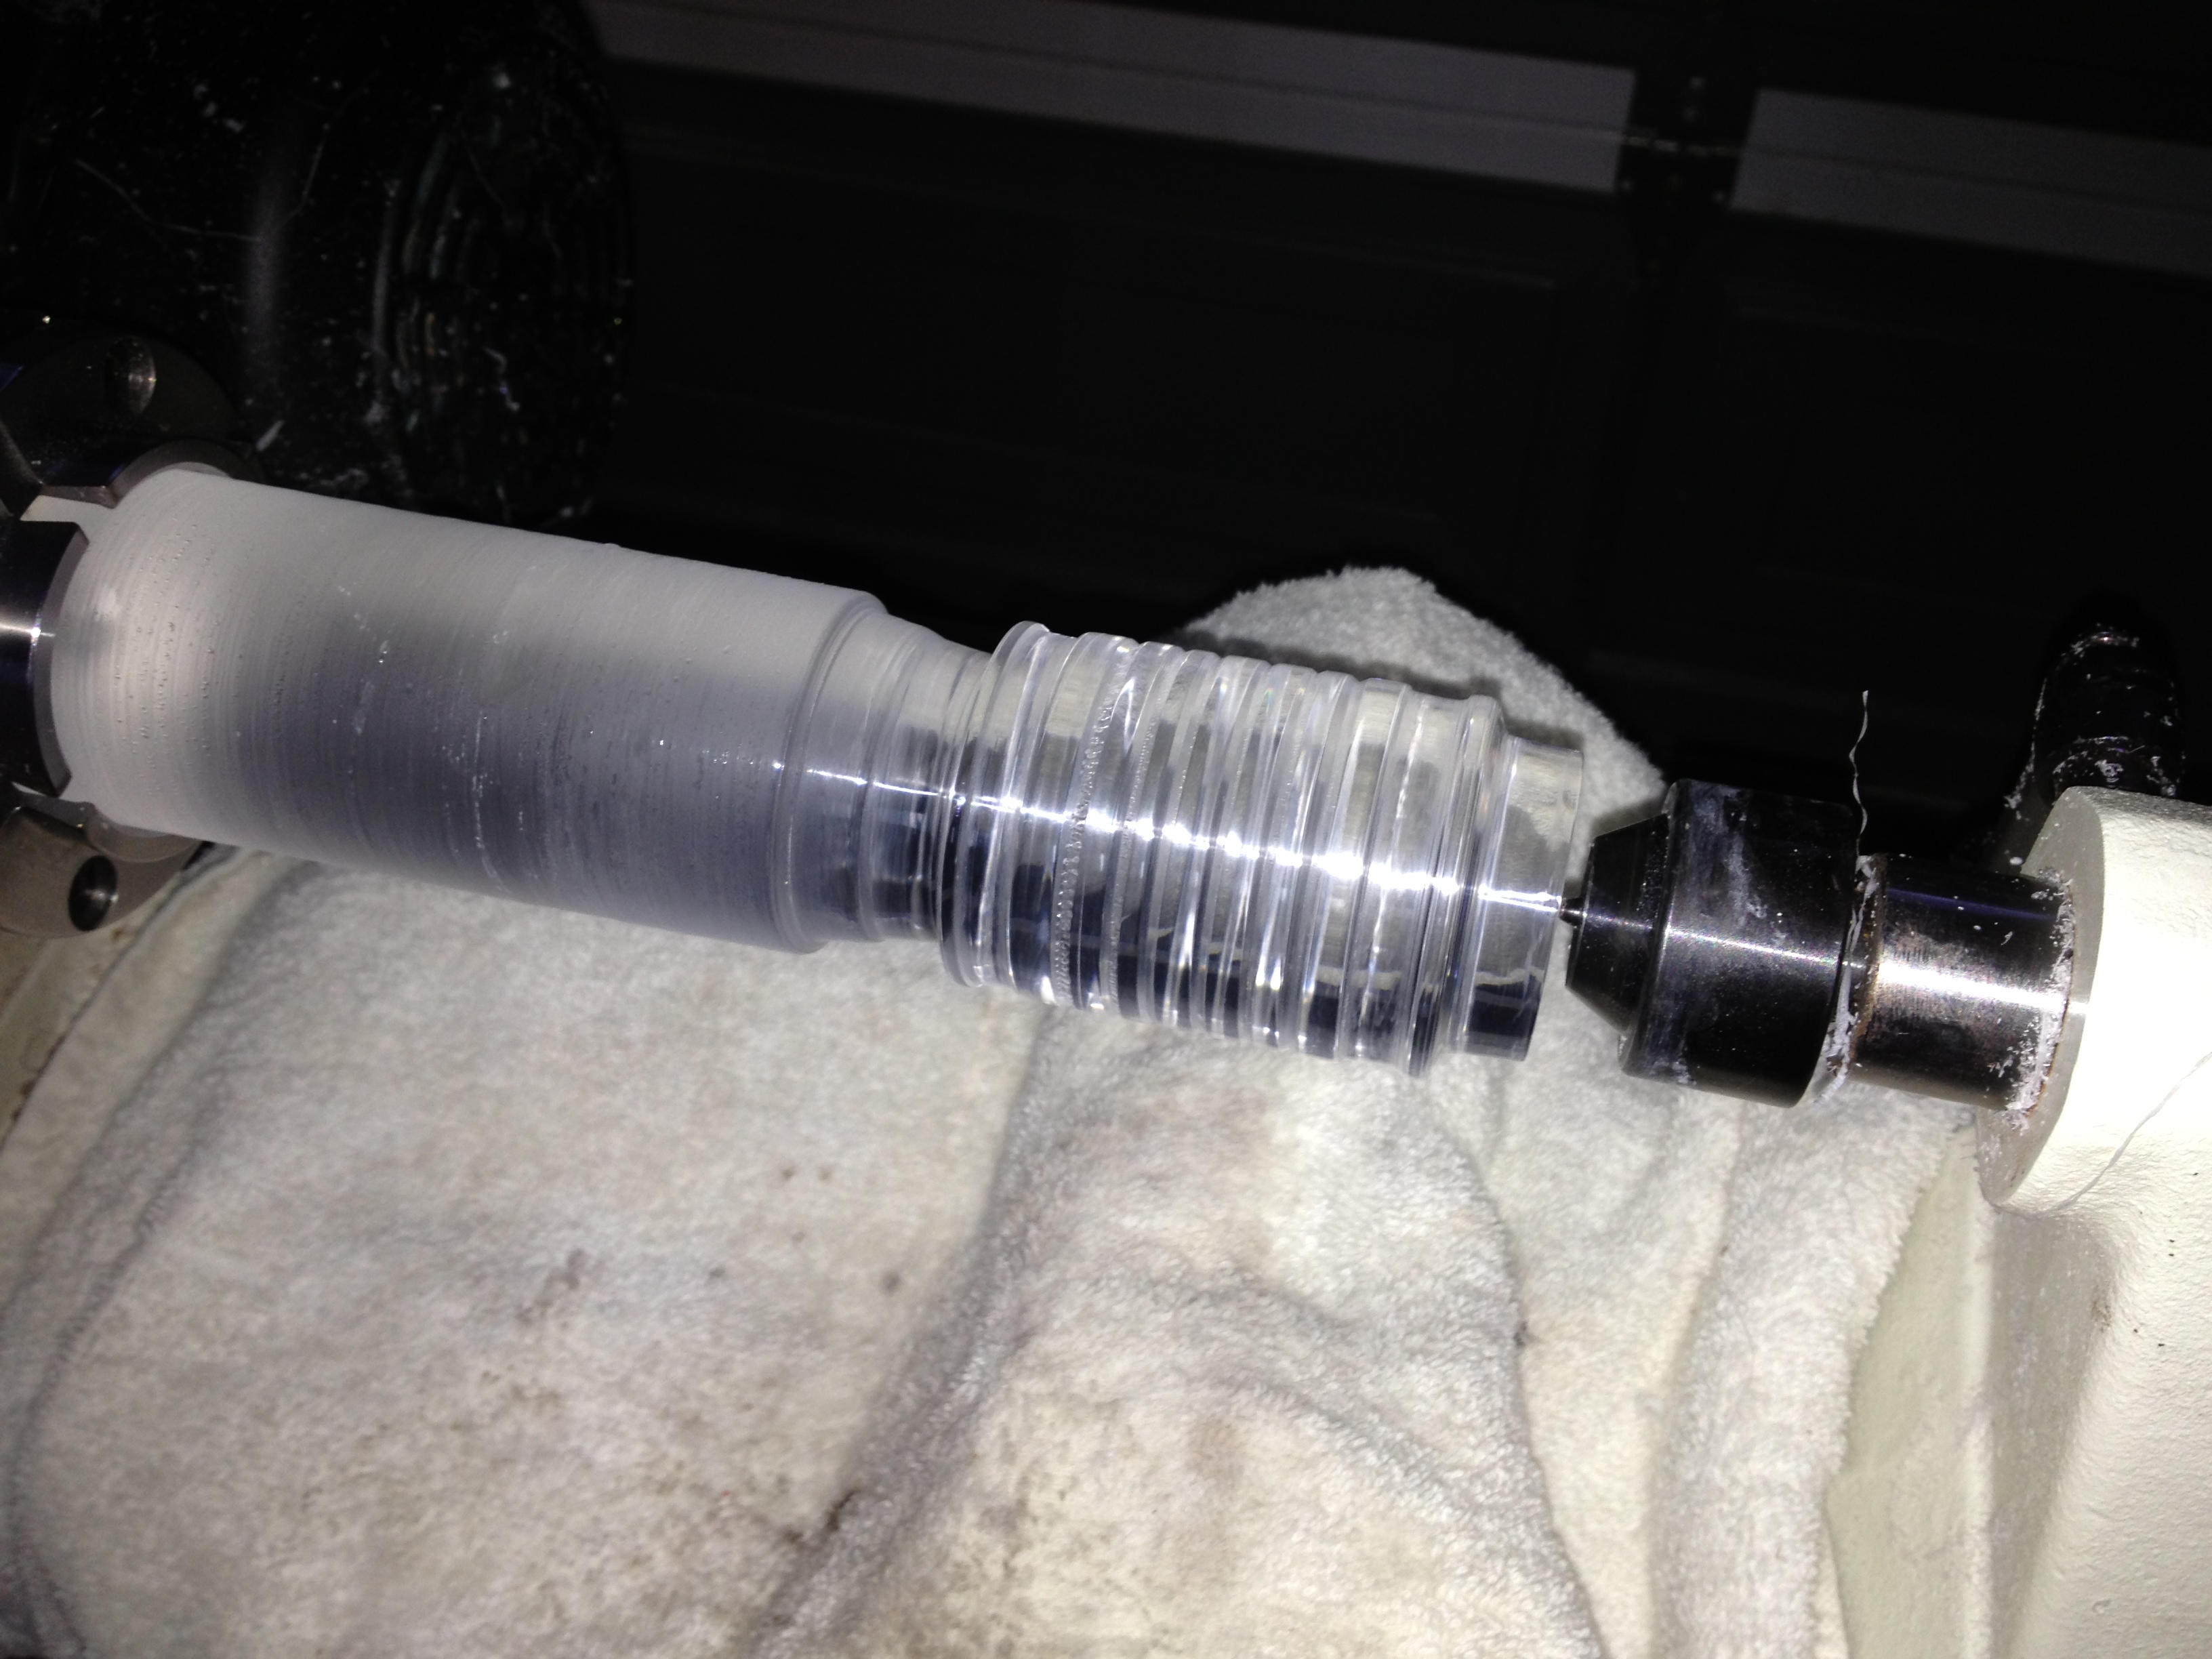
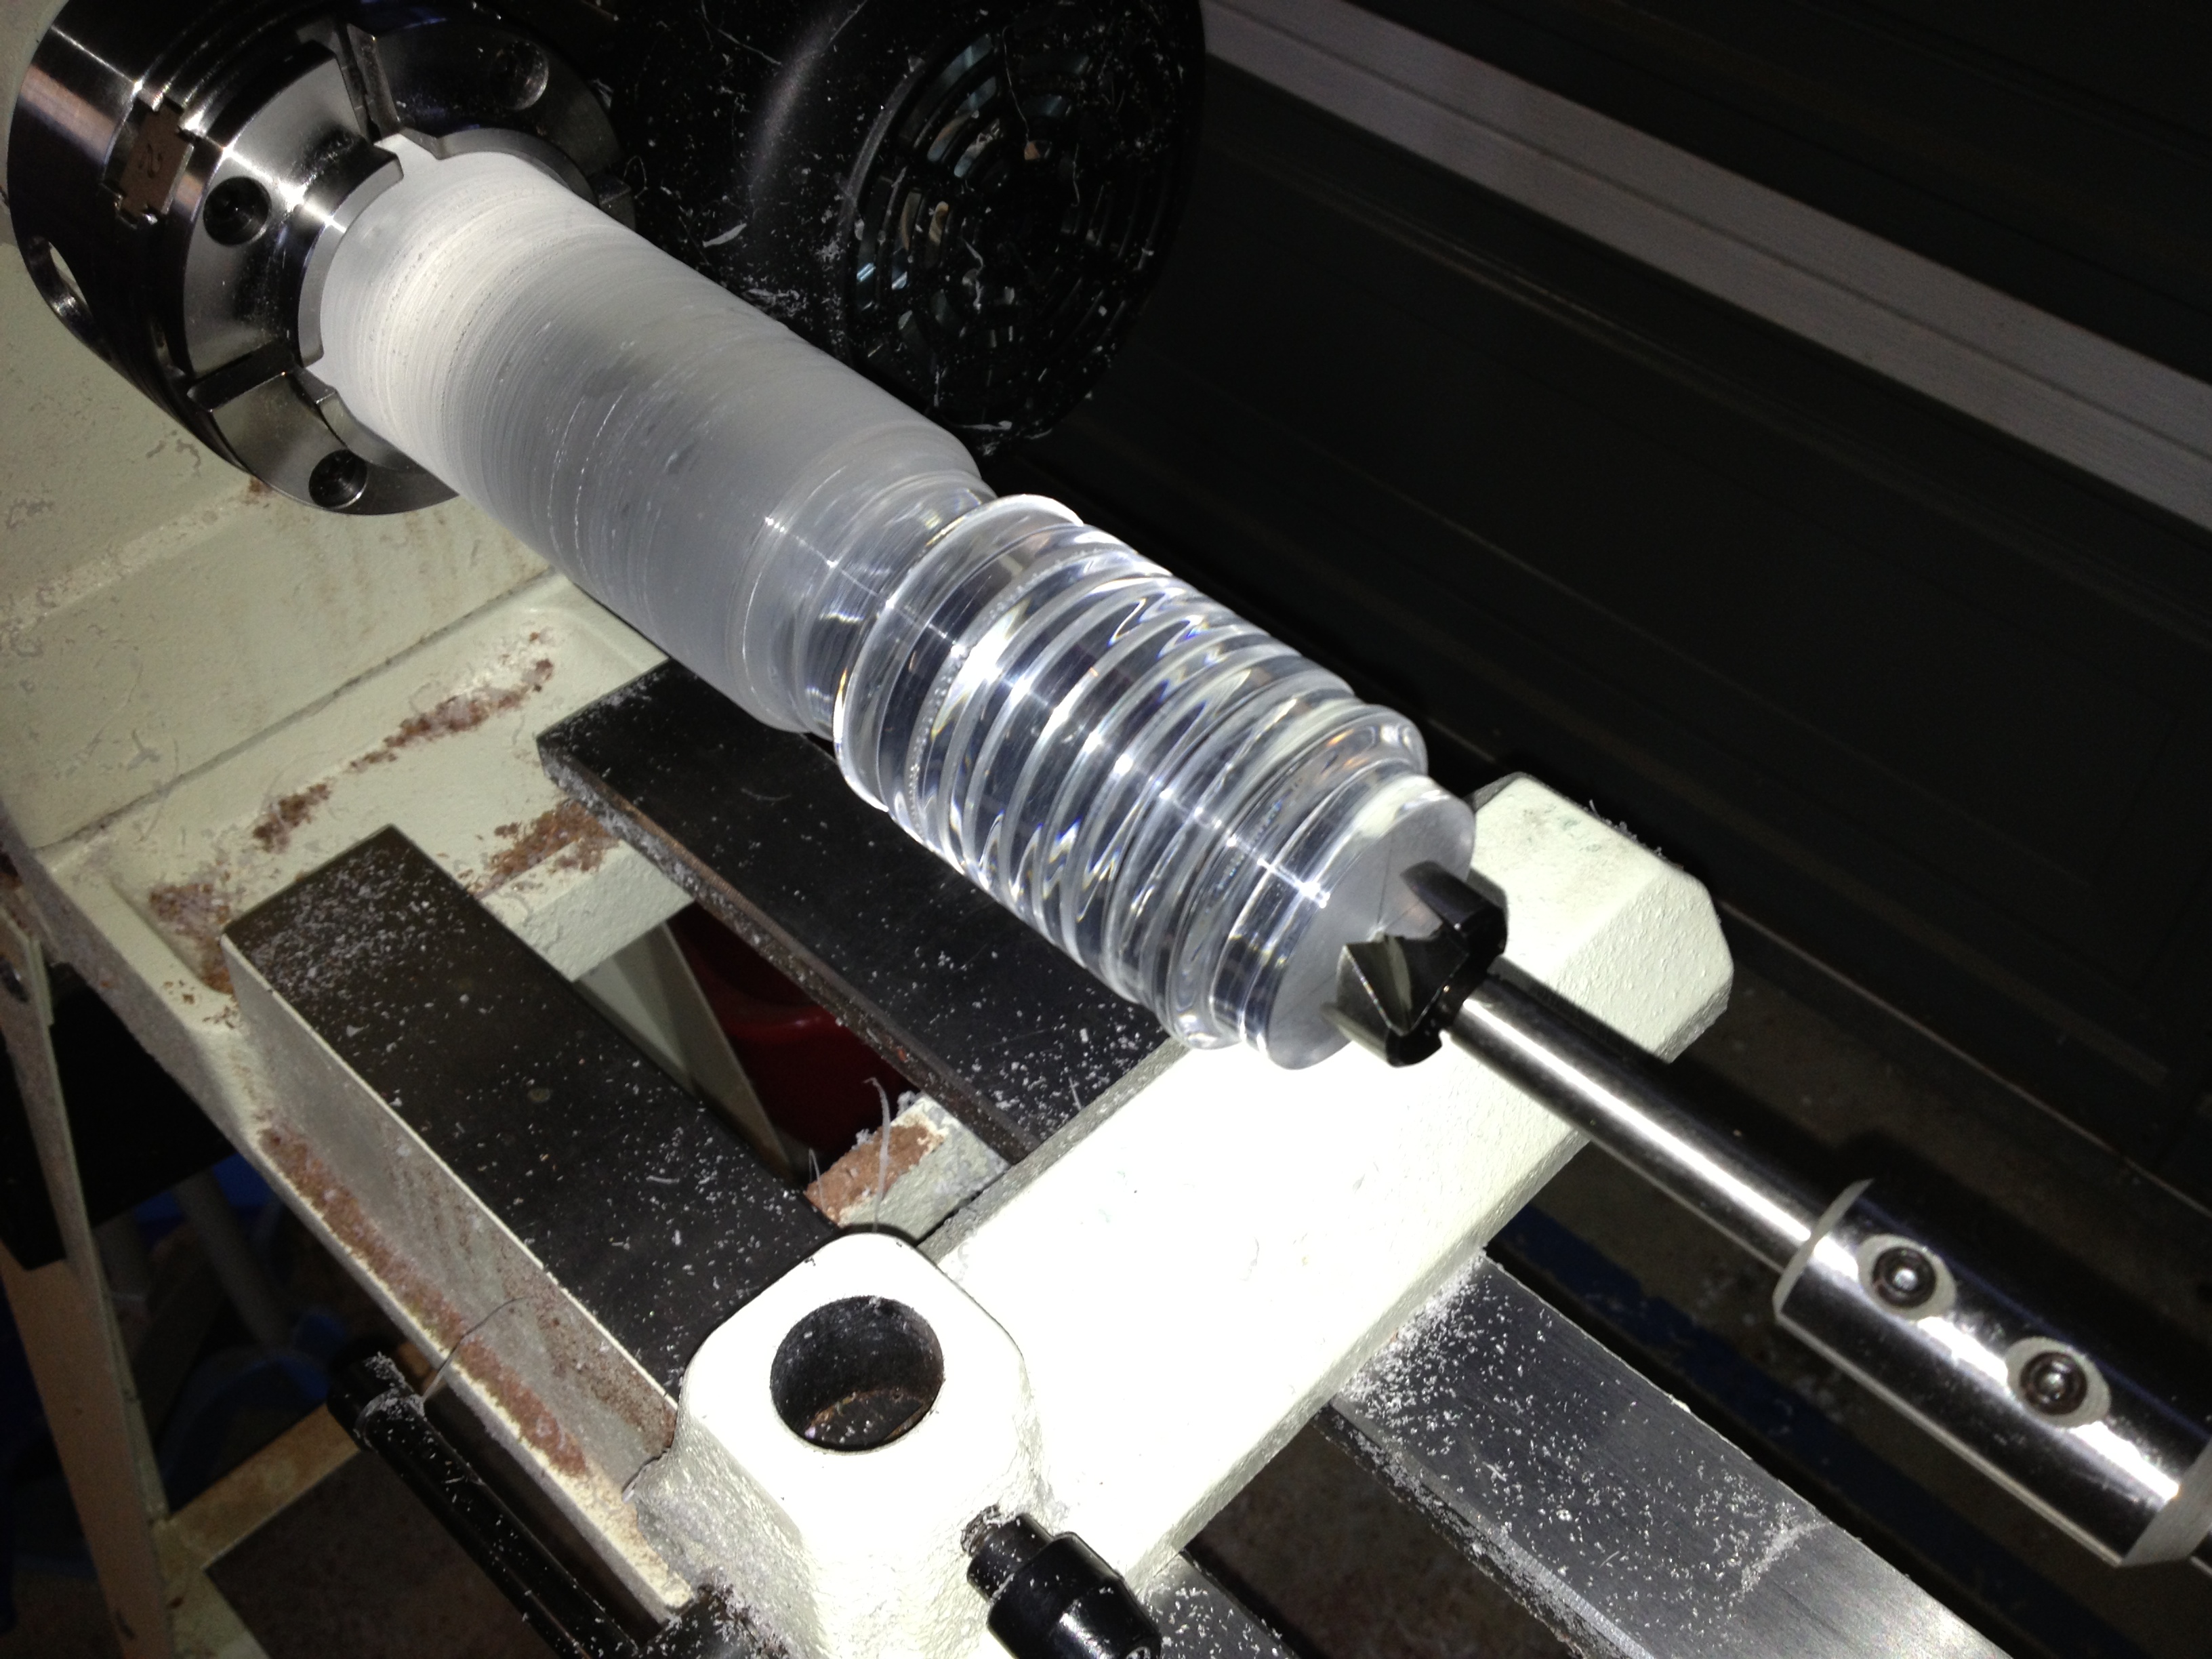
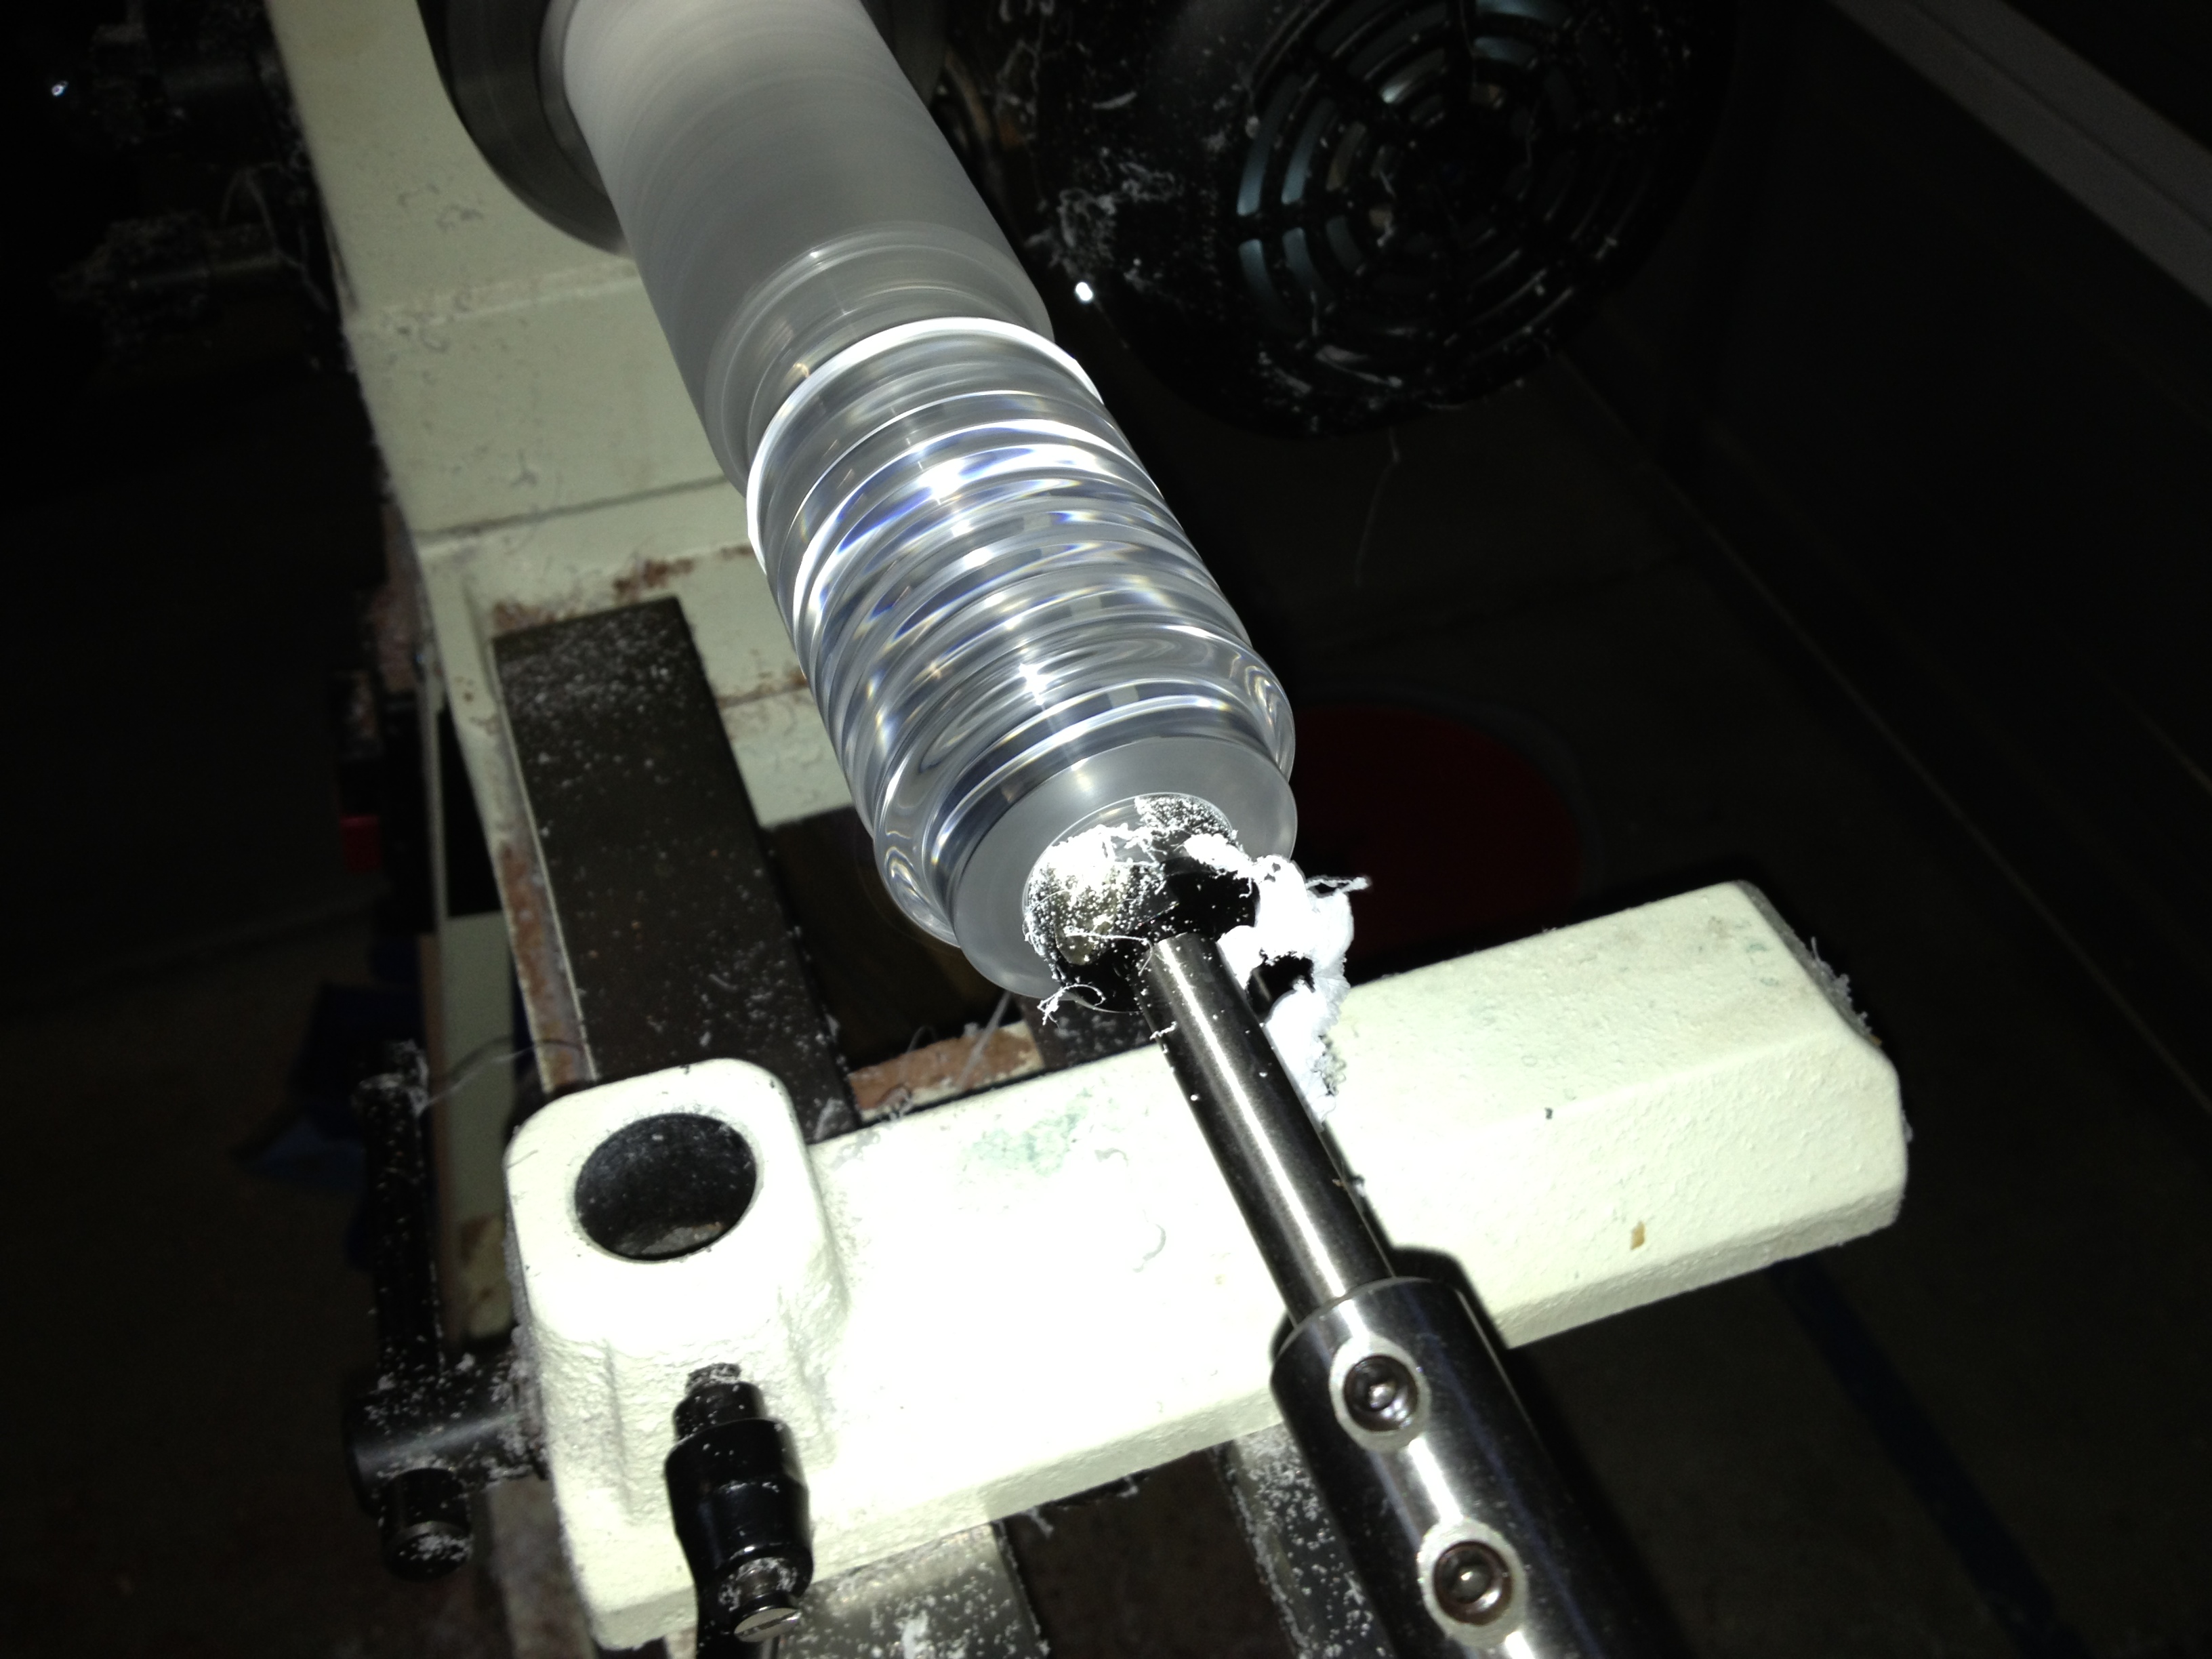
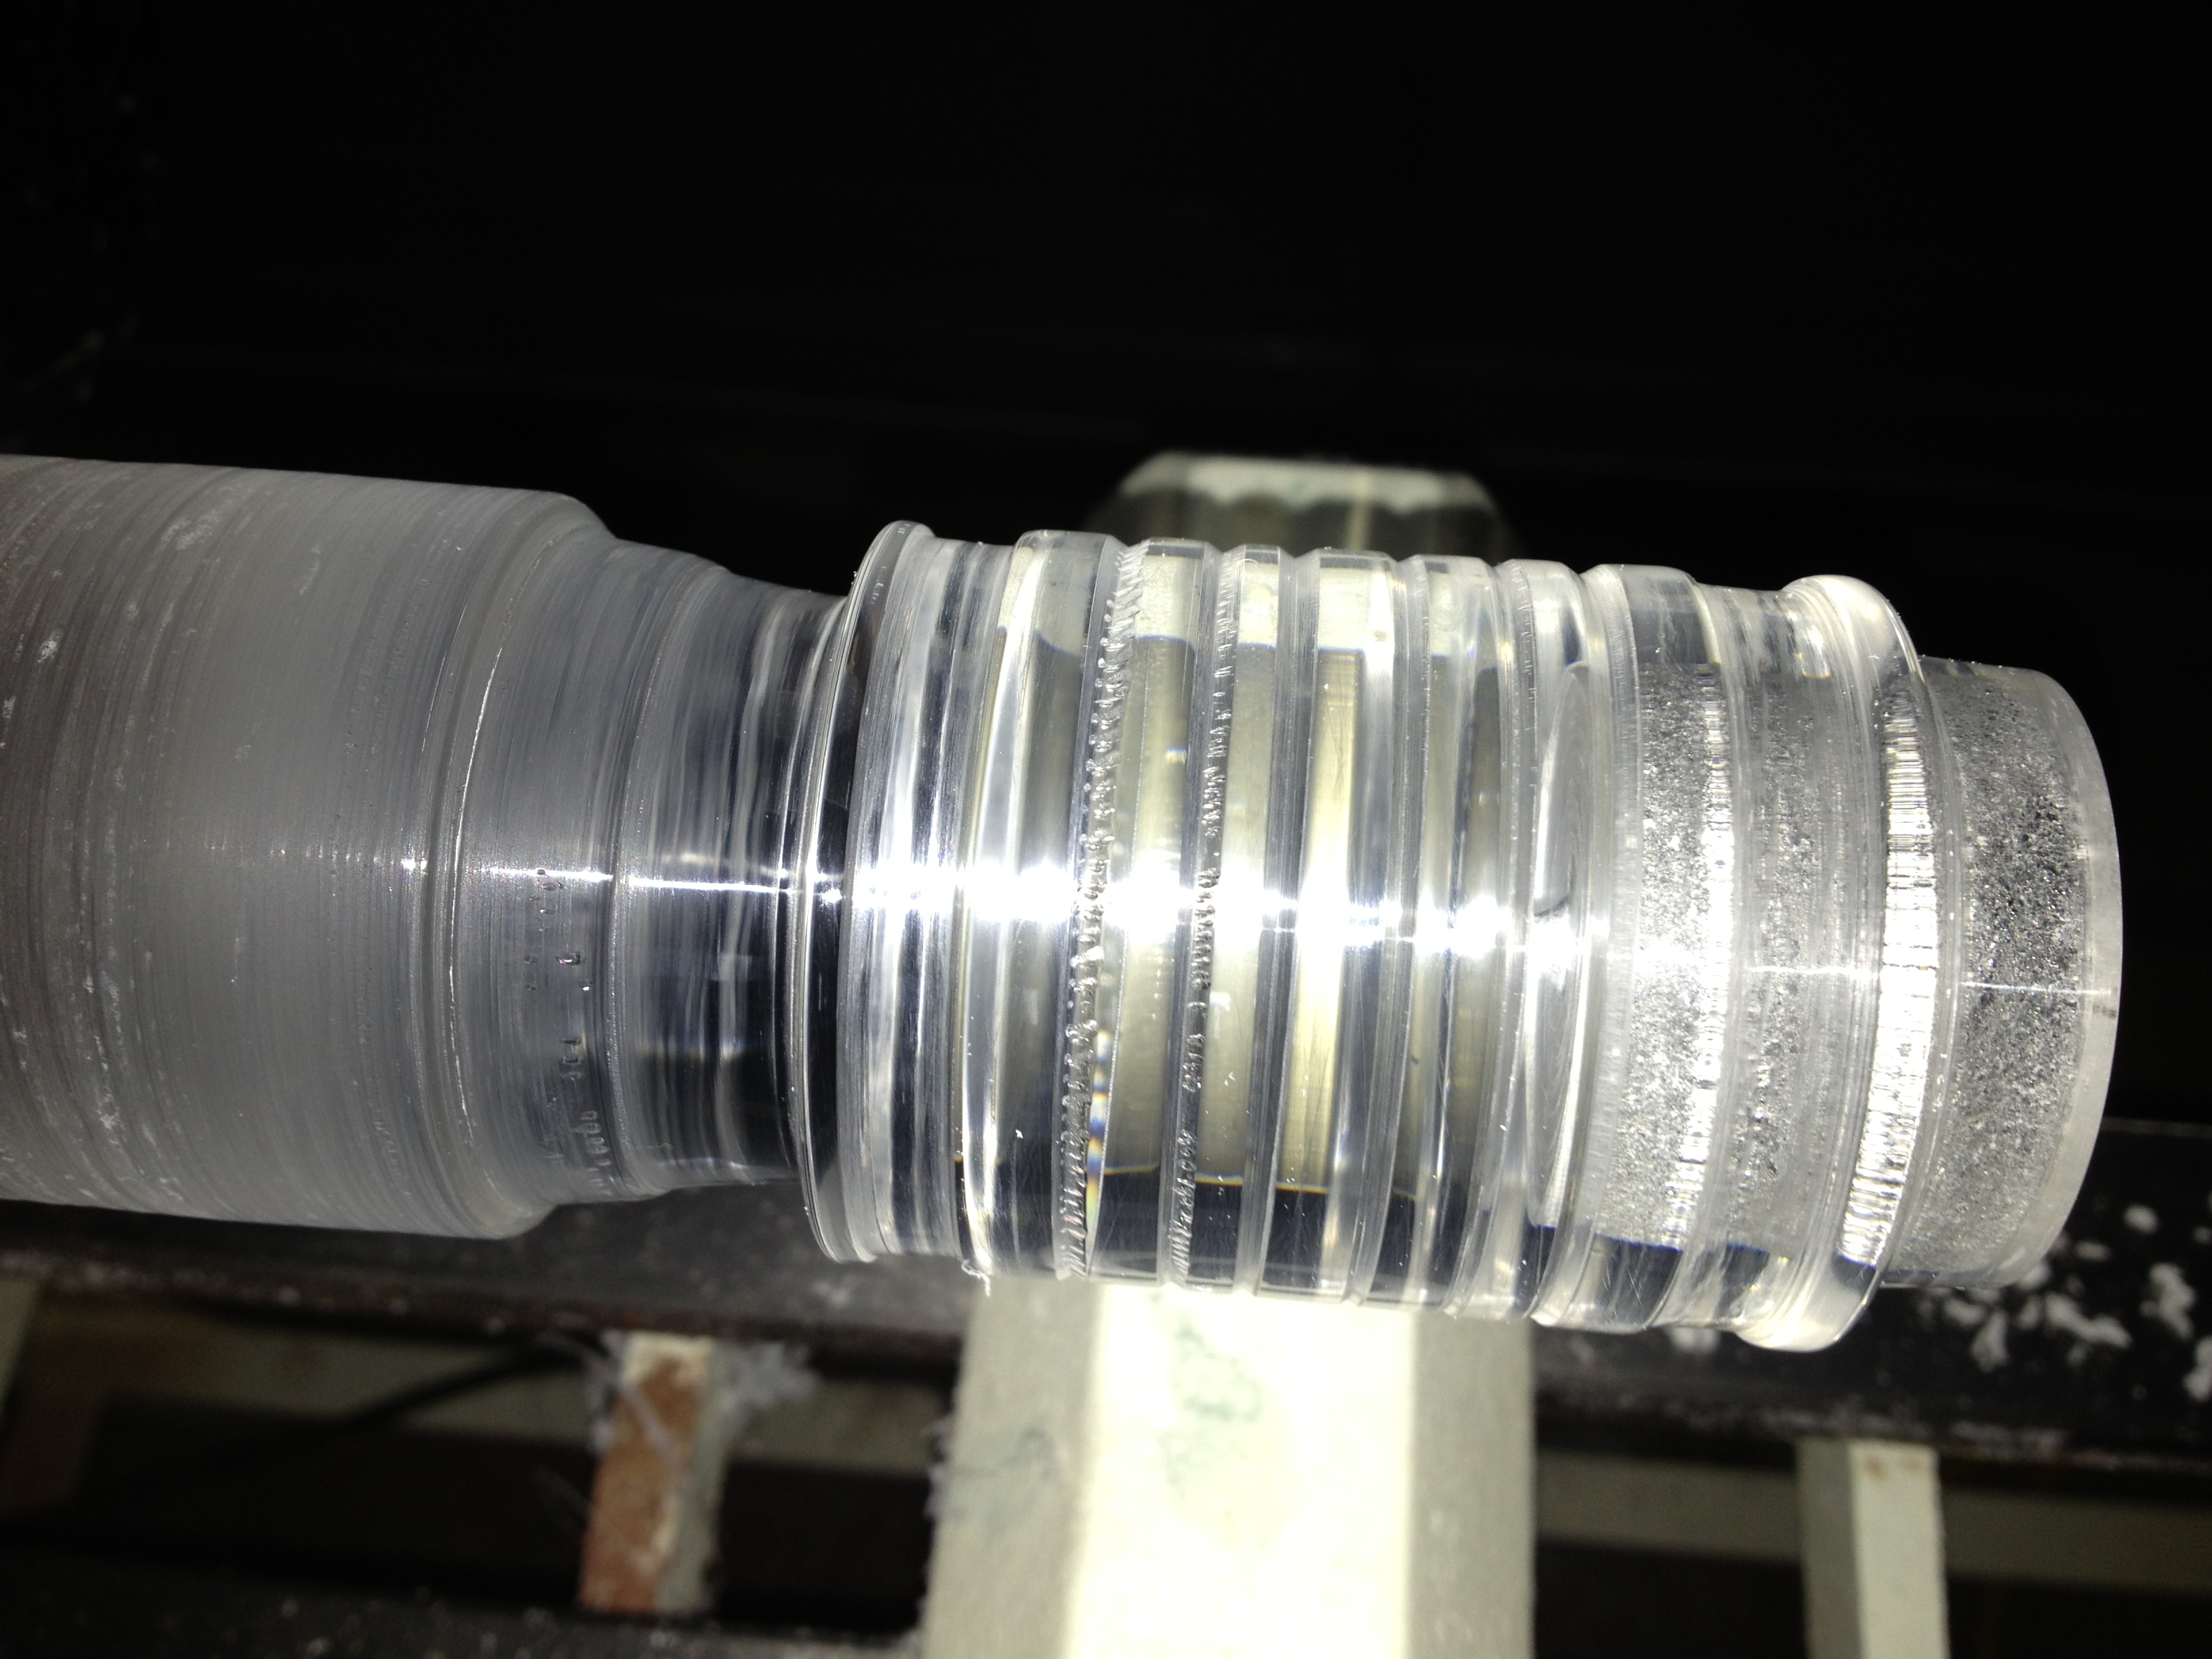
A little while back I wrote about the process of turning a clear sleeve for the Revomaze puzzles, however I hadn’t really completed the project at that time. I didn’t have springs, and I was still trying to figure out how to put a spring in there so that I could complete the project and have a fully working sleeve. I’ve now finished the process, found springs, a way to put them in the sleeve, and have a set of fully working sleeves. Read on to find out the end of the story…

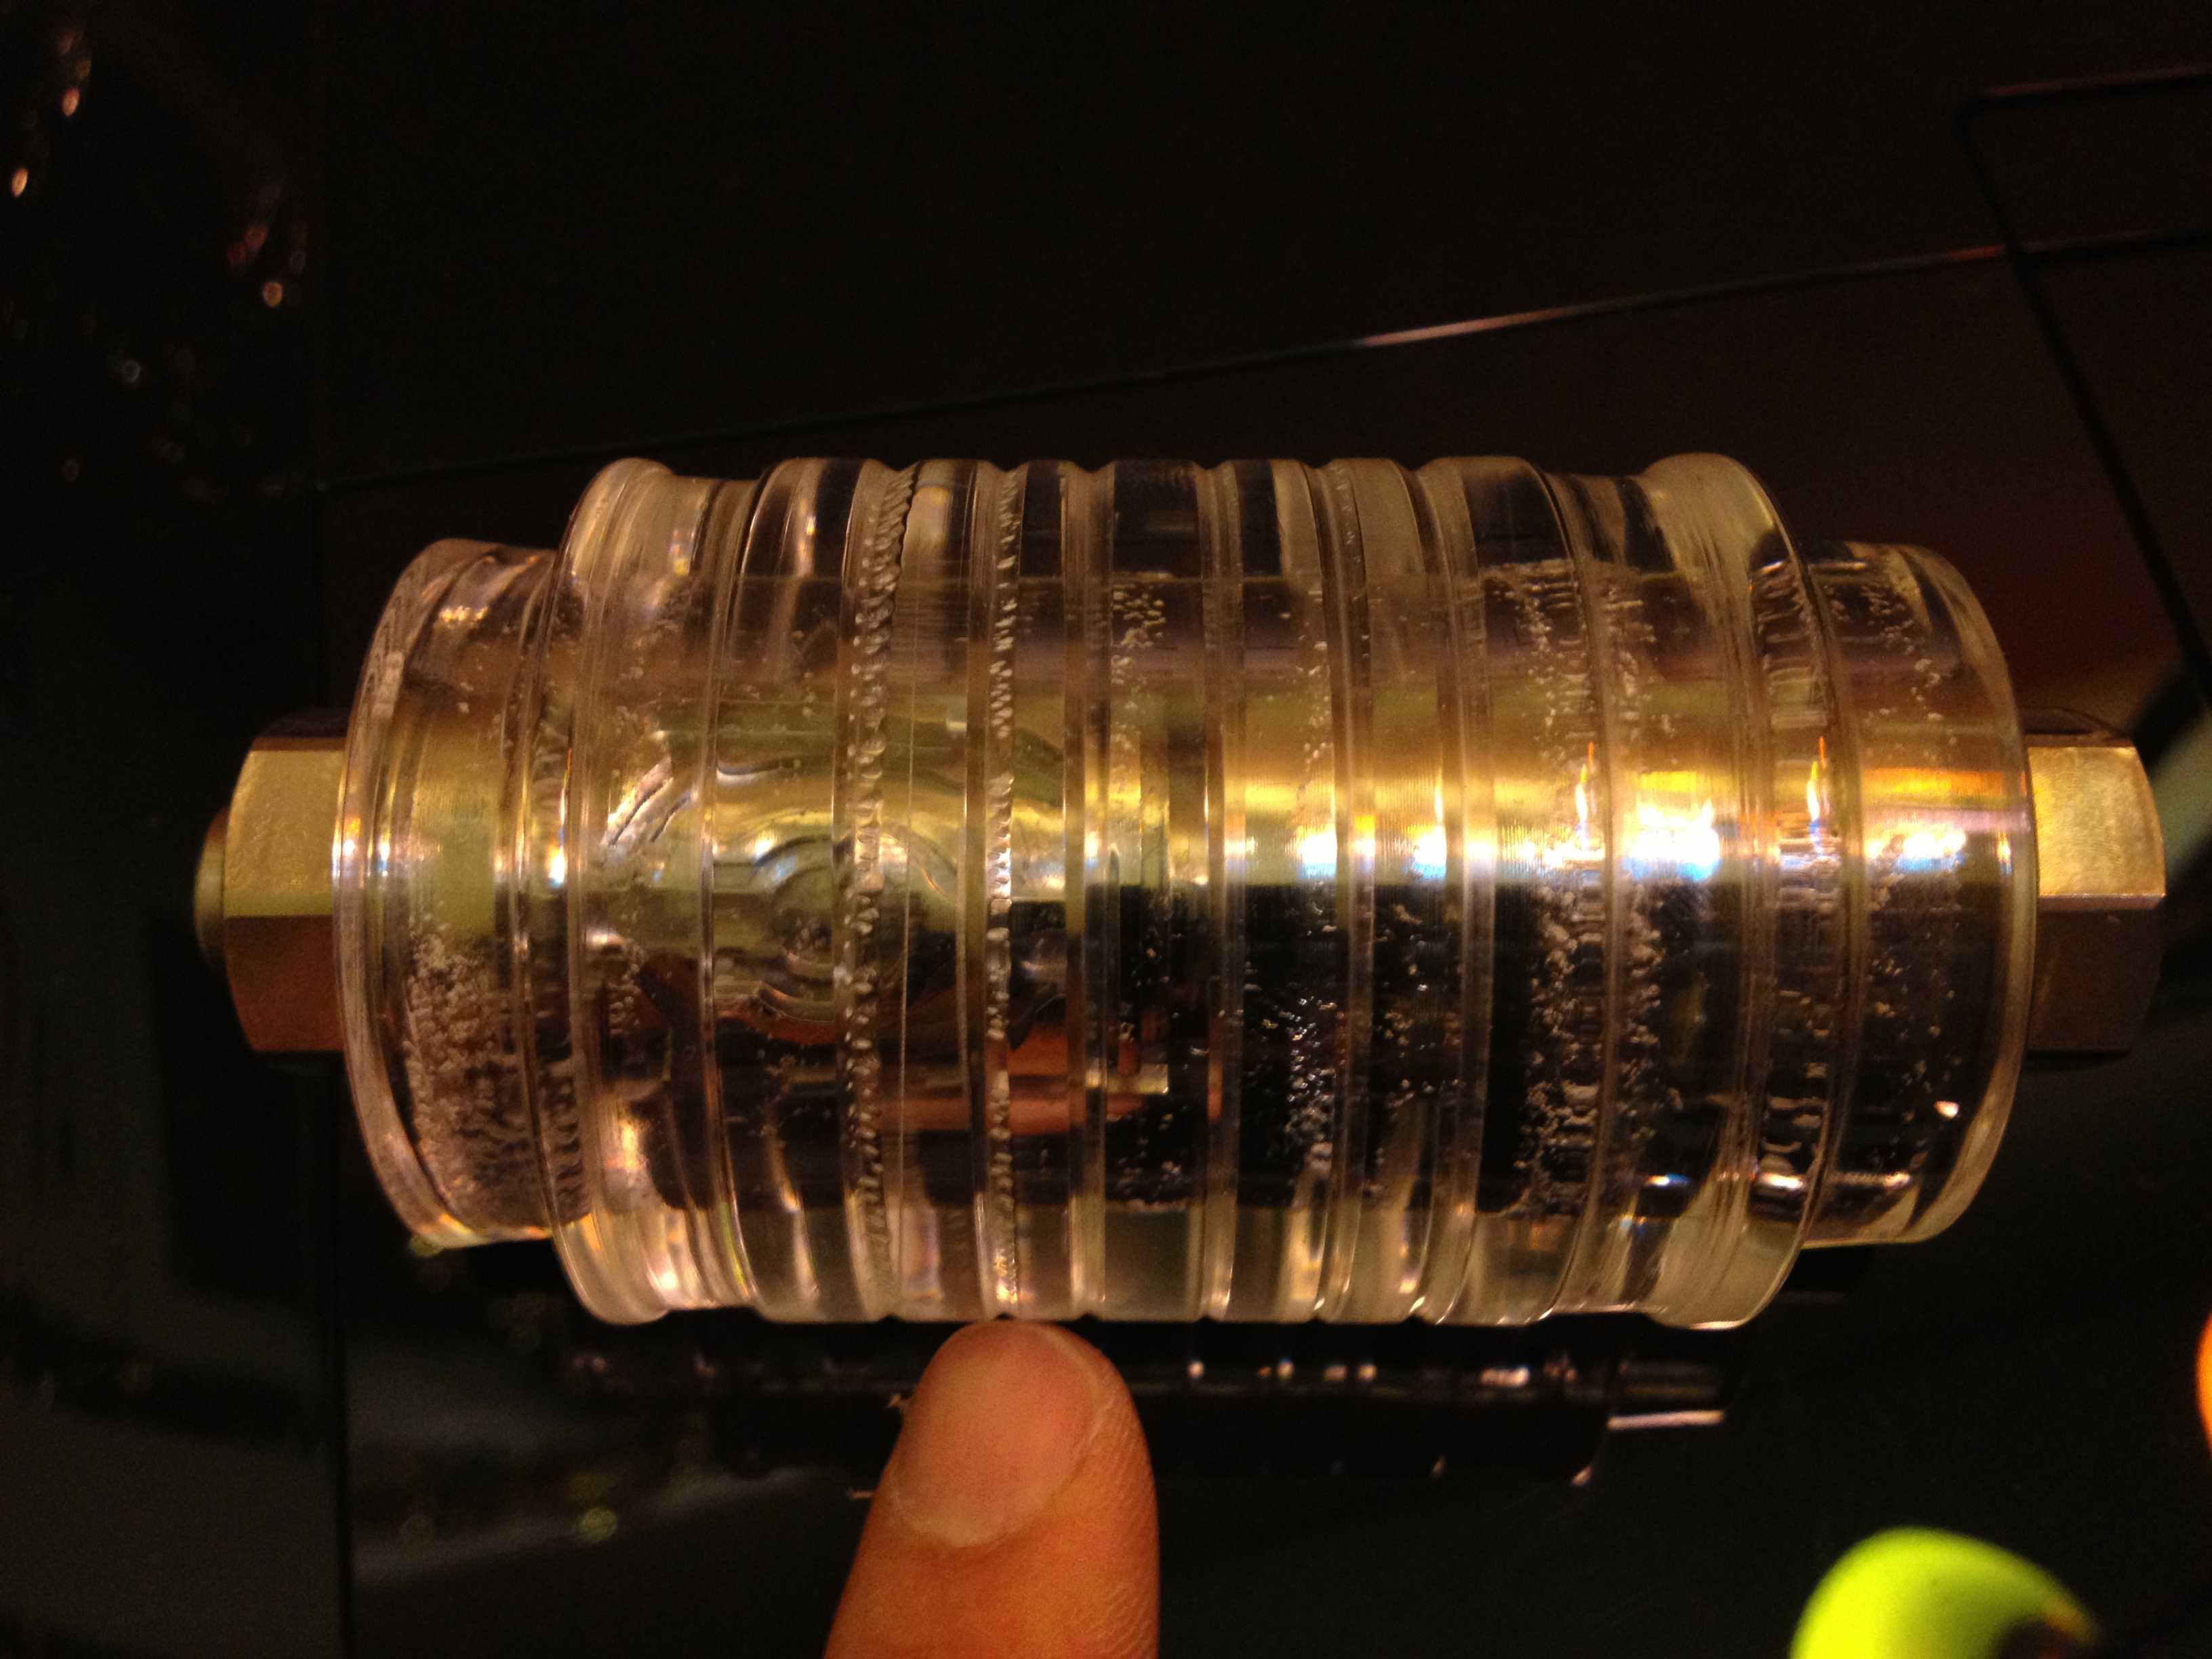
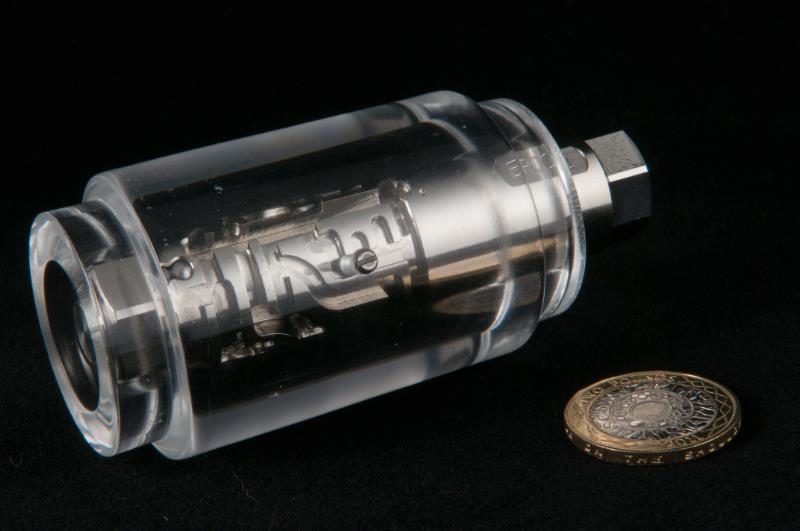
The Finished Sleeve - Photo courtesy of Allard

The Finished Sleeve – Photo courtesy of Allard

Thanks to Allard for the excellent image above. For more of his thoughts and a clear perspective, go have a look at his blog.

Before going off and making many more of the sleeves, I had to make sure that it was possible to make it into a working puzzle. That meant I had to solve the issue of the spring. From the Revomaze website, there is a pin and spring kit listed in case you managed to lose the set from your puzzle. Sadly they were showing out of stock and to be fair, it was a fairly expensive route to take, given that I only needed the spring. I decided to contact Chris Pitt, to see if he could help, or at least help out with dimensions of the spring and also how deep the spring hole is drilled into the sleeve. Sadly I never did receive a response back from Chris, so I had to look at alternate avenues.

Fortunately, a good friend had a spare spring or two and offered to measure it for me so that I could try to find a replacement. He even went so far as to measure the length compressed, and of course managed to have the tiny thing launch itself from the calipers and get lost in the carpet.

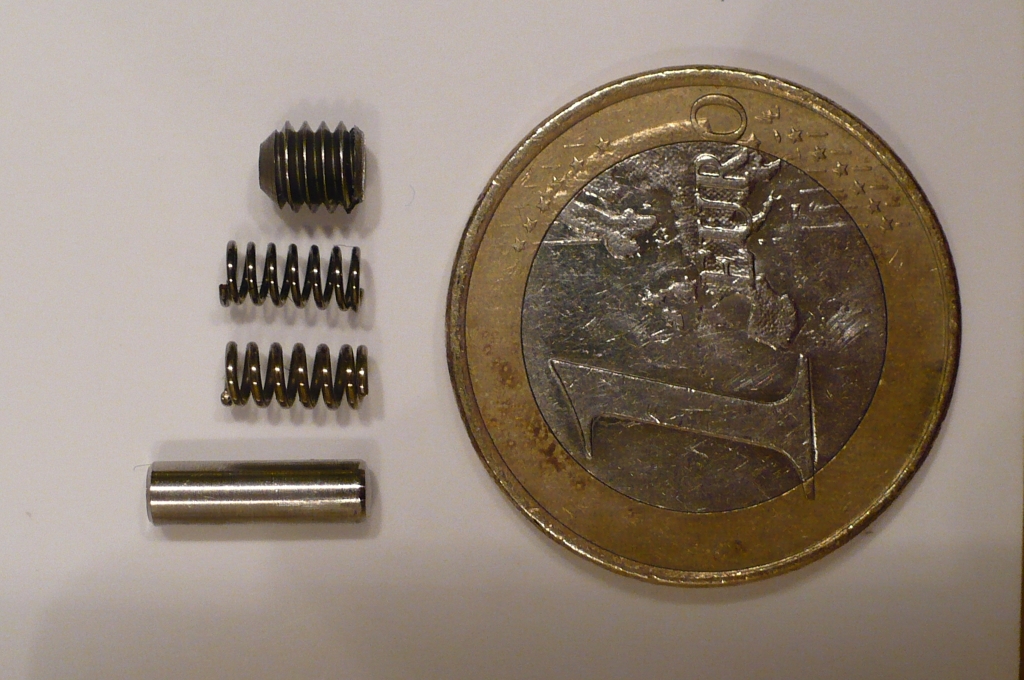
Top to bottom:  Threaded plug, my spring, official spring, official pin.

Top to bottom: Threaded plug, my spring, official spring, official pin.

It turns out that the spring measurements are: Outer diameter 2.90mm, Length 5.98mm and Compressed length 3.9mm. It really is tiny, and therein lies a problem. It’s a completely custom size. I spent a lot of time hunting online spring makers to get an exact match (and that’s without knowing the compression load) and just couldn’t find one. I did finally get something that’s very close and decided to settle on it, but even then it wasn’t cheap. To buy just one of these is $7 each! The price drops as you order in bulk, but still not a cheap part.

As you can see from the photo above, the spring I found is slightly thinner in terms of the wire thickness, but pretty close in the other dimensions. The 1 euro coin should give you a feel for just how small these are.

A week later the spring arrived, and I was a step closer to a working maze. I still had the issue to work out the drill depth for the spring/pin hole. While I had been waiting there was some talk on the Revomaze forums about how to do this, and Thayneq suggested having the pin/spring being removable. Well I went off and experimented with a tap to be able to thread the outer sleeve, and put a screw plug in there. Turns out that a 6-32 tap is too small for the pin, and a 8-32 is too large. In the end though this worked to my advantage. The pin itself is 2.90mm wide, so I was able to drill a hole all the way through one side of the sleeve for the pin, then drill 3.7mm using the larger drill bit to take an 8-32 thread and plug.

This actually solves three problems. Obviously the pin is now removable, so if anything goes wrong when you’re solving a maze, just remove the pin. Secondly, I’ve not had to drill all the way through the sleeve from the other side and then plug the hole. This is the way the official sleeves are made, and the plugged hole is then covered with the Revomaze sticker. As you know I’m not affiliated with Revomaze in any way, and don’t have stickers, so the ‘plug’ was just going to be an eyesore. I’m also pretty sure that I don’t have a long enough drill bit to get all the way through either, so that was a nice bonus. Finally, the screw plug allows the tension of the spring to be adjusted so that the movement in the maze ‘feels right’.

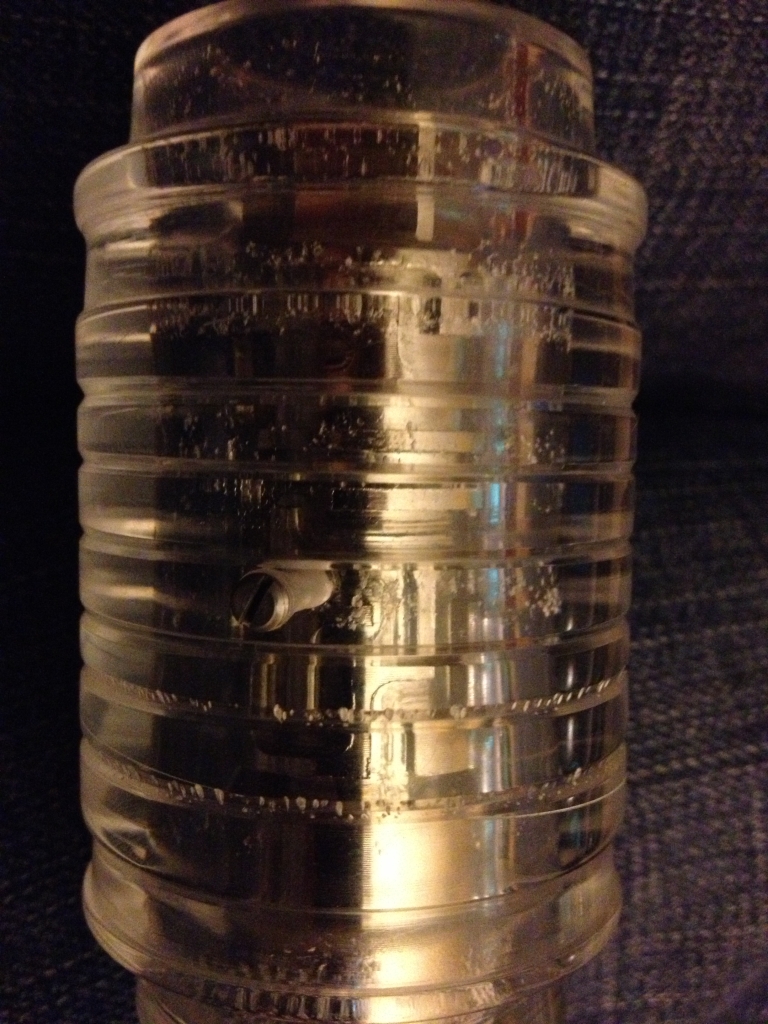
Note: The Image below is deliberately dark to ensure that no solution details for the maze are given away.

The plug covering the spring without giving anything away of the maze solution.

The plug covering the spring without giving anything away of the maze solution.

With all the pieces in place, I had to take the plunge and try it on one of my test sleeves. I put the ridged sleeve I had in the vice, carefully drilled it, and then re-drilled for the plug. Taking the pin from my blue maze, popping that in the hole, followed by the spring and then the plug I was able to check the compression of the spring, and compare that to the depth the pin sat on the official sleeve. After some fine adjustment of the screw until I was happy, I took the pin back out; assembled the blue core and inserted it into the sleeve.

Having now sent a few of these out, my friend with the spare spring has tried both the official spring, and the one I found, and prefers mine because the spring compresses a little more meaning that the plug can be screwed in a little further. He’s also done some other testing, but I’ll come back to that later.

After a little jiggle the pin dropped into the hole, and I was able to turn the maze and reset it. That familiar click left me with a huge grin on my face, and of course this time I could see exactly what had happened. The question now was whether the maze was solvable!

Very cautiously, I started to navigate the maze. Of course I’m now holding the puzzle ‘upside down’ and looking at the pin rather than the sticker. Despite working with the ridged sleeve, and there being a fair bit of distortion along the length of the maze, the section under the pin is perfectly visible, and it’s easy to navigate. At the first trap, I fall off, and hear that familiar click. Somehow it seems even more satisfying being able to see the pin fall off! After a couple of tries, I make it through the maze, past the tricky section with ease, and the pin easily drops back into the core, and I can remove it from the sleeve. IT WORKS!

As with anything in science, doing it once isn’t good enough, it has to be repeatable, so after picking the pins up from the floor (Ed: You’d think with the number of these I’ve solved I’d not drop the pins by now) I re-assembled the core and put it back in again. Playing around I tried moving to various parts in the maze, and dropping into a reset and restarting; each time grinning because I was controlling the click. Having navigated to the end again, I tried to remove the pin, and found it didn’t want to come out. Puzzled I tried the usual tapping and jiggling, but it wasn’t dropping. Of course I could see the pin and couldn’t work out what was stopping it. No worry though I unscrewed the plug, and removed the pin that way …

… Then realised what an idiot I’d been. Rather than turning the puzzle ‘upside down’ so that the pin fell into the core, I’d been trying to get it to drop into the sleeve hole. Just shows how being able to see what you’re doing doesn’t always help!

So with the proof of concept working, I took a quick video to show the operation and sent that to a couple of close friends. Now I had to start making these as the requests were coming in pretty quickly!

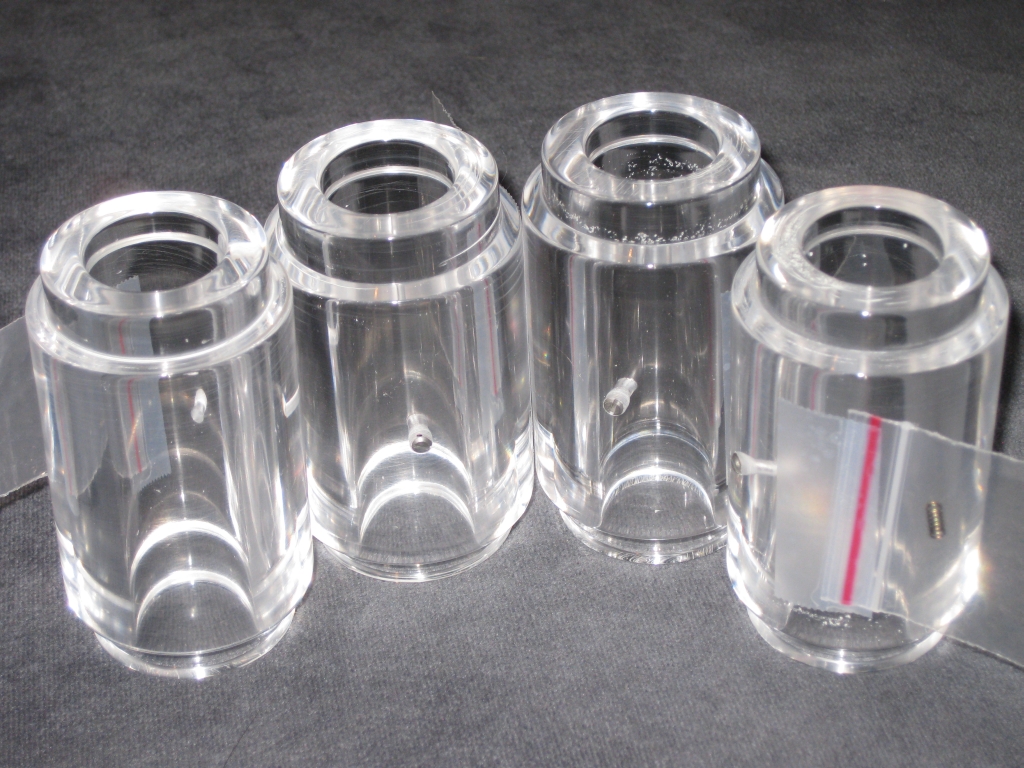
Some of the production sleeves, with a much clearer view

Some of the production sleeves, with a much clearer view

Something which had bothered be about the initial two sleeves I’d made was the ‘bubbles’ which are visible on the inside of the sleeve. This occurs due to the high temperature created by the friction when drilling out the core, but I wanted to try to reduce that and get as close to a clear, unobstructed sleeve as I could. With a little bit of work, and some liquid cooling for the drill bit I think you’ll agree I succeeded, and the sleeves are now much clearer. Just look at that shot at the top of this post from Allard. His images really show off how clear the sleeve is, and I have a good few more from him that I just can’t show as they give huge hints to the solution of the revomaze shown.

Using the saw as a staging area for production

Using the saw as a staging area for production

As you can see, production is now underway. Given that these are all hand turned, and finished, it still takes a good few hours per sleeve, but from the feedback I’ve had from the people who have one, they’re pretty happy, and that makes me pretty happy too.

One thing to point out is that the tolerances on my core are slightly larger than those from the official source. Nothing in the Revomaze design is standard sizes. The core is custom, the sleeve is custom, the spring is custom, the pin is custom, and as such you can’t buy tools which match the dimensions. As such I have had to make things as close as possible, but close is not exact. Having played with some of the mazes, Silver, Lime and Handmade as specific examples, there are elements in these mazes which do not work exactly as expected due to the larger gaps in the internal sleeve dimension. It is possible to solve these mazes, but some extra care is required, and some parts of the solution become trickier than with the official sleeve. I do know that Blue, Green, Bronze, Black, Orange, Gold, Red all work with no issues and really look quite stunning when displayed in these sleeves.

There is one further extension that I am looking at. I had a request for transparent colour matched sleeves for each maze. That requires custom casting of coloured acrylic, so for now it’s further away from reality. I do have paint based pens which are designed for working on acrylic and may add colour bands to the sleeves so you can see which maze is in a sleeve from a distance, but that’s still to come.

Hope you’ve enjoyed the look at the project, and keep an eye out for a time lapse video of the process coming soon…
Revomaze Sleeve Project

This entry is part 9 of 11 in the series Revomaze

As many of you know, I’ve owned and solved all of the Revomaze Series One puzzles released, including the Gold puzzle, which I’ll write about soon. For a long time on the Revomaze Forums, a clear sleeve which would allow you to see the maze as you solved it has been talked about and many people have asked for one. Well having added the lathe to my list of tools, I thought I’d have a shot at making one.

Since getting the lathe, I’ve made a few pens, some bowls, all just learning how to use the tools, and get the shapes I want made. I mostly work with wood, as that’s where my real love is, however I have played with a few acrylics as well. I find the acrylic to be a pain to work with, since it tends to create thin streamers of plastic which just wrap around whatever you’re working on, and obscures your view of the work. Still, there’s no way I could make a clear sleeve from wood.

Clear sleeve starting point.  A 2

Clear sleeve starting point. A 2″x2″x8″ block of Acrylic.

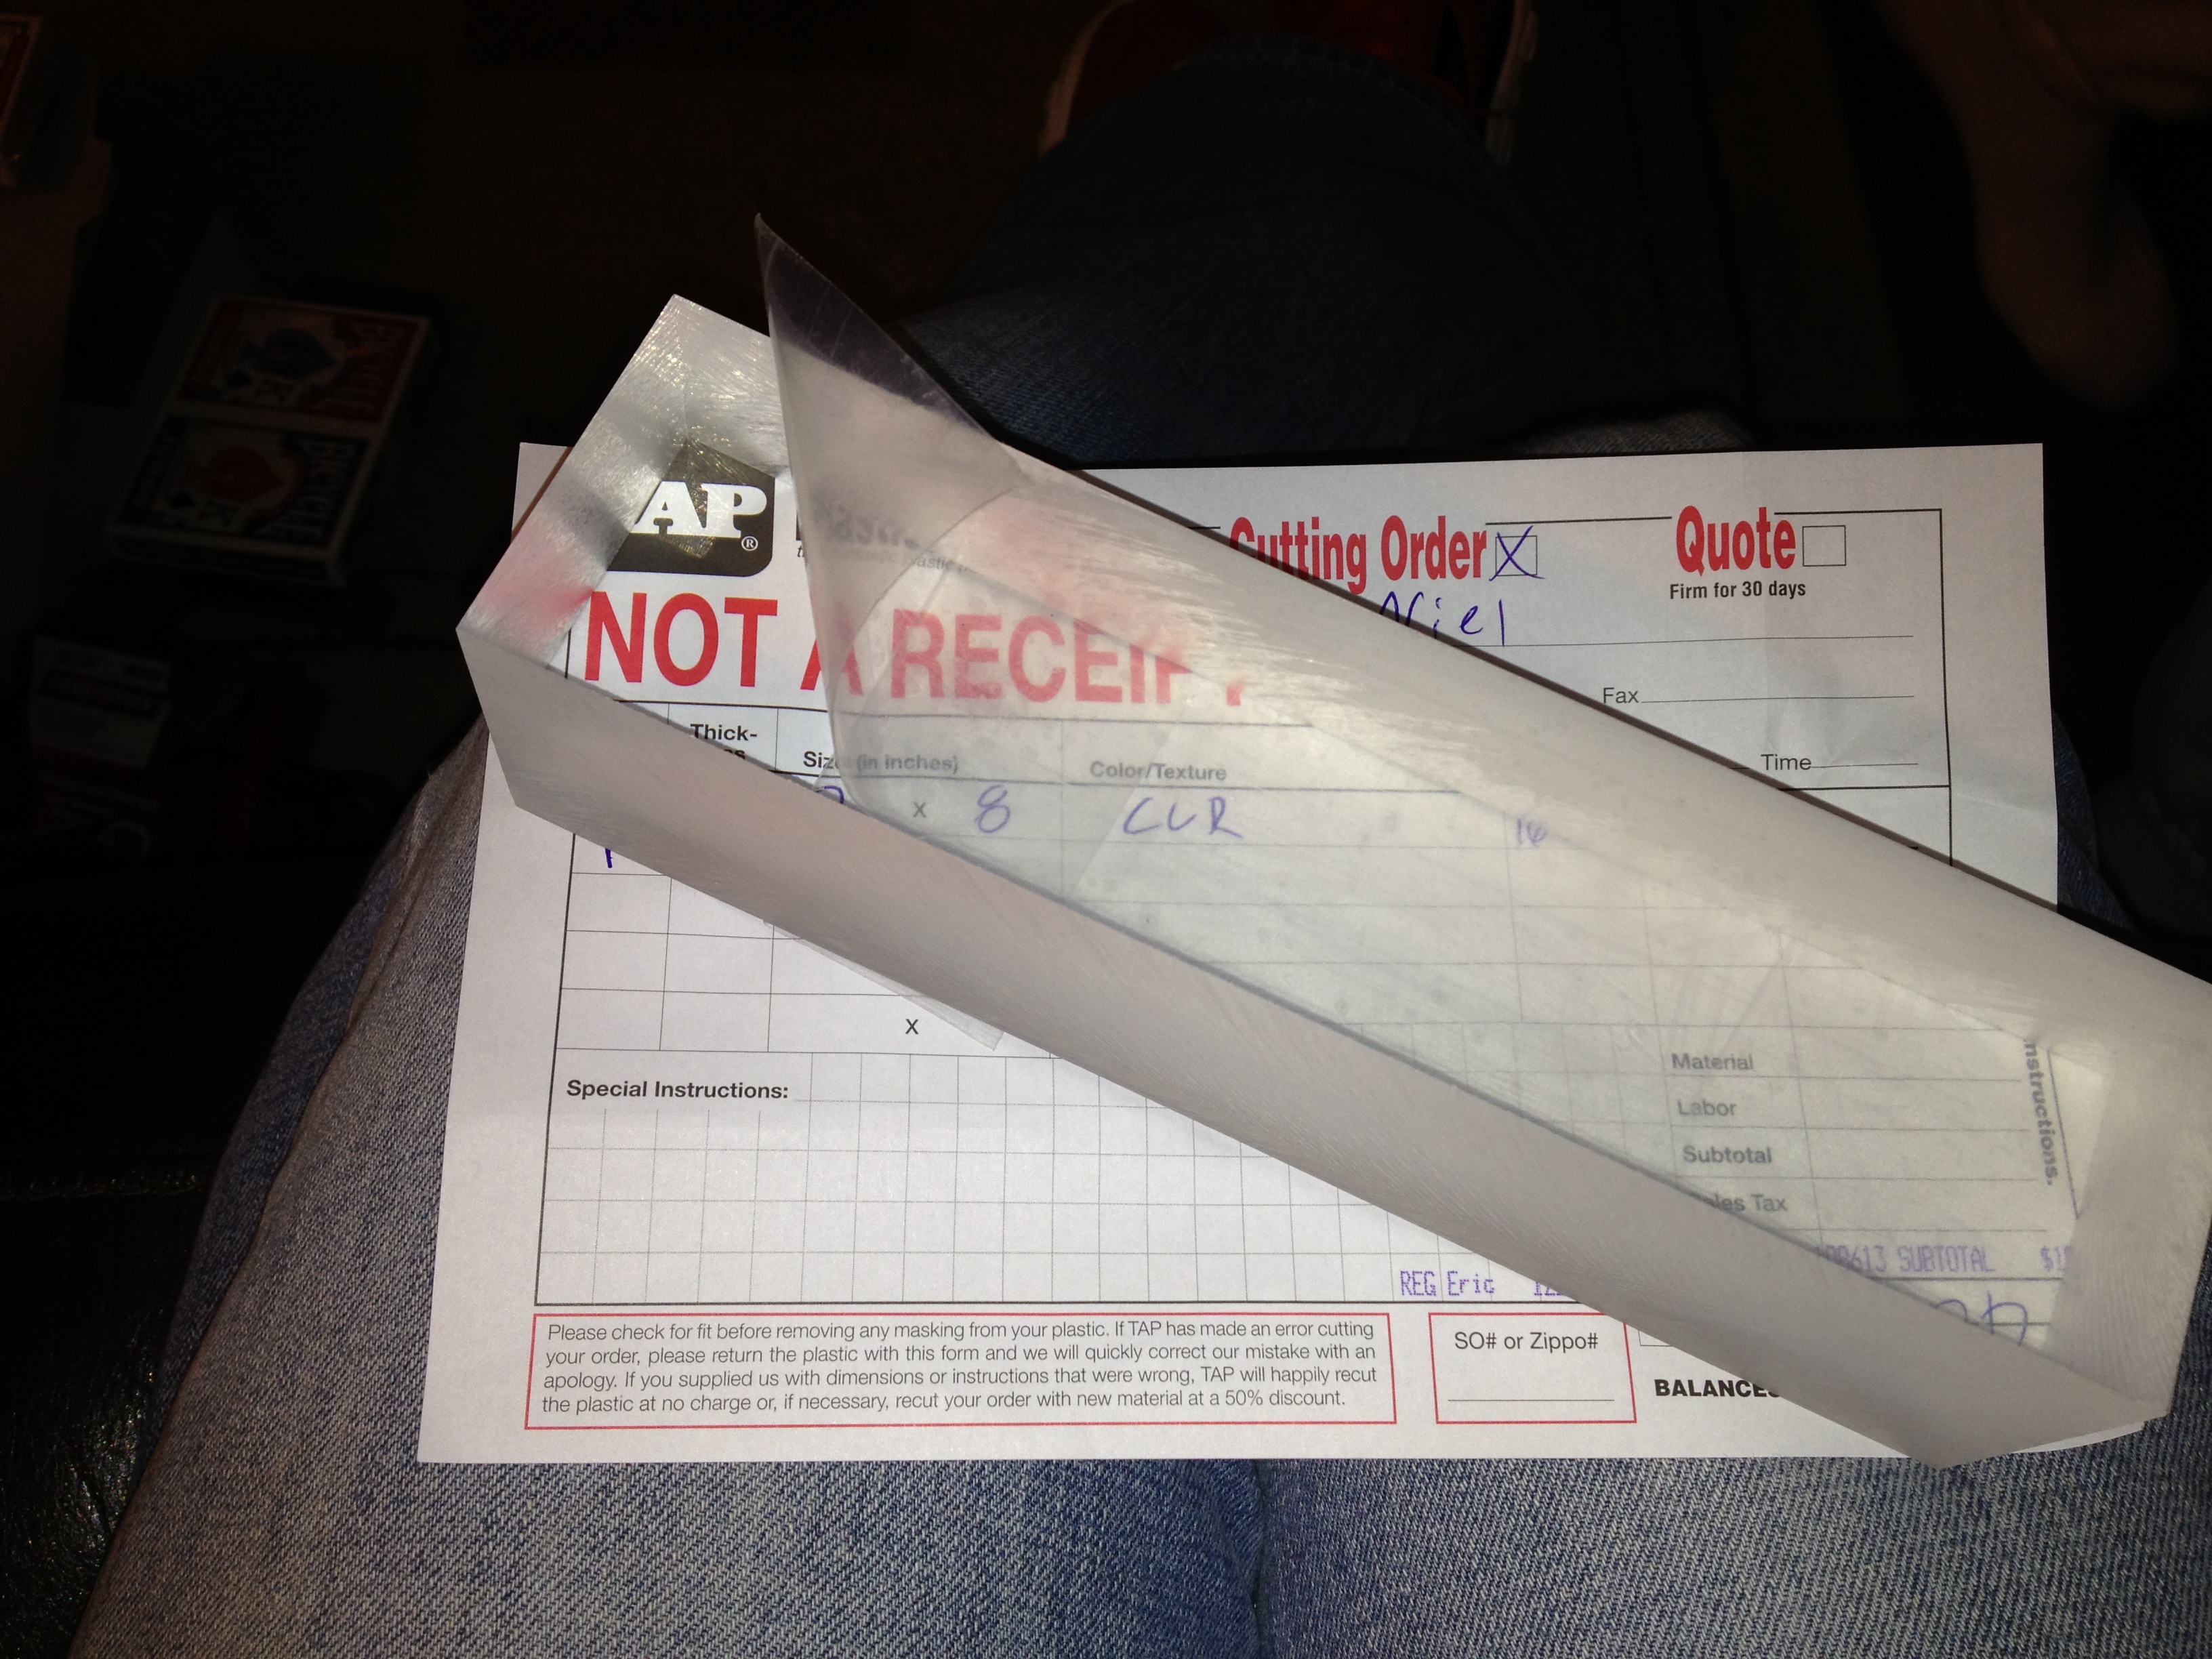
It all starts with a block of clear acrylic. This piece is 2″x2″x8″, which will be enough to make two sleeves. I got it from Tap Plastics here in the bay area. They’ll custom cut sheets while you wait, and their prices are pretty good. I’m no expert with the plastics, but I can certainly recommend them.

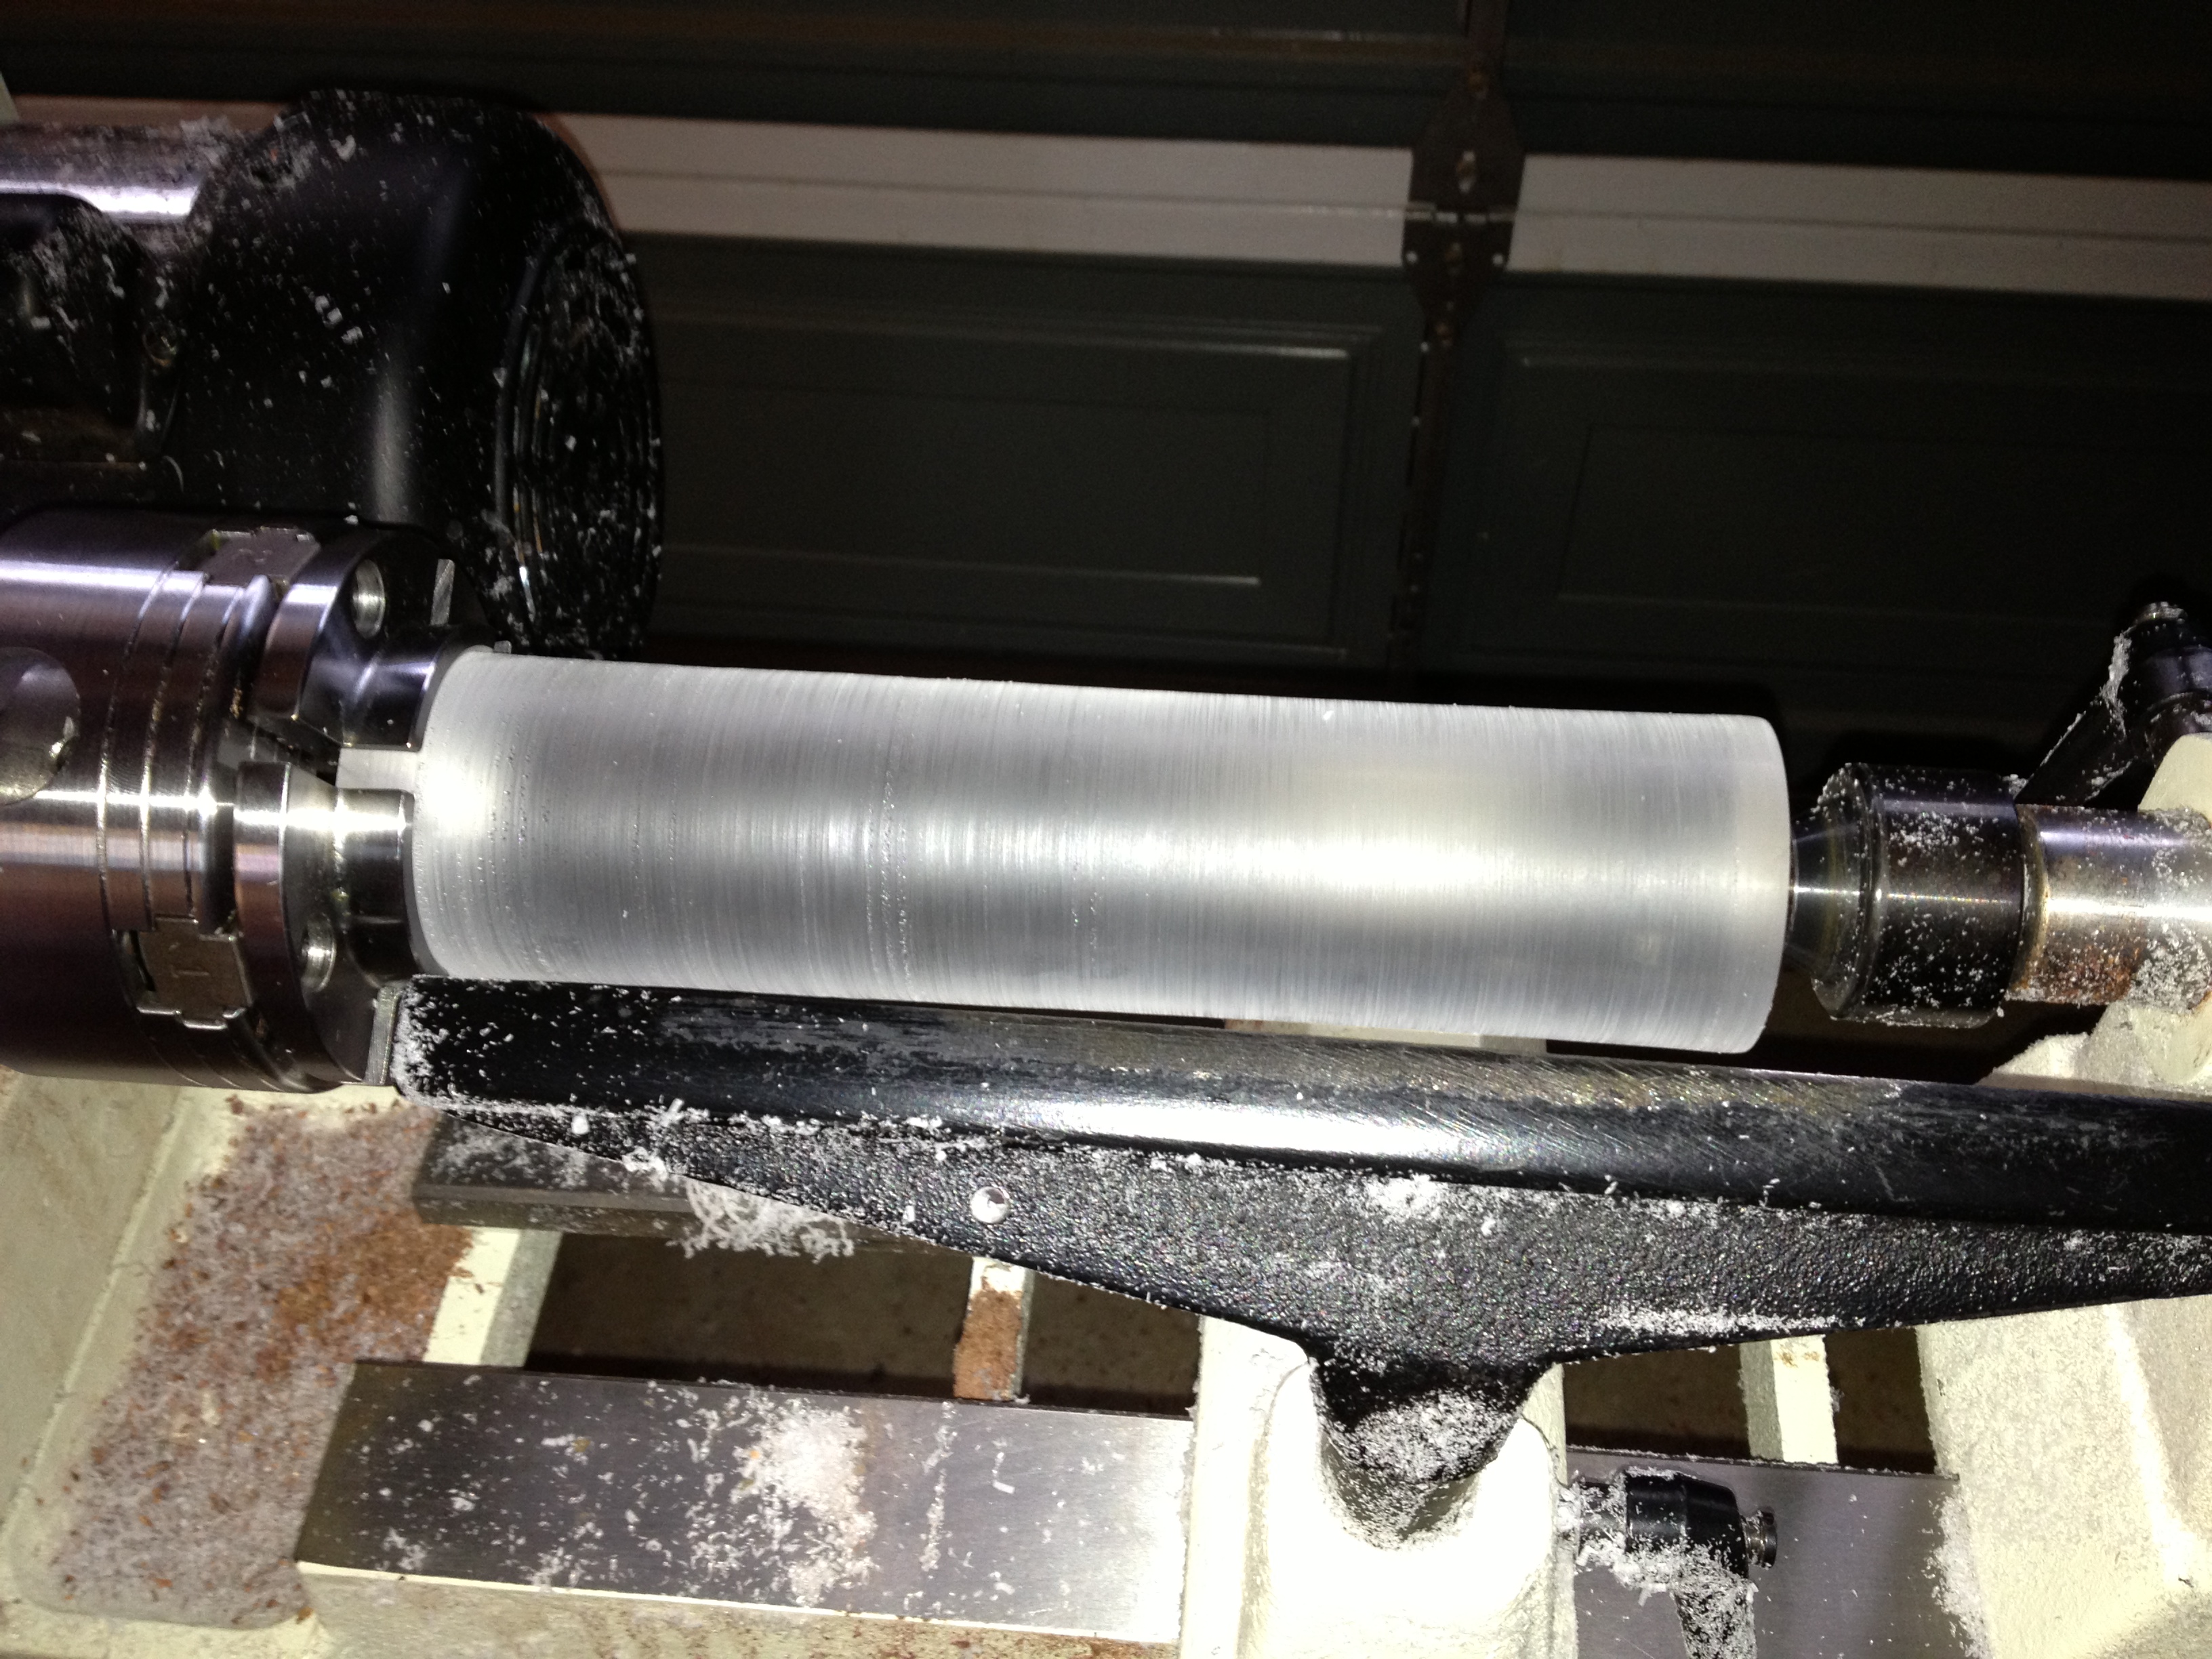
The block turned to a cylinder.

The block turned to a cylinder.

First up, I need to take this perfectly clear block, and make a complete mess of it; otherwise known as turning it round. Doing that removes the beautiful clear finish, and turns the whole thing a rather cloudy opaque grey colour. When I’m working with Acrylics, I need to wear my respirator, as the smell created when working it tends to give me a headache. Not bad practice anyway, but something I have found I have to do. As it turns out, I’m also somewhat allergic to the material too. When I’d finished turning the block into a cylinder, and brushed all the tiny shavings off my arms, I found that I’d reacted rather badly to it. Time for a shower and some anti-histamine!

The initial shape of the sleeve

The initial shape of the sleeve

Having cleaned up, and put on long sleeves, I came back and shaped the outer surface of what would become the sleeve. Using the sleeve from my bronze maze as a template I matched the dimensions as closely as possible, including the ridges along the main body of the sleeve, and of course, making sure that the length was exact, since the intent is to make a fully functioning sleeve.

At this point, I’ve kept the sleeve attached to the main piece of perspex as I still need to drill out the central hole where the shaft will be. Before I go and drill that out though, I want to get the clear finish back so that I can see what I’m doing when drilling things.

Outer surface sanded to 12000 grit.

Outer surface sanded to 12000 grit.

After around half an hour of work, I end up with the finish above. This is wet sanded all the way up to 12000 grit to give a finish close to how the block arrived.

Ready to start drilling

Ready to start drilling

With that done, and the cylinder being transparent again it’s time to change our the tail stock on the lathe for a 15/16″ forstner bit to drill out the hole in the sleeve. Given the length of the hole I was drilling, the drill bit alone wasn’t going to be long enough to make the cut. I had bought a bit extender so that I’d be able to drill the length I needed.

Starting to drill

Starting to drill

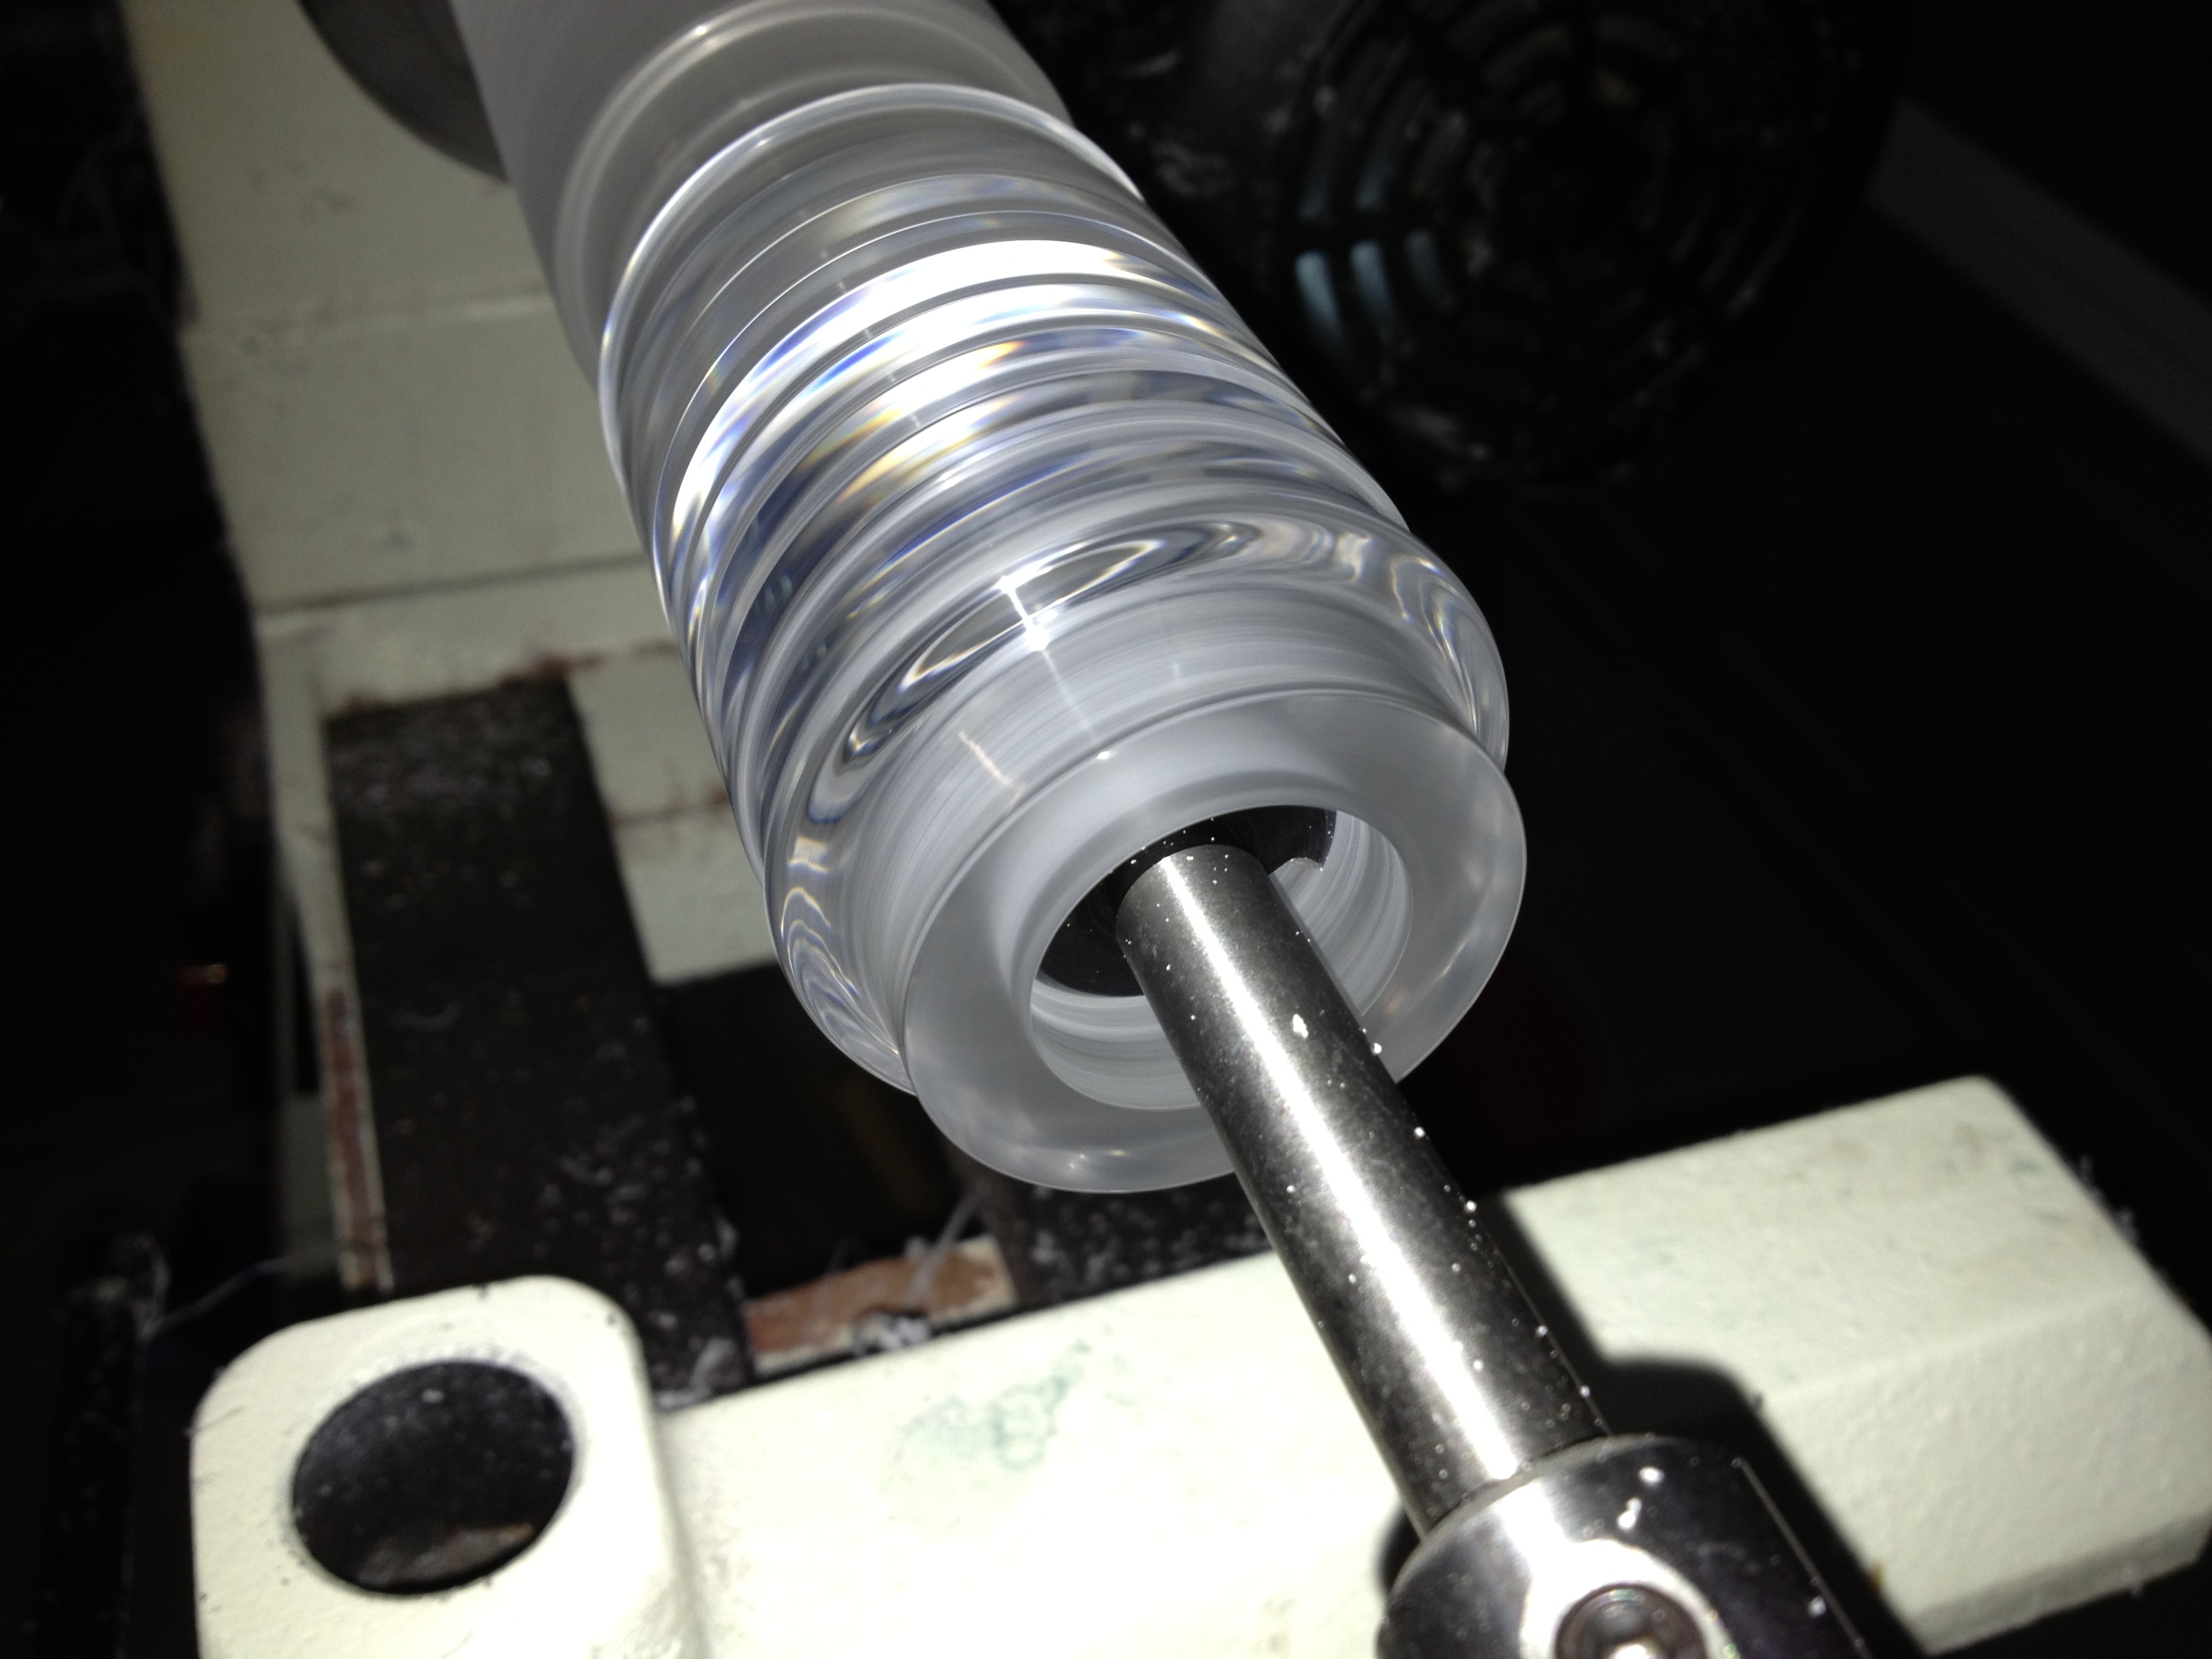
Ribbons of acrylic as the drill bit cores the sleeve

Ribbons of acrylic as the drill bit cores the sleeve

As you can see, with a sharp bit, the cut creates long streamers at the beginning of the cut, but before long, the heat almost melts the acrylic, and you have to be careful to eject the shavings before they solidify behind the head of the drill bit, and make it impossible to remove the drill bit.

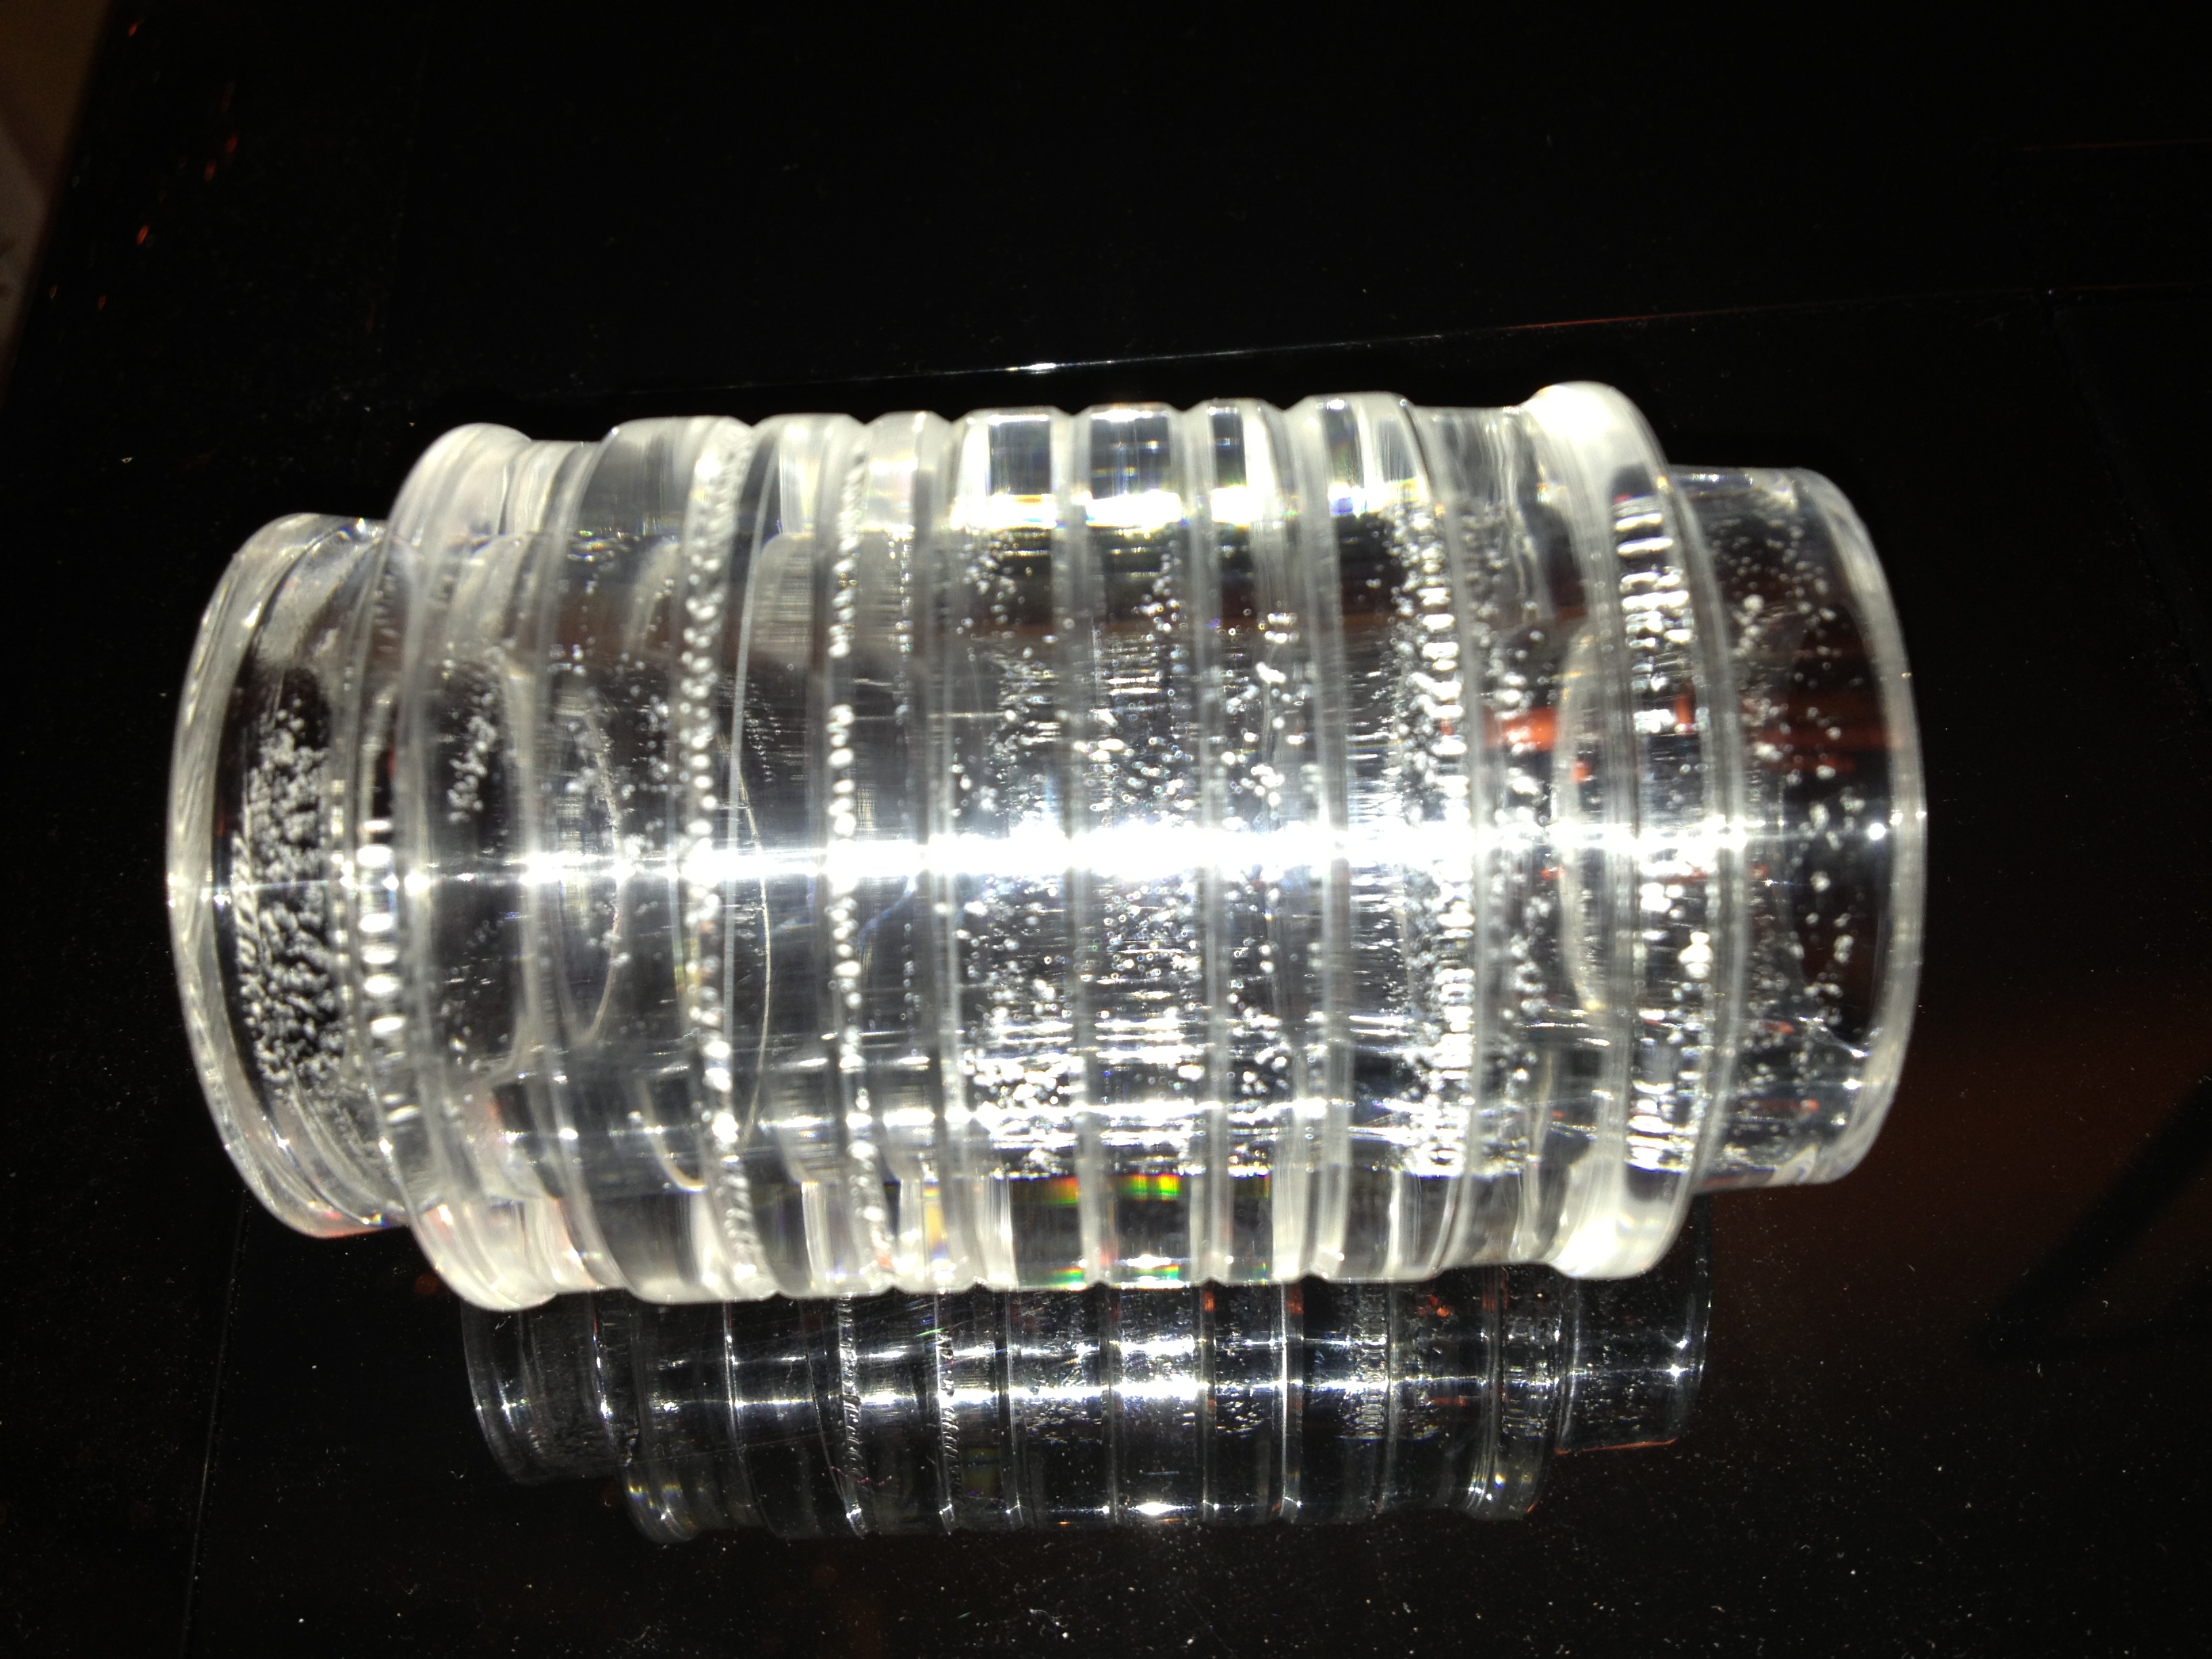
'Bubbles' on the inside as the drill cuts

‘Bubbles’ on the inside as the drill cuts

The internal reflections are stunning

The internal reflections are stunning

Even though the drill leaves a rough surface on the inside of the sleeve, given the work sanding it earlier, it looks really good. Once the entire core is drilled out, it will be sanded up to 12000 grit the same as the outside, before being polished to a high shine.

The Finished Sleeve

The Finished Sleeve

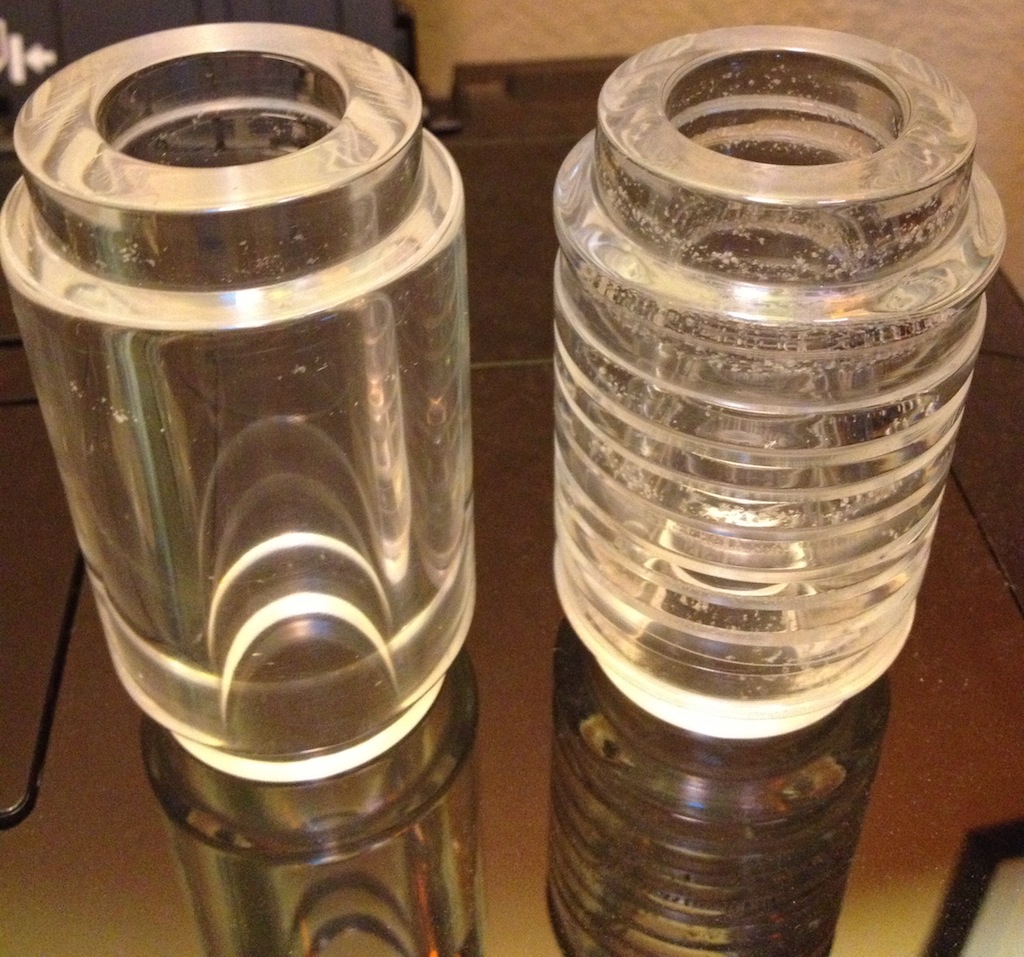
Having completed the drilling of the core, I parted off the sleeve, and finished sanding the ends to get the same finish as the rest of the sleeve, things are just about ready. Some plastic polish is applied, and then a coat of Ren Wax to really finish the shine. As you can see, the inner core isn’t perfect, but with more sanding I could get things back to a perfect finish. In fact I’ve gone back and made a second sleeve without the ridges which is far clearer than this sleeve.

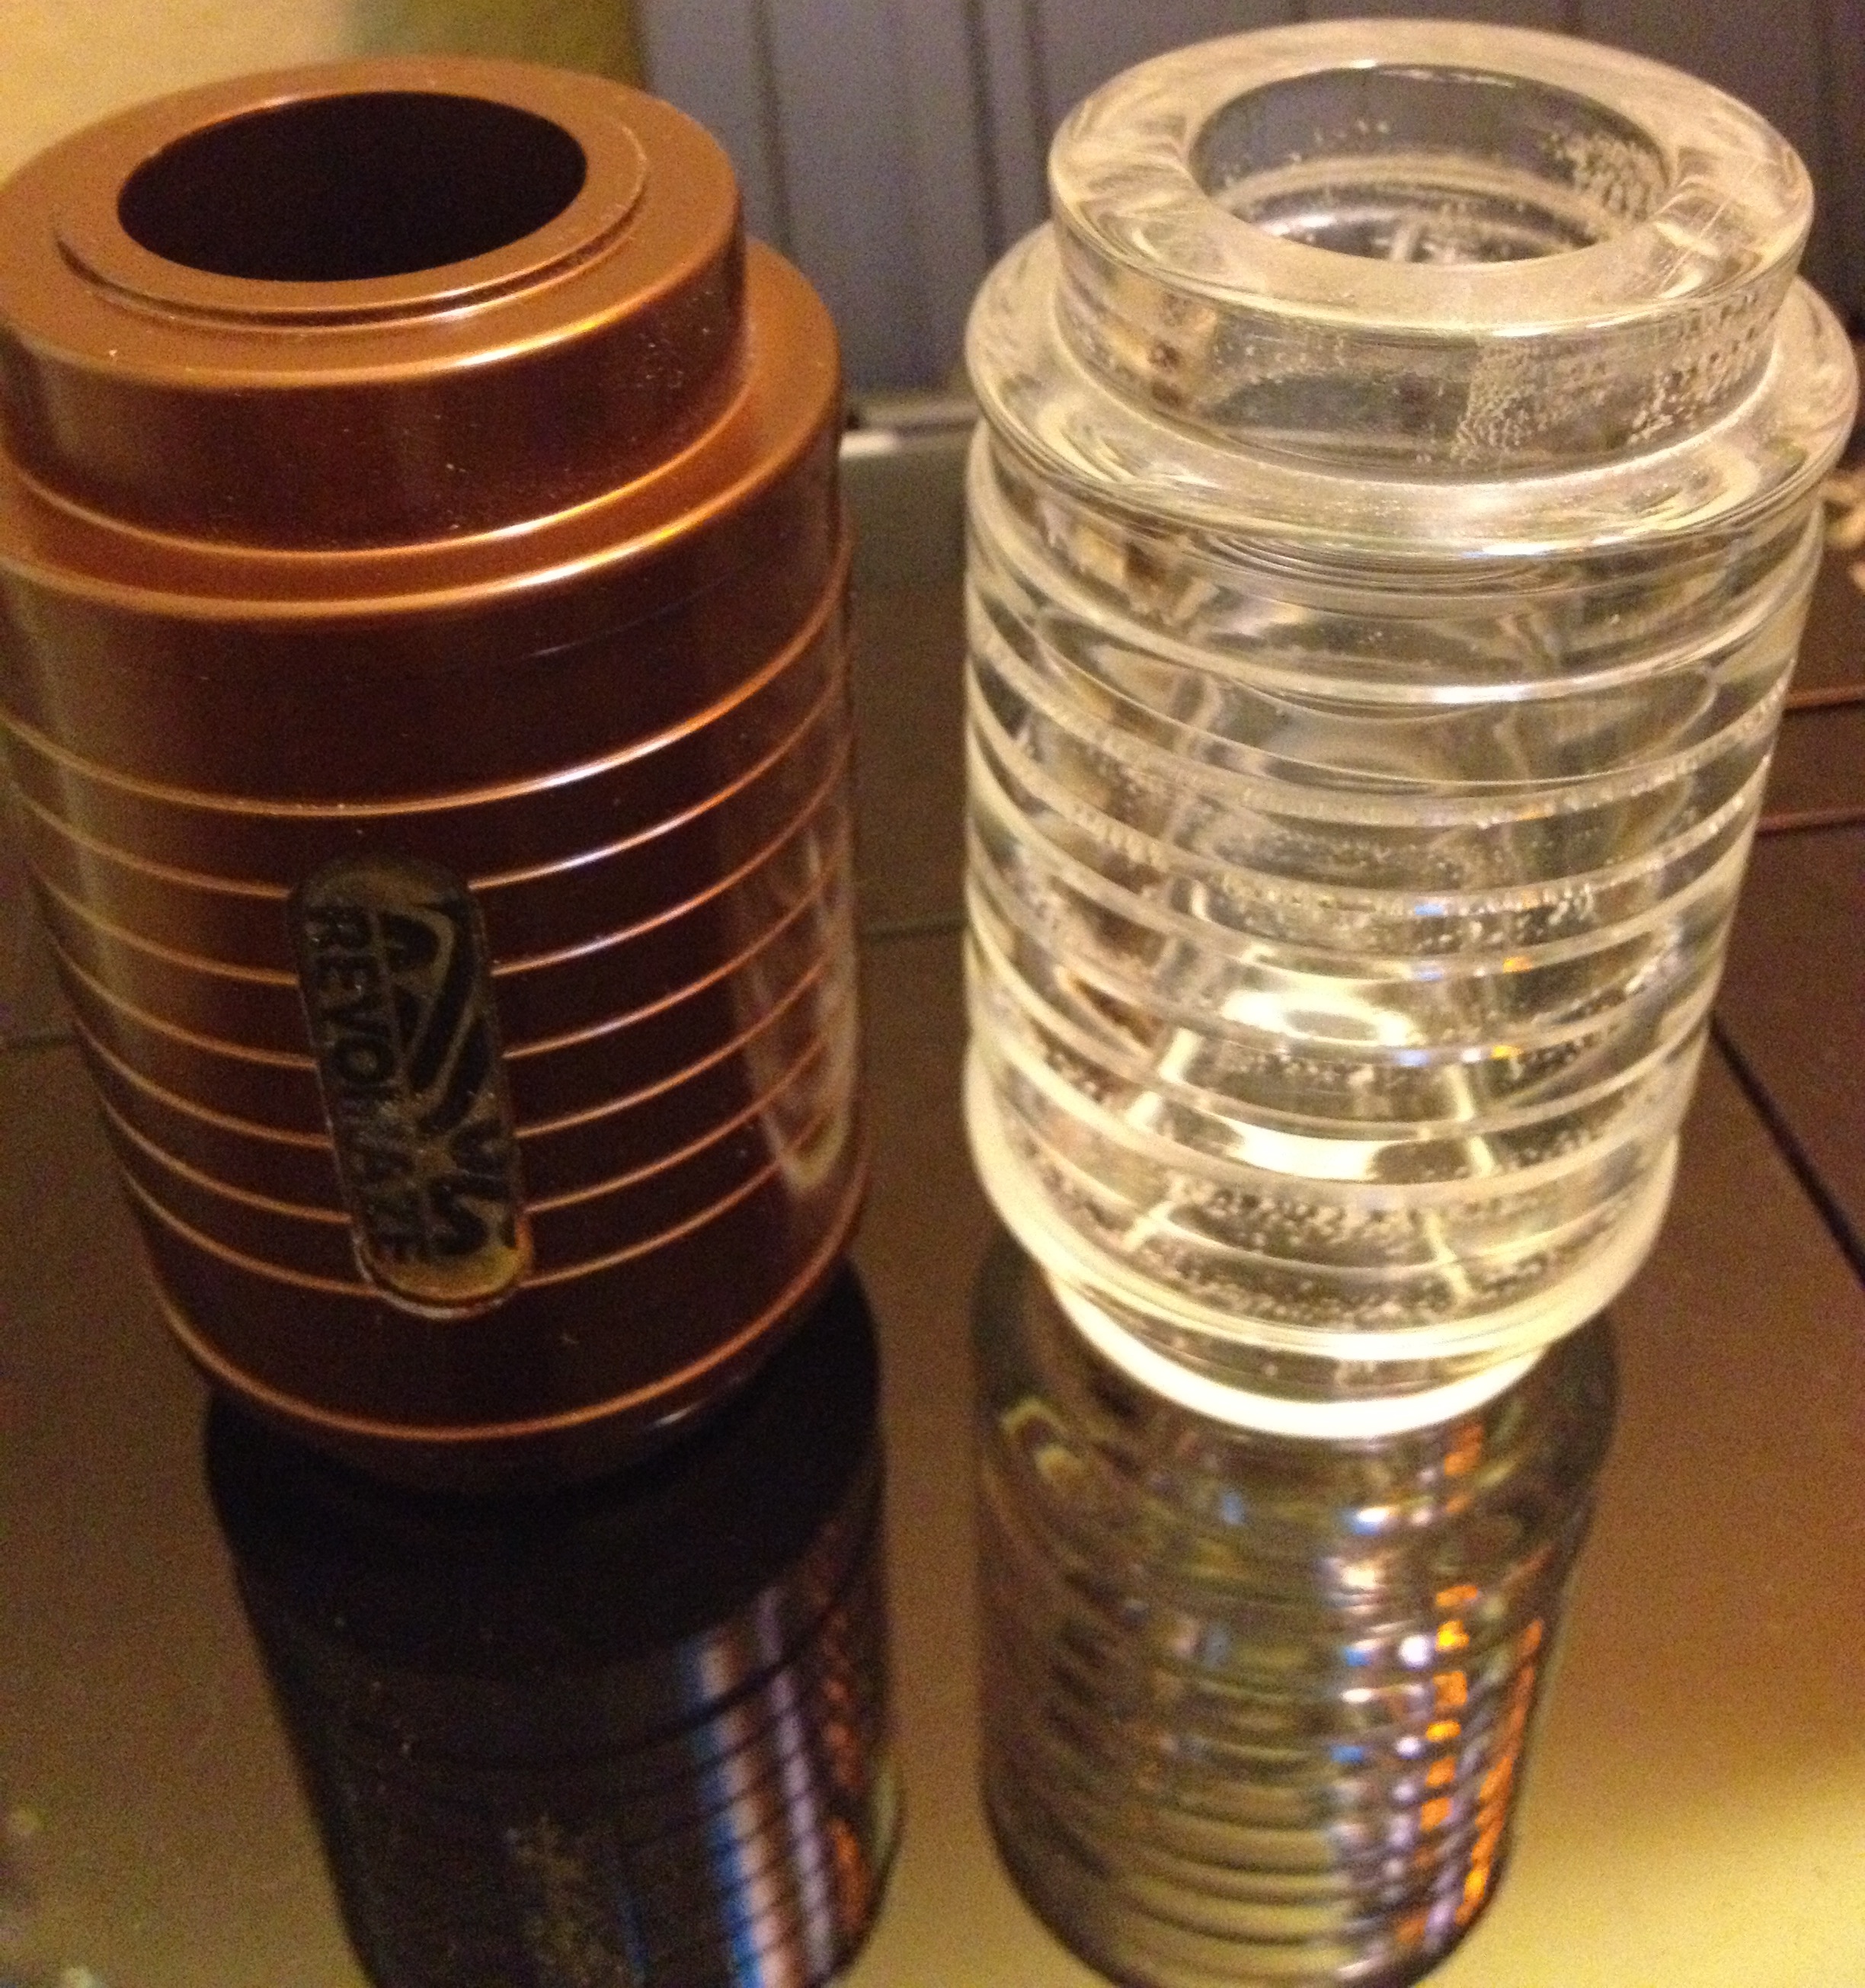
A comparison with the original sleeve

A comparison with the original sleeve

Both clear versions side by side.

Both clear versions side by side.


So the real test is left. Can you see the core? Well the answer is a resounding yes. The core is easily visible in the sleeve, and everything fits perfectly. I’m pretty happy with the results.

The Sleeve with a maze in it

The Sleeve with a maze in it

Hex Stair (Part 3) – Finishing

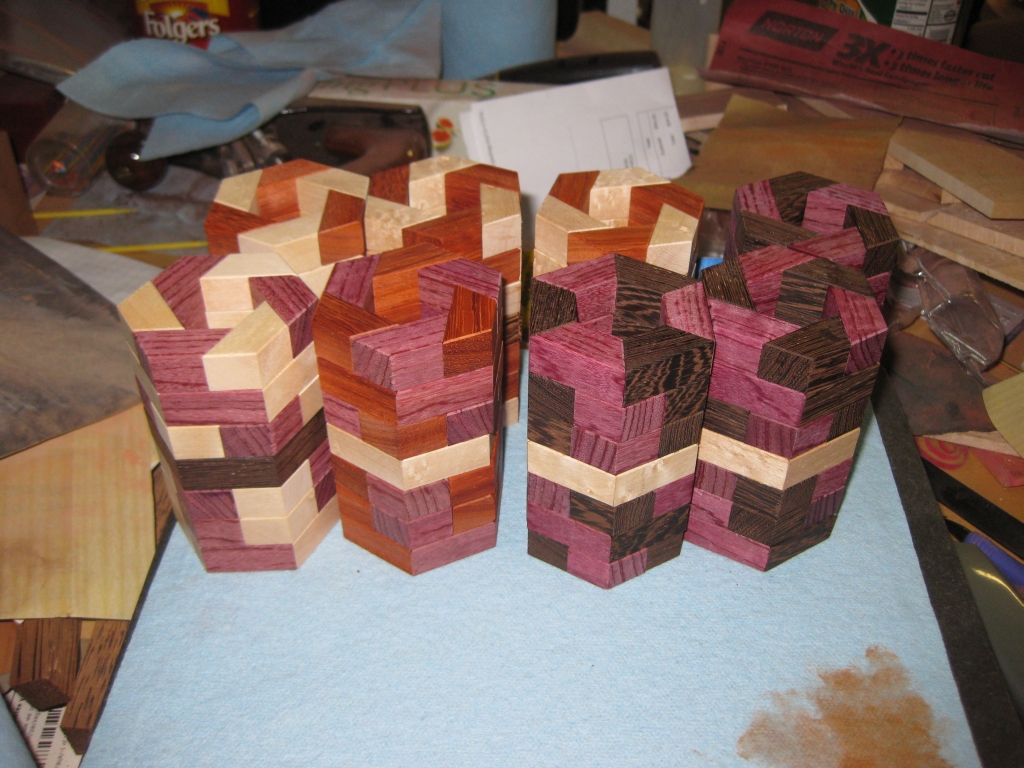
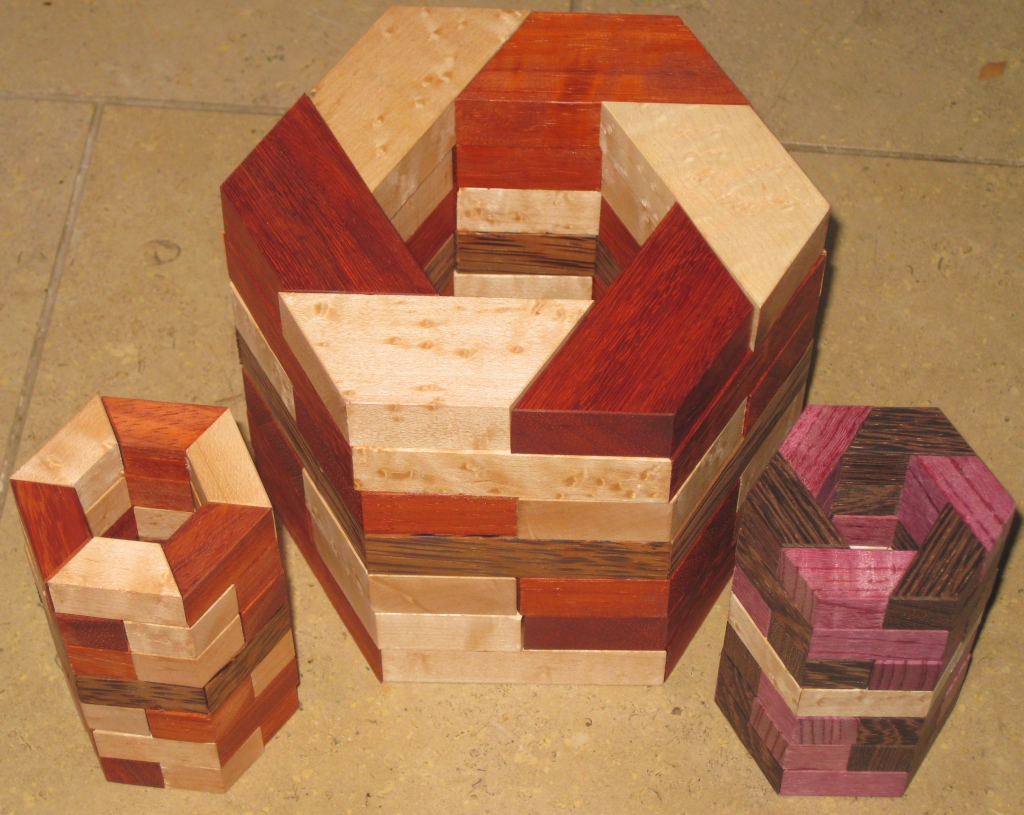
After the quick interlude as I prepare for IPP, here’s the third part of the Hex Stair saga. Despite only having 11 puzzles made in the last month, it feels like I’ve been working on this project a fair bit longer. Still seeing all the puzzles finished and ready to go to IPP with me I’m really pleased with the results.

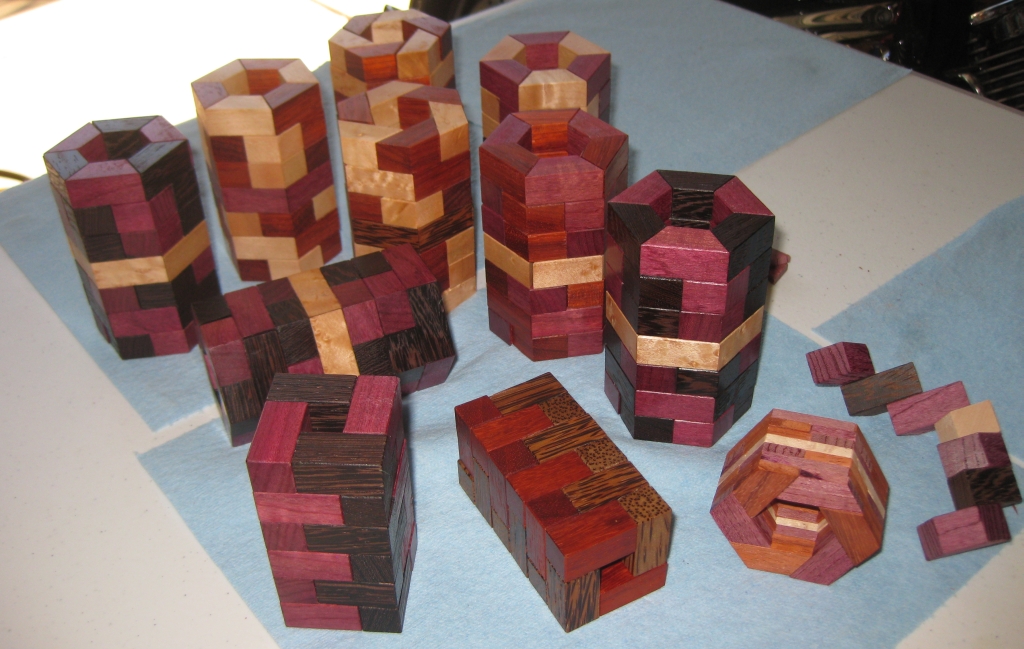
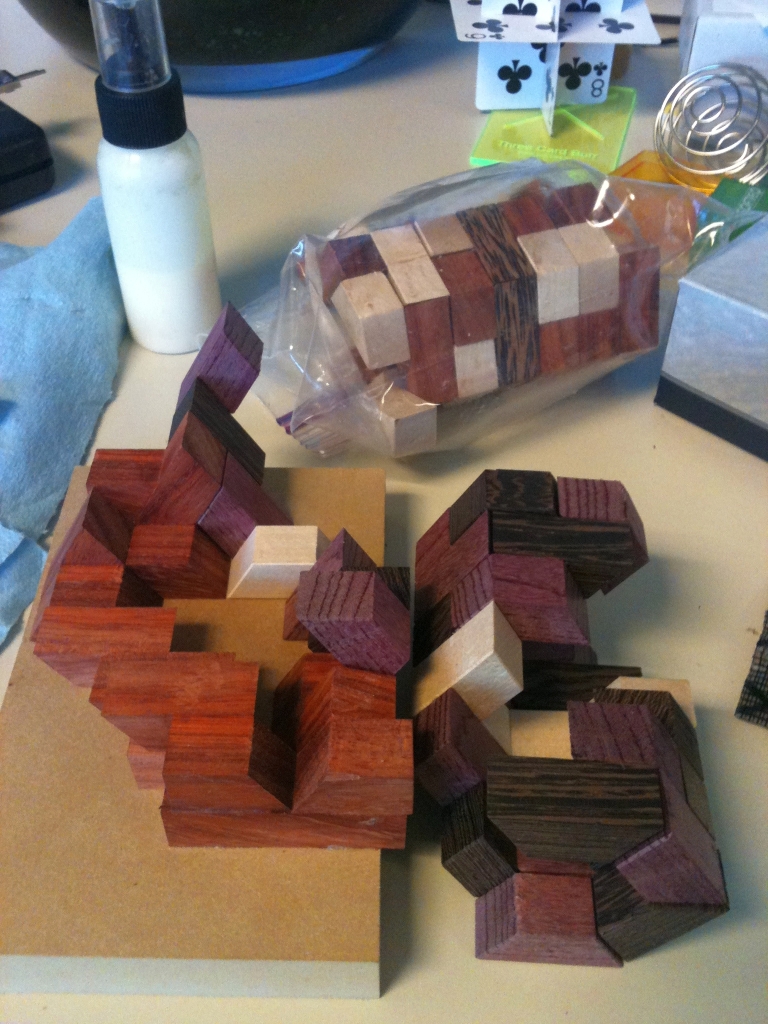
A Collection of Hex Stair's (and a couple of Domino Towers too)

A Collection of Hex Stair’s (and a couple of Domino Towers too)

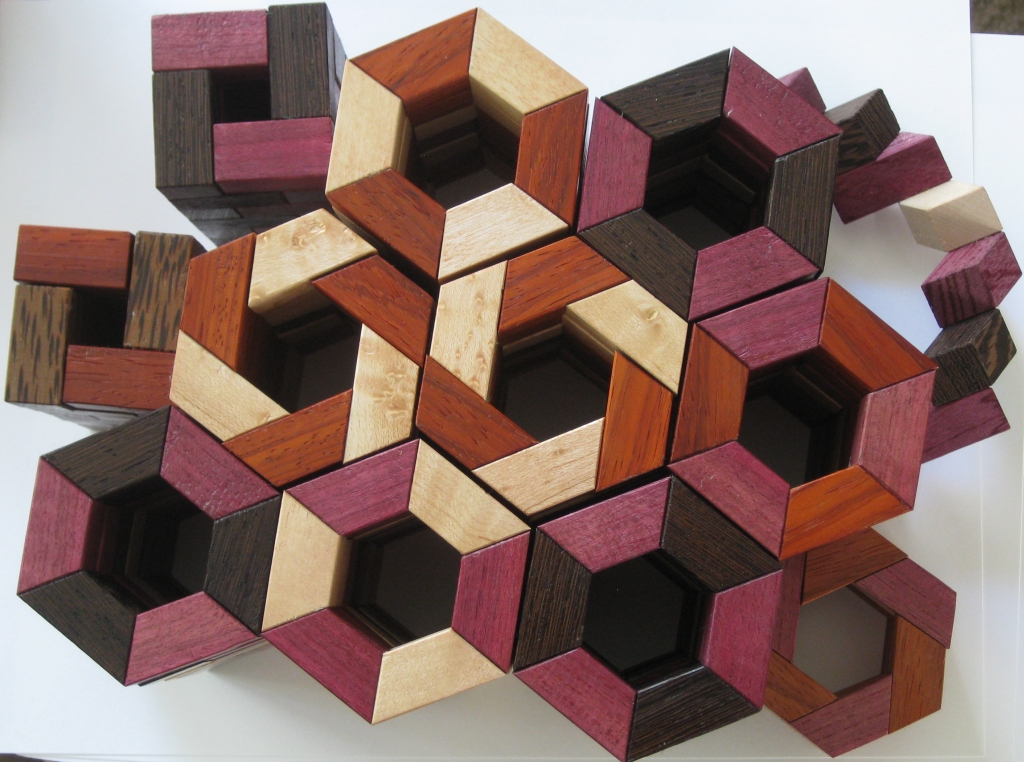
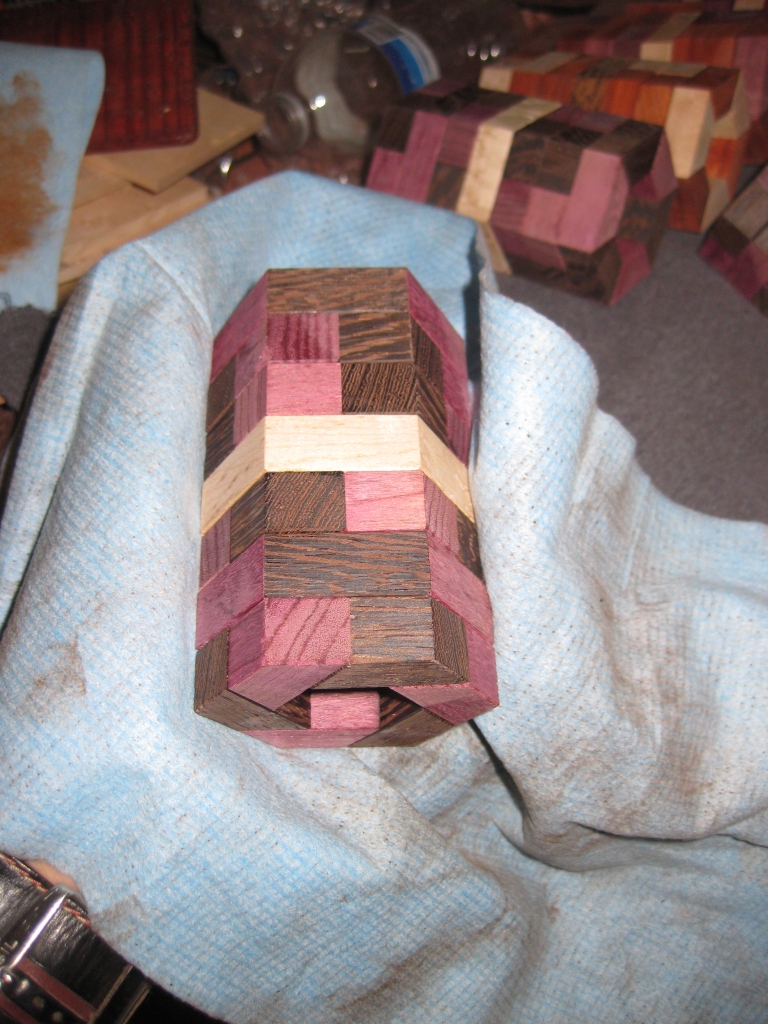
Another view of the set of puzzles finished and ready to go

Another view of the set of puzzles finished and ready to go

I’m not sure how anyone else views the finishing process, but for me it starts long before you ever get out a brush or some lacquer. Much of the look of a finished puzzle, or any wooden object really comes from the choices you make when you’re putting it together. There are subtle details which really help to ‘finish’ a project. For the Hex Stair (and the Domino Tower) puzzles, adding the very slight 45 degree bevel to the edges of the pieces really adds to the overall look. Without it, the puzzle looks incomplete. So for me that’s the first part in the finishing process. After each of the blocks are cut to size, I add a tiny bevel to each piece. It’s a time consuming process, but without it the pieces just lack that little edge that they’d otherwise have.

The puzzles pre-finishing.  Here they are unsanded.

The puzzles pre-finishing. Here they are unsanded.

Getting ready, each of the puzzles are assembled, as I will be sanding only the outside of the pieces. The reason for this is that I send a lot of time ensuring that the pieces are all the exact same size, to ensure a tight fit on the assembled puzzle. If I were to sand the pieces, then I’d lose that fit, and the puzzle would become too loose, or not fit at all! You’ll remember that I aim for one thousandth of an inch tolerance between pieces. Sanding will remove much more than that!

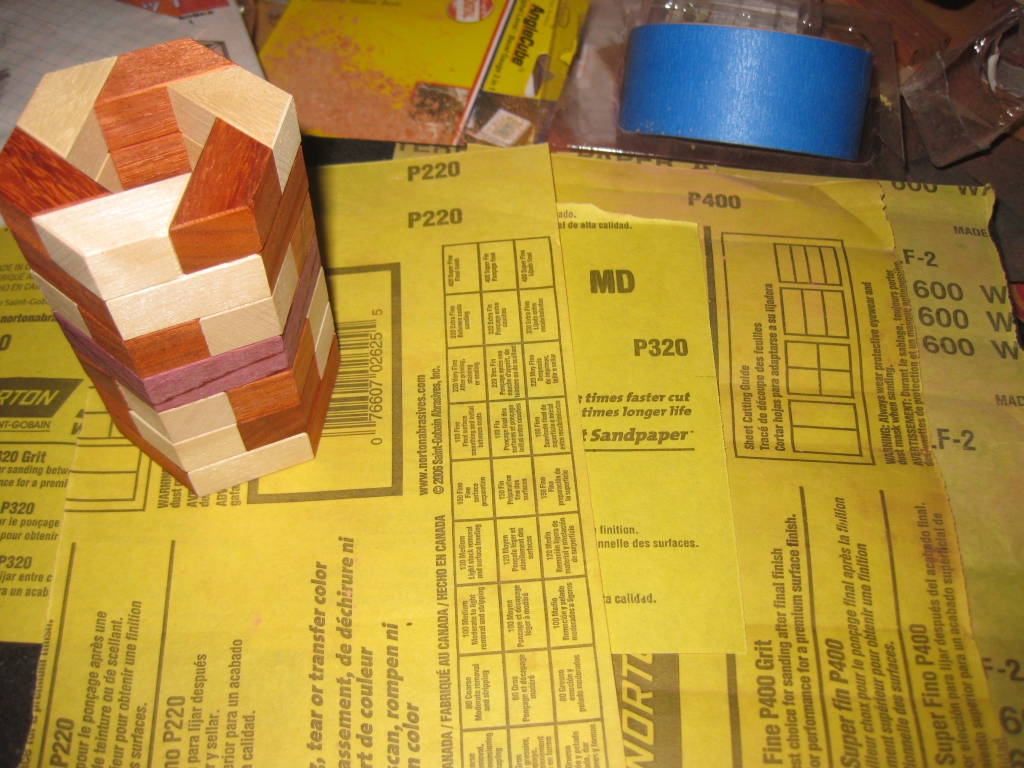
Each grit will be used from lowest to highest.

Each grit will be used from lowest to highest.

Given the finish I get from the blade of the saw, you could ask why sand the puzzle at all? The main reason is the feel of the puzzle in your hands when it’s sanded. Although the puzzle if perfectly dimensioned, the feel of the wood can still be a little rough. By working up through the various grit of sandpaper, we’ll take the wood to being silky smooth to the touch, and make it something that you’ll want to hold. Given that I’m starting off with something which is close to a finished surface, I’ll start sanding at 220 grit, then move up to 320, 400, and eventually 600 grit. The last two grits are more polishing the wood than removing imperfections, so very light passes are all that’s required at that stage.

First pass sanding is done, and the dust needs cleaned off before continuing

First pass sanding is done, and the dust needs cleaned off before continuing

With each of the sides, and both top and bottom sanded, the puzzle is left coated in a fine sawdust. You’ll notice that I’m working with the sandpaper attached to my granite block. I work the puzzle across the paper rather than take the paper in my hand and bring it to the puzzle. The former ensure that the surface is dead flat, and I don’t over sand any particular area, where there latter, the different pressure from my fingers would lead to imperfections. Before moving to the next grit, the dust has to be taken off, otherwise it will be ground into the surface of the wood, and you will end up working harder to get the surface you’re looking for. To do this I use two processes. First up, I have an air compressor with a fine nozzle on it. Using that at about 60 PSI, I blow most of the dust off the surface, taking care to ensure I get any dust out of the pores of the wood. On wood like the Paduak I’m using which has fairly deep pores, the air easily clears them out.

The Tacky Cloth used to remove dust from the surface.

The Tacky Cloth used to remove dust from the surface.

Once I’ve blown the dust and cobwebs away, I use a Tacky cloth to take care of anything that’s left on the surface. The Tacky cloth is has an almost waxy feel to it, and does a great job of taking anything loose off the surface. With that done, I can continue up through the grit until I finally reach 600. All in all it takes about forty minutes per puzzle, but since I was working with all the puzzles, around 3 hours in total.

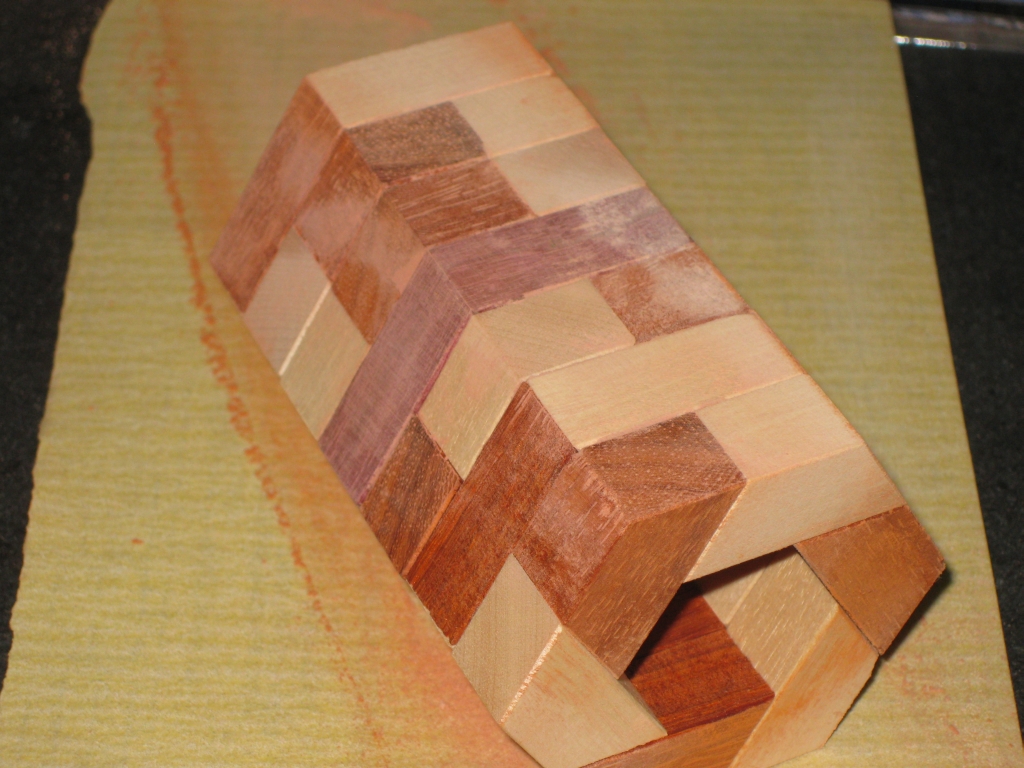
The puzzle sanded up to 600 grit.

The puzzle sanded up to 600 grit.

It may be a little hard to tell the difference from the photograph, but this is the puzzle sanded up to 600 grit. The real difference is in the feel of the wood. Now much smoother, the finish is almost like glass.

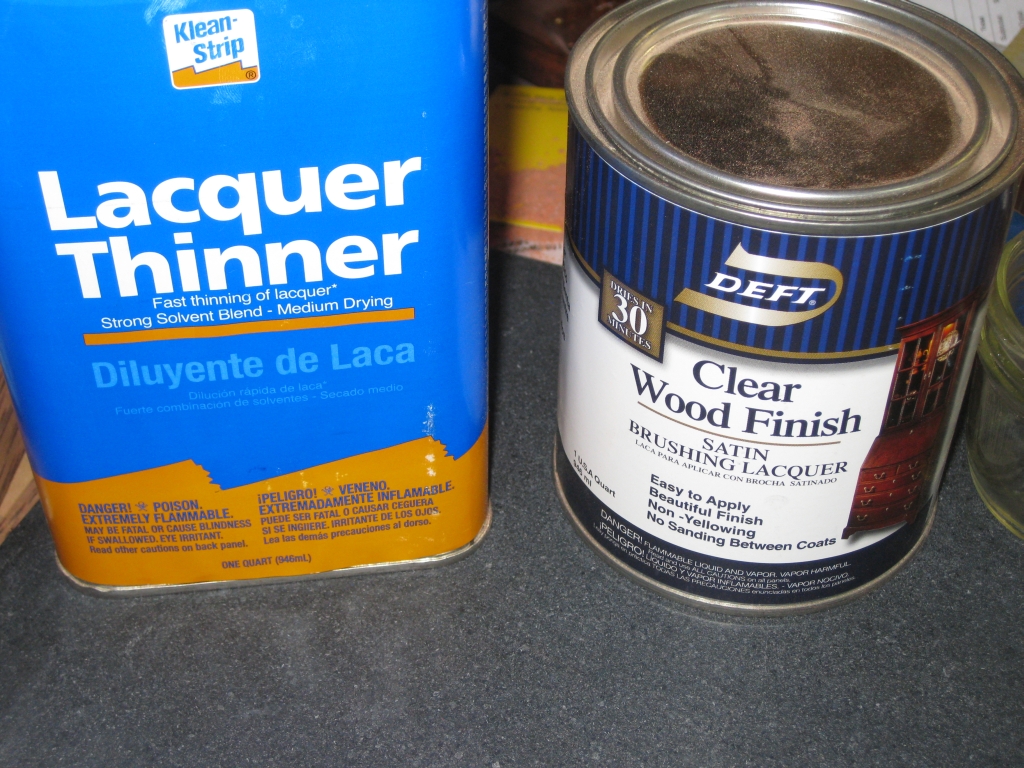
The Satin Laquer for finishing

The Satin Laquer for finishing

Watco Finishing Wax

Watco Finishing Wax

Next up in the process is to apply the finish. I use a three stage process currently. First up is to apply a couple of thin coats of lacquer. I mix the lacquer 50/50 with thinner, and apply two coats to the puzzle pieces. Working with the lacquer thinned like this, I have found I don’t end up with runs or drips. Given the size of the pieces I’m working with I use a small brush to apply the finish which could leave brush stokes with a thicker mixture. Each coat is applied and allowed to dry overnight before adding the next coat in the morning.

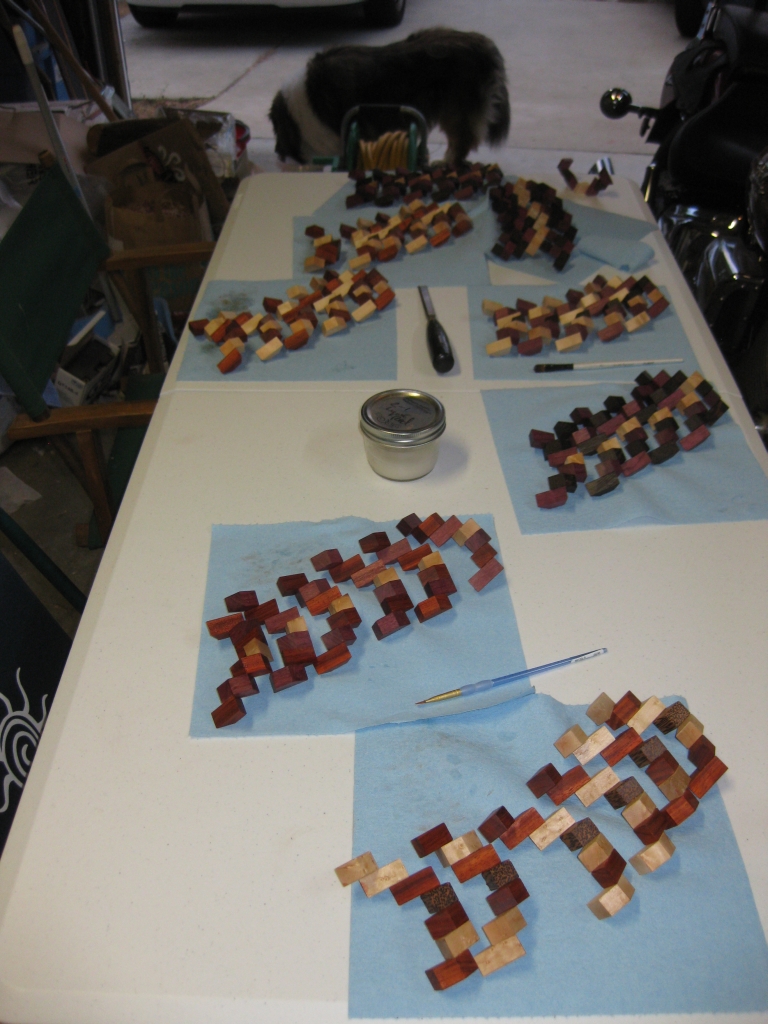
End of day one in the finishing process

End of day one in the finishing process

It takes around 20 minutes per puzzle to apply a coat of finish, and then it’s left to dry. I’ll show side by side photos below, so you can see the difference after each stage. It will probably not be too obvious, however the before and after shot shows worlds of difference!

First coat applied, and the pieces left to dry

First coat applied, and the pieces left to dry

After the two coats of lacquer are applied, I take a good look at each of the pieces. Sometimes the wood absorbs the lacquer more in certain areas, and the finish can appear uneven. If that’s the case, I’ll go back and apply a third, or even fourth coat of lacquer until the wood has absorbed the lacquer evenly. After each coat, the lacquer is left to soak in for around thirty minutes, and then I’ll come back and rub off any excess with a clean cloth. If the lacquer pools on the surface, it will dry hard and uneven, which can affect the fit of the puzzle, and certainly doesn’t make it look any better!

Once I’m happy, I’ll apply a liberal coat of the Watco finishing wax. This helps the pieces to slide past each other, and adds another layer of protection for the puzzle. After all these will be played with, so I want the wood to be protected. I leave the wax on the puzzle for around 15-20 minutes, then with another clean cloth, rub the excess off. Part of this process I also buff the pieces as I work the wax into the surface, but mostly I’m removing the excess.

Renaissance Wax is used to apply the final coat to the finish

Renaissance Wax is used to apply the final coat to the finish

The final part to the finishing process is to apply a coat of Renaissance Wax. This incredible substance (which is not cheap!) brings up an amazing shine on the wood. Applying it leaves the wood with a slightly tacky feel, and a finish which is less than mirror. I apply the wax as evenly as possible, and then let it sit for 20 minutes. After that I take a clean cloth and start buffing the surface. It takes about 20 minutes per puzzle, but the wax really polishes up the surface and starts to make the wood shine.


The Ren Wax gets inside the puzzle, and needs to be cleaned out

The Ren Wax gets inside the puzzle, and needs to be cleaned out

After the initial buffing, I take the puzzle apart, as the wax gets pushed into every little gap. This needs to be cleaned out before the puzzle is re-assembled and given another buffing. All told the process takes nearly 45 minutes per puzzle, but as you will see below, the results are worth every minute of it!

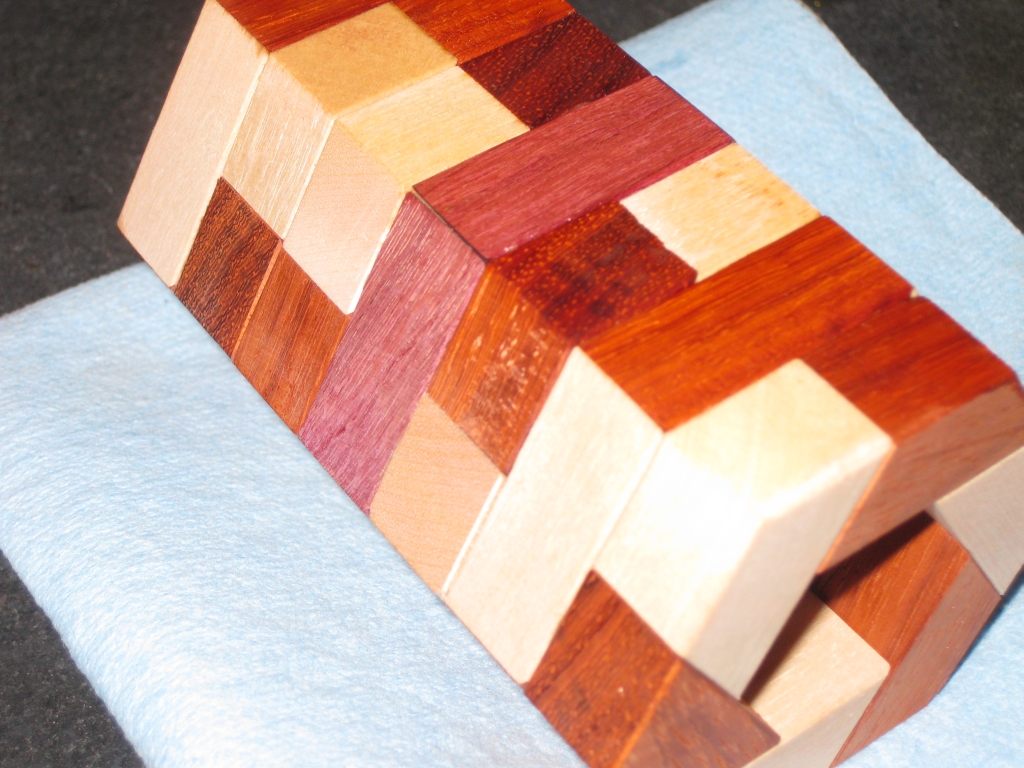
The finished finish, next to an unfinished piece

The finished finish, next to an unfinished piece

As you can see the difference from start to finish is dramatic. The surface ends up being quite reflective, and really brings out the grain in the wood. It may take ~4 hours per puzzle but the results speak for themselves.

The images below show each stage of the process compared with the unfinished puzzle. It may not be too easy to see the difference, as the changes are subtle.

Both coats of lacquer applied to the piece on the right

Both coats of lacquer applied to the piece on the right

The coat of wax applied to the piece on the right.

The coat of wax applied to the piece on the right.


I hope you’ve enjoyed the writeup of my finishing process. I freely admit that I’m no expert, and I’m learning as I go, however several of my readers have asked so hopefully this is useful to you. This is by no means the definitive guide to finishing, and certainly isn’t appropriate for all applications, however it does work for me when finishing puzzles, and I’m happy with the results. From the feedback I’ve had from those who’ve bought my puzzles, they seem to agree that I’m doing something right!

Hex Stair (Part Two)

Following on from by first post on the Hex Stair (Part One), I’m moving from the initial copy which I made for myself and realised it was far too big, onto a smaller version, which I’ll be making a small run of puzzles to sell. Making things smaller adds new challenges so read on to see what I had to do to overcome them.

The original and the new scaled down versions

The original and the new scaled down versions

As you can see above, I have seriously scaled down the size of the pieces, which makes for a much more manageable puzzle size. I am slightly torn in all honesty; I love the big solid chunky copy I made initially, but also appreciate that it’s far too big for most people, and the more compact size is far easier to work with … or is it?
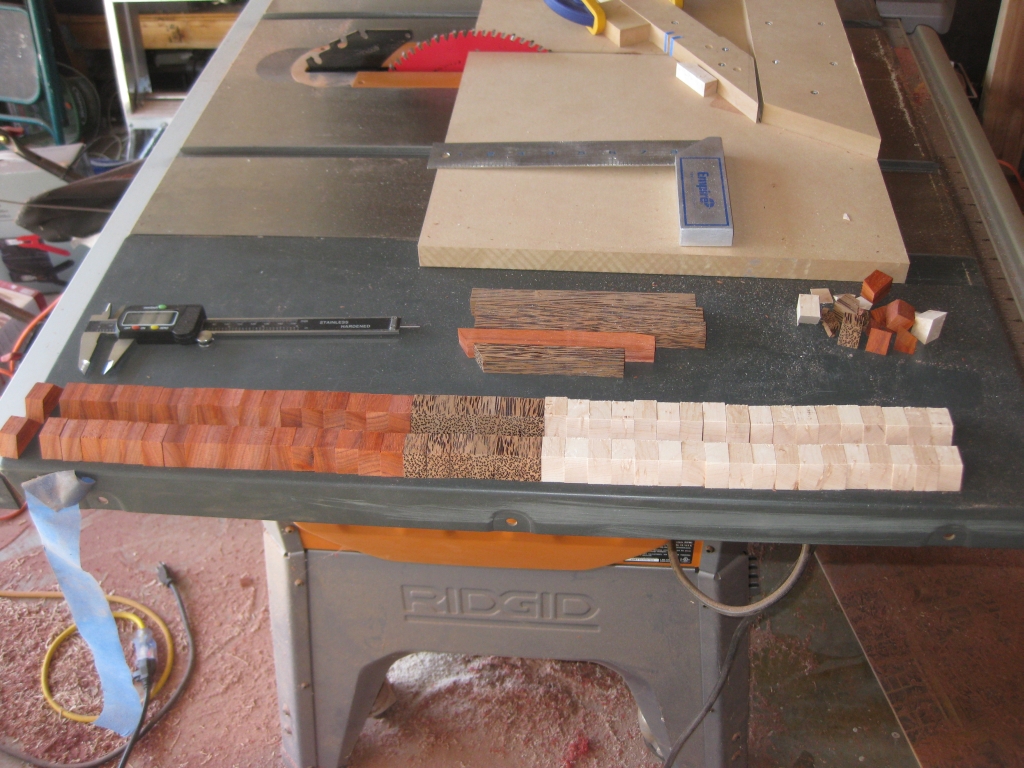
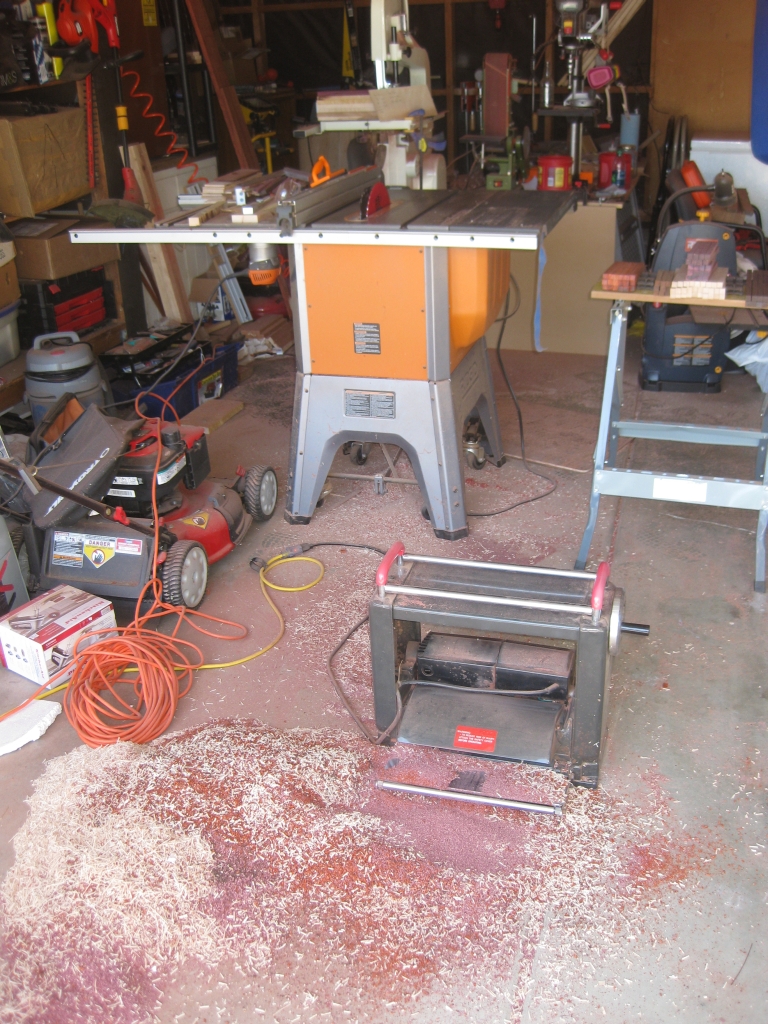
Lots of cleanup required after milling the boards

Lots of cleanup required after milling the boards

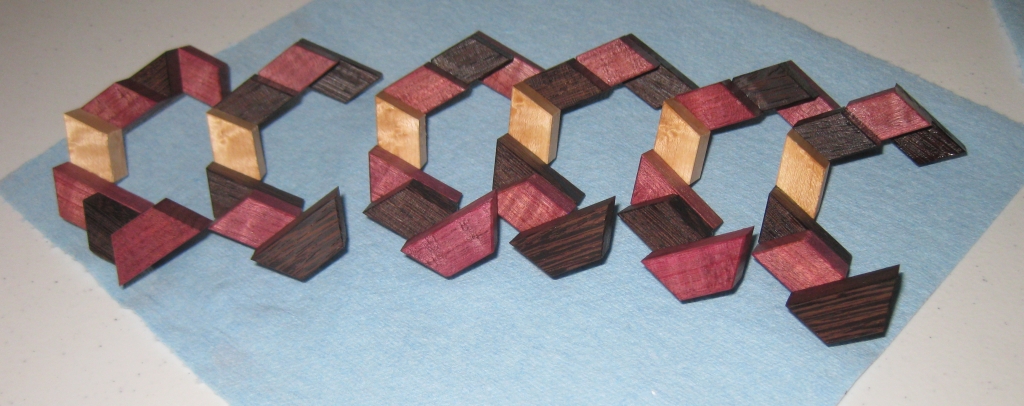
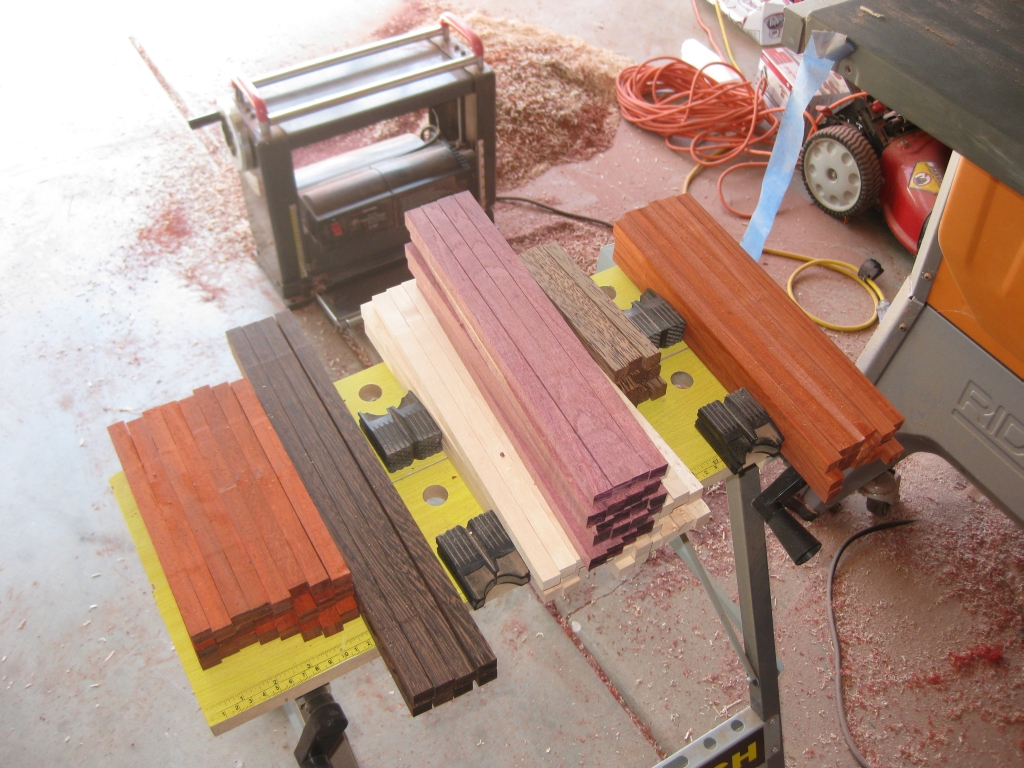
Having decided on the dimensions for this smaller version, I cut and milled my stock, cutting what I hoped would be enough sticks to make a reasonable run of puzzles. The pile of sticks looks like a lot, but I have no doubt that I’ll get through them pretty quickly. If you’re interested, the woods are (from left to right) Paduak, Wenge, Curly Maple, Purpleheart (on top), Birdseye Maple, Red Palm, Paduak.

All the sticks cut and sized ready for making into blocks

All the sticks cut and sized ready for making into blocks

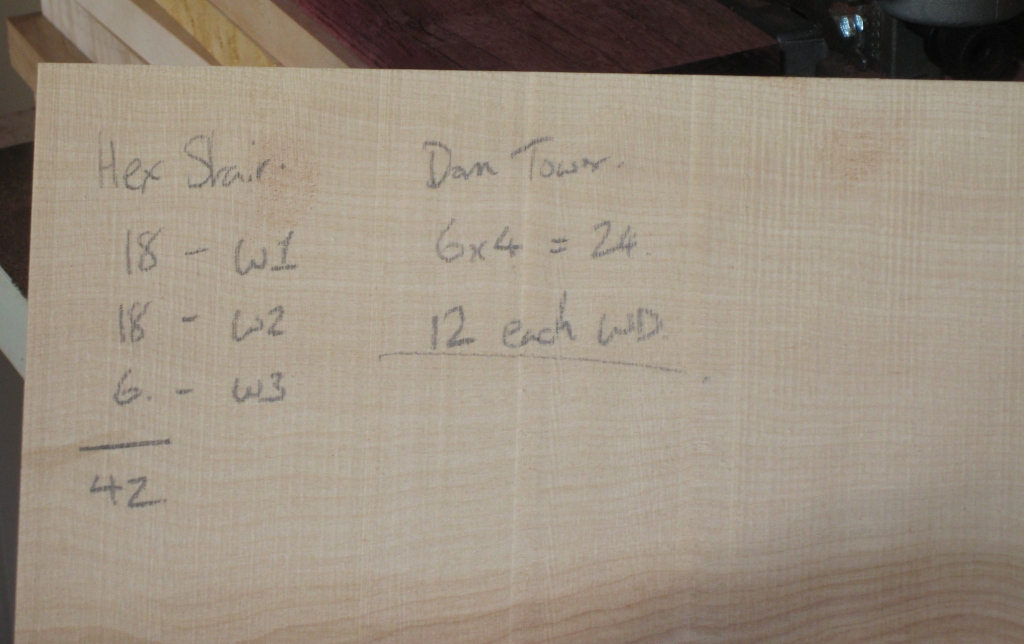
I didn't have paper handy so some curly maple left over from the rough cutting worked great

I didn’t have paper handy so some curly maple left over from the rough cutting worked great

With everything setup, I started batching through the cutting of the pieces, and despite needing 42 pieces per puzzle, once everything is setup, this goes fairly quickly. I keep my digital calipers beside me and keep checking the cuts as I go to make sure I’ve not had any errors introduced, as the biggest reason I have found for a puzzle not fitting correctly is tiny differences in the tolerances of cuts. Anything more than about five thousands of an inch between pieces and the fit will not be good enough. Ok, five thousands is pretty small I hear you cry, but I try to get my pieces to less than two thousandths to make sure I don’t have problems. Sadly I’ve learned from experience that even small margins like this make the world of difference and cause a lot of frustration when gluing pieces together in the type of puzzles I’m making.

Several puzzles worth of pieces cut and ready to be beveled.

Several puzzles worth of pieces cut and ready to be beveled.

Having batched out a good few pieces; enough to make a few puzzles; I take a break from cutting the pieces and move to the router to add the bevel to the edges of the pieces. I find that taking a break like this keeps me focused and alert, rather than becoming complacent as the motions get repetitive, and it’s all too easy to lose focus … and as I have already experienced, a tiny lapse can be very costly!

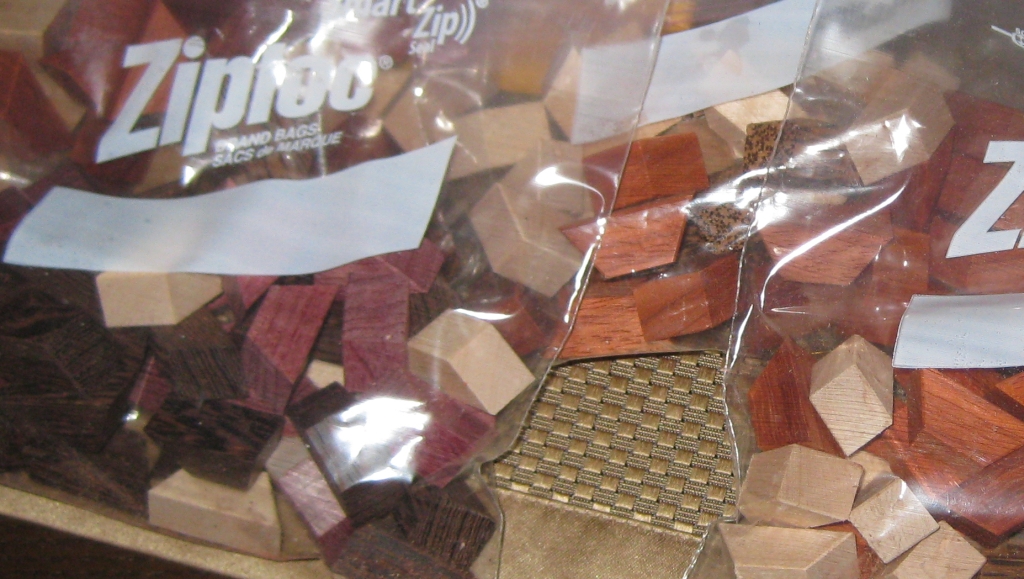
Bags of blocks beveled and counted out per puzzle.

Bags of blocks beveled and counted out per puzzle.

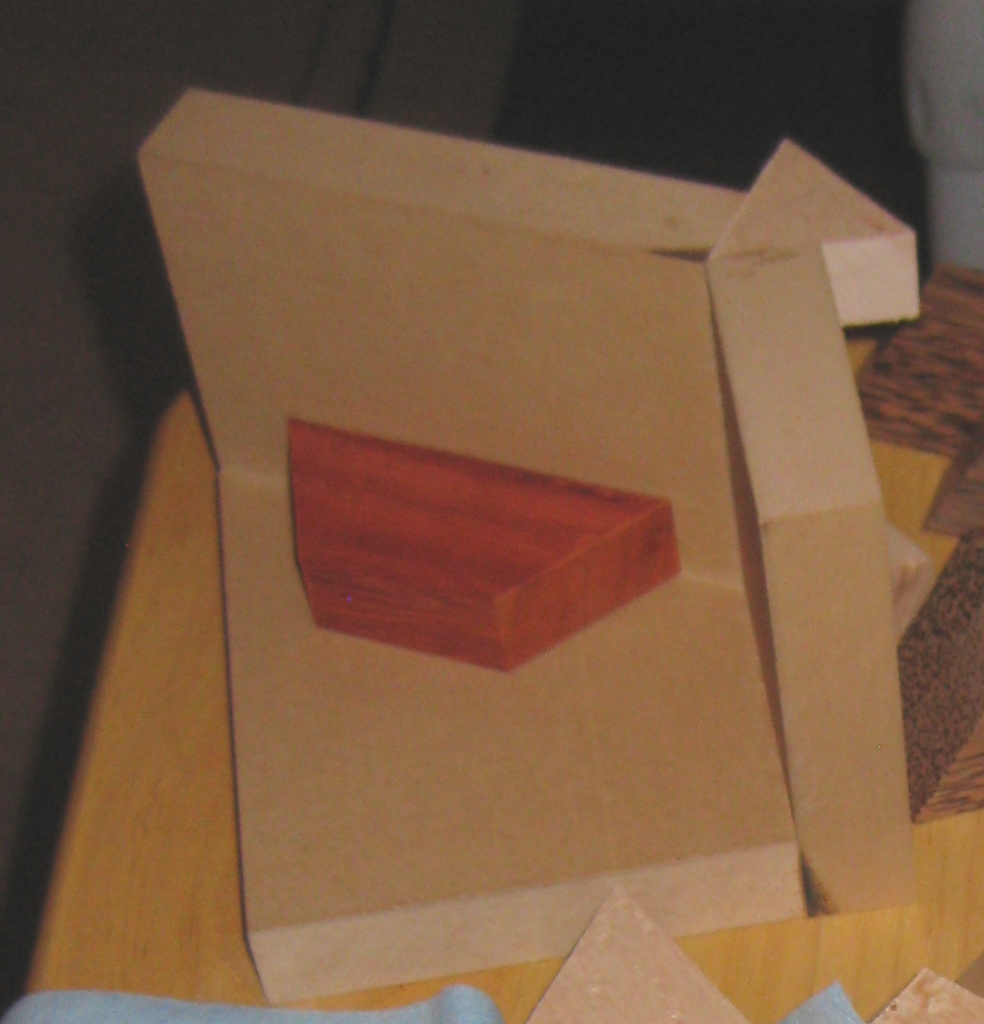
With all the pieces cut and beveled, it’s time to start gluing the puzzles together. You’ll remember the crude jig that I made for the initial puzzle, which worked pretty well. I found out though that with the smaller pieces, there’s not a lot of gluing surface, and I made the pieces almost as tall as the are wide. (They’re not perfectly square!) Because of this, it’s easy for the pieces to get misaligned, so I felt I needed a better jig…

Hex Stair Speciality Jig

Hex Stair Speciality Jig

Speciality Jig showing piece in place

Speciality Jig showing piece in place

Speciality Jig showing piece completed

Speciality Jig showing piece completed


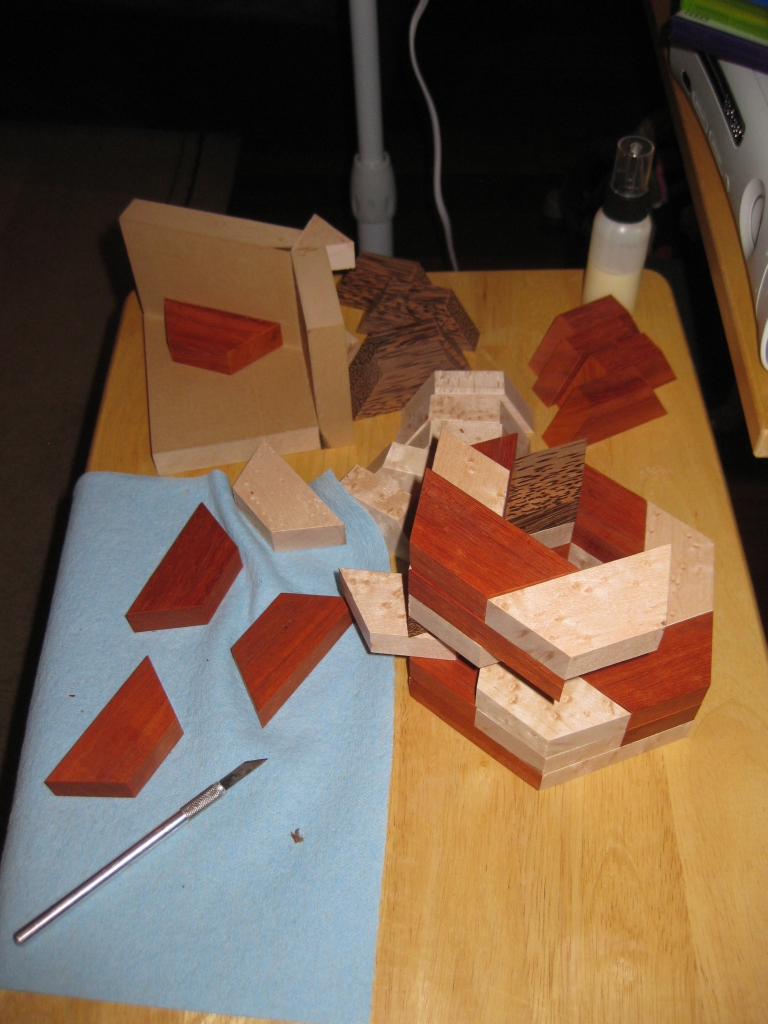
As you can see this jig is a little more advanced than the original, however the main drawback is that it will only work for this puzzle, and only for pieces cut to the exact sizes that I have used. While that may seem like something of a waste, for the most part, the jig is made from offcuts from the sticks I used so really it’s putting small cuts which would otherwise be used in my fireplace to good use. The jig is a very snug fit for each piece, and as you can see each piece is well supported meaning that each completed piece I make in the jig will be identical and it’s also very quick to use, since there’s no way to misalign a piece. With this jig, it takes around 15 minutes to make each individual puzzle piece, meaning that I can make a complete puzzle in around 2 hours (allowing for the curing time of the glue). This as nearly 2.5 times faster than previously. While it may seem like it still takes a long time, I’d rather take my time than rush and end up with a useless pile of firewood. After all, a high quality puzzle doesn’t get made in a minute.

With the jig doing all the hard work for me, it doesn’t take too long to make a copy of the puzzle, to the point where the outside faces get sanded and then finish applied. In Part Three, I’ll cover some of the finishing process.

One thing I noticed when assembling this version of the puzzle is that it’s actually easier to put together than my original version. One of the reasons is that I’ve found a particular rotational move which allows the alignment of the pieces to happen much more easily. I didn’t find this on my original version, I think partly because it is much more squat than the new dimensions. The extra height makes it easier to do this move (although I have gone back and found that it is also possible on the original copy).

Hex Stair (Part One)

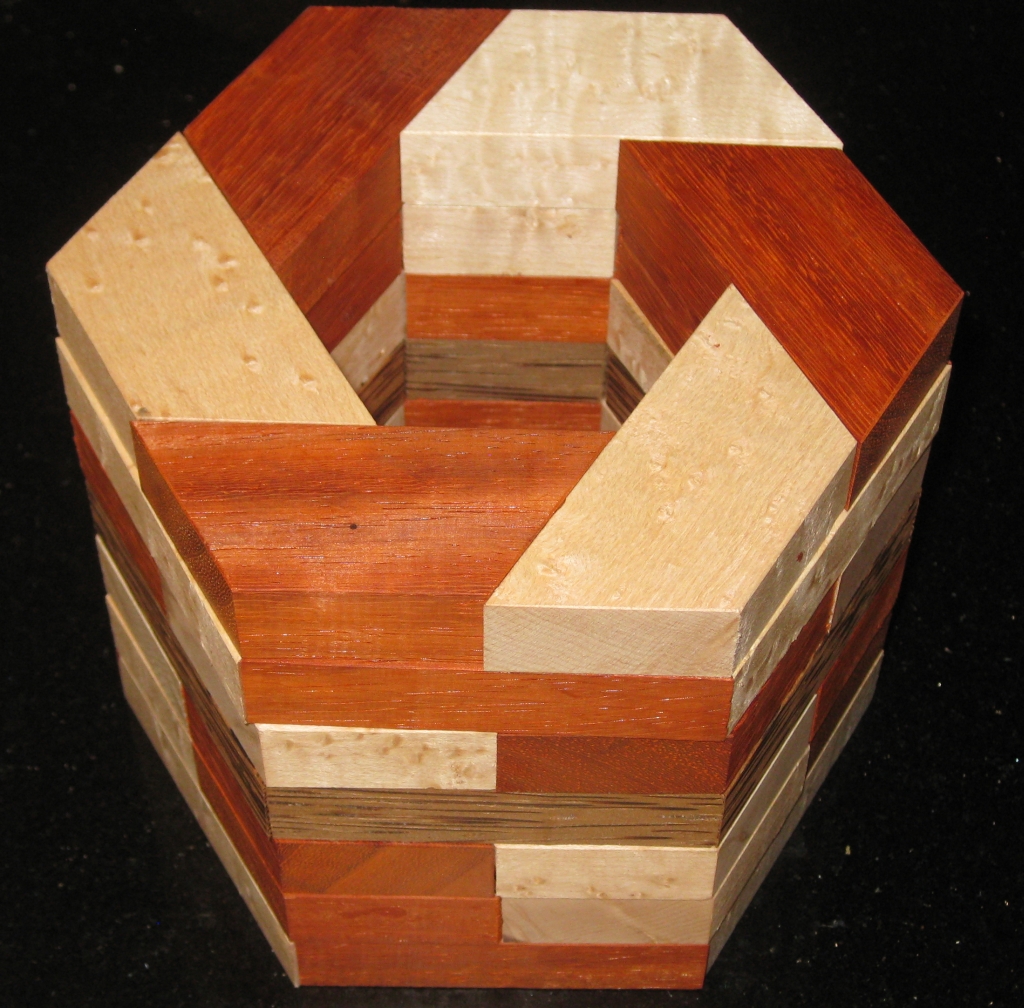
Not too long ago, I posted a few pictures of some of the puzzles I’d been making on Facebook. One of those was a copy of Oskar van Deventer’s design “Oskar’s Domino Tower”. I’ll write about that in another post, however when I did, my good friend Derek Bosch got in touch about a similar design he’d created called Hex Stair. To his knowledge, the design had never been made, and I decided that it would be a fun puzzle to try to build after seeing the design.

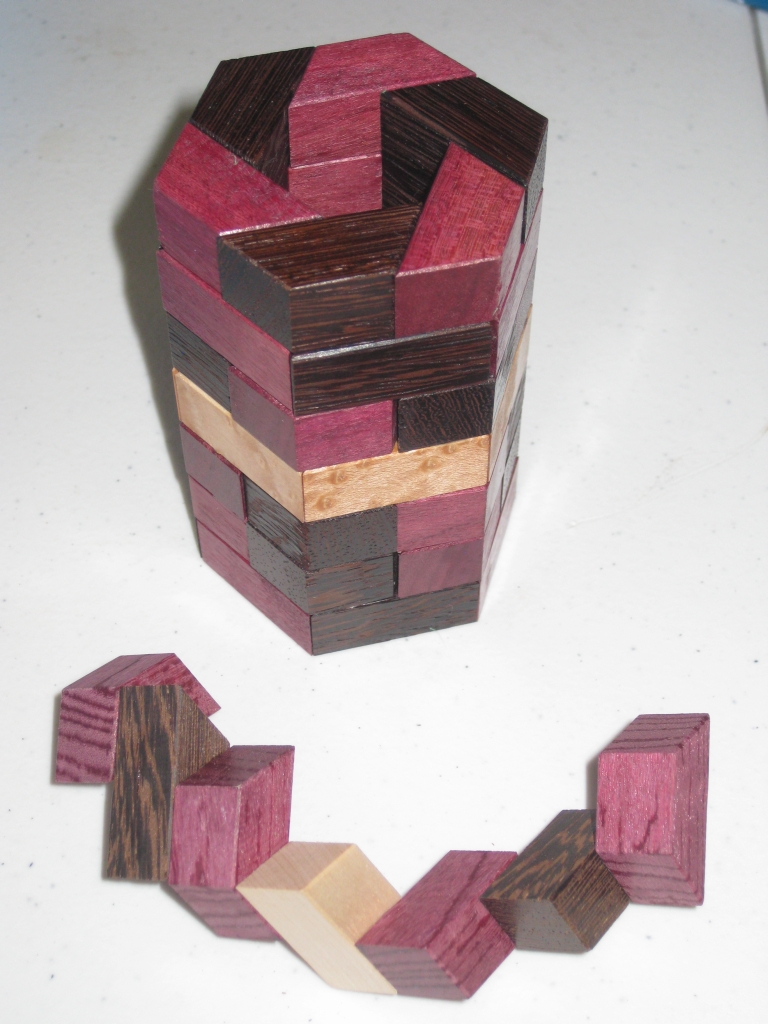
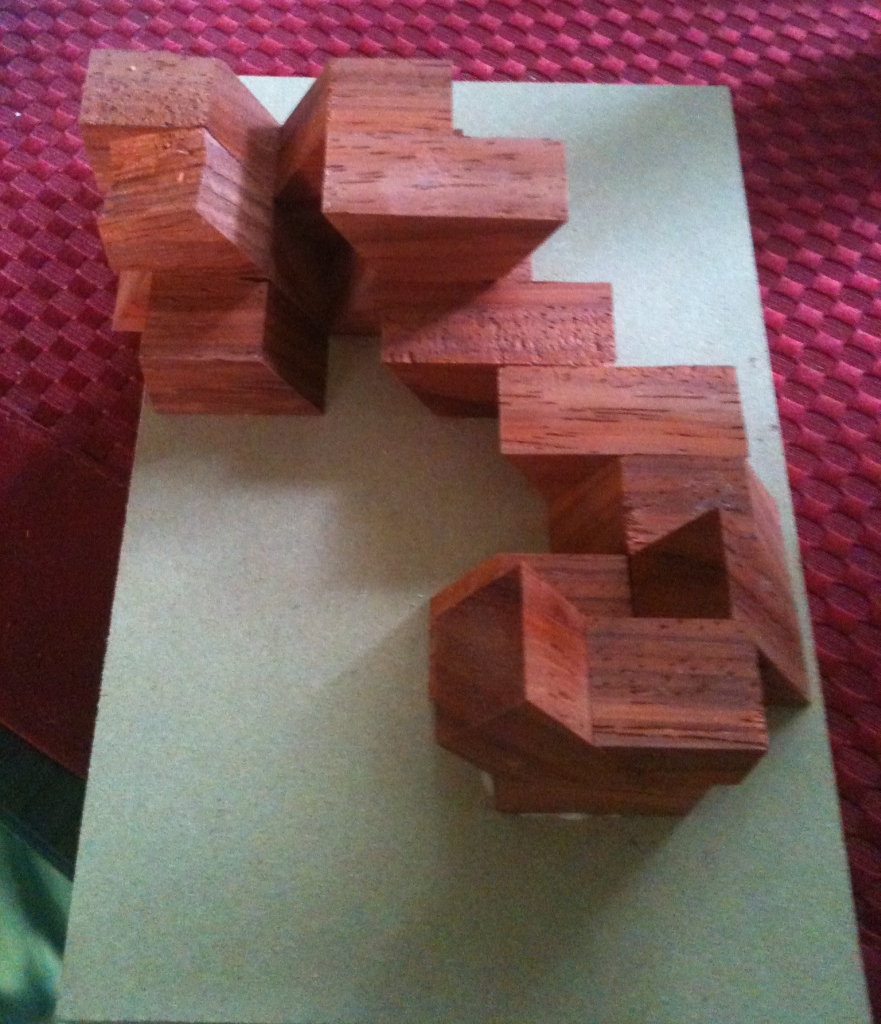
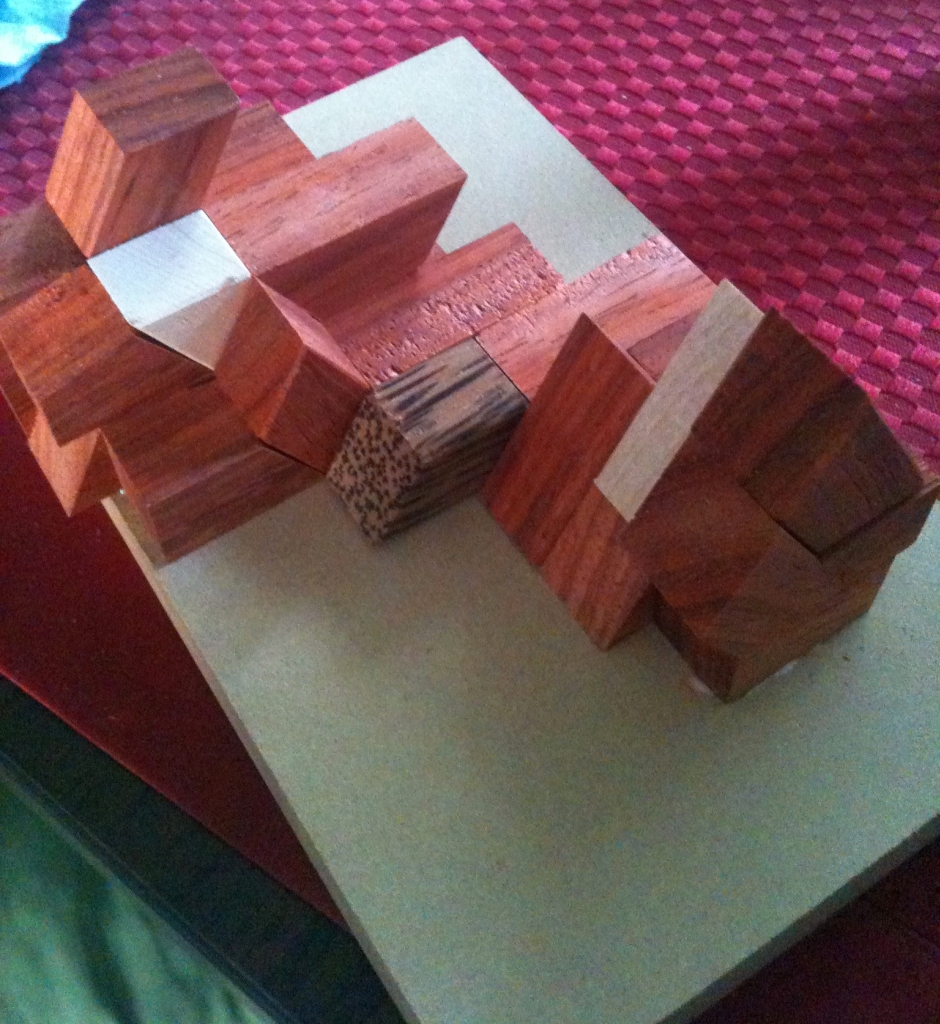
Hex Stair Solved

Hex Stair Solved

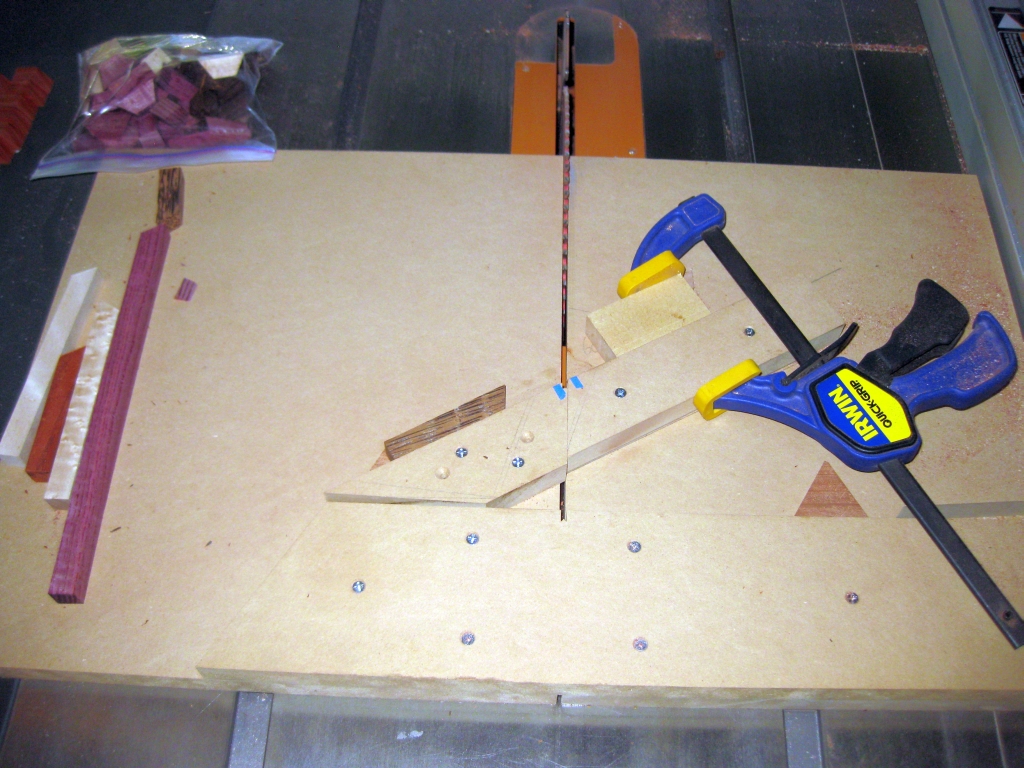
As you can see the design is based on a hexagon. So that means making cuts at a 60 degree angle. To do so repeatedly, I was going to need a new jig, specifically a cross cut sled setup for that angle. I’ve gone through the process to create a cross cut sled before, so I’m not going to go over that again here. I used the same basic MDF construction using 3/4″ boards, and I cut myself some maple runners as guides for the sled. If you want more info about creating the sled, then have a look at my post about going From Square Sticks to Cubes. Clearly rather than a 90 degree angle on the sled I was looking for 60 degrees, and with a little tuning, and a few practice cuts, I had the sled producing perfect angles.

60 degree Crosscut Sled.

60 degree Crosscut Sled.

To do that, there’s no point in measuring just one cut. Rather it’s better to make 6 cuts, creating a hexagon frame, and bring those pieces together. If they come together with no gaps, then you’re golden. If not then you need to adjust the angle of the backstop on the sled. Ed: The reason for doing this is that it multiplies any error in your sled by a factor of 6. I didn’t get things perfect on my first attempt, so I adjusted slightly and then re-cut the test pieces. This time I was pretty close and didn’t think I was going to get much better so I called it good. To make tiny adjustments, a strip of tape can be used to adjust the angle. Obviously I could create a sled with a variable back stop, and have screws to push or pull it for a perfect fit, but for now I’m not looking at spending too much time. If I find many puzzles which require 60 degree angles that I want to make, then I’ll consider making a more advanced jig. Ed: What is it about us that we’re never happy with what we have, we always want it to be better?

With the sled ready, I milled my stock, selecting some Paduak, Birdseye Maple and Red Palm that I’d had sitting for a while, and got to work on the new jig. There are 42 pieces required to make this puzzle and given that there are 7 layers, I decided to create a band in the centre of the puzzle. Since it’s never been made before, I’m not biased by something someone else has done, and I thought it would look fairly good. You can be the judge, based on the photos! I got to work cutting 18 pieces each of the two main woods, and 6 pieces for the centre ring. With that done, I took the pieces to the router and added a very subtle bevel to the long edges. I quickly found out here that beveling the pointed edges can’t be done on the router as there is nothing for the guide to reference off, and given the thin nature of the pieces, this would be a fairly dangerous cut, so I opted not to bother. I think in the finished puzzle, it works out very well, as it makes it look as though there’s seven rings, rather than 42 individual pieces. Again it’s all personal taste, but I’m happy with the results!

Gluing the pieces together into a finished puzzle presented me with a few interesting challenges. Firstly, it’s not square, so my current gluing jigs are no use. Also the puzzle is fairly tall, with each individual piece of the puzzle having a very small footprint, making it unstable without a lot of support, so ensuring that everything is glued up perfectly alighted is an interesting challenge.

60 degree basic gluing jig

60 degree basic gluing jig

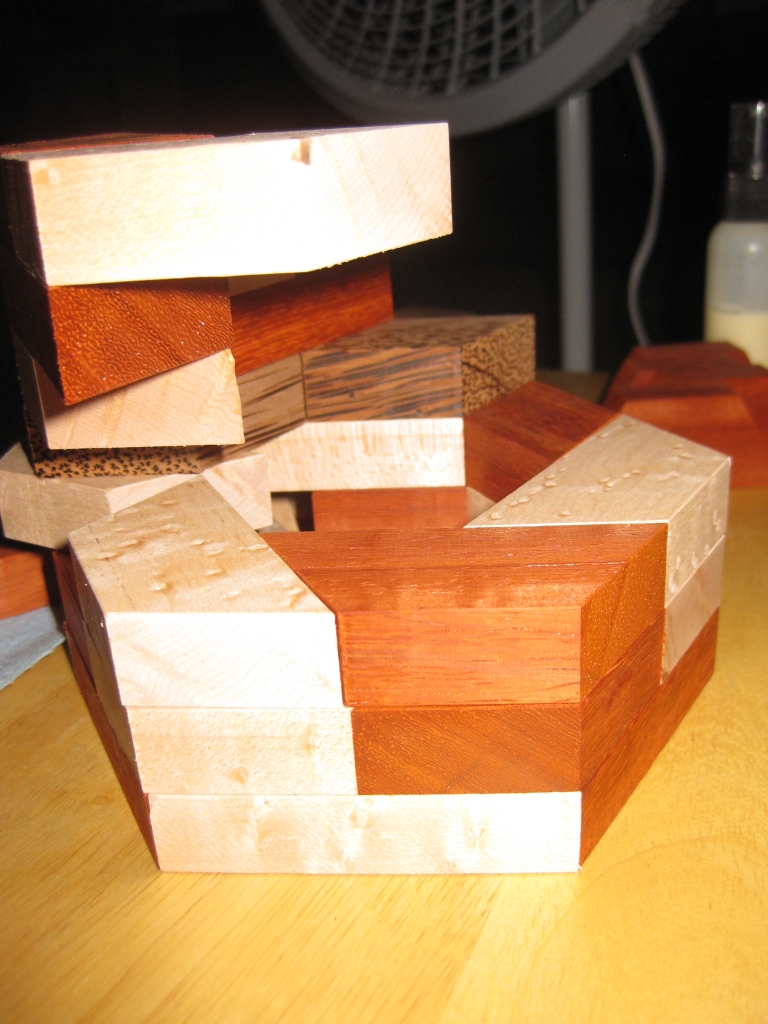
My first gluing jig was a pretty simple progression from my square corner gluing jig. Using the 60 degree crosscut sled I was able to create a simple base and walls at the correct angles, and re-inforced the centre angle with a couple of the equilateral triangles I’d cut when I was cutting the original pieces. The inner surface was waxed to prevent glue sticking to it (and hence sticking the pieces to the jig) while I was working. This worked pretty well, and I created the original puzzle using this jig, and the pieces I’d not glued in place to support and align the piece I was gluing.

Supporting the pieces while gluing

Supporting the pieces while gluing

Supporting the pieces while gluing

Supporting the pieces while gluing

All said it worked fairly well, and the end result was reasonable. I did find that there were a couple of pieces which hadn’t lined up perfectly. But I used an interesting trick to fix that. With the six pieces of the puzzle together in the solution shape, I put the whole thing in the microwave for about a minute and a half on high. With my now warm puzzle, the glue is softened enough to allow the pieces to shift slightly if enough pressure is applied. By doing this I was able to re-align the couple of pieces I wasn’t happy with and get a near perfect fit. Now I’m not suggesting that this is a solve all for bad initial gluing as it really isn’t, bit in the few hundredths of an inch that I was misaligned on one or two pieces it can be corrected, rather than throwing away an entire piece.

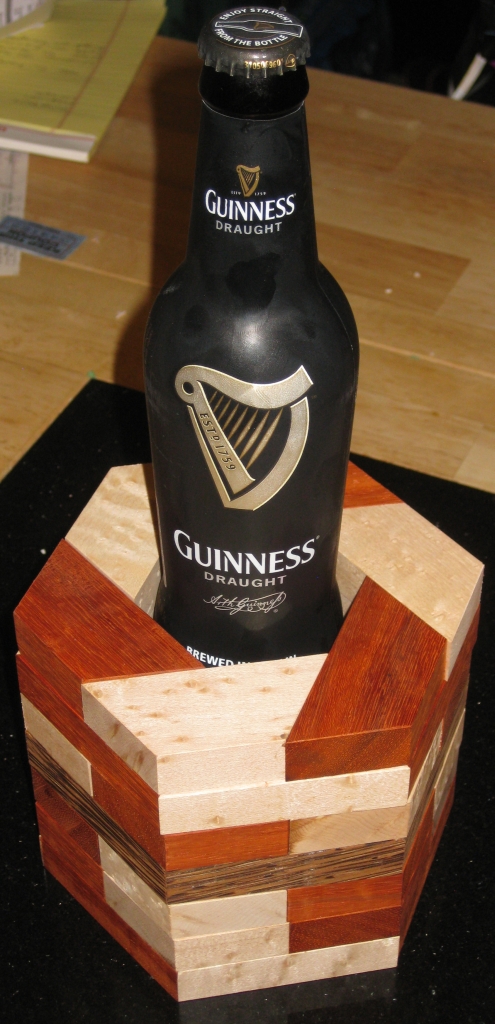
Puzzles and Beer...

Puzzles and Beer…

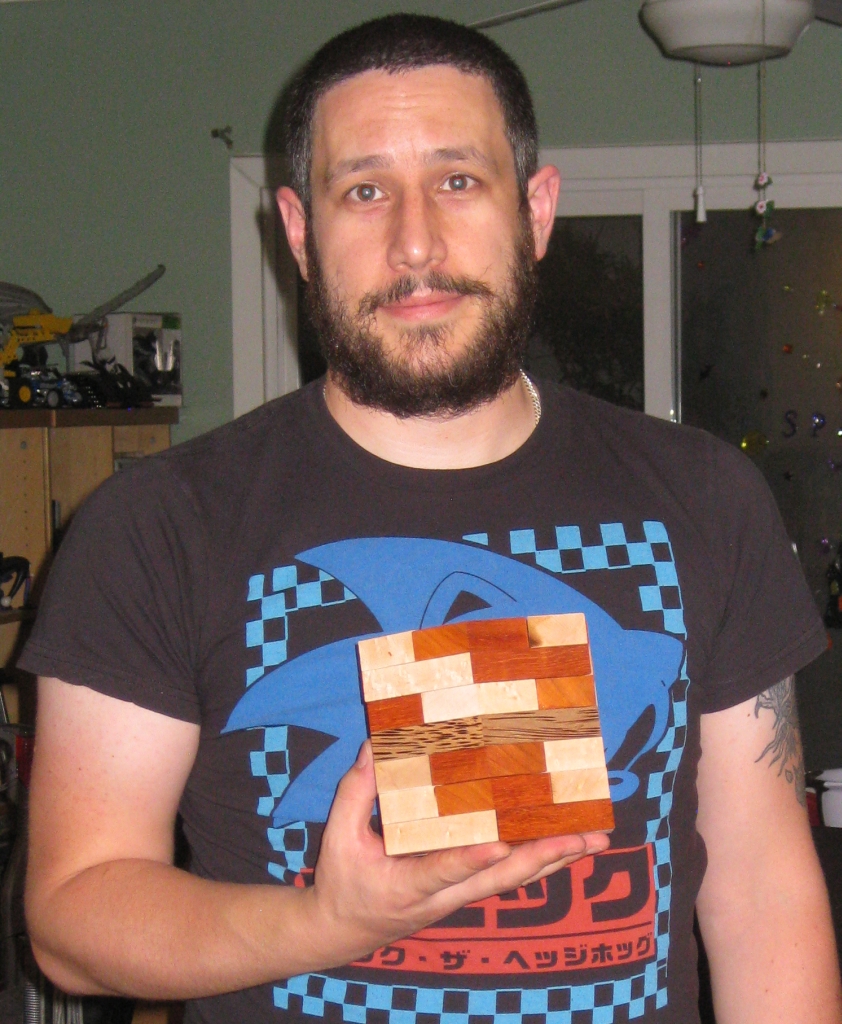
Me holding the puzzle

Me holding the puzzle

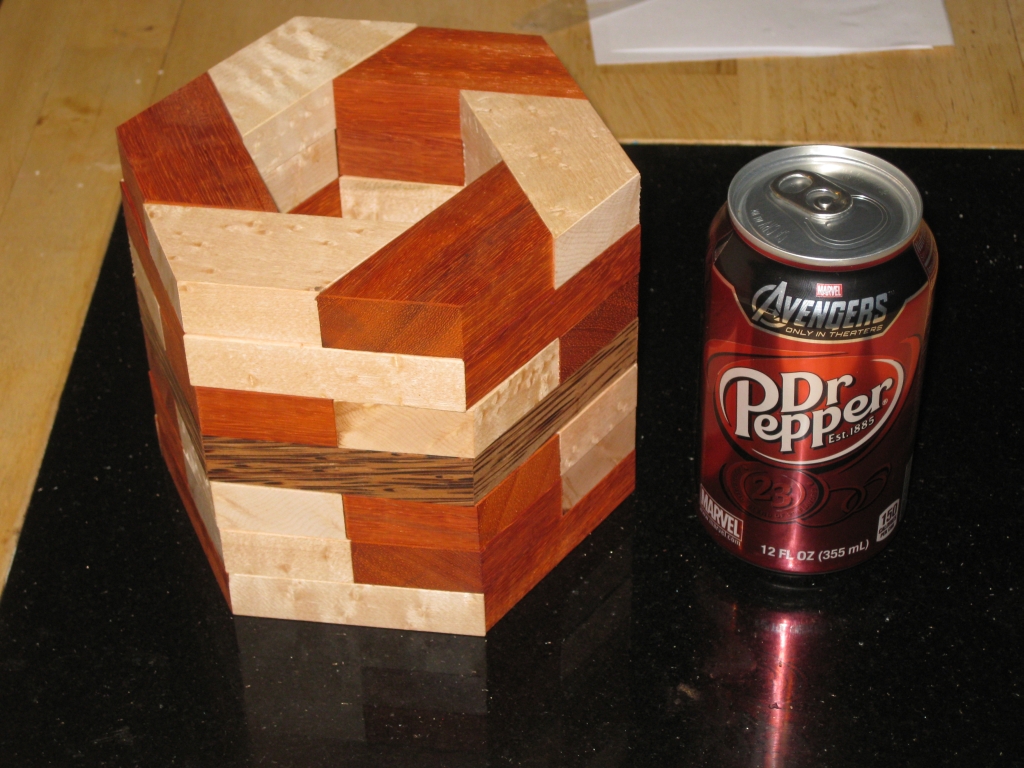
Scale next to a soda can

Scale next to a soda can


Overall I’m pretty happy with the results, although the size is certainly an issue. As you can see it’s a big puzzle, and not really realistic in terms of making them in a production run. It seems that I’m pretty good at forgetting how big a puzzle ends up when you glue all these ‘small’ pieces together. Part of the learning curve I’m on just now, but it’s all valuable information.

In part two I’ll look at making the puzzle in a more sensible size, and talk about the unique jig I built to help. Since I’ve had several requests, in part three I’ll talk a little about finishing.

KaraKuri Work Kit – Newton Box

As I mentioned in my review of the Karakuri Work Kit – Kakukaku Box, here’s the second in the series of builds for the Karakuri DIY boxes. This time I’m looking at the Newton Box, which is a little more complicated that the first box in the series, and in my opinion a much better kit and puzzle! Read on to find out what I think of it, and see the video builds and review.

The Video below is a short highlight reel for the build. I skip a lot of detail here, but it will give you the idea of how the build goes, and I have put my thoughts at the end of the video. If you want the detailed 50 minute video showing all the steps in detail, then jump to the Build Instructions section below.

As promised in the video, you’ll find the instructions below, with my guide to building the box. Be aware that this is in no way a translation of the instructions!

General Kit Comments

The Karakuri group offer a reasonable number of DIY puzzle boxes which they refer to as “Work Kits”. Each of the kits consist of a number of pre-cut plywood pieces, some decorative pieces (like the beautifully made acorn on the Acorn Box), and any hardware needed for the mechanism, if it’s not just a straight forward sliding panel or suchlike. The kits are all perfectly cut, and of the kits I own there have been no issues with the fit or finish on any of the pieces.

Something which is worth noting about the kits is the price. They all come in at around the $25 USD mark, so in terms of affordability, these are really affordable boxes. The quality of the cuts on the pieces is excellent and the fit is as good as you will find with anything from the Karakuri group, so I’d say from that side of things, they’re great value.

One thing to note is that the build instructions for the kits are in Japanese language only. Don’t be put off by that however as with a little thought, and some careful study of the diagrams, you’ll build the kits just fine. Failing that, have a look at my Build Instructions section below, where I have detailed the steps (in English) to build the kit.

On this particular kit, there were a number of the pieces which had small burrs or rough edges that I needed to clean up before starting the build. It’s really not a big issue, and there were no pieces which were poorly made or had any sort of problem that would have meant that the kit did not go together easily. After all these are wooden kits, and each piece is unique. A little patience when starting to tidy things up and you should have no issues.

Kakukaku Kit Review

This is the second of the boxes that I bought from the Karakuri Creation group, and as well as looking good, I was very interested to be able to see the mechanism, which you’d otherwise be unable to see.

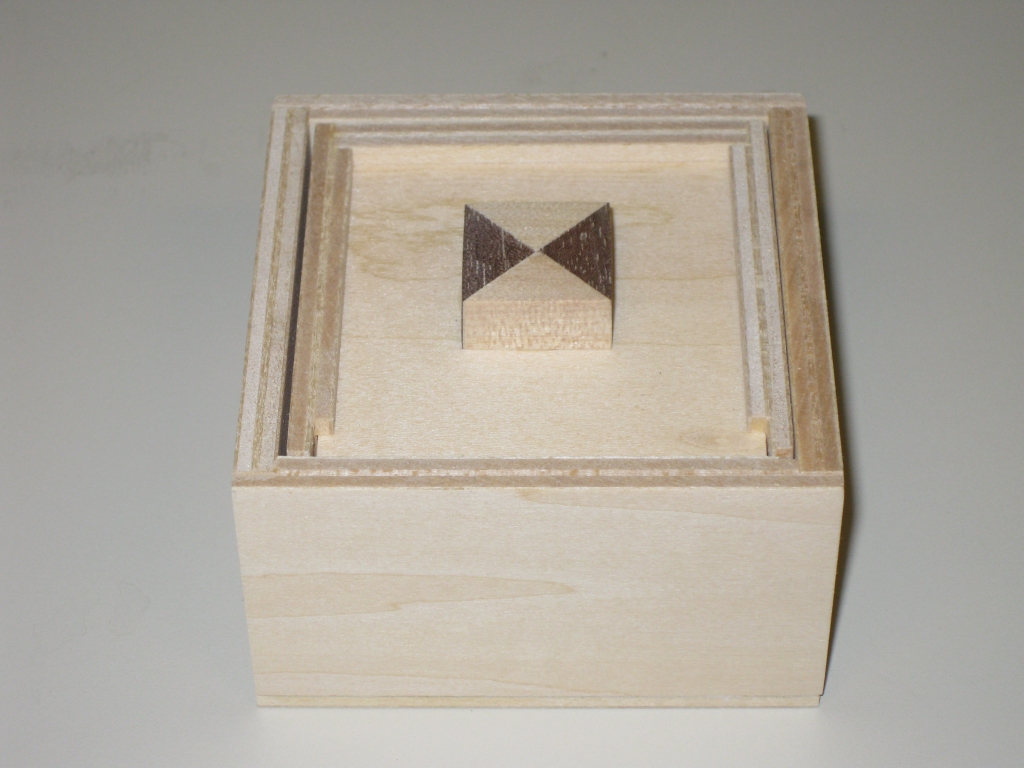
Newton Box Kit completed

Newton Box Kit completed

As you can see from the picture above, the box itself is fairly simple. The ply is visible on the top of the box, but personally I don’t think that’s an issue. If you don’t like having the ply exposed, you could glue some veneer onto the top panel just to make it neater. The decorative handle is made from walnut and maple, and rather than giving you a pre-made piece, you have to put it together yourself, so it truly is a box you built. No pre-made fancy parts here!

Building the kit was fairly simple. There is slightly more to this kit than the Kakukaku box, but the instructions make it easy to follow. The diagrams on the build instructions are very clear, and there’s nothing complicated to this kit, so I didn’t have any issues building it. The build of this box took around 30-40 minutes to put together, and would probably be quicker if you’re not recording a video and talking through everything you’re doing!

I have to confess I really like this kit. The puzzle box is much better than the Kakukaku Box and works perfectly every time. It’s a clever mechanism, but remarkably simple which I like. The box look great, and I think the cube on top really sets it off. The box is slightly deeper than the Kakukaku box, and a little shorter. In total it measures 3.25″ x 3.25″ x 2″ and is a good size in your hands.

As a kit I certainly enjoyed building it, and you will understand the mechanism once you’ve built the box, so it certainly meets the expectations that the Karakuri group set out to achieve. I highly recommend this kit if you’re thinking of buying one (or more!)

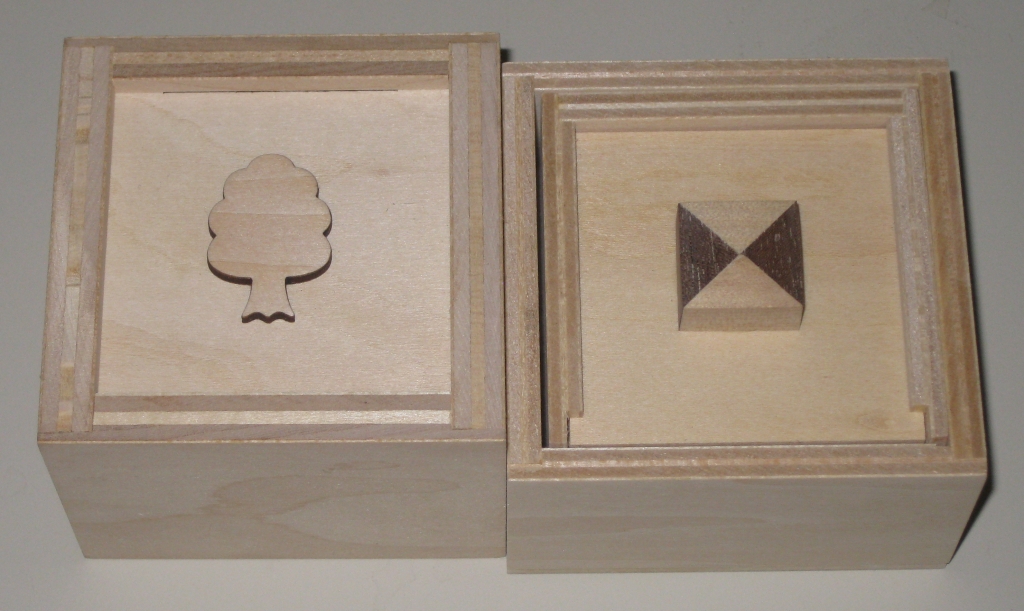
Comparison of Kakukaku and Newton Boxes

Comparison of Kakukaku and Newton Boxes

The image above will give you an idea of the relative sizes of the two kits so far.

Build Instructions

In this section I will try to give my guide to building this kit. Please note that this is in no way a translation of the Karakuri Group’s instructions, but my own instructions based on having built the kit. If you have issues following my instructions, feel free to get in touch and I’ll help you if I can, and update things below to clear up any confusion.

The video below is a full 50 minute uncut build of the box. I show detailed instructions on how to build it, along with tips from my own build experience. If you’re new to this and want some really detailed help, this is the video for you.

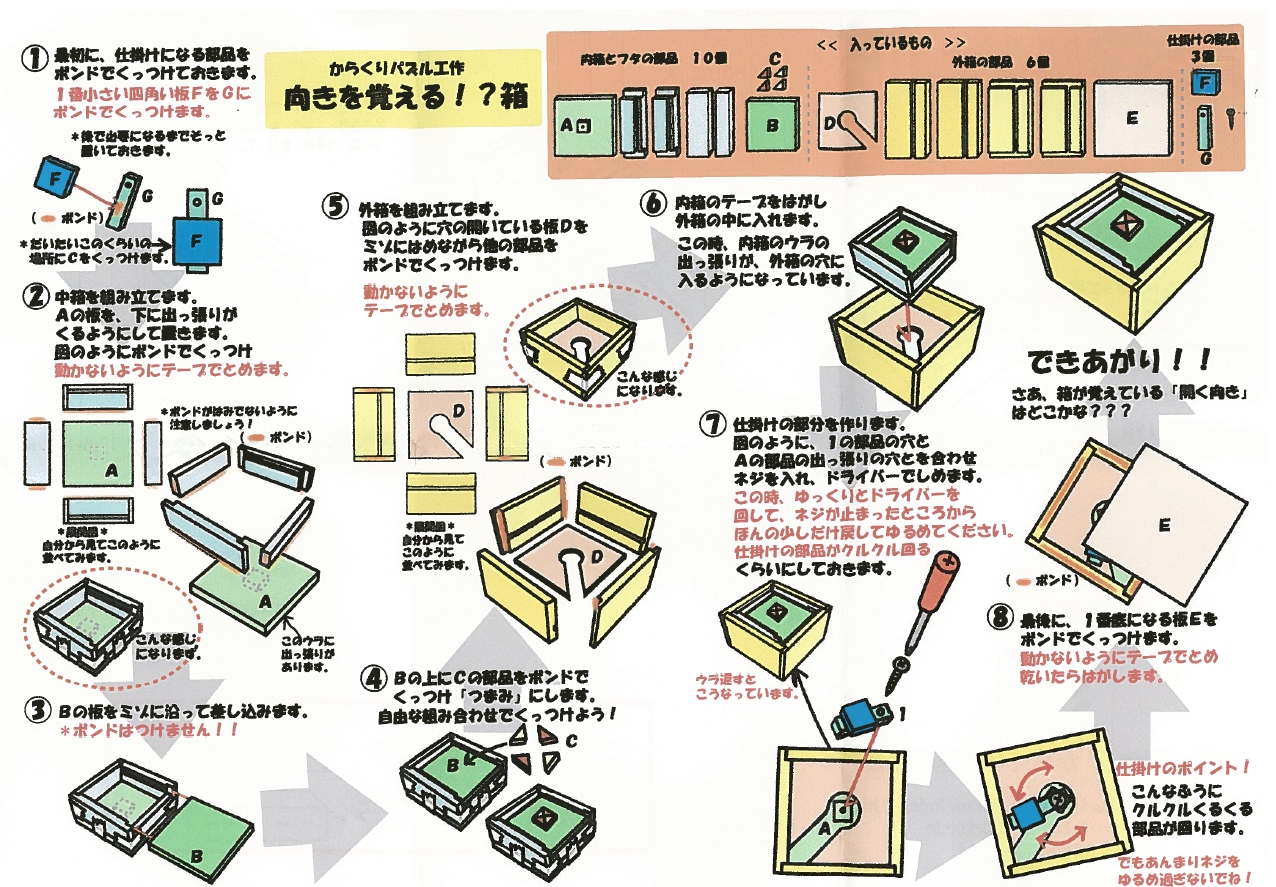
Click on the image below for a full size version of the instructions.

Build instructions - Click image for full size

Build instructions - Click image for full size

The instructions below match to the numbers on the diagram above.

Tools Needed

Before starting, you’ll need a couple of tools.

  • Wood Glue / Elmers hobby Glue
  • Pencil
  • Ruler (or some measuring device)
  • Tape – I recommend blue painters tape
  • Screwdriver (Philips head)
  • Glue Brush (optional)
  • Engineers Square (optional)

      Step 1 – The Pendulum

      First up, sort the parts from the kit into the same order as shown in the top diagram. If you feel like you need to then you can mark the piece numbers in pencil on the inside of each piece. The way the pieces are laid out in the diagram shows the inside, with the exception of piece ‘B’, which will be inside the box and unlikely to be seen so even if you don’t remove the pencil mark, probably not an issue. In my opinion, the pieces are pretty clear so you should need to label them.

      Take piece F and mark a centre line in the middle of the piece.

      Take piece G and mark a centre line down the length of the piece.

      Glue piece F onto piece G, using the centre lines as a guide. As the diagram shows, place piece F towards the bottom of piece G, making sure that the pre-drilled hole is at the top of the assembly, and is not obstructed by piece F.

      Leave the top for around 10 minutes for the glue to dry (note if the glue you are using takes longer to dry, then follow the manufacturers recommendations).

      Step 2 – Inner Box

      Taking the pieces labelled ‘A’ in the diagram, glue the four walls which will make up the sides of the inner box together, making sure that the groove which is cut in two of the pieces is at the top, and the thinner of the two pieces is glued to the bottom such that the groove will allow the piece labelled ‘B’ to slide in and out freely.

      Glue the four walls to the base labelled ‘A’ ensuring that the small pre-drilled cube which is glued to the centre of this piece is underneath (not inside the walls you are gluing to it).

      Make sure that the edges are square to one another and that they are lined up with the base section.

      Using tape, secure the corners of the box, and tape the walls to the base as shown int he diagram. Set this aside to dry.

      Step 3 – The Lid

      Make sure that piece ‘B’ slides freely into the groove in the inner box that you built in step 2.

      Step 4 – Handle / Top decoration

      Using the four decorative pieces labelled ‘C’, glue them together into a square, then glue them to the centre of the piece labelled ‘B’.

      Set this aside to dry.

      Step 5 – The Outer Box

      Using the pieces labelled ‘D’ arrange the pieces as shown in the diagram.

      Apply glue to the pre-cut notches on two of the pieces, then insert the flat plate with the pre-cut hole into the narrow groove in the bottom of the pieces.

      Bring all four corners together ensuring that the flat plate sits in the groove, and tape the corners.

      Put this aside to dry.

      Step 6 – Putting the pieces together.

      Put the inner box from step 2 into the outer box from step 5. Note that the location of the cutout on the outer box will determine the orientation required to open the box. You can put this in any orientation that you want.

      Step 7 – Adding the locking mechanism

      Turn the assembly from step 6 over, and using the supplied screw and a Phillips head screwdriver, screw the pendulum assembly from step one into the pre-drilled hole. You do not want the screw too tight here. The pendulum should turn freely around the screw to ensure correct operation of the mechanism.

      Step 8 – Finishing the box

      Glue the large flat square labelled ‘E’ to the base of the box, hiding the locking mechanism. Using some tape, tape the base to the sides until dry.

      Congratulations, your box is complete!