As many of you know, I’ve owned and solved all of the Revomaze Series One puzzles released, including the Gold puzzle, which I’ll write about soon. For a long time on the Revomaze Forums, a clear sleeve which would allow you to see the maze as you solved it has been talked about and many people have asked for one. Well having added the lathe to my list of tools, I thought I’d have a shot at making one.
Since getting the lathe, I’ve made a few pens, some bowls, all just learning how to use the tools, and get the shapes I want made. I mostly work with wood, as that’s where my real love is, however I have played with a few acrylics as well. I find the acrylic to be a pain to work with, since it tends to create thin streamers of plastic which just wrap around whatever you’re working on, and obscures your view of the work. Still, there’s no way I could make a clear sleeve from wood.
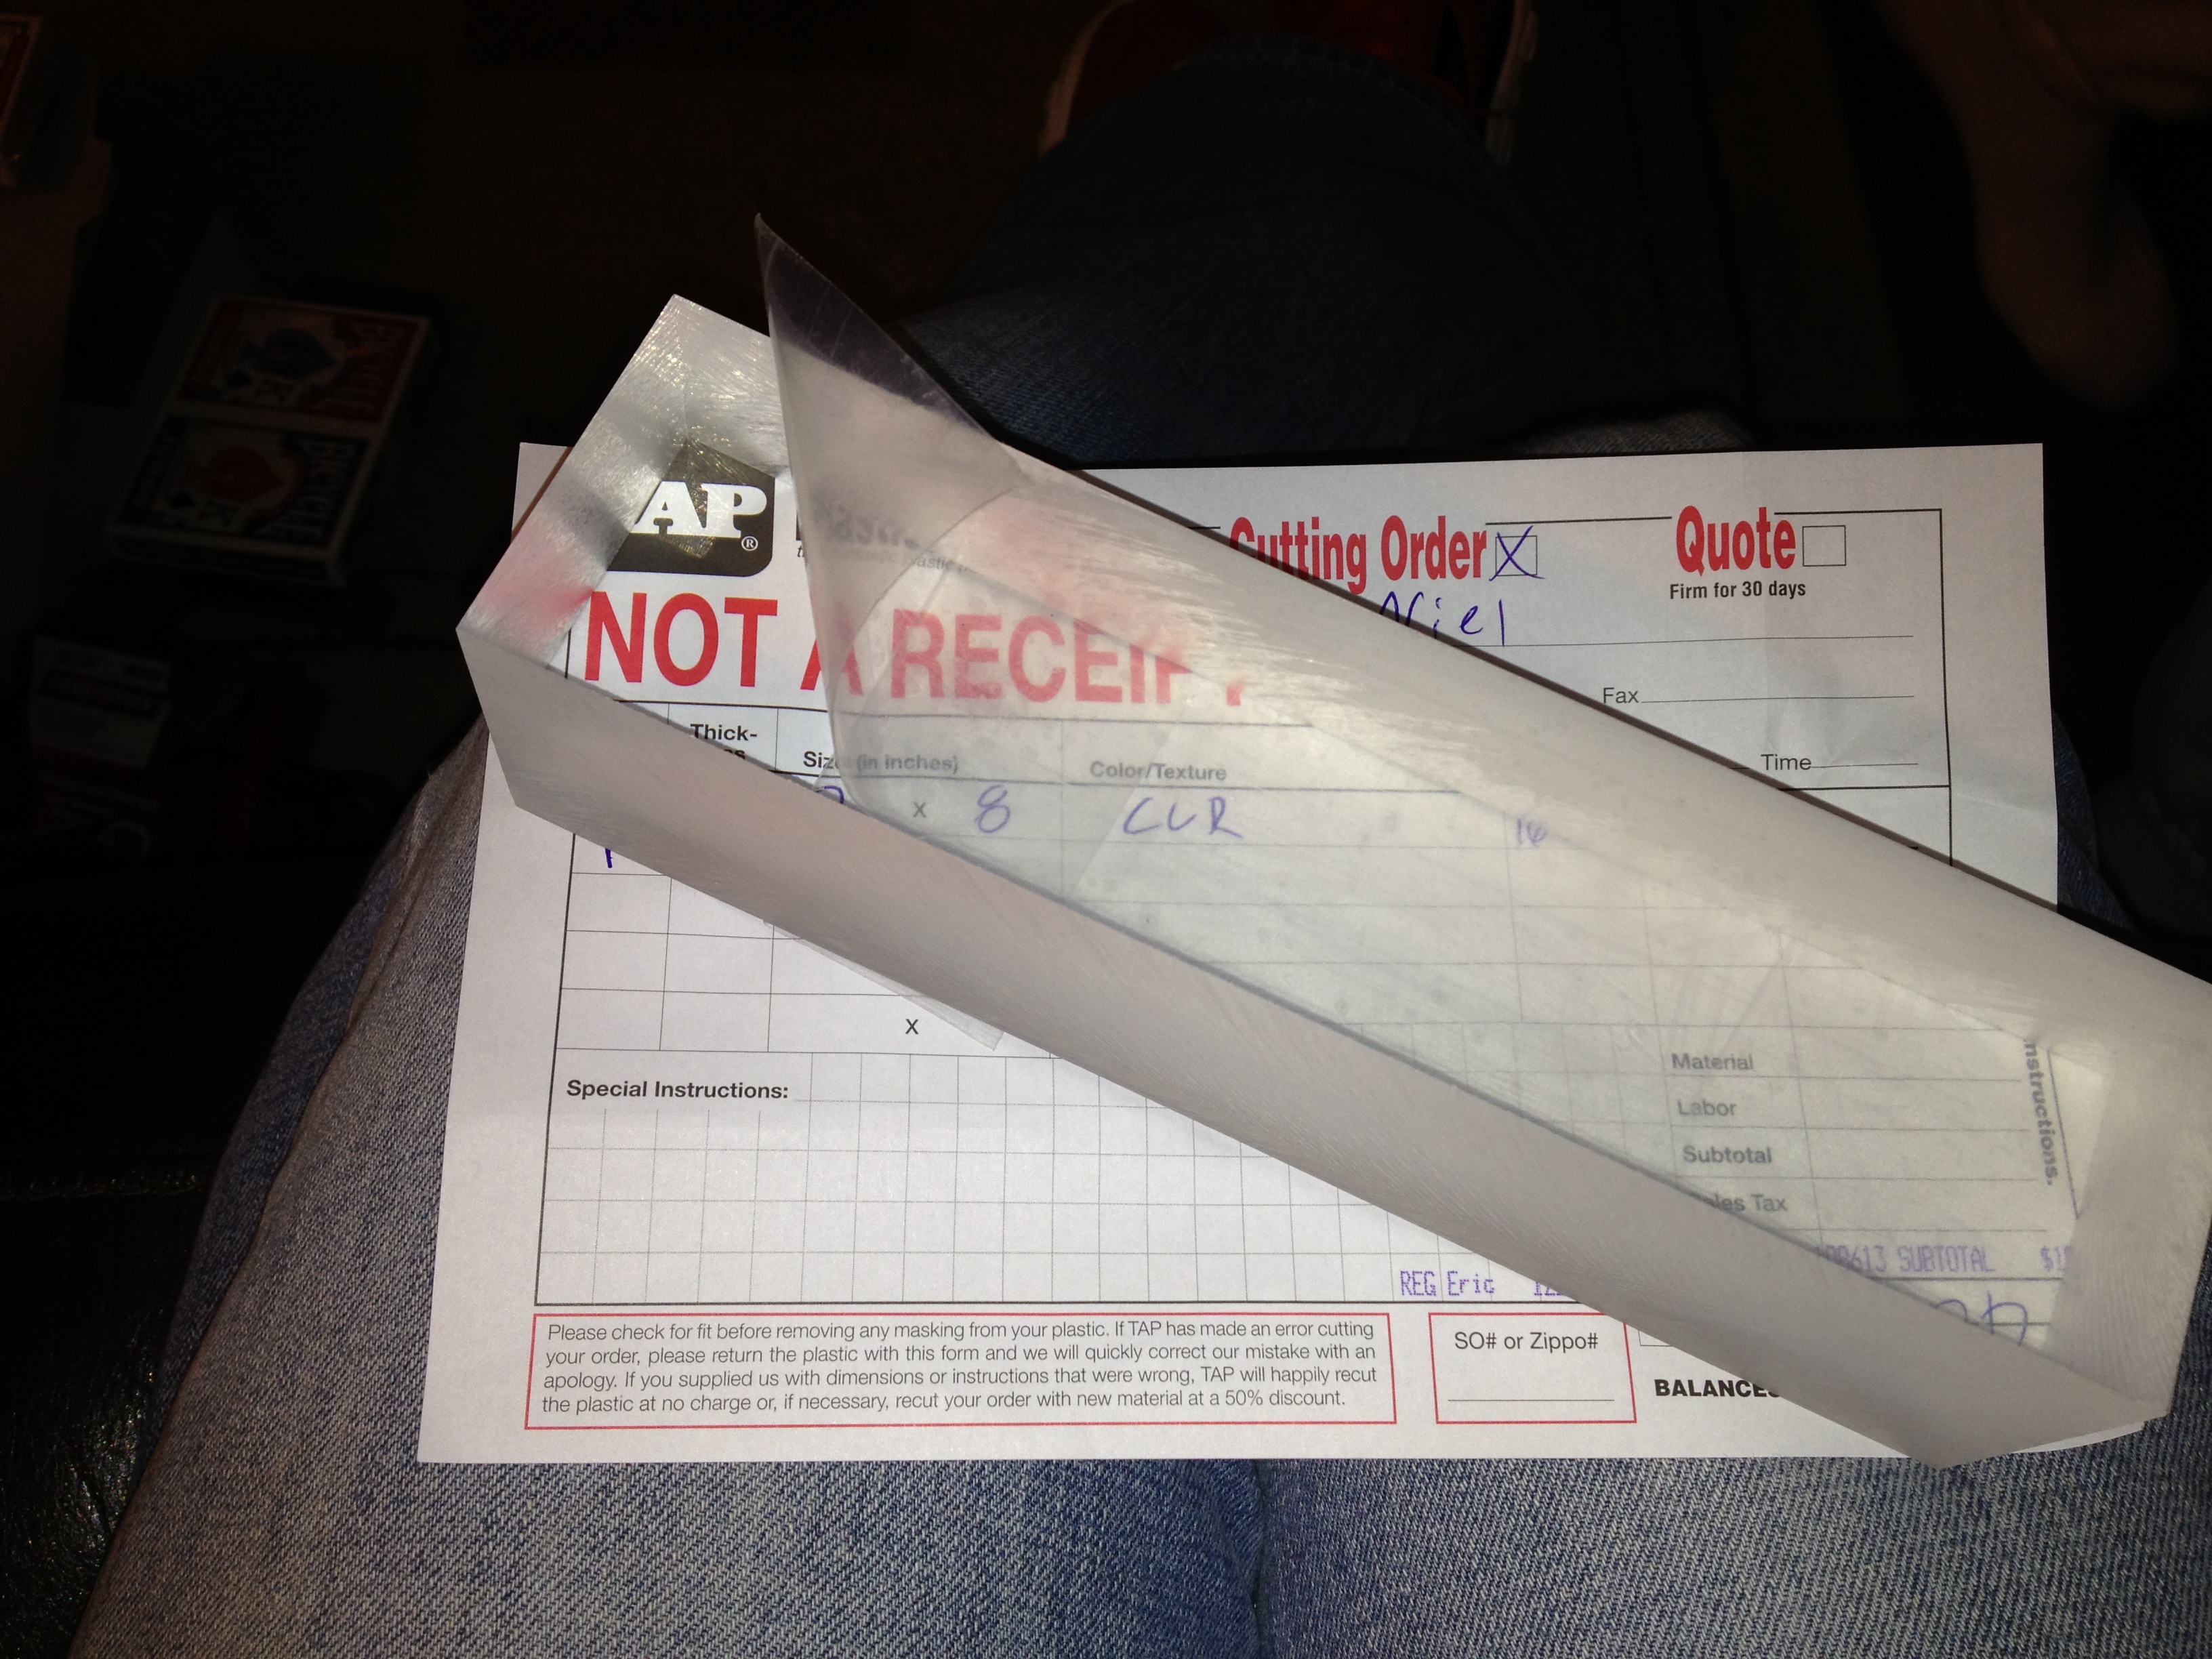
Clear sleeve starting point. A 2″x2″x8″ block of Acrylic.
It all starts with a block of clear acrylic. This piece is 2″x2″x8″, which will be enough to make two sleeves. I got it from Tap Plastics here in the bay area. They’ll custom cut sheets while you wait, and their prices are pretty good. I’m no expert with the plastics, but I can certainly recommend them.
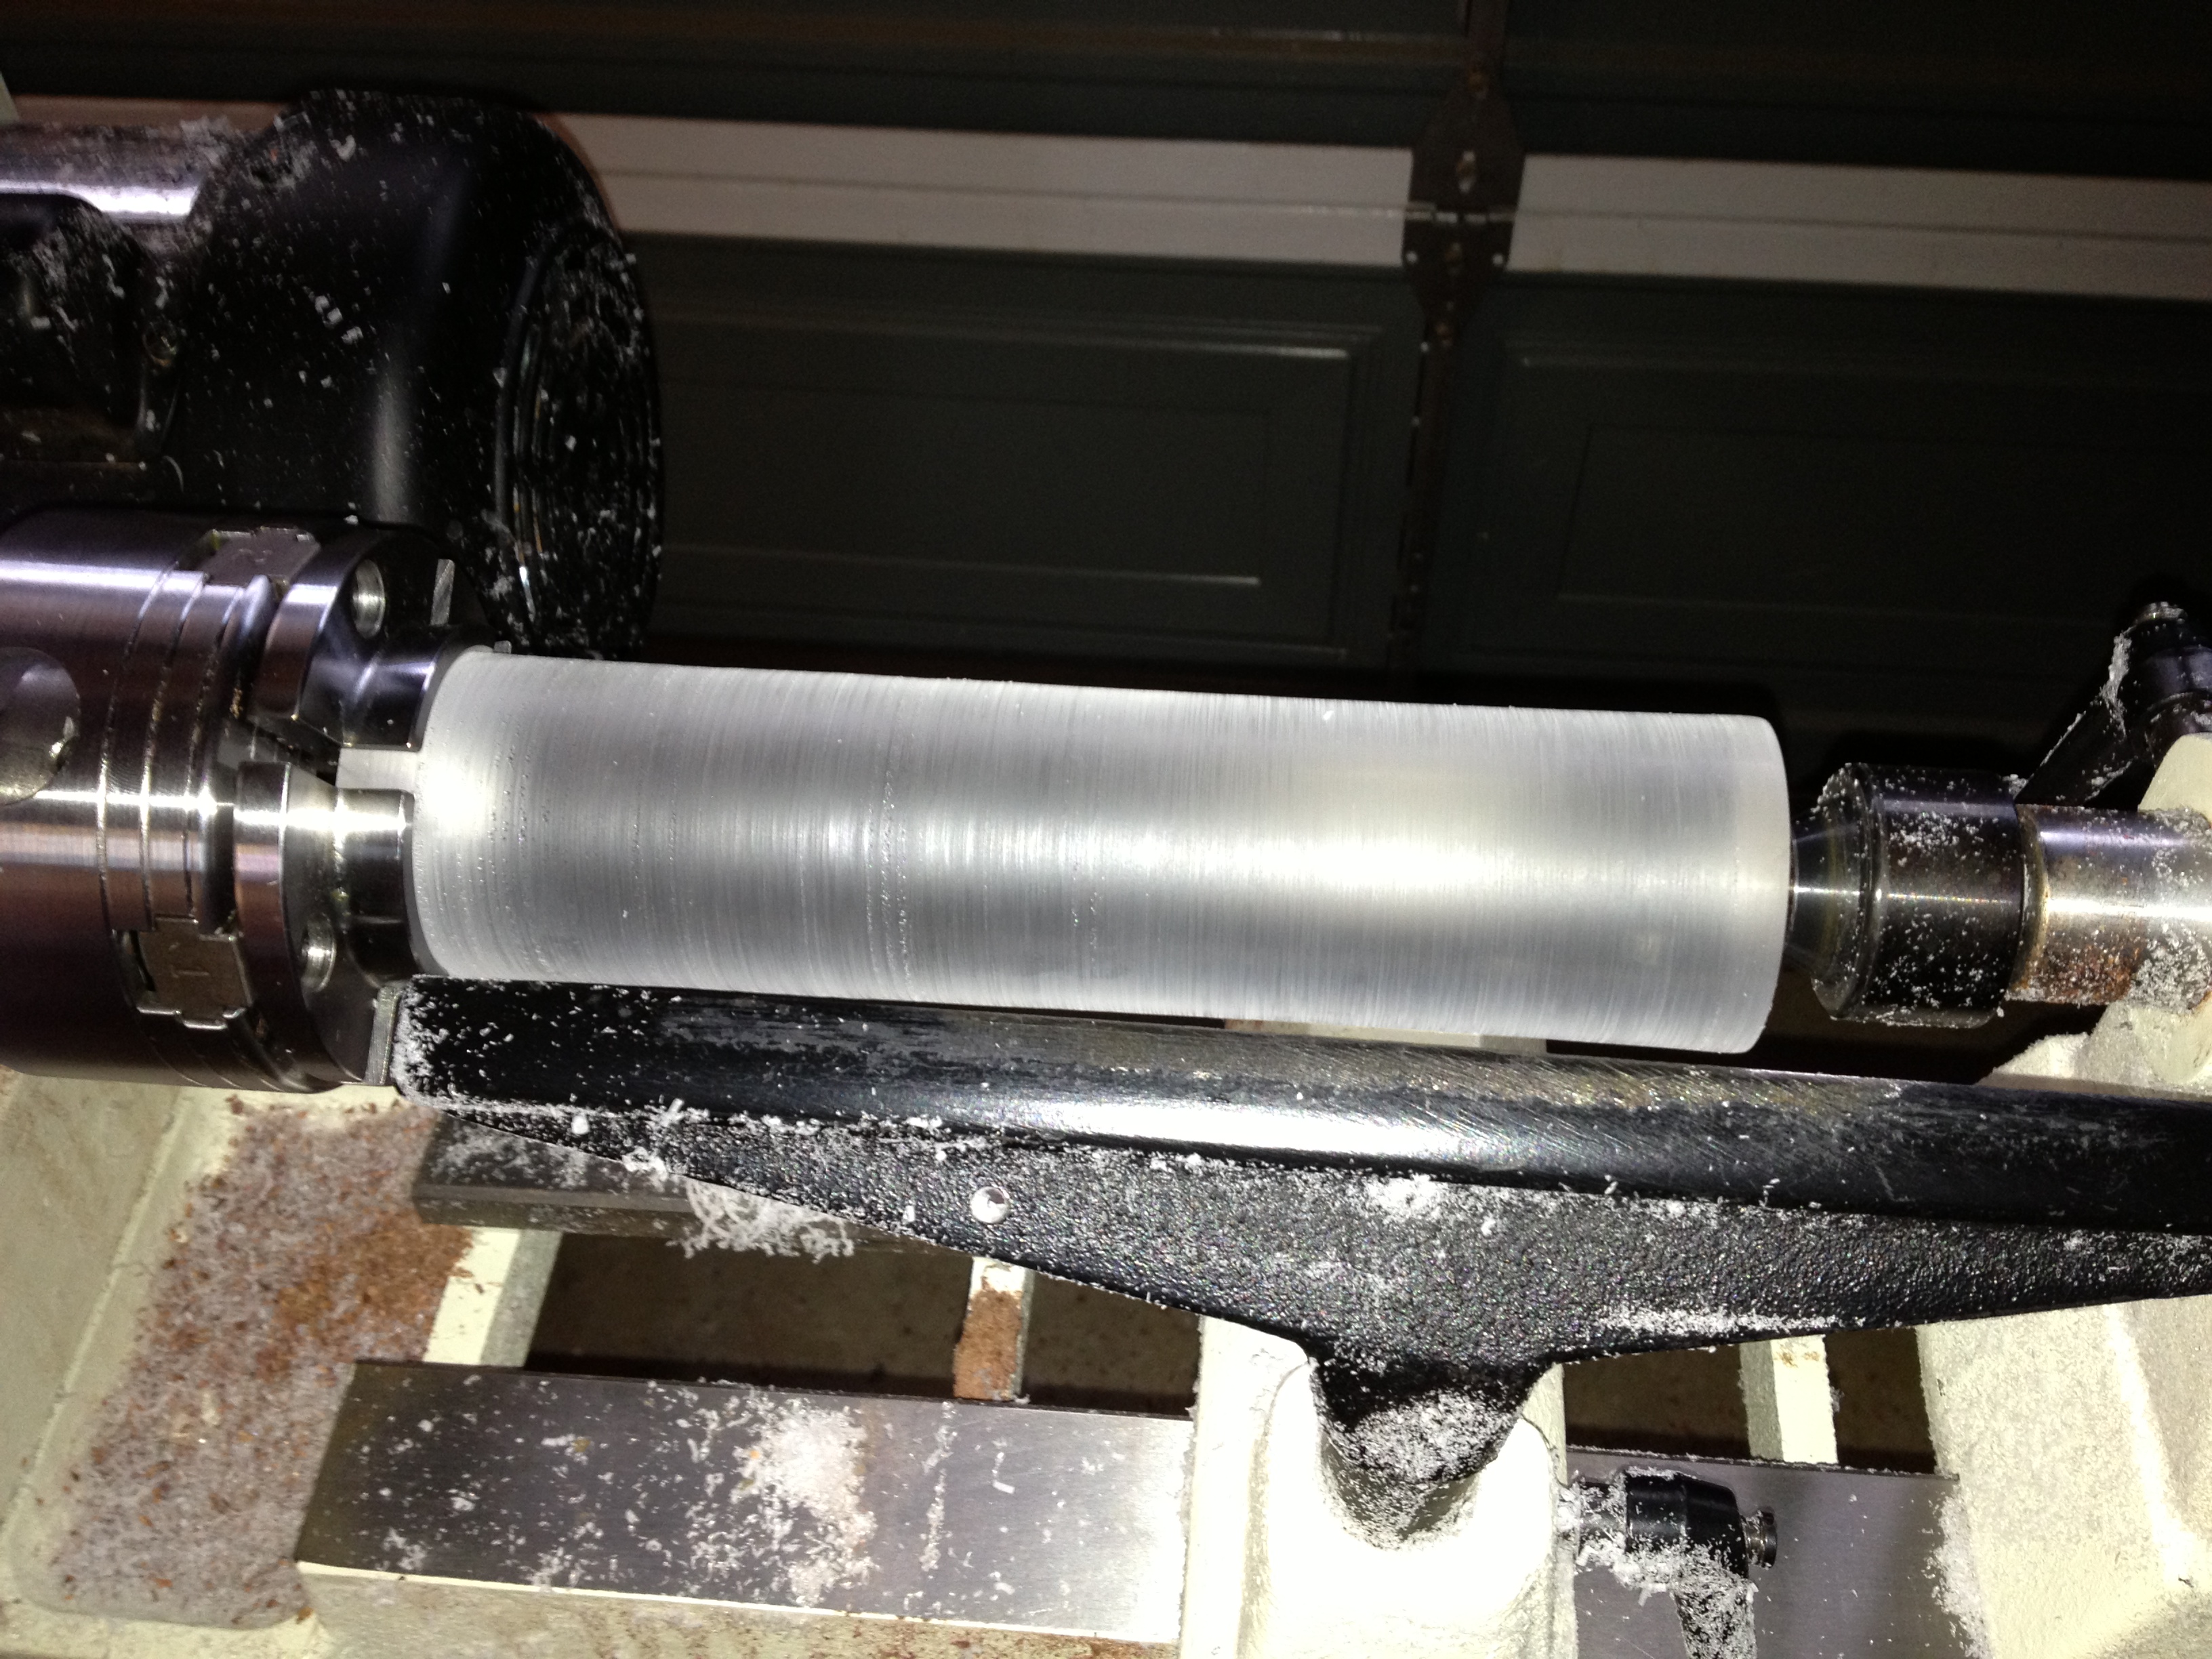
The block turned to a cylinder.
First up, I need to take this perfectly clear block, and make a complete mess of it; otherwise known as turning it round. Doing that removes the beautiful clear finish, and turns the whole thing a rather cloudy opaque grey colour. When I’m working with Acrylics, I need to wear my respirator, as the smell created when working it tends to give me a headache. Not bad practice anyway, but something I have found I have to do. As it turns out, I’m also somewhat allergic to the material too. When I’d finished turning the block into a cylinder, and brushed all the tiny shavings off my arms, I found that I’d reacted rather badly to it. Time for a shower and some anti-histamine!
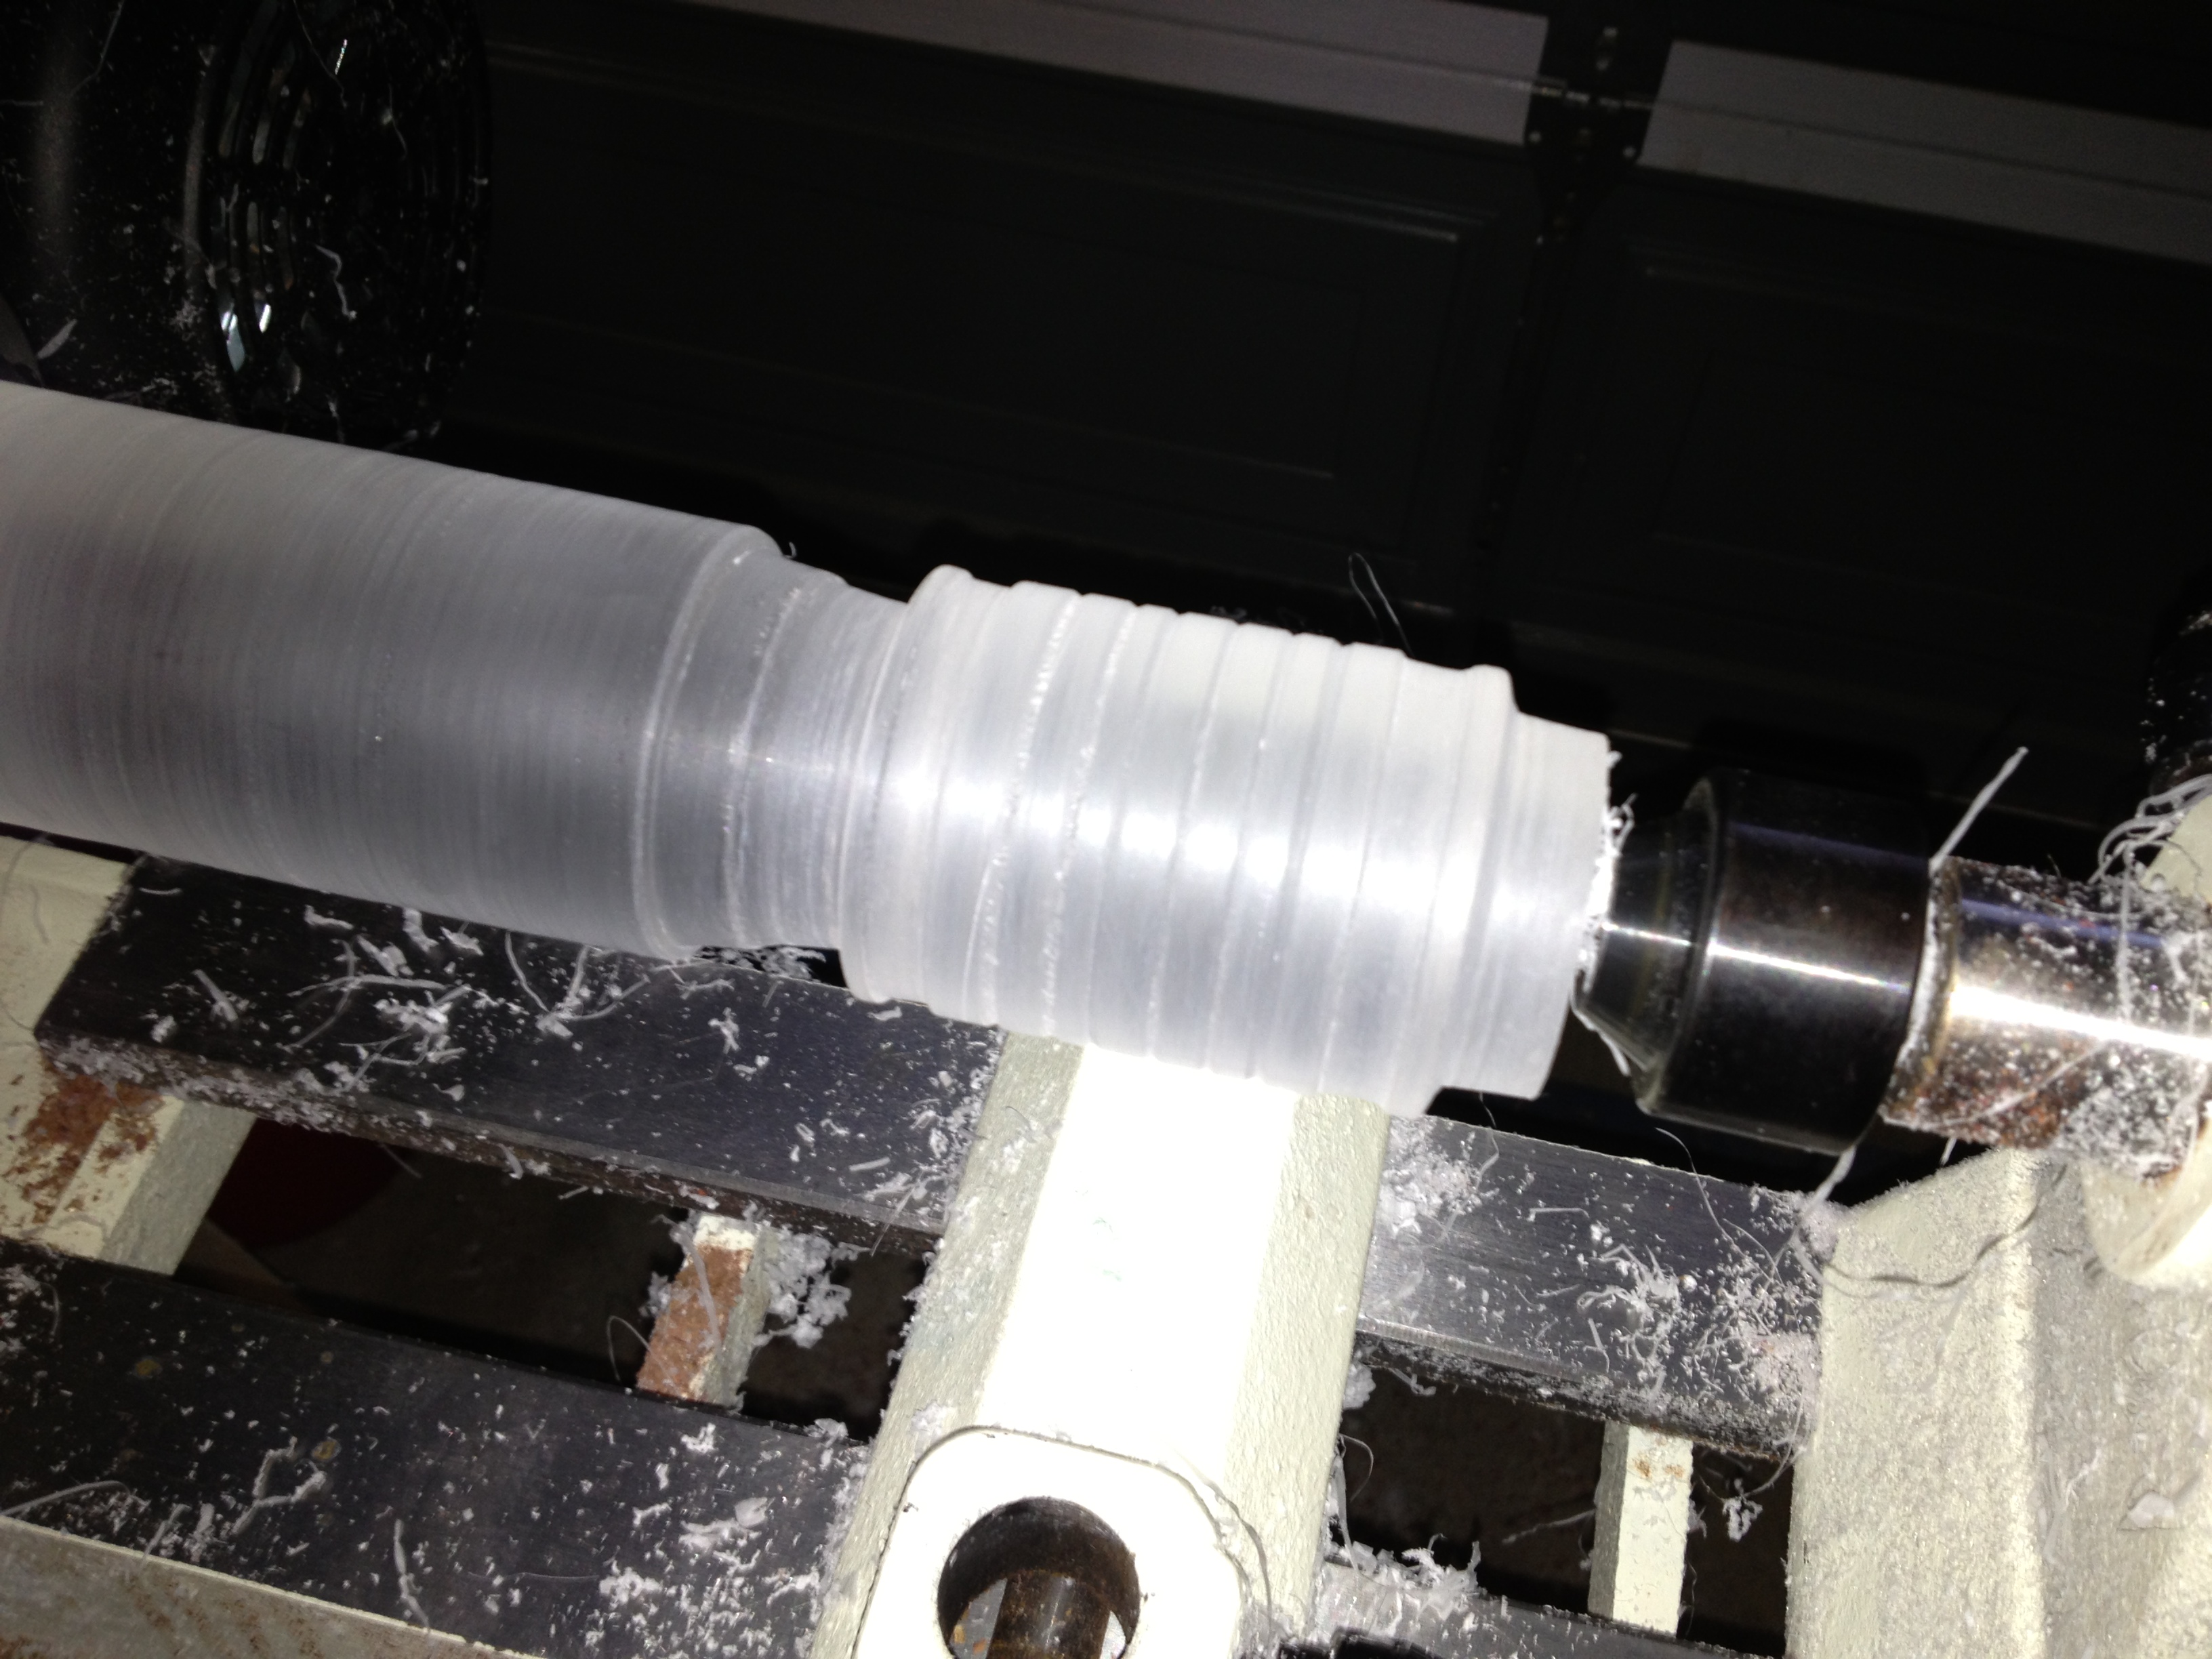
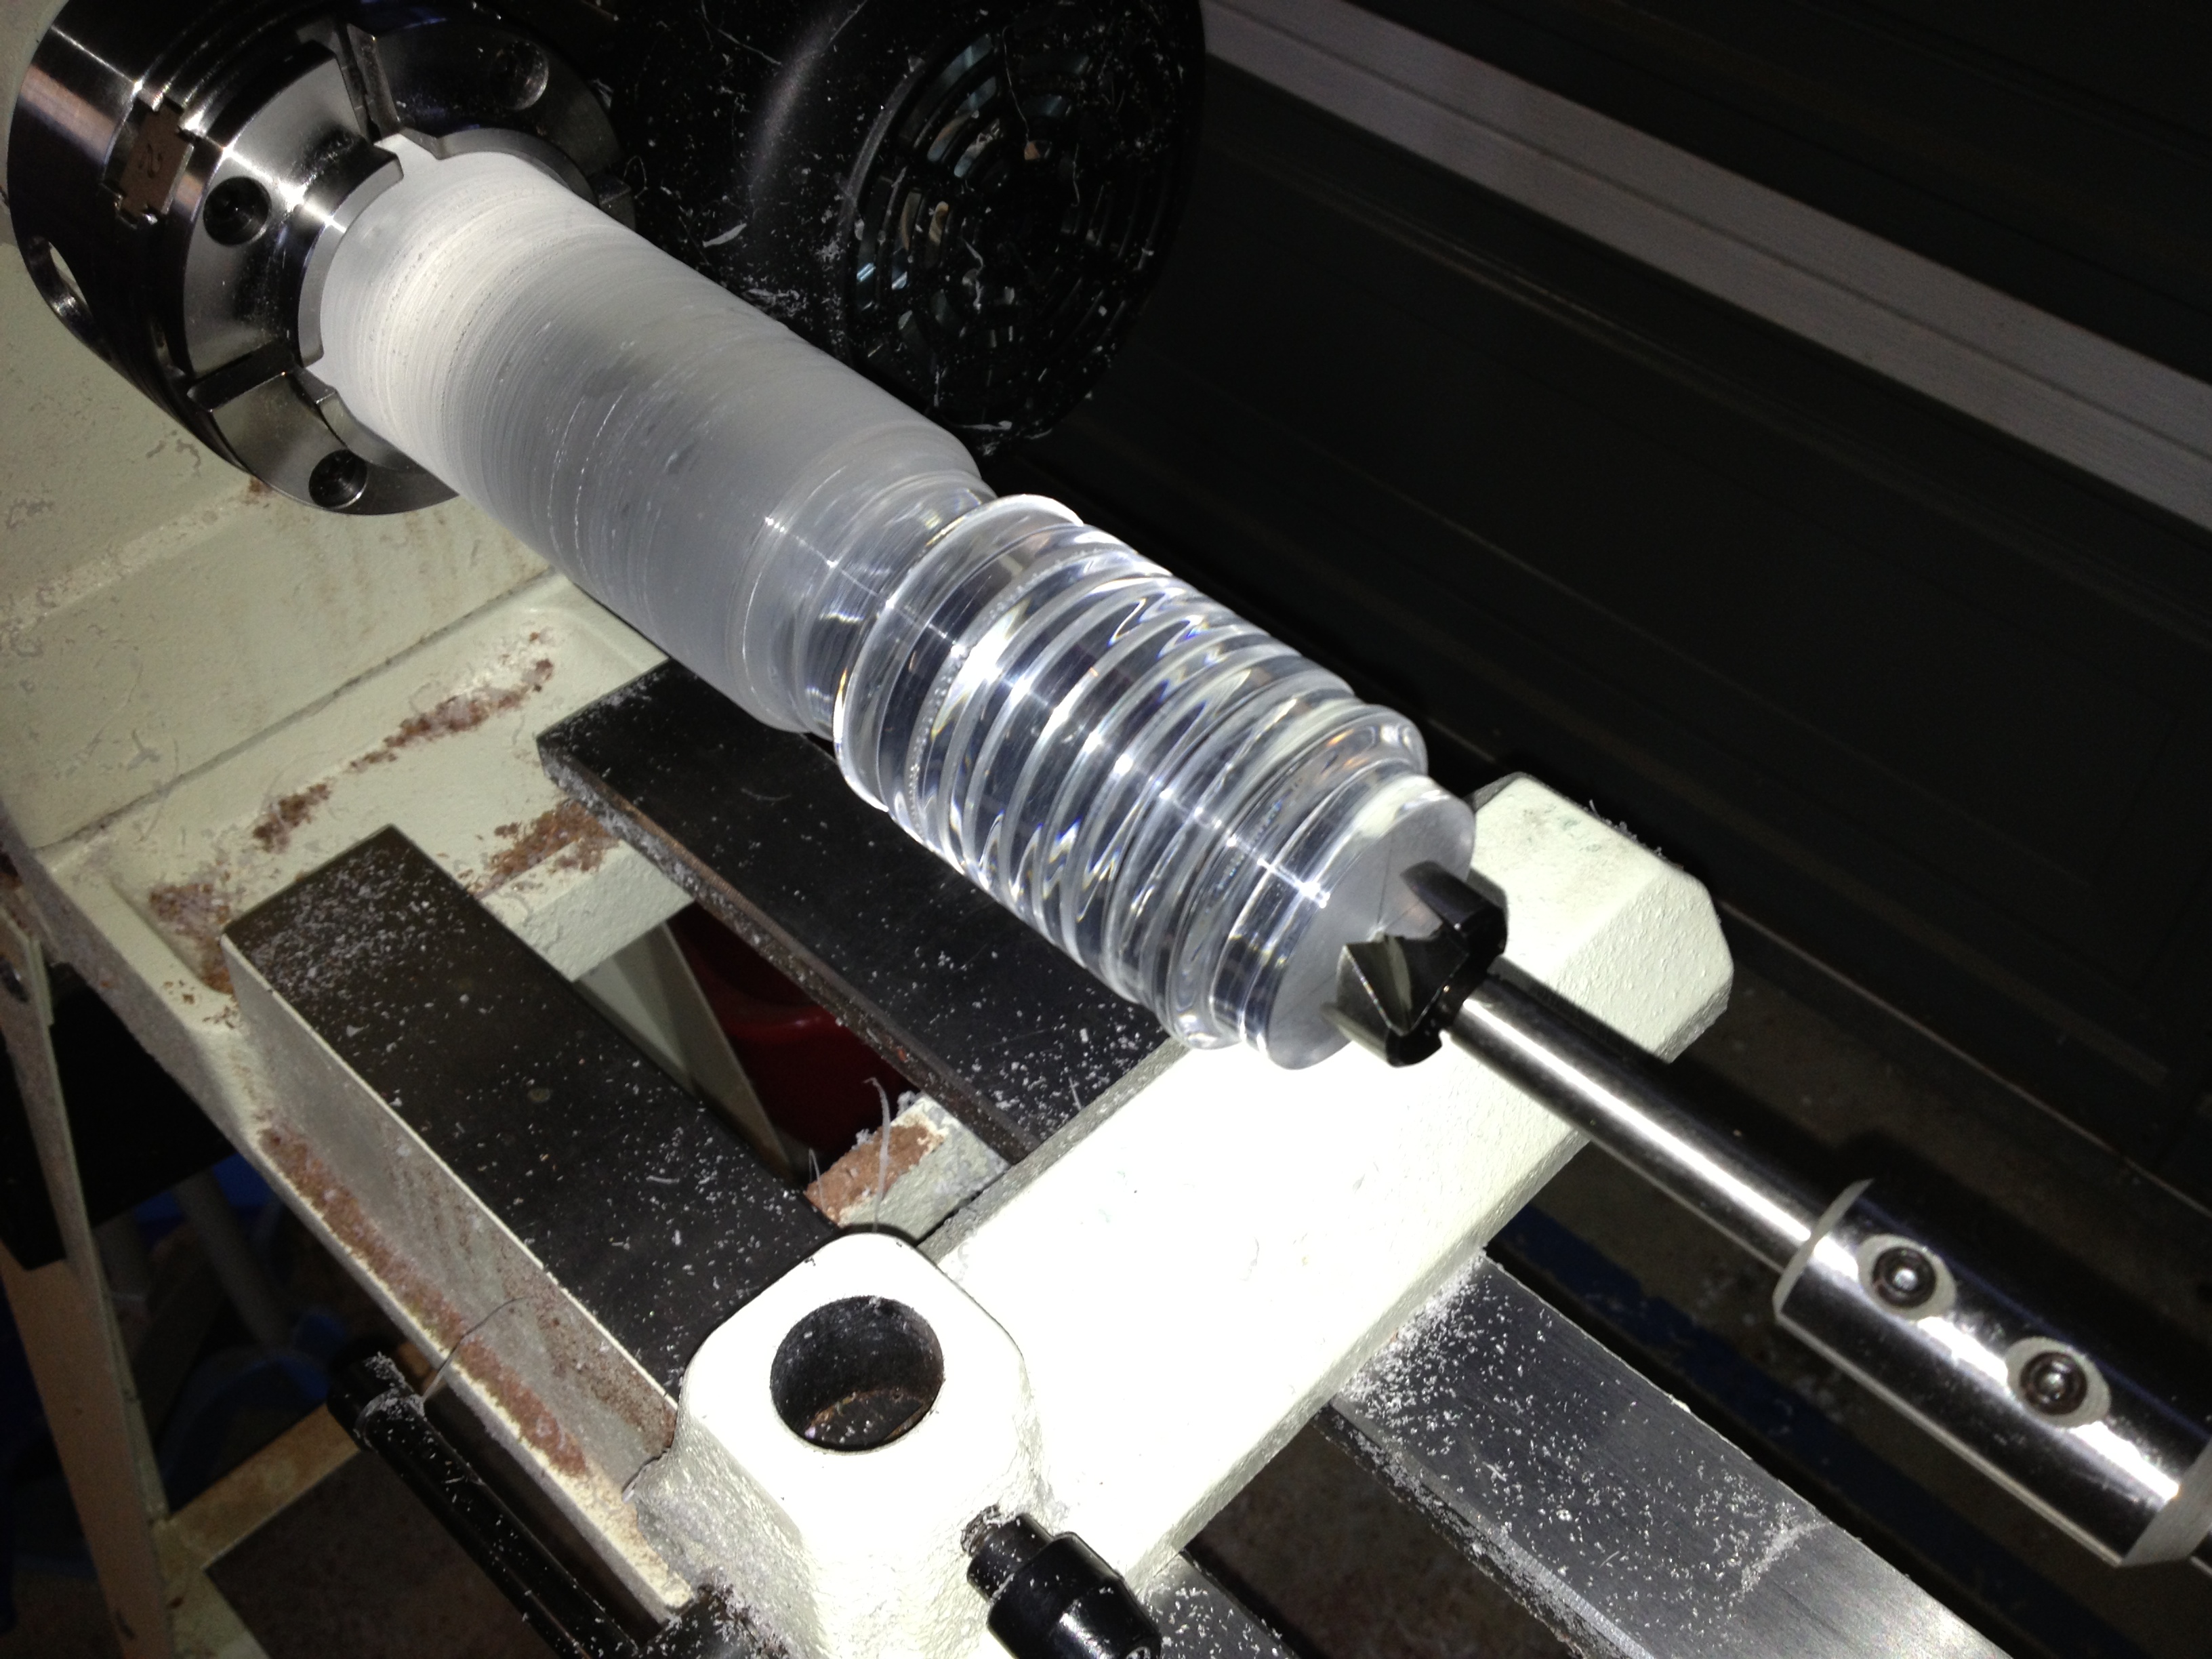
The initial shape of the sleeve
Having cleaned up, and put on long sleeves, I came back and shaped the outer surface of what would become the sleeve. Using the sleeve from my bronze maze as a template I matched the dimensions as closely as possible, including the ridges along the main body of the sleeve, and of course, making sure that the length was exact, since the intent is to make a fully functioning sleeve.
At this point, I’ve kept the sleeve attached to the main piece of perspex as I still need to drill out the central hole where the shaft will be. Before I go and drill that out though, I want to get the clear finish back so that I can see what I’m doing when drilling things.
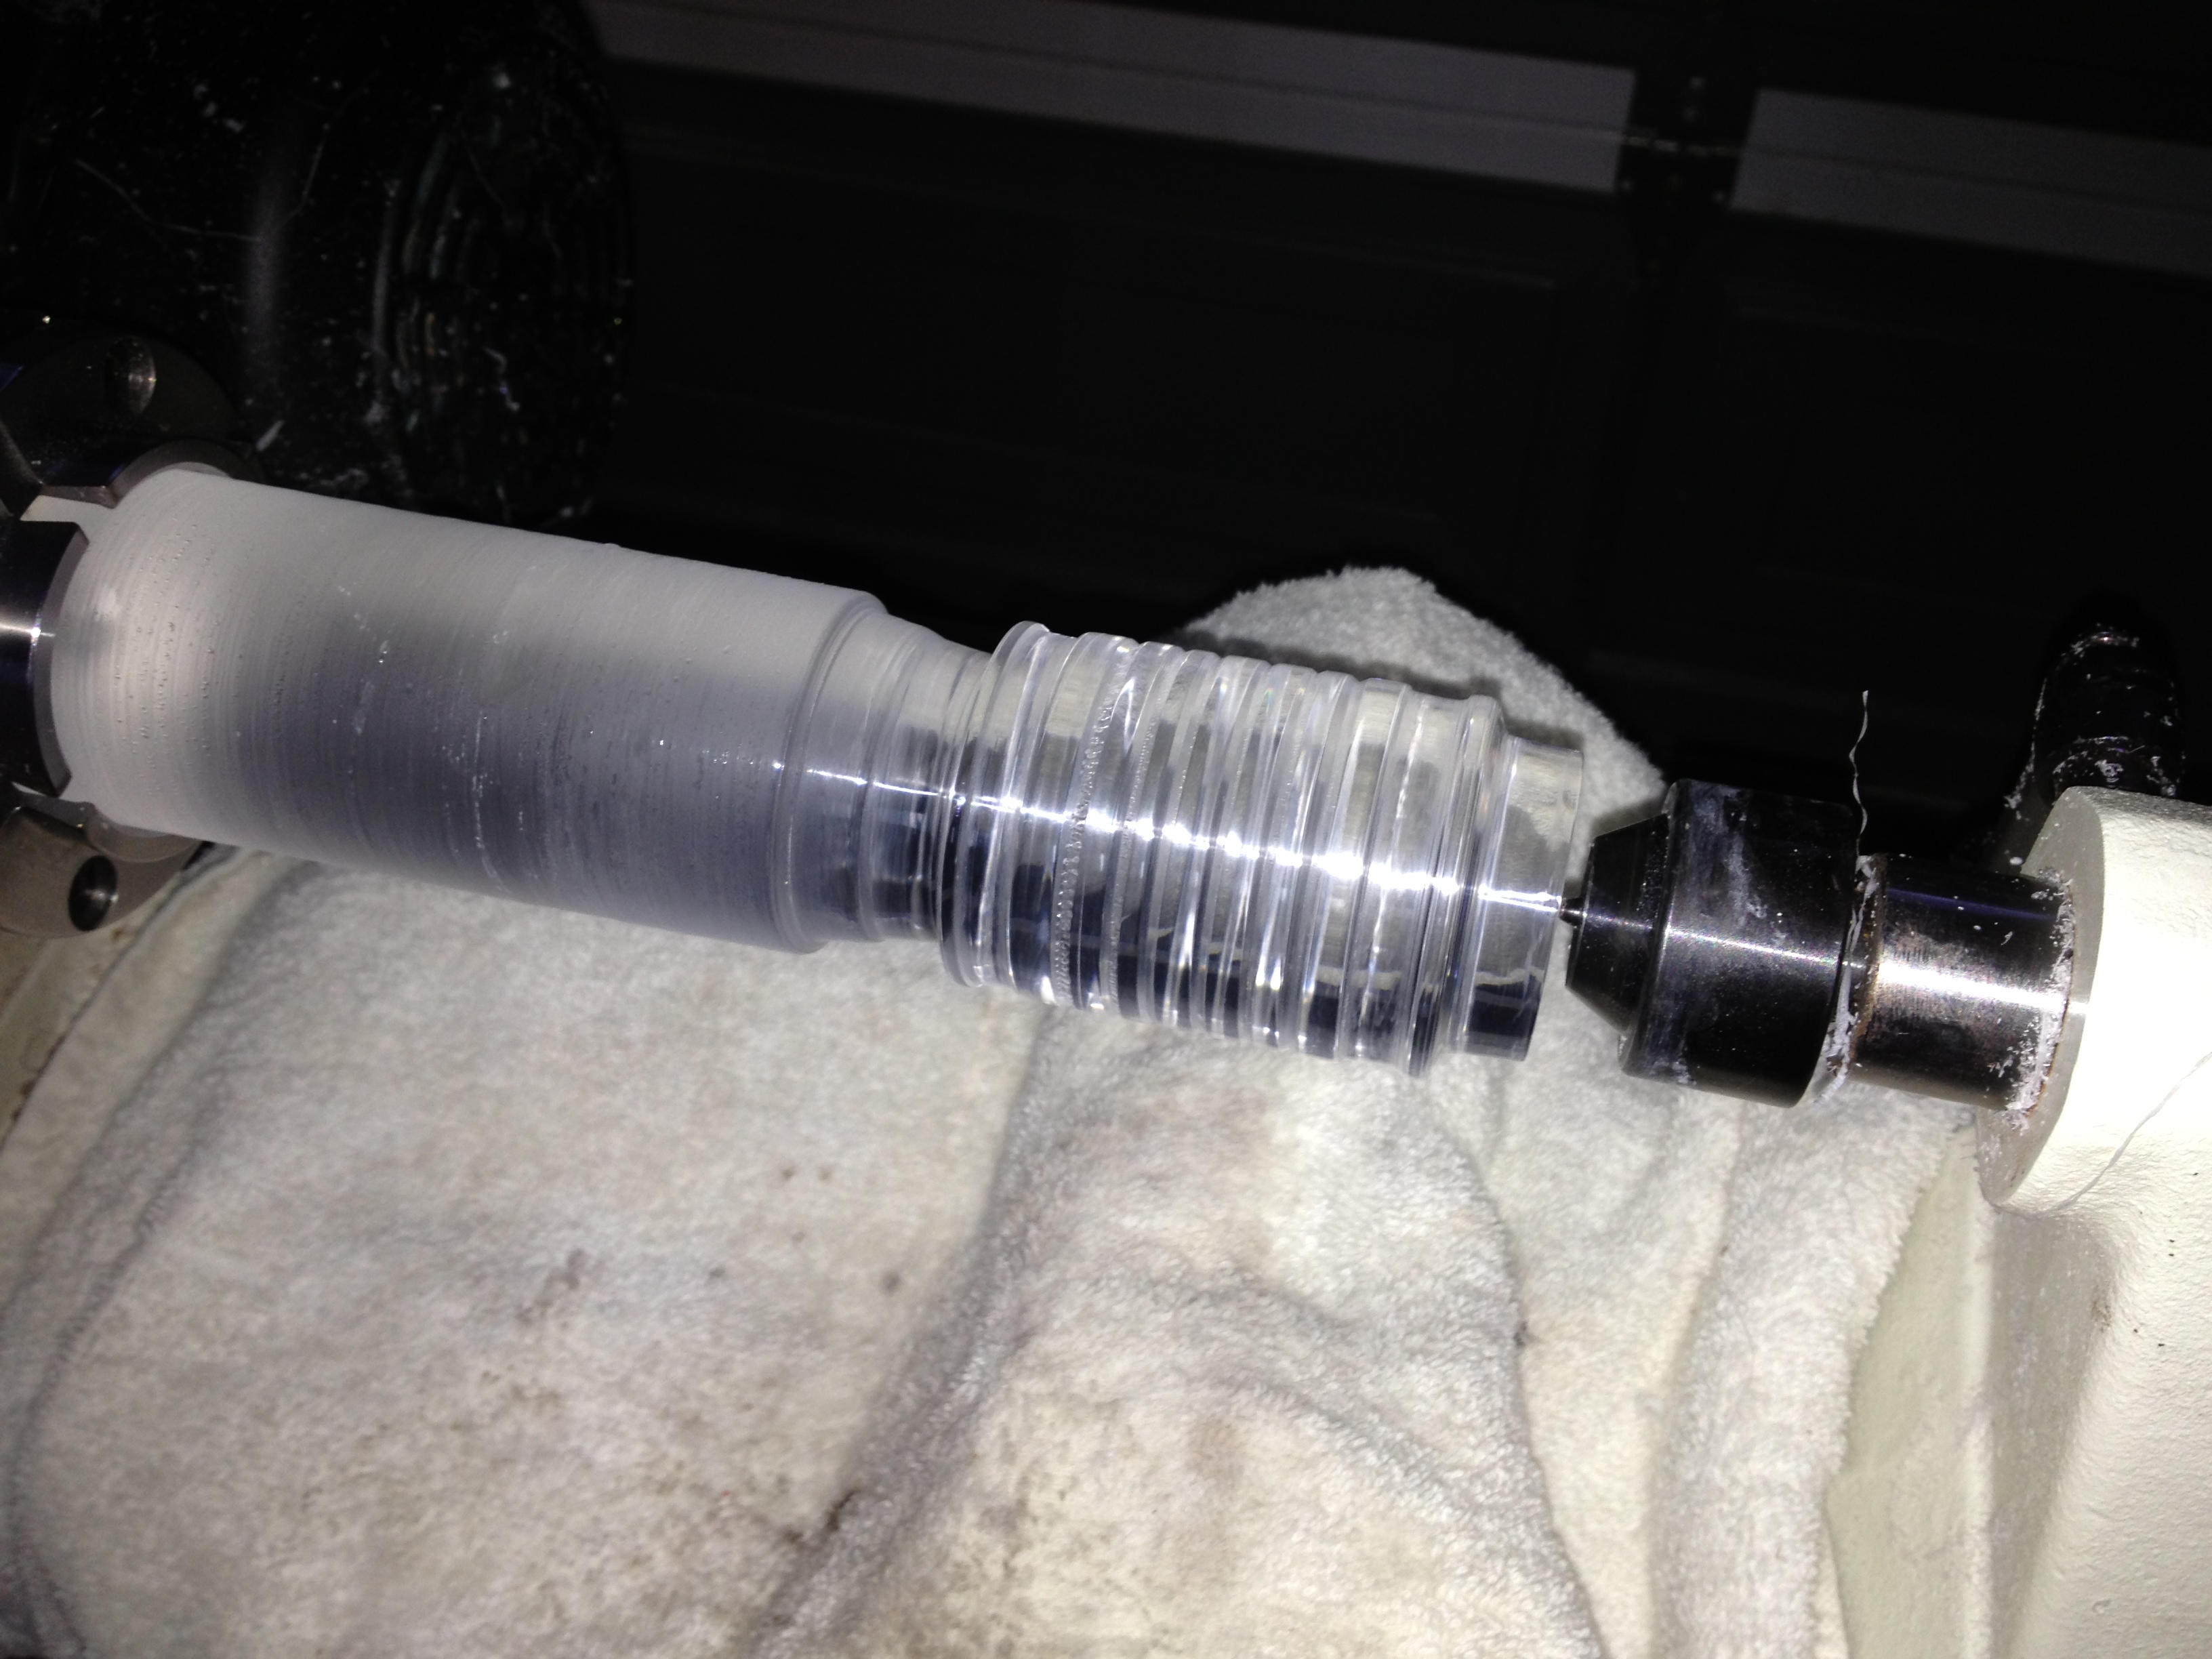
Outer surface sanded to 12000 grit.
After around half an hour of work, I end up with the finish above. This is wet sanded all the way up to 12000 grit to give a finish close to how the block arrived.
Ready to start drilling
With that done, and the cylinder being transparent again it’s time to change our the tail stock on the lathe for a 15/16″ forstner bit to drill out the hole in the sleeve. Given the length of the hole I was drilling, the drill bit alone wasn’t going to be long enough to make the cut. I had bought a bit extender so that I’d be able to drill the length I needed.
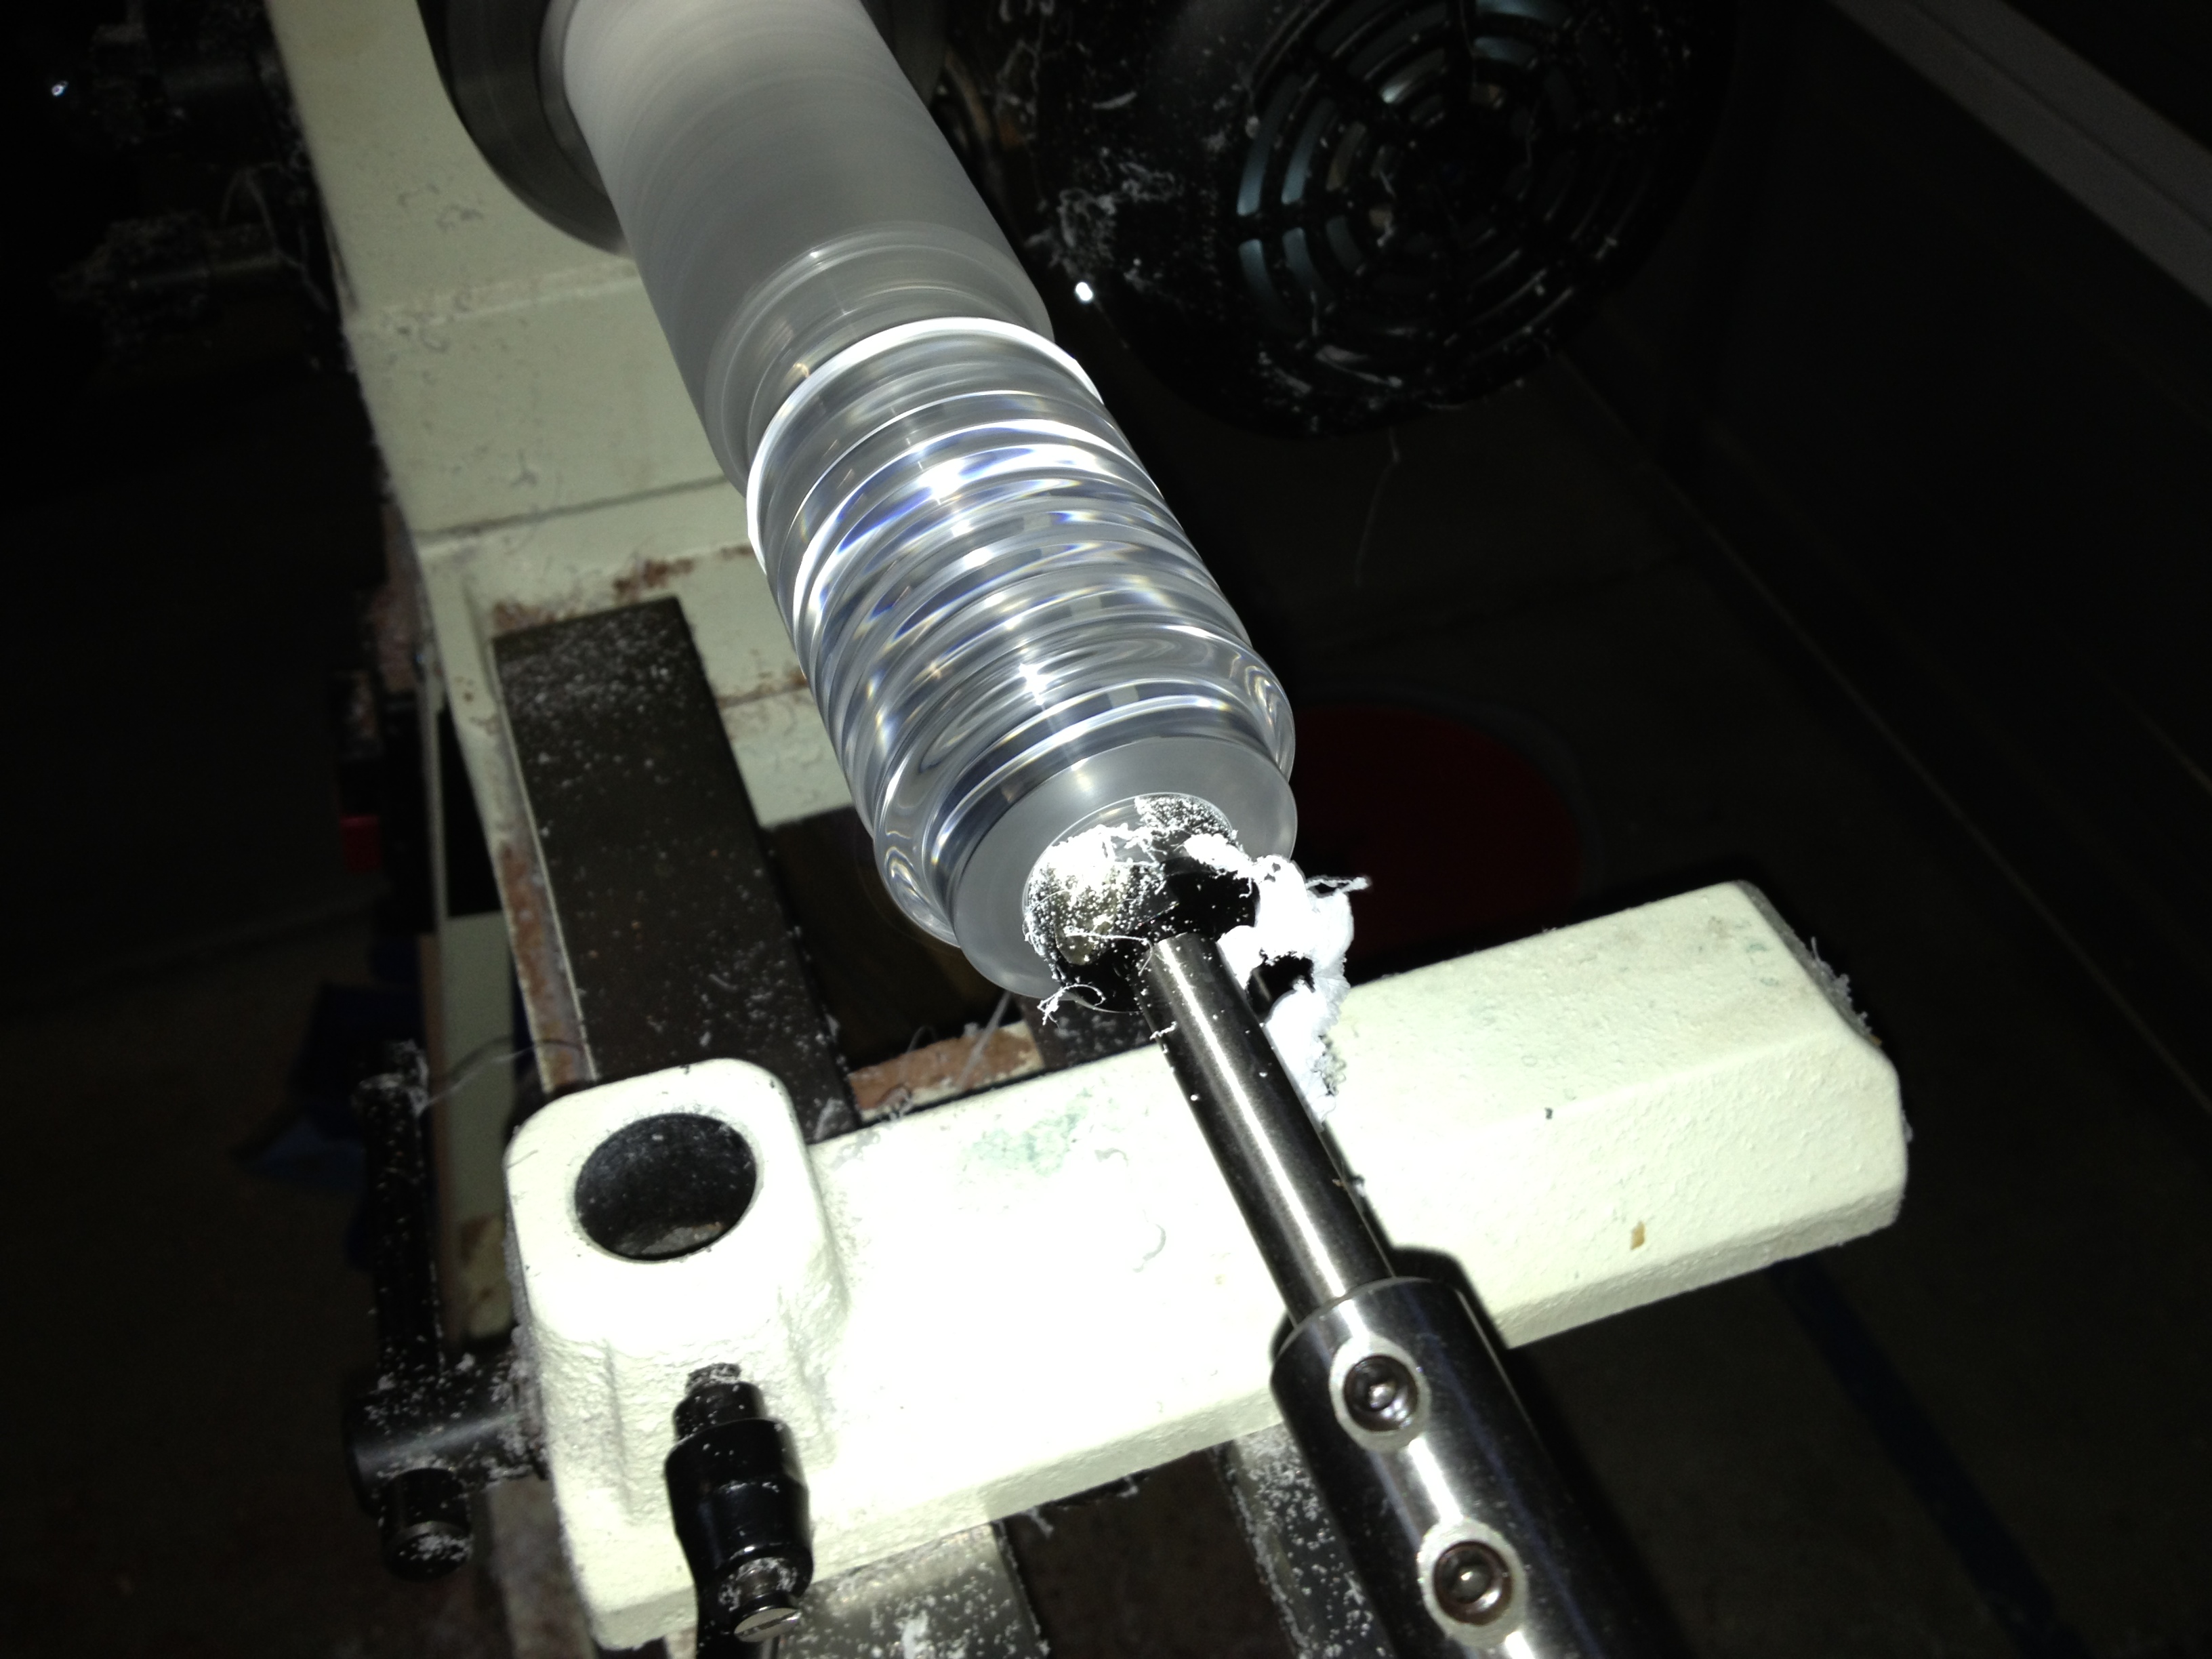
Starting to drill

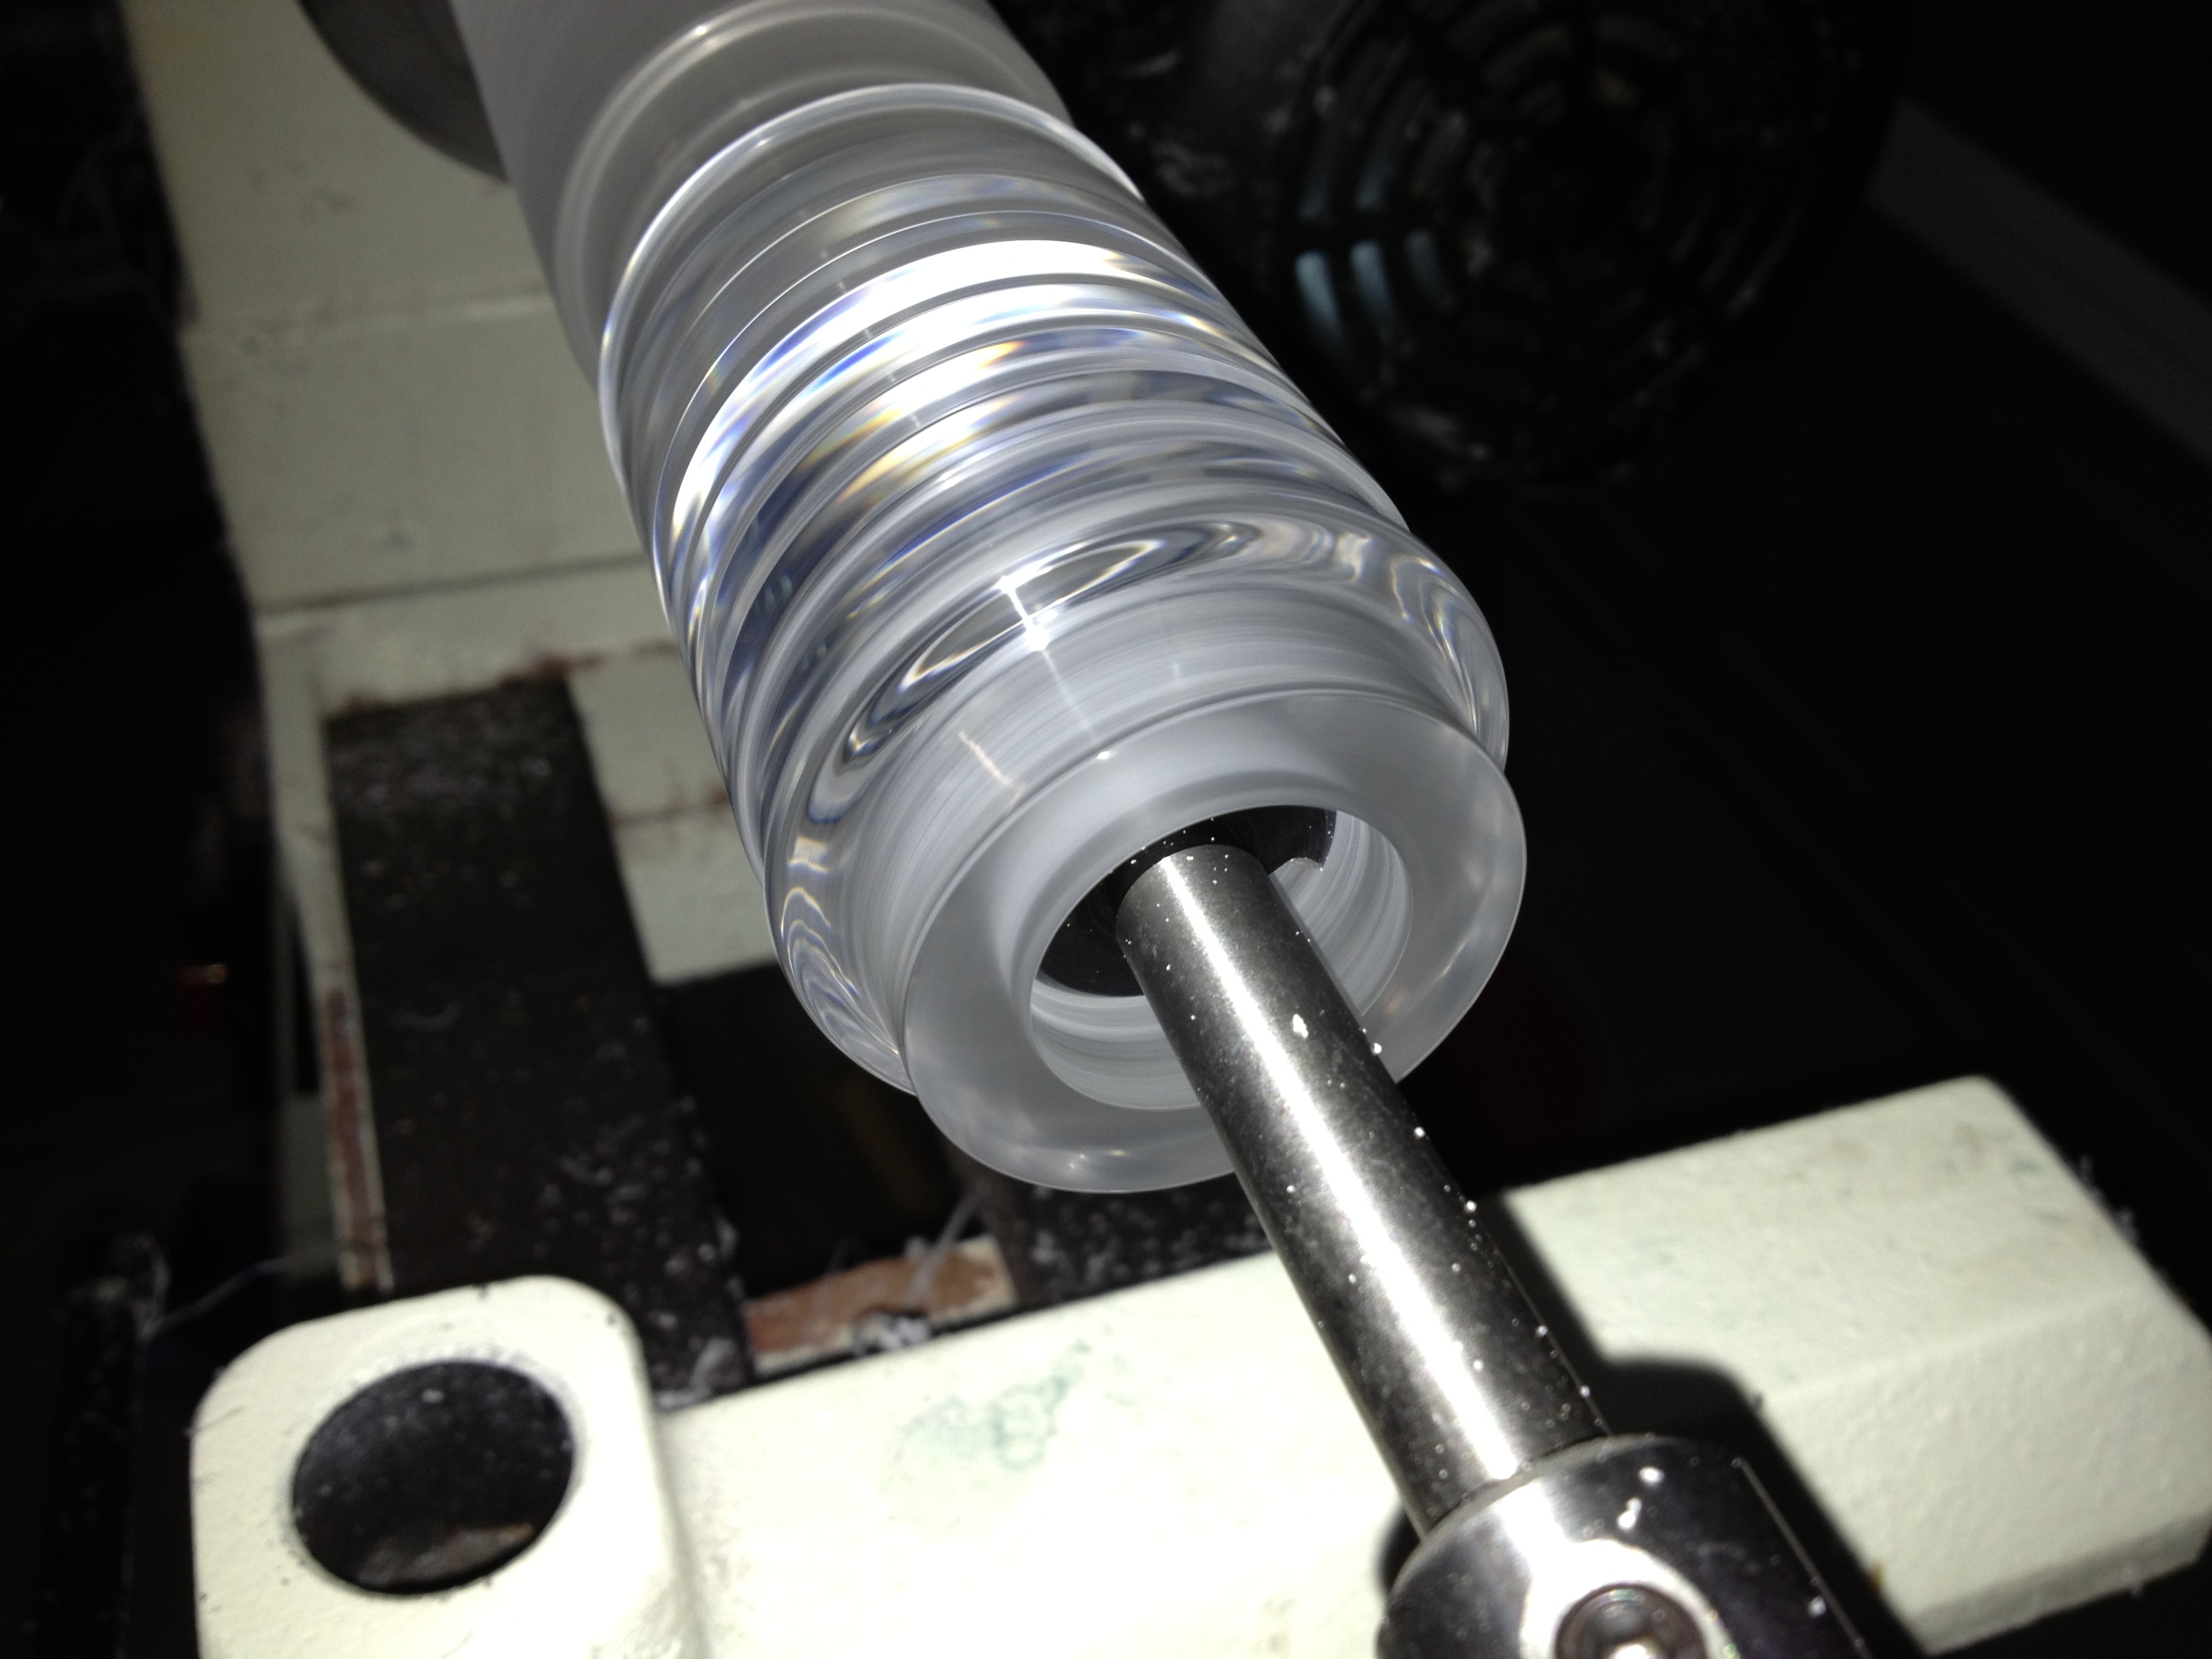
Ribbons of acrylic as the drill bit cores the sleeve
As you can see, with a sharp bit, the cut creates long streamers at the beginning of the cut, but before long, the heat almost melts the acrylic, and you have to be careful to eject the shavings before they solidify behind the head of the drill bit, and make it impossible to remove the drill bit.
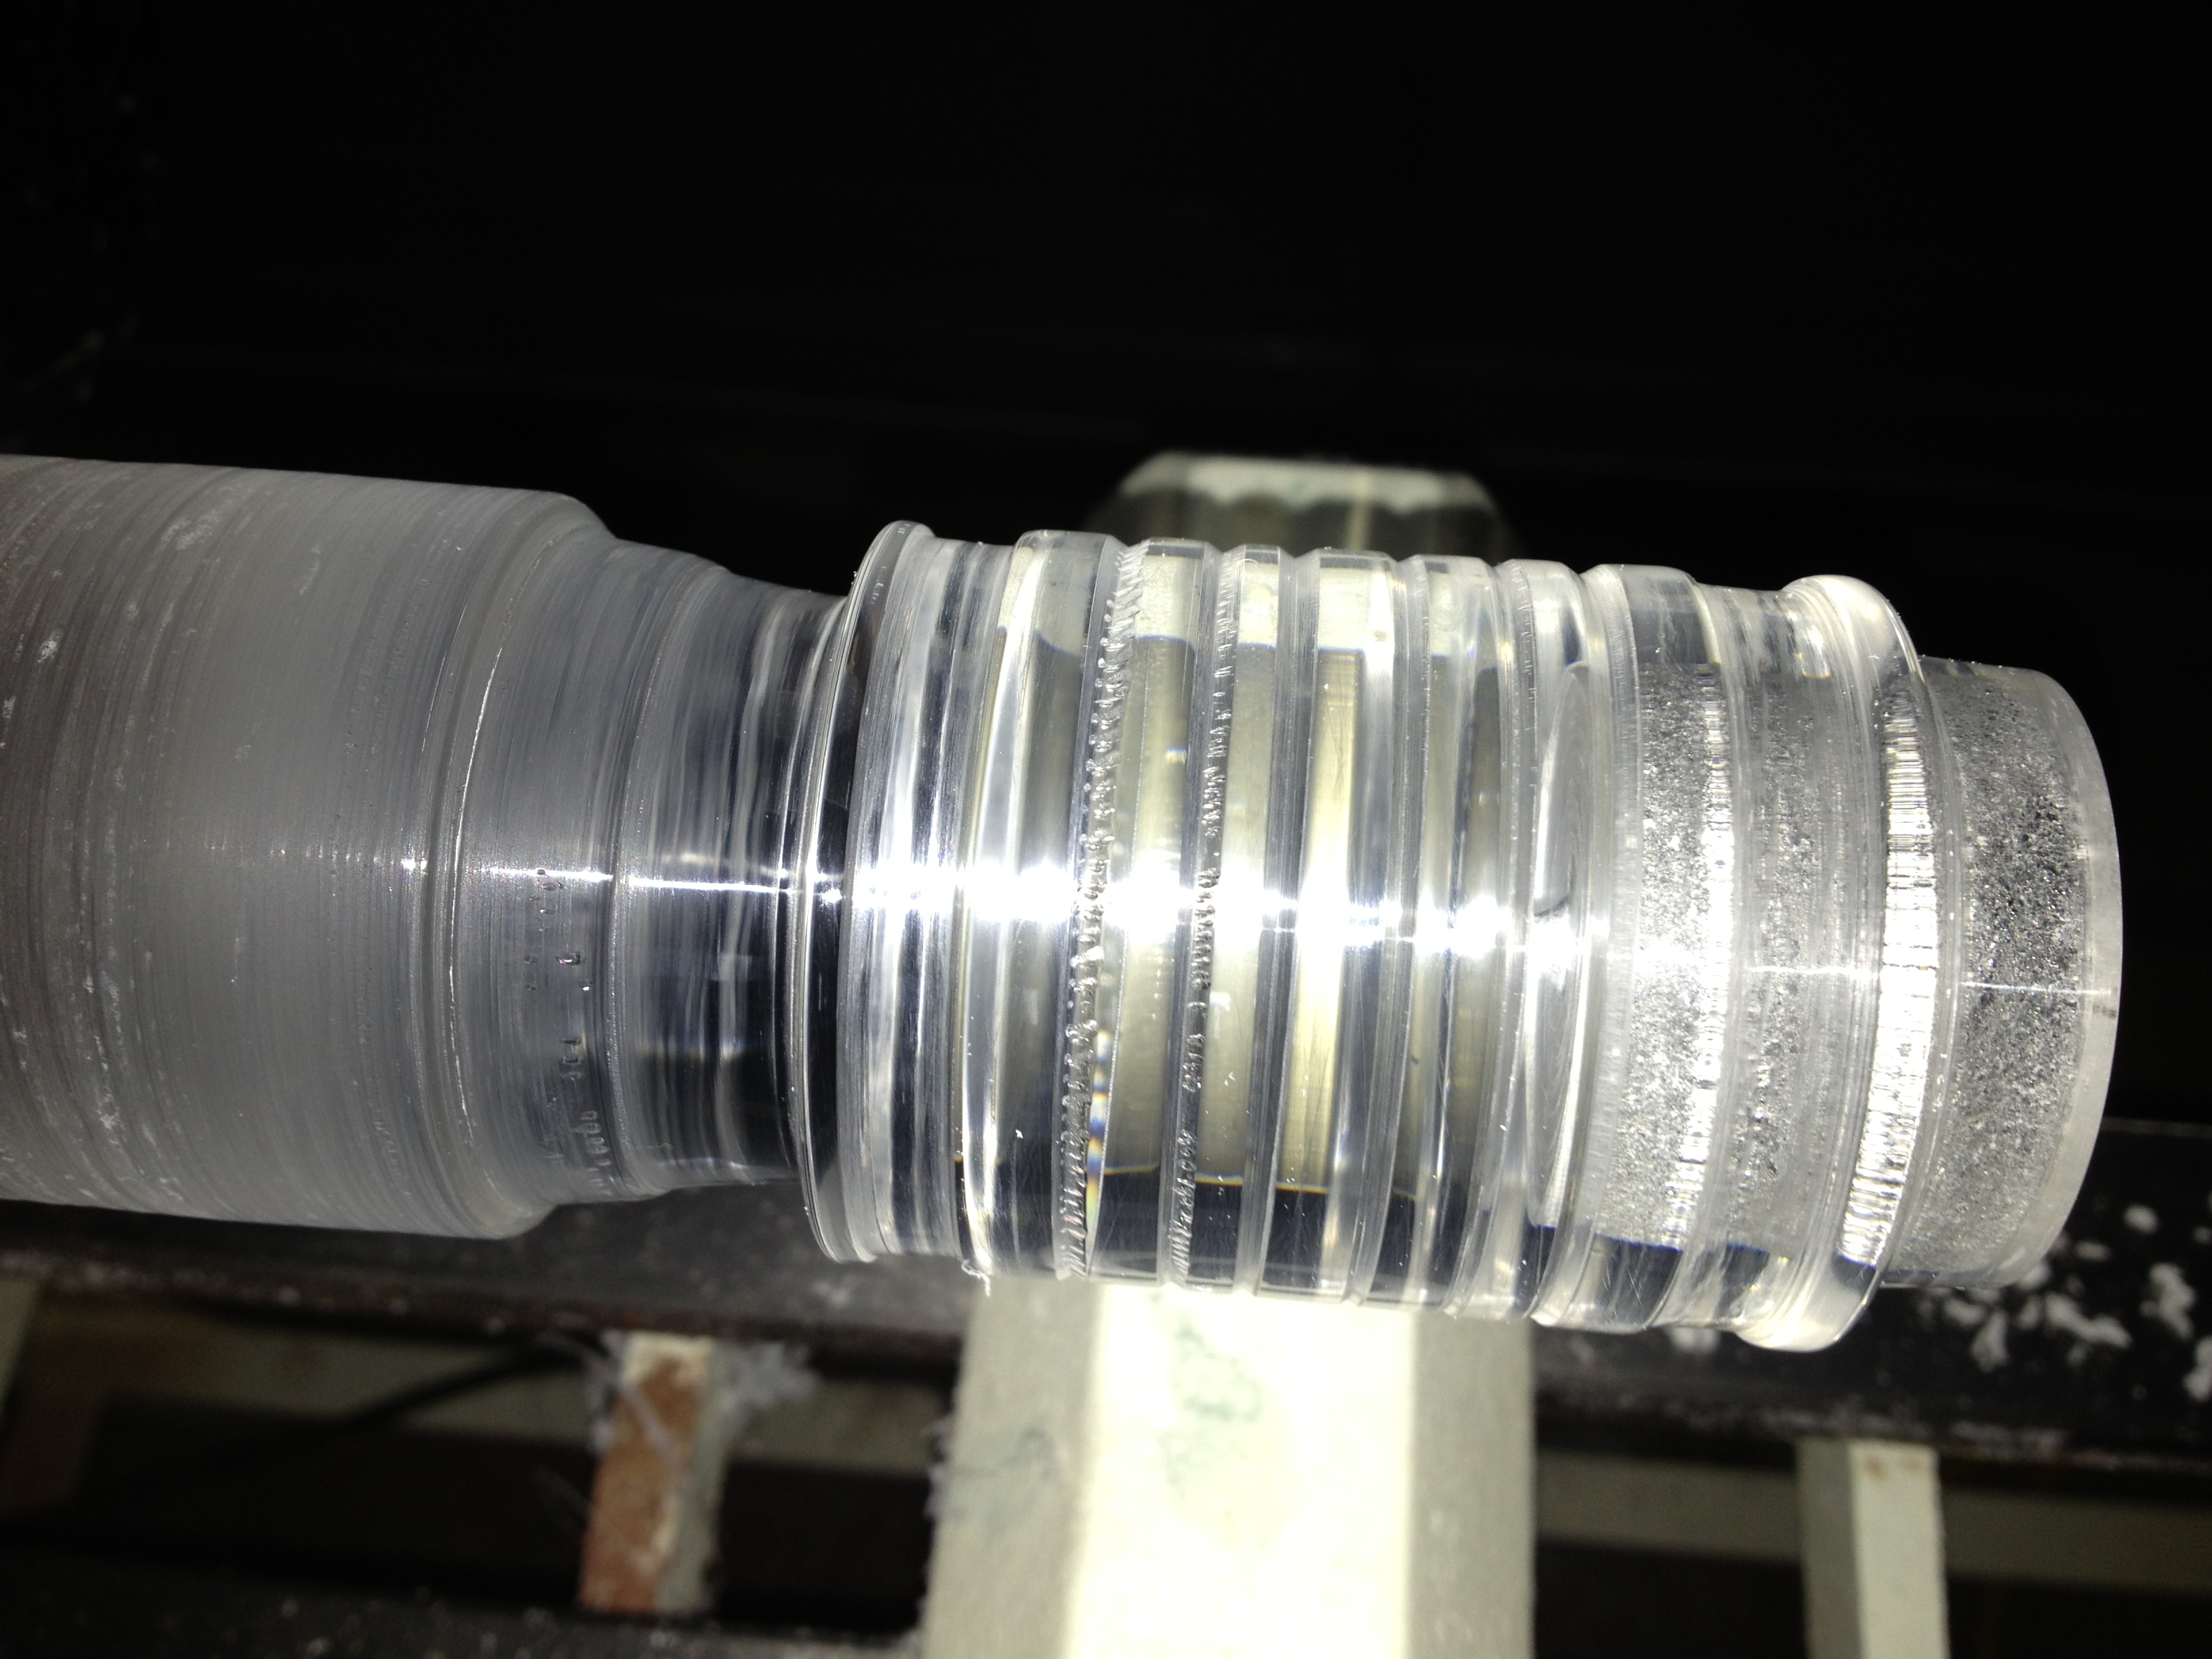
‘Bubbles’ on the inside as the drill cuts
The internal reflections are stunning
Even though the drill leaves a rough surface on the inside of the sleeve, given the work sanding it earlier, it looks really good. Once the entire core is drilled out, it will be sanded up to 12000 grit the same as the outside, before being polished to a high shine.
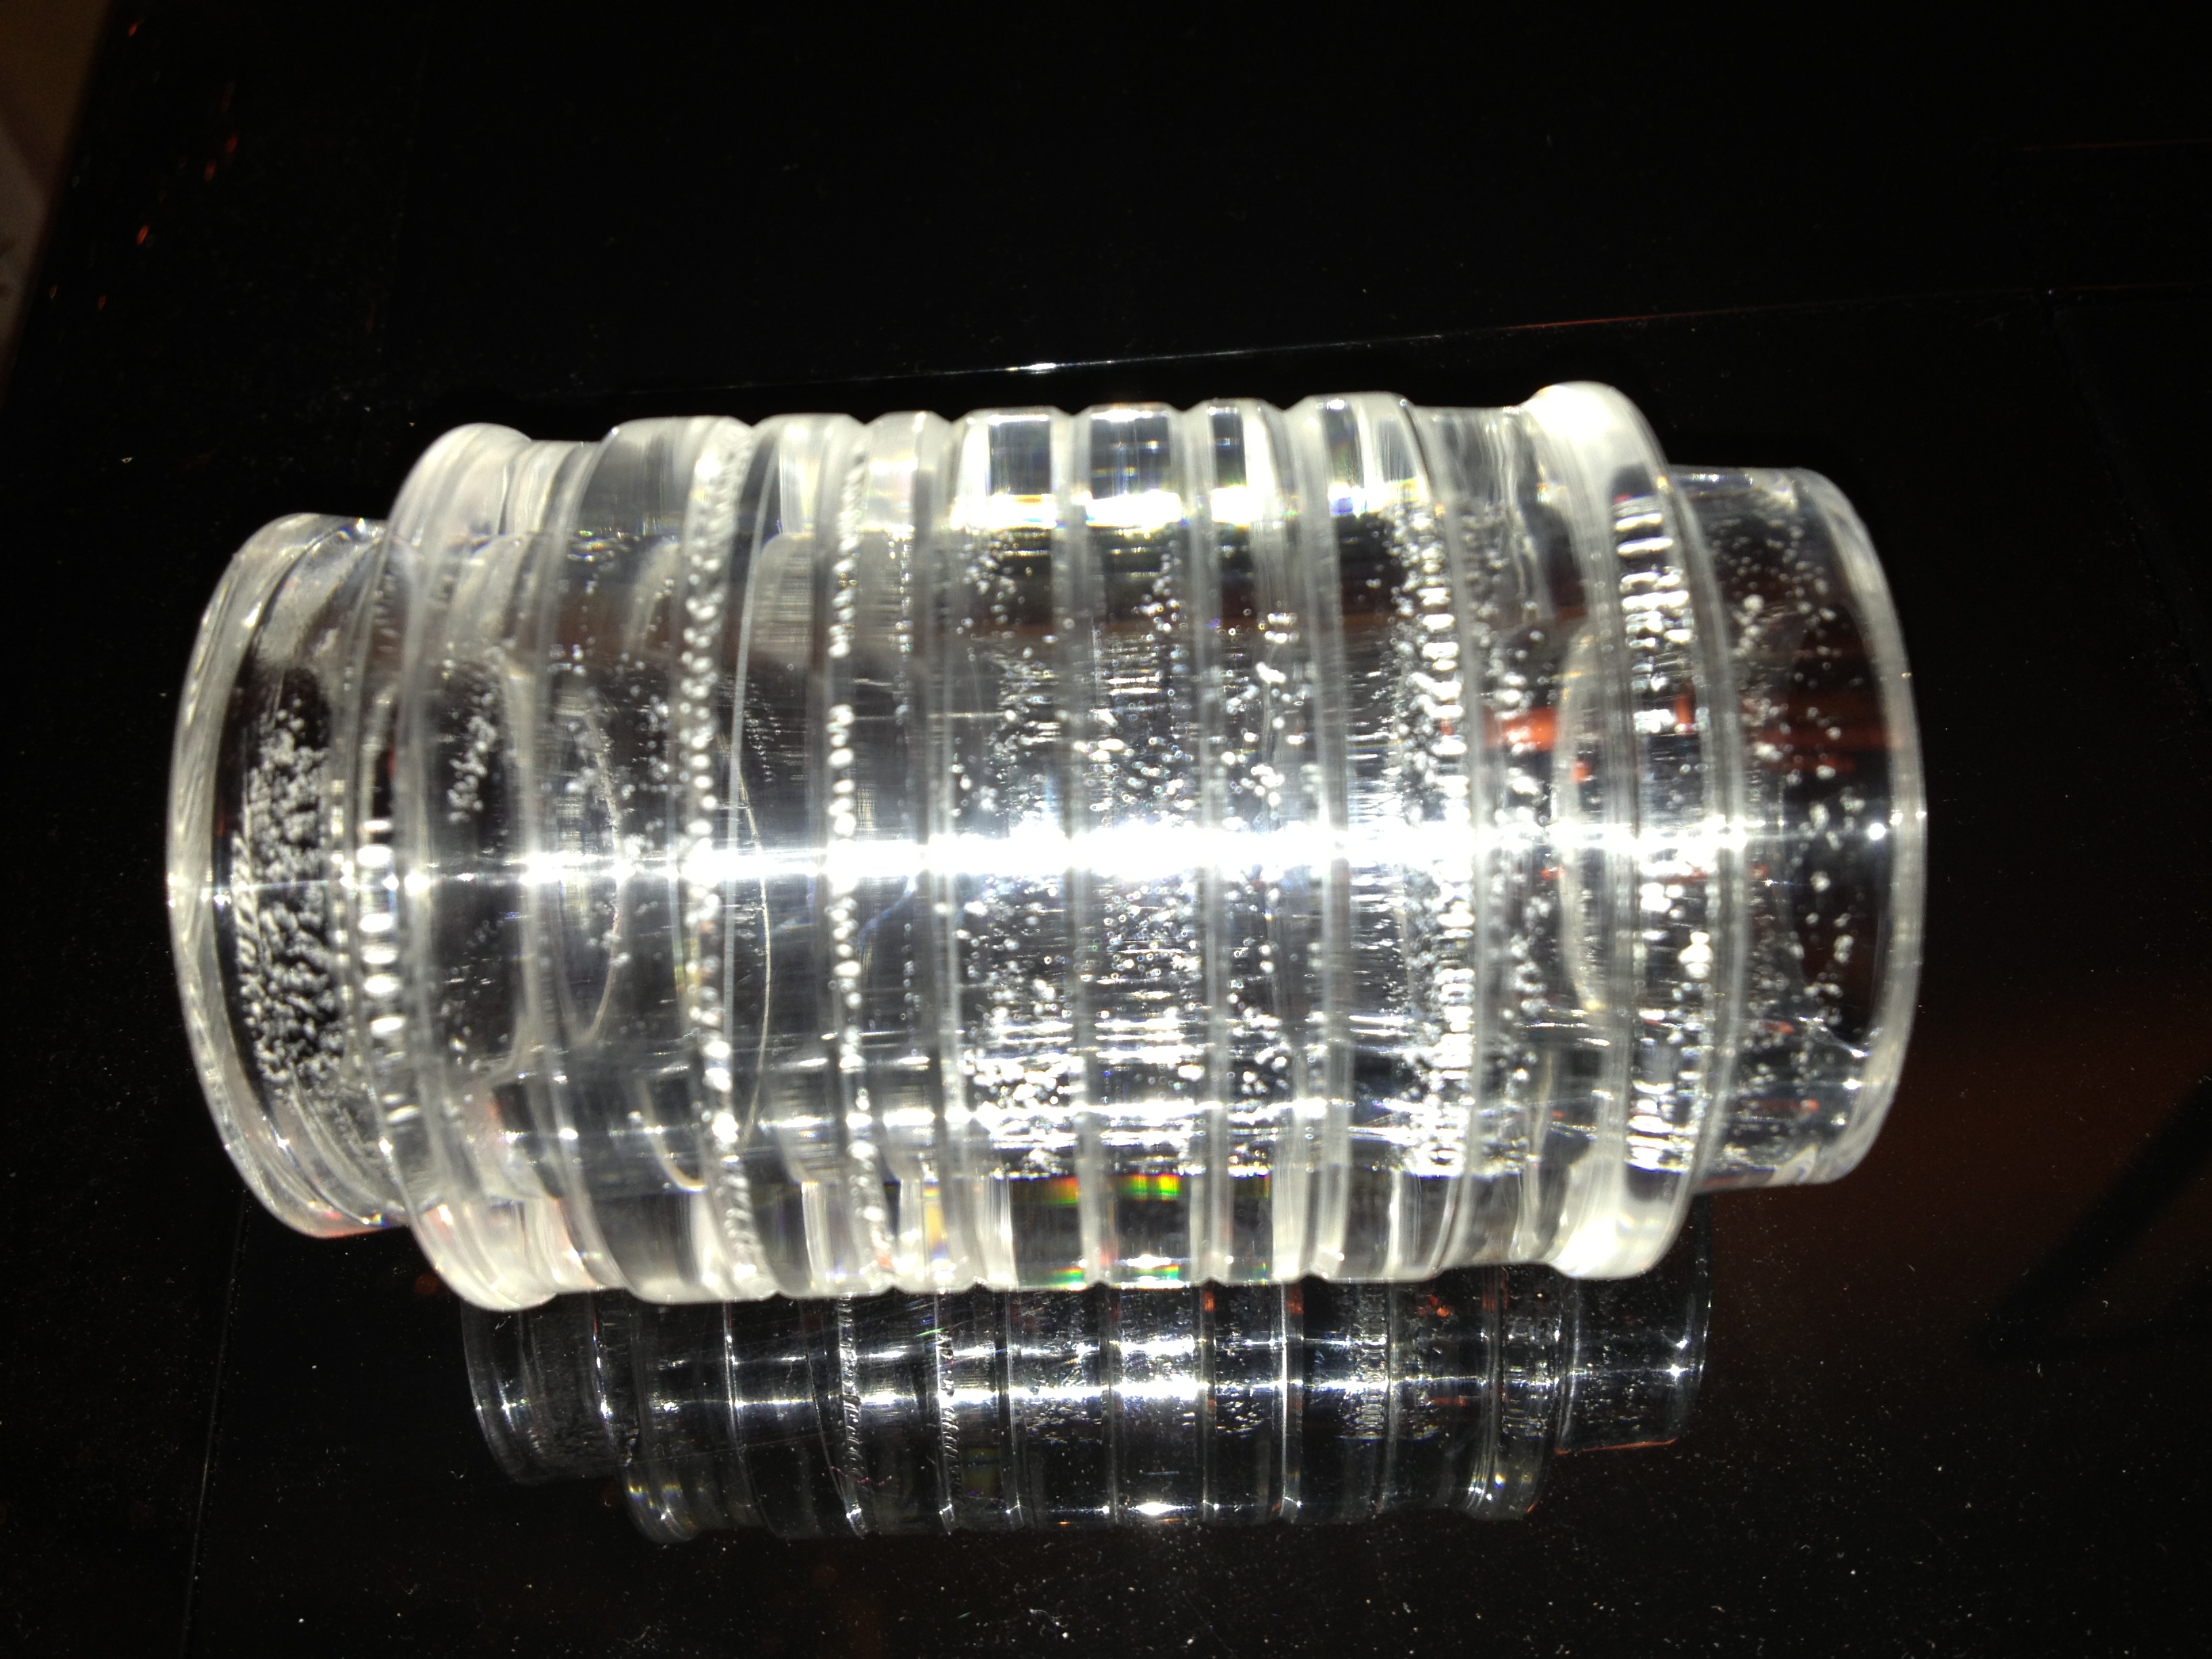
The Finished Sleeve
Having completed the drilling of the core, I parted off the sleeve, and finished sanding the ends to get the same finish as the rest of the sleeve, things are just about ready. Some plastic polish is applied, and then a coat of Ren Wax to really finish the shine. As you can see, the inner core isn’t perfect, but with more sanding I could get things back to a perfect finish. In fact I’ve gone back and made a second sleeve without the ridges which is far clearer than this sleeve.
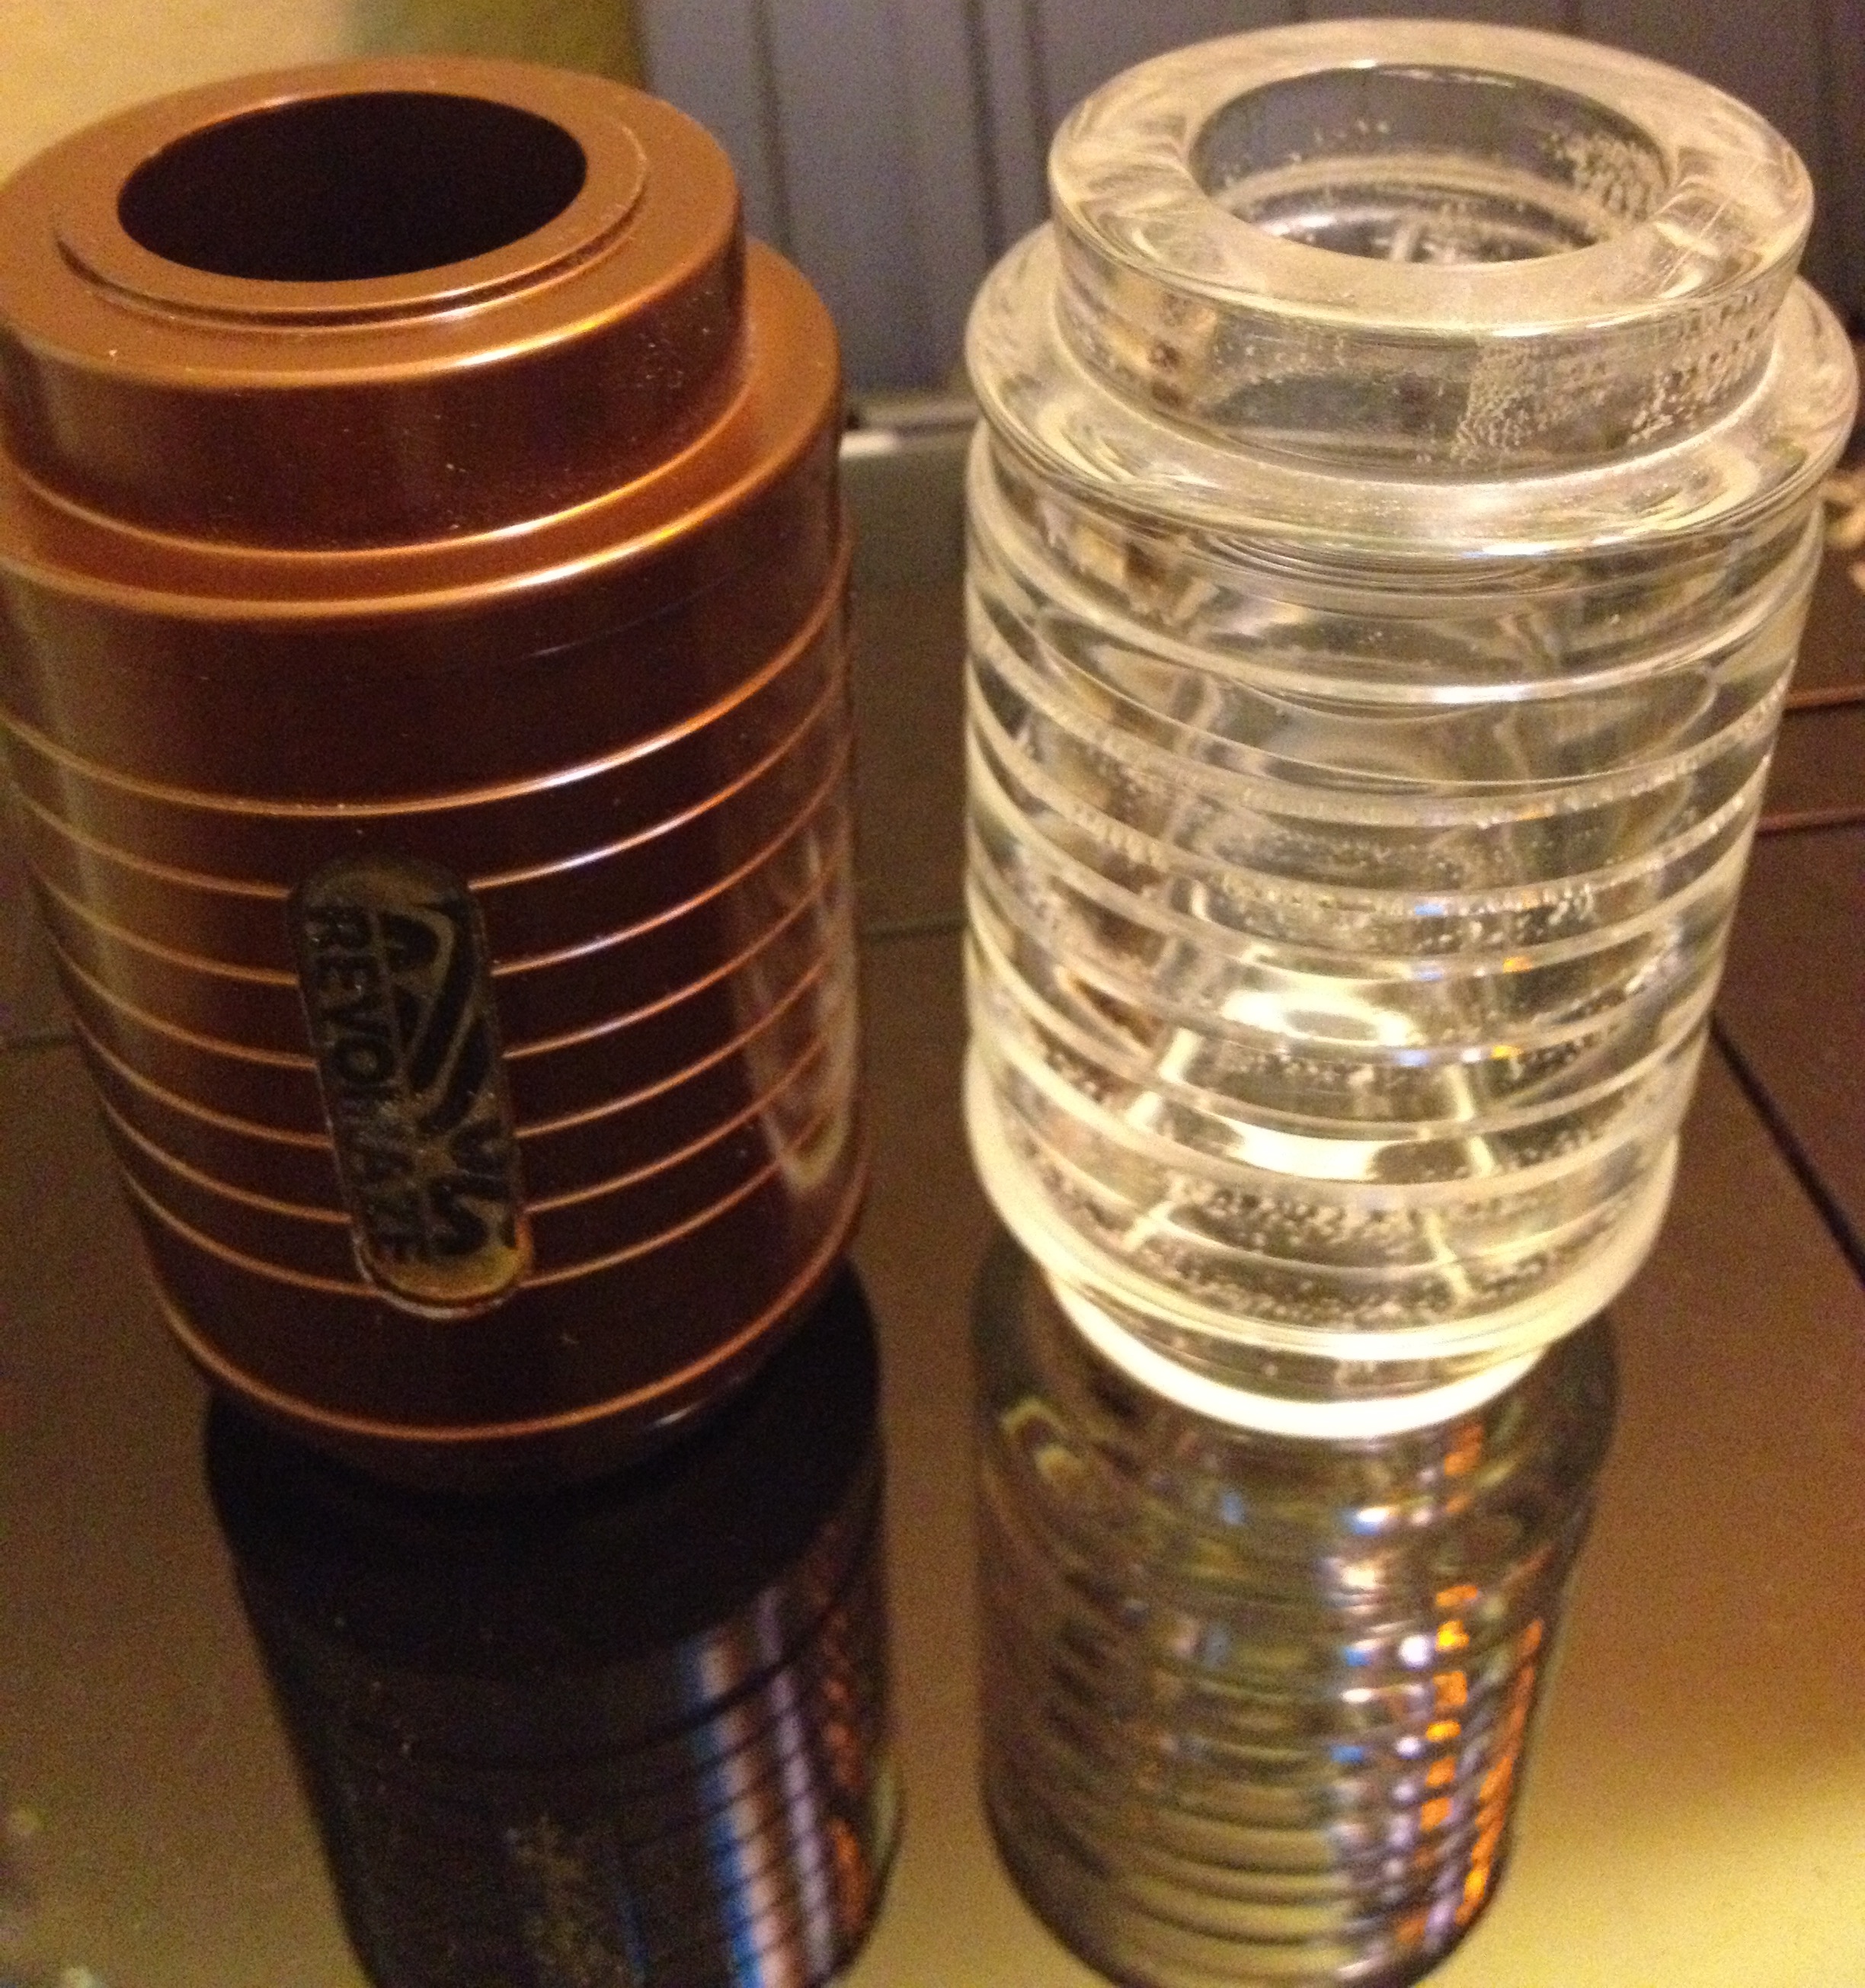
A comparison with the original sleeve
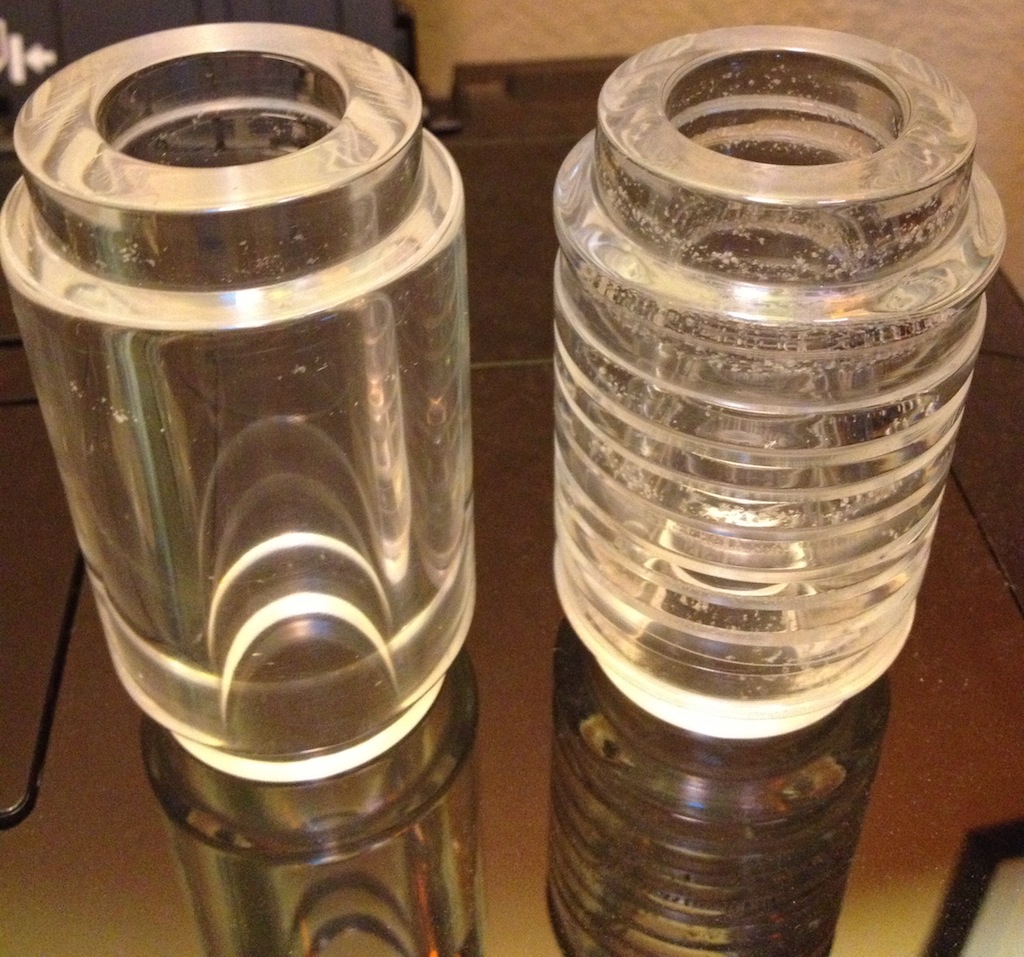
Both clear versions side by side.
So the real test is left. Can you see the core? Well the answer is a resounding yes. The core is easily visible in the sleeve, and everything fits perfectly. I’m pretty happy with the results.
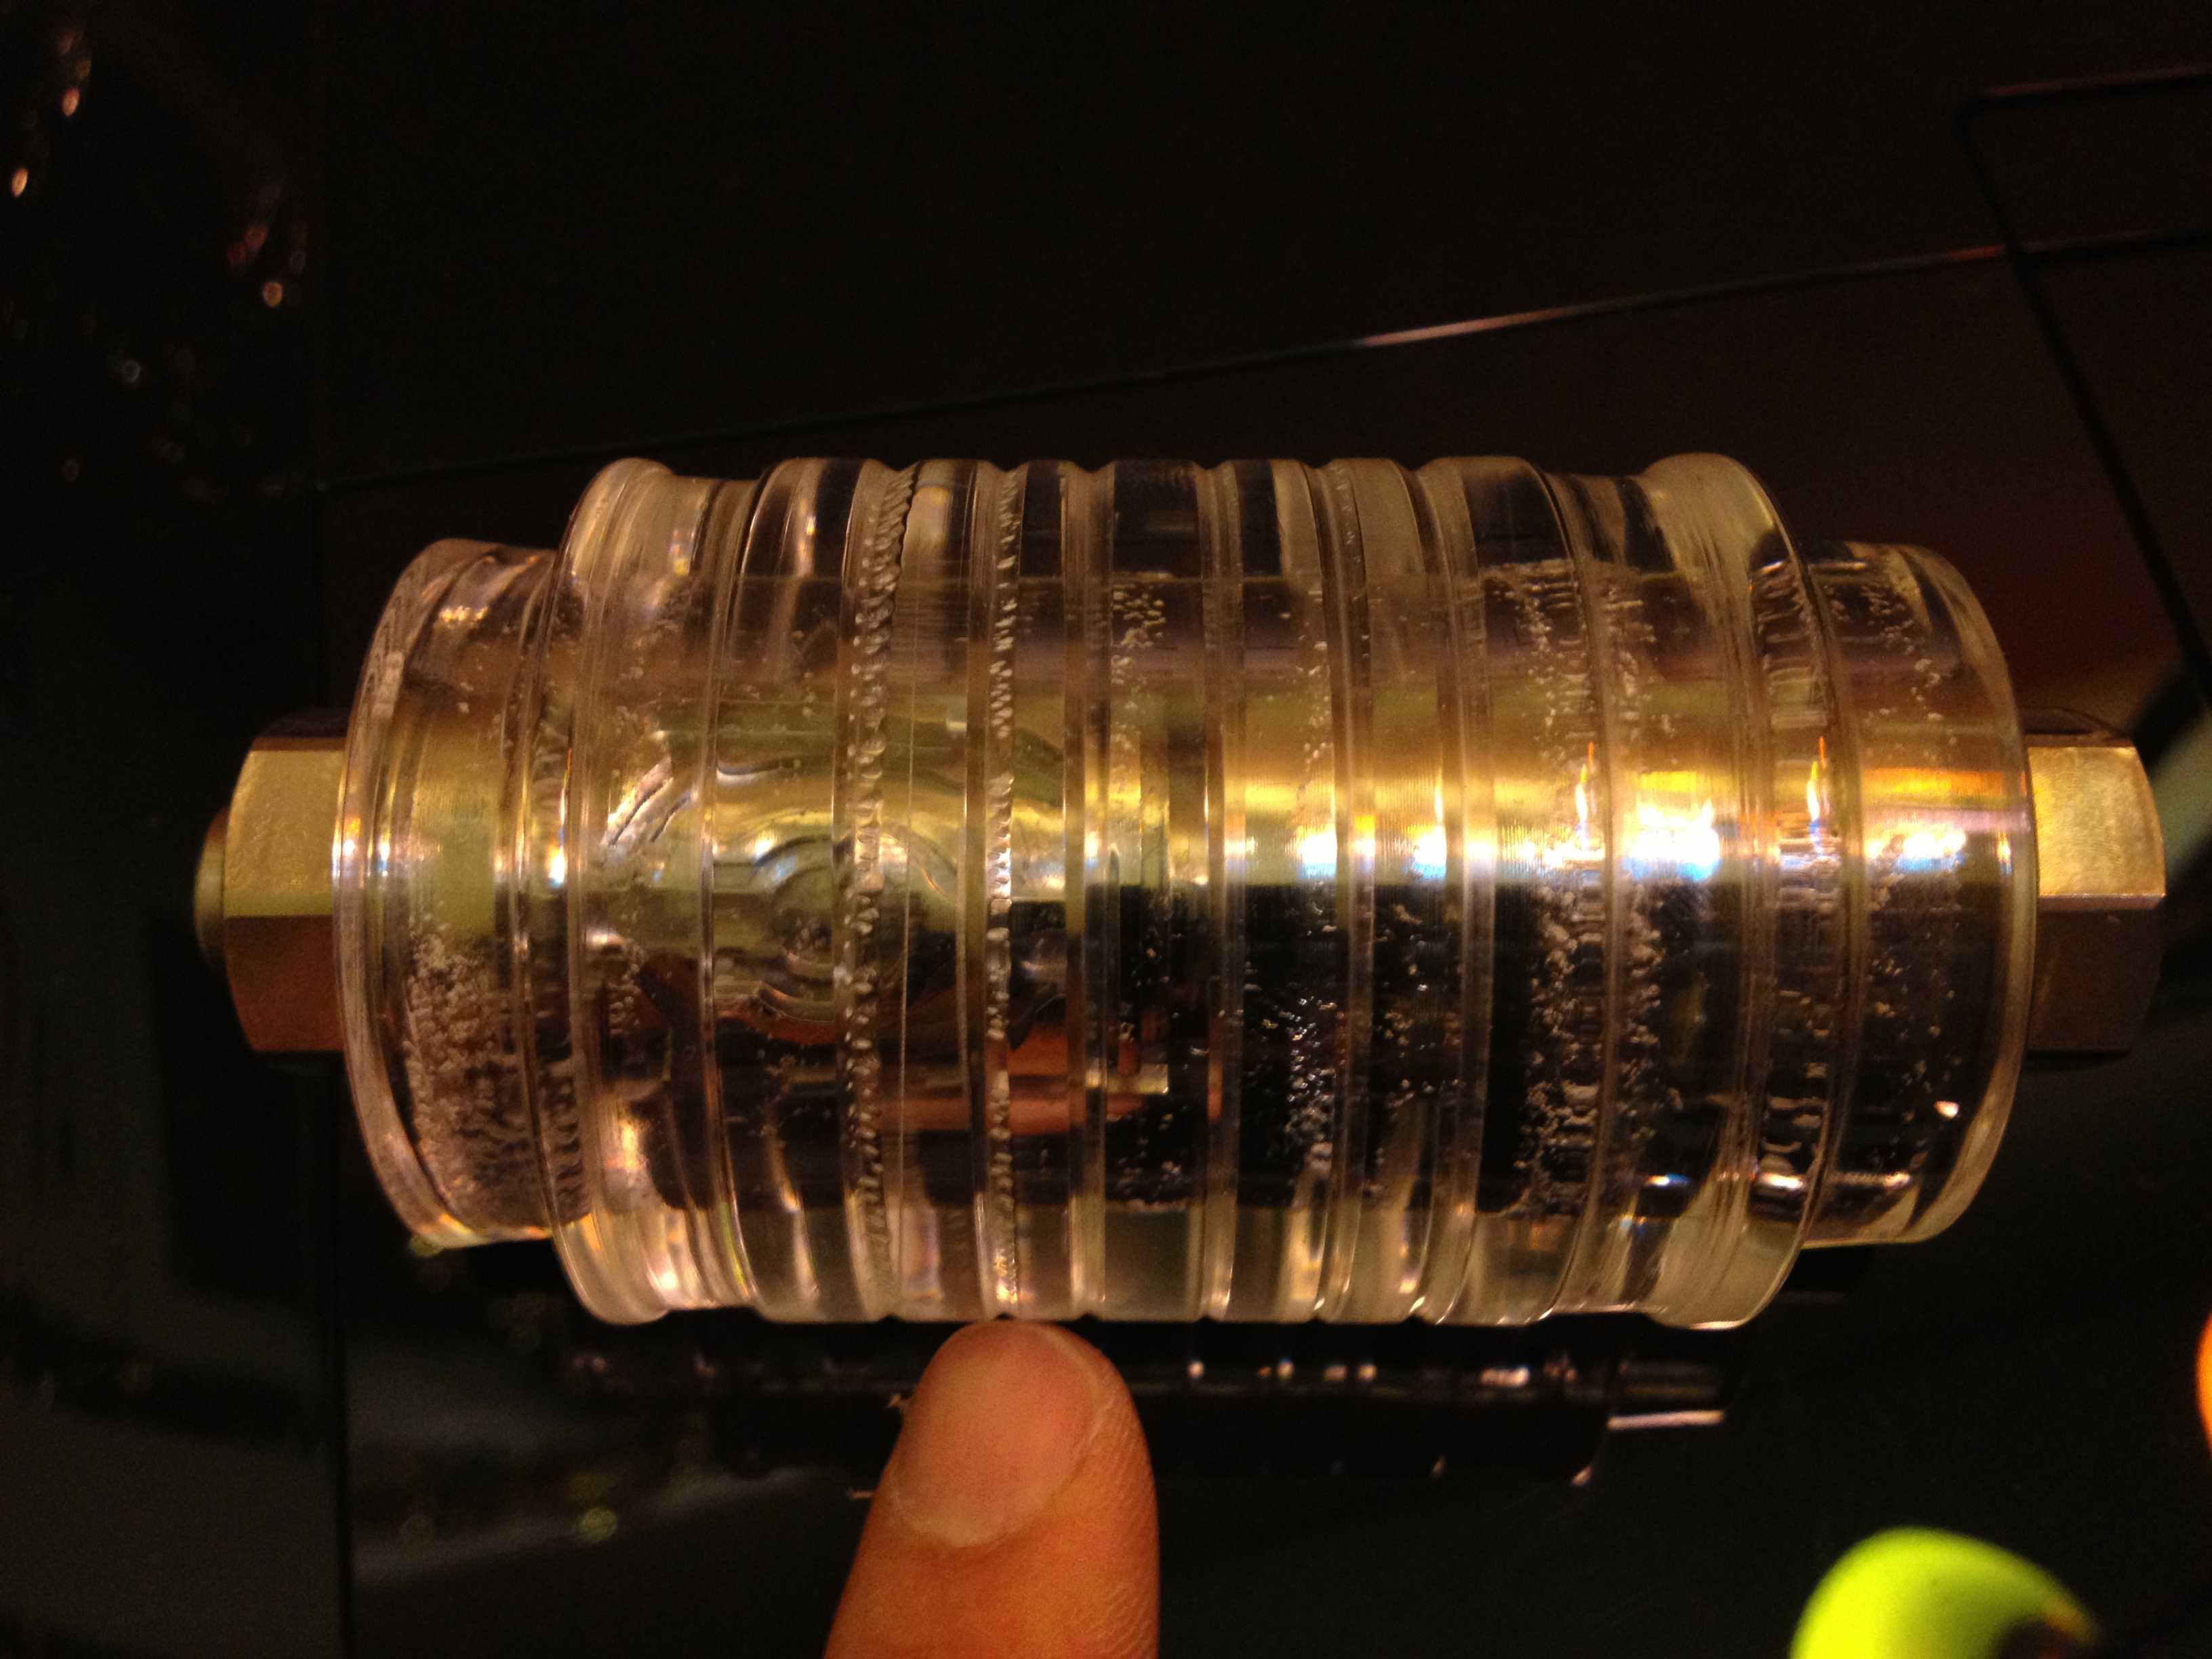
The Sleeve with a maze in it
")


