Every now and then an opportunity arises to take a puzzle in potentia, finish it, and bring another puzzle into the world. I recently had that opportunity with one of Stickman’s puzzles. At a recent auction, I was bidding on a copy of Stickman’s Domino Box, and given that I’m friends with the man himself, I was talking to him about it. He happened to mention that he had a carcass of the puzzle that just needed the dominoes made for it. He even had the blocks of Ebony to make them.
The Domino Box was a joint venture between Stickman and John Devost. Stickman made the housing for the dominoes, and the extra ‘bits’ that for the mechanism of the puzzle, and John Devost made all the sets of Dominoes.
Turns out neither he nor John Devost had the time, or motivation to make the dominoes, so Robert offered me the chance to take that copy instead of the one I had won at auction. I’ll not go into the details, but both myself, and the person I was bidding against got a great deal on the puzzle, so it was a win-win situation.

The Stickman Domino Box ‘kit’
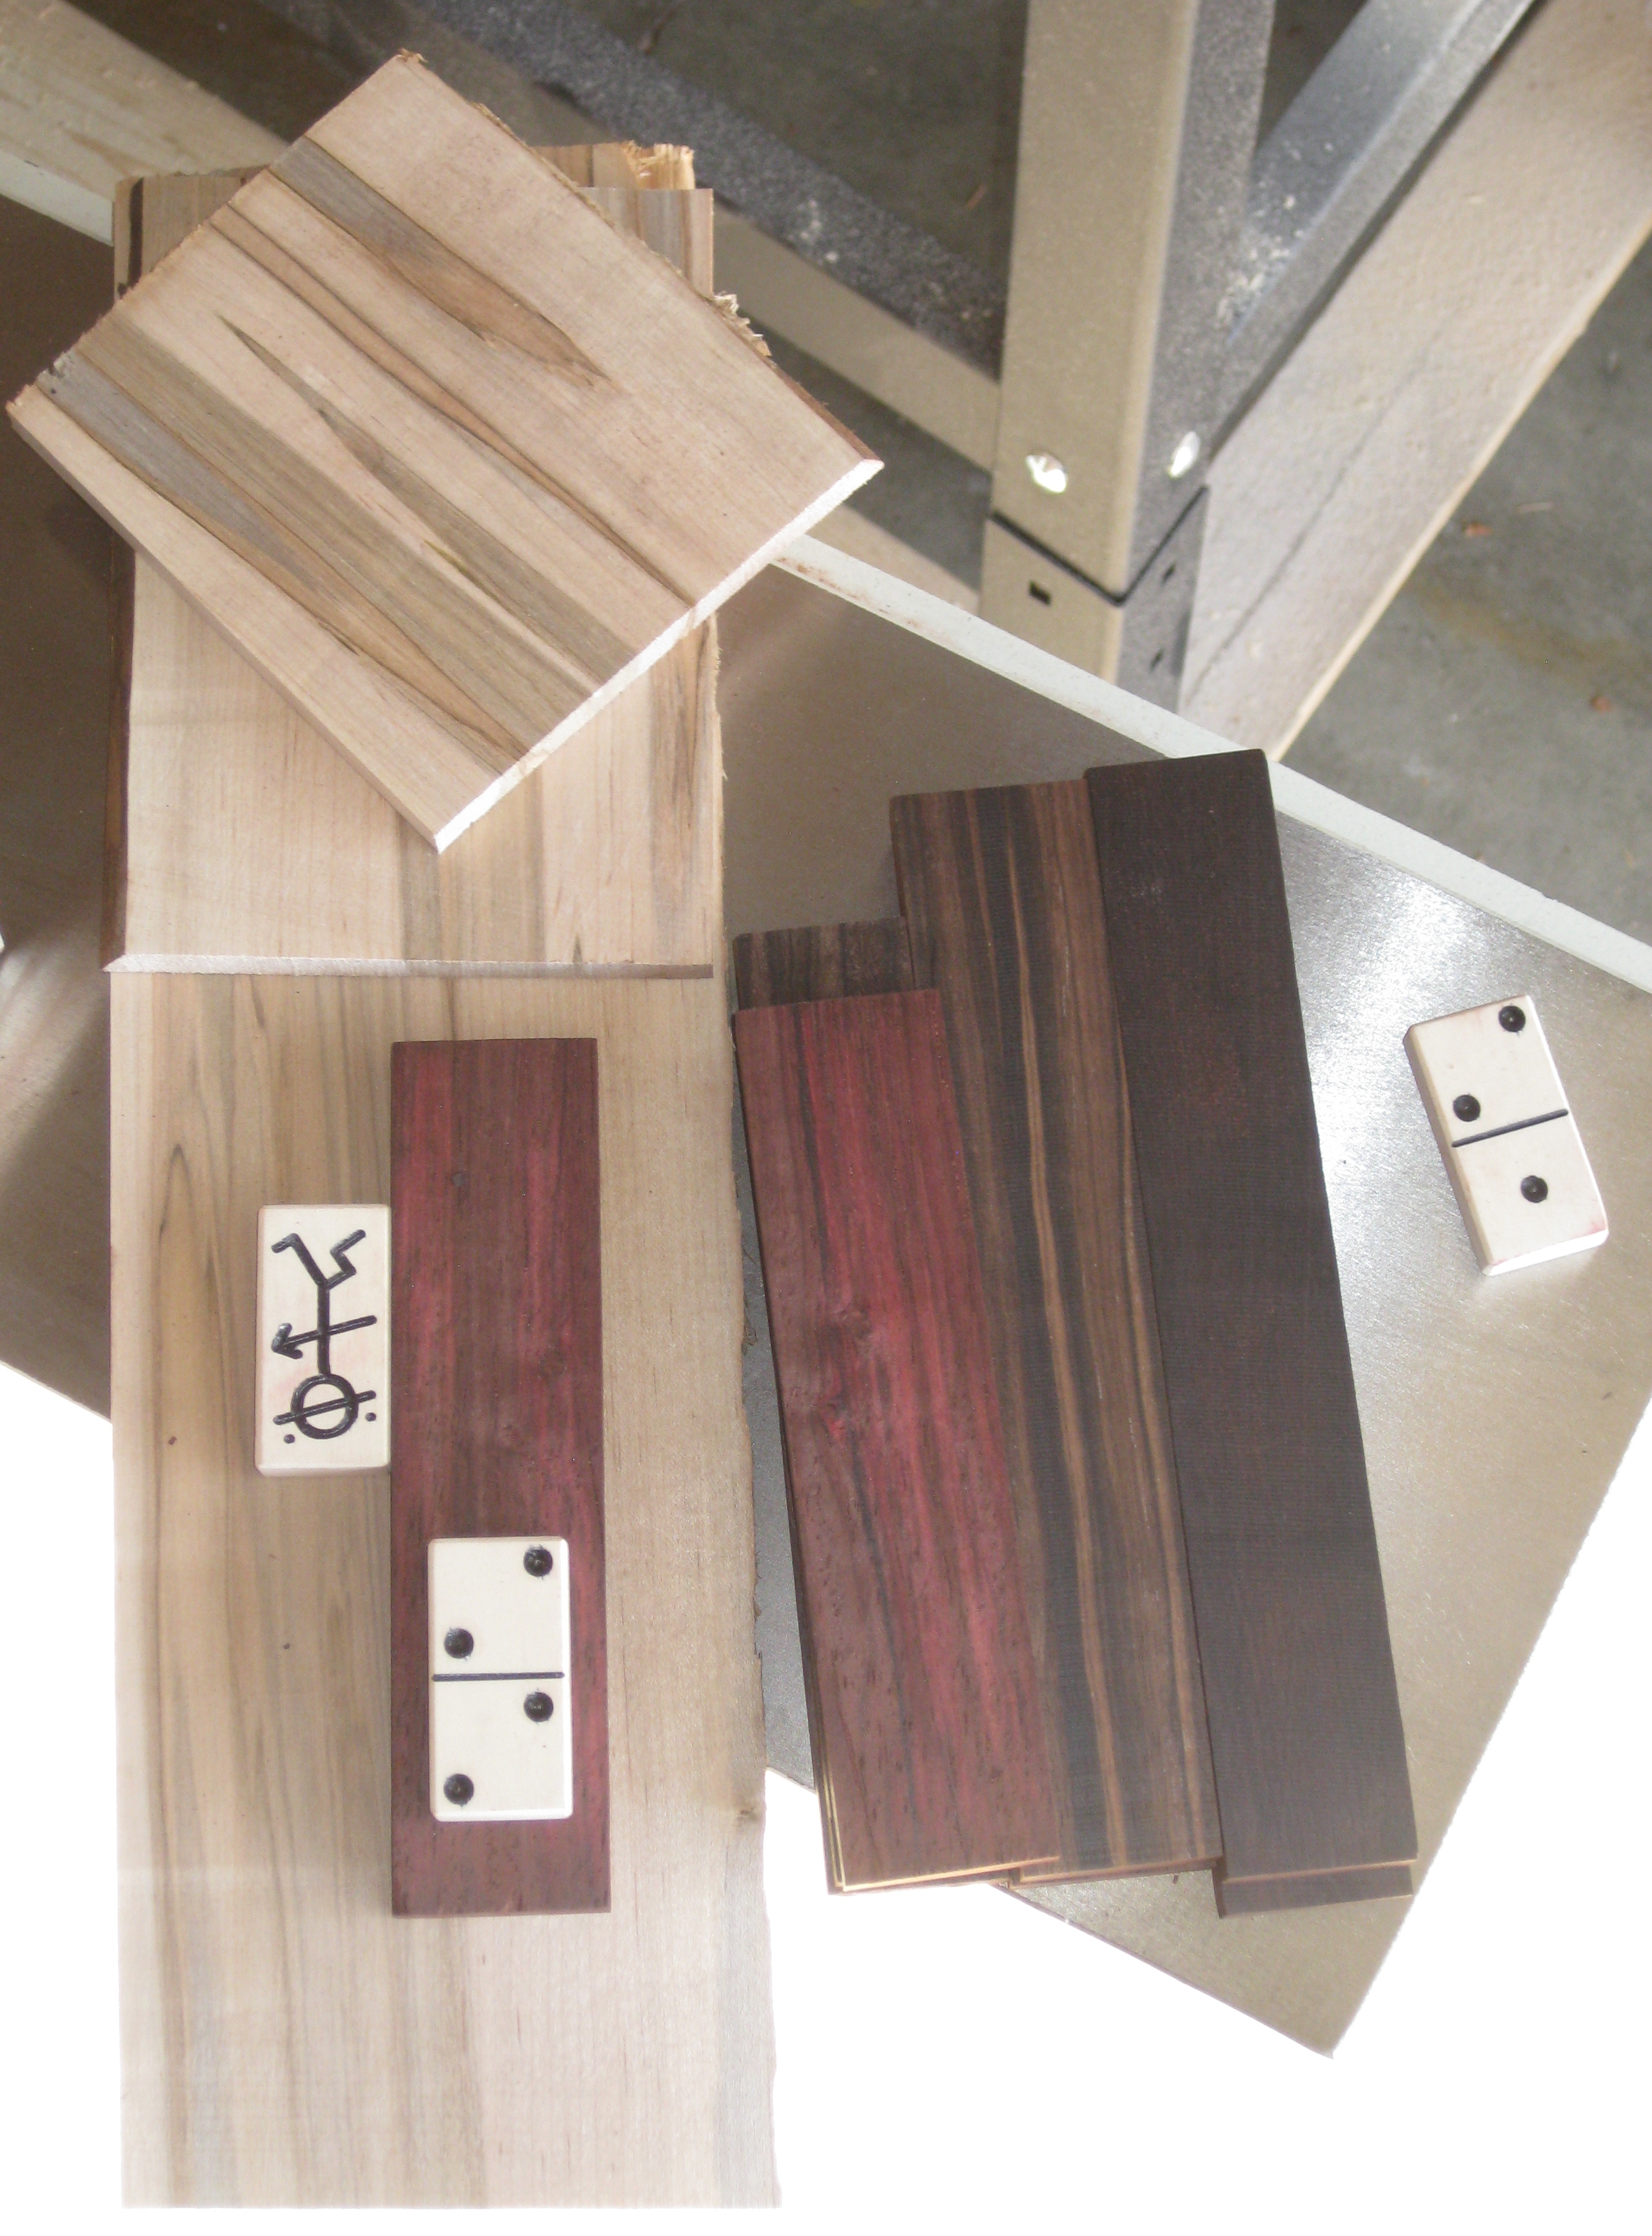
What arrived from Stickman was everything needed to make the puzzle functional. As you can see in the photo above, I received four blocks of Ebony, the carcass for the puzzle, a bag of domino templates, the special drill bit to cut the spots, and a jig to help in cutting the spots. There were also some original dominoes cut by John Devost for sizing, the interesting shaped pieces which are part of the mechanism, and the original puzzle booklet. It’s quite the collection of pieces, however it was going to need some work to make it into a Stickman.
Originally, this was to be a special edition, with the Ebony Dominoes however as often happens with a run of puzzles, toward the end the last couple never quite get completed. Having everything I needed, and not having the drain of completing 25 copies of a puzzle, the motivation was there to make up the dominoes. This post will show you the process of making up the set of dominoes to turn this into a functional puzzle, and add a unique copy of the Domino Box to my collection.
Not long after I received the kit, I heard from another puzzling friend, over in the land of Oz who had heard through the puzzle grapevine that I had all the necessary ‘bits’ to make up a set of dominoes. He asked if it would be possible to create a set for him while I was making my own as he also had a carcass that needed the dominoes. Making two sets, isn’t a lot more work than making one, so of course I agreed.
From the Ebony blocks, I had to figure out how to get the 28 domino blanks I needed from the blocks. Unlike the second set where I had a full eight foot board to work with, here I had just enough to make the dominoes. (Ed: I didn’t realise just how close it was until much later)
Some fairly deep checking
I also had to be very careful when cutting the blocks to size, as there was some significant checking running through the entire block in two out of the four wood blanks, which would ruin a domino if the checking came through the piece. Fortunately, the block was thick enough that I could cut it and avoid the checking, to get just enough stock.
The Stock milled to thickness
With the stock milled to the correct thickness (10mm) for the dominoes I had a set of boards, which as you can see are wider than needed for the final domino blanks. The lighter stock is Ambrosia Maple. I had picked up a beautiful board at a recent trip to the lumber store, and despite not knowing what I’d use it for at the time, I couldn’t pass up such a stunning board. When I was asked to make the second set of Dominoes, this seemed like the perfect use for some of that board.
Cut to width, ready to create domino blanks
Having used the original dominoes Stickman had provided, I cut the long strips of wood to the correct width, ready for making into the domino blanks.
Setting the jig to cut dominoes to length
With my crosscut sled, I took the original domino and used that to set my stop block to allow me to quickly and accurately cut the blanks to length.
Sticks cut to perfect length
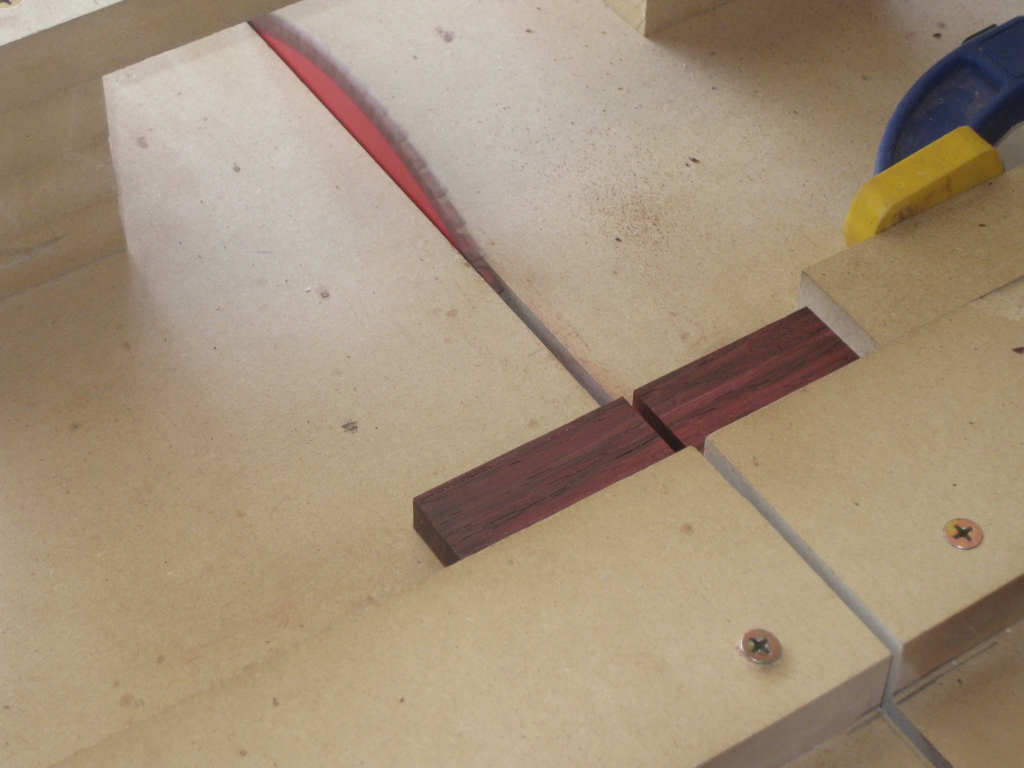
Each long stick has its end trimmed on the sled to make sure that it is absolutely 90 degrees to the long edge, and makes sure it will be parallel to the other end when cut to size. After that, it’s a simple process of placing the stick against the stop block, and pushing the sled across the blade. Each domino blank is perfectly sized, with very little work needed.
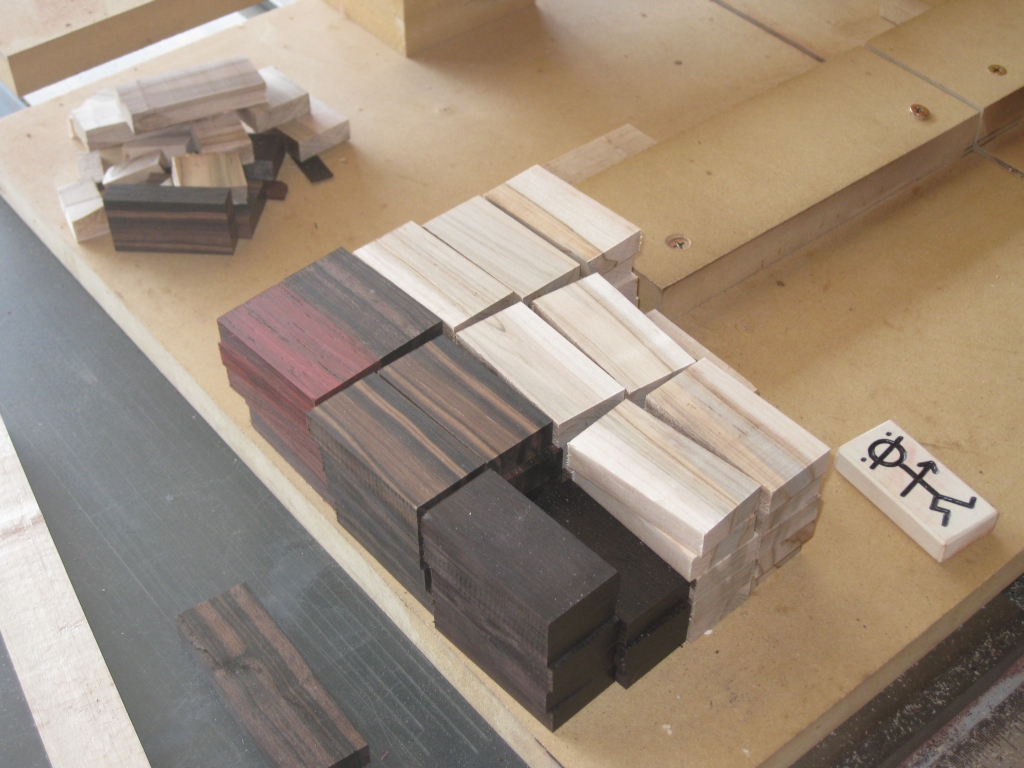
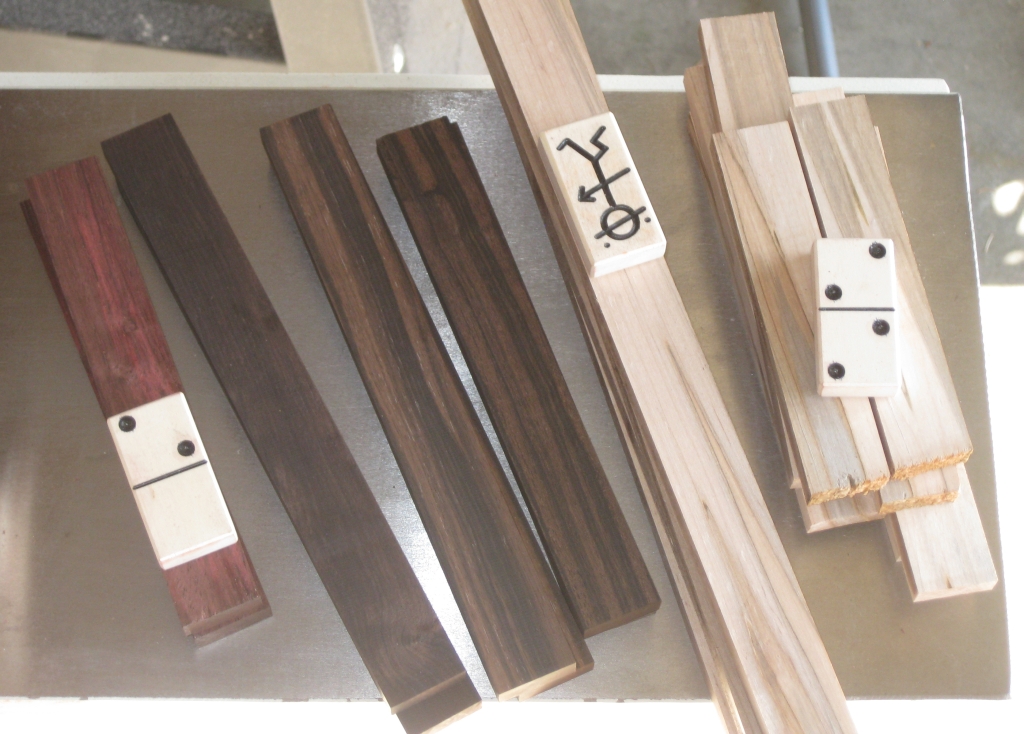
Two fulls sets of domino blanks cut
Before long I had a couple of stacks of domino blanks. There was enough wood to get exactly 28 blanks from the Ebony. I had a little more of the maple stock, so I cut a number of spare dominoes just so that I had extras to test out each additional step in the process. After all, I had no room to screw up with the Ebony stock.
In the back left of the image are all the offcuts from the stock. I’ll certainly not be throwing all that Ebony away. I’m sure it will make its way into another project at some point.
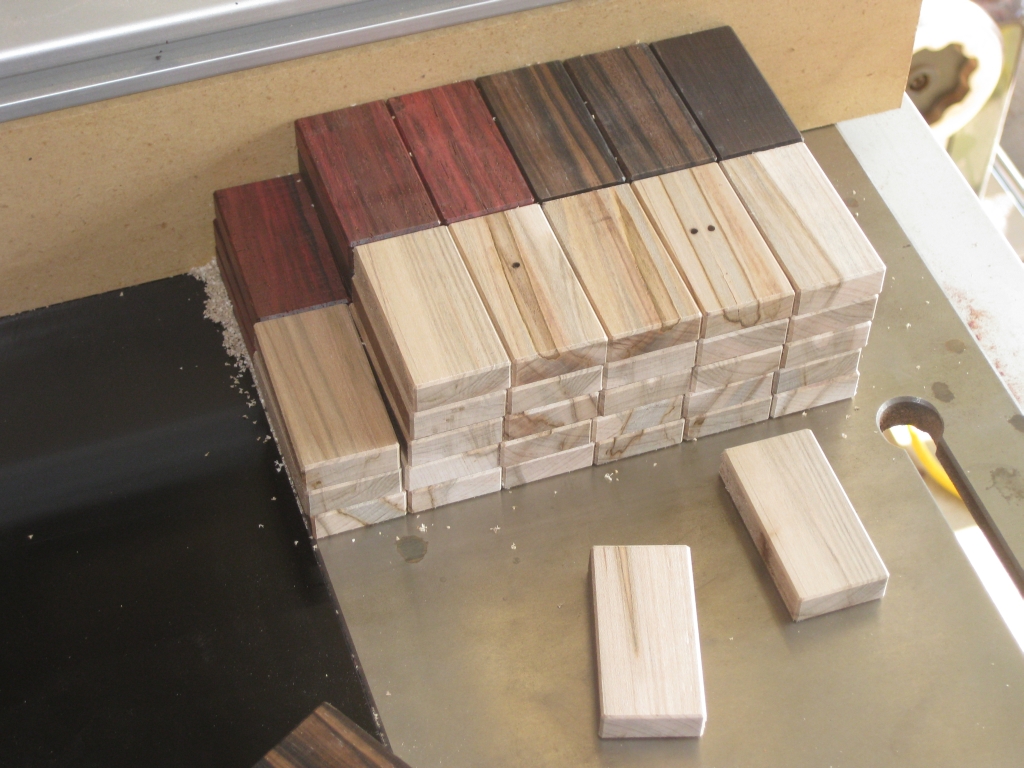
All the blanks chamfered, ready for their spots
Leaving the blanks with their sharp edges after cutting on the saw means they’re not particularly nice to handle. The sharp edges, especially on the Ebony which takes such a good edge mean that the pieces are not particularly tactile, and need a little softening. Putting a small chamfer on the edges takes the harshness from the pieces. Initially I was planning to put a roundover on the pieces, however the roundover bit I have didn’t give me a pleasing result, so I decided against it. The benefit of having the spare dominoes meant I could experiment without worrying about something not working.

28 templates including the double blank
With the chamfers finished, it was time to make these domino blanks into dominoes. The bag of spot cutting templates I received contained all 28 blanks needed, including a double zero tile. I assume that whichever company was making the templates had issues that someone out there forgot to make a double blank, so they had to include it. I took the time to separate the templates into their groups, just to make sure I had everything I needed before starting.
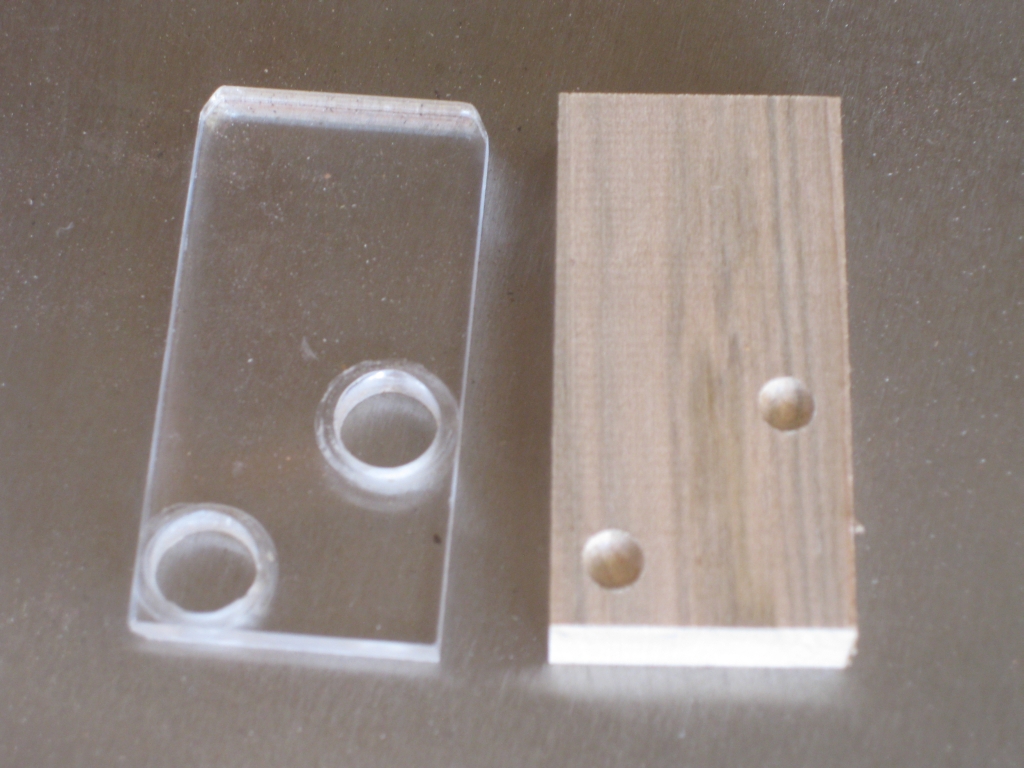
Ready to cut test spots
First attempt at cutting spots
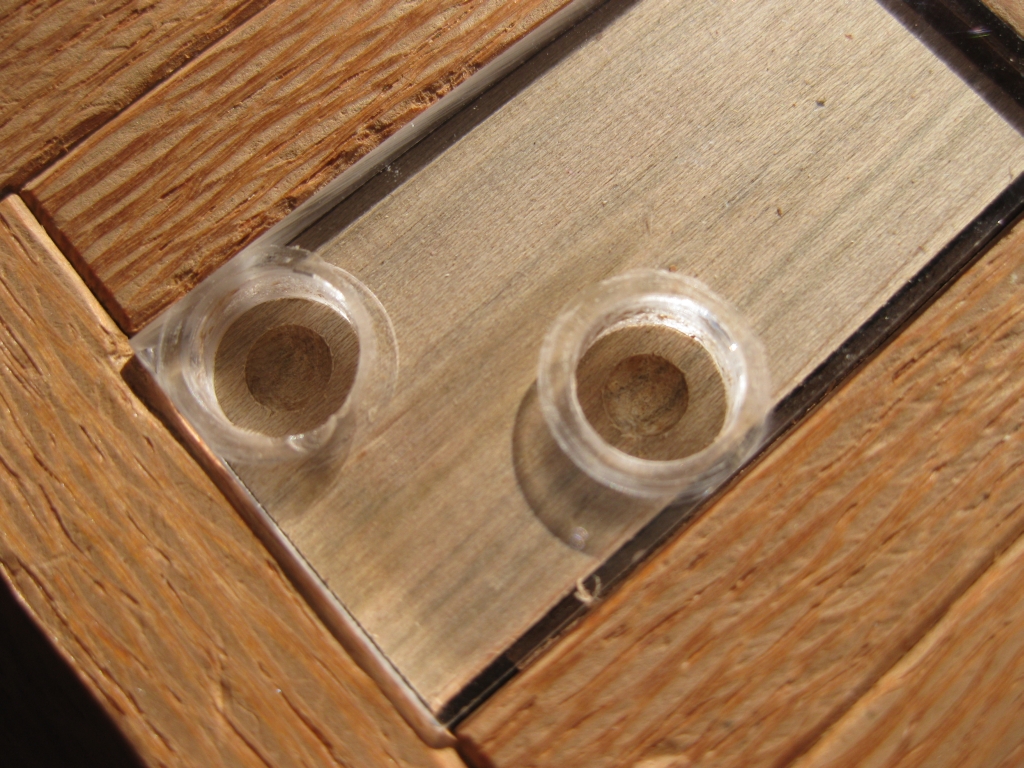
Using one of the spare domino blanks I’d cut earlier, I tested the template and spot cutting drill bit to see how they worked together, and get a feeling for how to cut the spots. I added a couple of shims to make sure the blank was positioned correctly under the drill bit template. The drill bit itself is rather clever. There’s a collar on the end of the bit, which drops into the hole in the template, and when you push the drill down, the rounded cutting head protrudes below the template to make the cut. The jig holds both the domino and the template in the same fixed location allowing for consistent spot placement, and no chance of spots becoming oval shaped.
The results look good, time to cut them for real
The end result is well placed, consistently positioned spots which are all the same depth, with virtually no thought or skill required from the operator. I’ll count that as a good thing, as it would be all to easy to ruin hours of work without the template and special bit.
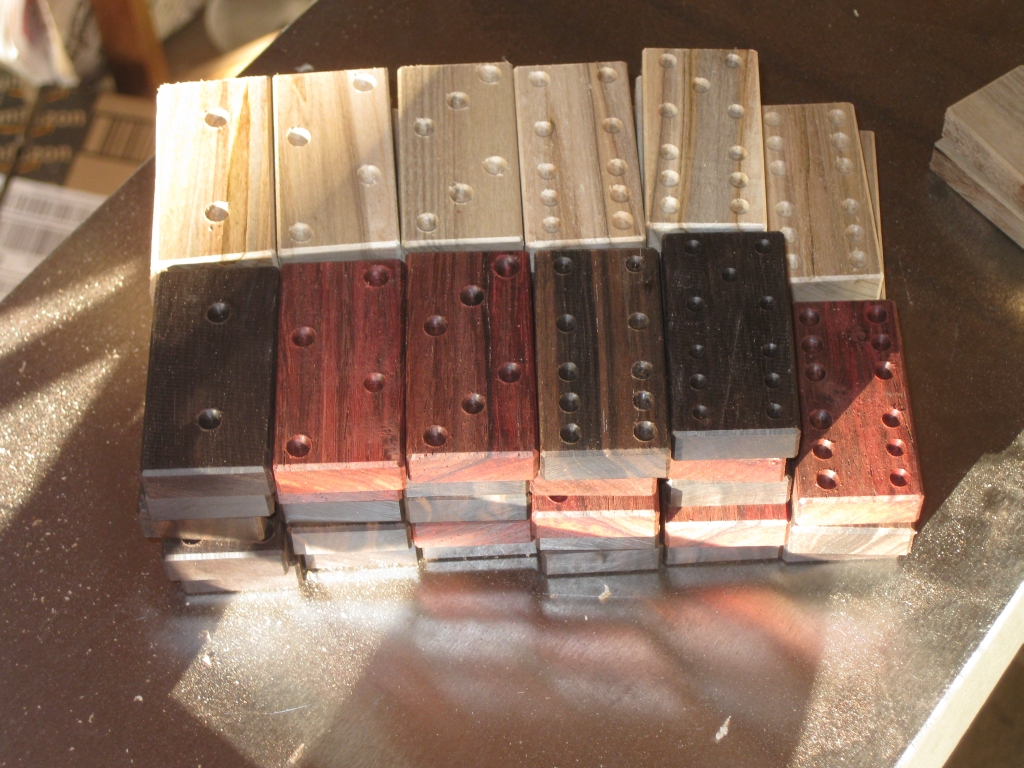
Two full sets cut, but not finished yet
After a couple of hours work with the drill, I had 56 dominoes cut. The two full sets look great, but sadly I’m not finished yet. The central divider needs to be added to each domino, and I need to make a new crosscut sled where the blade is at 45 degrees to the table in order to add that detail. I then also have the difficult choice of whether to ink the spots or not. As you can see from the original dominoes I have, the spots are accented by adding the black ink to really make them stand out. Before I make a final decision I’ll test out a couple of options and see what works best.
The observant among you may have been wondering why some of the Ebony dominoes are red. When I started working the Ebony blocks, one of them had the red tint to the wood. Personally I love the red tint, and wish I had more of this wood. It will eventually oxidize back to the dark black that you can see from the outside of the original block, but I’m going to enjoy the red tint while I can!
In the next post, I’ll finish up the dominoes before putting them into the puzzle, and enjoy solving it for the first time.
Fascinating! Having never seen this puzzle, I assumed the dominoes were real dominoes, not wood versions of dominoes. Would it be possible to make the puzzle using real dominoes? Or would it not work properly?
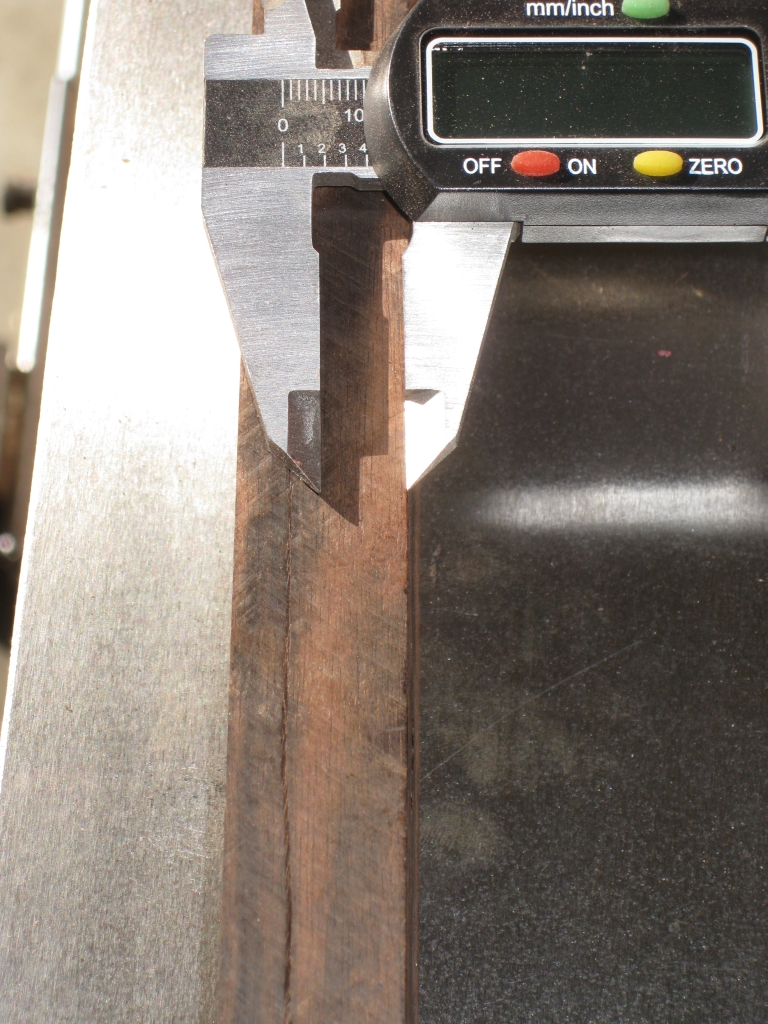
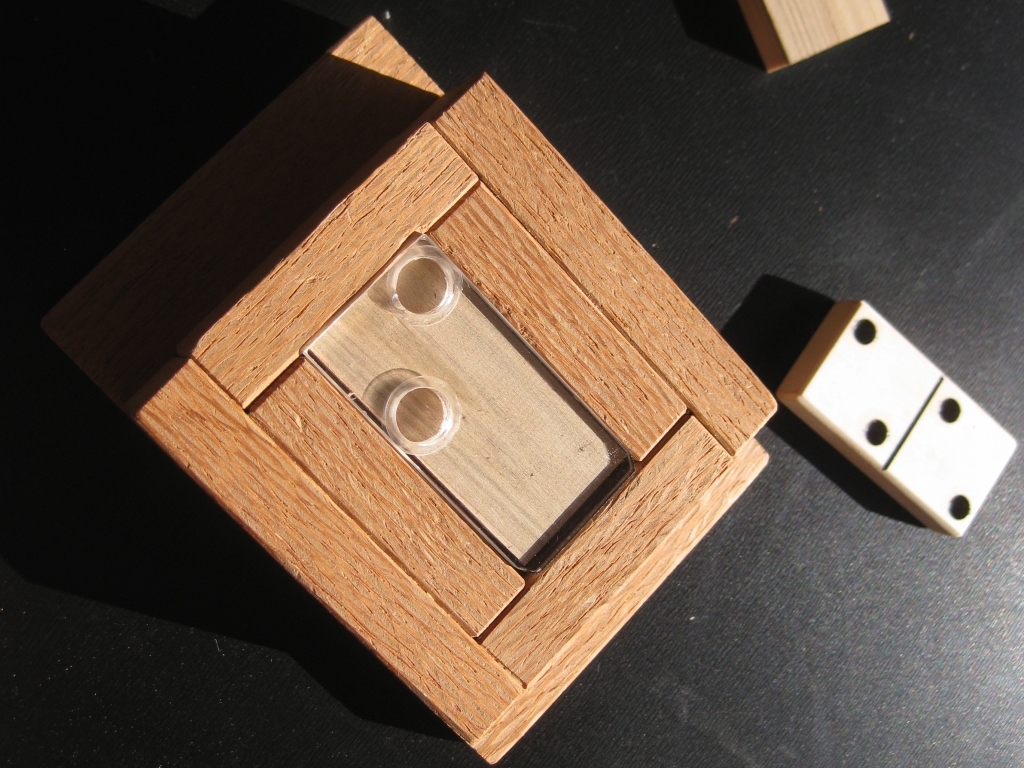
George, the wooden dominoes are created to match a standard set of dominoes so you should be able to substitute any standard set. The dominoes are 10mm thick, which is needed for the height inside the box. The rest of the dimensions are standard.
What a great project, Neil! Nice one… and a terrific write up as usual.
Thanks Allard. Hopefully I’ll be able to finish the dominoes over the weekend, and complete the writeup, and even review the puzzle.