Back in 2012 I was fortunate enough to attend IPP, and during the Puzzle Party day where you can buy and sell puzzles, I was able to purchase myself a copy of George Bell’s exchange puzzle “Lomino Cube 4”. George is a regular reader, and often comments on my posts, so I’m waiting with interest to see what he thinks of this review!
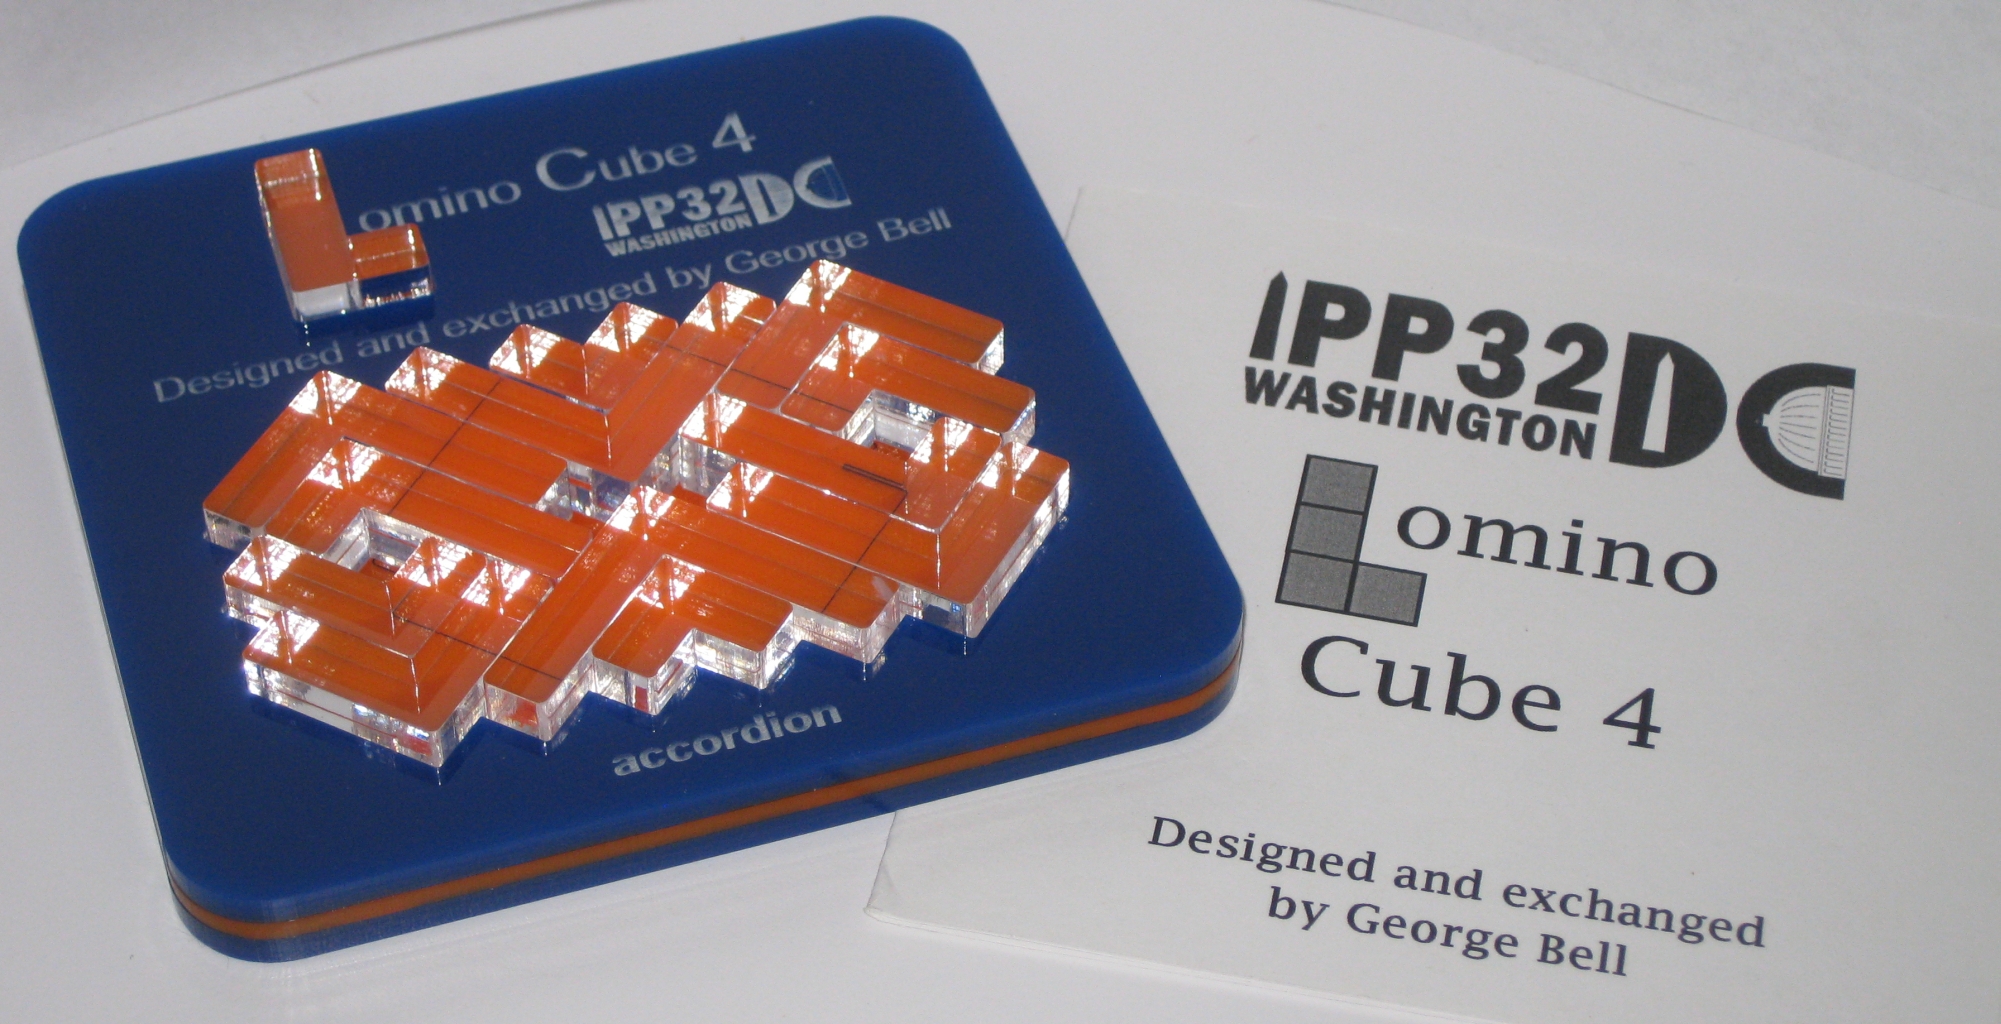
Lomino Cube 4 by George Bell
So what is a Lomino? Well the puzzle pieces used are all “L” shaped, and were named “Lominoes” by Alan Schoen, or so George tells me in the introduction to the puzzle. Lomino cube 4 is a set of 13 polycubes which have to be packed into various 2D and 3D shapes. A complete set of lominoes of order n consists of all lominoes that fit inside an n x n square. This puzzle consists of two complete sets of order n=4 plus one extra L tetromino (of volume 4). In the accompanying booklet, George sets out ten puzzling tasks which he lists in roughly increasing order of difficulty.
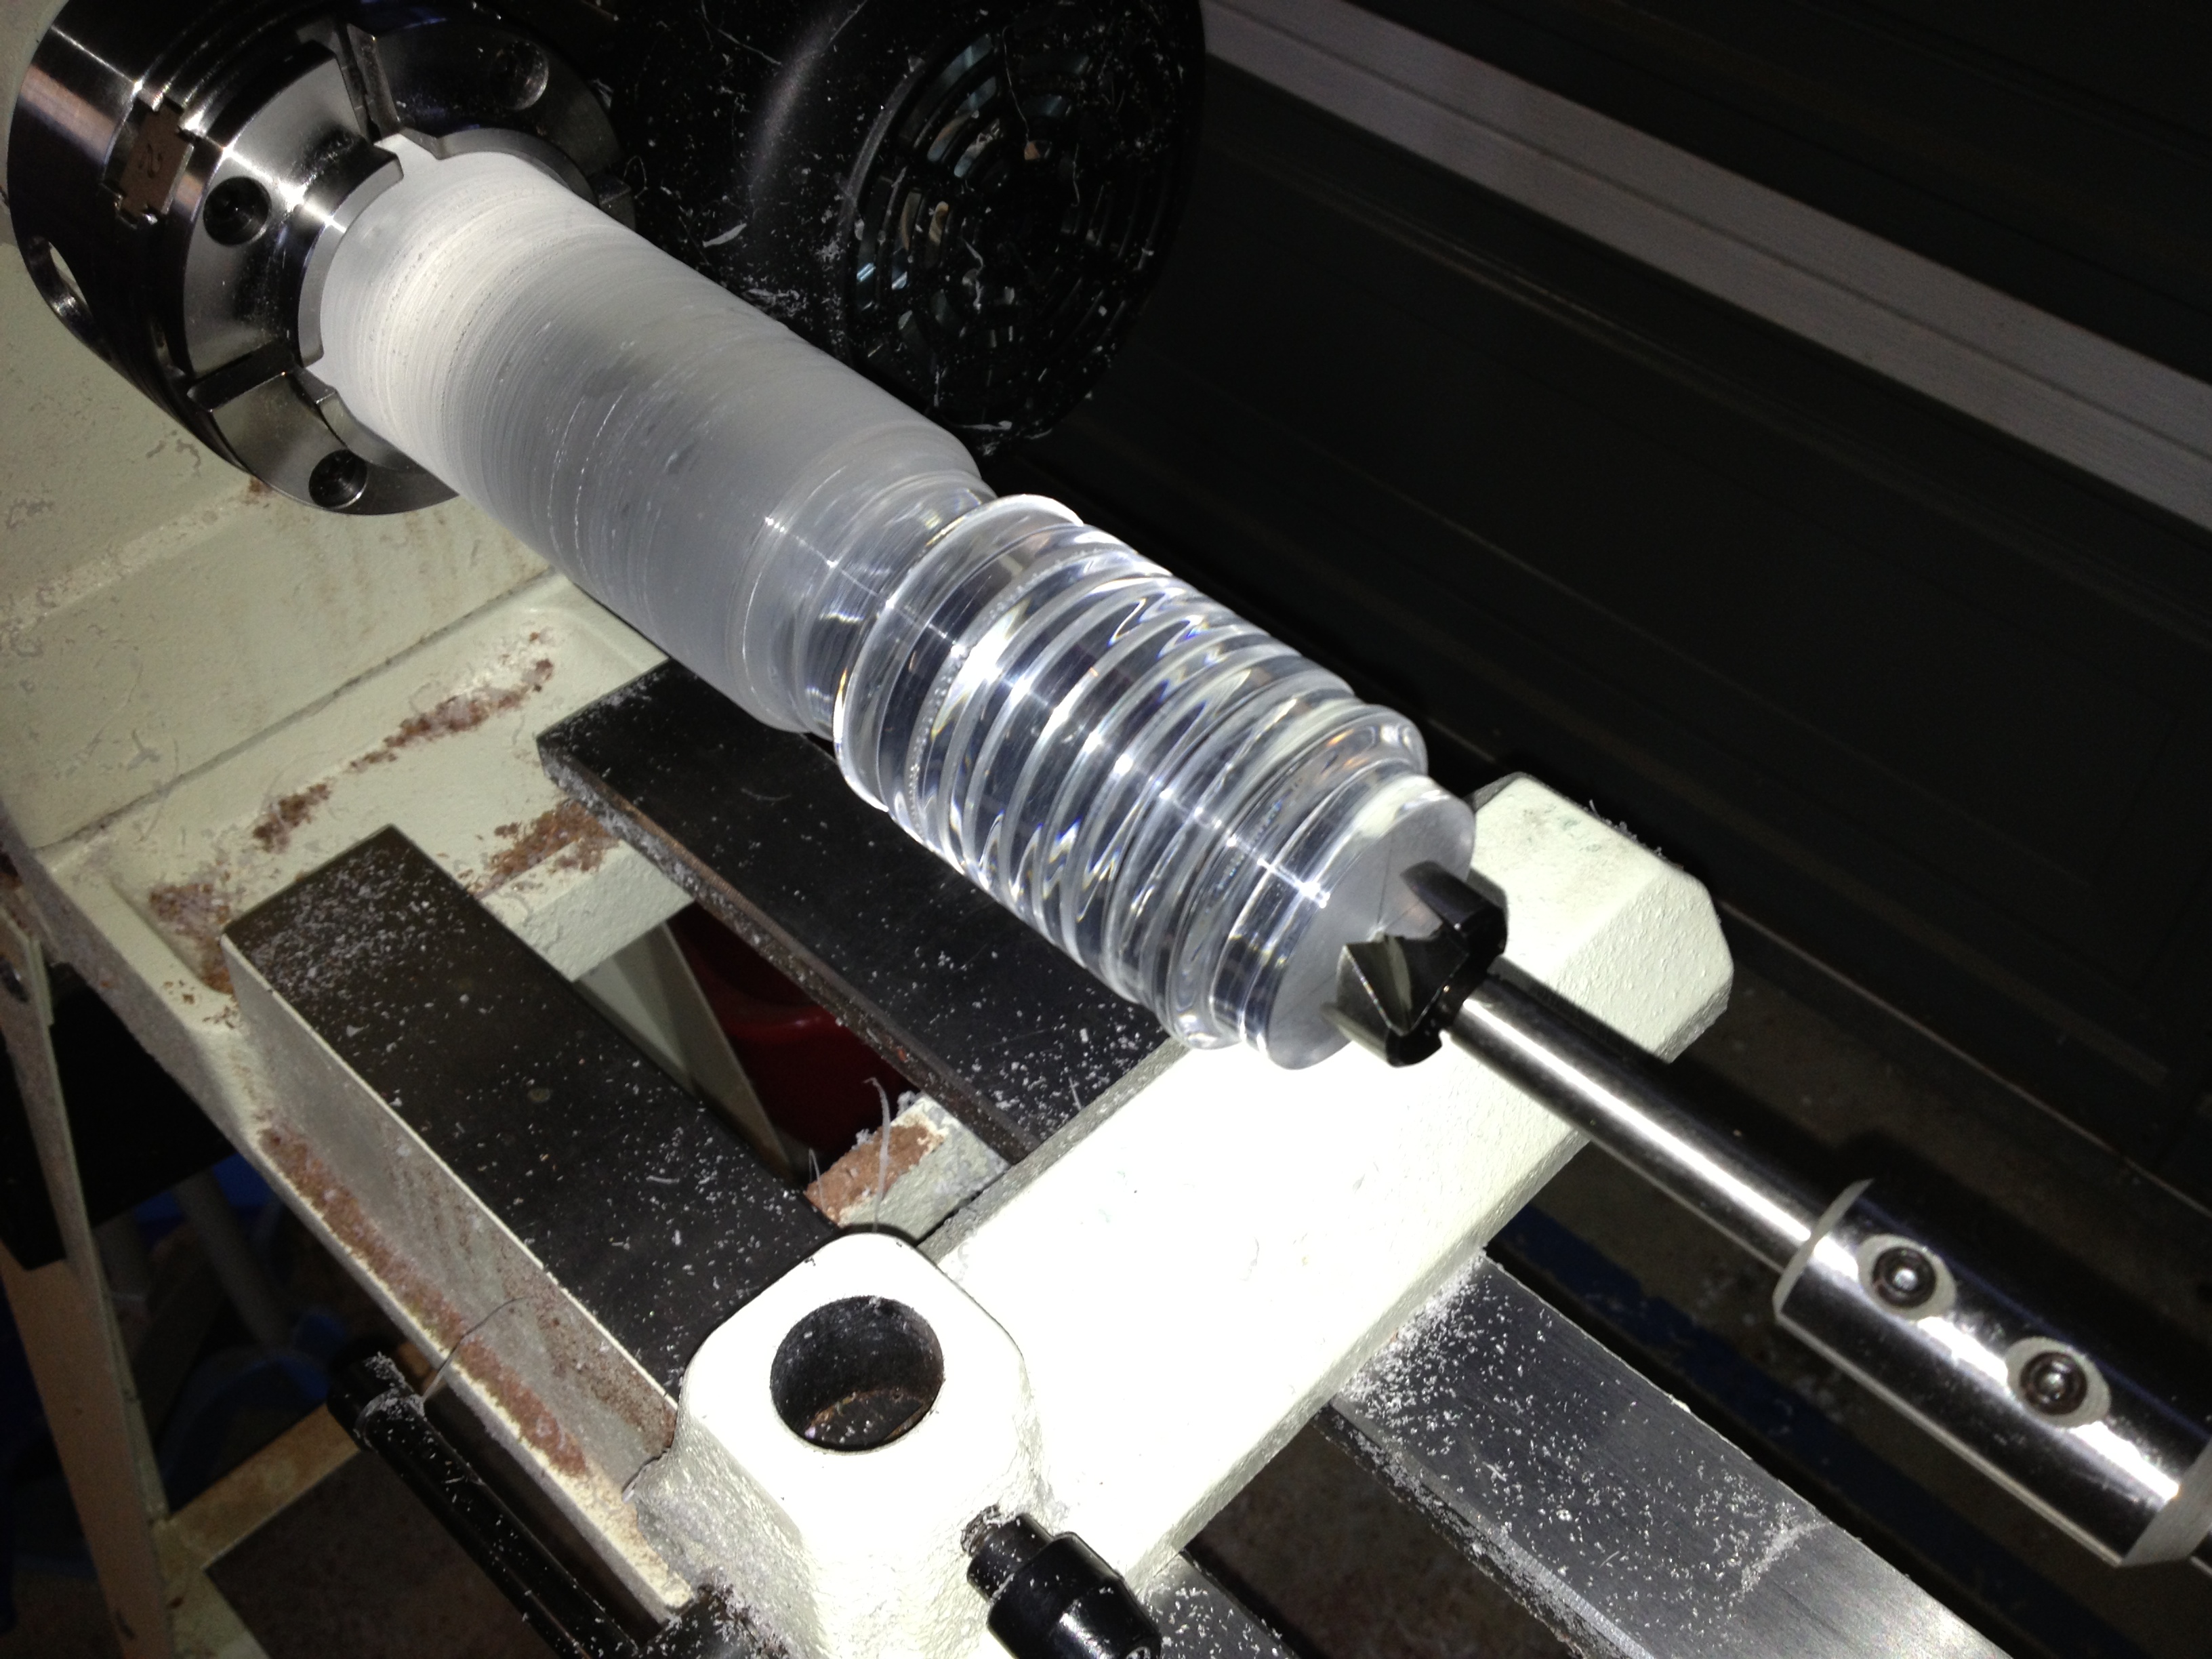
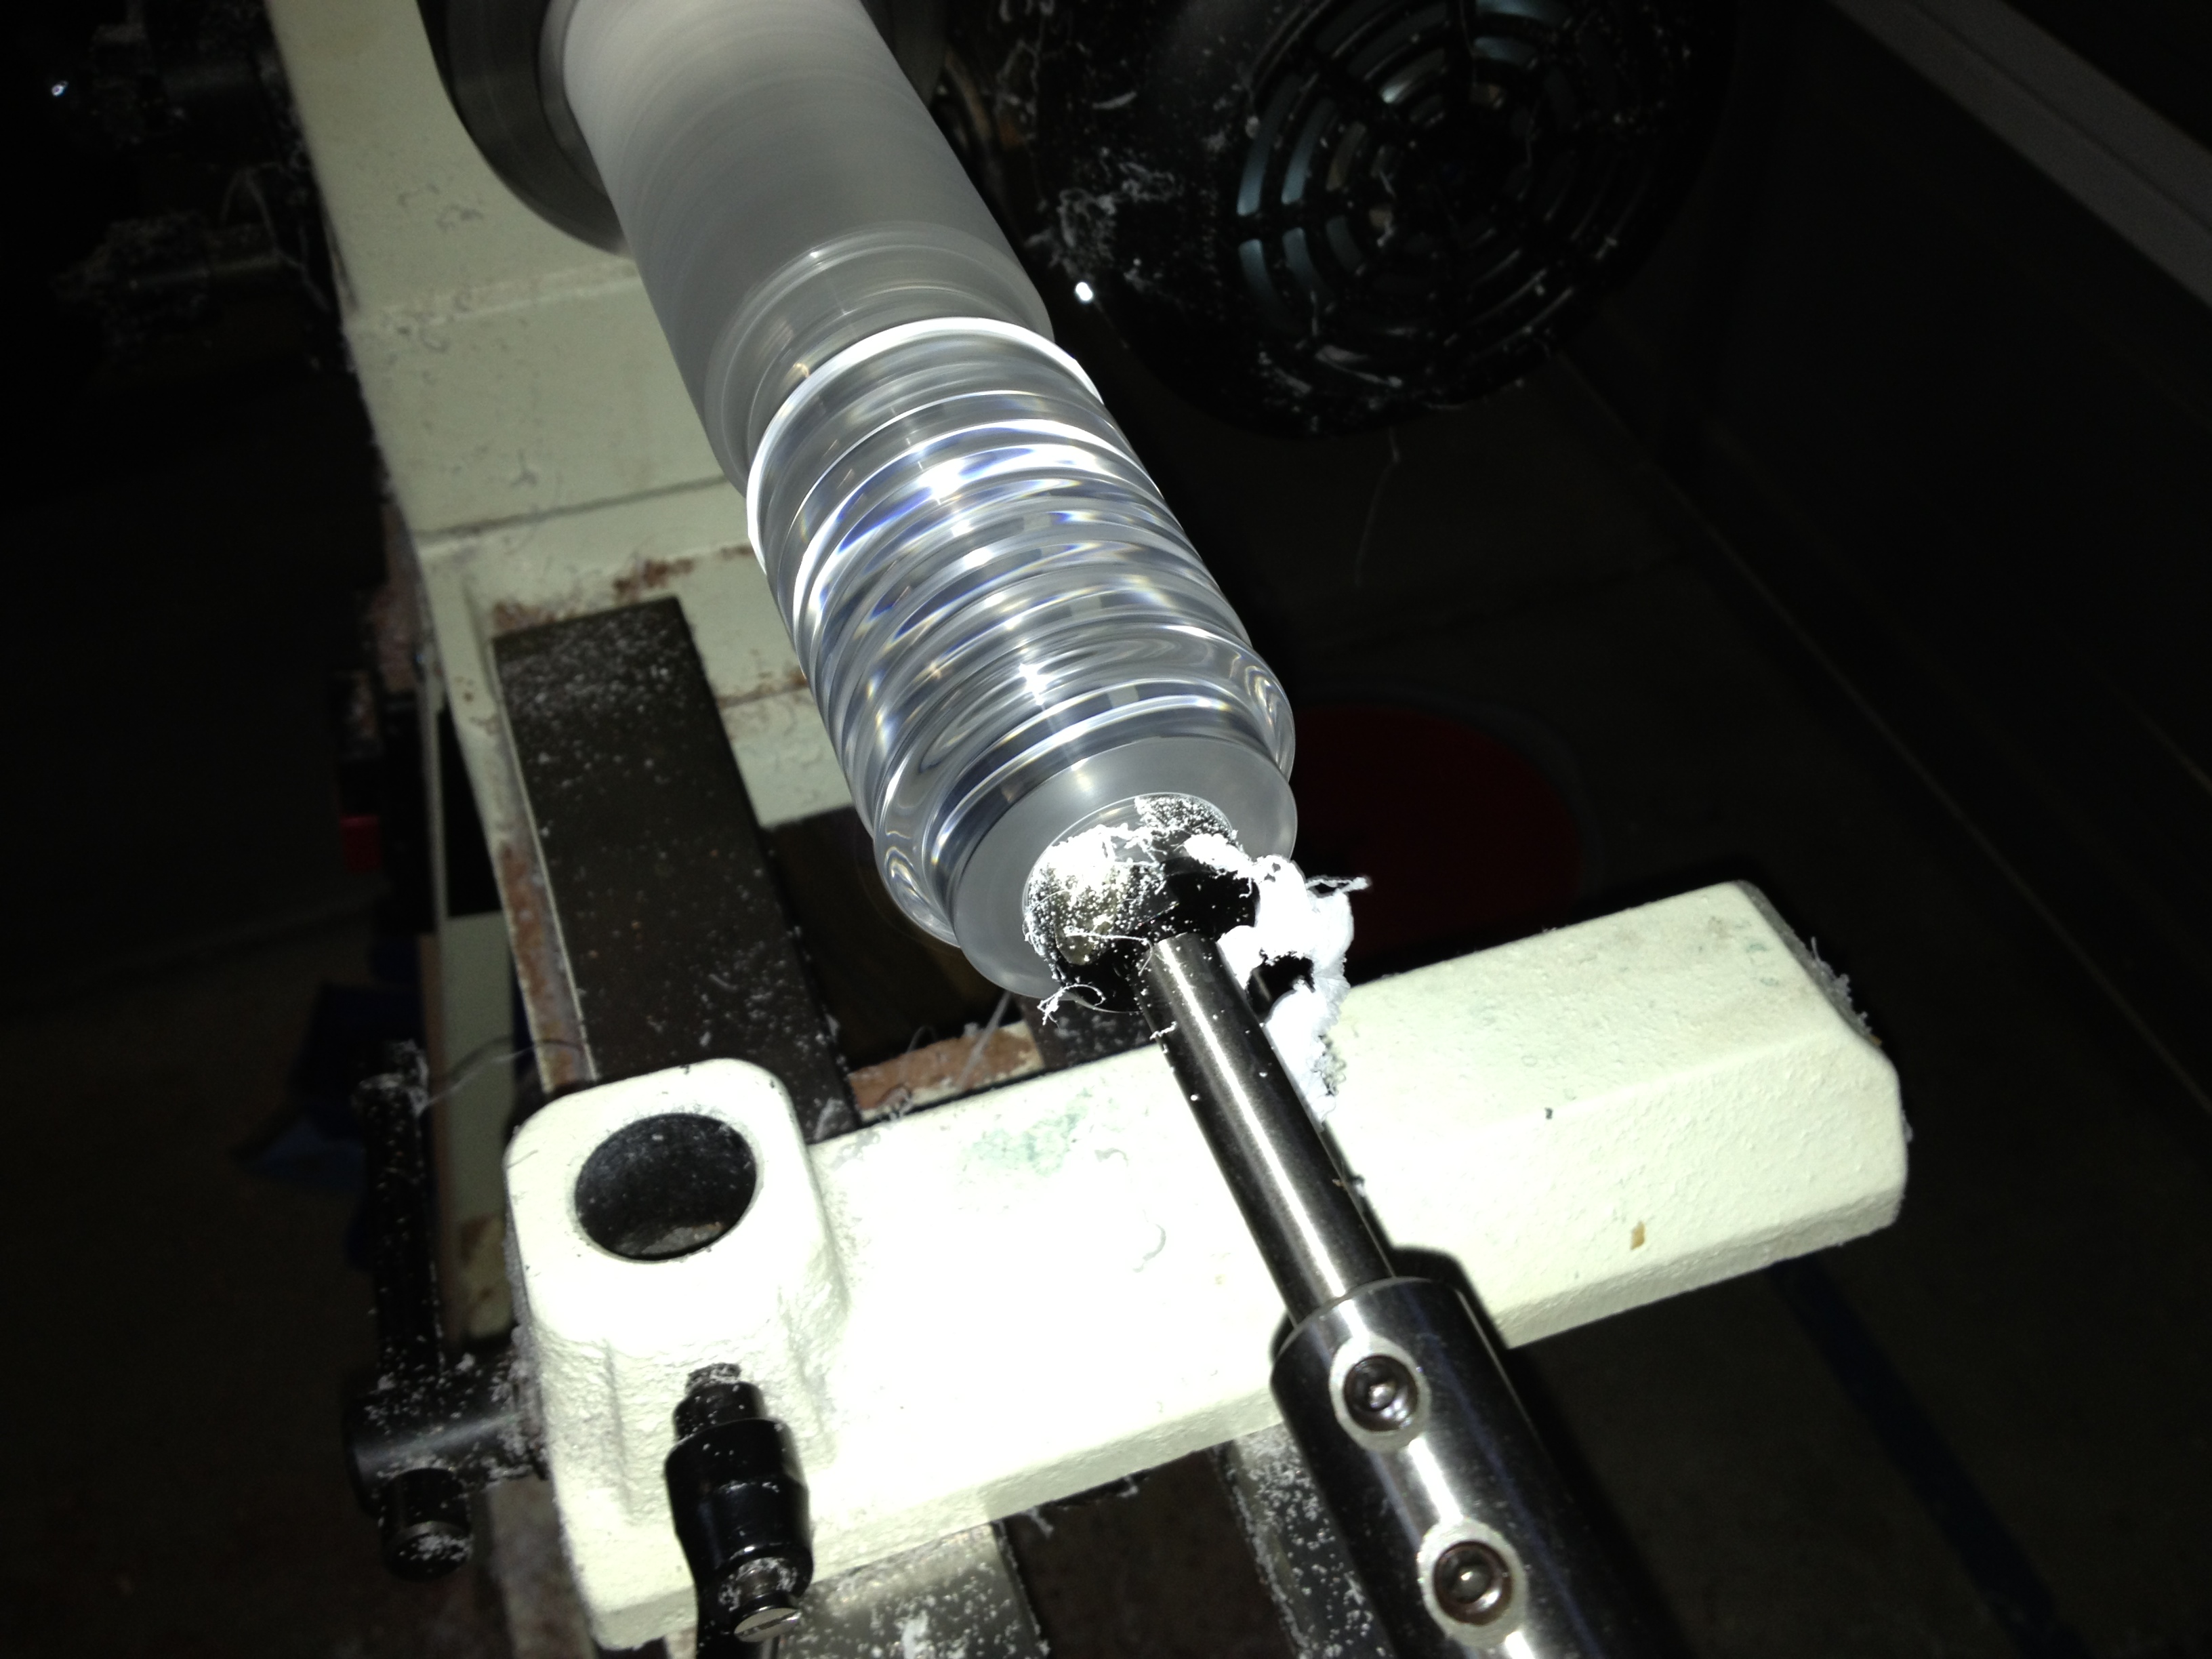
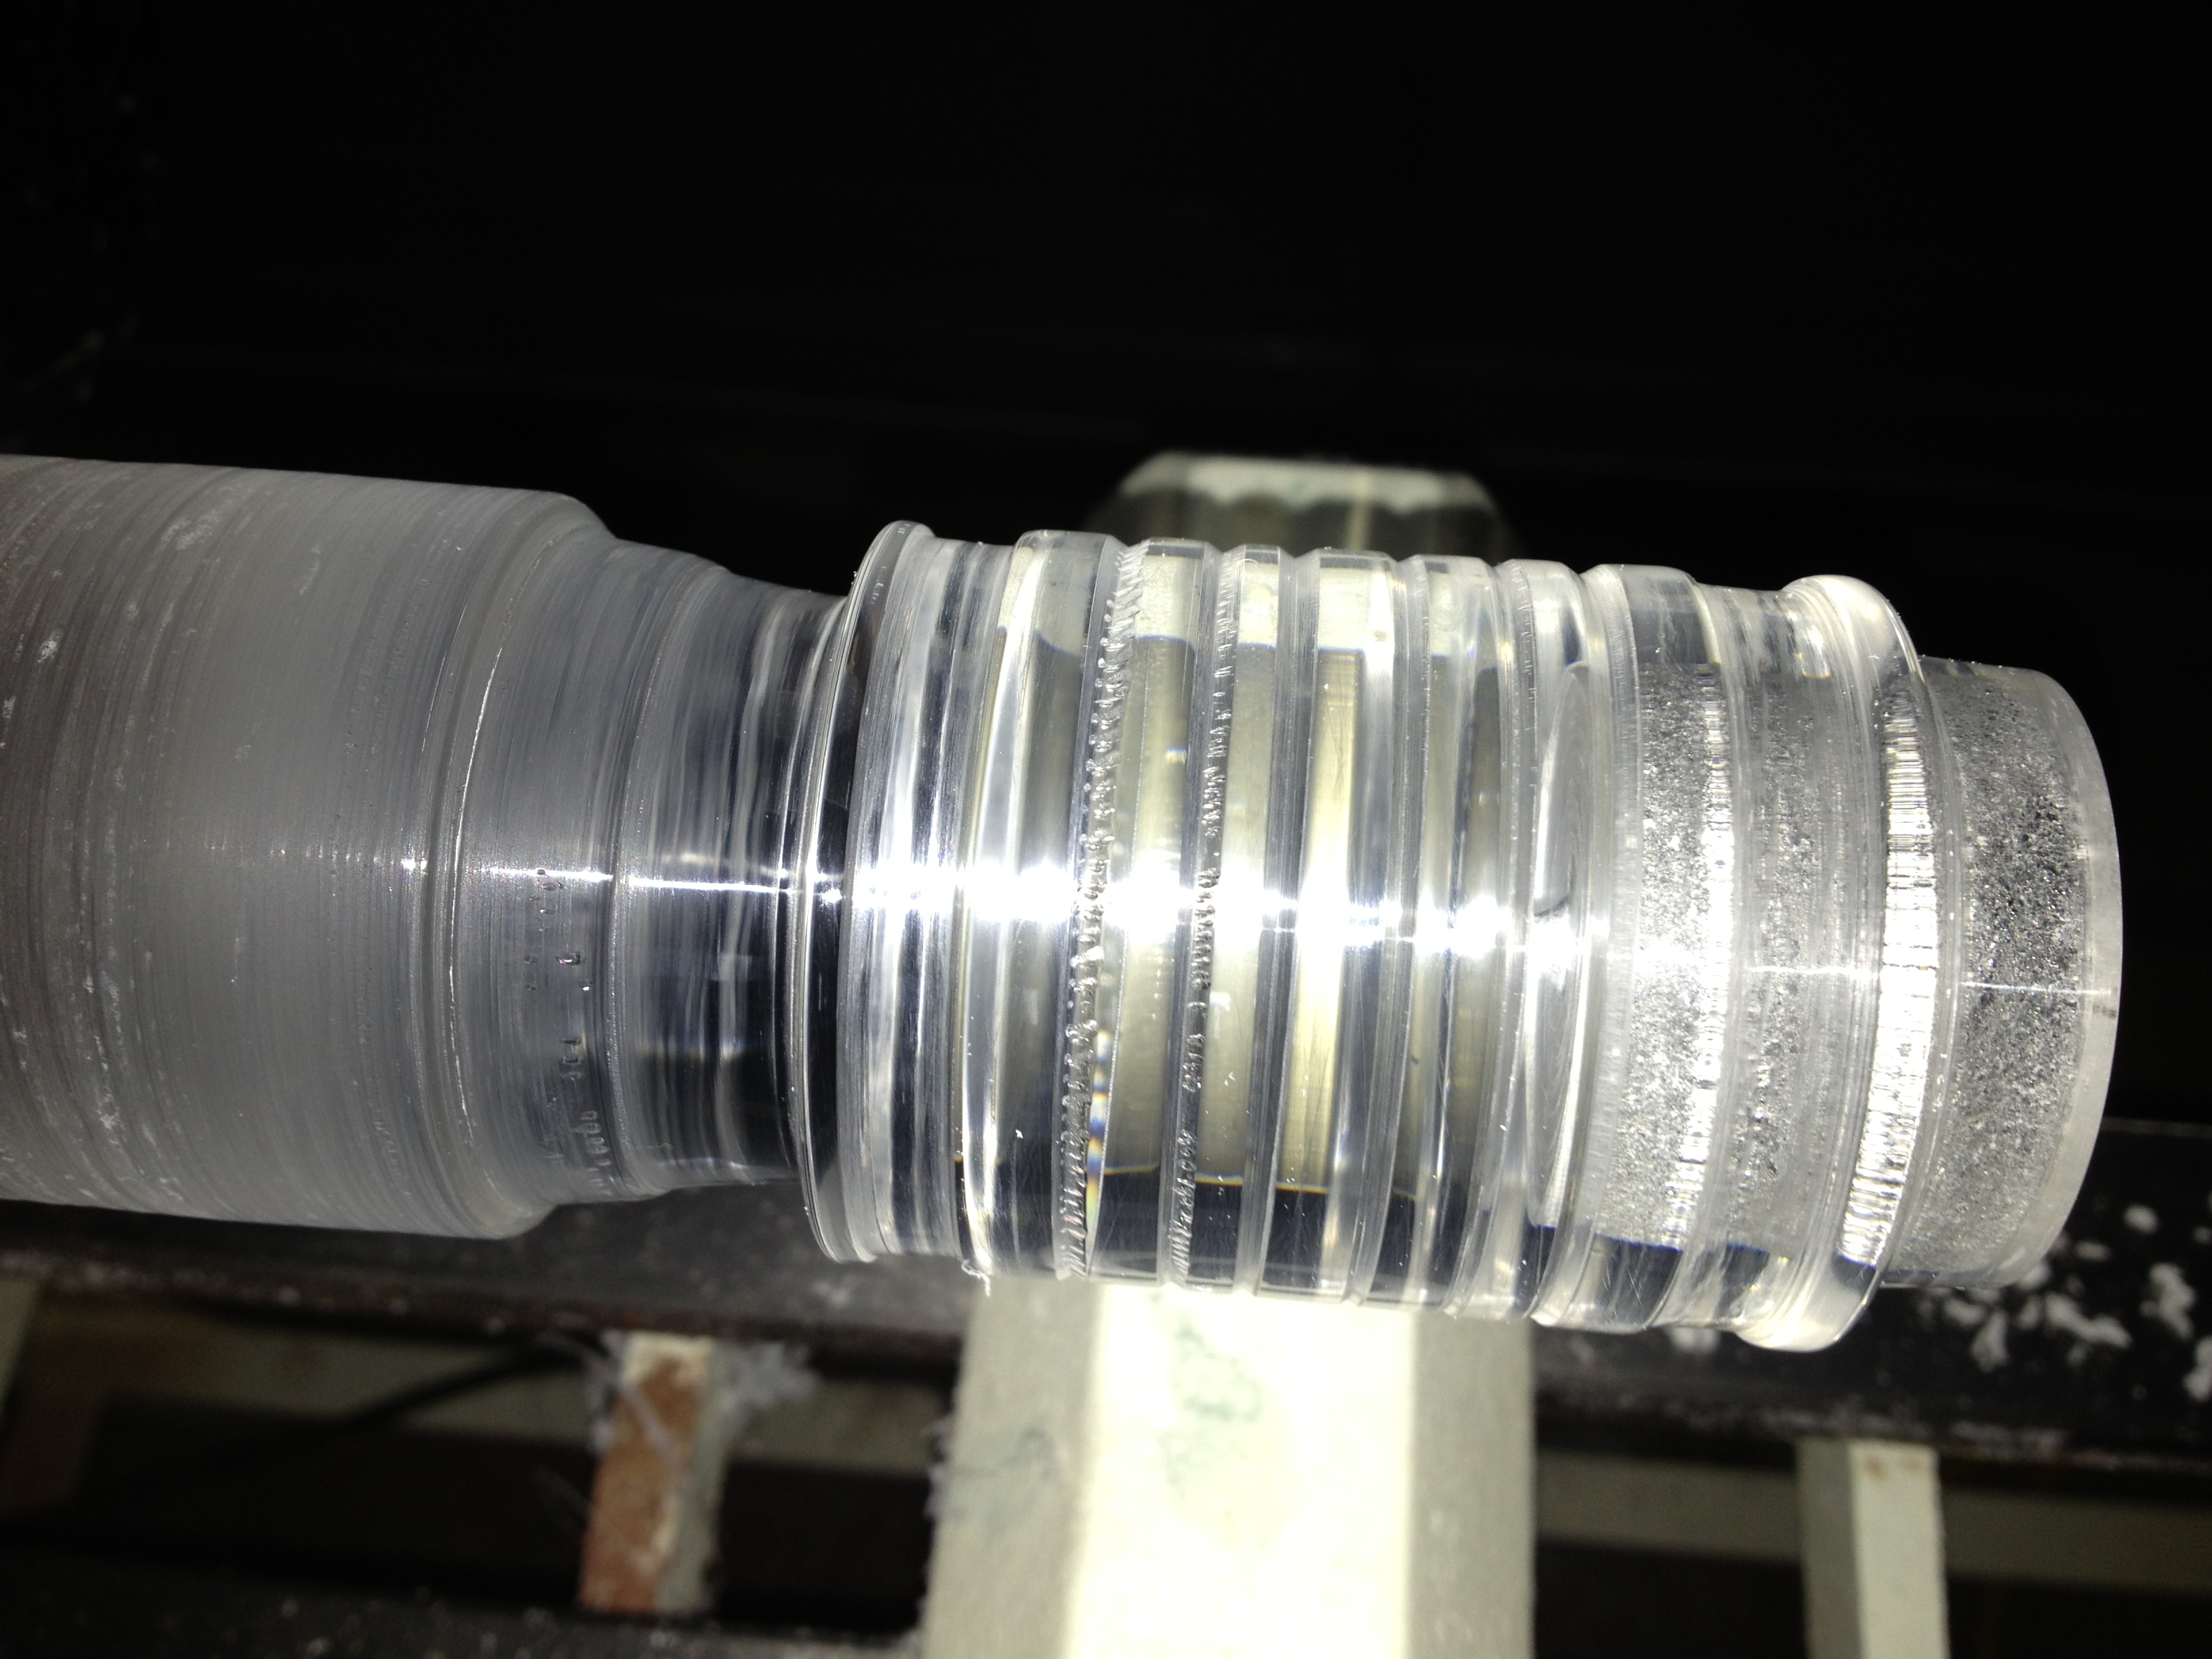
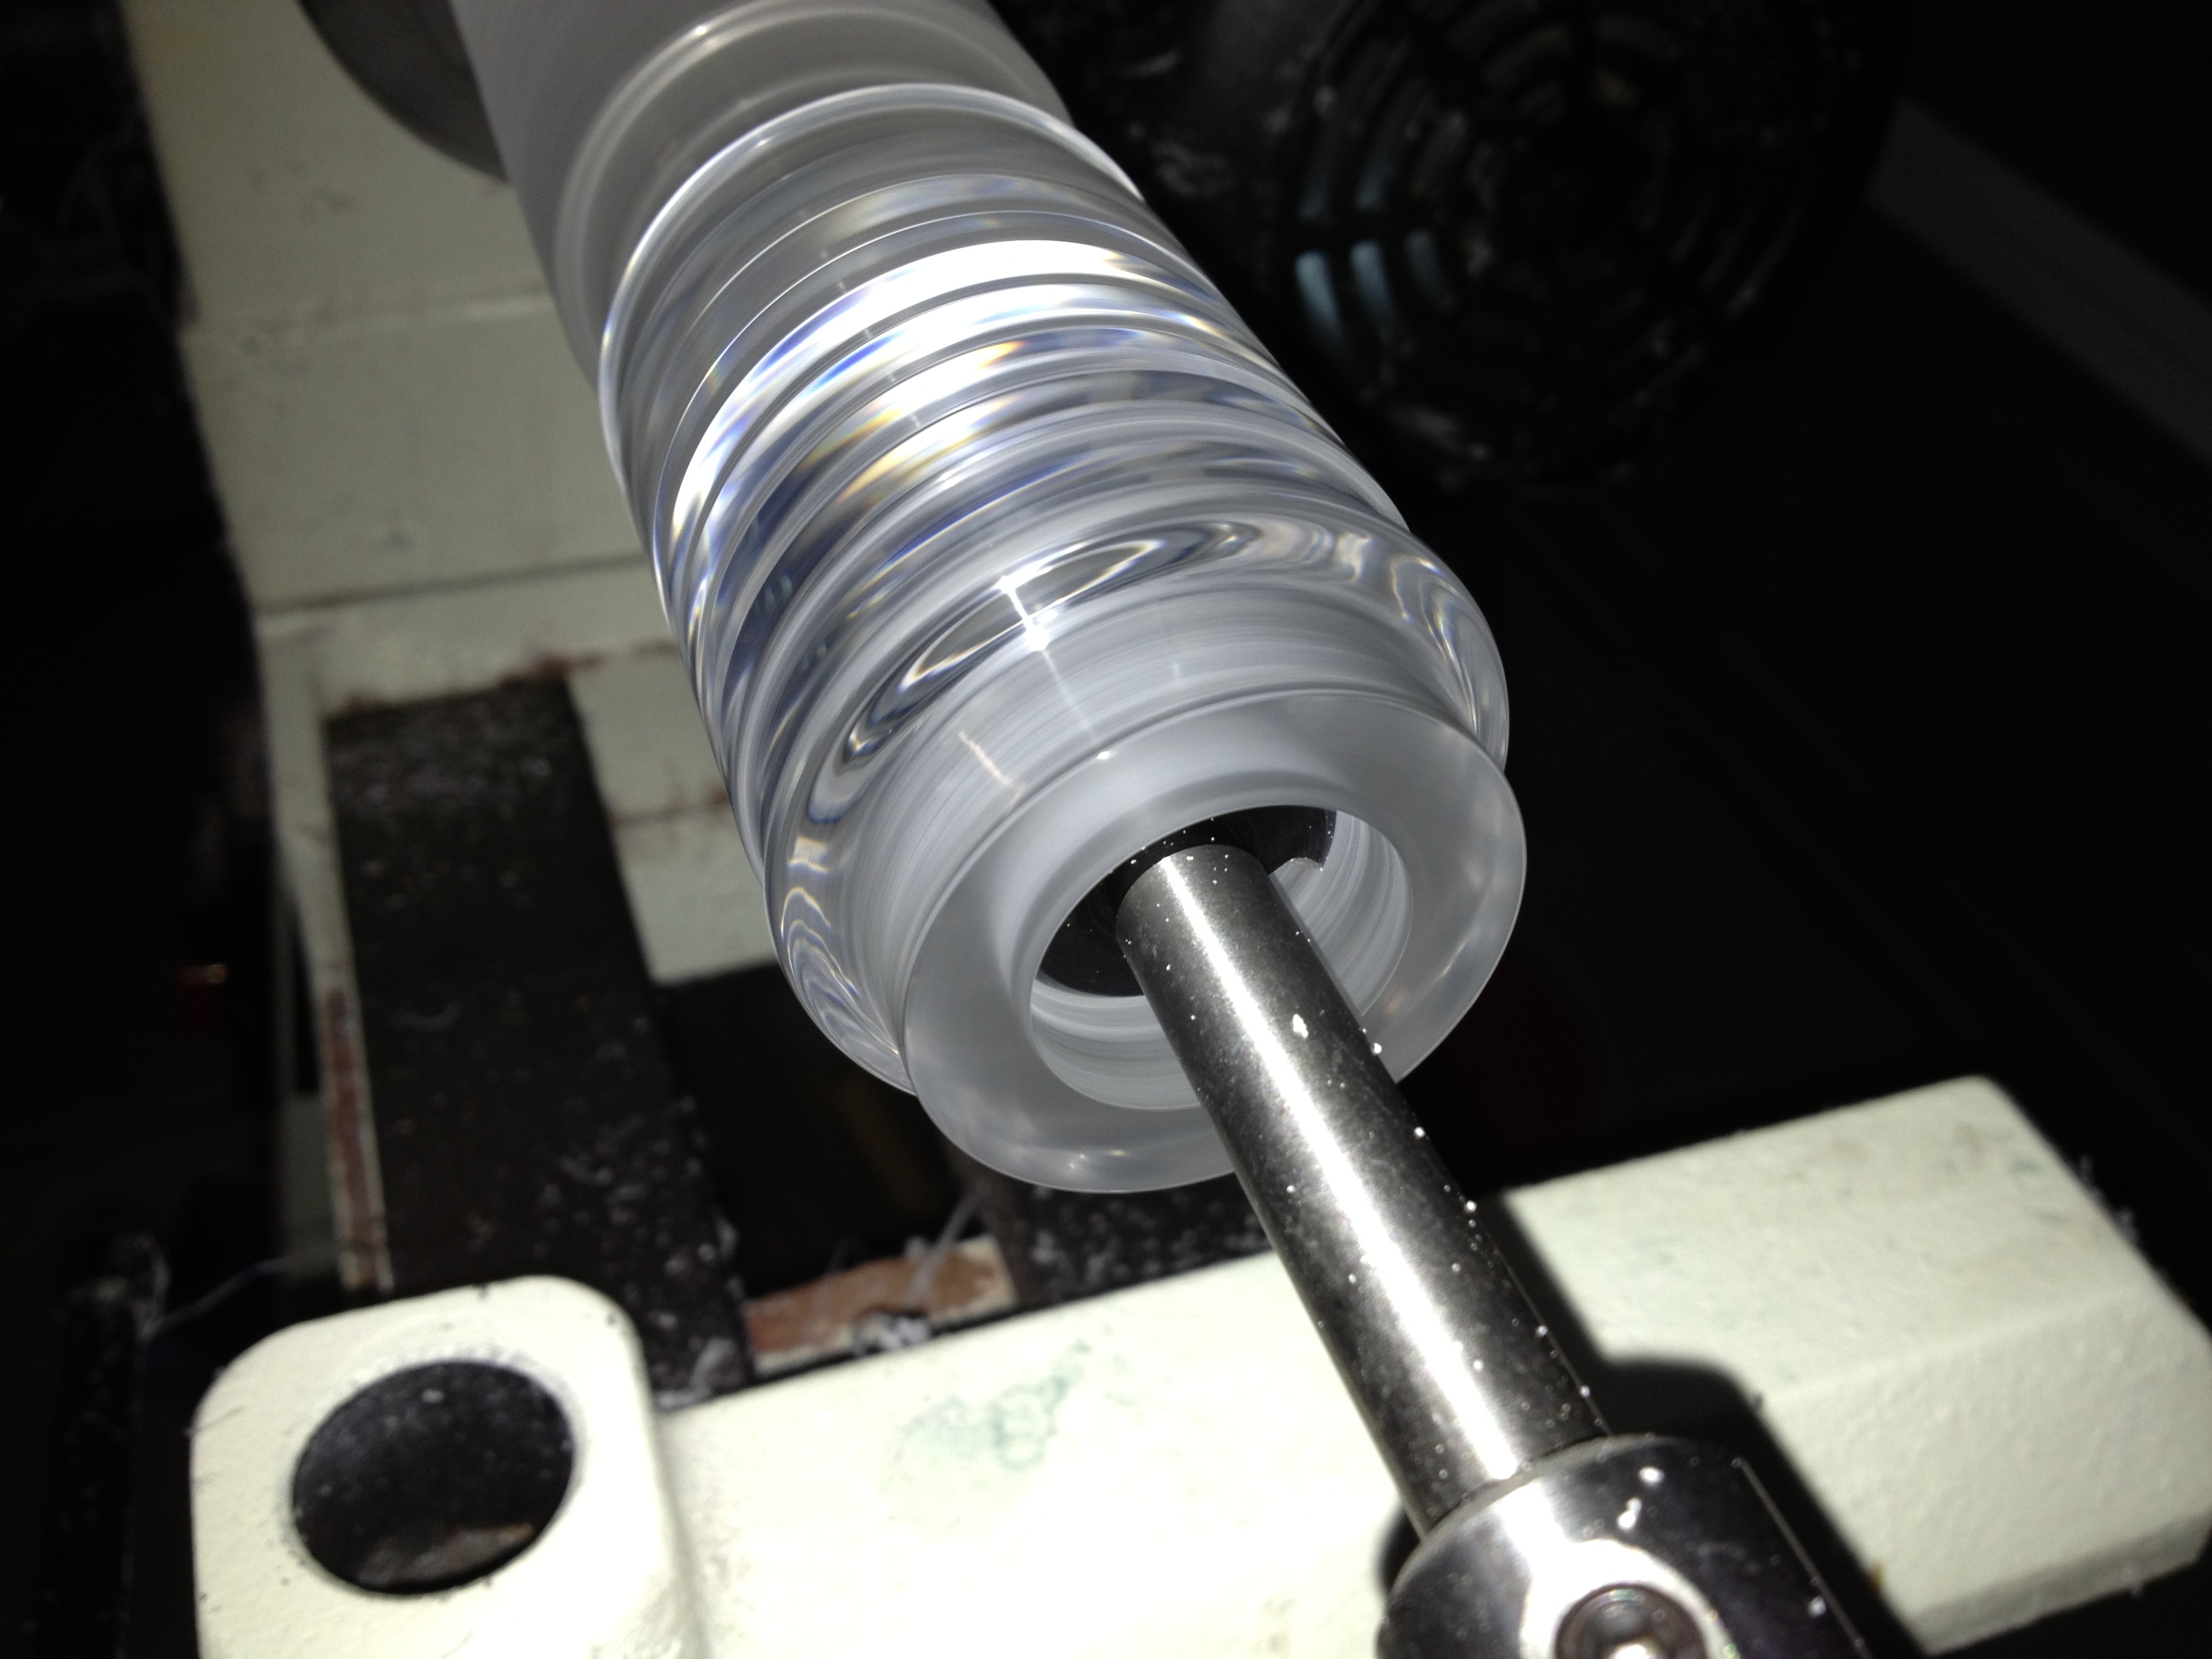
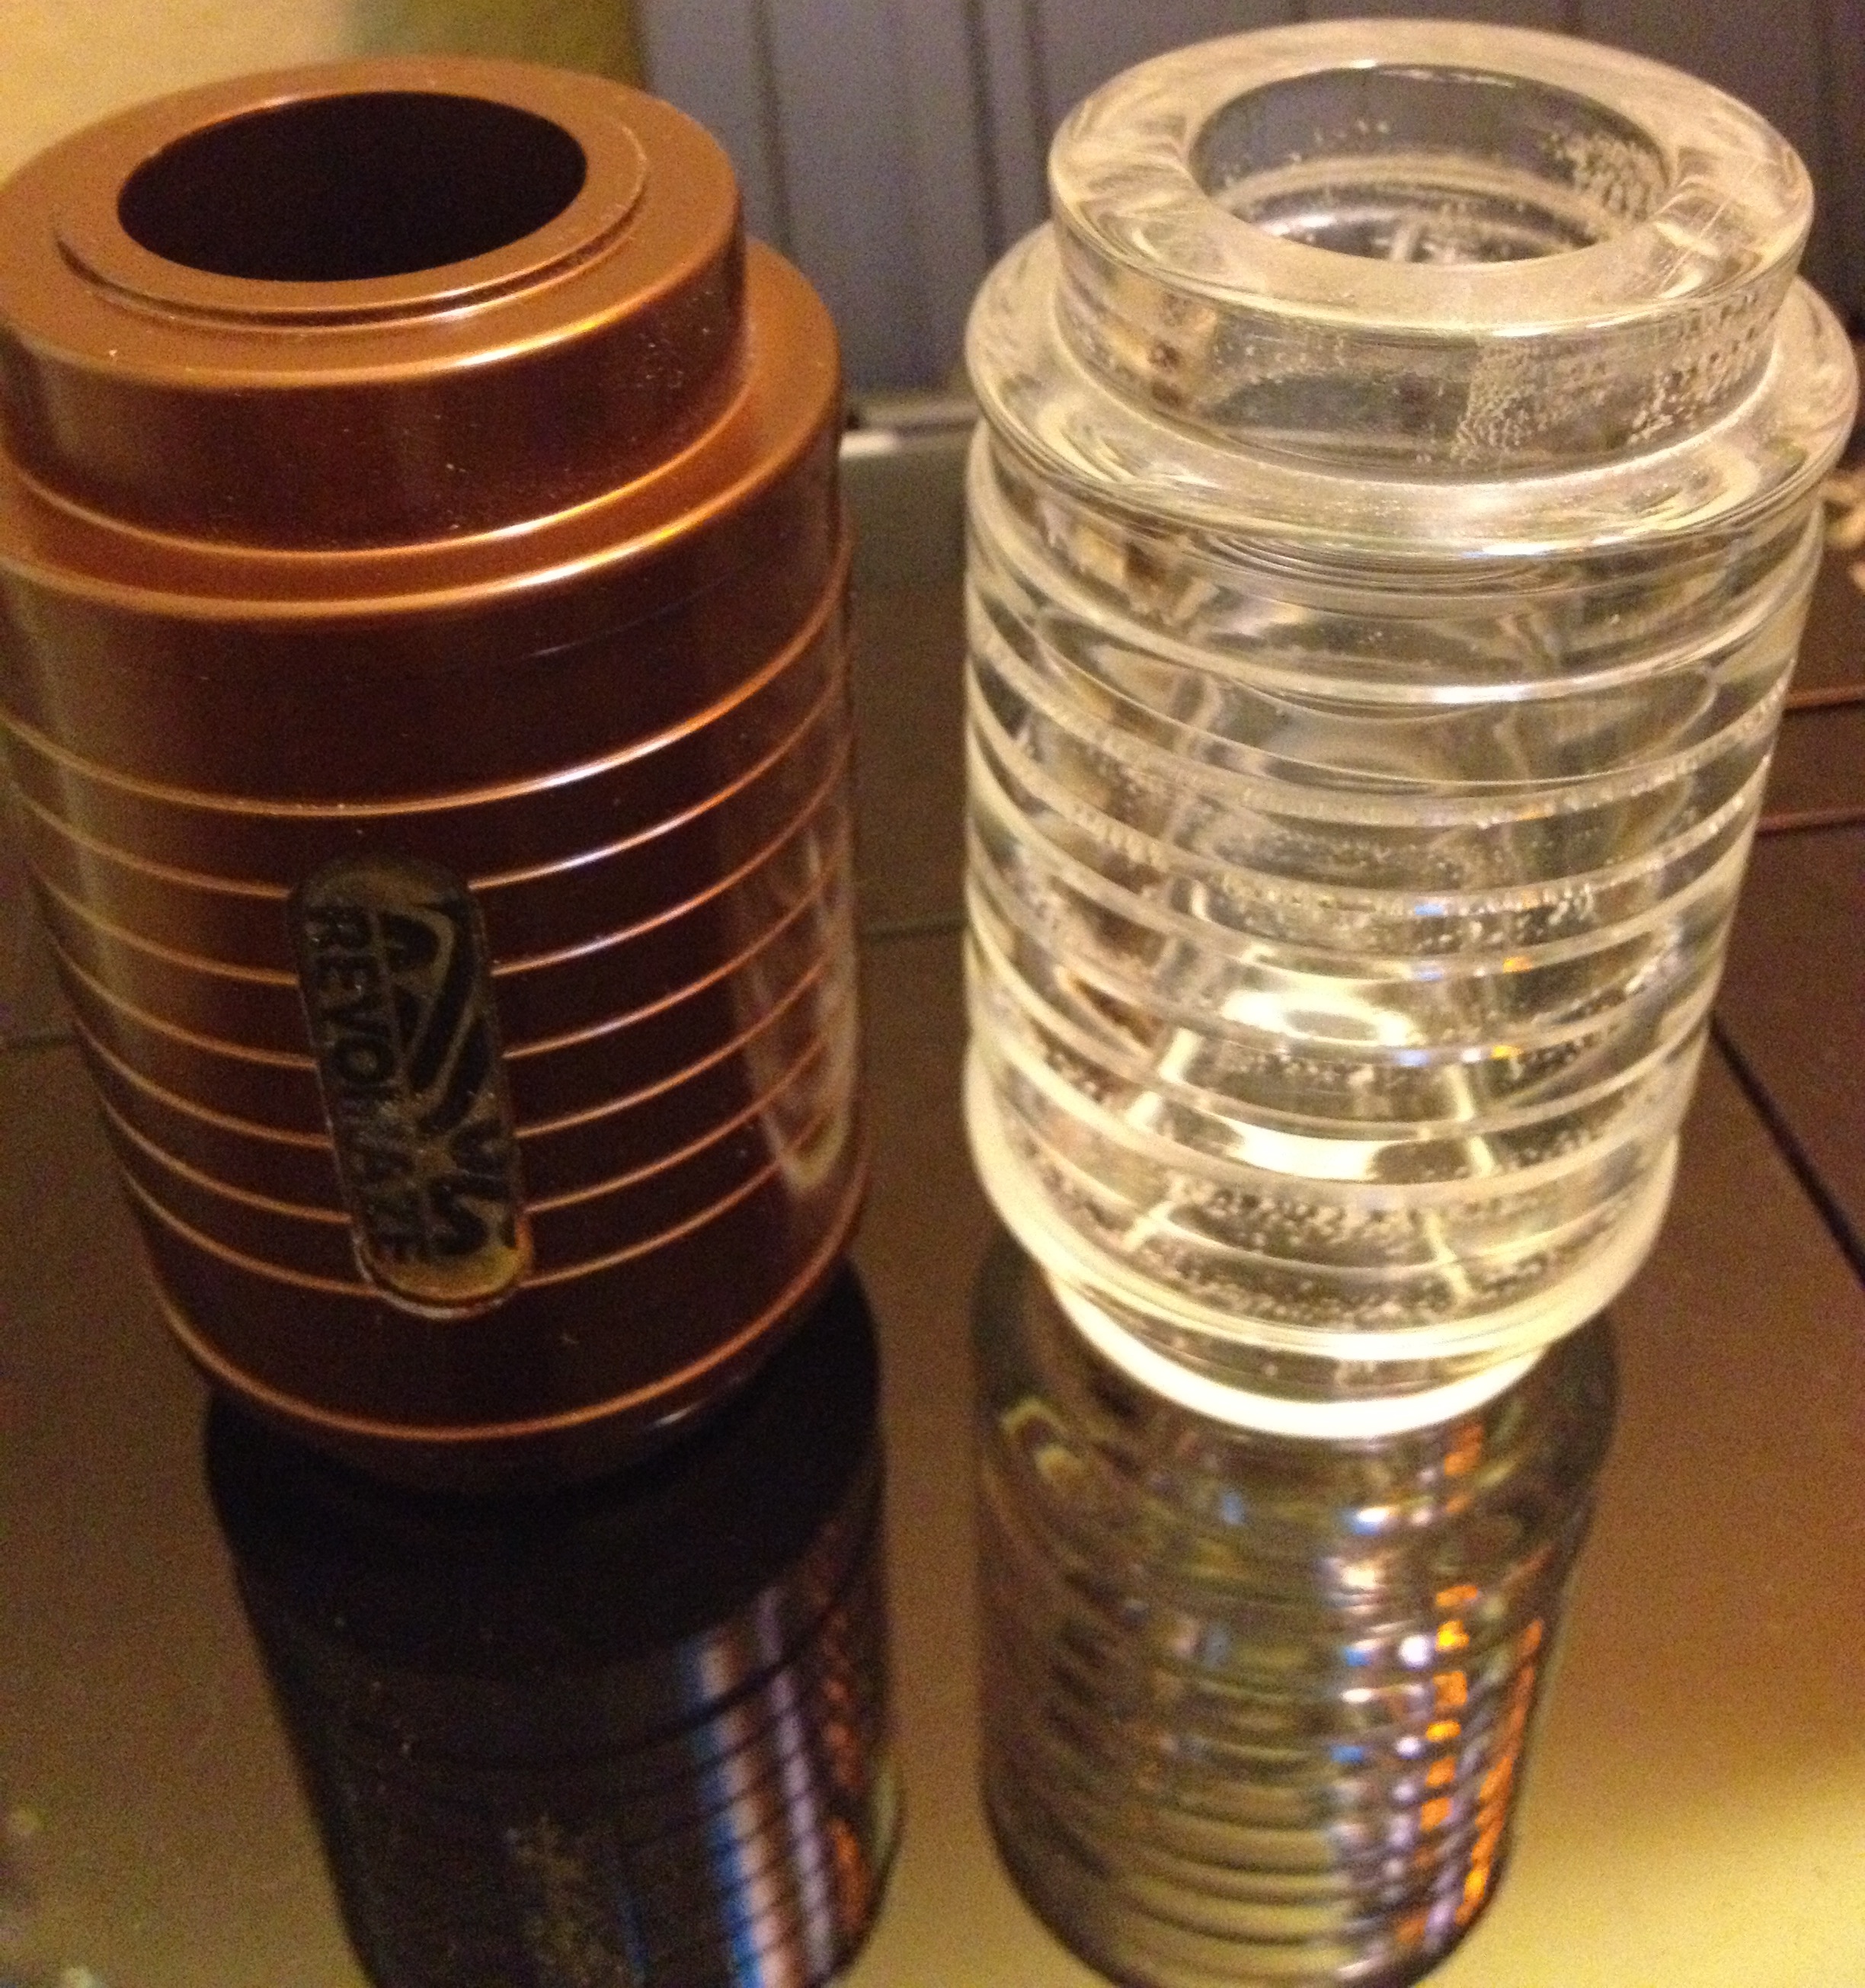
The image above shows the state the puzzle is deliver in, with the two complete sets packed into the “accordion” grid with 4 gaps remaining. As I’m sure you can guess already, one of the challenges will be to put that last Lomino into the accordion along with all the other pieces. But that’s not the first challenge!
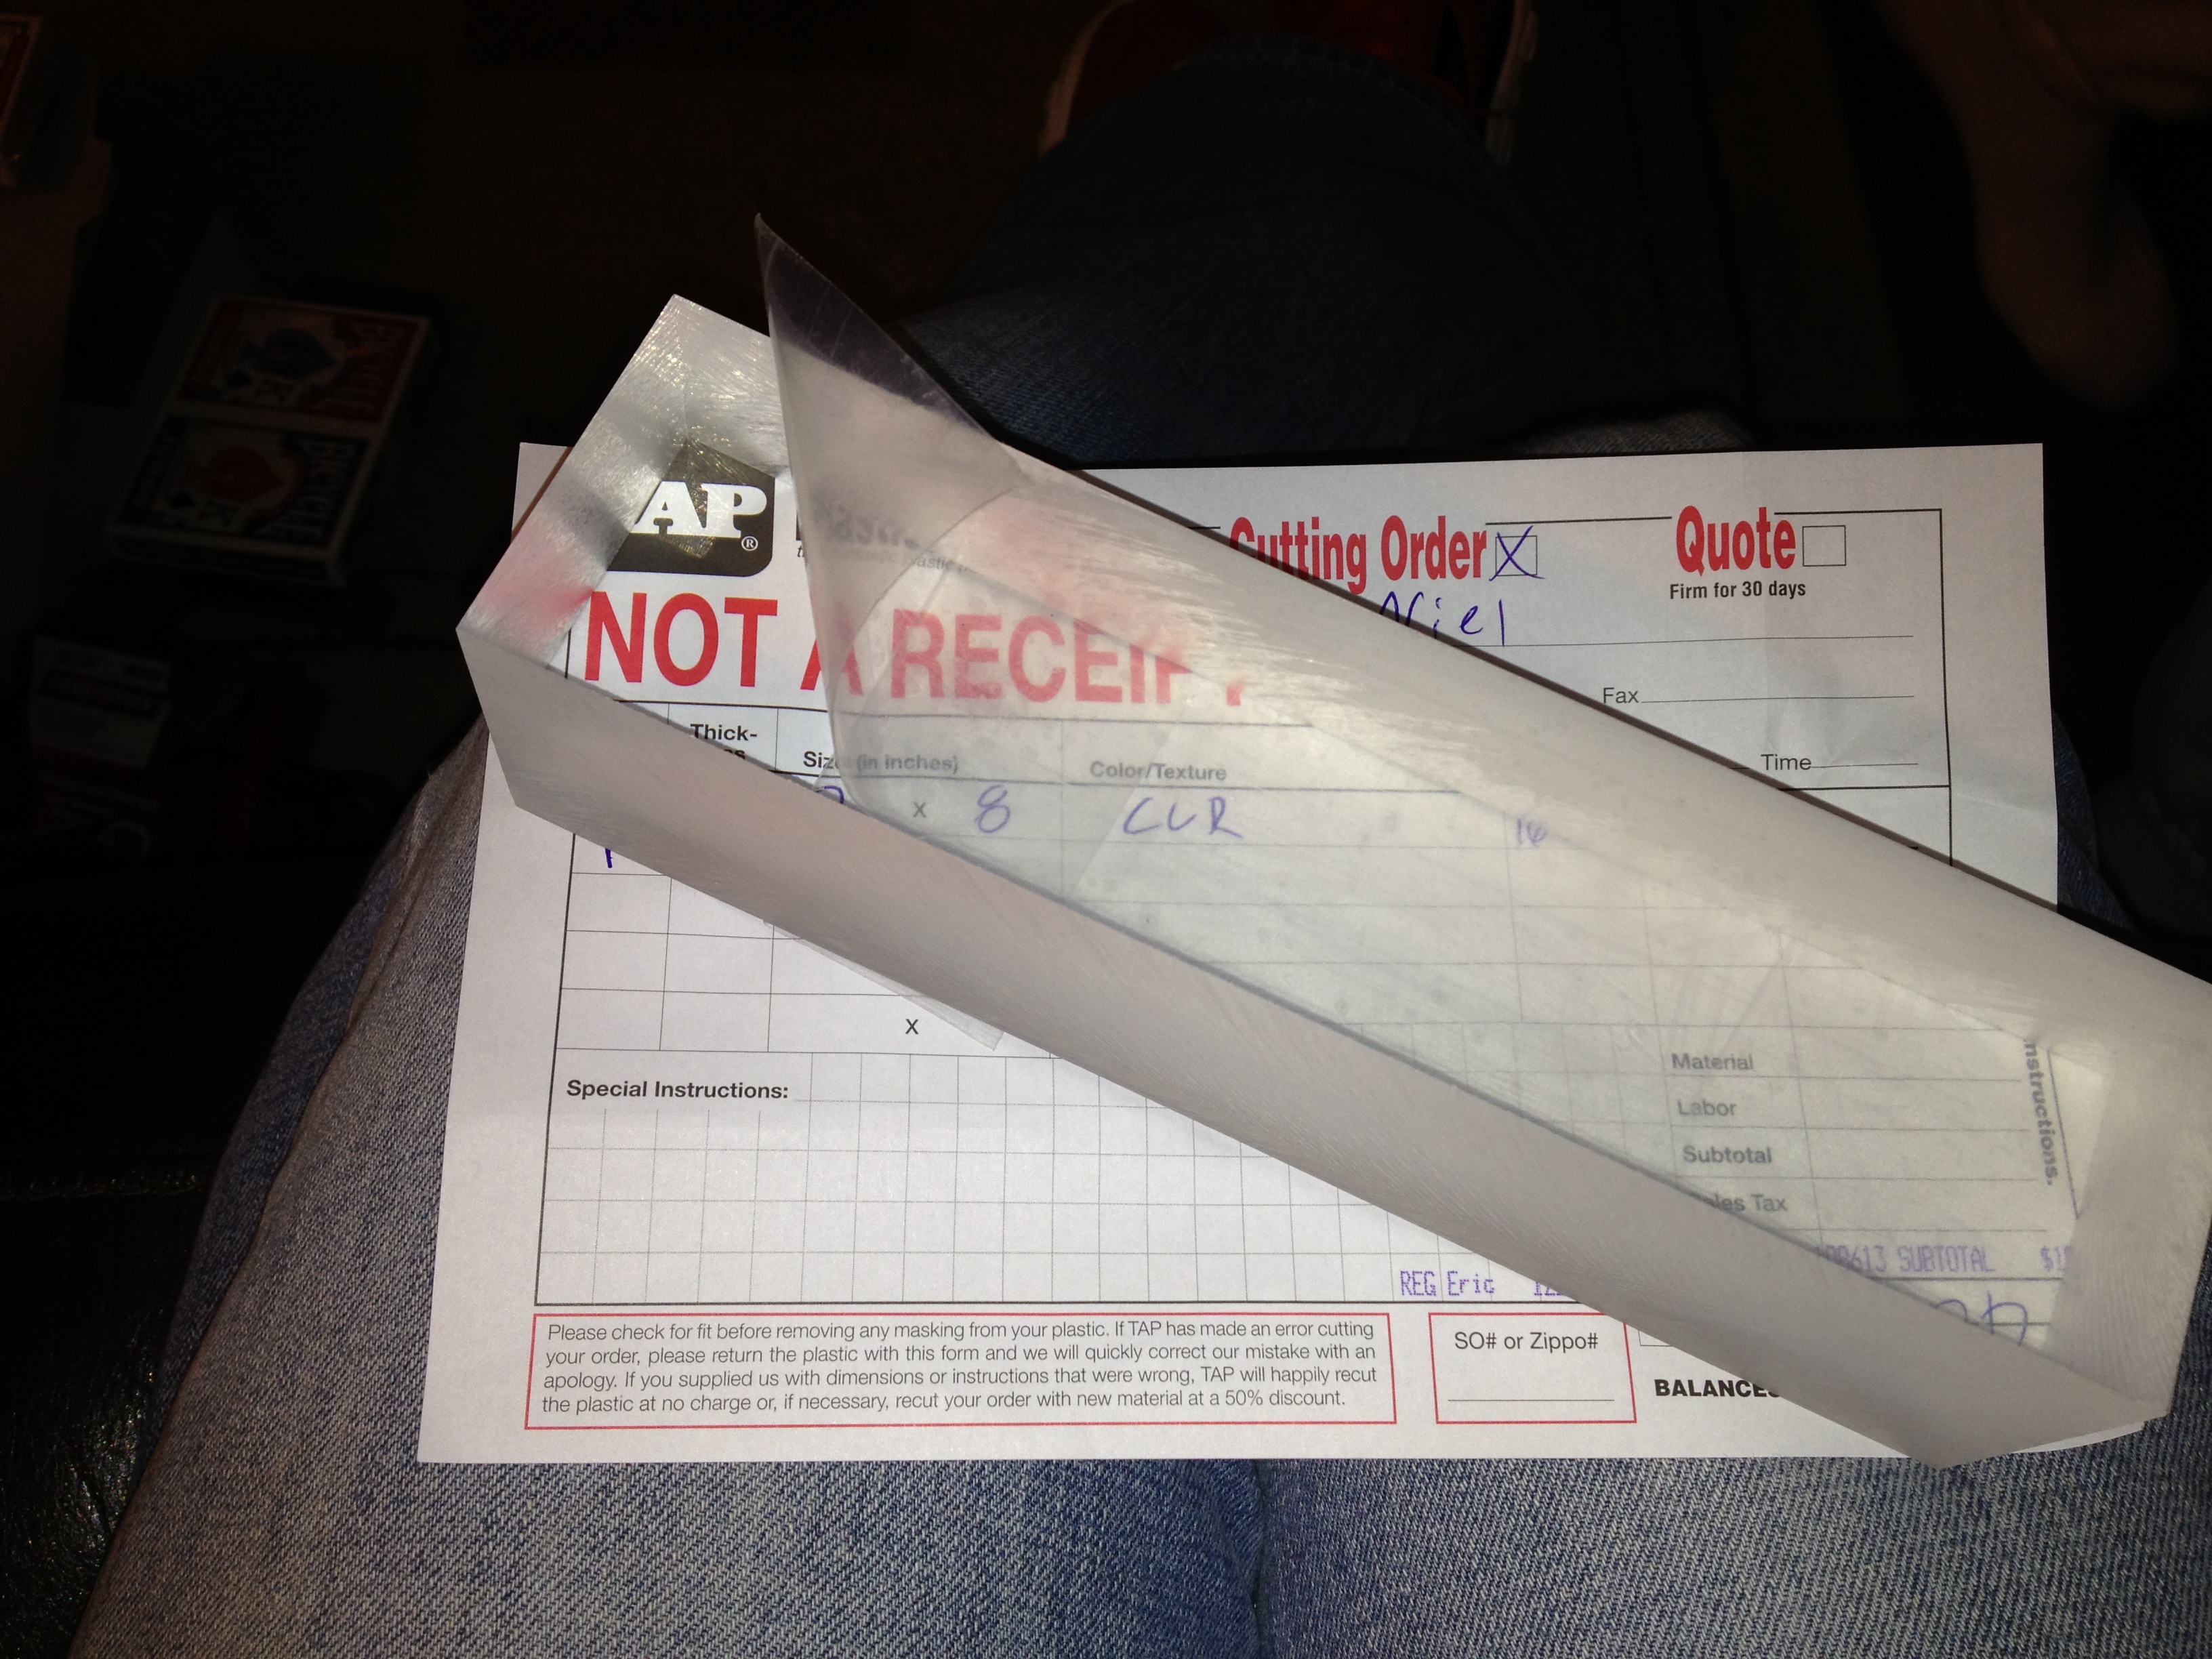
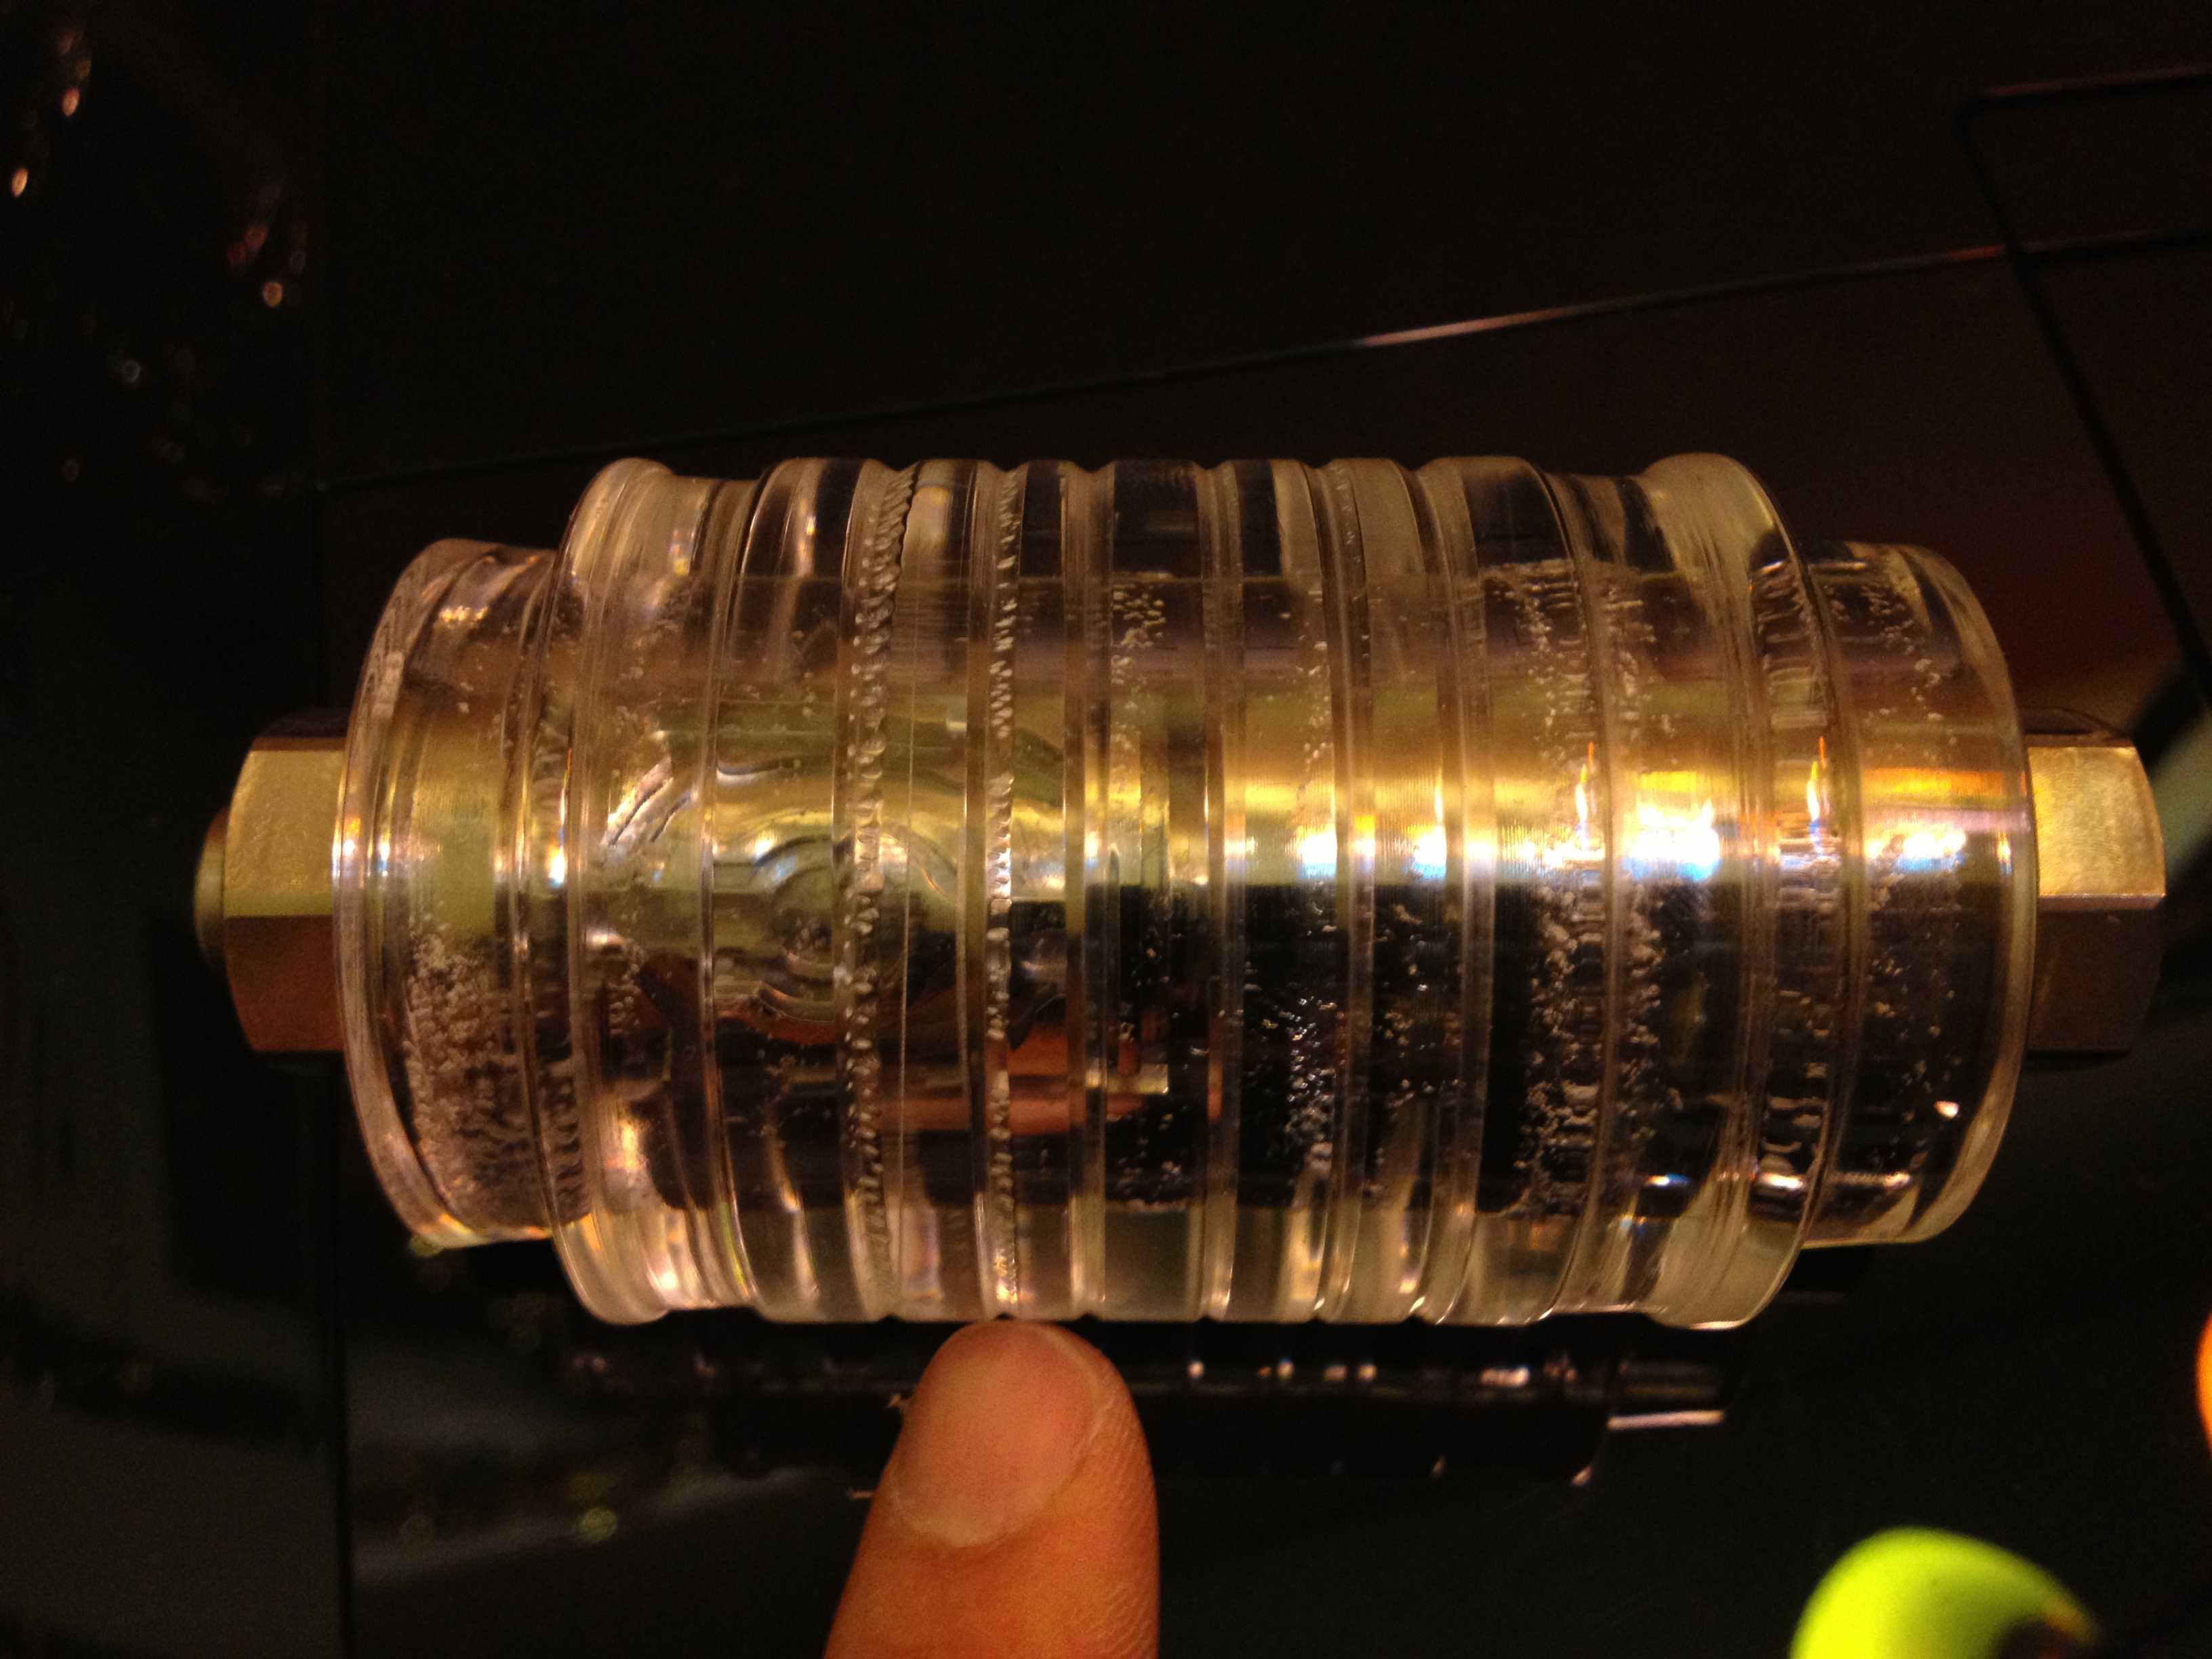
The puzzle is made from laser cut parts which are all a good size. Each cubie is 3/8″ and the pieces are cut from clear acrylic. As you will see in the photos, the clear pieces make for some amazing finished objects, and I’m sure if I had more time, you could create some really nice effects with the right lighting. The tray itself is cut from three 1/8″ thick sheets of acrylic, and are joined together to give the striking sandwich appearance with the solution shape showing through in bright orange, against the royal blue of the rest of the tray. Of course it didn’t need to be 3 layers thick, but George added a second solution shape on the back of the tray, adding to the challenges. And that’s not all, there’s a third solution tray shape on the back of the booklet. There’s a lot of puzzling in these ten challenges!
One possible 8×8 solution
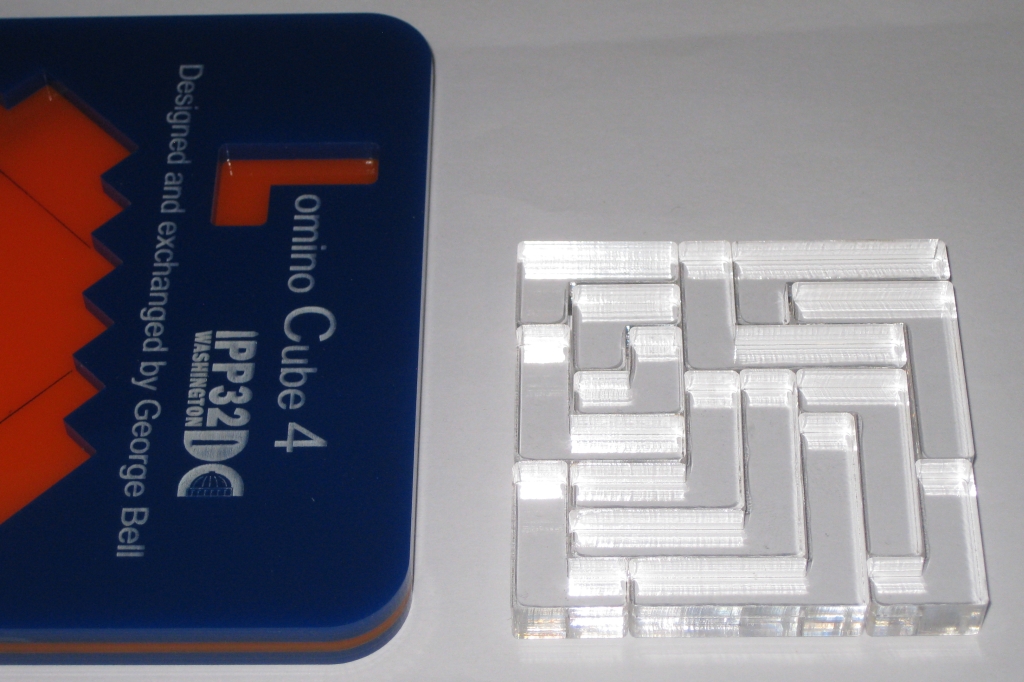
The first challenge is to create an 8×8 square, using all the pieces. Given that there are several tens of thousands of solutions (814,732 in all), I don’t really have a problem showing just one of them here. I have no doubt that any puzzler with a little time can find a way to fit the pieces into an 8×8 square. From there, the next challenge is a little more difficult. Create a 4x4x4 Cube.
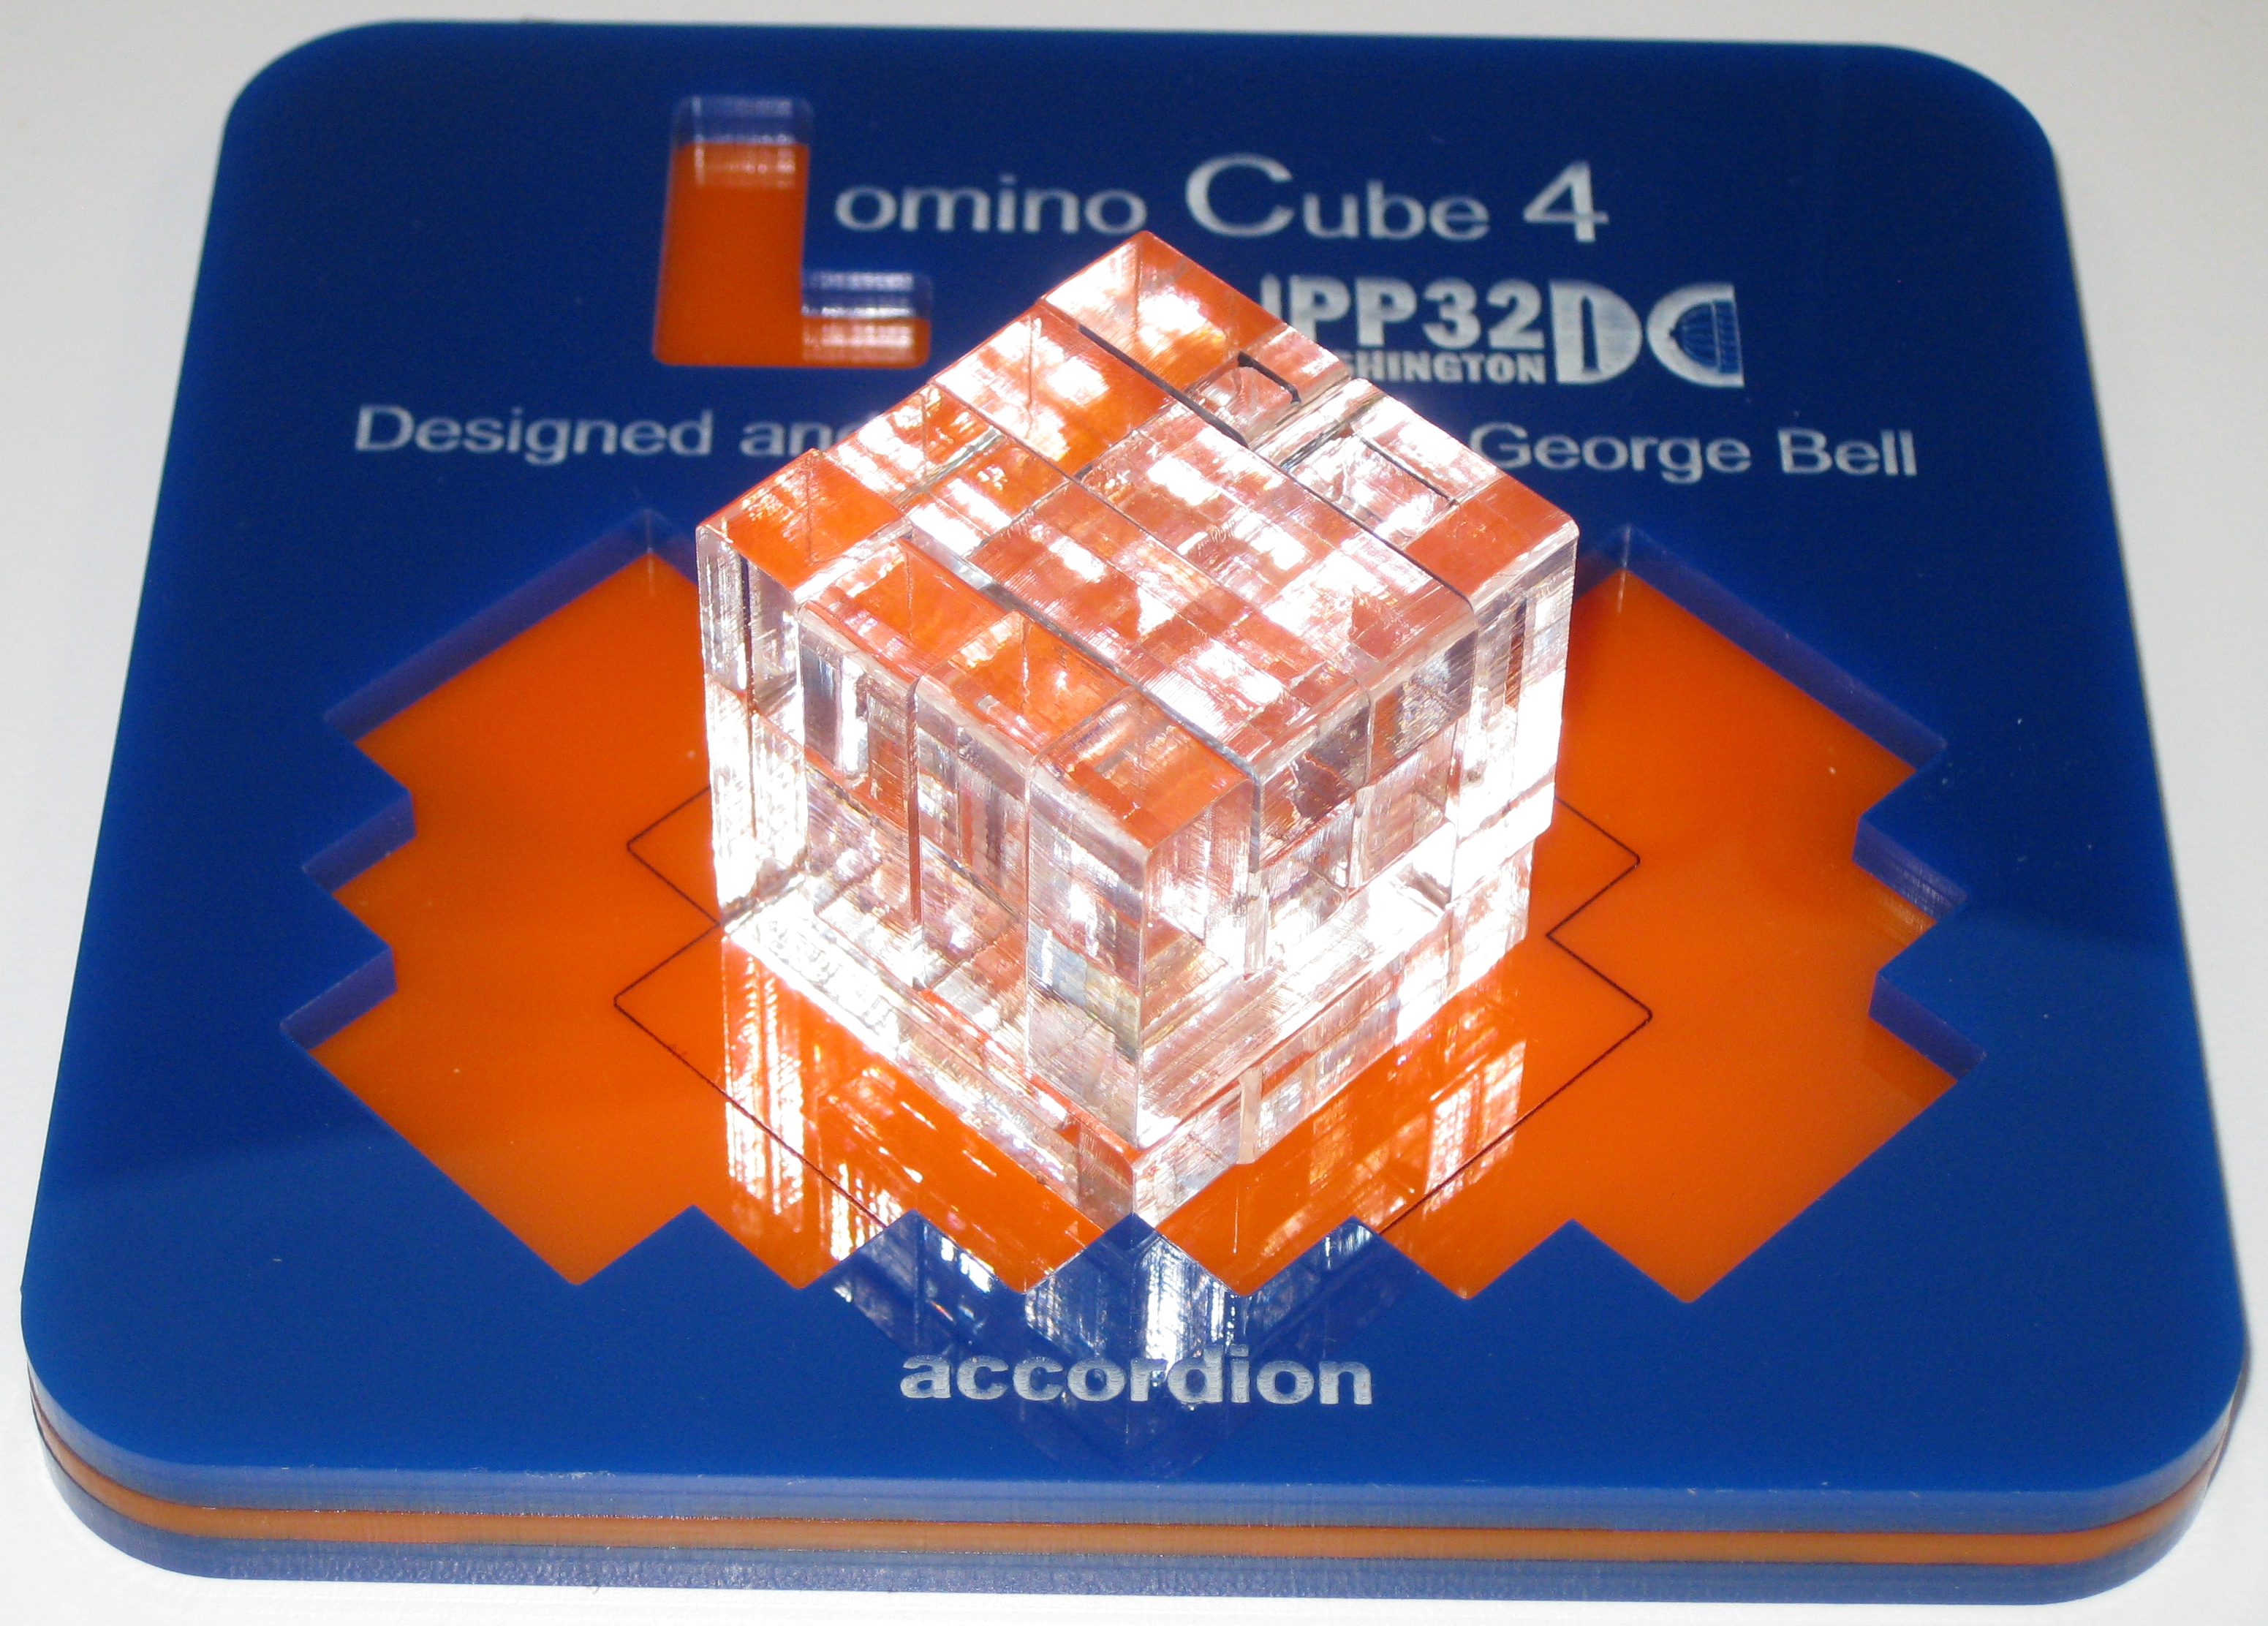
One possible cube solution
Now, I may have exaggerated. There’s over 3 million ways (3,391,045 to be exact) to construct a 4x4x4 cube, so again it shouldn’t be too much of a challenge. This time it’s a 3D solution shape and given the reasonably small size of the pieces, and their slick finish, you may find yourself knocking the pieces over as you work toward a solution. That may just have been me and my fat fingers though.
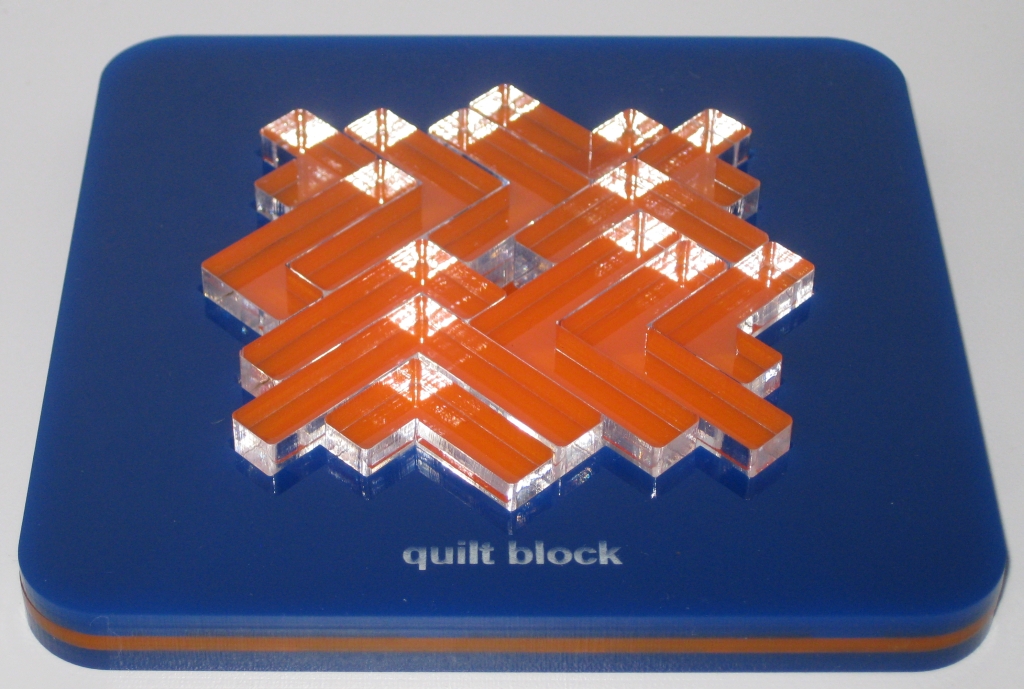
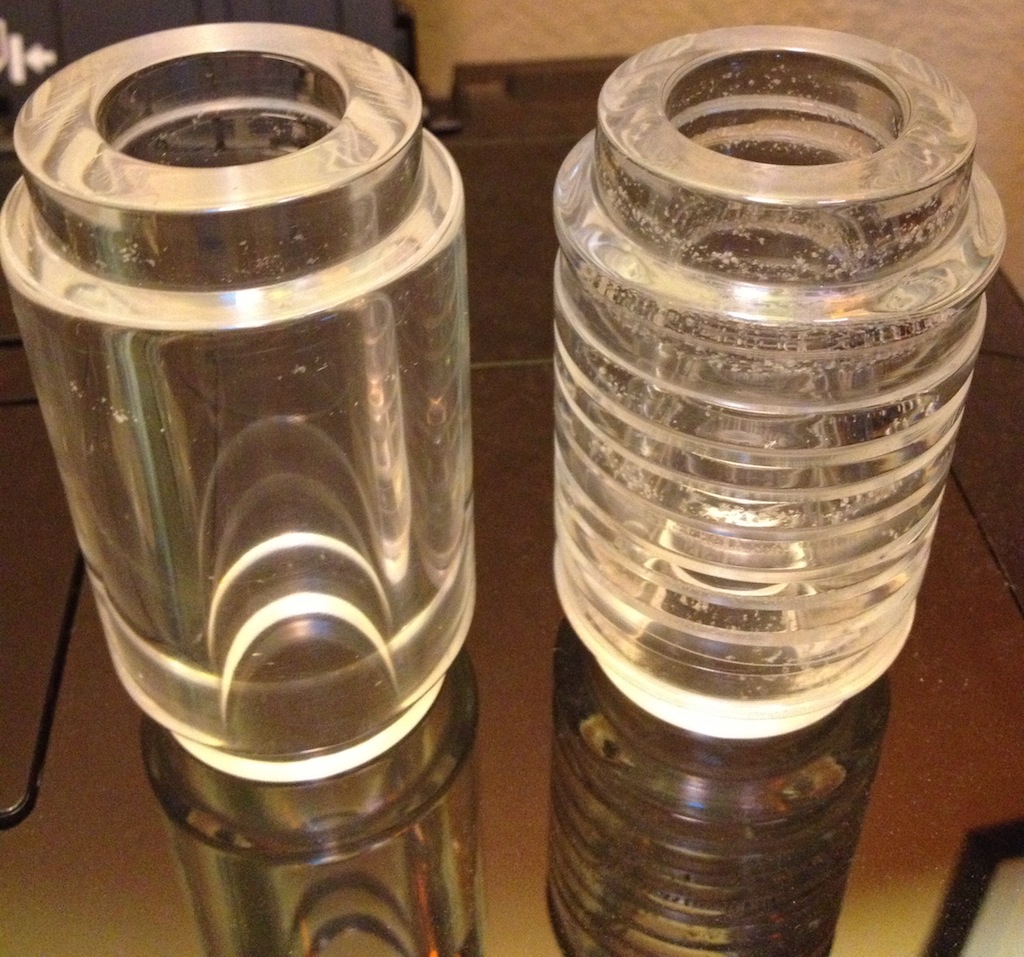
Another tray on the reverse
Another of the challenges is to fit all the pieces into the “quilt block” shape in the reverse side of the tray. Again there are hundreds of solutions (406 in total) so giving away just one isn’t that much of a help. You’ll have no real problems in finding a solution yourself. There are a few other challenges involving packing the pieces in various ways, the last of which is to create a 3D shape which looks like the Dome on the Capitol Building. George doing his part to help make the puzzle themed to the IPP destination that year.
Once you’ve solved all of those, there’s a set of 4 additional challenges to really test you. I’ll not spoil them, but it’s fair to say that they will make you think, and really add to the challenges. One of the more interesting from my perspective is to pack all the pieces into various solution shapes, where no two identical pieces have touching faces.
Overall, given that I have found a liking for packing puzzles, the Lomino Cube is a very approachable puzzle, with many solutions to each of the challenges (mostly) so that you don’t feel frustrated by not being able to solve one, and can easily lose many hours to the puzzle. It’s also well designed that all the pieces can be fairly readily self-contained, and that makes it a good puzzle for traveling. If you don’t have a copy, head over to George’s website, and see if he has a copy available, you’ll not be disappointed.


