Hi everyone, and sorry for my long absence. Hopefully I’m back and will be getting many more reviews up in the coming days, weeks and months. As you know I’ve moved from California to Michigan, and I’m in the process of setting up my shop and my new home. Part of that is unboxing the puzzle collection, and I’ve taken it upon myself to review all the puzzles in my collection as I unbox them. On video. And here. I must be insane! Even doing one a day it would take a few years to get through my collection! Wish me luck!
With that out of the way, here’s the first video where I talk about the mammoth task ahead of me and review the four puzzles I picked up while at the Rochester Puzzle Picnic a few weekends ago. I hope you enjoy, and as ever, feel free to throw me a comment below.
If you watched the video then you may not even want to bother reading my ramblings, however if you want a little more info about each of the puzzles then read on.
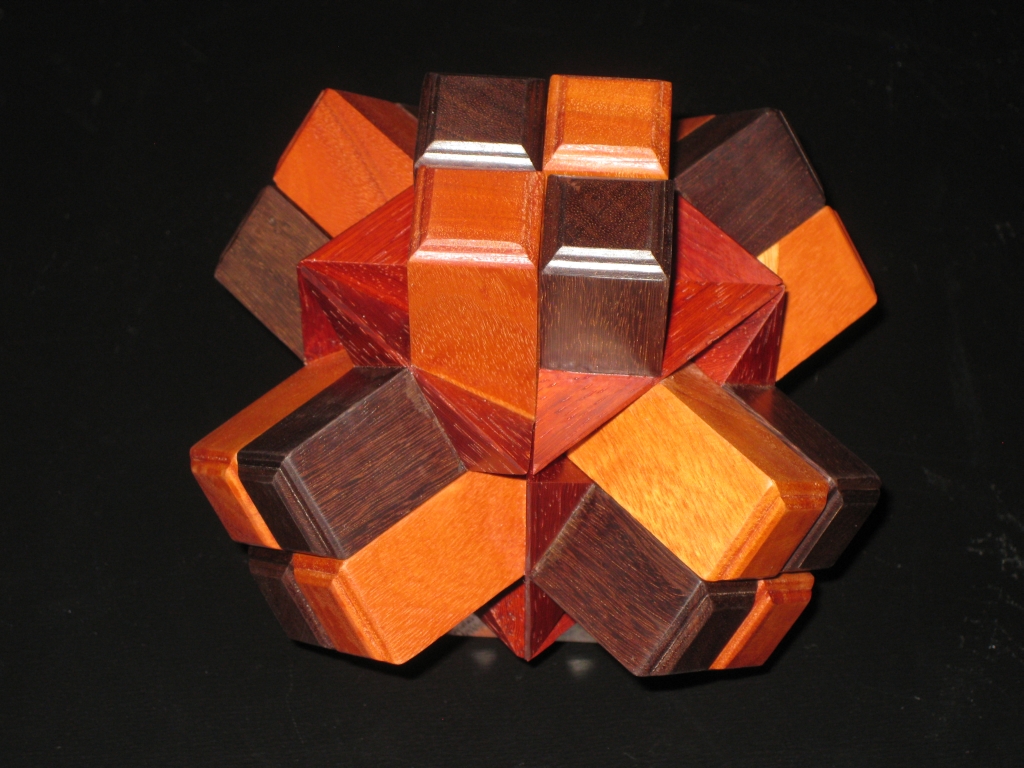
Chain Store
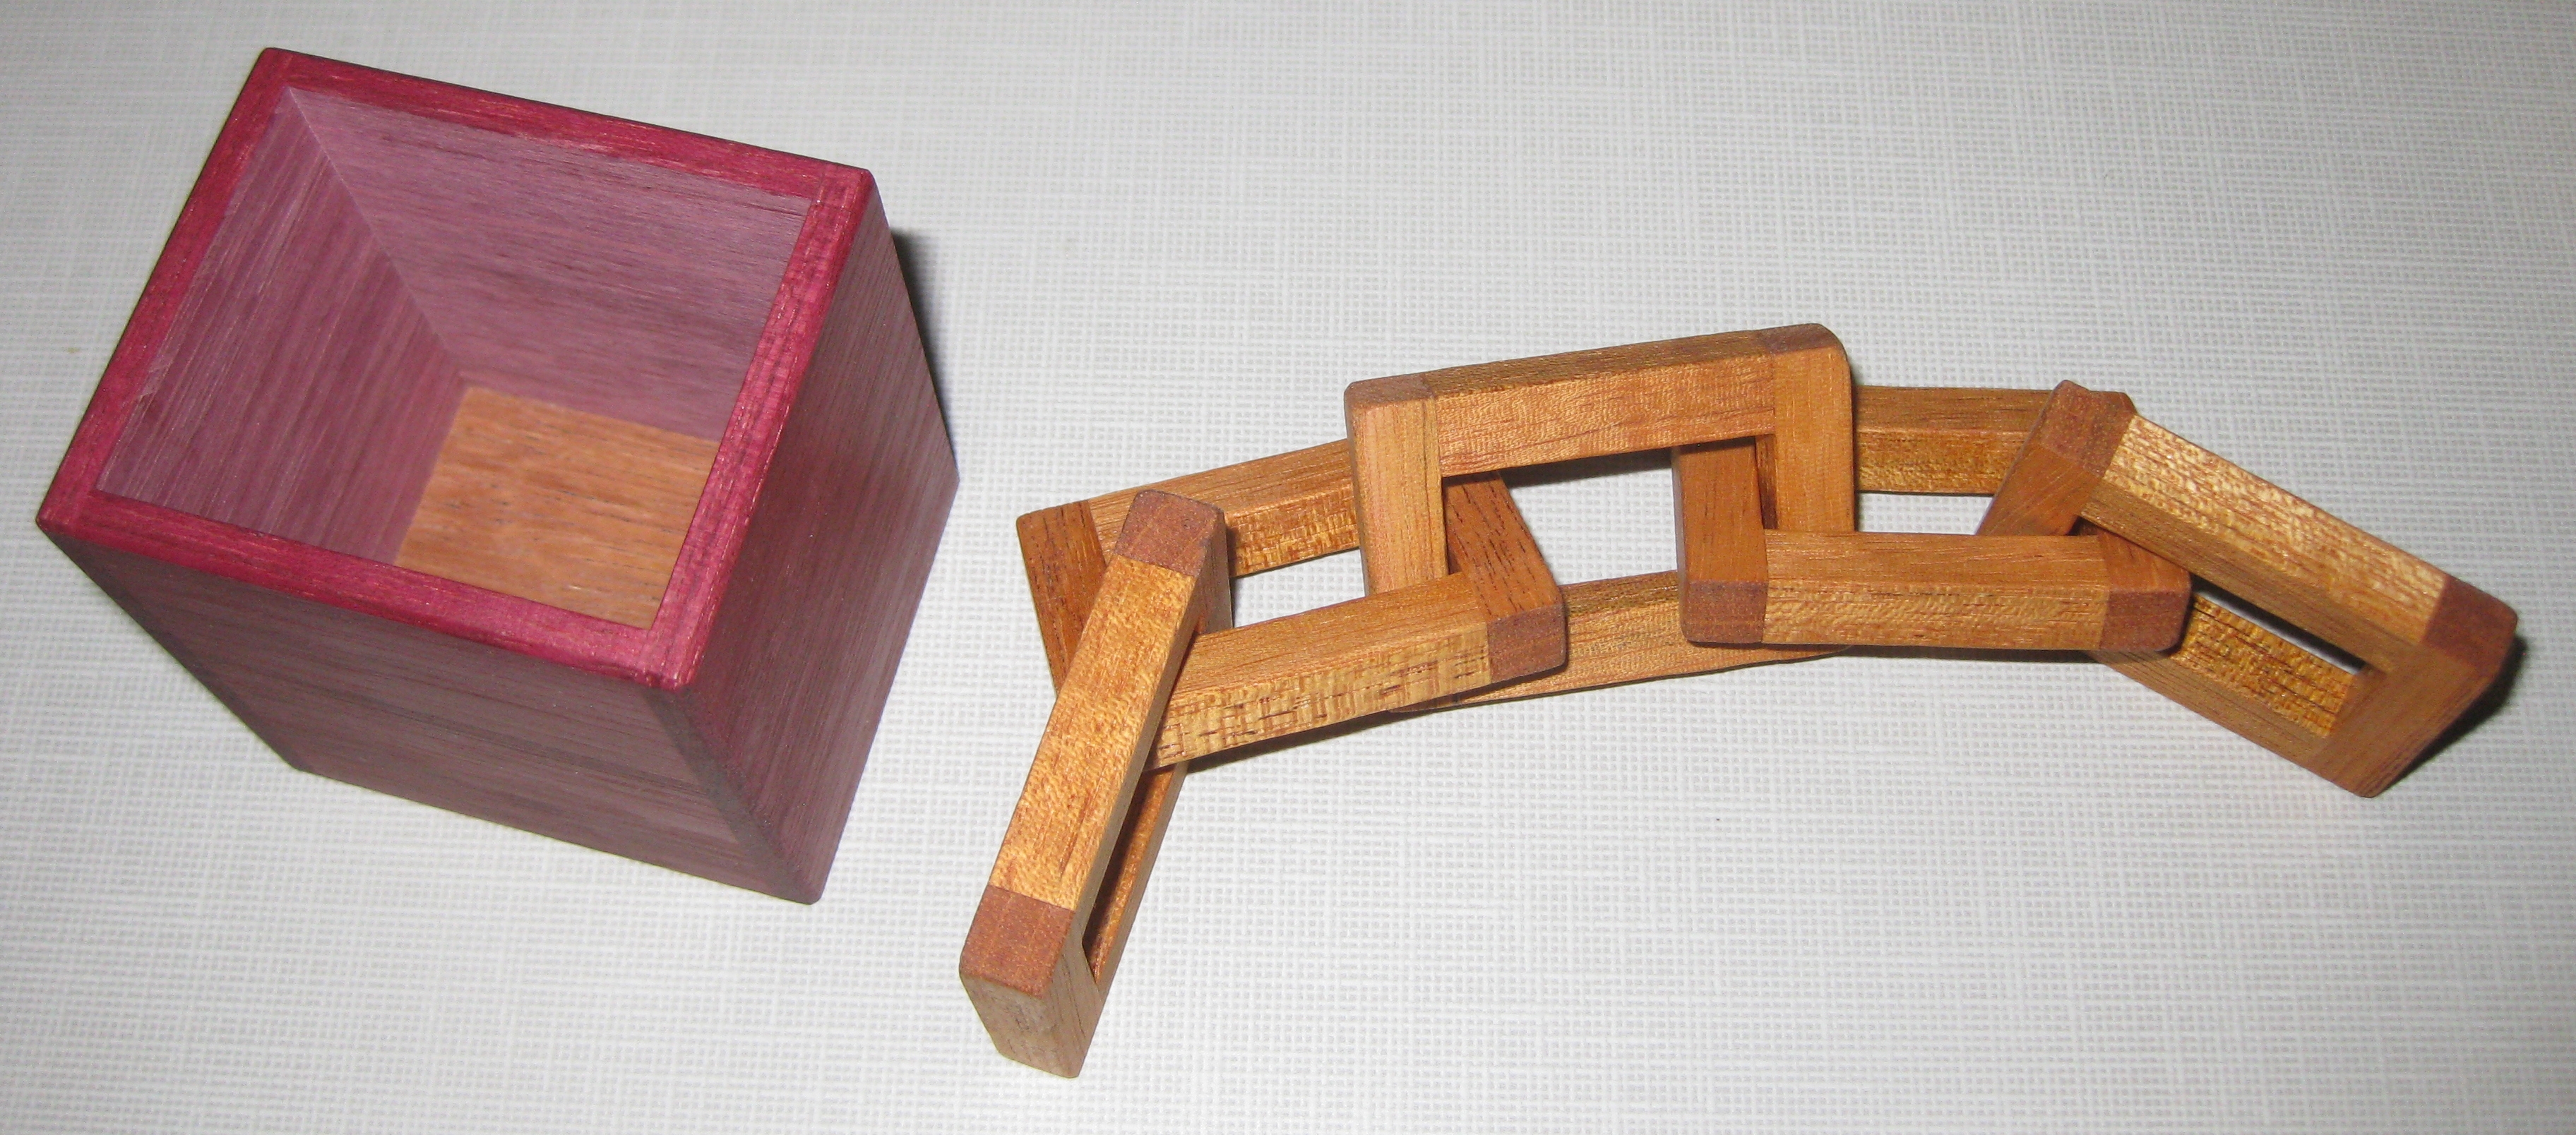
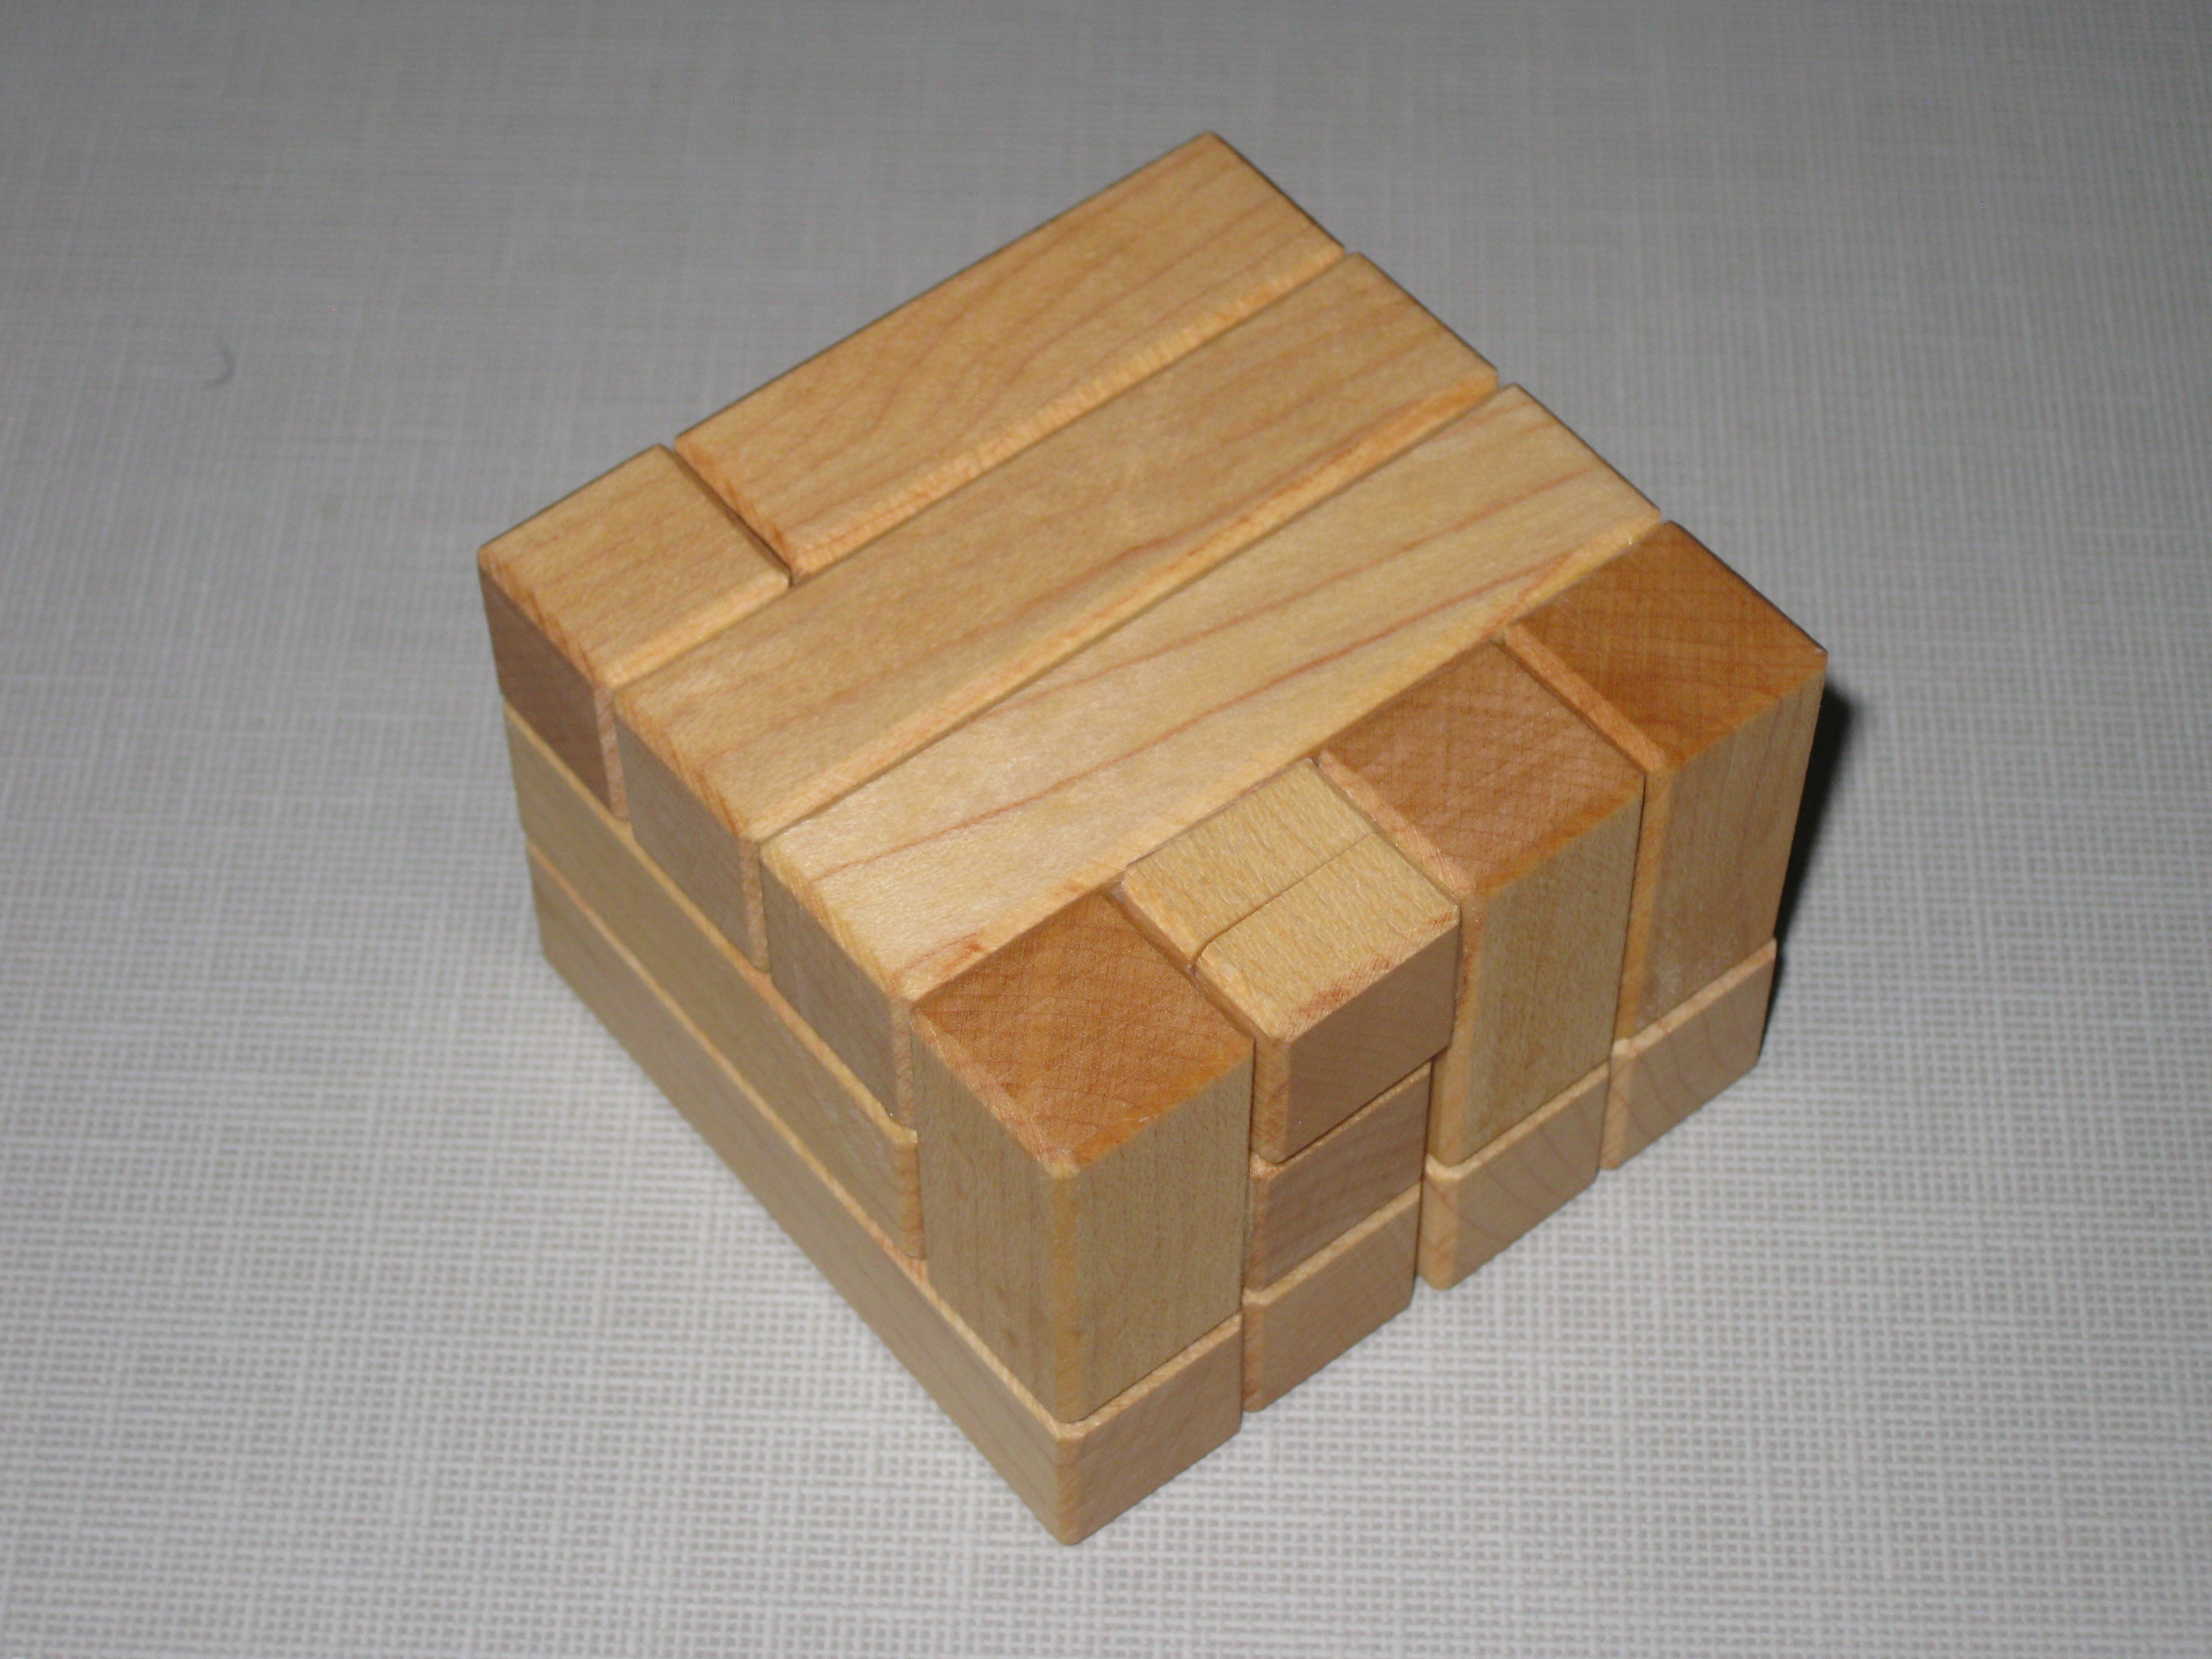
Chain Store by Goh Pit Khiam
Chain Store was designed by Goh Pit Khiam and my copy was made by Tom Lensch. Tom had several copies with him at RPP, and given that it’s such a fun puzzle, I had to pick one up. Made from Purple-heart and Mahogany it looks great and given that this was a Jury Honourable Mention at IPP36 it was worth seeing what all the fuss was about.
The puzzle measures in at 2 1/4″ x 1 7/8″ x 2 3/8″ and bears the TL stamp on the bottom of the box that is Tom’s signature. Interesting fact about the TL, it’s not burned into the wood and nor is it stamped. It’s actually a stencil Tom had made that uses carbon dust to leave the signature.
I’m a little disappointed in the construction of the chain links. The rectangles forming each link are butt jointed, which in my mind is not a strong joint. I’d much rather have seen a half lap or similar joint, especially given the way the pieces need to be manipulated, and the slight tightness of the pieces.
Tom had a few issues making this puzzle, as the original version he had guessed at the size of the box, and guessed 3/32″ too big. Now that’s a chasm when it comes to a packing puzzle, and by shrinking that box, there’s now only one solution and it’s a little tougher to find. If you’ve made a copy, the solution requires that all the pieces be rectilinear, and I’ll say that the solution is anti slide once in there.
My copy is a little tight when manipulating the pieces, but nothing that prevents the solution. I may now have to deal with the humidity problems on my puzzles thanks to Michigan weather.
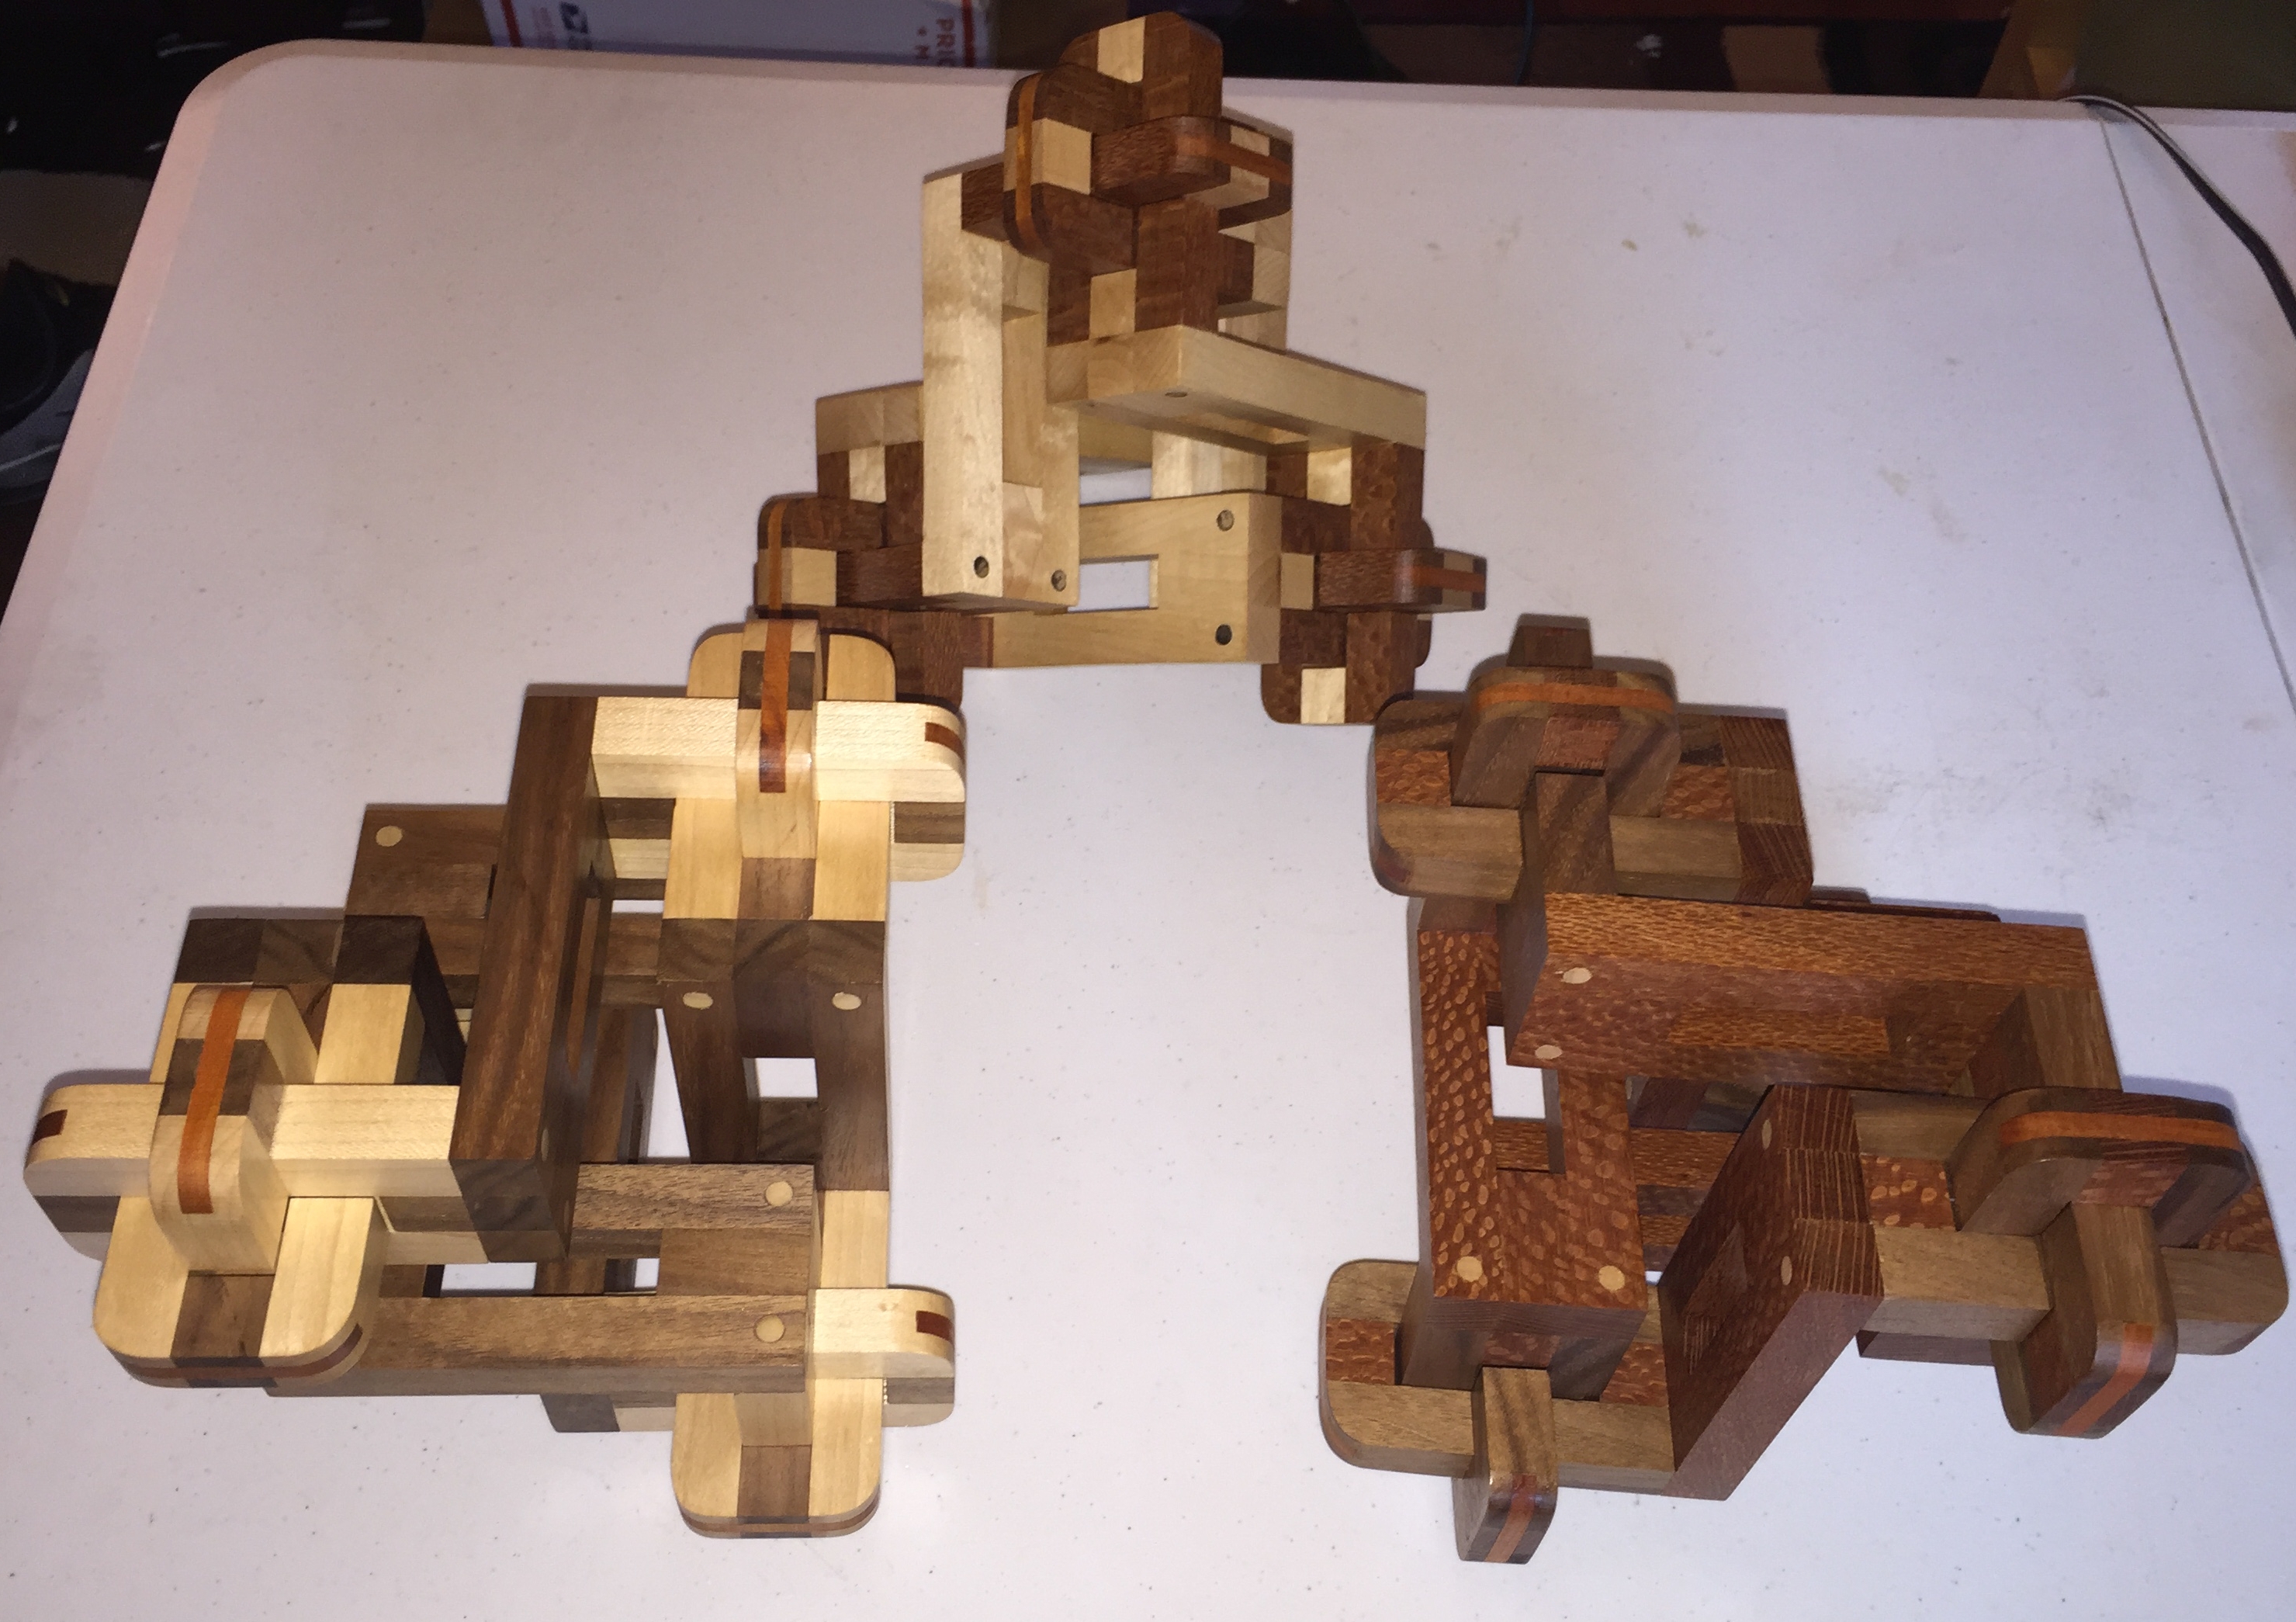
Impossible Cube Triangles
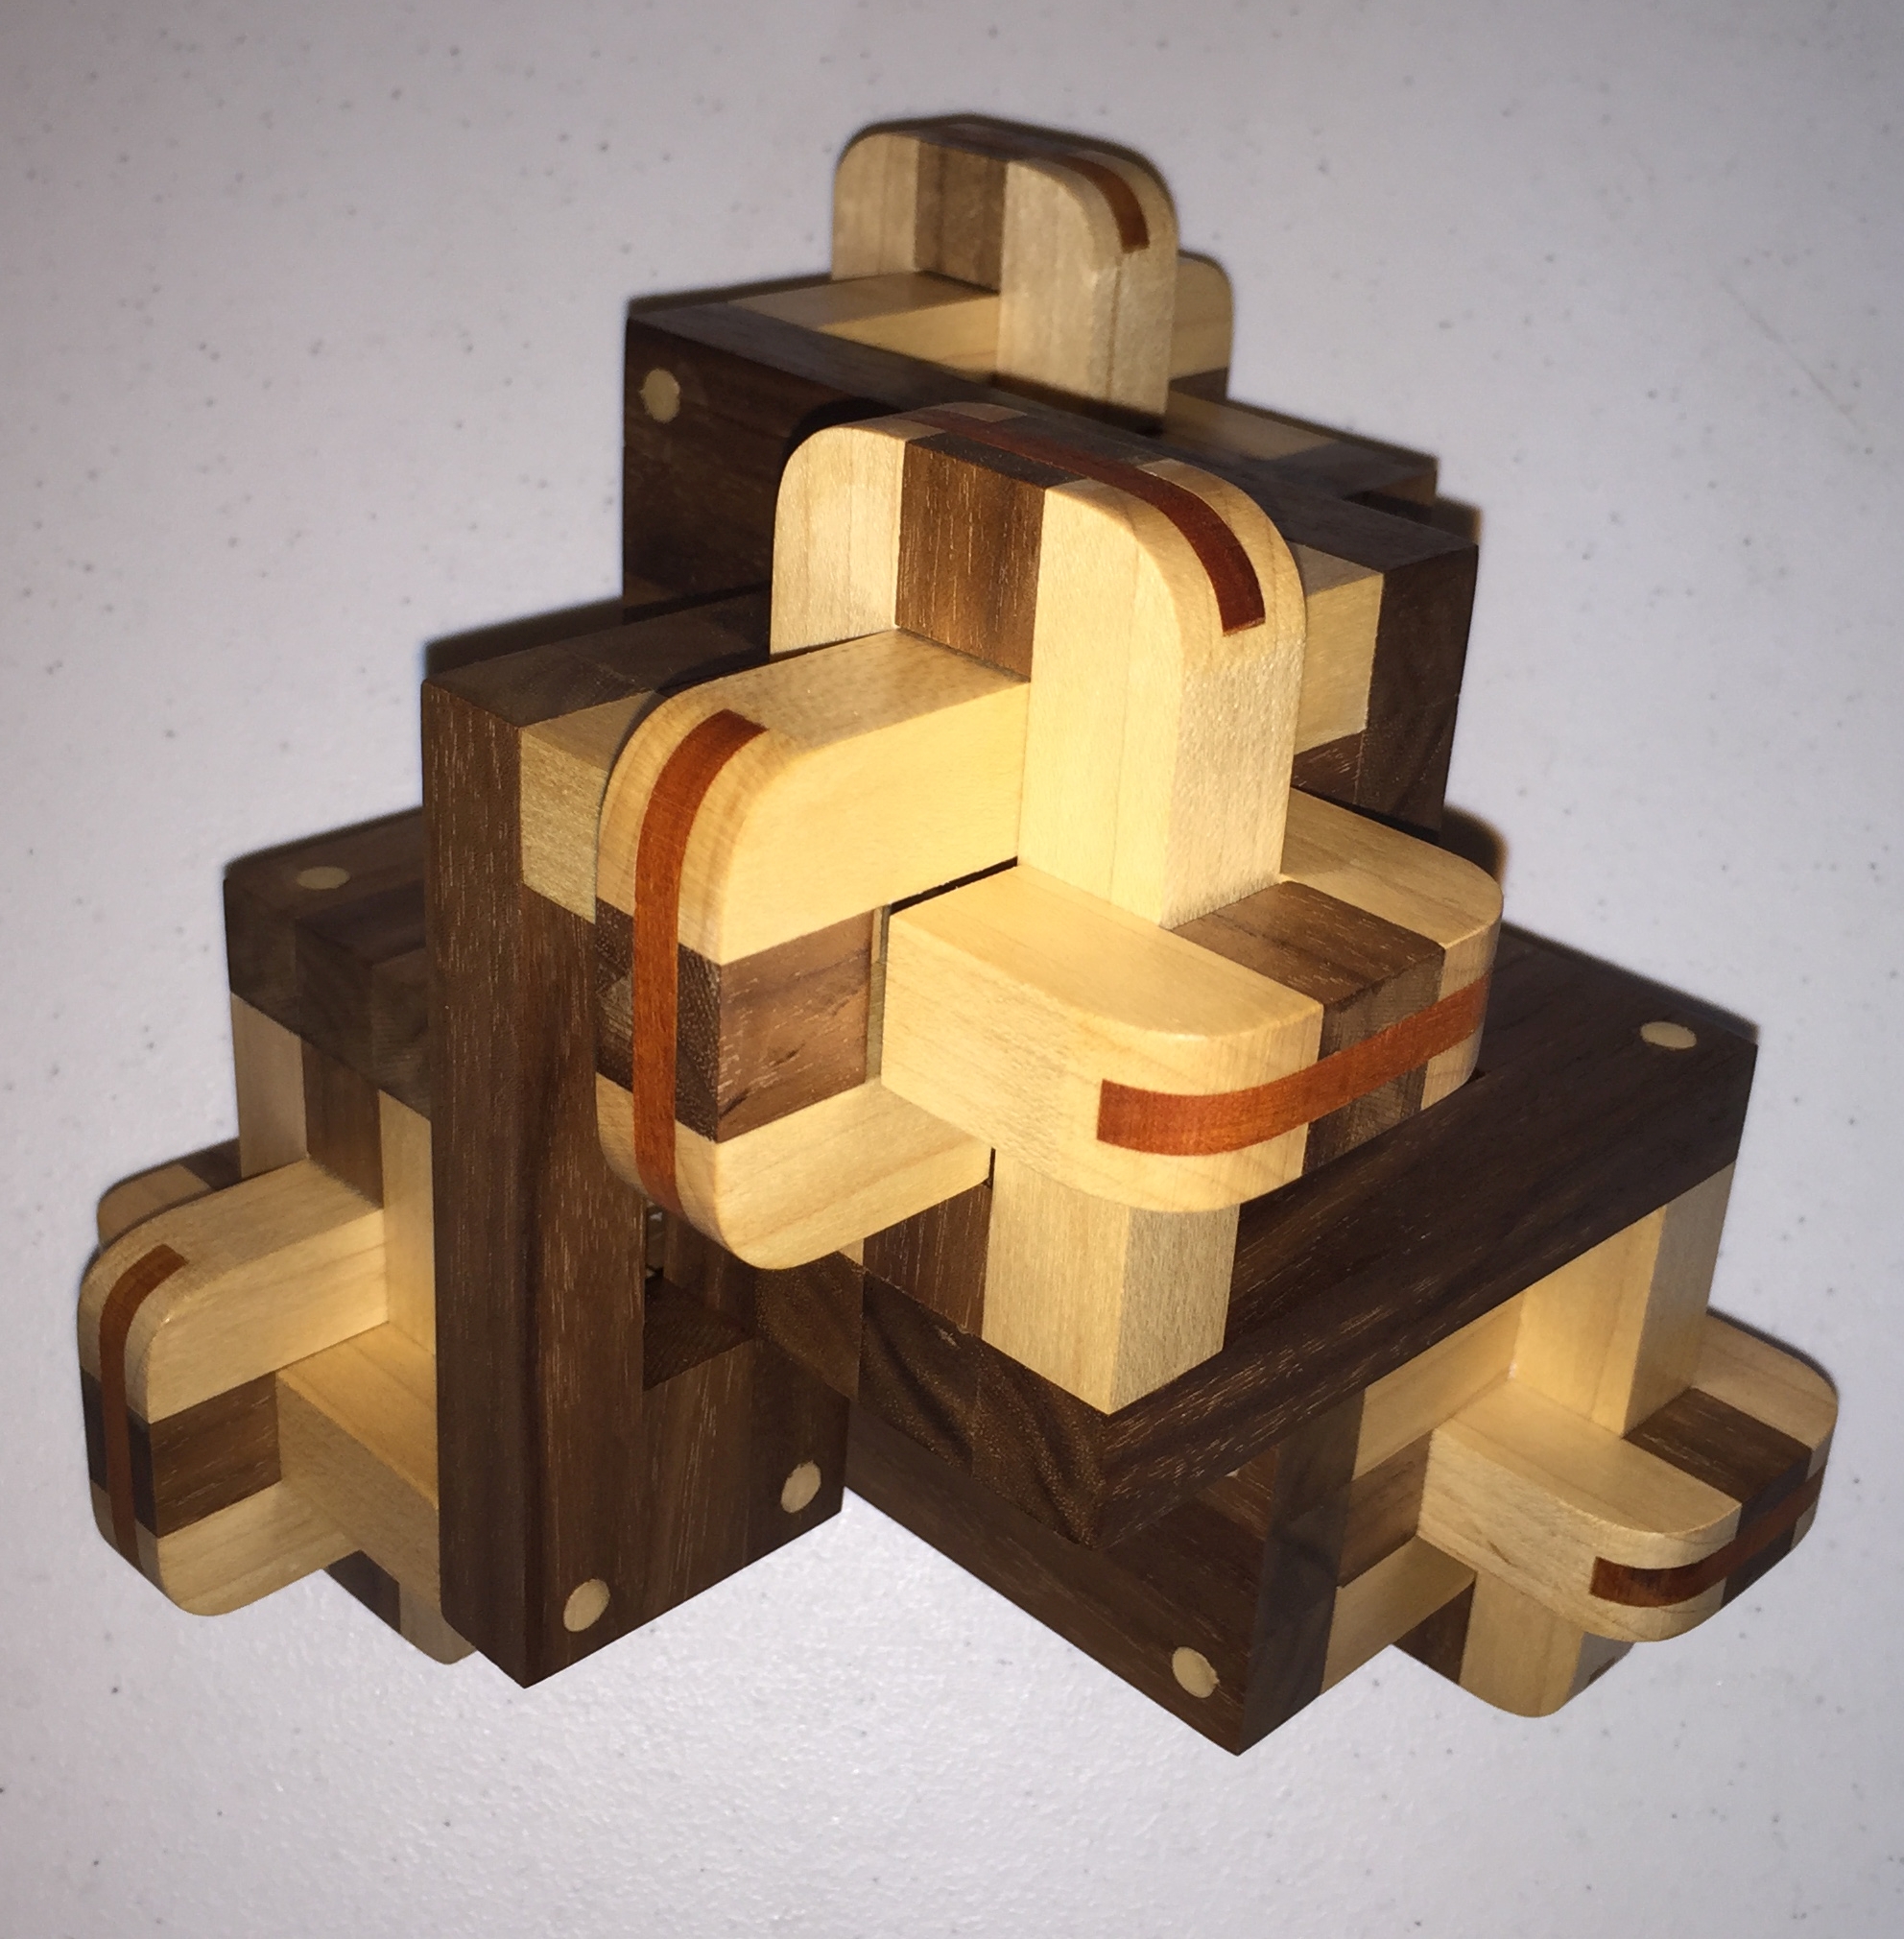
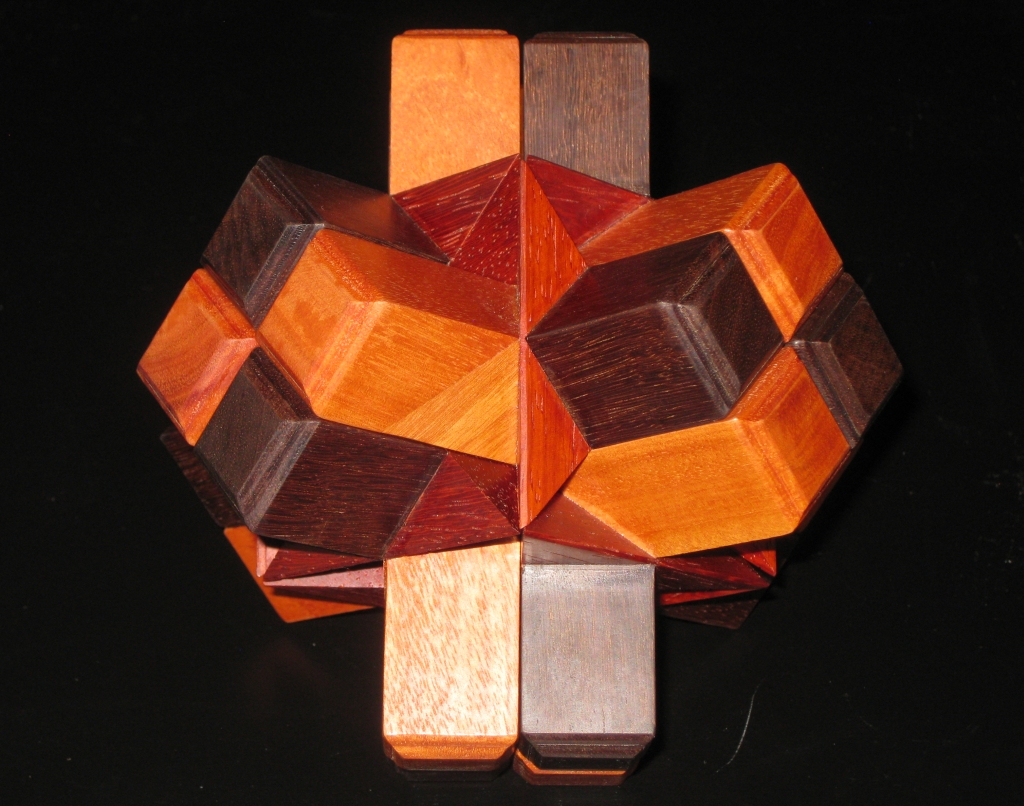
Impossible Cube Triangles by Andrey Ustjuzhanin
Next up is a great set of two puzzles from designer Andrey Ustjuzhanin. The Impossible 3 Cube Triangle and Impossible 6 Cube Triangle are two fun interlocking solids that should keep you puzzling for a little while (unless you’re Brian Pletcher. Ed). Both made by Tom after he recently got permission they are really good puzzles and after Tom threw down the challenge to solve it as quickly as possible at RPP, I had to pick up a copy. (Sneaky that Tom, giving us a puzzle to play with … no correlation to then buying said puzzle at all here!)
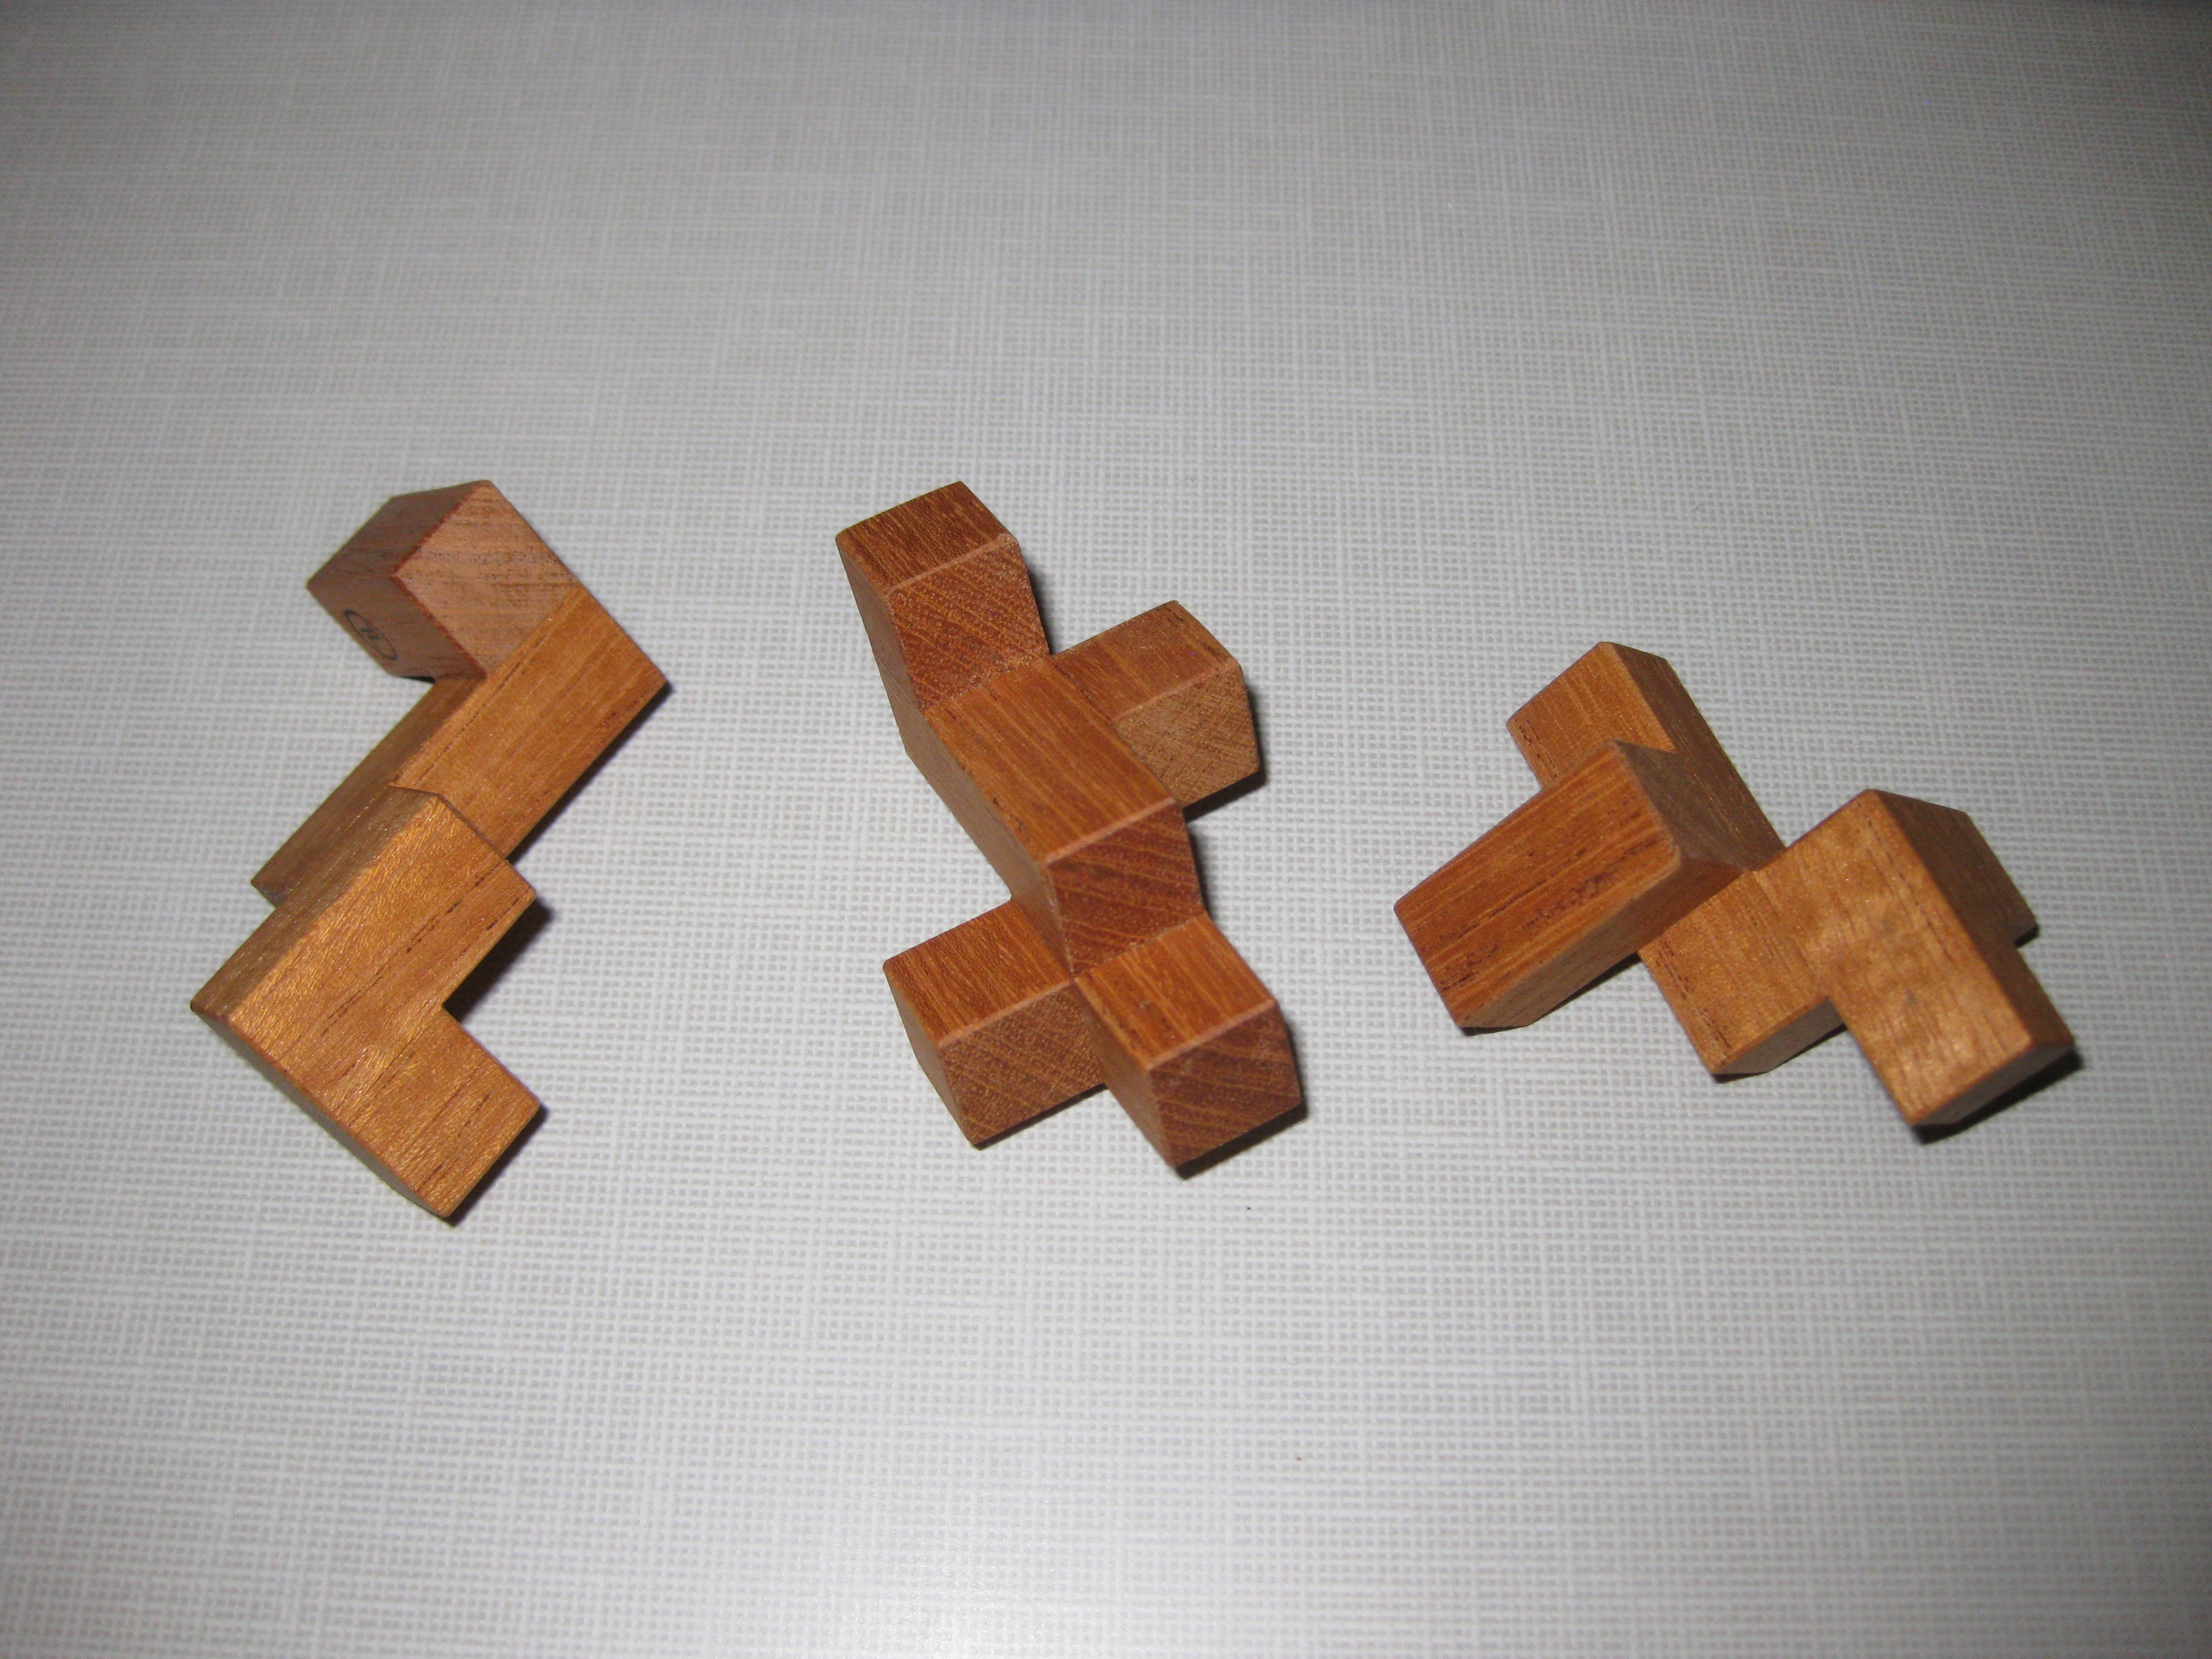
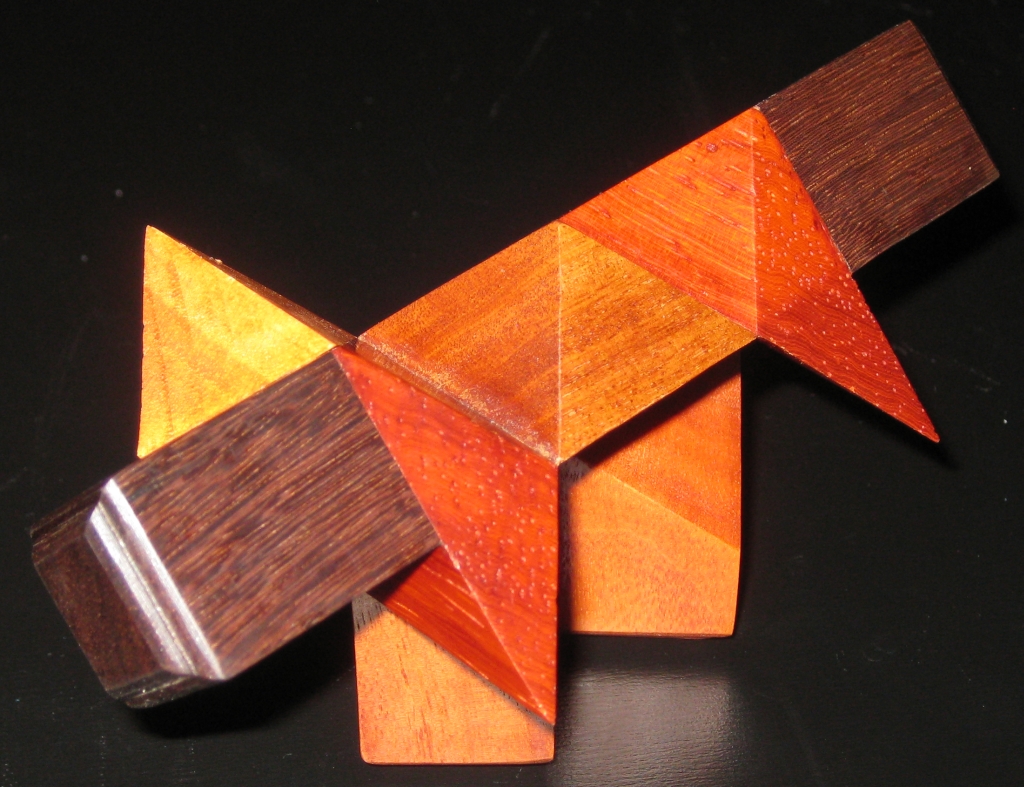
Impossible 3 Cube Triangle
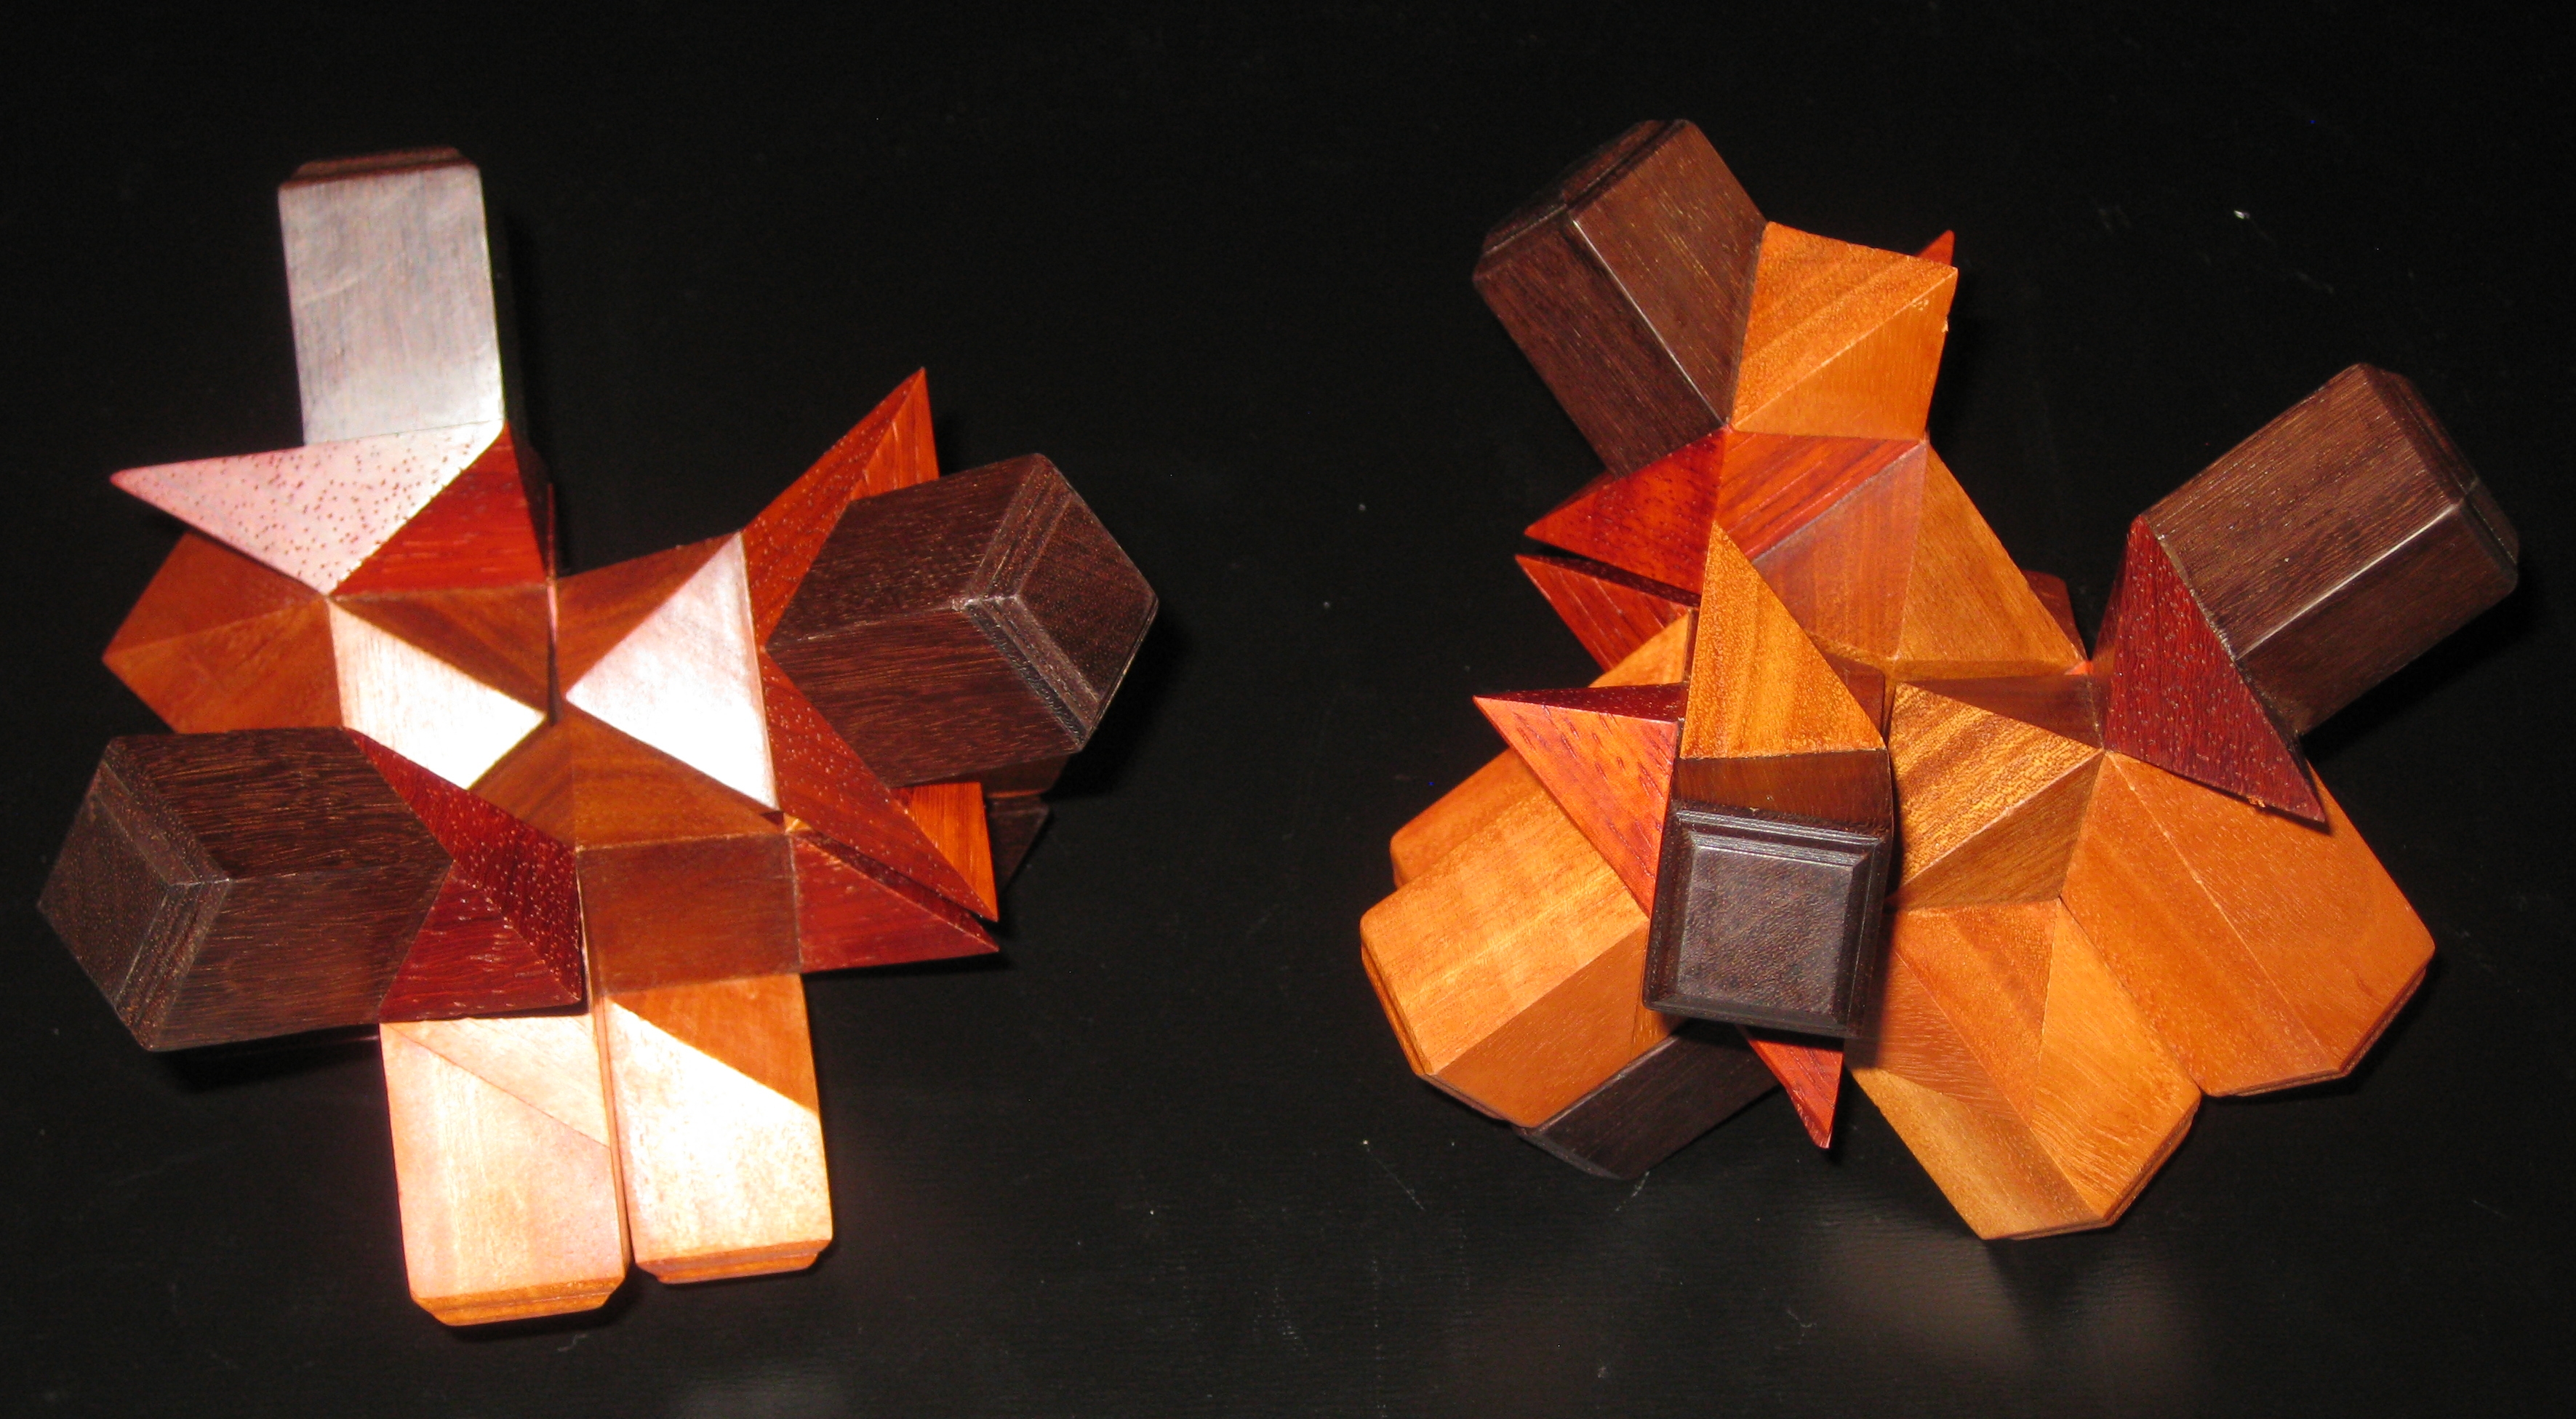
I didn’t manage to solve the 6 Cube version at RPP, and even knowing the solution shape, it still took me a good hour or more to finally solve it. The 3 Cube version is much simpler, with only 3 pieces and certainly makes for a fun puzzle in itself. Each cube is 1″ and both versions stack nicely together as you can see above.
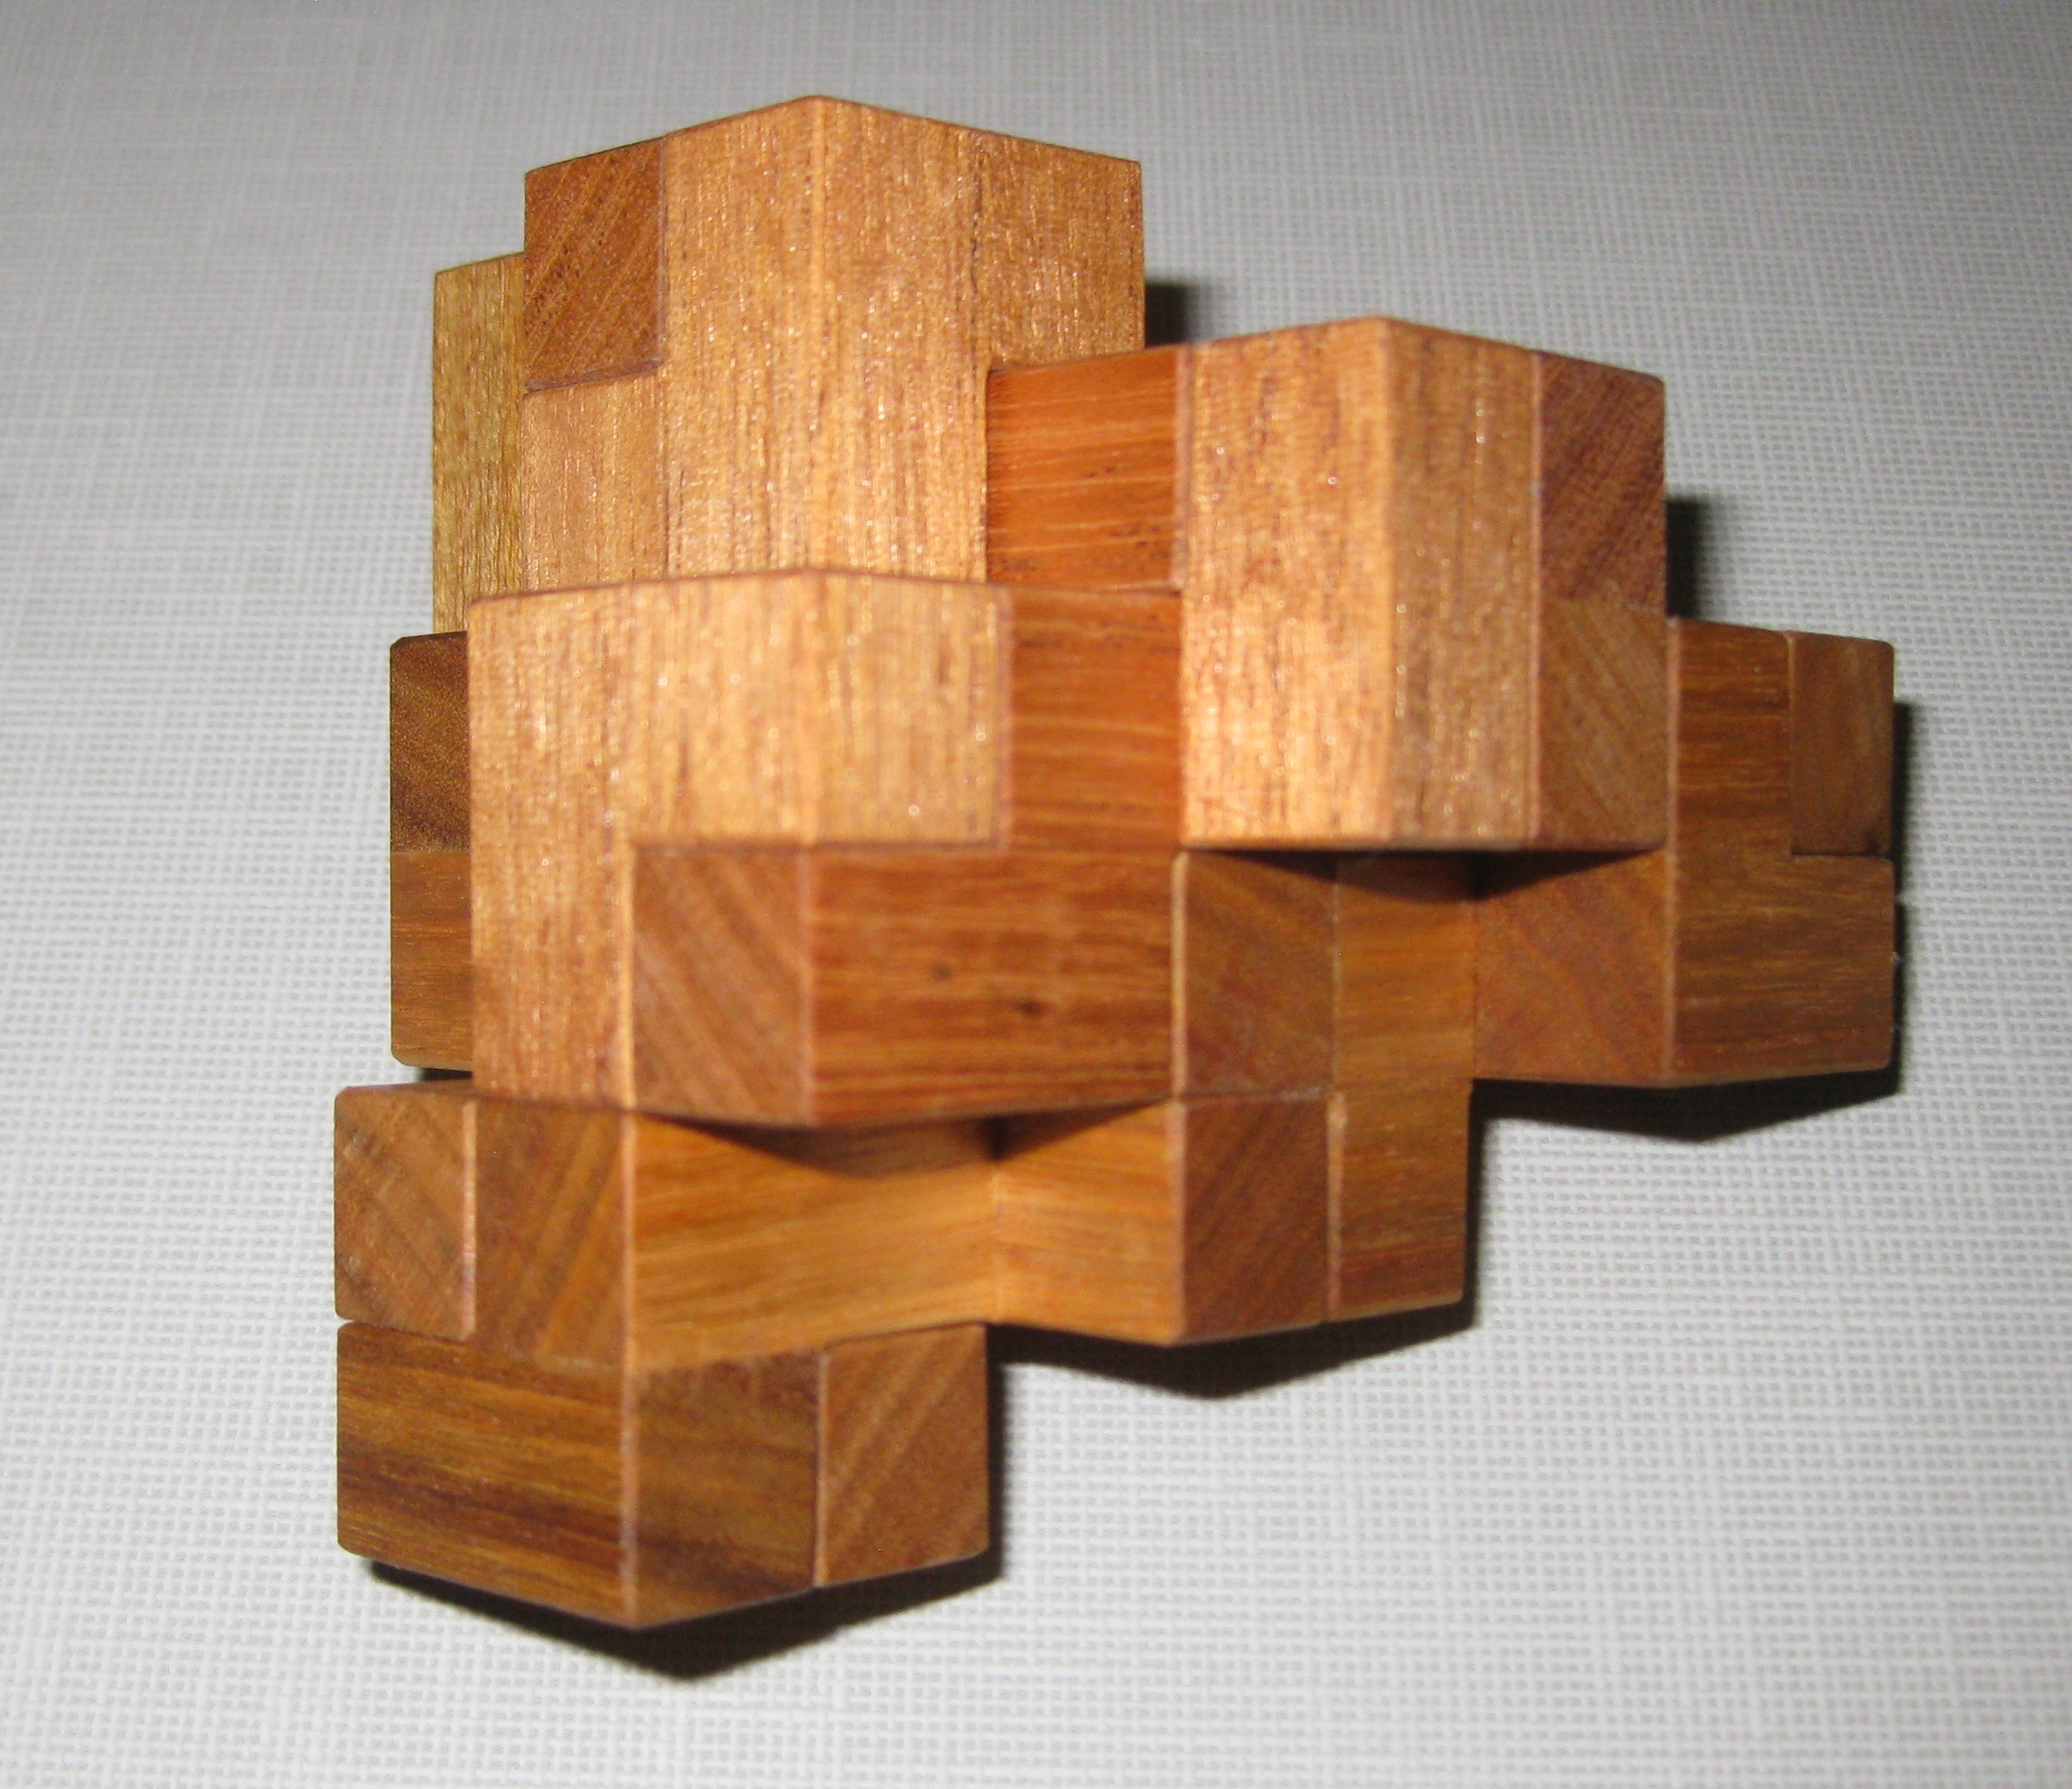
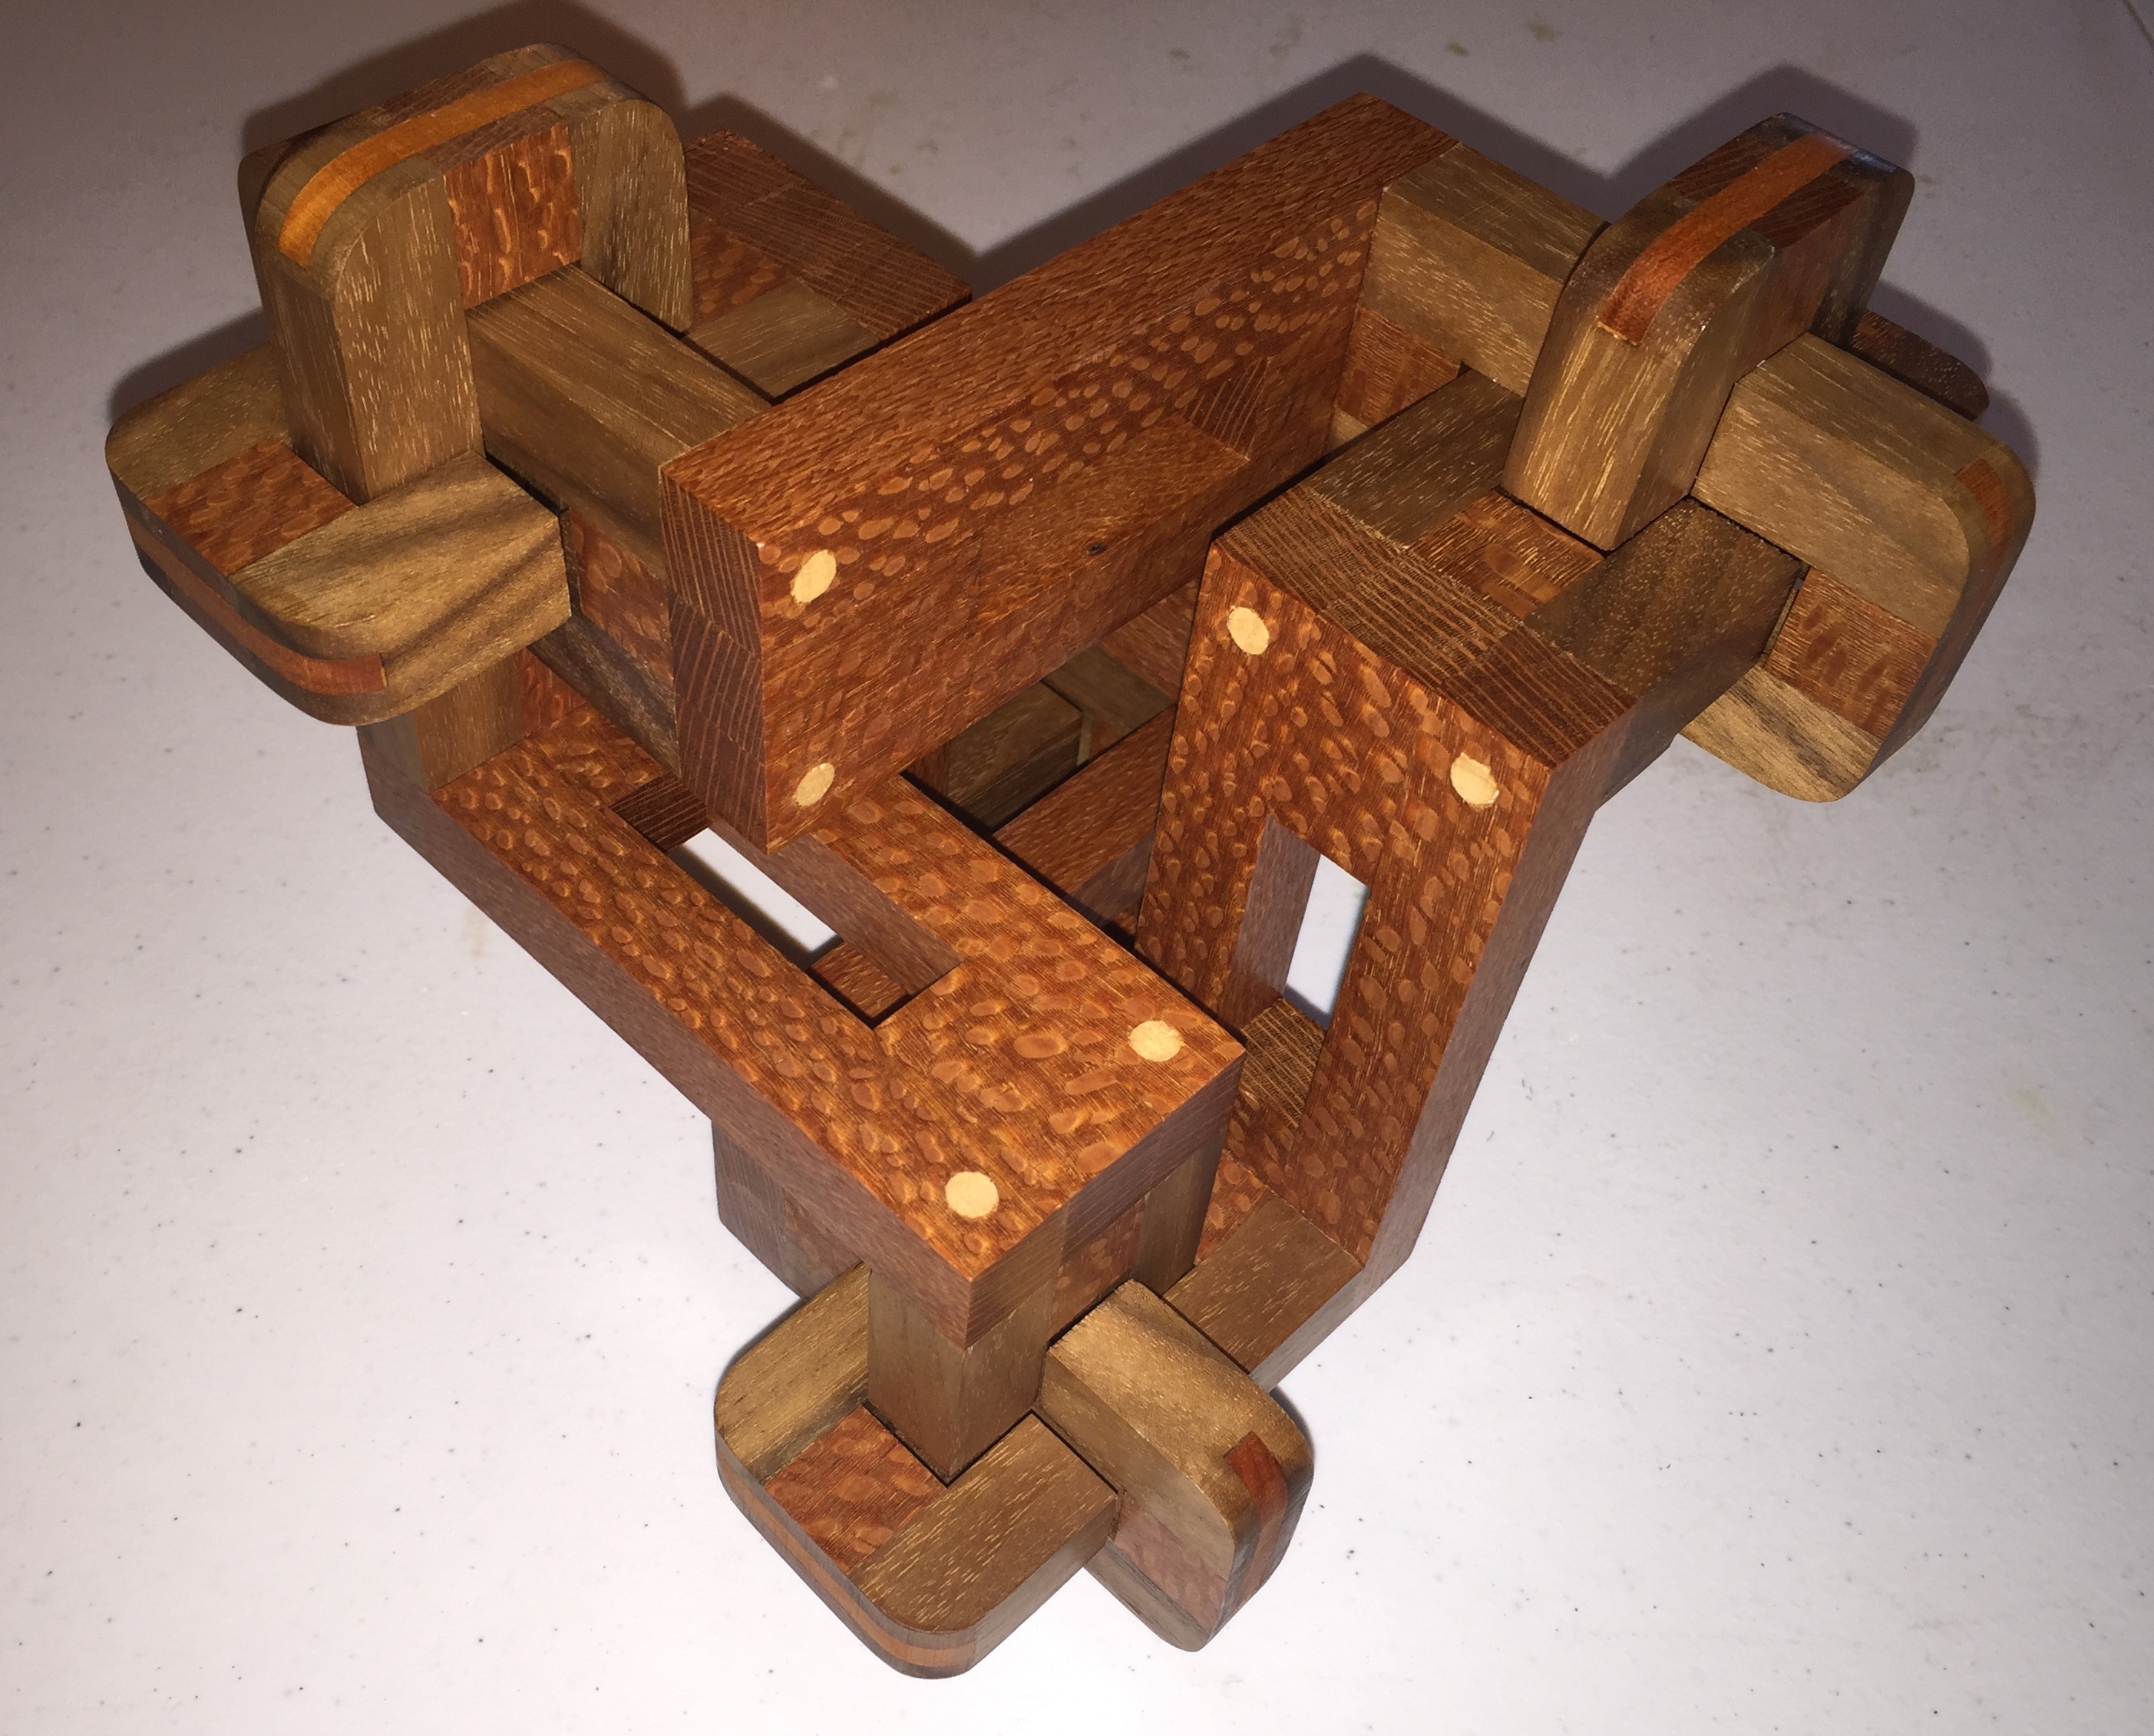
Impossible 6 Cube Triangle
The six Cube version has 4 pieces and is a much tougher challenge. There’s not as many clues as you have with the 3 piece and it really needs you to think out of the box to solve it, or perhaps I should say out of the triangle? The solution to both is nice and leaves you with a nicely interlocked solid shape that won’t fall apart to display it. If Tom has any of these left, I’d move quick as they’re well worth having.
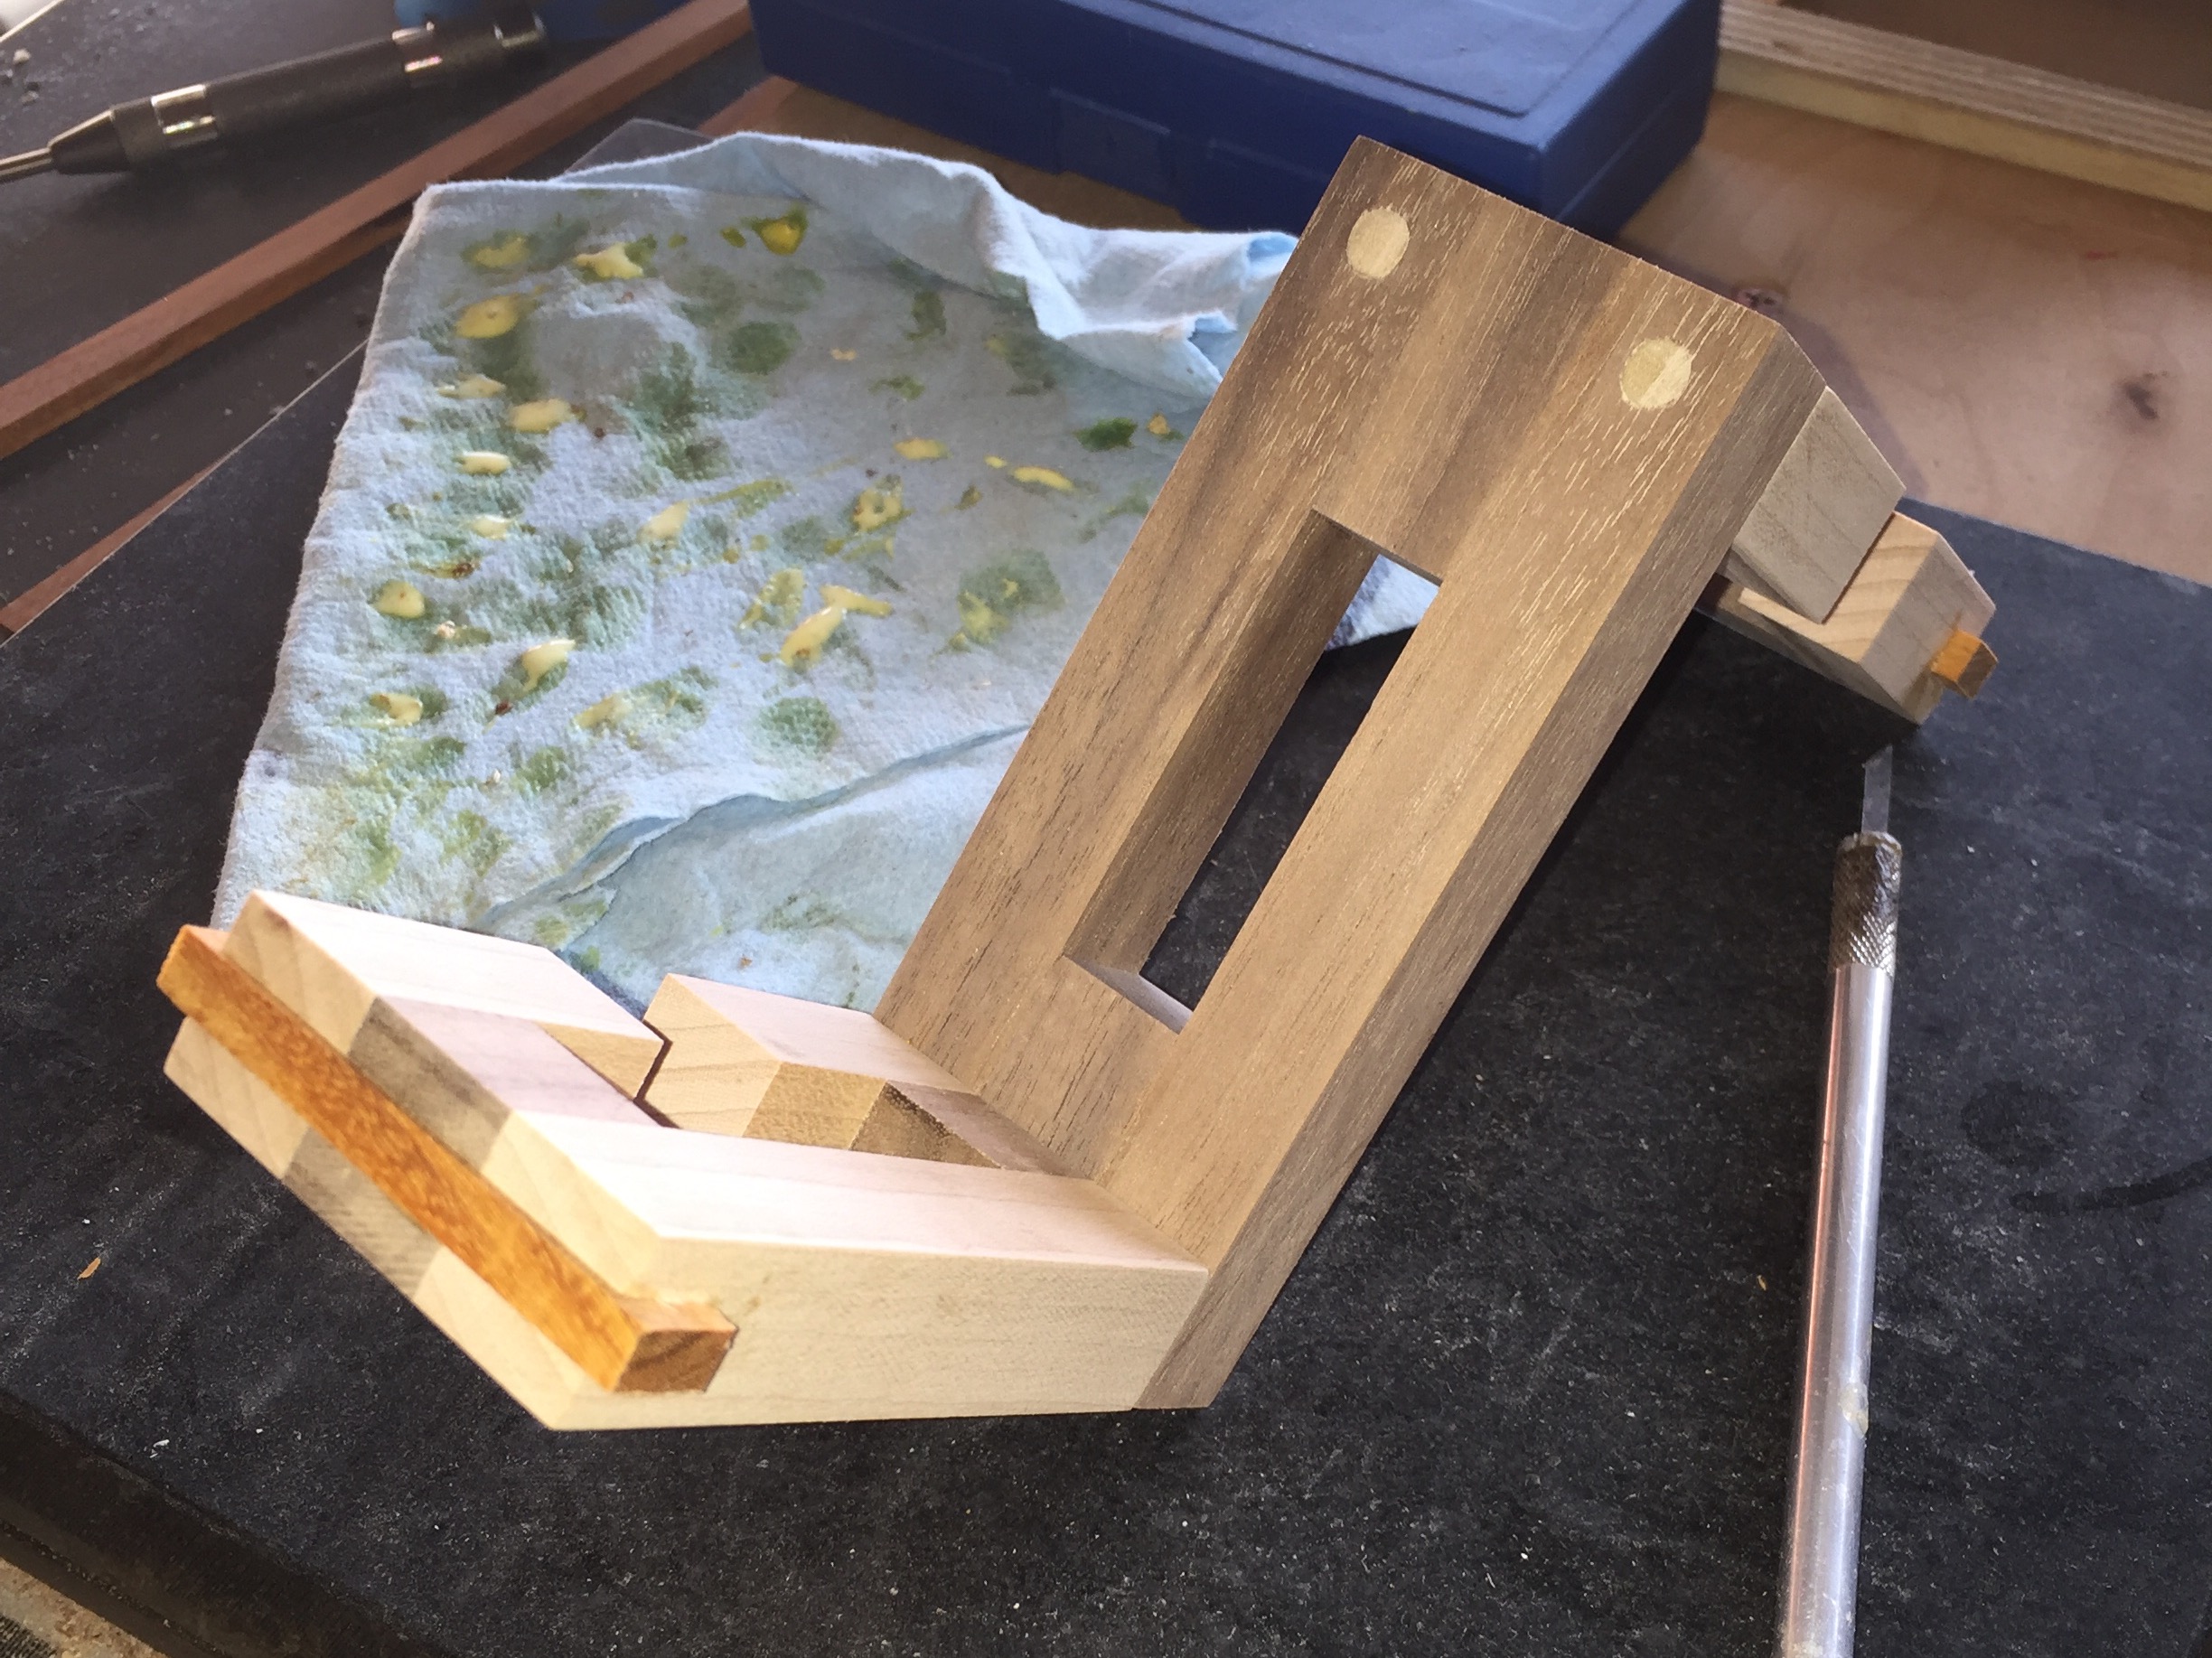
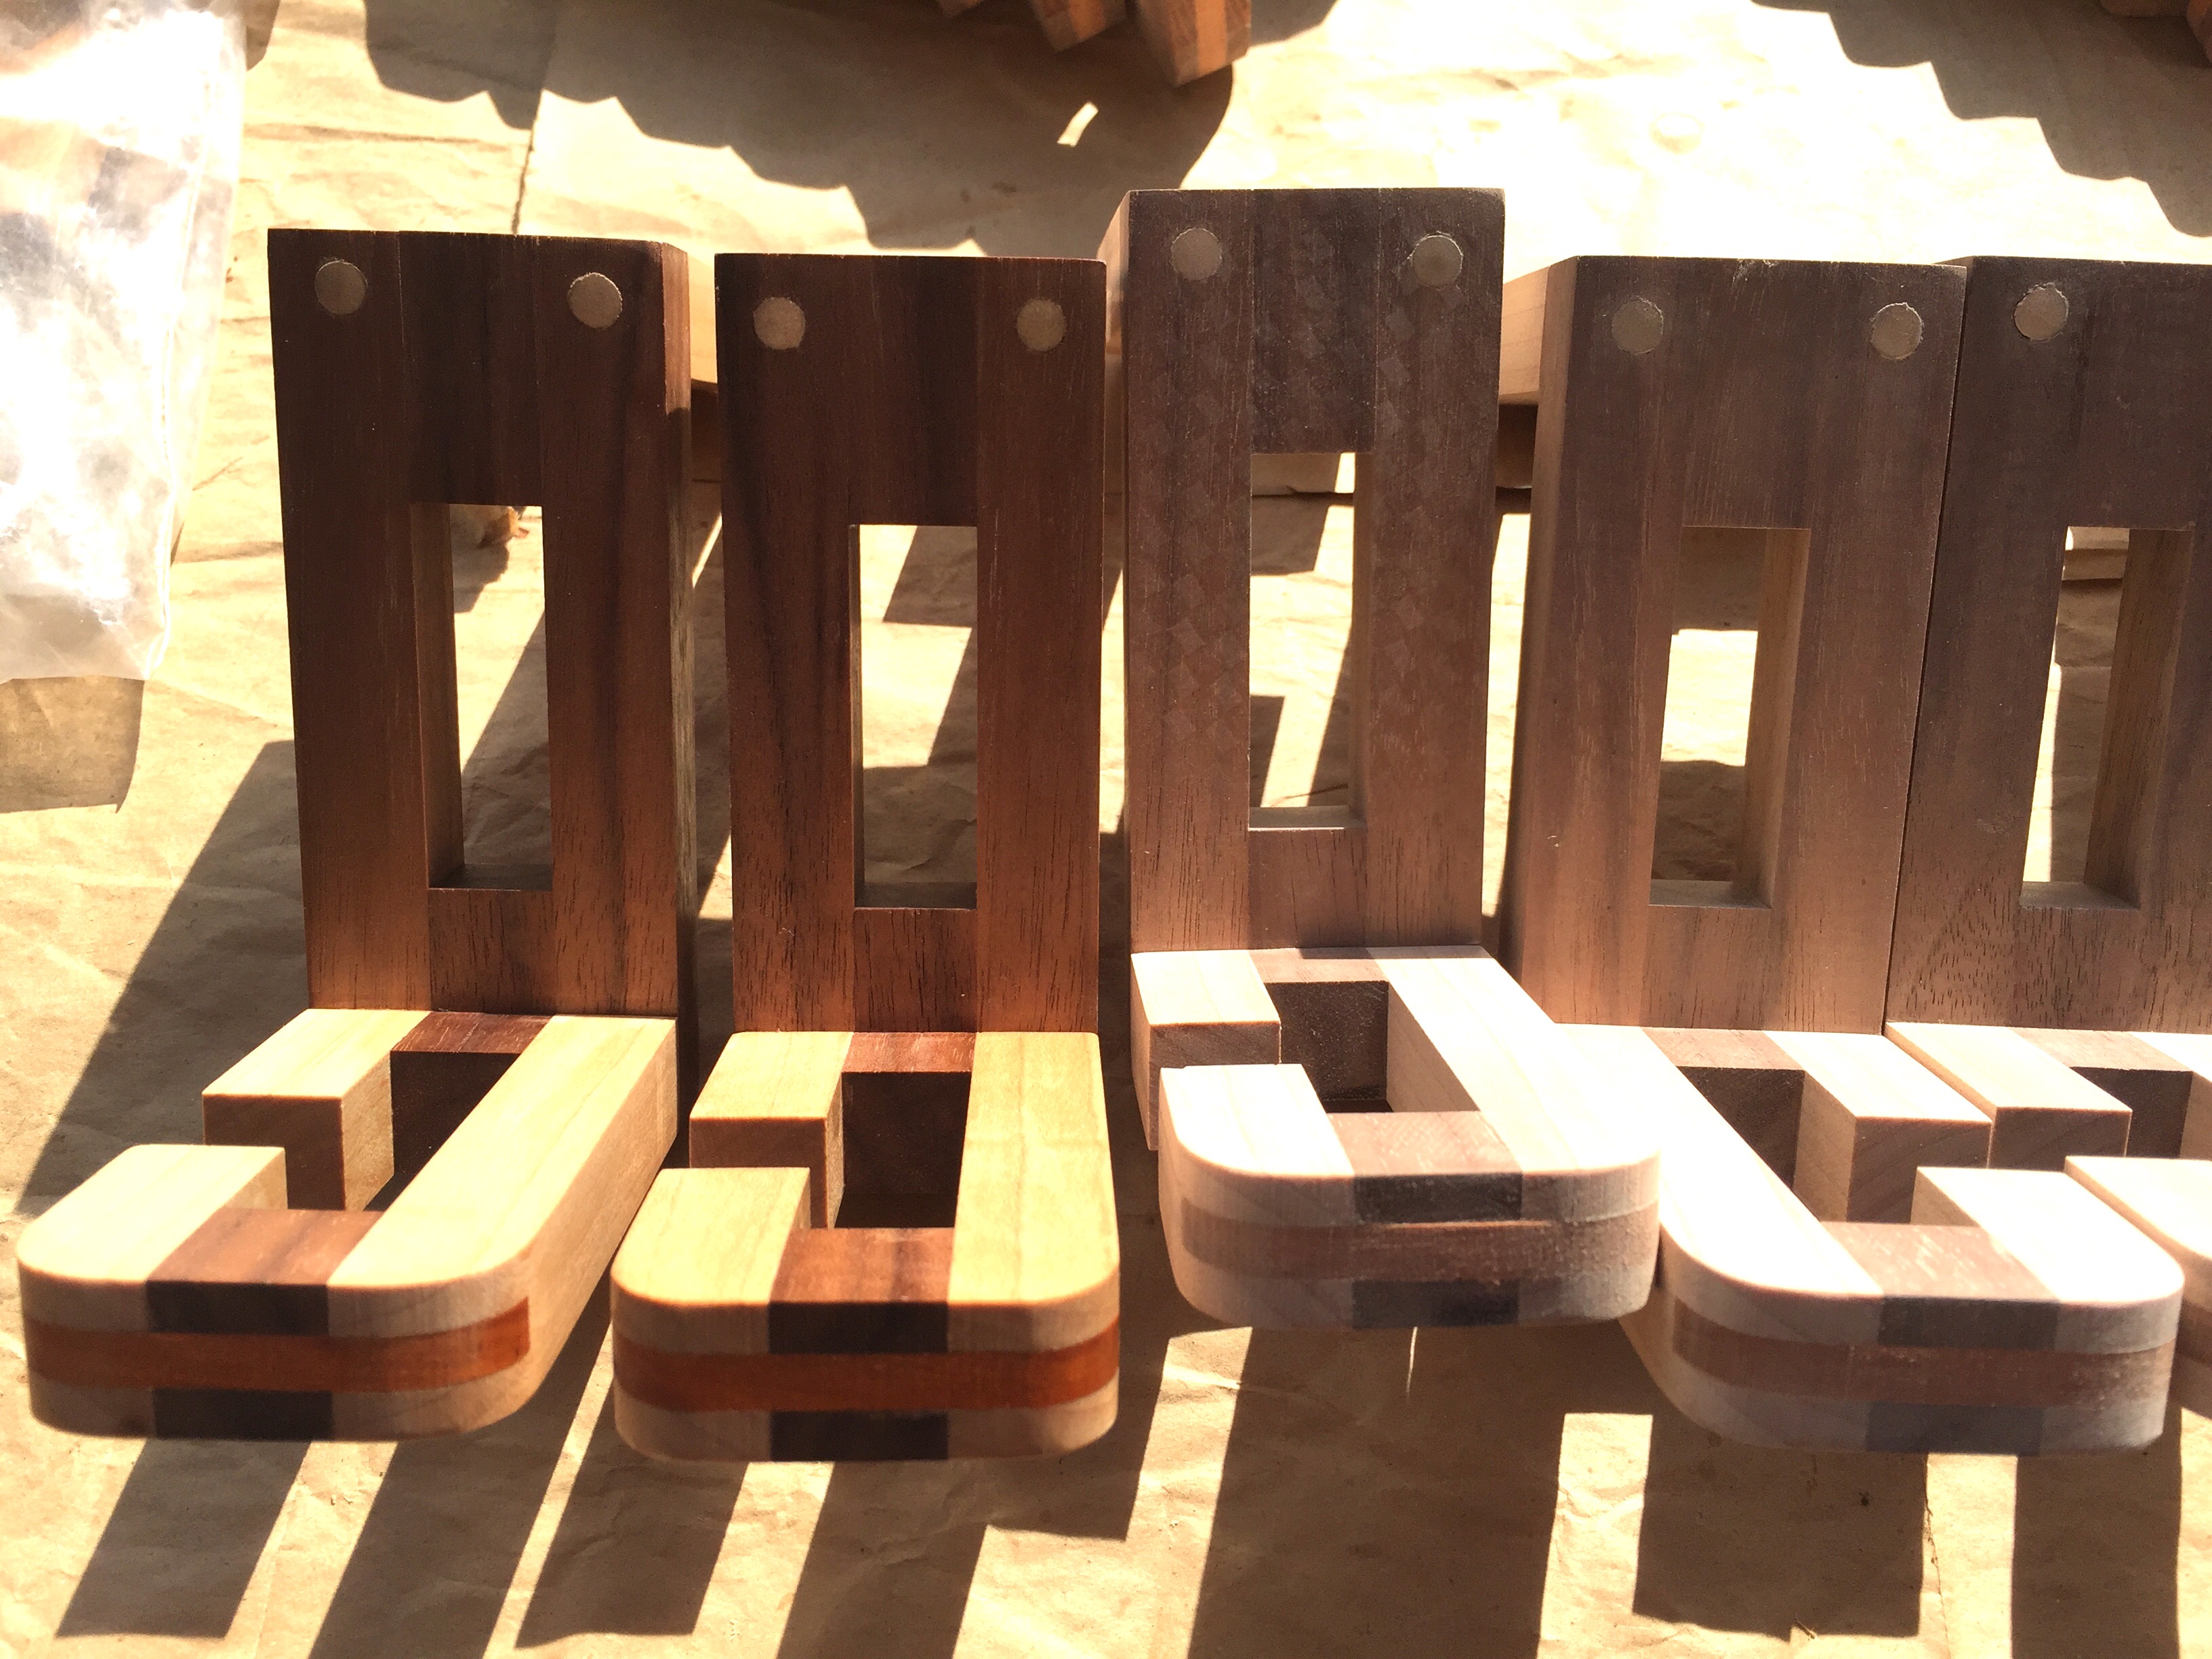
Little Bruce
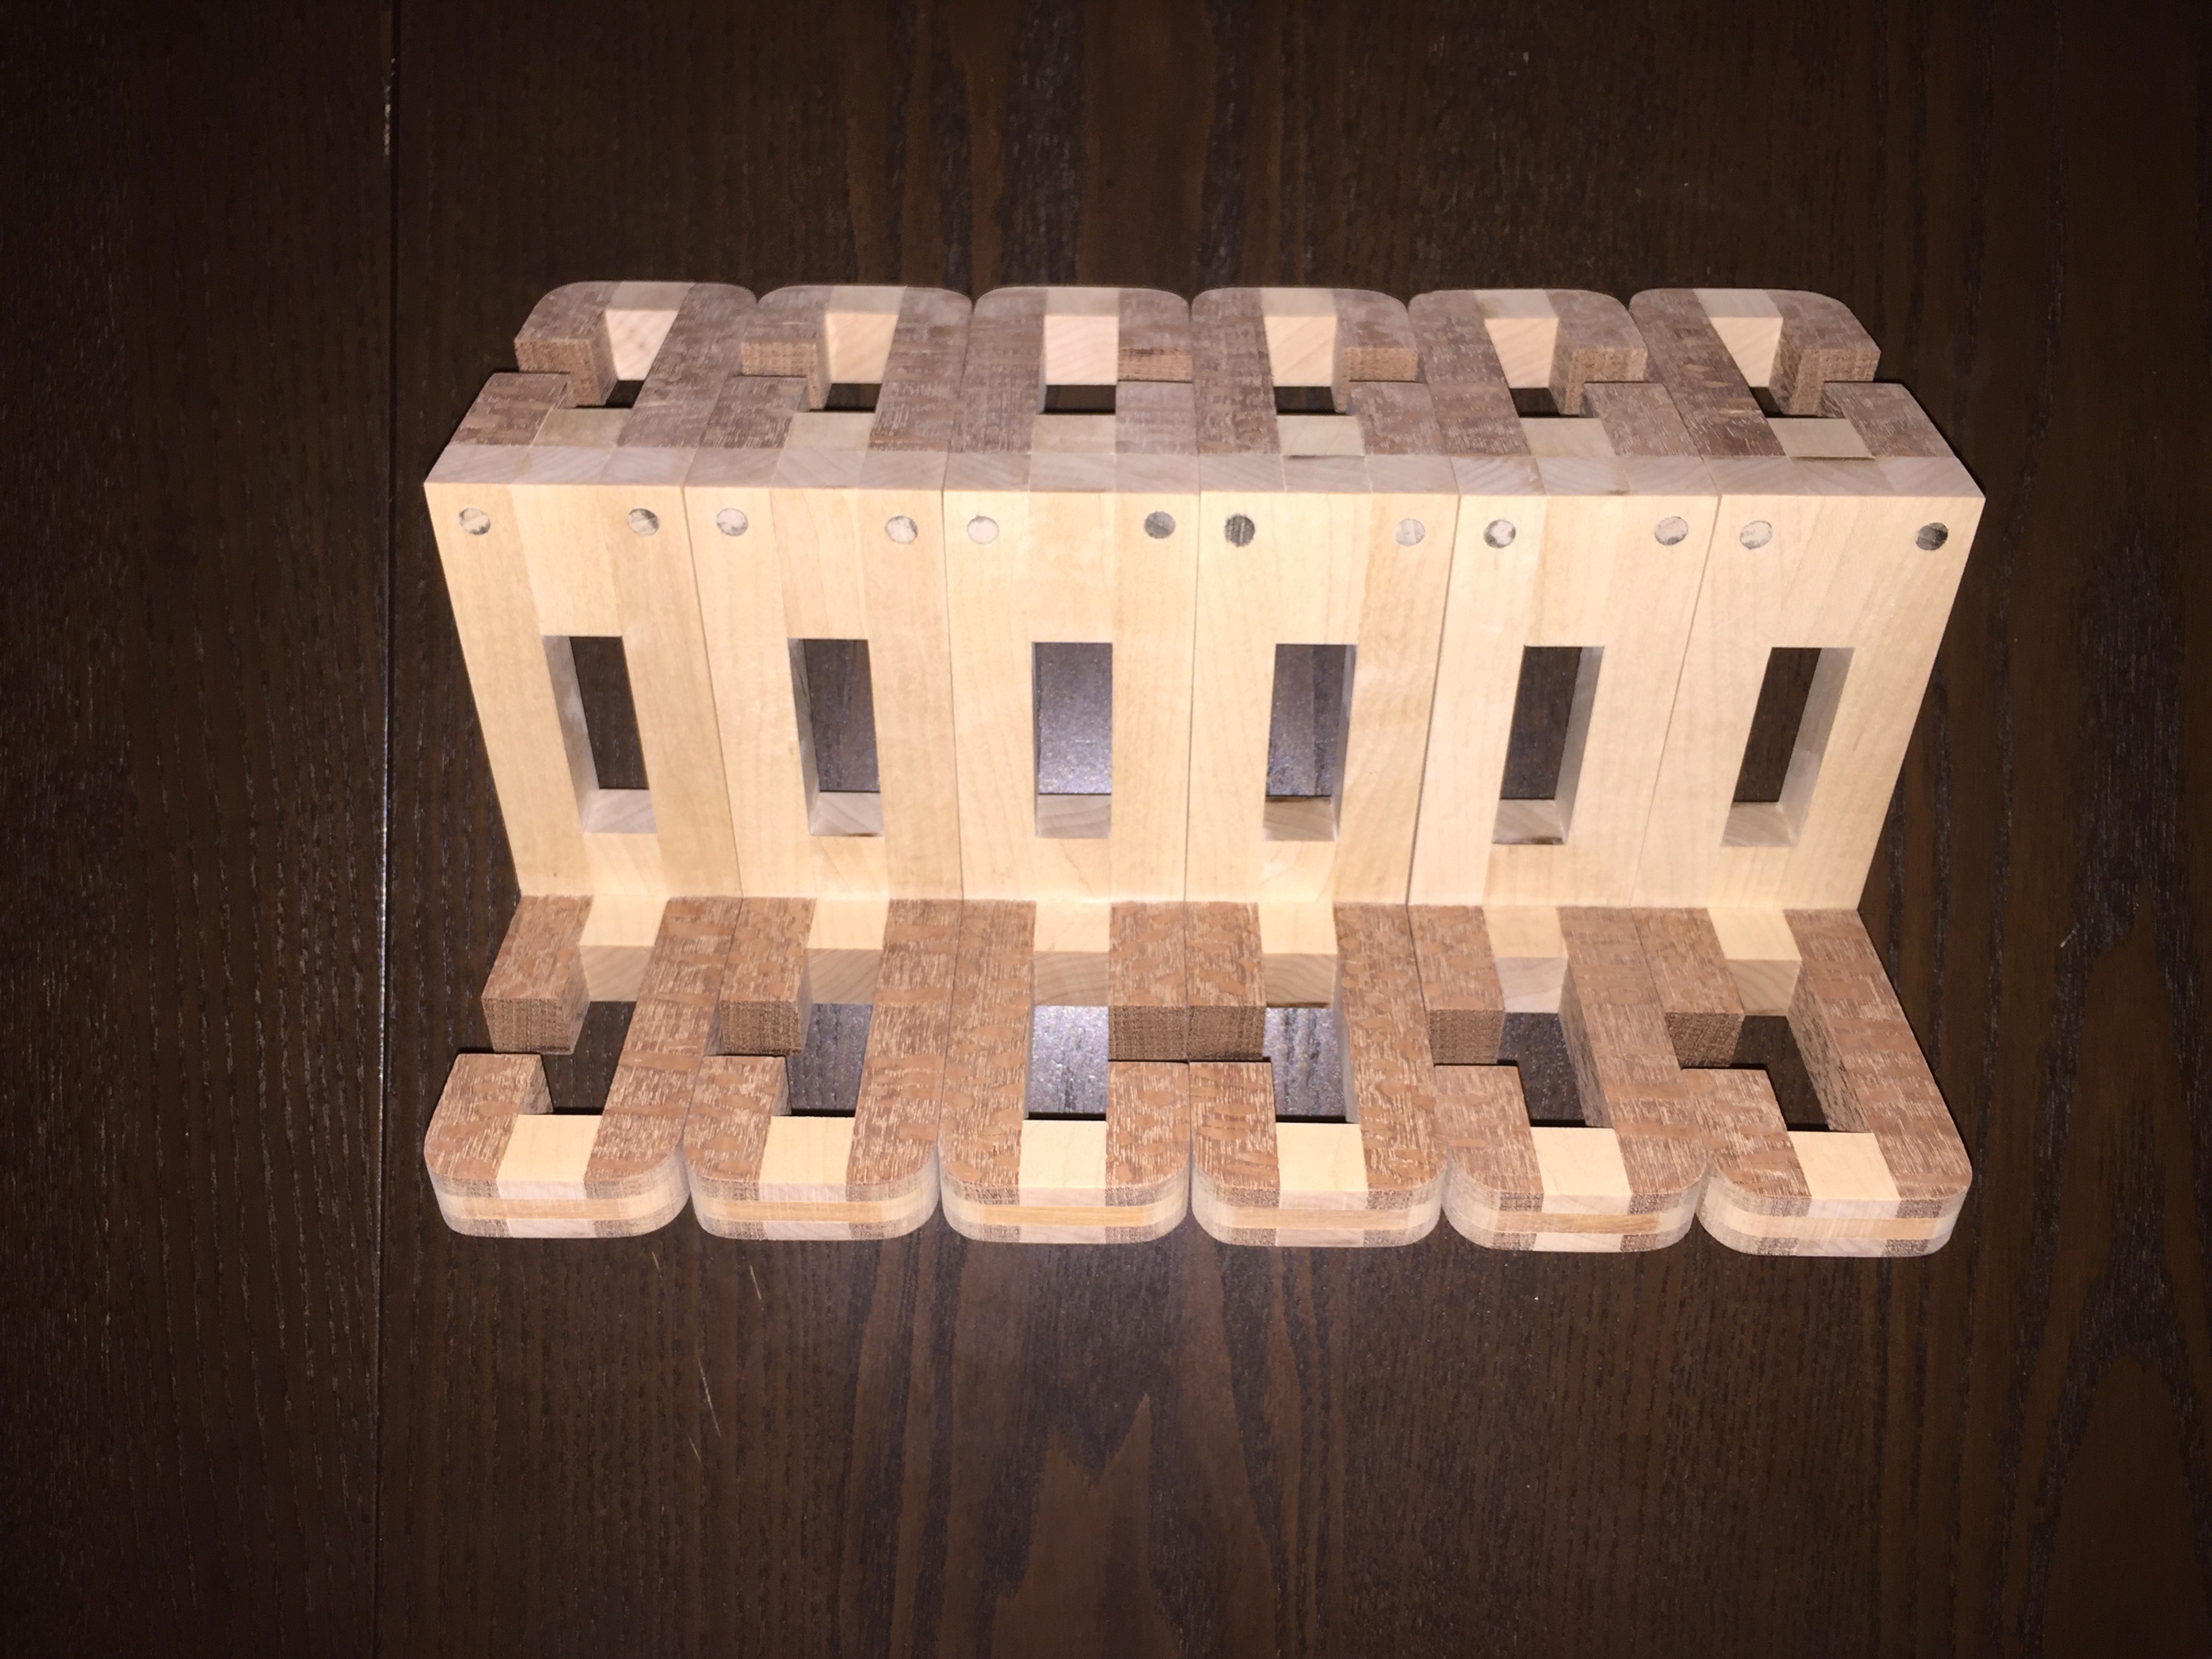
Little Bruce by Ken Irvine
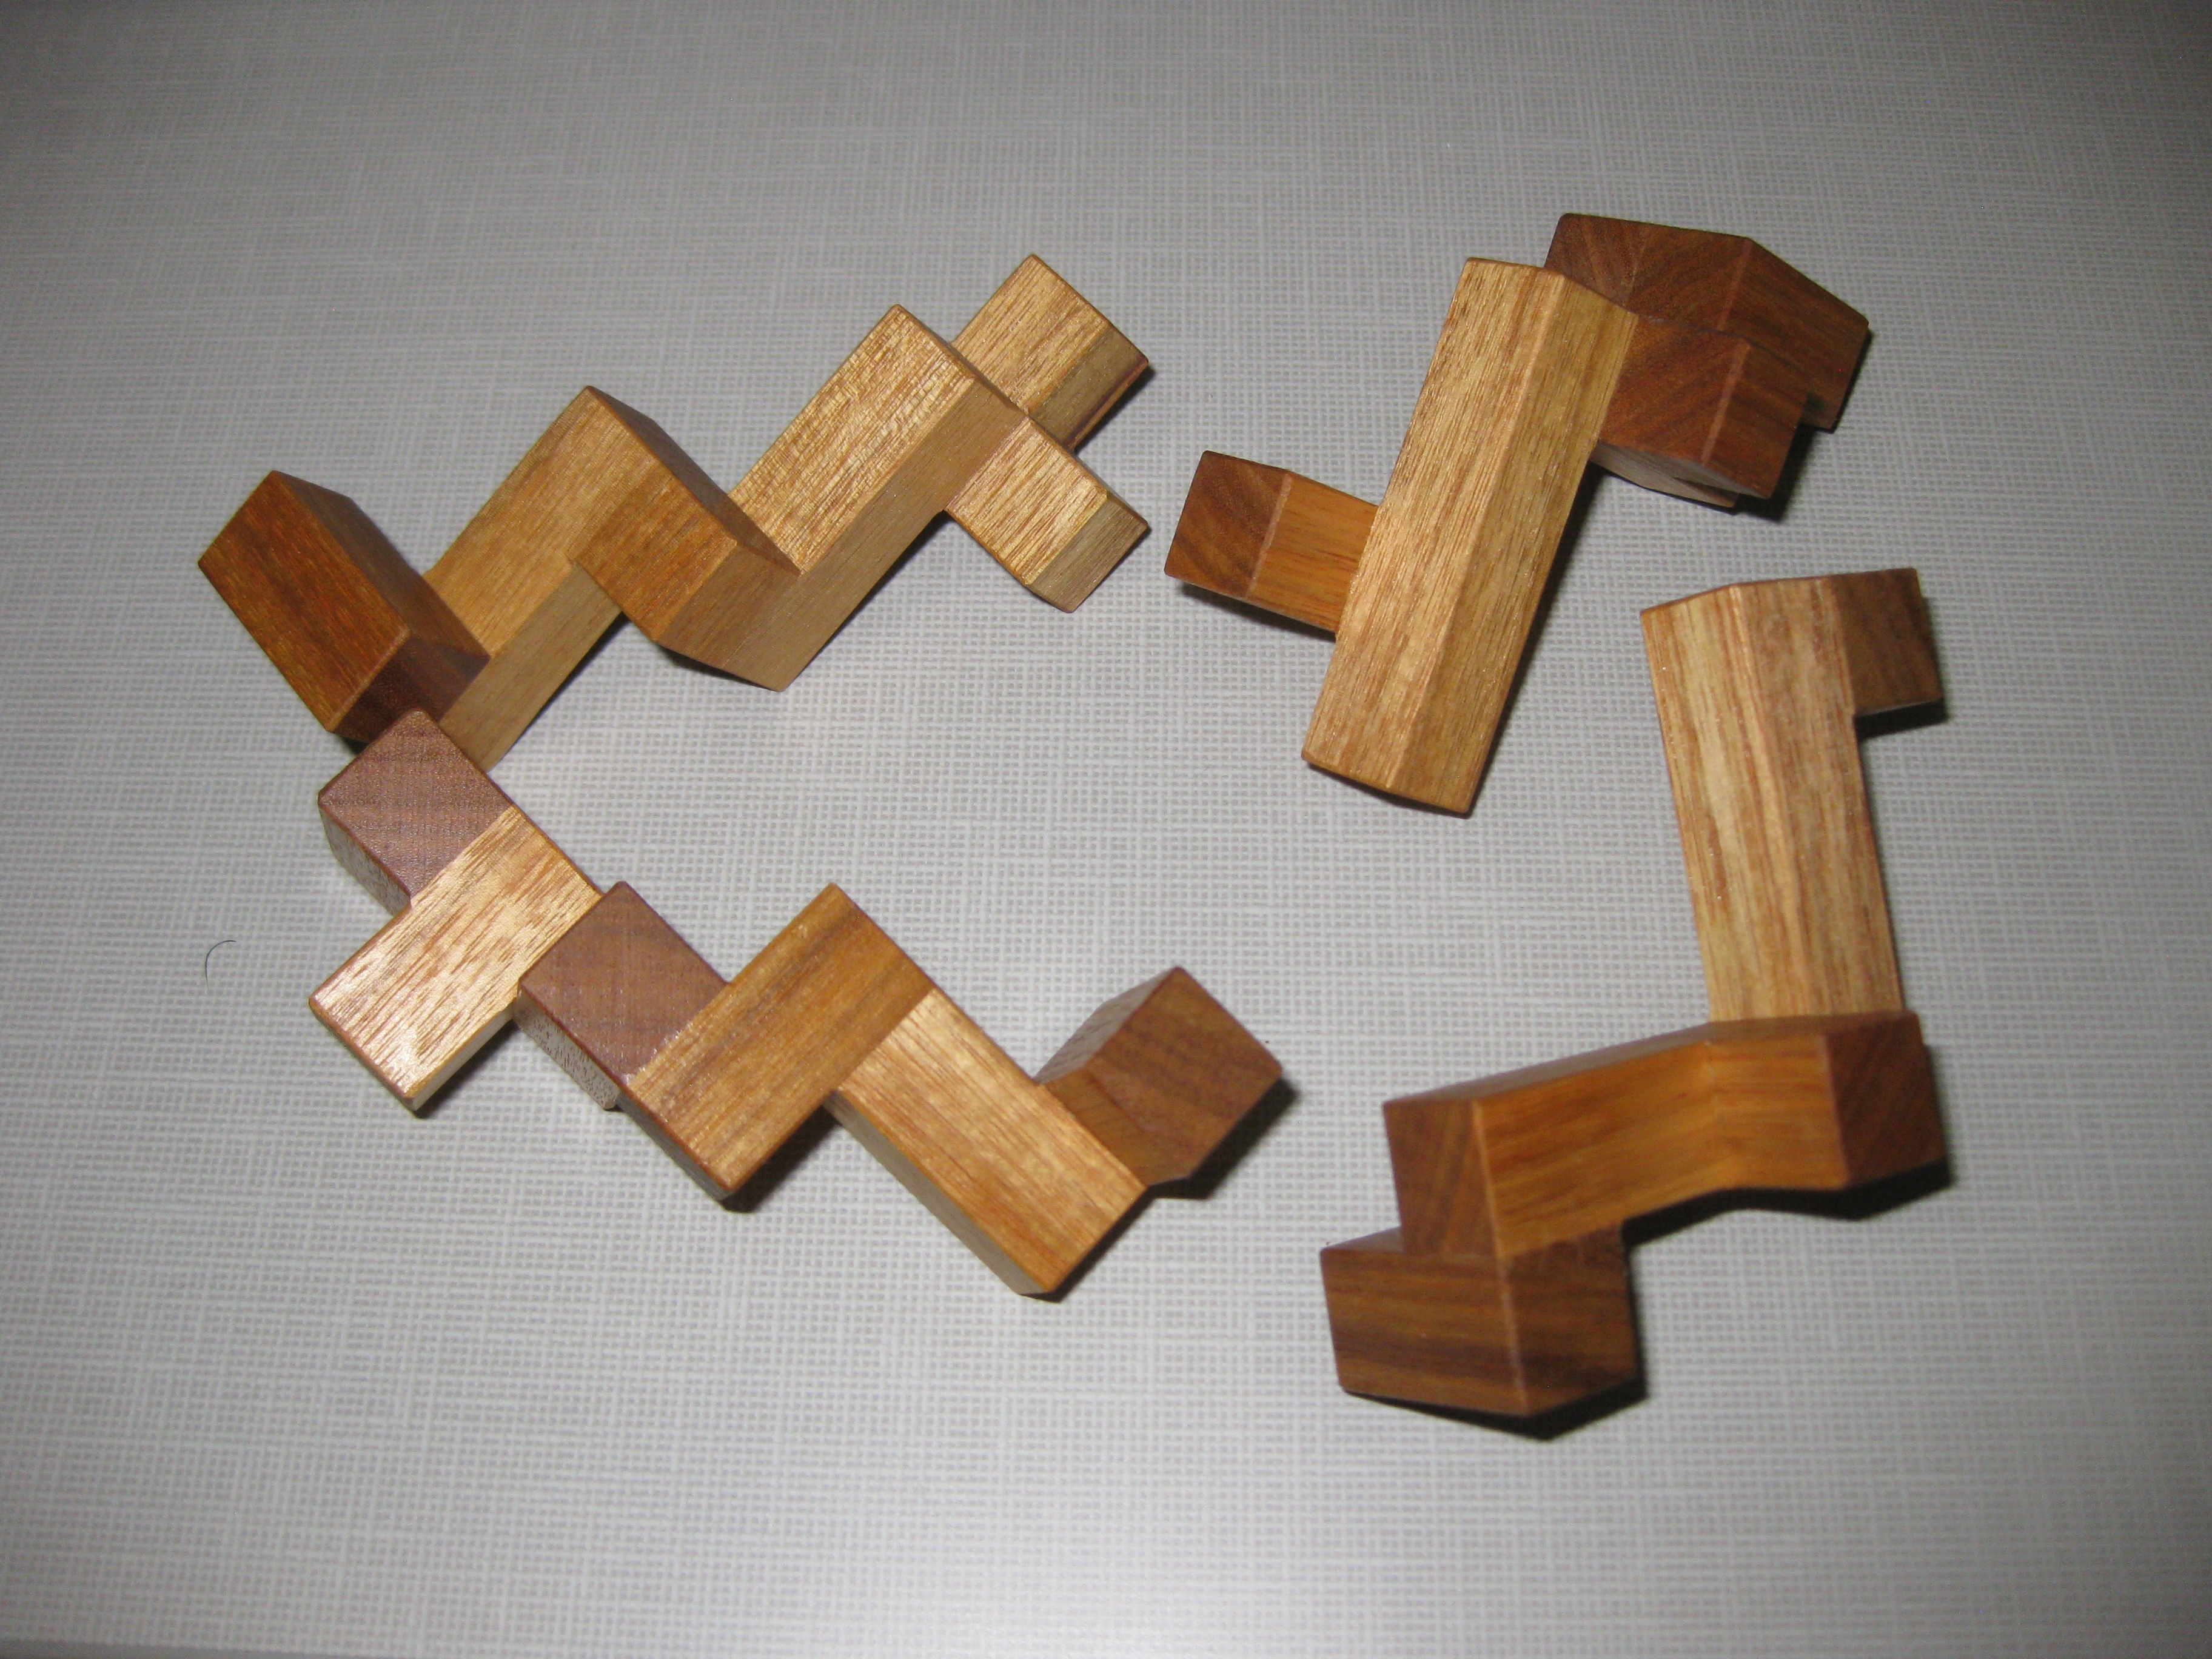
The final puzzle I picked up at RPP was Little Bruce which Ken was kind enough to hand me in four pieces at one point. I was fortunate enough to be given a copy of “Little Kenny” last year, and this is a suitable follow up to that puzzle.
Little Bruce is made from Maple, and measures in a t 2 1/2″ x 2 1/2″ x 1 3/4″. It’s really nicely made and finished, and Ken has signed one of the pieces.

Little Bruce in pieces
I may have sworn at Ken for his use of “Half Cubes” in his puzzles. For some reason those half cubes seem to give me all sorts of problems. Where you’d normally be able to make a move that cube just gets in the way. Ken just laughed at me and said “It’s a clue”. He’s not wrong, but it is equally an obstacle to solving the puzzle. As with all of Ken’s puzzles I’ve played with the solution is delightful, with more than enough clues that mere mortals can solve it, and even enjoy solving it. There’s a couple of Aha moments along the way, and the twist to the puzzle is great.
Thanks again Ken for allowing me to add another Ken original to my collection. I’m honoured.
Well that’s all for this review, I hope you enjoyed it, and I look forward to writing a lot more in the near future.


")


