We’ve made it into 2013, and I find myself wondering where the year went. Seems like I achieved a lot when I look back on it, and even though I didn’t write about as many puzzles as I may have wanted to it seems like I got though a fair few. My collection continued to grow, thanks to some great designers and craftsmen out there, and I was invited to my first International Puzzle Party.
I met many of the people I’ve spoken to over the internet and made many new friends while I was there. One of those was Dor Tietz, who I was introduced to on the first night when a group of us went out for dinner. As we talked, I mentioned that I’d been to Israel a few times and given my day job, I’d probably be back again. He told me to let him know if I was going to be in Israel at any point as he’d organise a get together. So when I was traveling in October, I sent Dor an email, and he arranged my Second IPP for 2012. The Israel Puzzle Party! Before I leave 2012 behind I really need to write about this IPP as it was a very special meeting for me, and I had a lot of fun. It would be a shame not to write about it.
Dor very kindly picked me up from the Office at the end of my work day, and we drove the twenty minutes back to his house. While on the way Dor’s phone rings and there’s a short conversation partly in Hebrew and partly in English, as Dor confirms that we’re on our way.
Getting off the phone, Dor tells me that the call was from Dan Feldman who was on his way. Dor had arranged for a small, select group of local puzzlers to come along while I was ‘in town’, and had hand picked people to join us. Quite an honor, and as Dor pointed out, made sure that it wouldn’t be overwhelming for me.
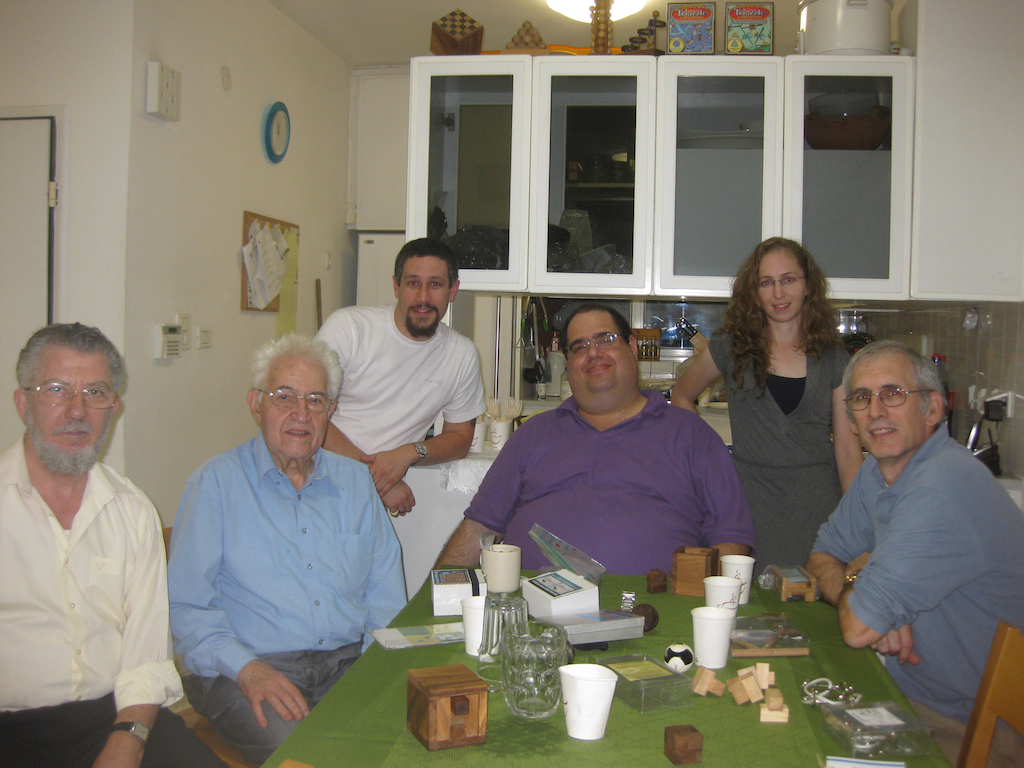
Dan Feldman, Abraham Jacob, Me, Dor Tietz, Yael Meron, David Goodman
The small group included Dor, Yael Meron, Dan Feldman, David Goodman, and Abraham Jacob. Dor and I arrived a little ahead of the rest of the group, so I was given the tour of Dor’s collection. Sadly I didn’t take photos, but it’s fair to say he has a great collection. Various Hanayama’s and Puzzle boxes are on shelves in the living room, and there’s a dedicated puzzle room with one wall filled with bookcases of puzzle books and several cabinets with drawers filled with puzzles, all organised by type.
I didn’t have much time to rummage, as the rest of the guests started arriving, so I was introduced to the rest of the Israel team. Having met Yael on the first night at IPP, it was good to see her again and be able to catch up. Not to mention that another familiar face always makes things easier. Although I didn’t realise it initially, I’d also met Abraham before as well.
When I was helping out in the Puzzle Exchange at IPP, I had spoken with Abraham as Diniar and I exchanged with him. His wire puzzle ‘Encircling the “X”‘ looked very interesting, and his explanation of how it was made really intrigued me, however I didn’t manage to pick up a copy at IPP, and given that I had no money with me still don’t have a copy … I’ll remedy that the next time we meet!
David Goodman is a puzzle collector and designer who I’d not met before. He designs some great ‘simple’ puzzles. You know the sort that you look at and wonder where the challenge could be, and then spend weeks trying to figure out. I’ll get back to that though!
Finally we have Dan Feldman, the designer of the DanLock. Having seen my review of the Danlock, Dor thought it would be good for me to meet Dan, and be able to chat with him. As it turns out Dan reads my blog, and had read my review, so it turned out that I wasn’t the only one who had questions!
Given that I didn’t know whether I’d be able to meet up with Dor given my work schedules, I didn’t bring any of my work with me except a copy of Stewart Coffin’s Cube-16 that I’d made a small batch of thanks to a recommendation from John Devost. I gave that as a host gift to Dor. Everyone else had also brought puzzles with them so there was plenty to talk about and play with.
As we sat around Dor’s table and talked people delved into bags and boxes they’d brought with them, and started handing me puzzles to play with as we talked. It seemed that my ability to solve (or not solve) a puzzle just let to more and more challenging puzzles being presented. And by that you should read simpler puzzles being presented. Seems that not only twisty puzzles can stump me, but those with just a couple of pieces too.
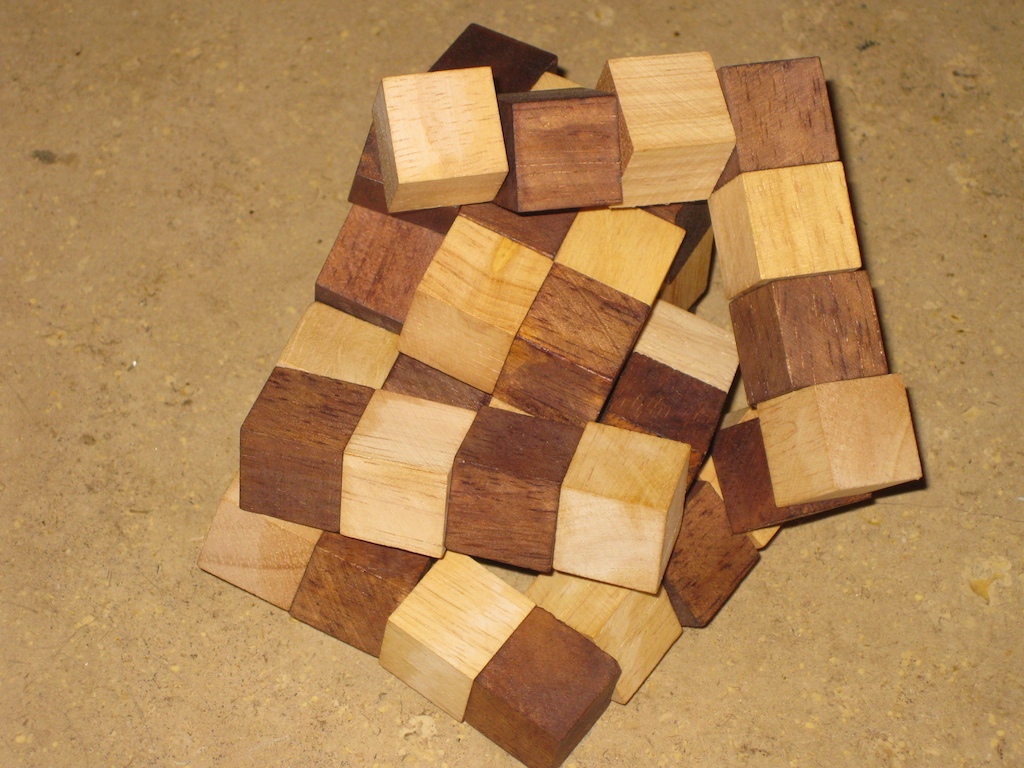
Double Loop, unsolved
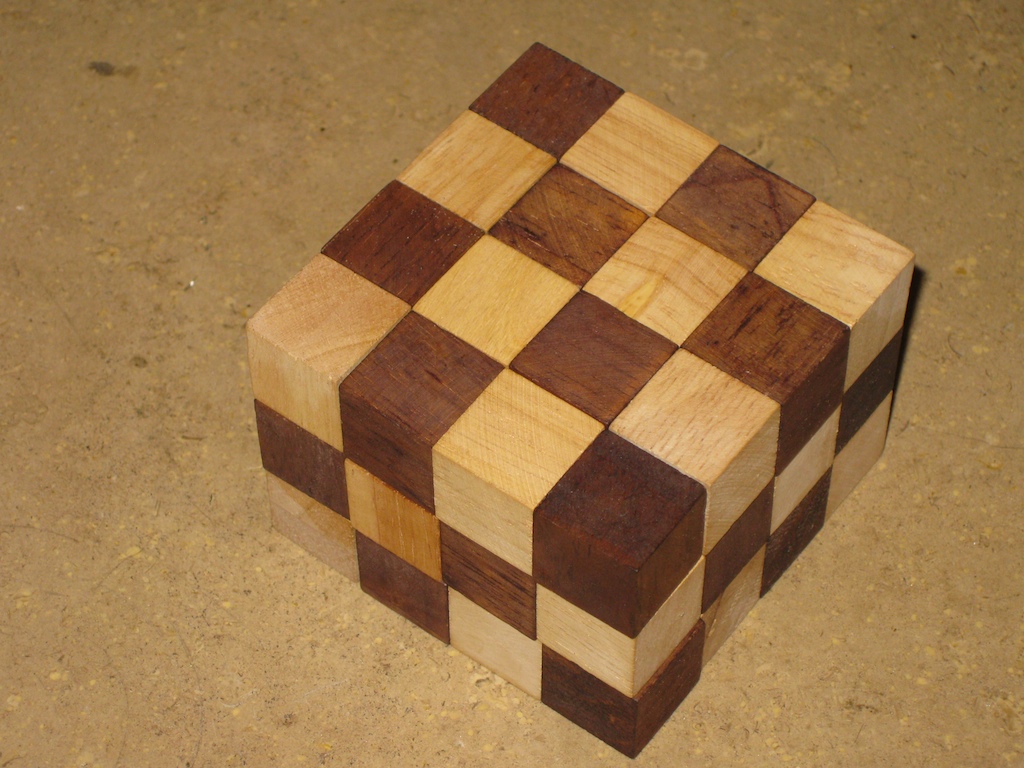
Double Loop Solved
Dor asked me whether I’d managed to get a copy of his IPP31 exchange puzzle “Double Loop” which I hadn’t. He promptly unboxed a copy, and made sure it was in the unsolved state by scrambling it for me. His theory is that if you get it solved you’ll probably never play with it, so this means that I would at least be able to enjoy playing with it once. The puzzle is an extension of the well known “Snake Cube”, but as the name suggests, rather than just one string of linked cubes, the Double Loop has two interlinked loops, making solving a lot more challenging and adding a whole other level to the puzzle. As you can see Dor, I did manage to solve it, and had fun playing!
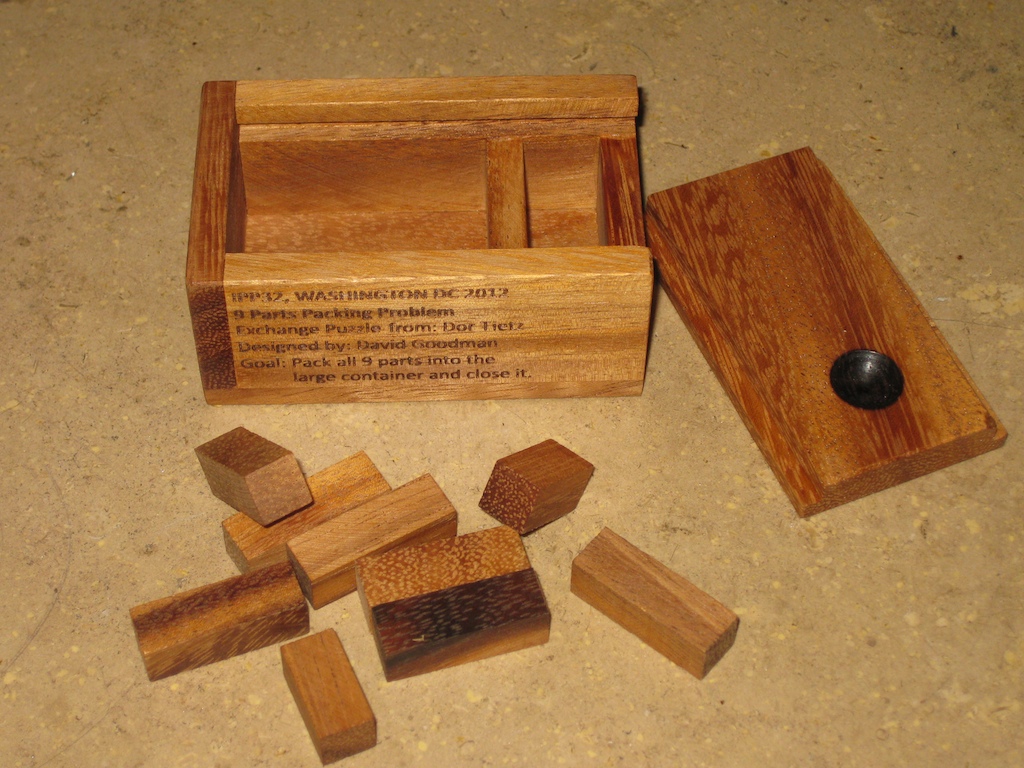
9 Parts
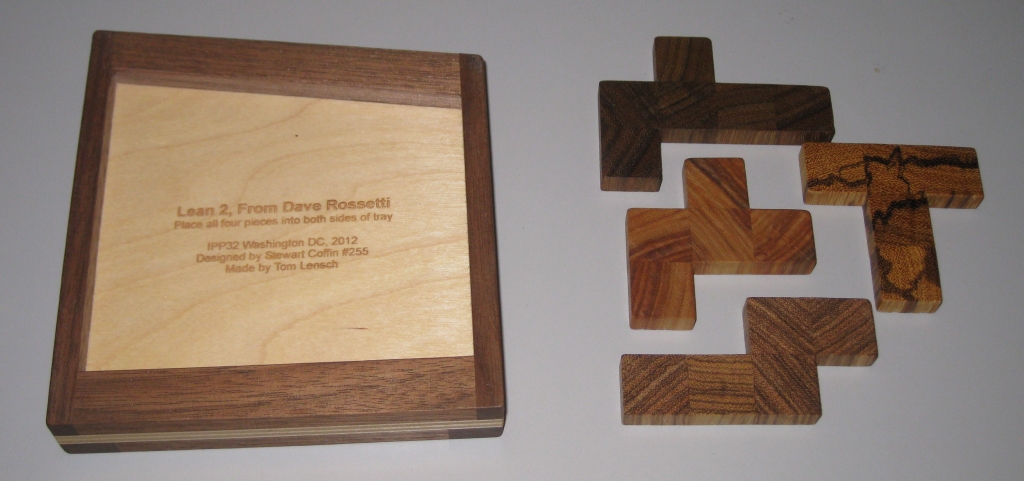
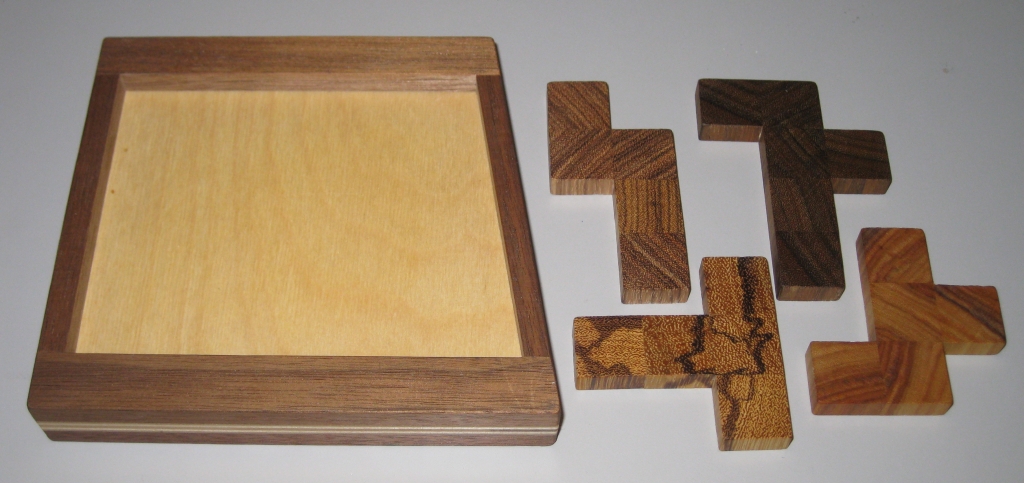
He also gave me a copy of his IPP32 Exchange the “9 parts packing problem” as well. This one is designed by David, so it was great to be able to meet the designer. The challenge here is simple. Just pack all nine parts into the large container, and shut the lid. What could be difficult about that? Well it’s another challenging little packing puzzle, that kept me busy for a few hours. I’m getting a lot better with packing puzzles, but I’m still not quick with them!
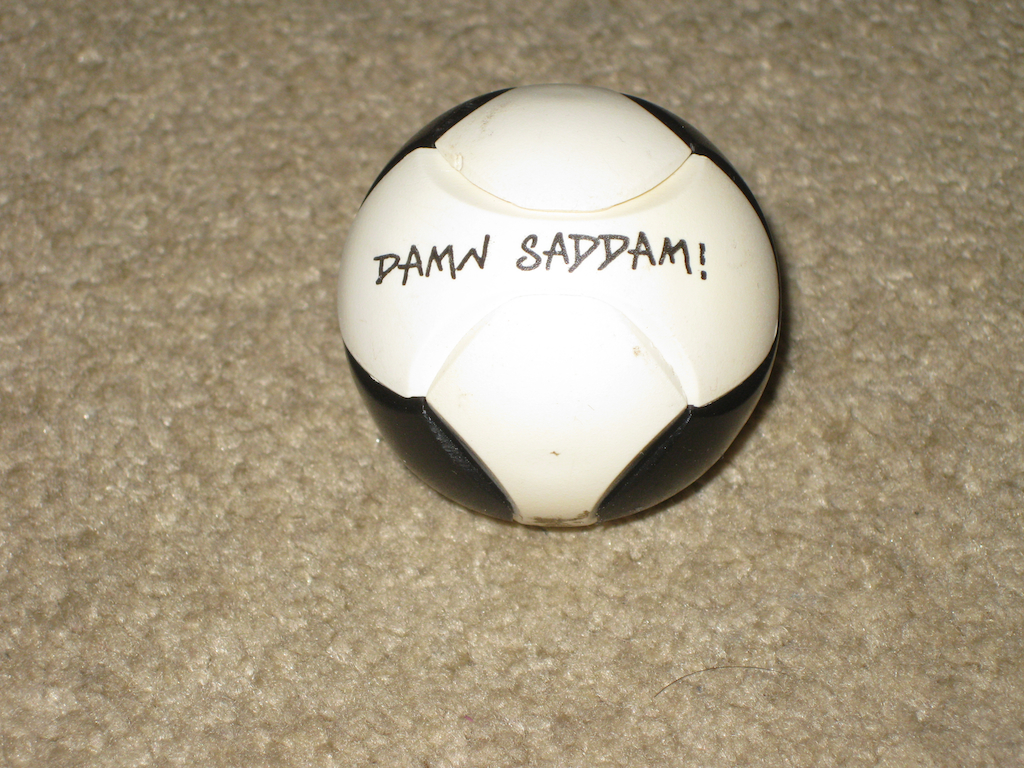
Damn Saddam!
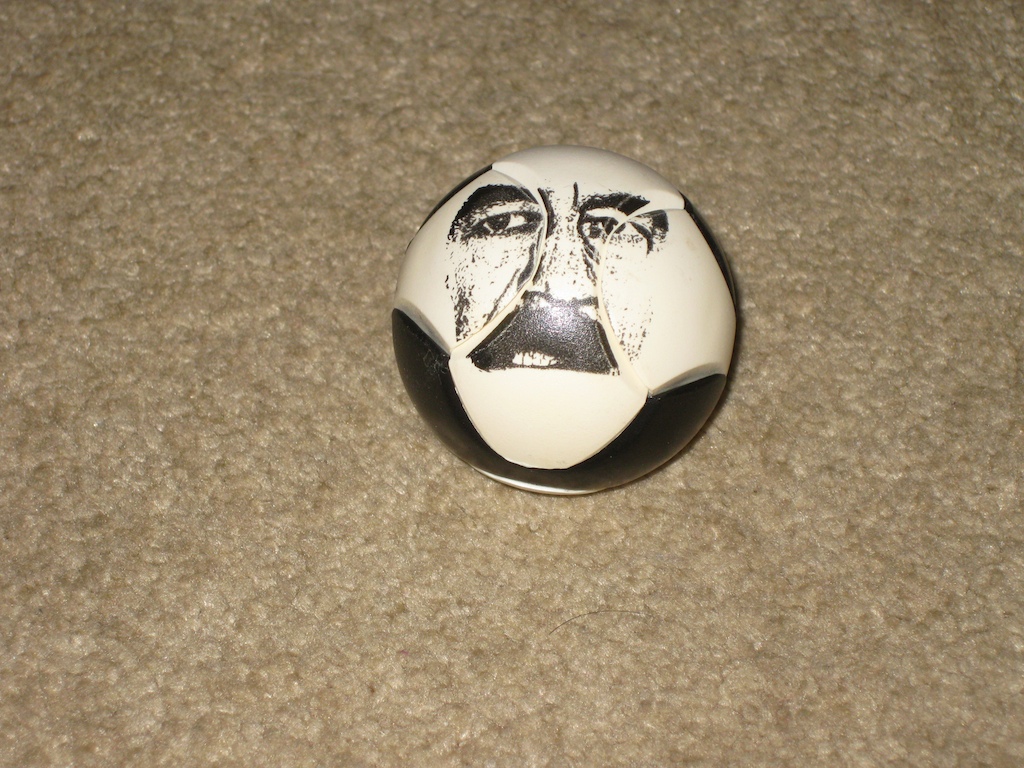
Damn Saddam’s face
Shortly after arriving, David went into one of the boxes he had with him and puzzled out a copy of “Damn Sadam”. This six piece puzzle is ‘taken apart’ by throwing it on the floor. A fair bit of force is required, and I wasn’t sure whether he was joking when he told me to throw it, so I handed it back to him and watched as he took three attempts throwing it harder each time before the pieces flew apart. Of course when they did, they were handed back to me to put back together. Fortunately I had seen a similar puzzle before and was able to put it back together pretty quickly. This ended up being a gift from David, so went into the pile of puzzles I was accumulating to take home with me.
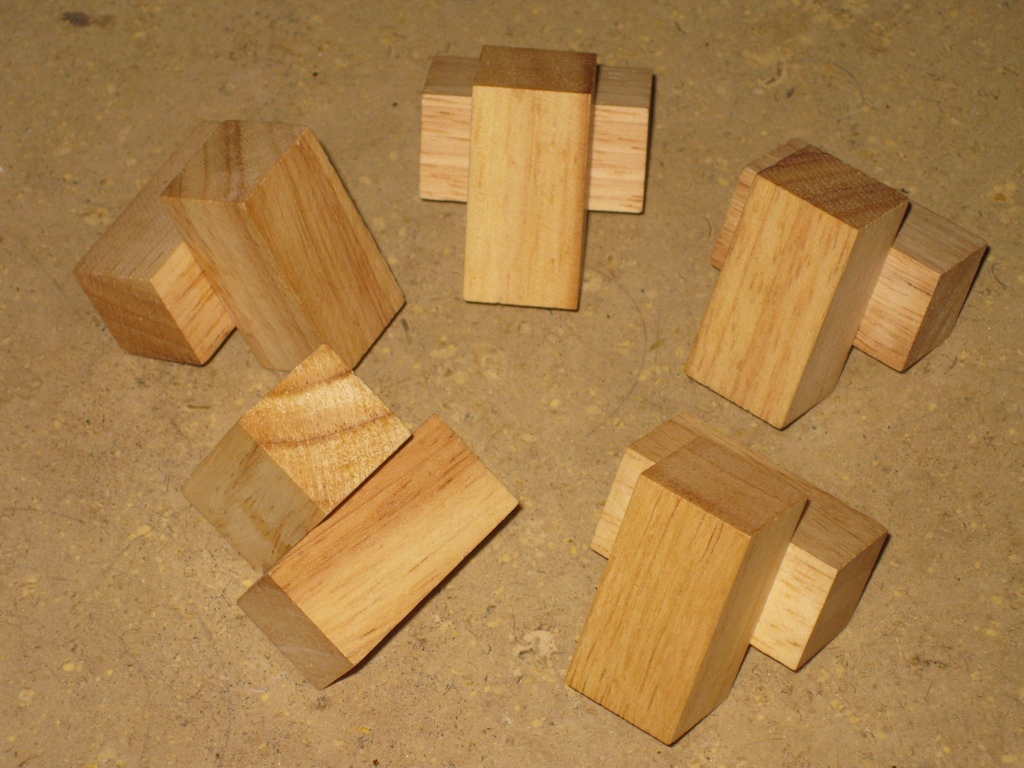
Triangular Pyramid pieces
David then handed me a copy of “Triangular Pyramid” which was a previous exchange from David at IPP. It turns out that when David gave the puzzle to Dan, he found something of a useless machine when it was in its solved state, so that became a second challenge for the puzzle. Once you’ve combined the puzzle into its pyramid shape, you can move pieces in and out in a piston like motion which will continue indefinitely, making for a great distraction. I wasn’t able to solve it while I was sitting at the table, and although David offered to show me the solution I declined as I prefer to be able to work these things out myself. Besides with only 5 pieces it seemed so simple! David gave me the copy I’d been playing with so that I could finish solving it. I have to say it’s a great puzzle, for such simple pieces, and I highly recommend it. If you’re thinking about making your own puzzles, this would be a good one to try given it’s simplicity, and the challenging solution.
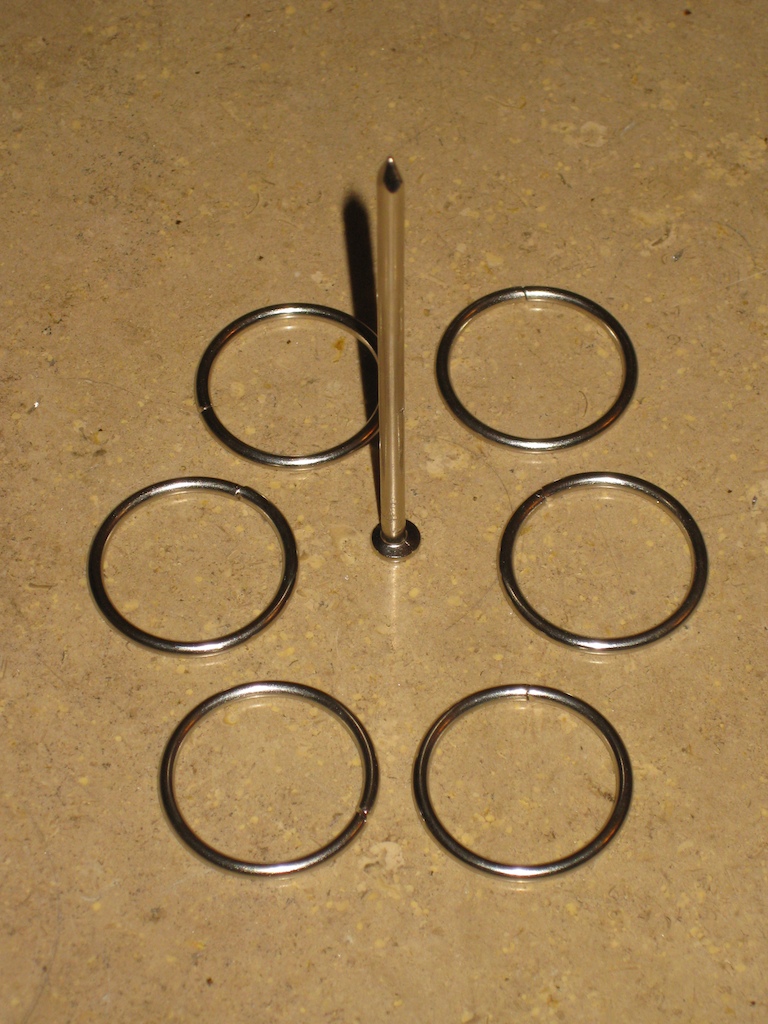
Ring a Nail
Another simple yet challenging puzzle David gave me was his “Ring a Nail” puzzle. Similar to the Nine Nails puzzle, this takes a slightly different approach, with a similar goal. The idea being to balance the five rings on the point of the nail. Yet another puzzle which seems so simple but really makes you think.
While sitting talking Dan asks me what I thought about the Danlock, given that he had read my review. It was very interesting talking to him about the puzzle and how it’s made. Dan explained a number of the possible ideas he had for the lock, including another mechanism which would prevent the broken key from turning in the lock if the lock was not oriented in a certain direction. Seems like the puzzle could have been a lot more devious, given all the ideas floating around in Dan’s head. His view is that the puzzle should be challenging, but not so difficult that you can’t see a way to proceed, or that you need to do something where there would be no reason for that action, such as hitting or tapping the puzzle. Another idea such as requiring to tap the puzzle to release an internal lock as an example, which Dan felt didn’t belong in the puzzle.
For anyone wondering why Dan doesn’t make more of the lock more frequently, given its success and high demand, the reason is quite simple. Dan doesn’t have his own workshop, so has to sub-contract various parts of the process. Getting someone to take on the small numbers he creates is a real problem, and often he finds that someone who he used in the past is no longer in business to help again.
It was fantastic to meet Dan in person, and to be able to spend time talking to him and getting to understand the designs he’s come up with was a fantastic opportunity.
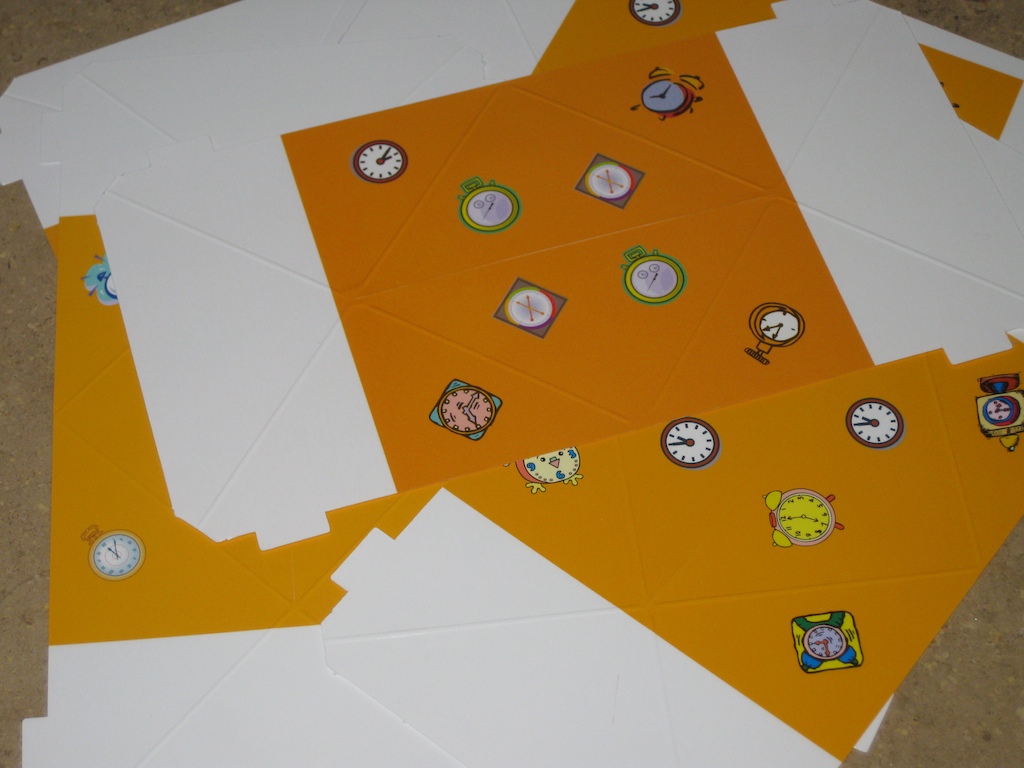
J-Cubes Sheets
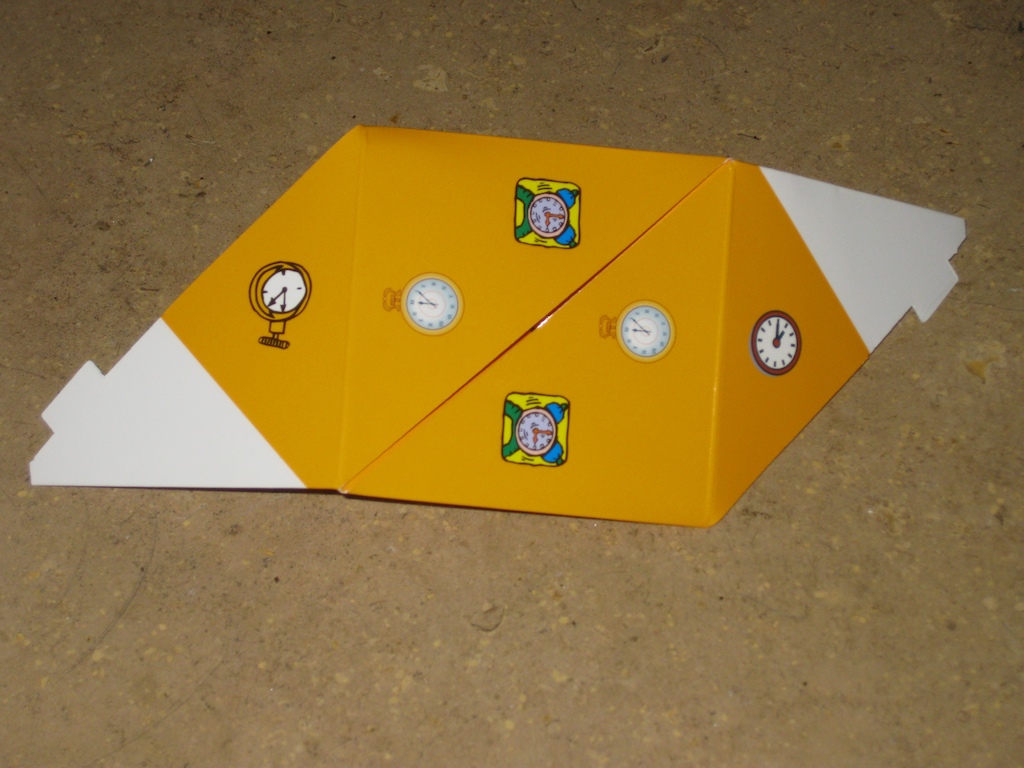
Folding the J-Cubes
Not to be outdone, Abraham had a few of his puzzles with him, including a very interesting paper puzzle from a previous IPP Exchange called J-Cubes. The puzzle consists of a number of laminated sheets with a number of images on them. The goal being to fold these into cubes, made from several of the pieces joined together, and meet a couple of challenges based on the images on the faces of the cubes. This is made harder by their being a number of different ways to fold the sheets, and joining them into cubes isn’t trivial either. Now given that I have found a love for impossible folded objects, this puzzle is right up my street. For something which seems so simple, it may have been passed up by many puzzlers. I have to say though, having played with them myself, if you have a set of these, do yourself a favor and go find them and play with them. They offer a good amount of puzzling, and will certainly make you think. the first challenge to get all the faces with the same image is not too tough, but the second challenge to make sure all the images are in the same orientation and you only use 6 out of the 7 sheets, finding the ‘odd one out’.
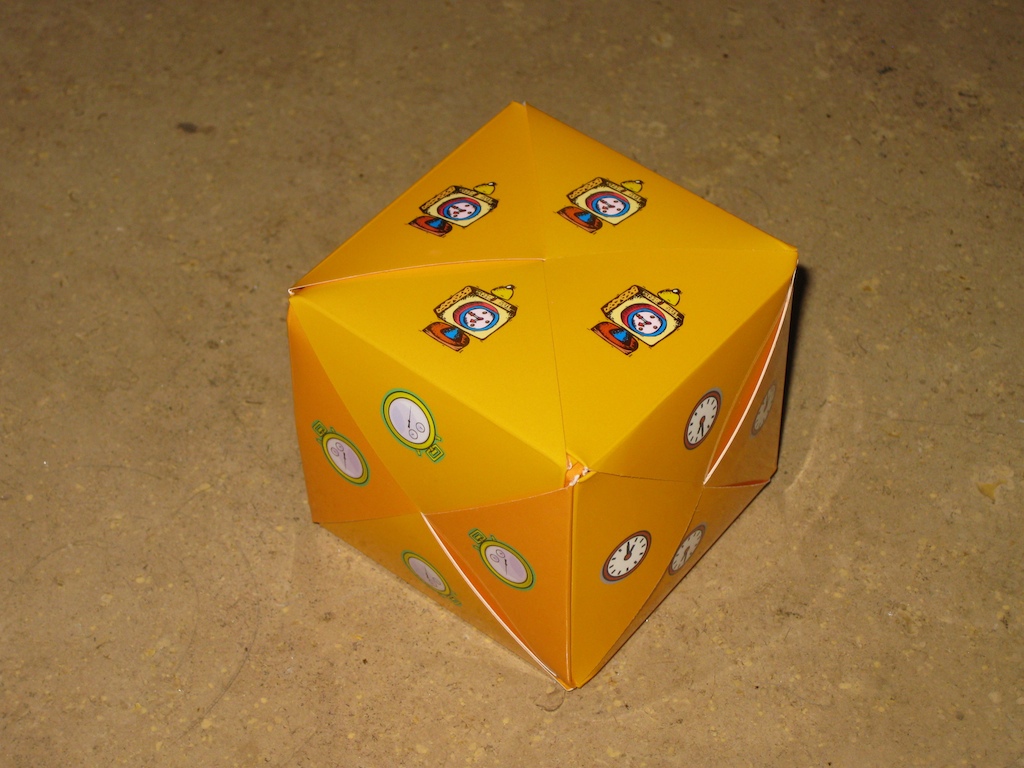
J-Cubes, cubed
Abraham asked me to play with the J-Cubes and let him know what I thought of them as he felt many puzzlers may have overlooked them given that they are ‘just a paper puzzle’. Well I can happily say I have played with them, and I think they’re well worth the hours I spent fiddling with them. They’re well thought out and certainly have a lot of puzzling in them. If you’d like a set, let me know and I’ll pass on Abraham’s details as I’m sure he’d be delighted to send you some.
Trio F&L
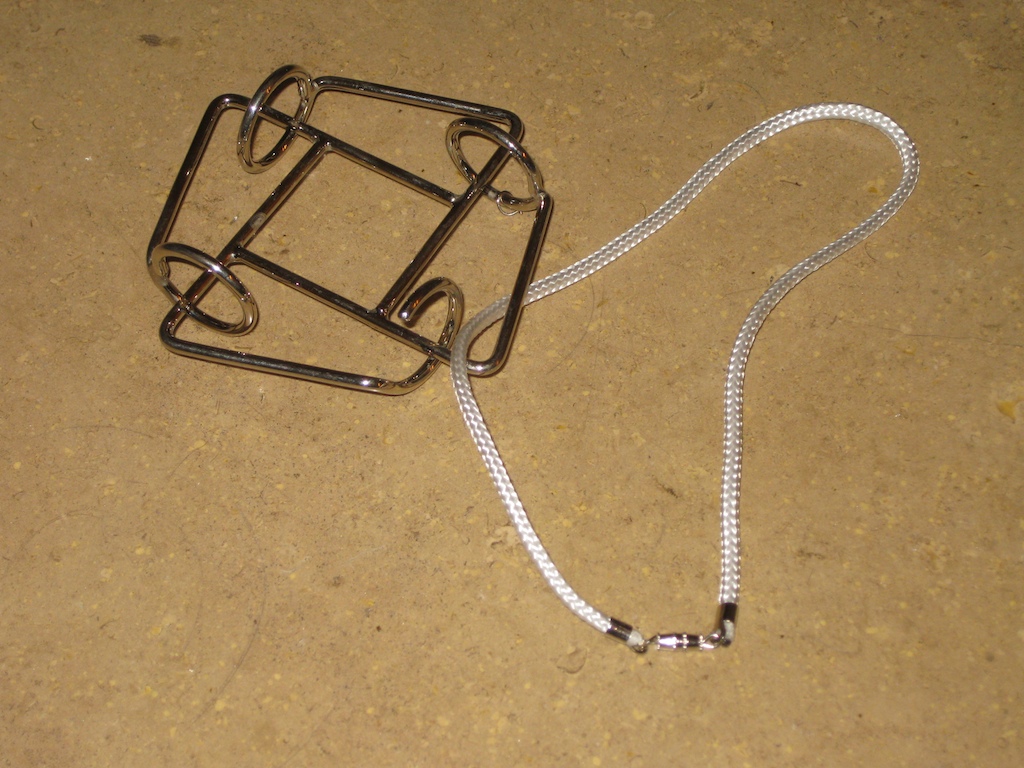
Quartet F&L
As well as the J-Cubes, he had a number of his wire and string puzzles with him. Initially I was handed a copy of Trio F+L Puzzle (left above) which was fairly straight forward and I solved in under a minute. With my confidence restored, he handed me Quartet F&L Puzzle (above right) which is much more challenging, and I manged to do little more than tie it in a knot. That said, it’s not a problem with one of Abraham’s puzzles as the string can be split and rejoined thanks to his thoughtfully placed clasp.
In a bizarre coincidence, as we were leaving Abraham commented that it had been his birthday two days prior. That’s also my birthday. Turns out it really is a small world. Ok, so Abraham has a few years experience on me but it was fun to find that we shared out birthdays.
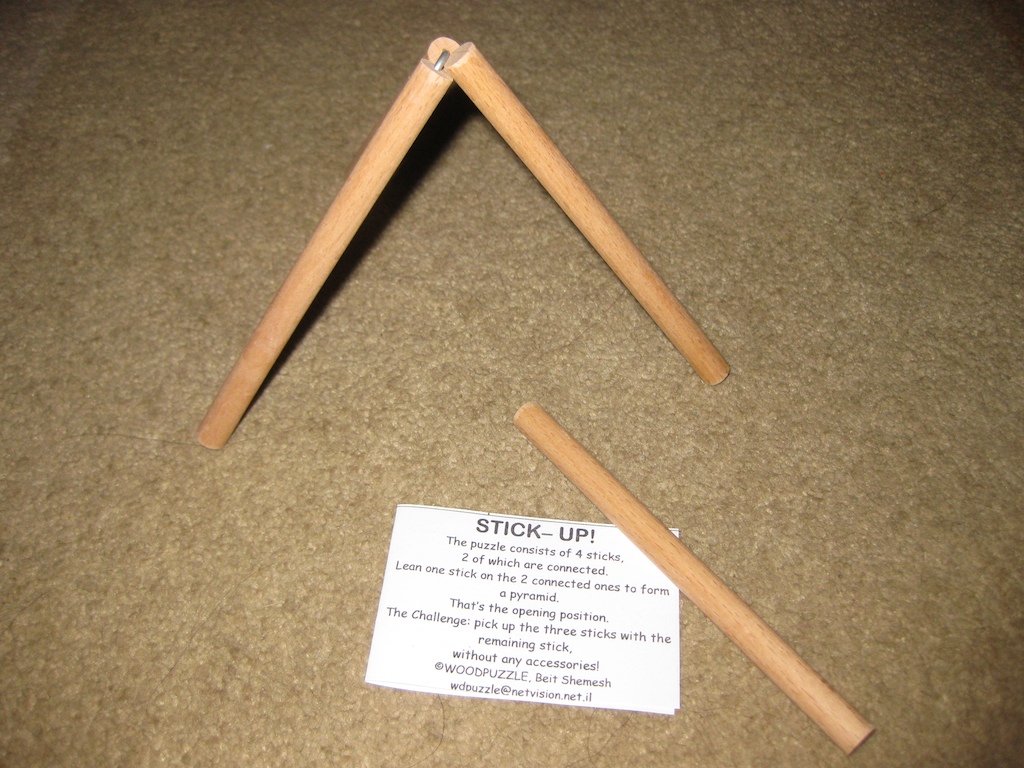
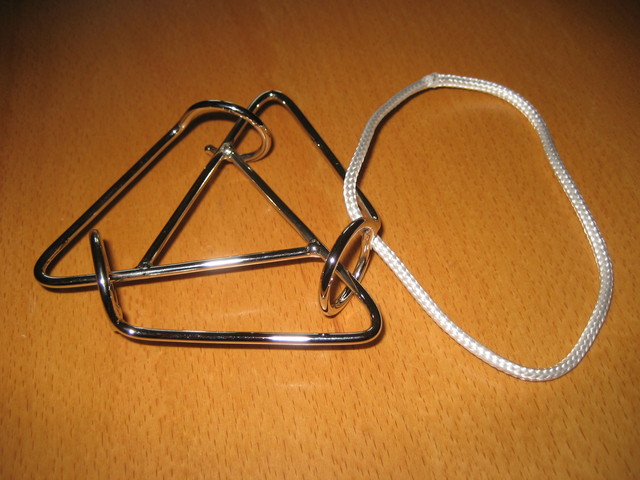
Stick Up!
One of the puzzles I was handed by Dor on the night was this incredibly simple looking ‘pub game’ puzzle. The idea being to use one of the long sticks to create a tripod with the v shaped stick, and then use the second long stick to pick up the tripod from the table. Sounds simple right? Well I spent 40 minutes just looking at the puzzle. This did amuse Dor as I didn’t attempt to pick them up since I felt it should be possible to solve the puzzle by thinking about it, which is exactly what I did. Everyone decided that I would solve it in 5 minutes when I didn’t have four sets of eyes watching me. I wasn’t that quick I’m sorry to say, but I did solve it since Dor told me to take that away too so I could solve it. It may have taken me 2 months thinking about how to solve it, but I did solve it on my first attempt. Have a think and see if you can figure it out … or make yourself a copy and try it. Let me know how you get on as I’d love to know.
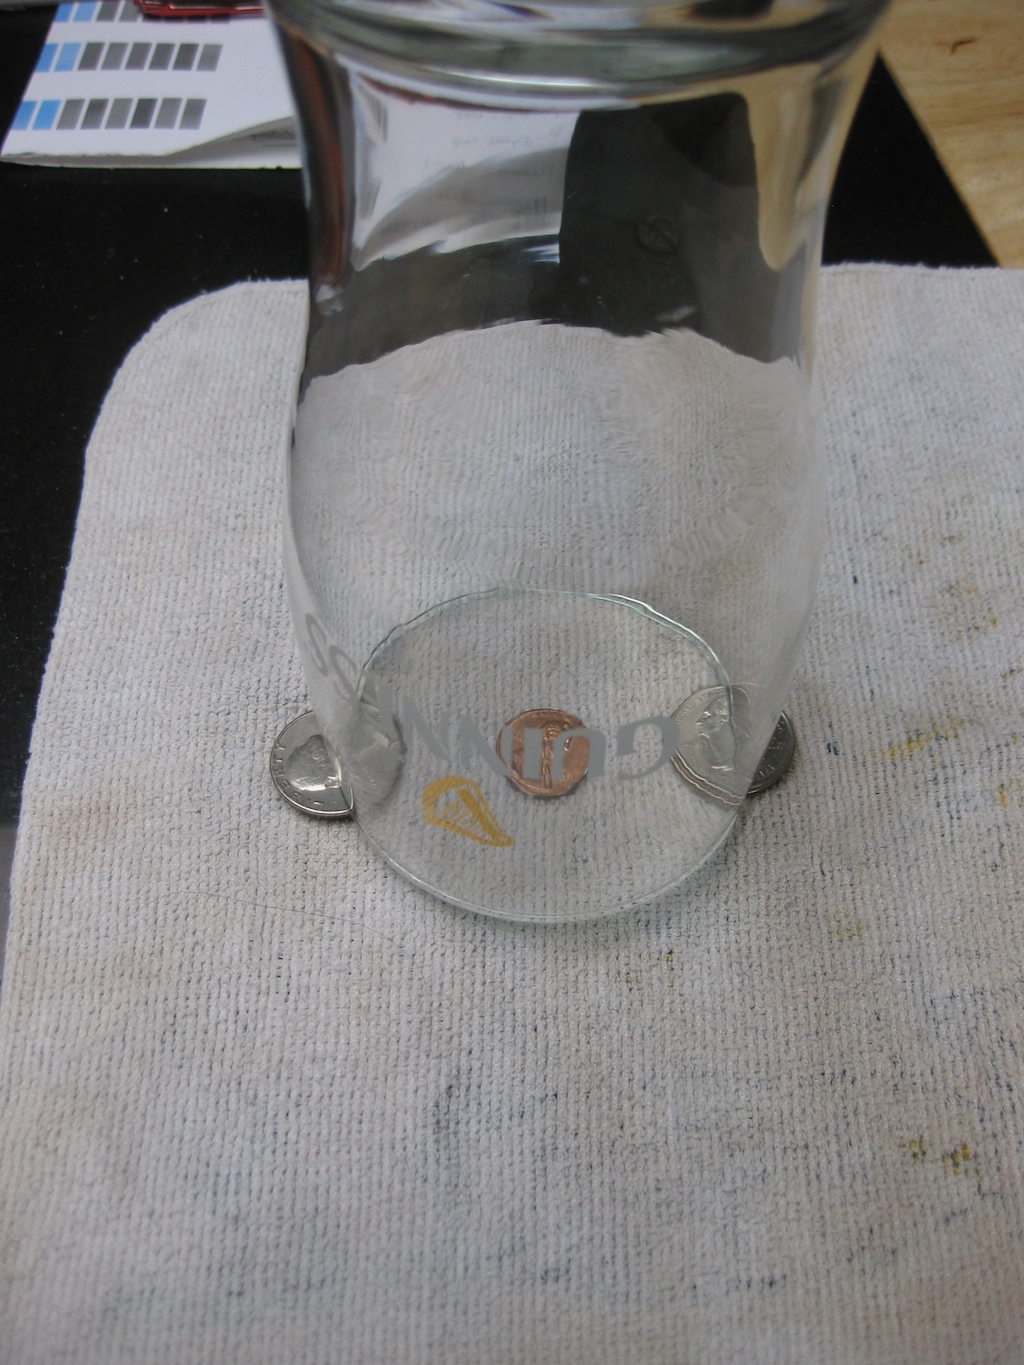
Trapped Penny
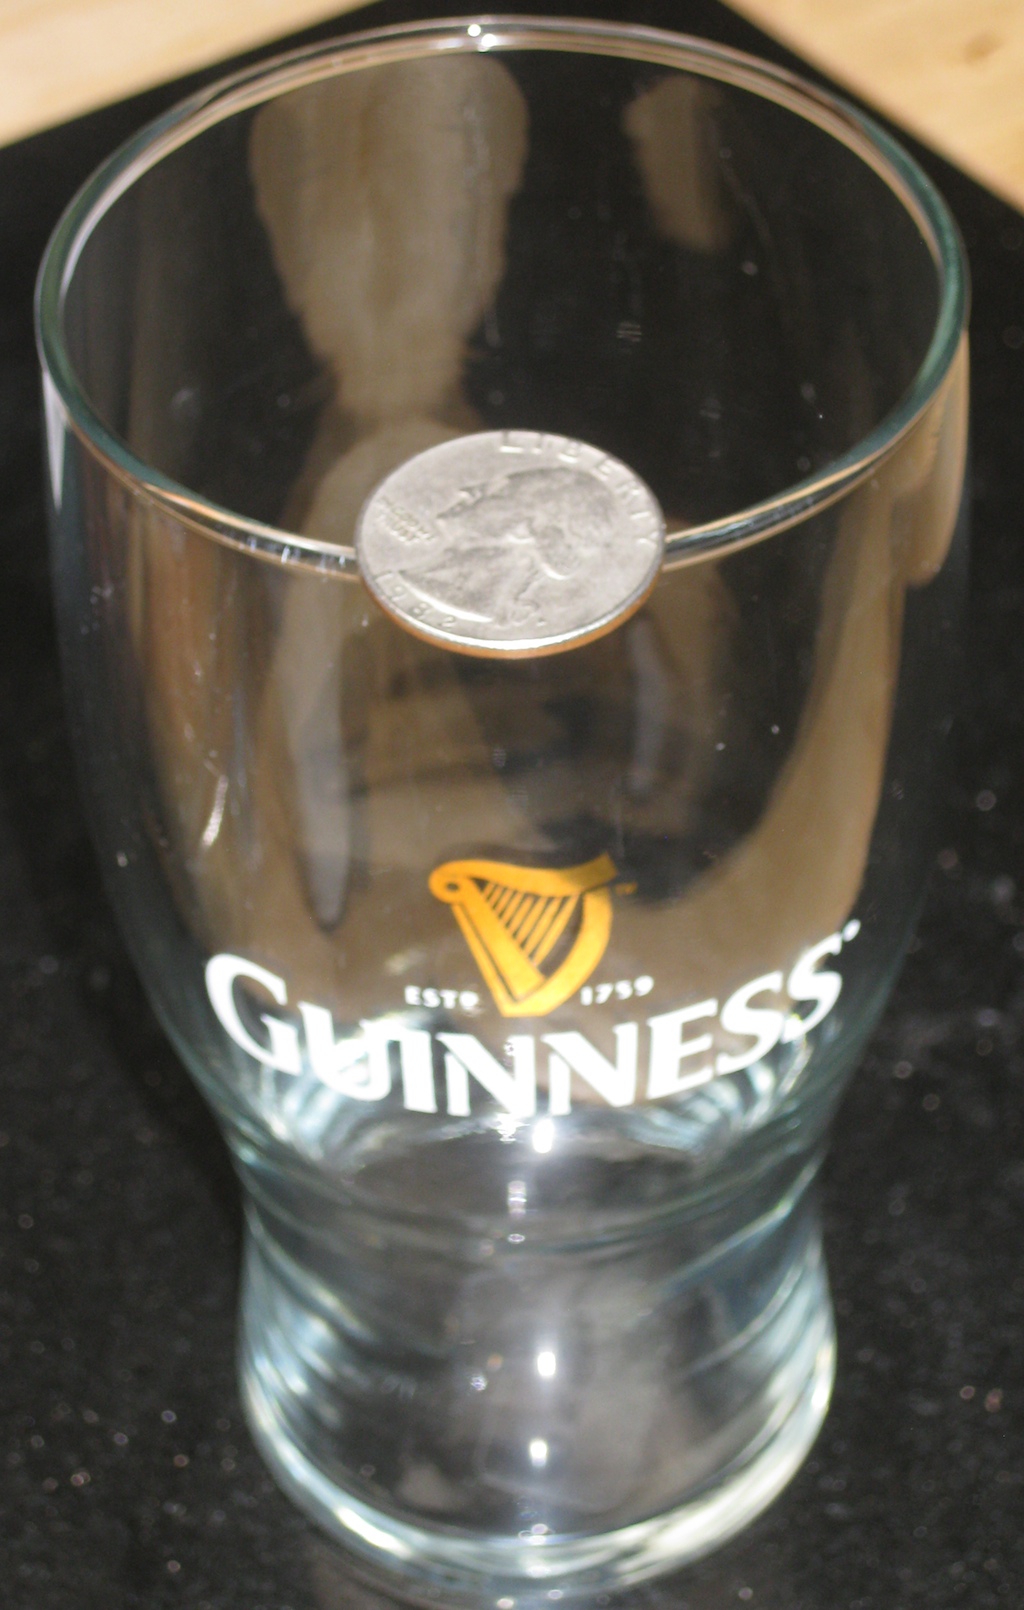
Coin Balance
Strange as it was this reminded me of a couple of ‘pub puzzles’ which I’d not shown anyone in over 20 years. I promptly set them up to give David and Abraham a shot at solving them, which turned out to be a great idea. I never really thought about it but these puzzles are so simple, but may have been lost to many for a long time. Seems like I need to try to bring them back to people if I can.
The first is the coin under the glass (left). The idea is to get the coin out from under the glass without touching the glass or the coins it is resting on. (You’ll need to set this up on a tablecloth). Do you know how to do it?
The second is to balance the coin on the brim of the glass, and get the coin over the glass (right). You can’t touch the glass or the coin. The coin should not end up on the side of the glass nearest you, or inside the glass. (Try doing this in the pub with a half full pint!)
All in all I had a great night with the Israel puzzlers, and have to say a huge Thank You to Dor for arranging everything. There was a lot more that we talked about over the night, and a good few more puzzles played with too, but I think I’ve covered enough for this trip. I’ll be sure to let Dor know the next time I’m traveling.


")


