Not all puzzles are pretty, and not all puzzles can be considered art, however one name stands out in the puzzle/art category. Miguel Berrocal. Born in 1933 in Malaga, Spain, died in 2006. He studied mathematics and architecture at the University of Madrid and then art in Paris and Rome before settling in Negrar, a suburb of Verona. Over his life he produced many sculptures, and works of art, many of which appeal to puzzlers due to the complex interlocking nature of the pieces which make up each sculpture.
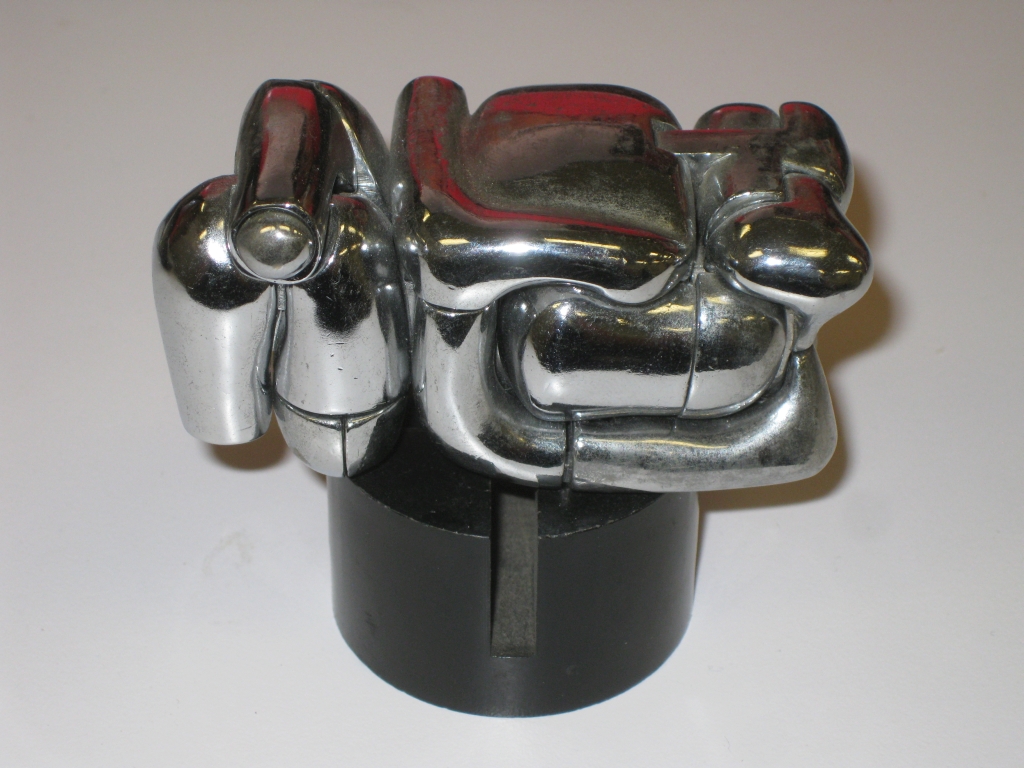
Mini Maria by Berrocal
I will agree, that these puzzles are not going to appeal to everyone out there. Most are rather strange and abstract looking and the price tag alone is enough to put most people off. Some of the larger sculptures out there, you may think twice about taking apart just due to the huge number of pieces and complexity of assembly. These are like burr puzzles on steroids.
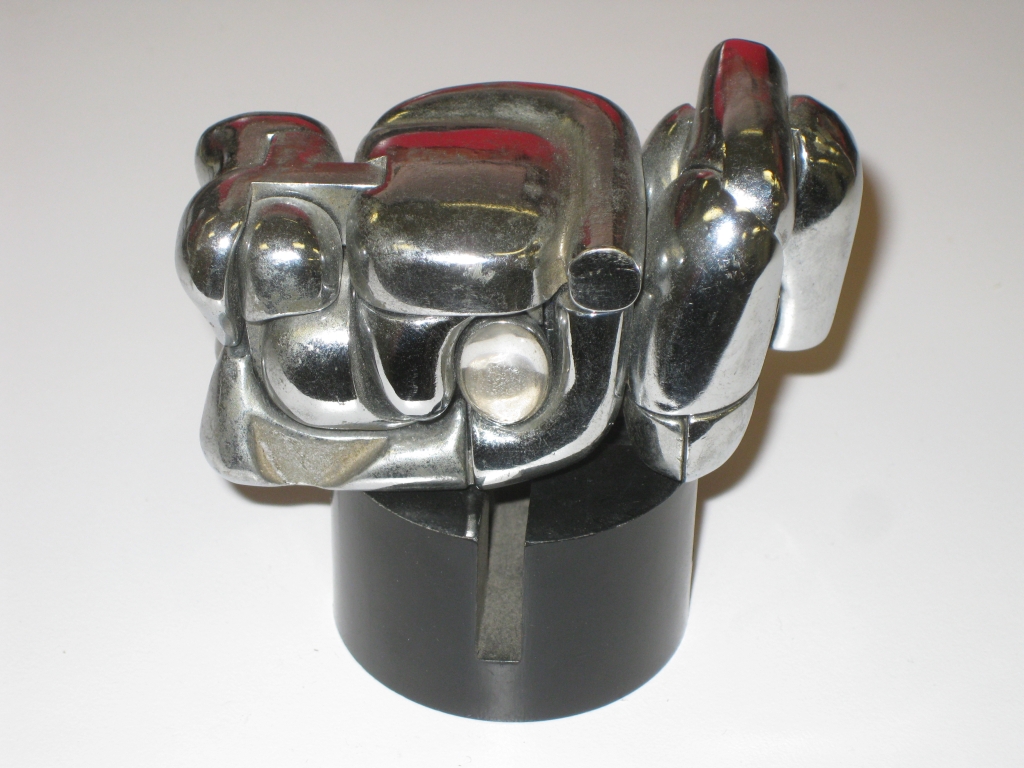
Mini Maria was made in a run of 10,000 starting in 1969, and 6 of the copies were made in gold. As is common in Berrocal’s work, there is a ring embedded in the design. You can see the stone setting of the ring in the image above. The puzzle is fairly small, measuting 3.25″ x 1.25″ x 1.5″ (3″ on the base). That in itself makes some of the work more impressive as there’s not a lot of free space in there, and all the parts fir together very nicely.
Mini Maria by Berrocal – Corner View
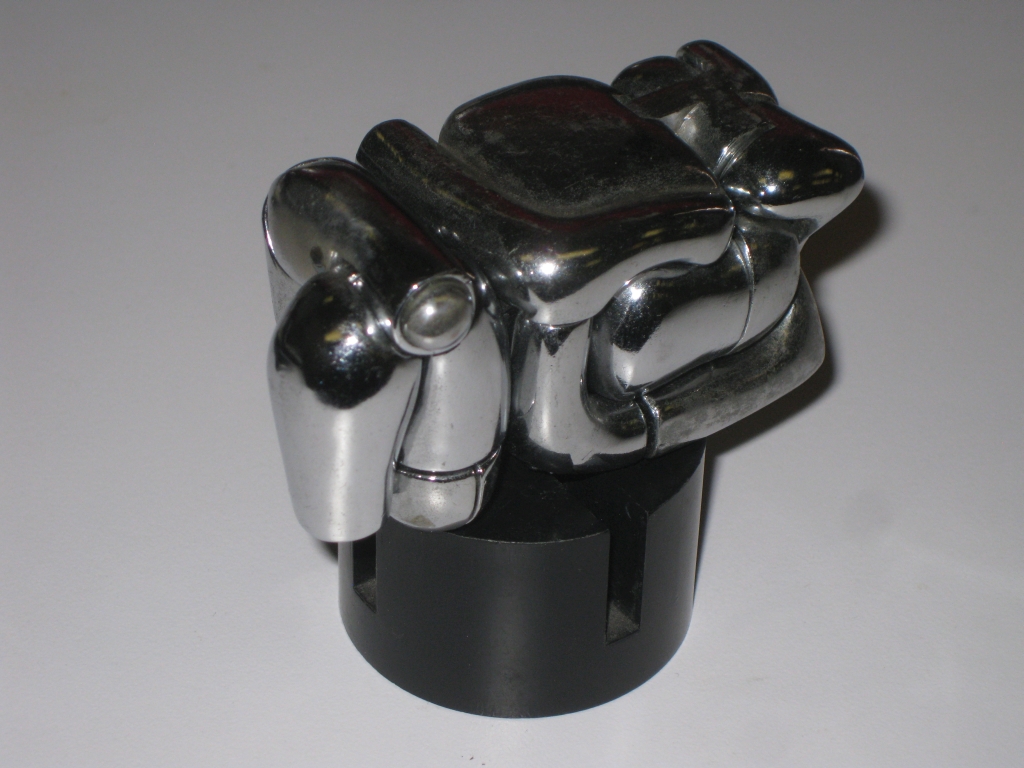
Mini Maria by Berrocal – Back View
It’s hard to see what the sculpture is until you look at the elevated end view. If you squint, perhaps you can see a woman, lying on her back with her legs crossed and one arm across her stomach? Regardless, you’ll either like or hate it, there’s not much of a middle ground.
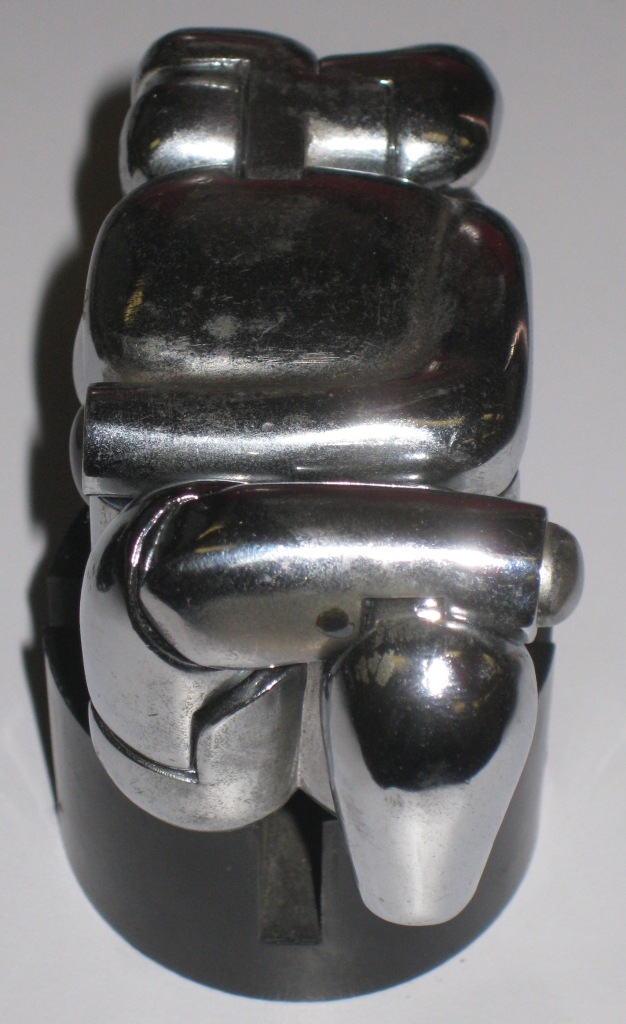
Mini Maria by Berrocal – End View
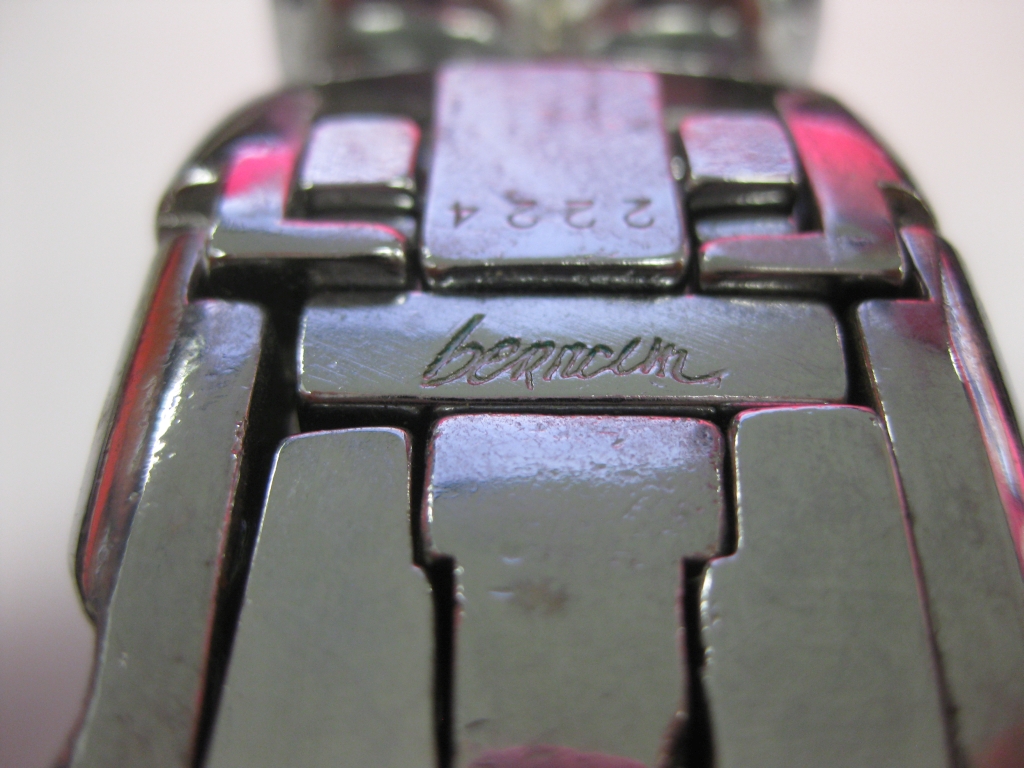
Each of Berrocal’s pieces are signed and numbered as can be seen in the closeup below.
Mini Maria by Berrocal
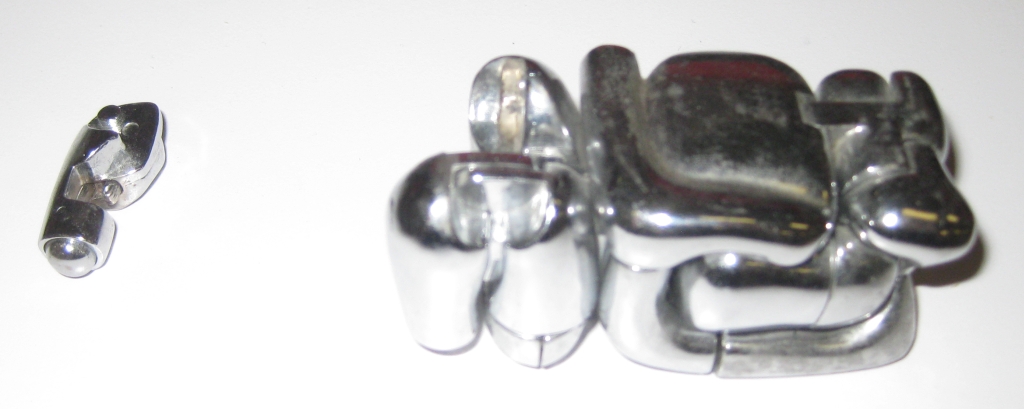
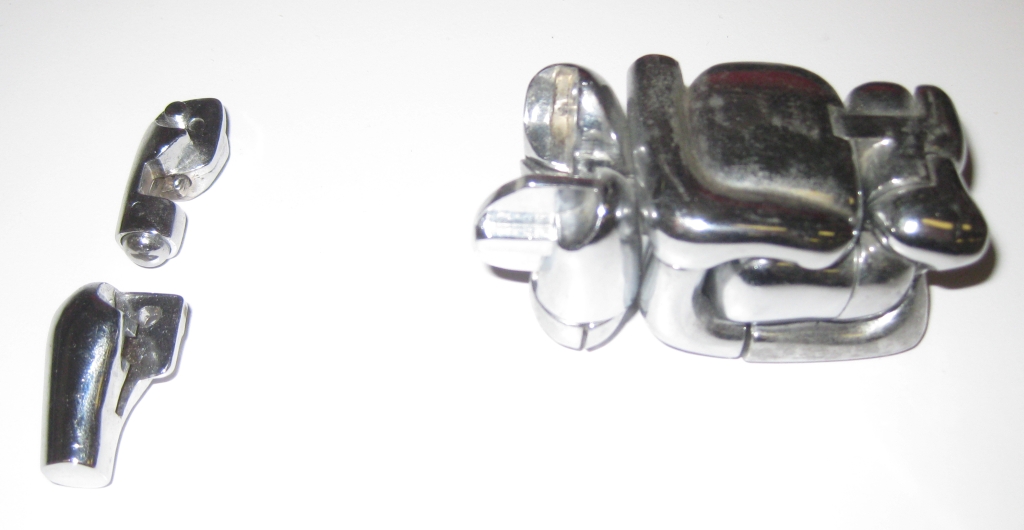
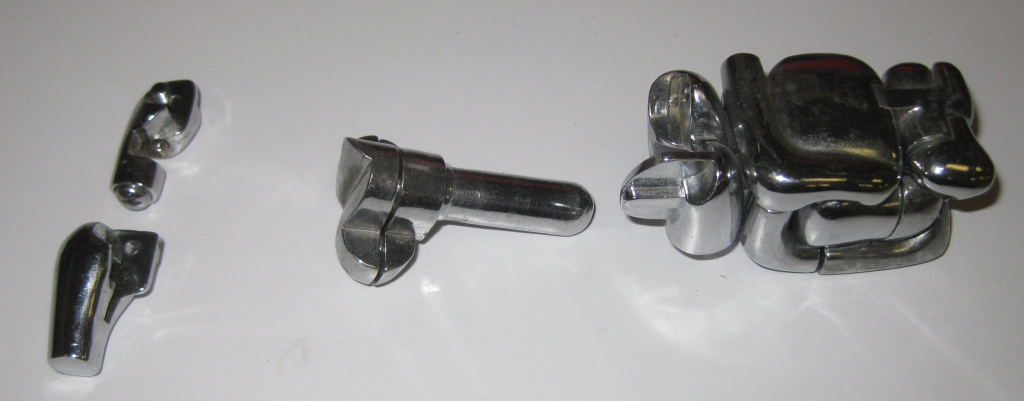
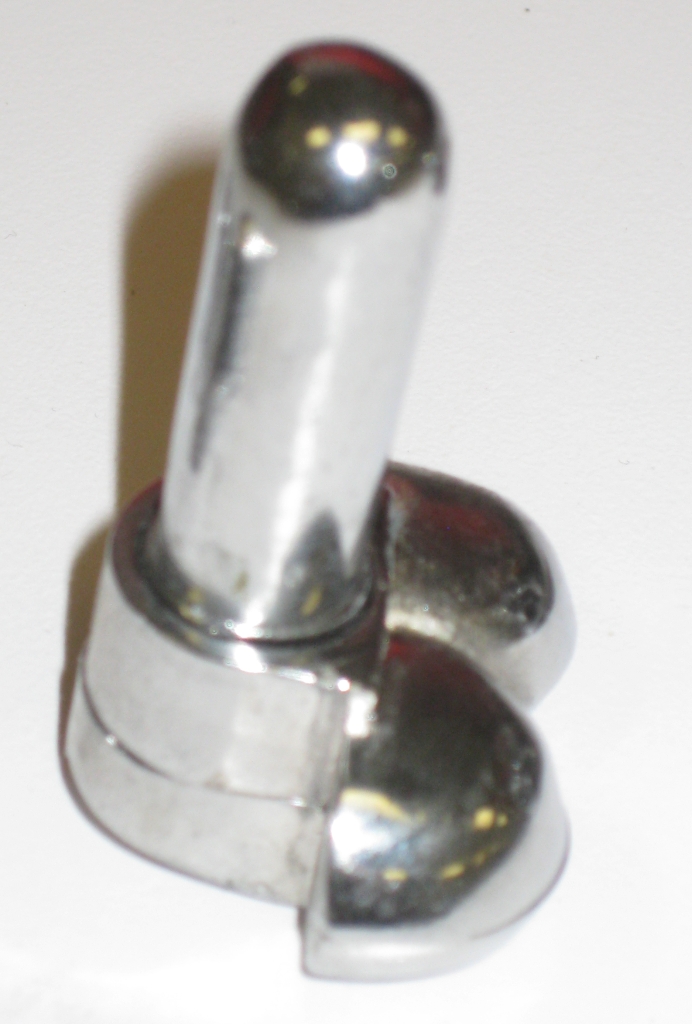
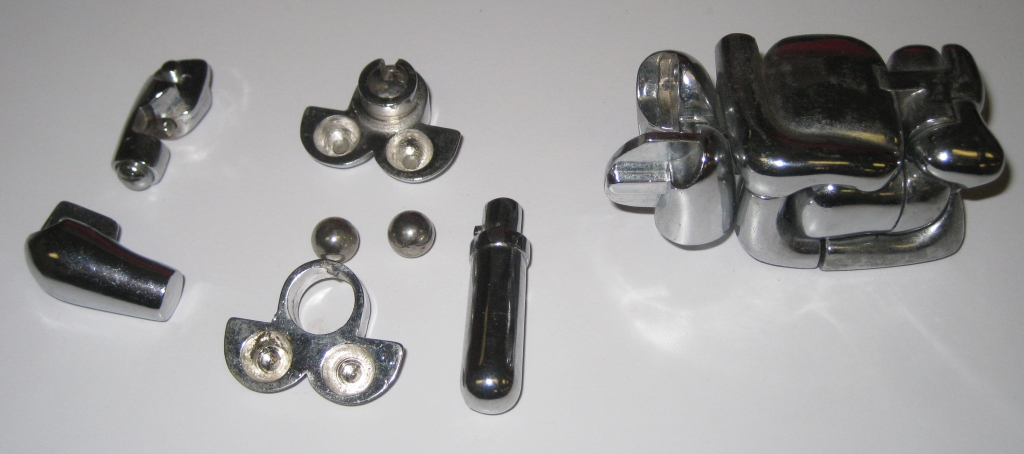
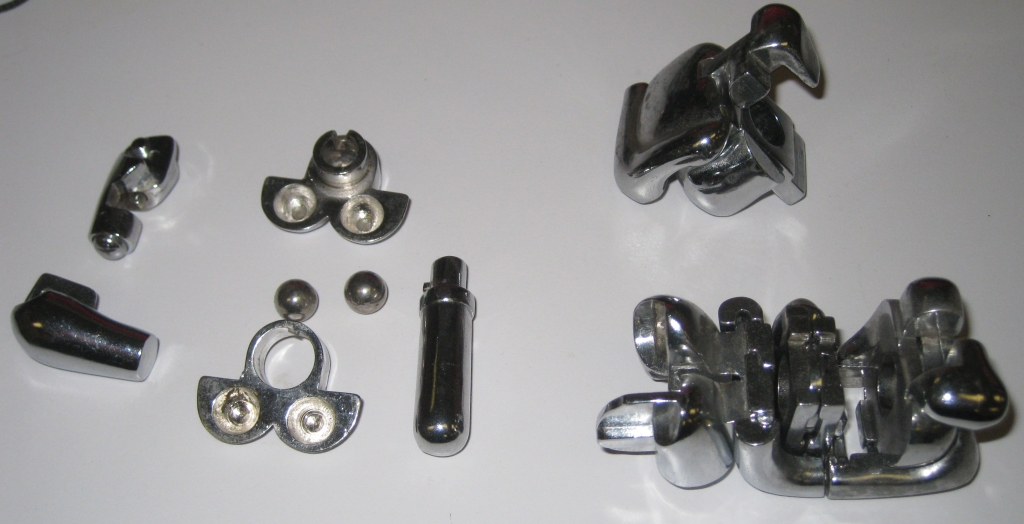
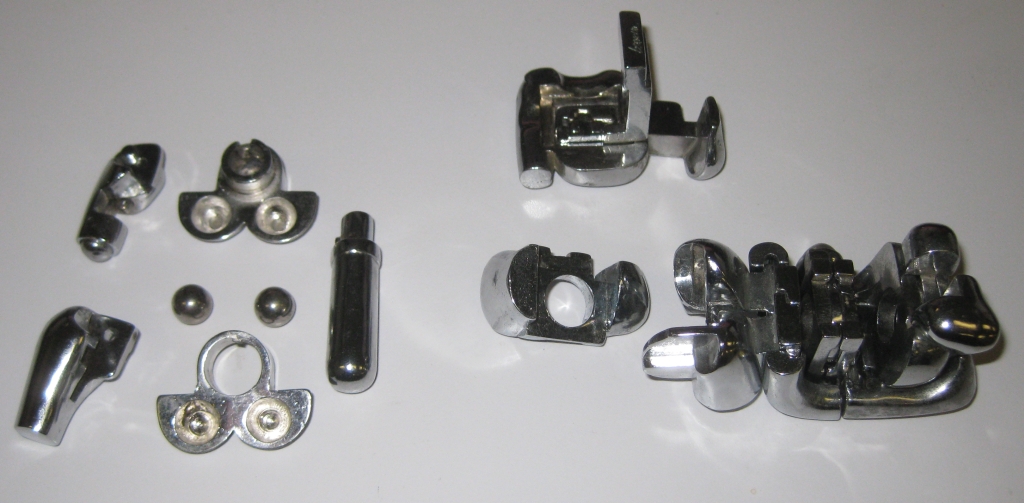
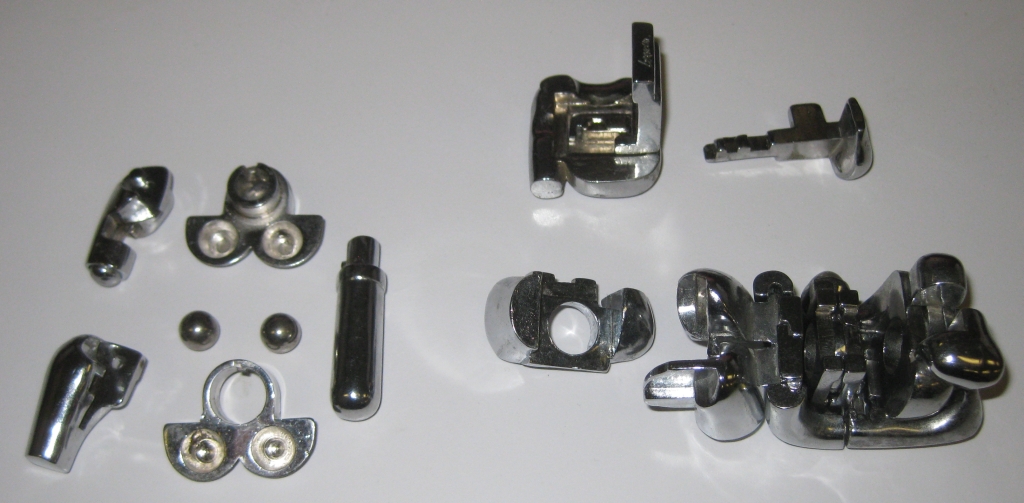
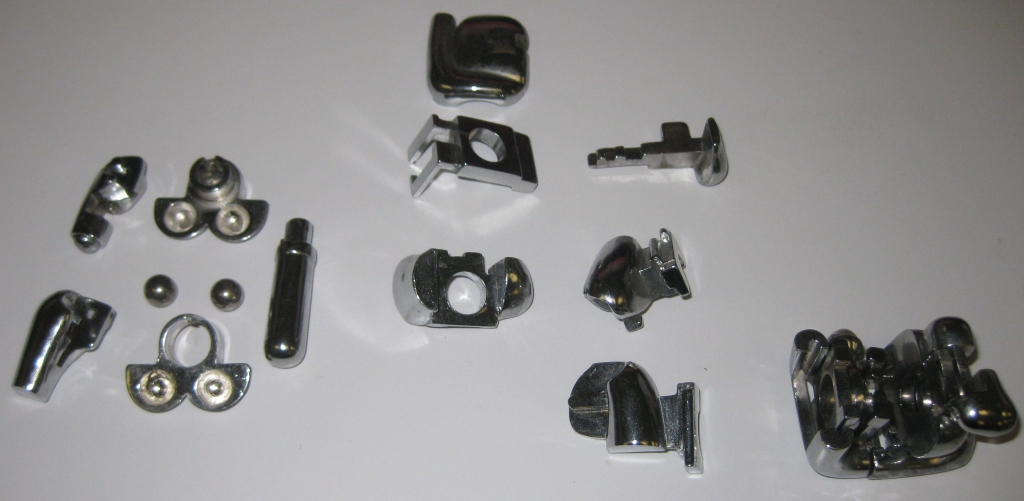
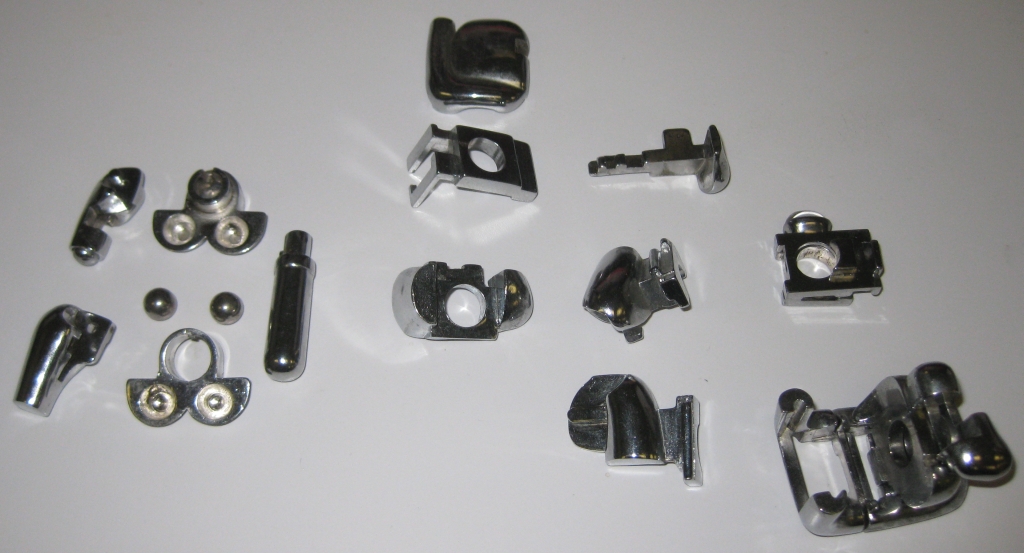
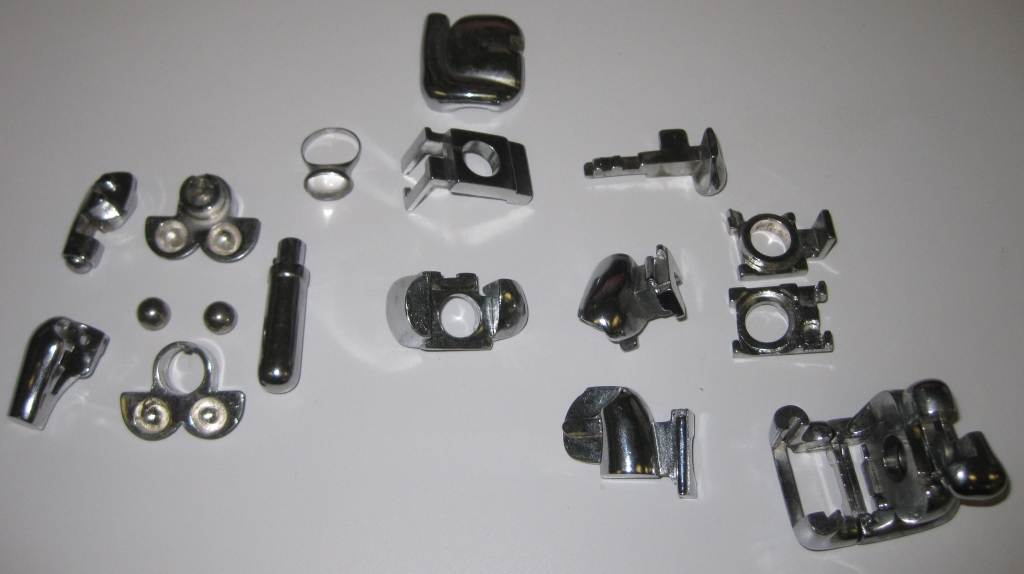
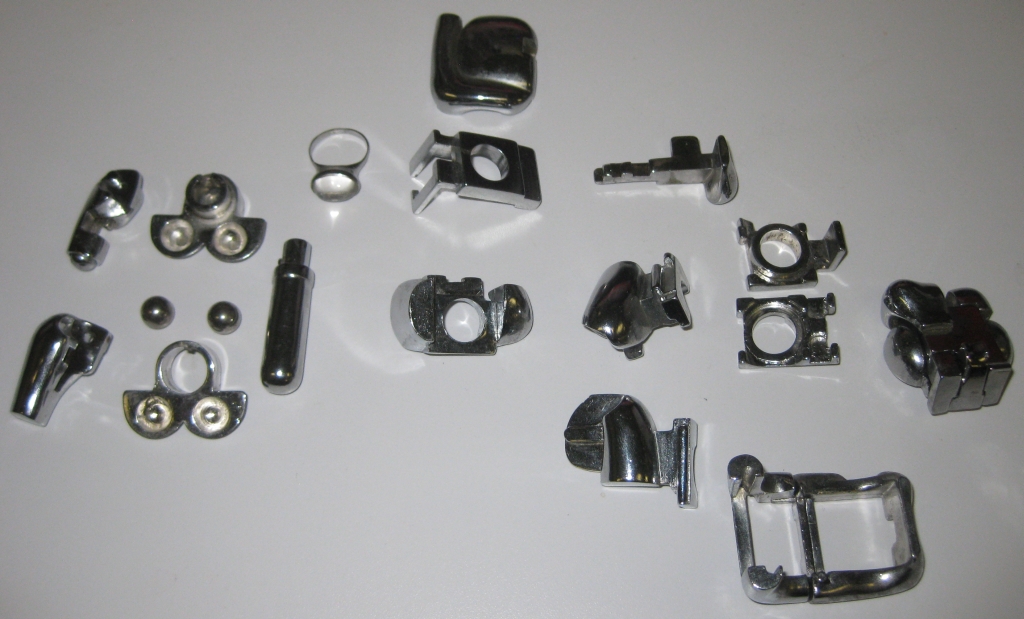
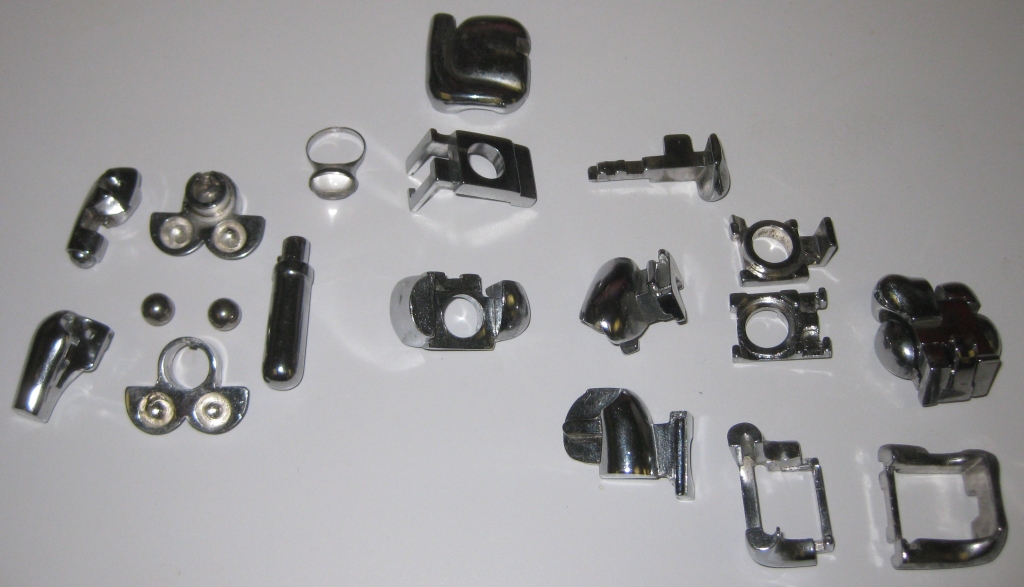
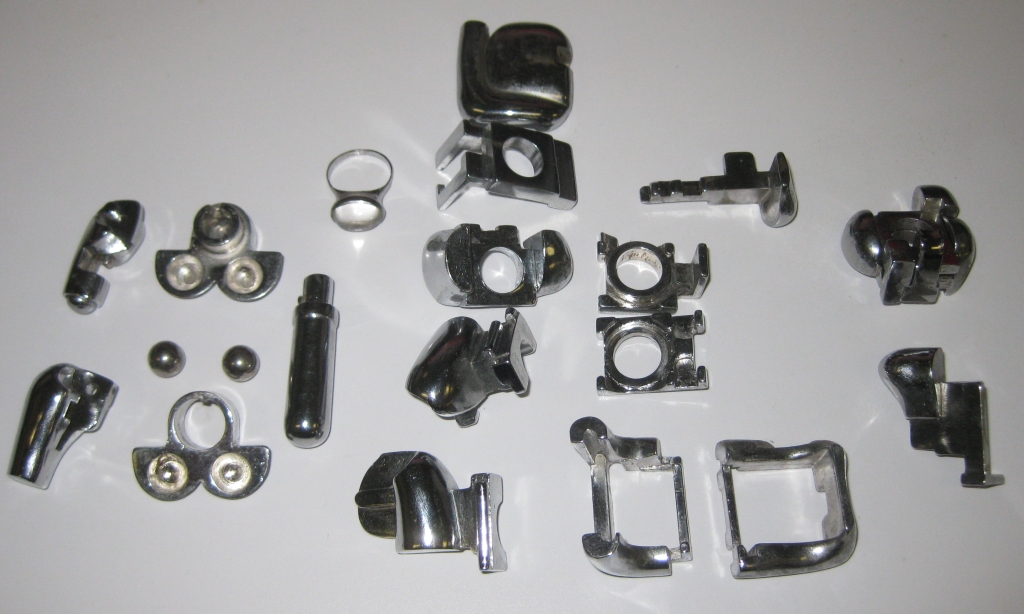
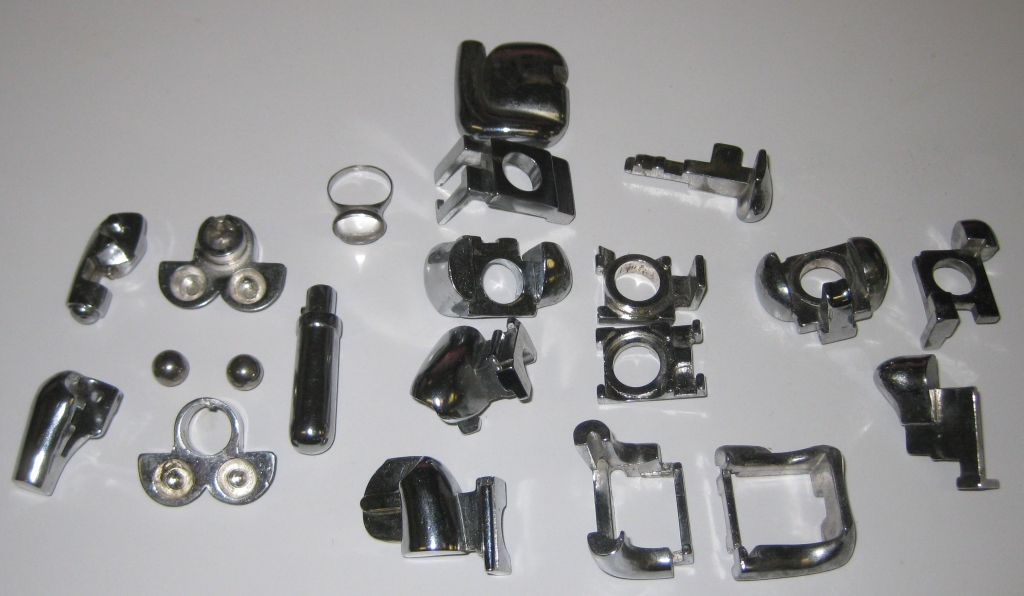
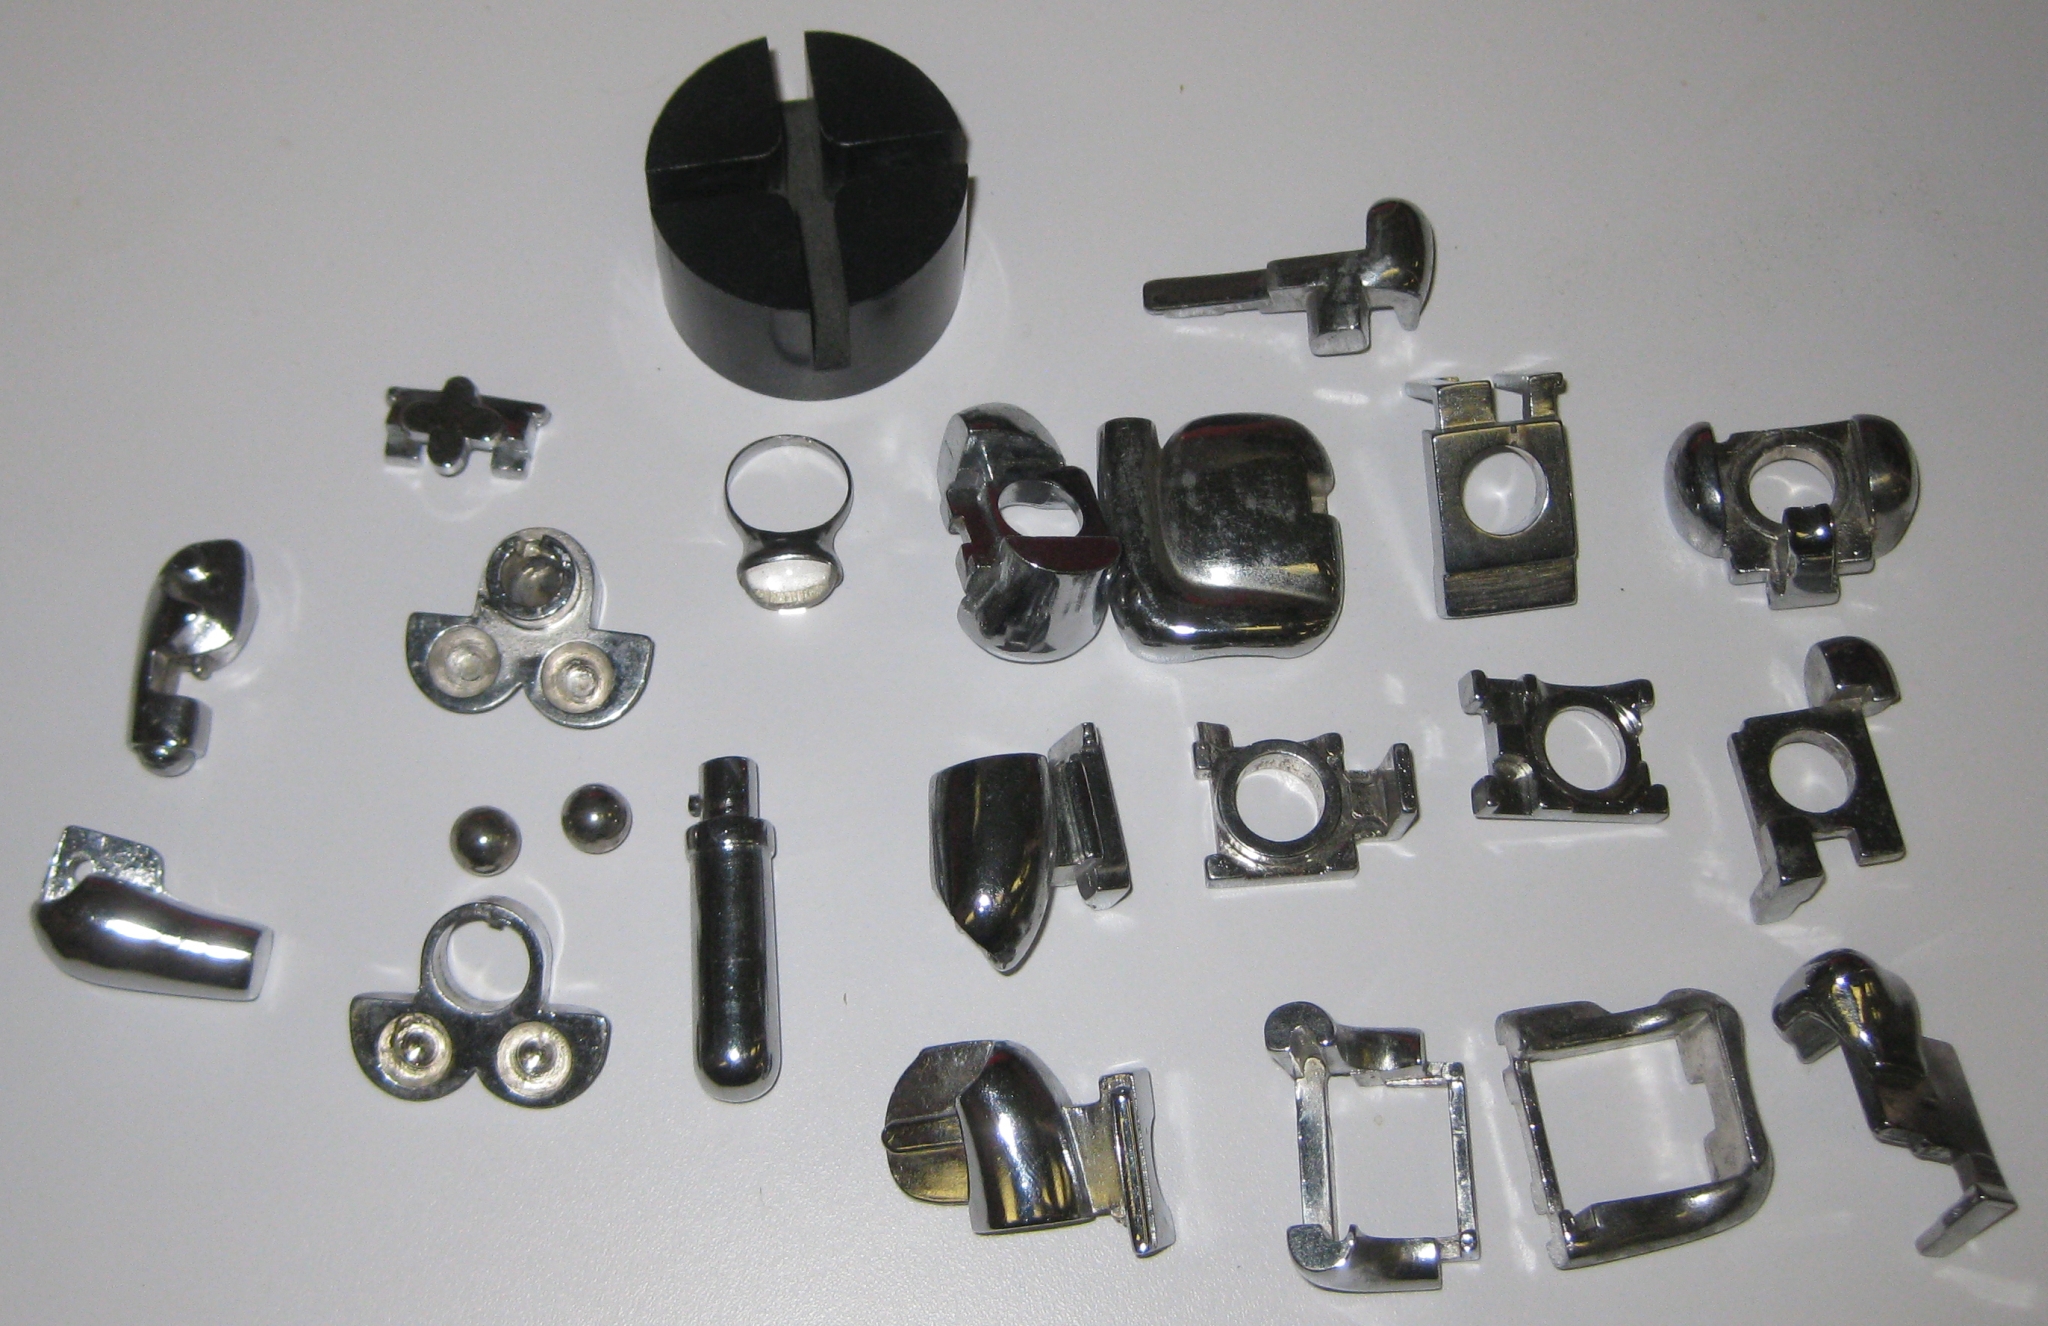
The puzzle itself consists of 22 pieces, and is an interlocking assembly puzzle. The disassembly process starts by pushing in a small button on the end of one of the legs which allows the first piece to pivot up and then be removed. From there on, it is a process of finding the next section which can be removed, until the entire sculpture is nothing more than an array of complicated pieces on the table in front of you.
While I generally avoid showing solutions to puzzles, I have included the full sequence to take Mini Maria apart by clicking the image below. Given that this is the type of puzzle that many people won’t see a copy of, I think it’s a valid reason to show everything. If you don’t want to see all the steps, don’t click below. Don’t worry, if you don’t want to see the steps, none of the other images above will show the steps if you click on them.
Mini Maria by Berrocal
Mini Maria does have another interesting surprise hidden within her. If you click through the solution (from the image above) you’ll see what I mean. There’s a set of male genitalia, complete with “balls” stuffed inside Maria. Not exactly what you’d expect from a puzzle, but I think it fits with the style of the piece.
I know that Berrocal puzzles are not for everyone, but I do recommend that if you have the chance to play with one, take it. They’re very interesting puzzles, and provide quite the challenge.