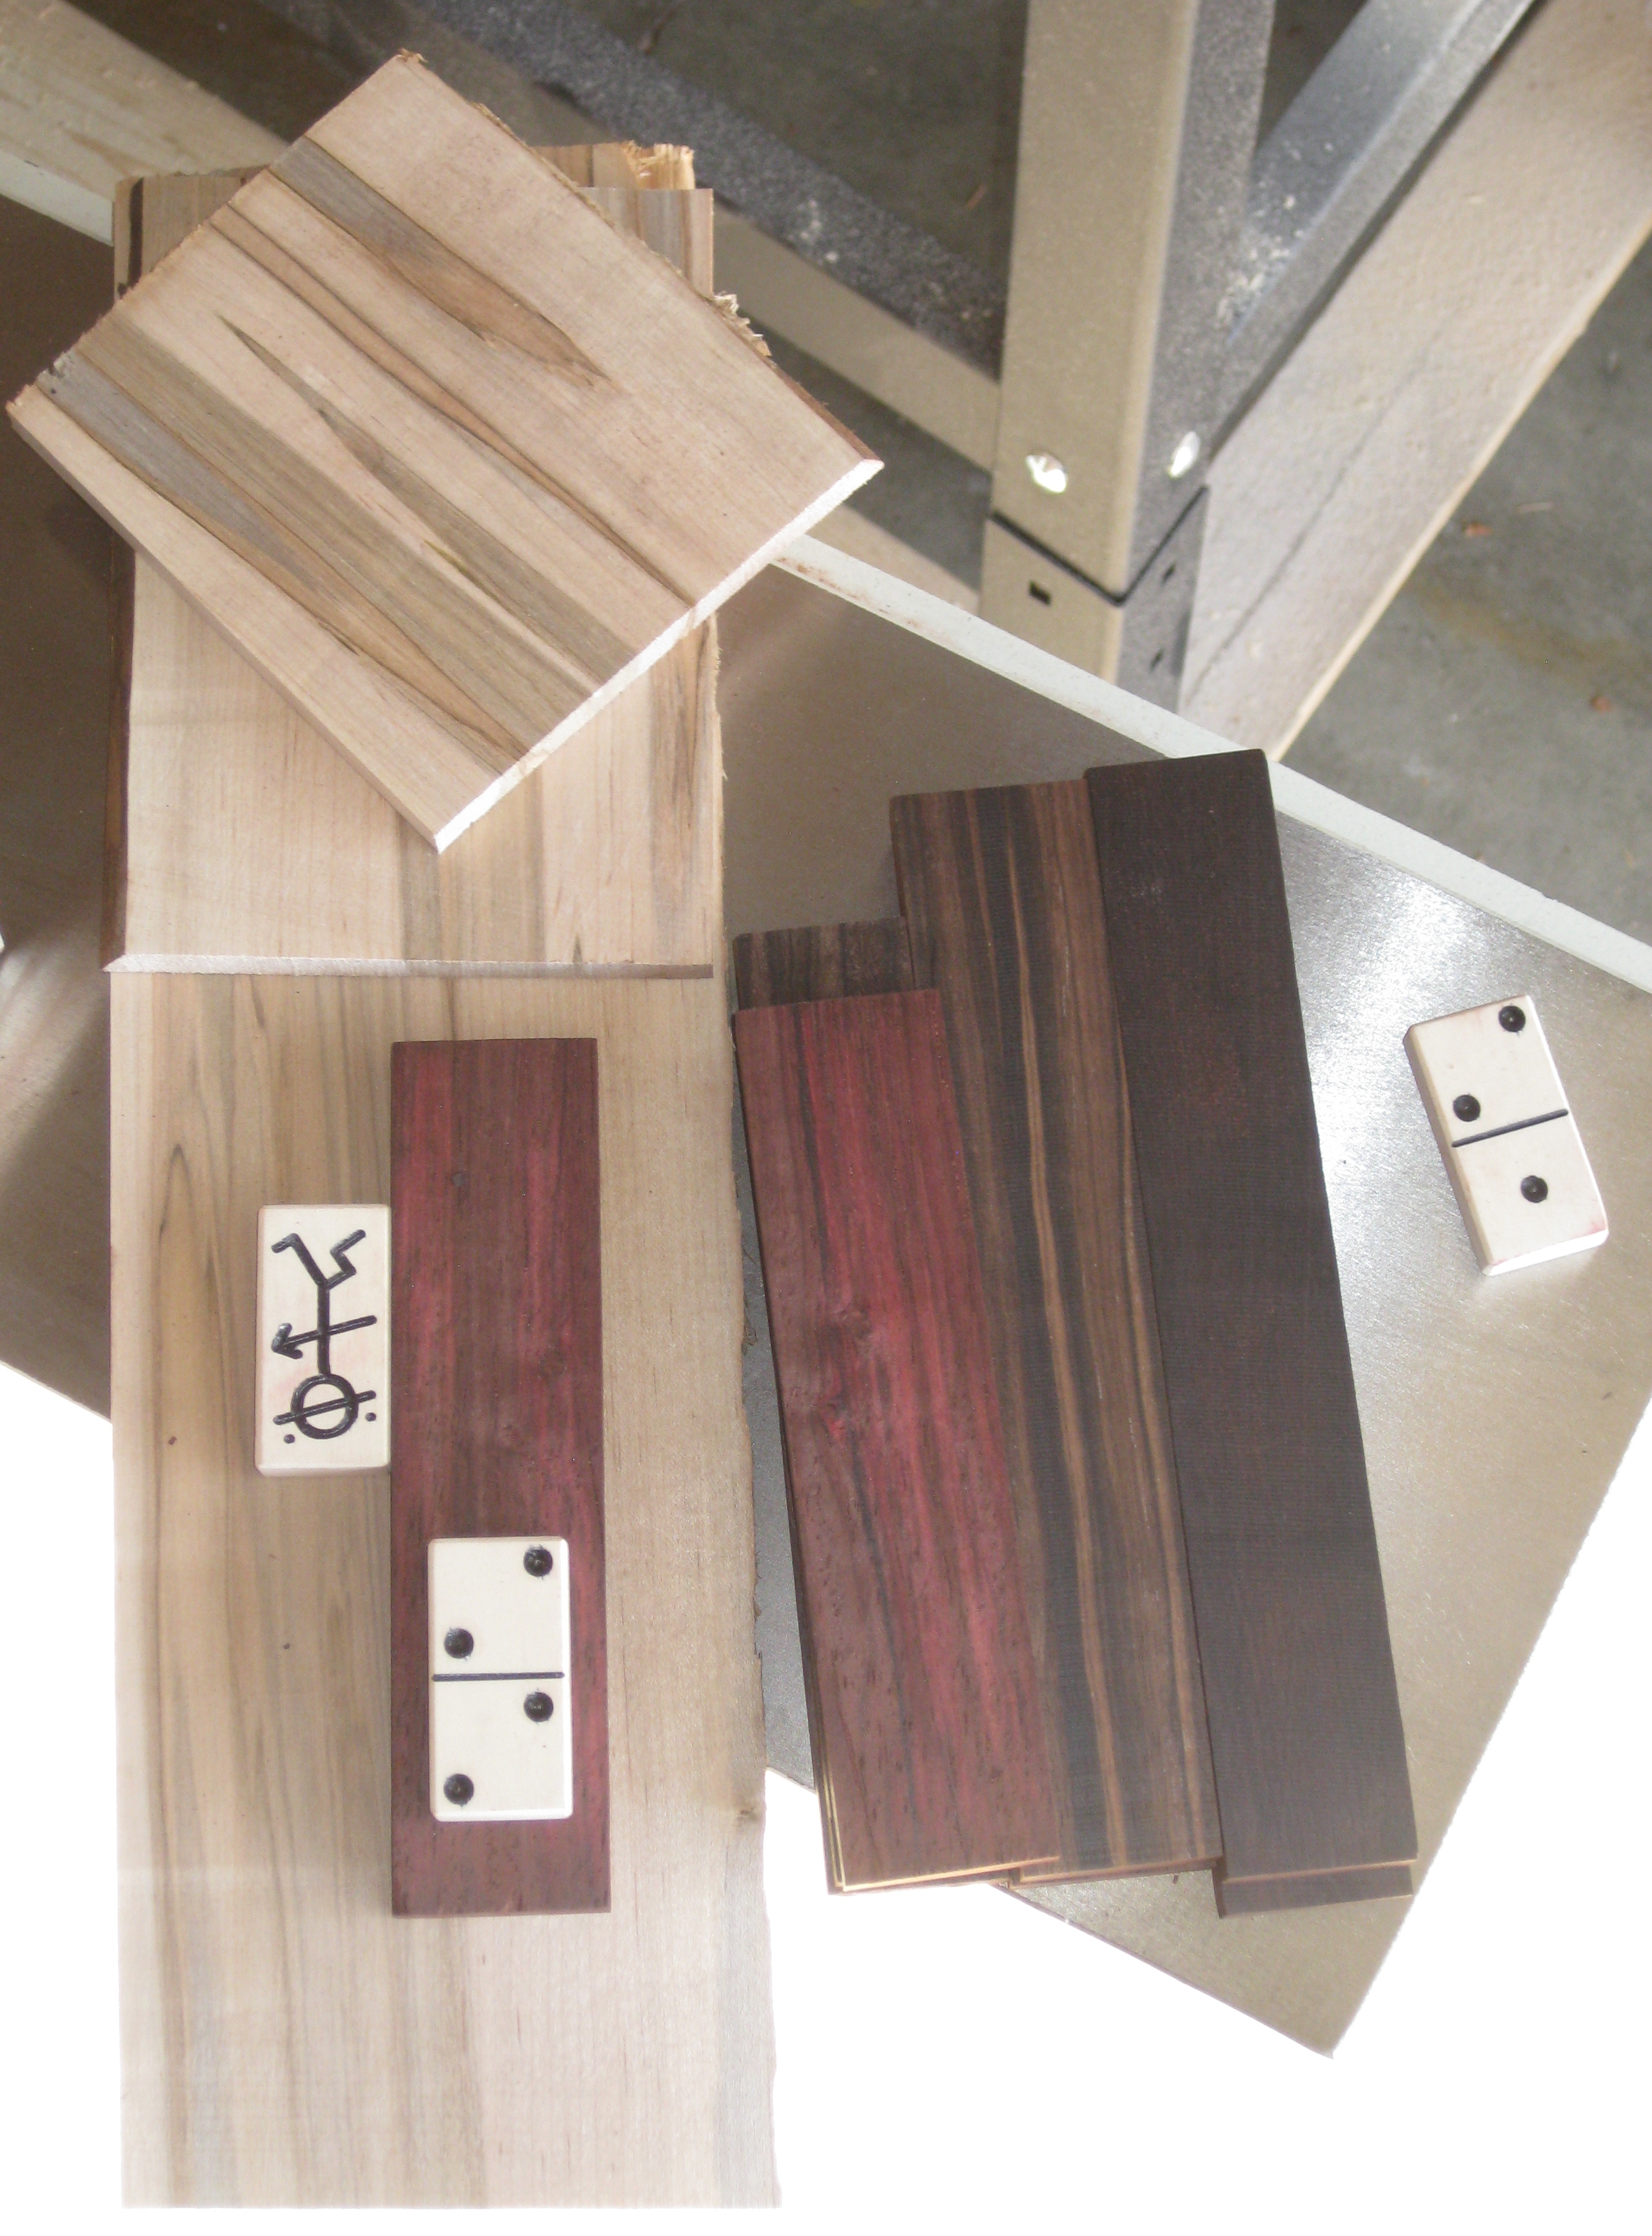
In my last post, I started creating the dominoes to complete the copy of Stickman #16, the Domino Box I had recently acquired. In this post, I’ll finish making the dominoes and review this very tricky Stickman Puzzle Box.
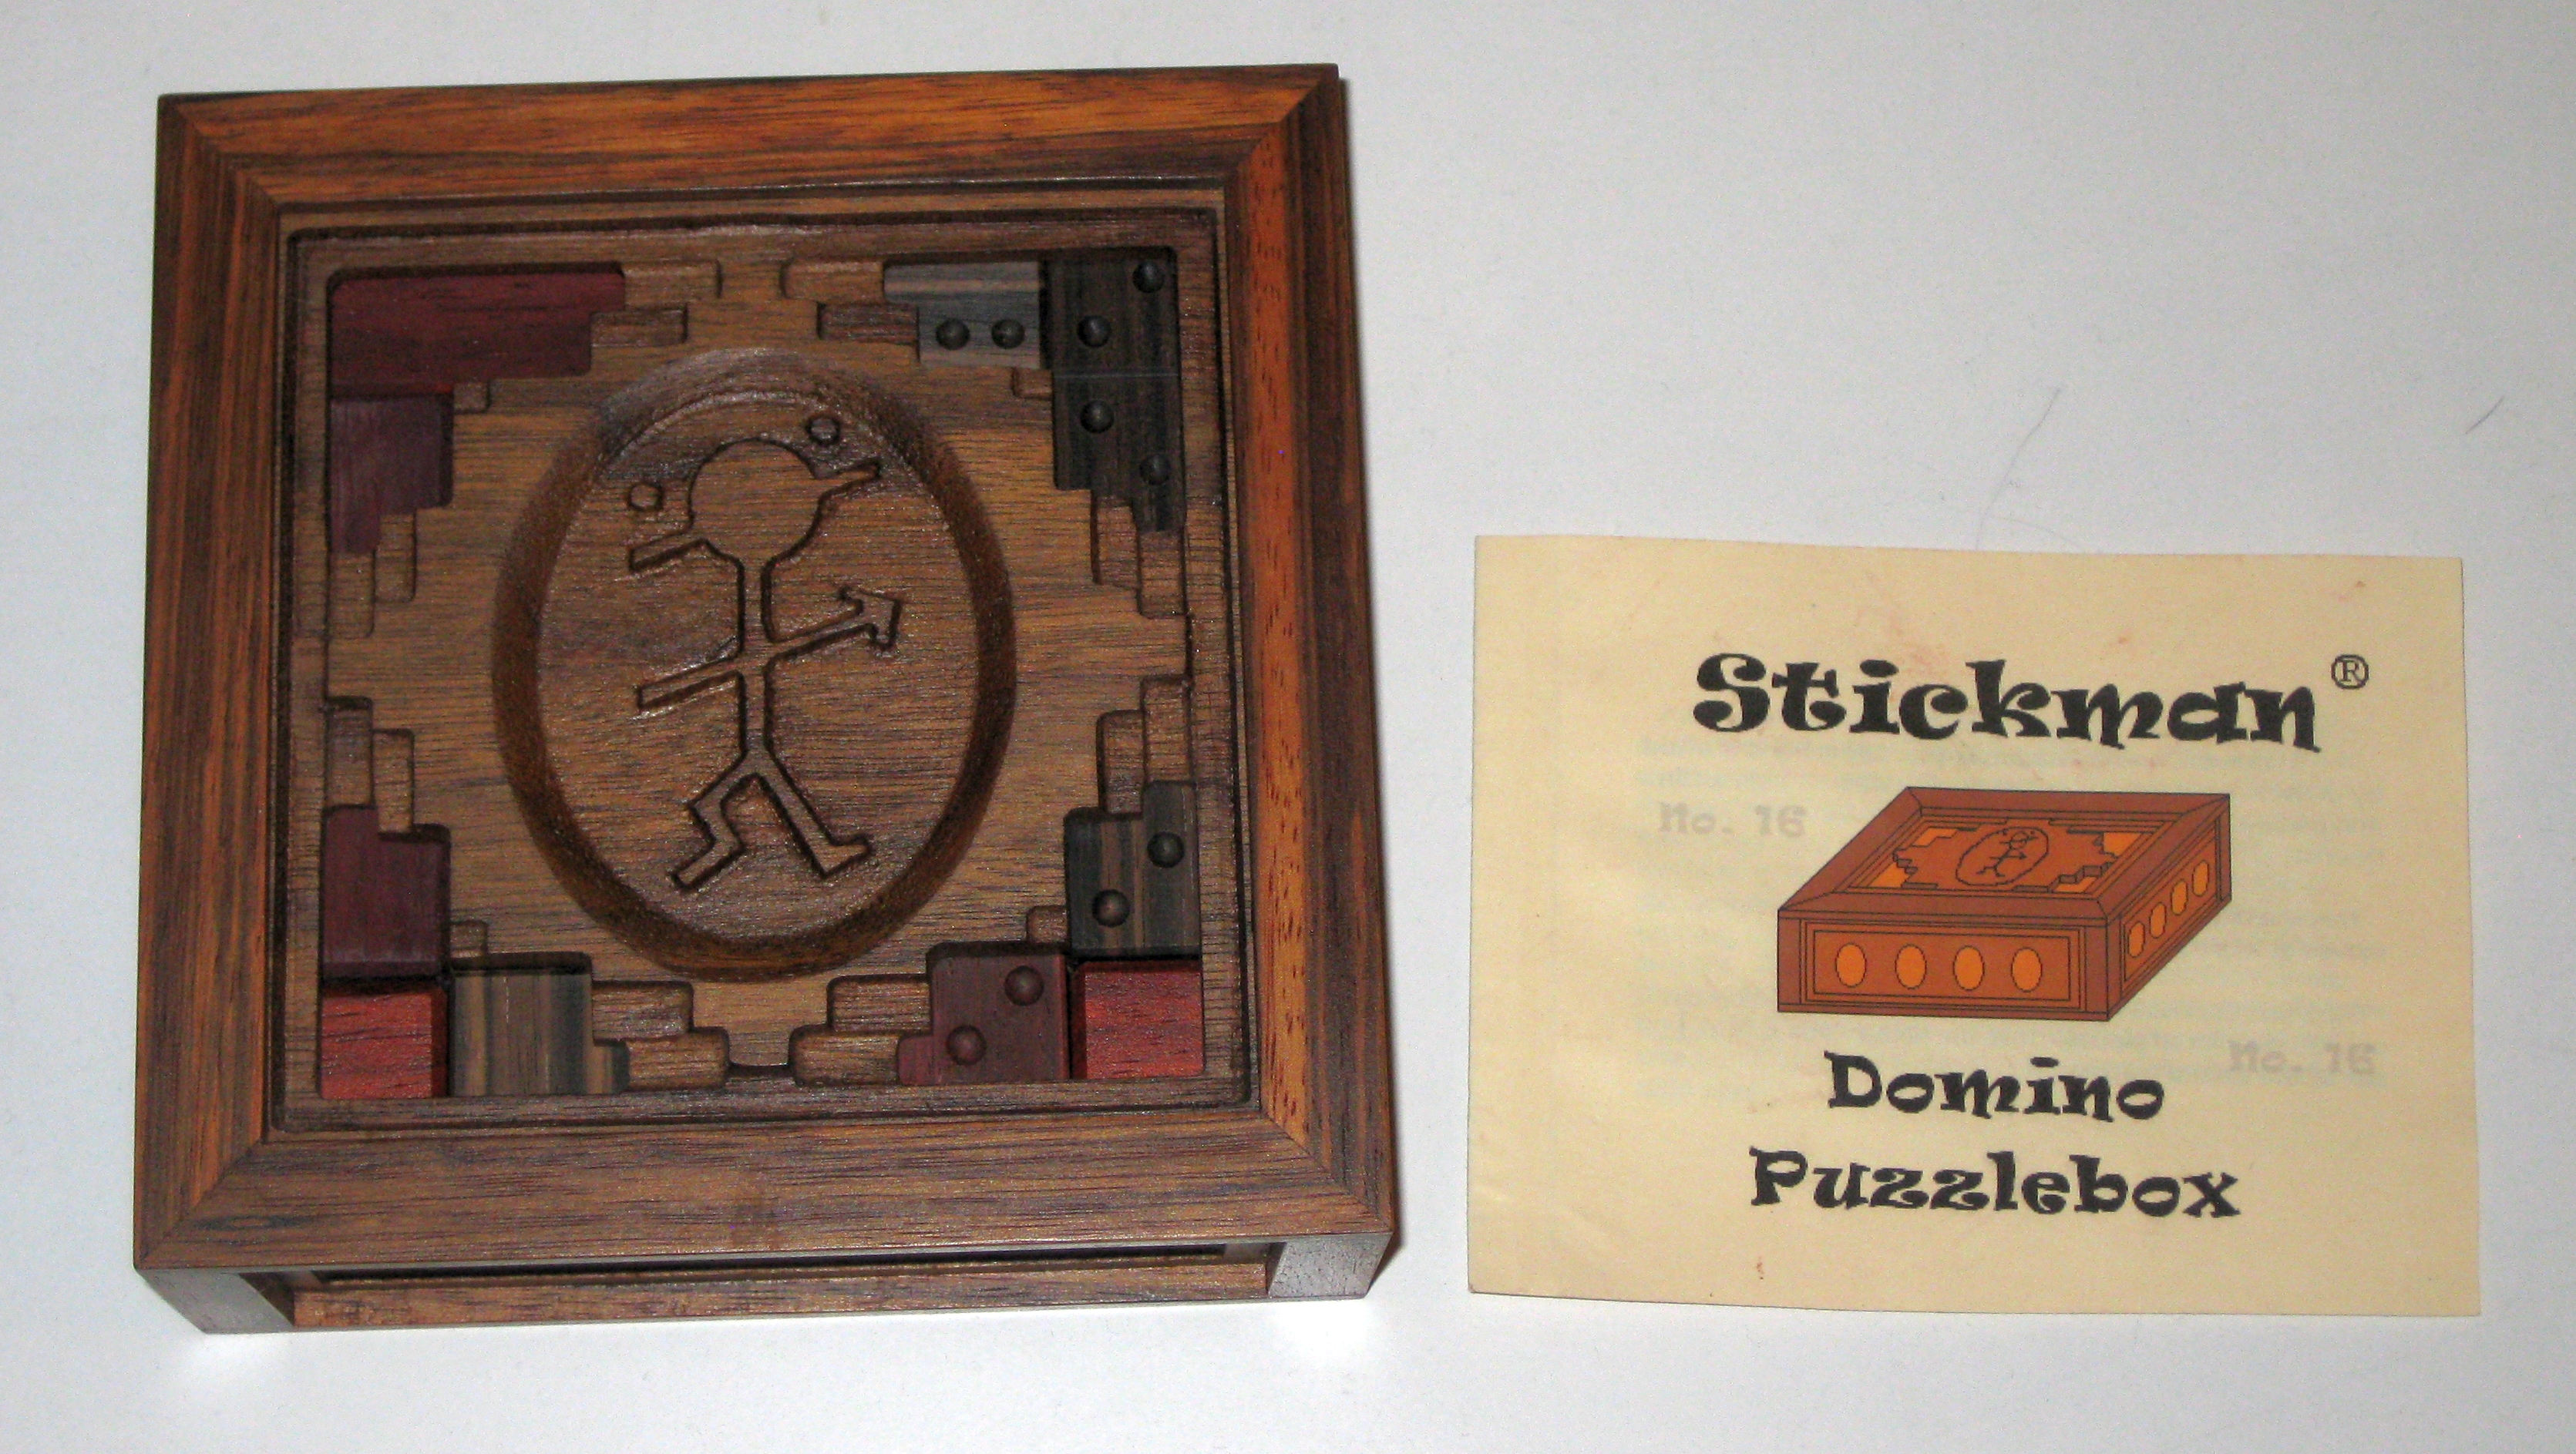
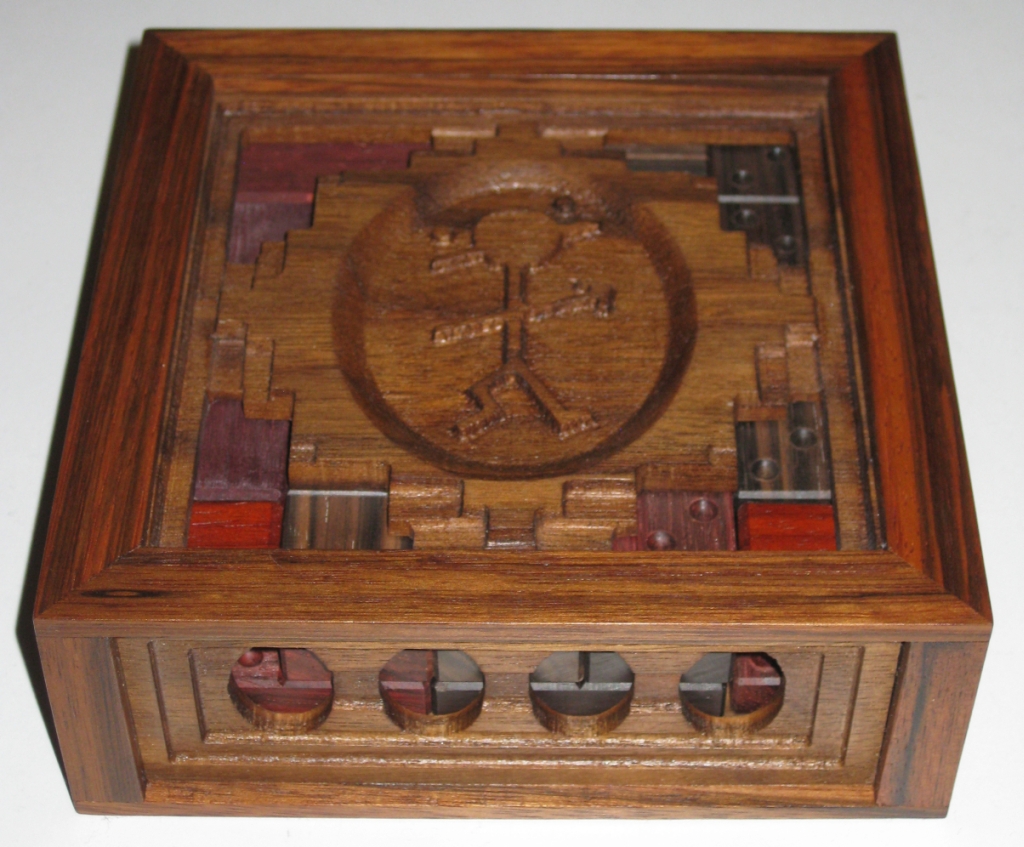
Stickman #16 – The Domino Box
Once the box is filled with dominoes, plus a couple of additional pieces that Stickman created to fill the space, the previous solver can shuffle the dominoes, effectively creating the starting point for the next solver. But before I get to the review itself, I still have to finish making the dominoes. If you’re only interested in the review, then jump here.
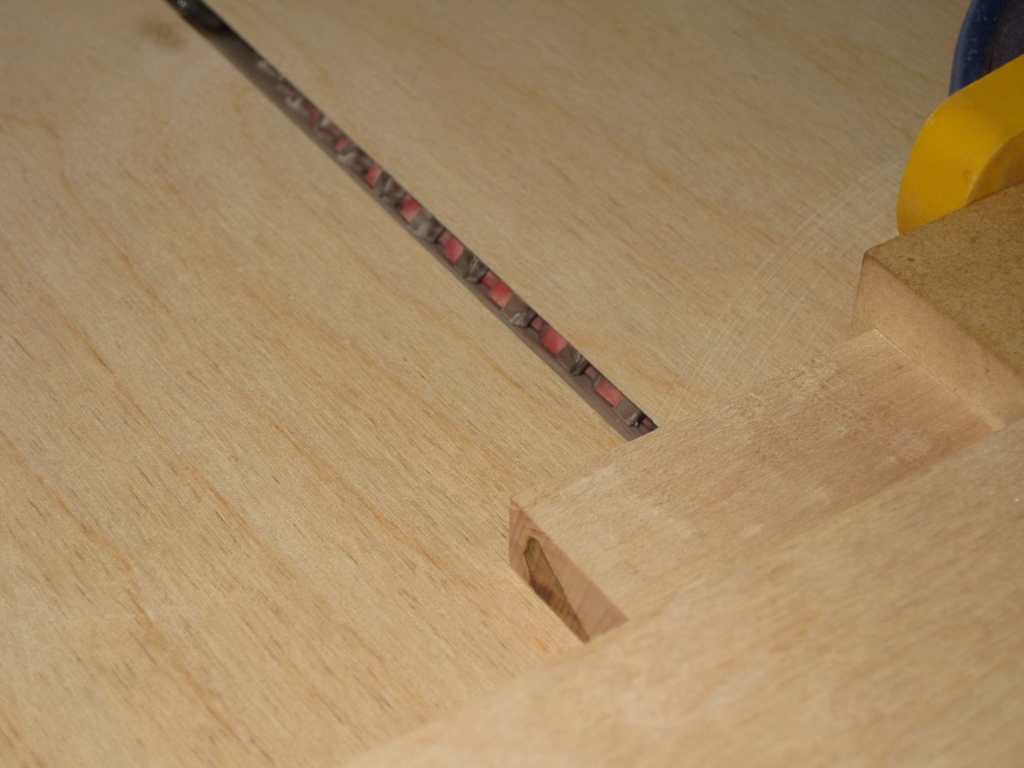
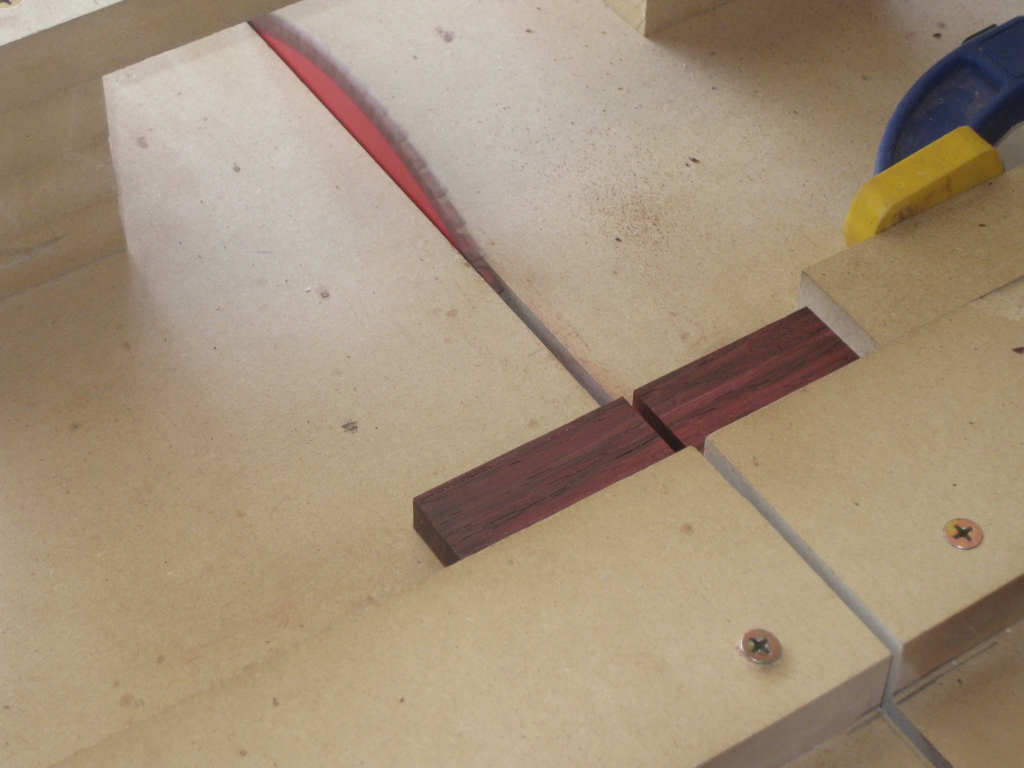
The Jig to cut the centre line in the domino
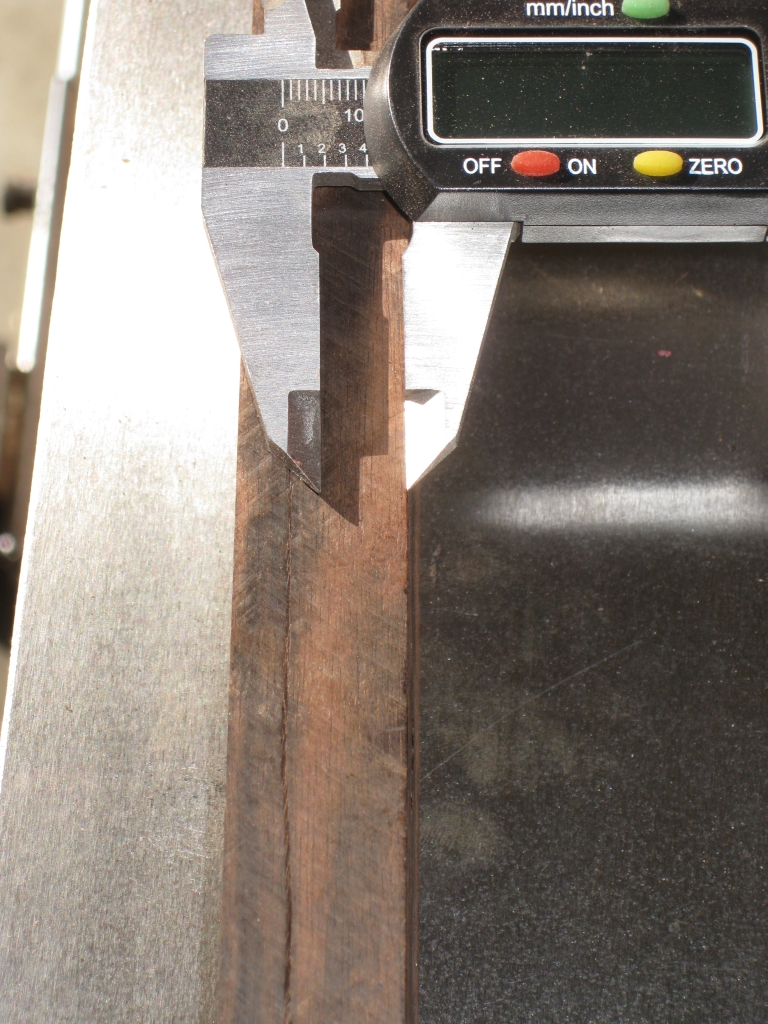
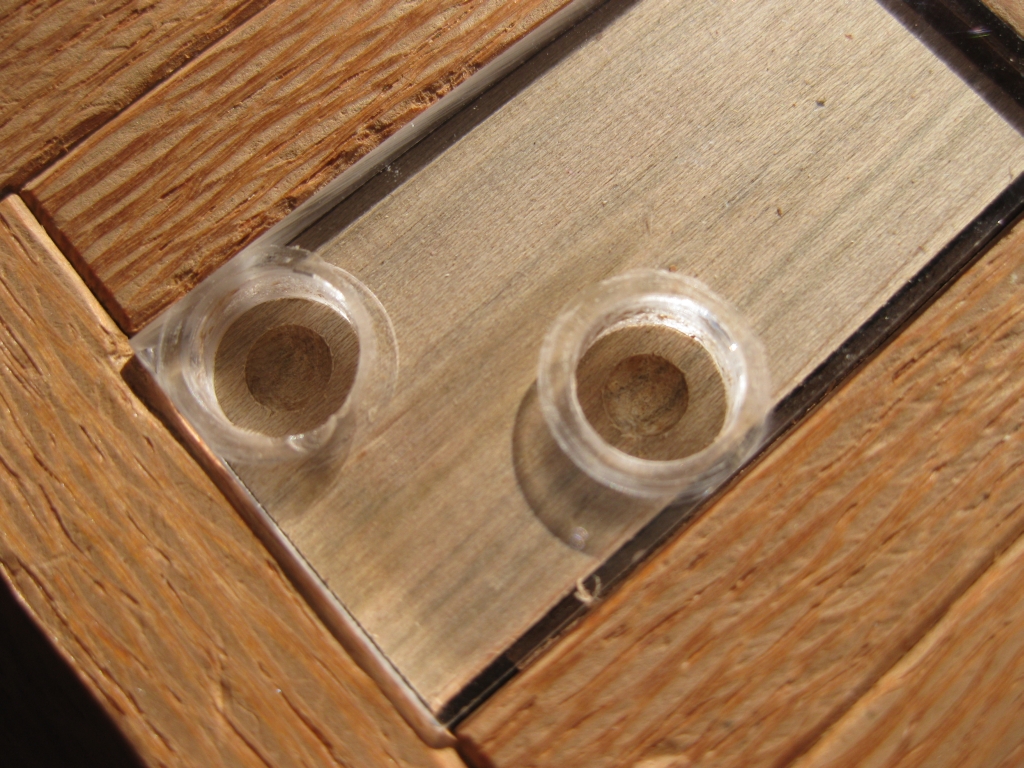
I spent most of my Sunday morning putting together a new jig just to put the centre line in the dominoes. As you probably remember from the last post, I finished up having cut the spots, but still had the challenge of creating that centre line split that all dominoes have. I needed to be able to do this quickly and accurately, and also had to take into account that tearout was possible when cutting across the grain of the wood. Had I been sensible, I’d have cut the centre line before creating the bevel, making tearout a much lesser issue, since the bevel would cleanup any possible tearout.
Given that I didn’t do that (live and learn!) I had to create a crosscut sled, with the blade angled at 45 degrees to the table. This allowed me to cut using the corner of the blade, and create the desired effect. Although it may look like the blade is inside the jig in the picture above, it’s actually 1/64″ above the plane of the jig. Just enough to cut the shallow groove I need.
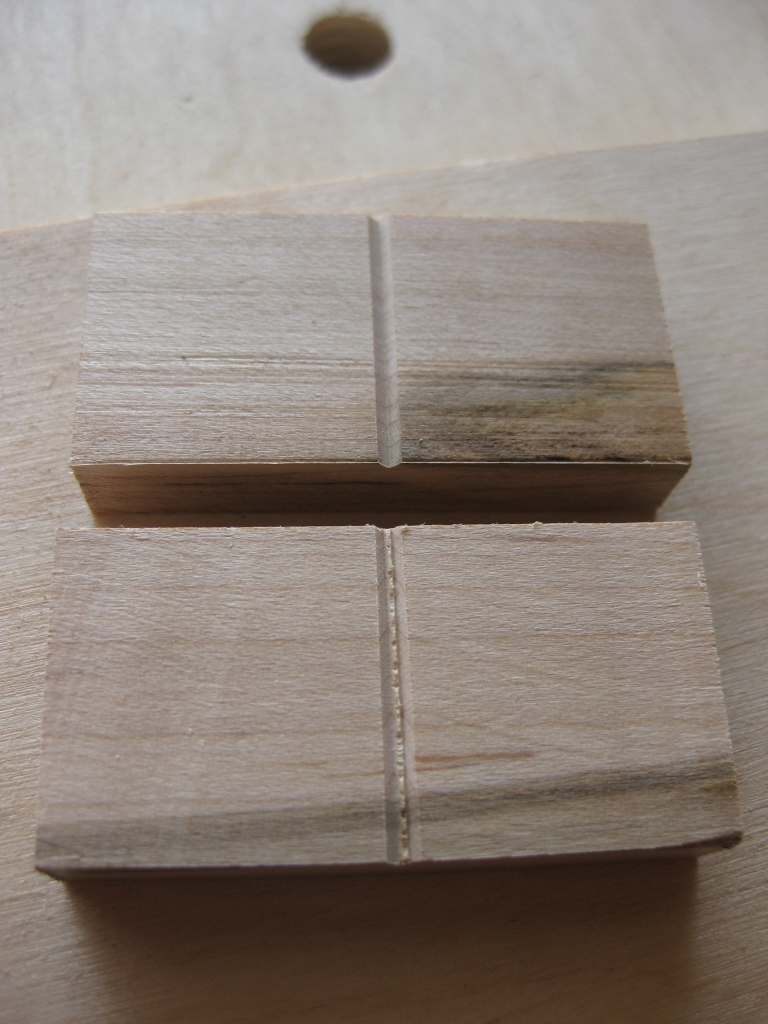
Adjusting the stop to get a perfect cut
The first attempt, I had my stop block slightly off, so the cut was fractionally too wide and left a hill in the centre of the domino. A quick adjustment of the stop block, and the test domino looked good. The benefit of having the stop and this jig is that the cuts are repeatable, and very quick to make. It takes less than 10 seconds per domino.
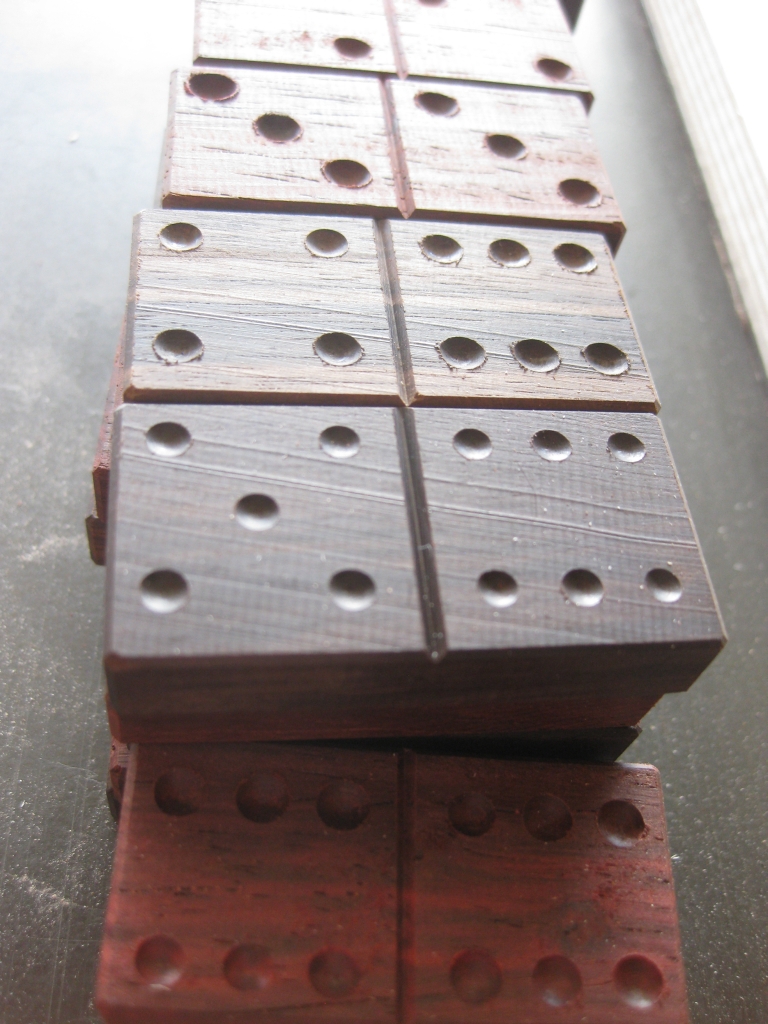
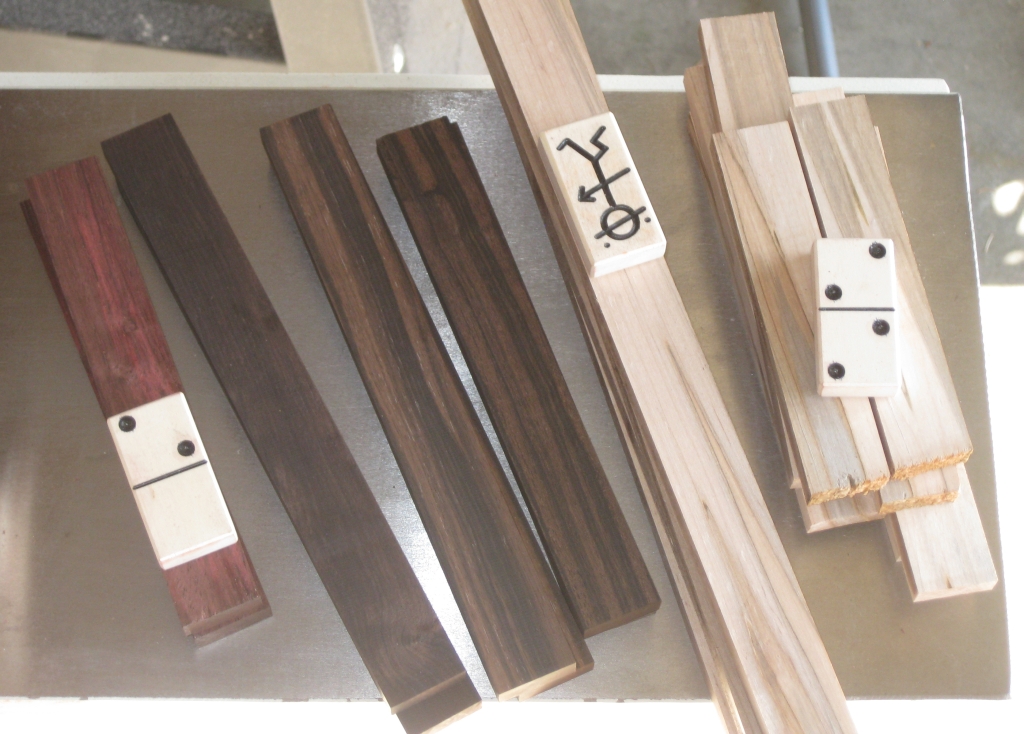
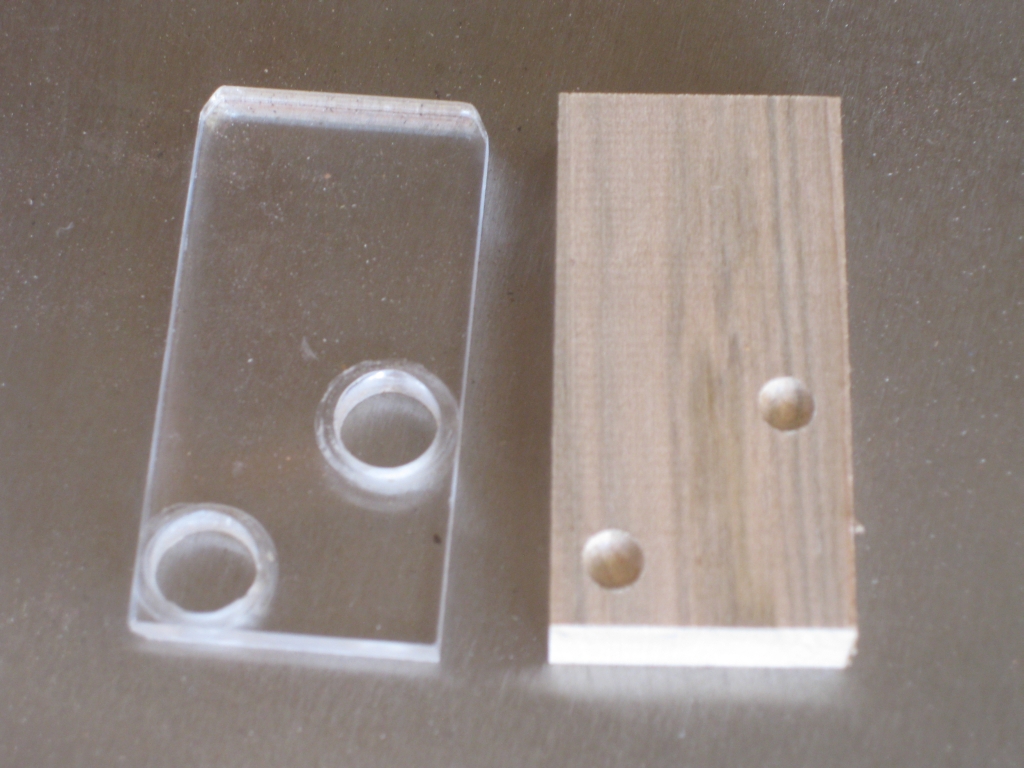
The finished Ebony Dominoes
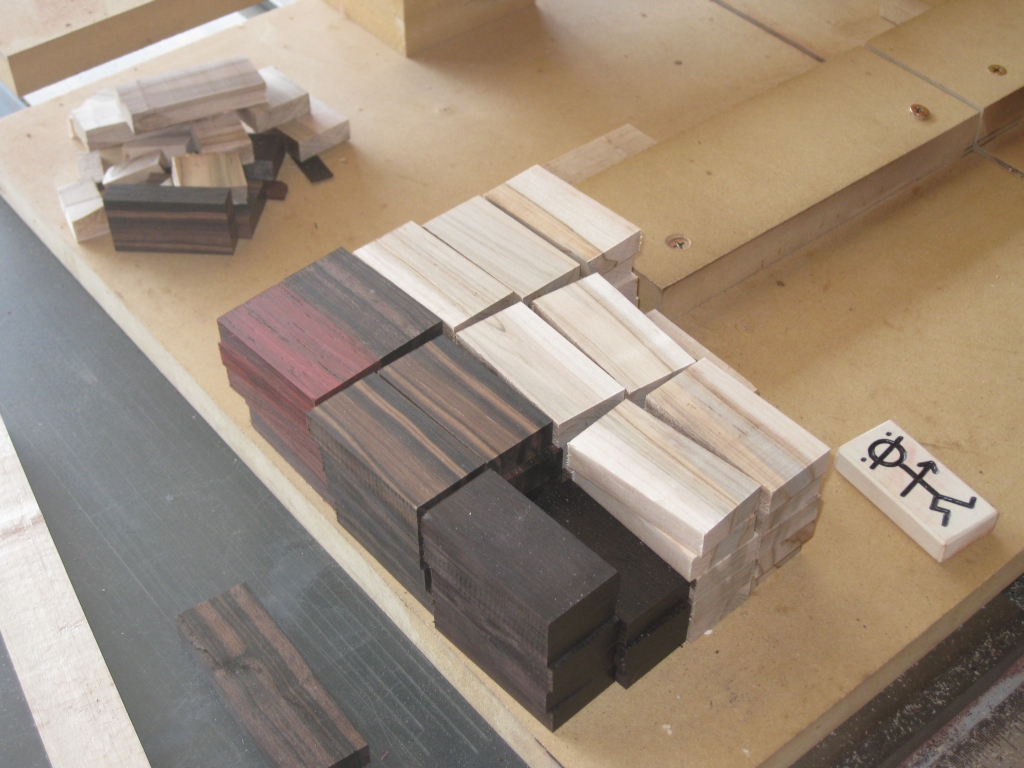
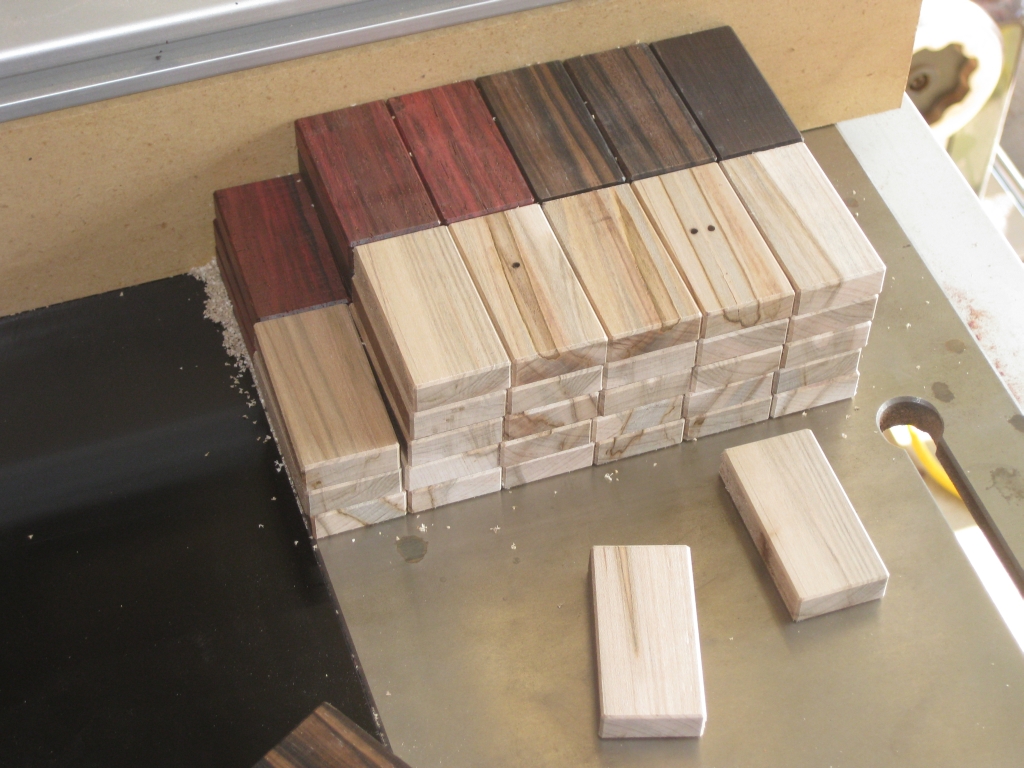
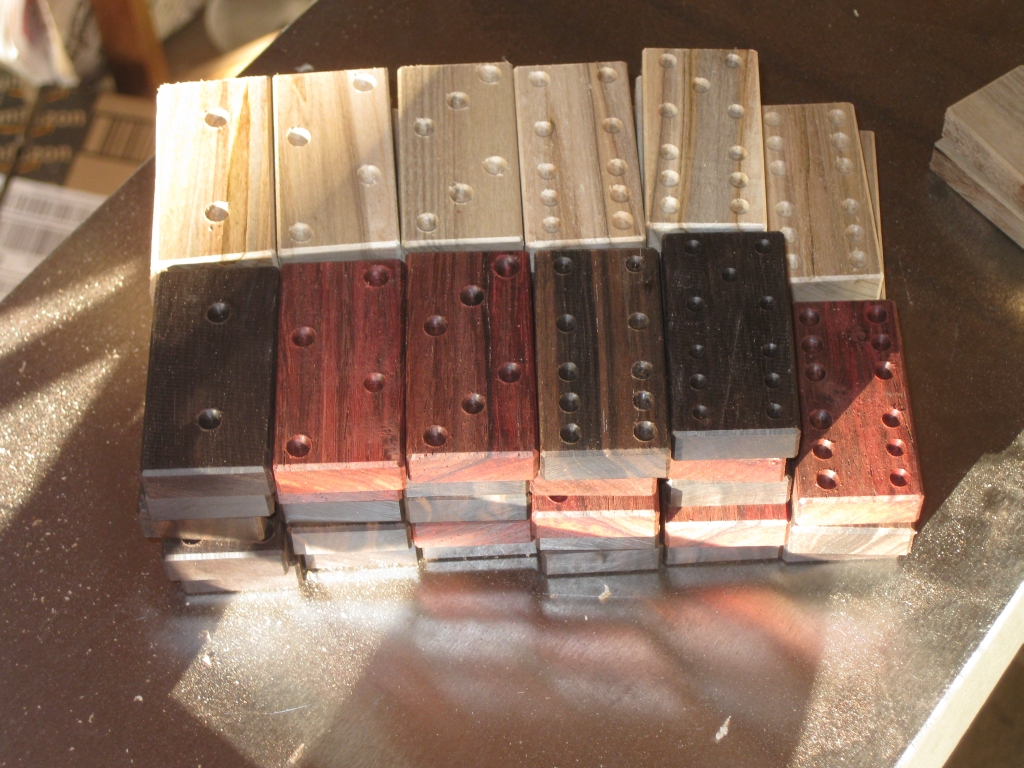
Half an hour later, I had two full sets of dominoes finished. Now of course there’s some final sanding and finish to be applied, but the dominoes themselves are complete, and could be used in the puzzle at this point. It took two days over two weekends to make the two sets of dominoes and was time well spent in my mind. There’s another Stickman puzzle (two in fact) which are now complete and will hopefully allow these excellent puzzles to be enjoyed by many more people.
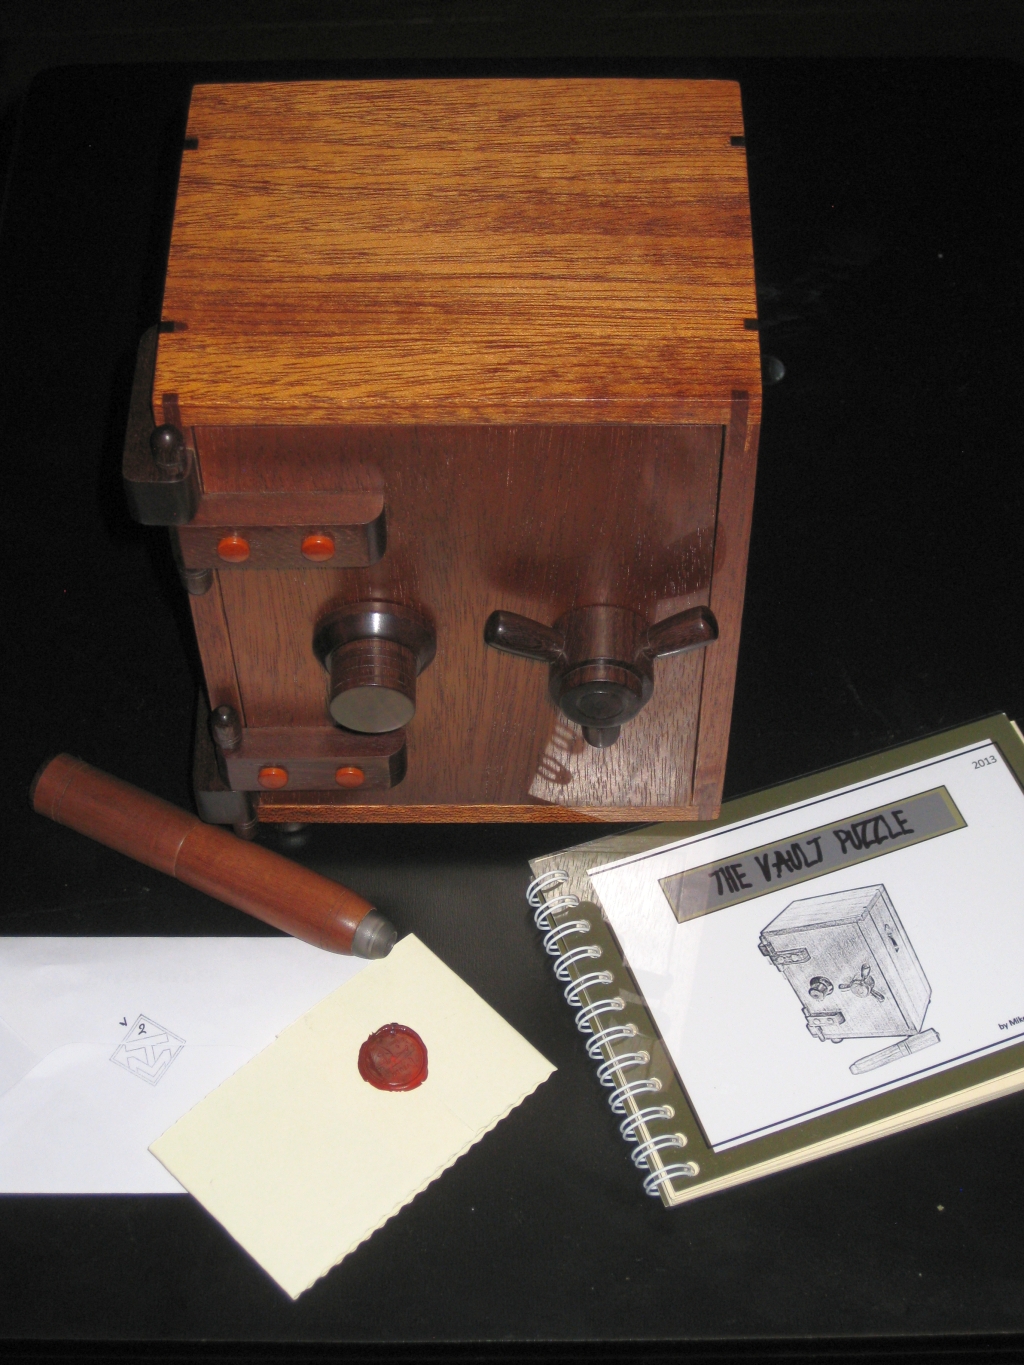
Stickman #16 – The Domino Box, complete and ready to puzzle
So with all the work I put in to completing this puzzle, was it worth it, and is the puzzle any good?
The puzzle measures 6″ x 6″ x 2″, and has enough space to store a regular set of 6 spot dominoes (that’s 28 if you weren’t sure), as well as a few additional shapes just to make things interesting. Made from Walnut and Monticello it’s a sturdy box, which with all the ornate work on the top and bottom makes it a great looking puzzle.
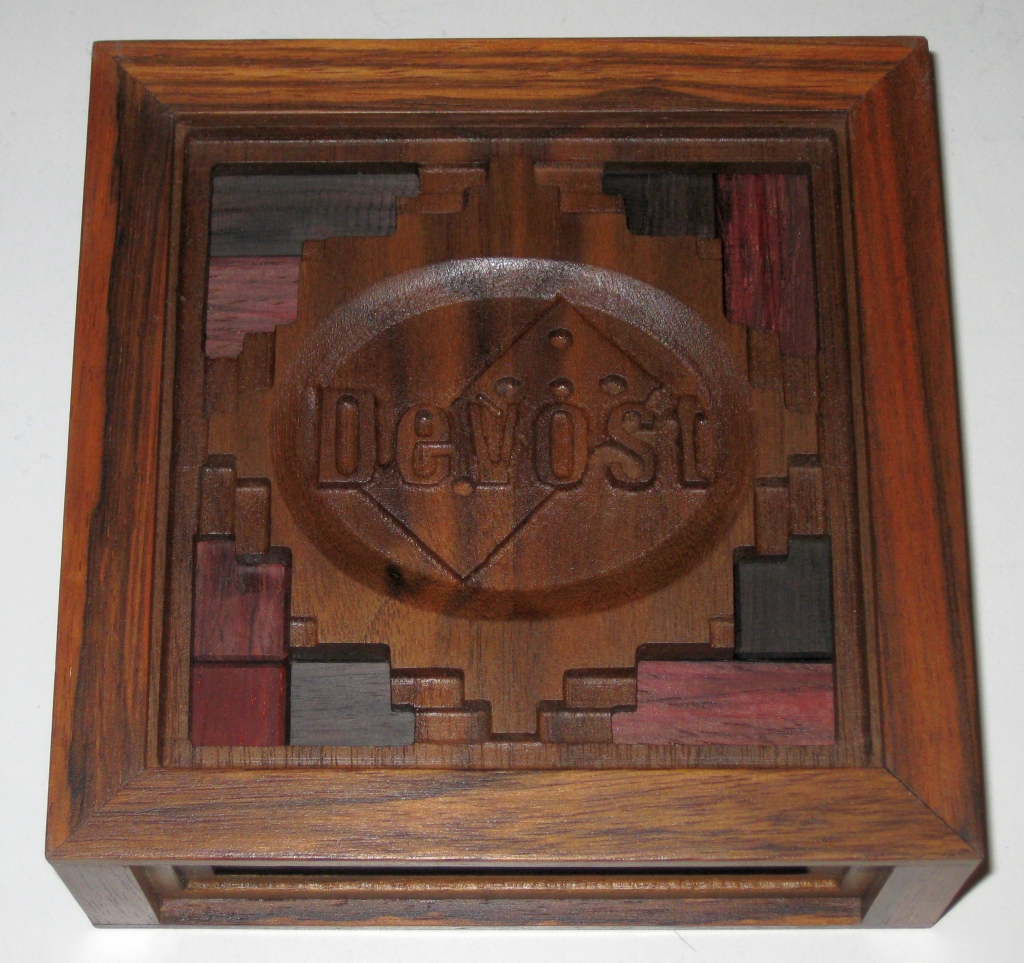
The Base of the box
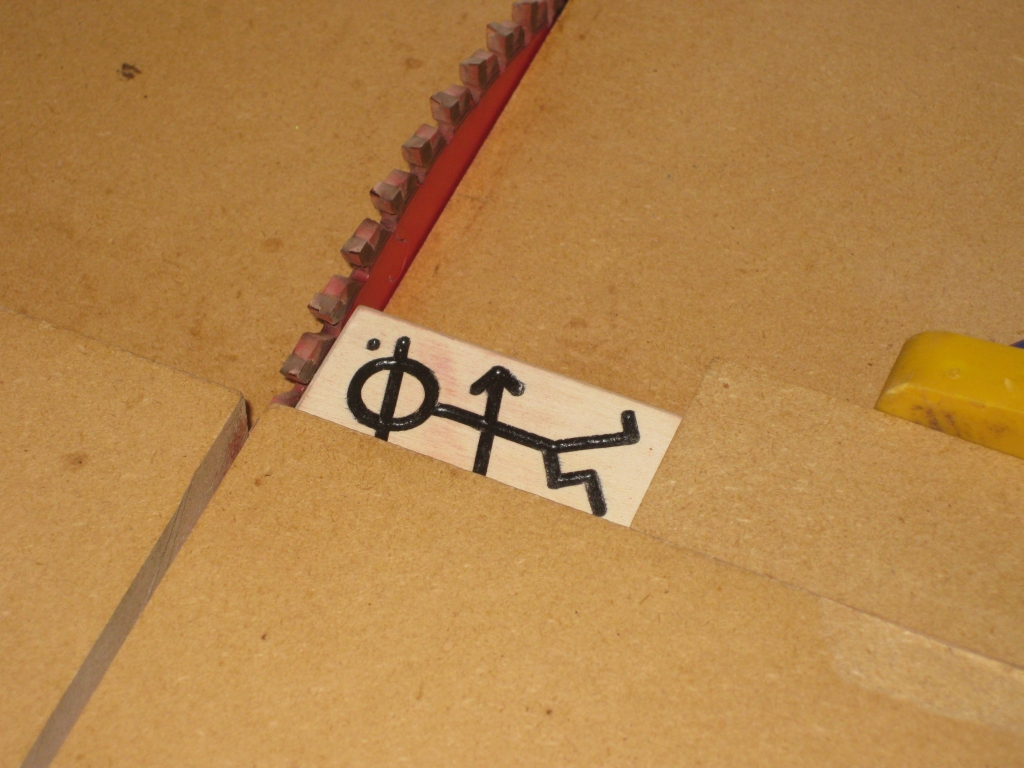
With the Stickman logo on the top, the Domino and Devost on the bottom to signify that the dominoes were made by John Devost, this stands out on the puzzle shelves. Of course in my case, the dominoes were made by me, and this is the only set of dominoes in the run of boxes to be made from Ebony. I was very lucky to get the Ebony blocks from John through Stickman, so this is the wood which was intended to be with this box. I’m incredibly happy that some of the Ebony has the amazing red tint to it. Sadly, over time this will oxidse into the dark rich black that is normally associated with Ebony, but for now I’m going to enjoy this wonderful hue.
I think this probably qualifies as one of the simplest mechanisms in a Stickman Puzzle that I’ve come across. If we break it down to the bare minimum, it’s a box, with a sliding lid, and two blocks glued to the inside. Don’t read that the wrong way, the craftsmanship in this puzzle is everything you’d expect from a master craftsman like Stickman, and given the CNC work, it’s one of the more ornate puzzles he’s produced.
It’s up to the puzzler to insert the dominoes into the box, in any orientation he desires along with the additional pieces, close the lid, and then shift a few of the dominoes around to lock the puzzle. The challenge is then to return the dominoes to their original position which leaves a small gap at each corner on the front of the puzzle, allowing it to be opened.
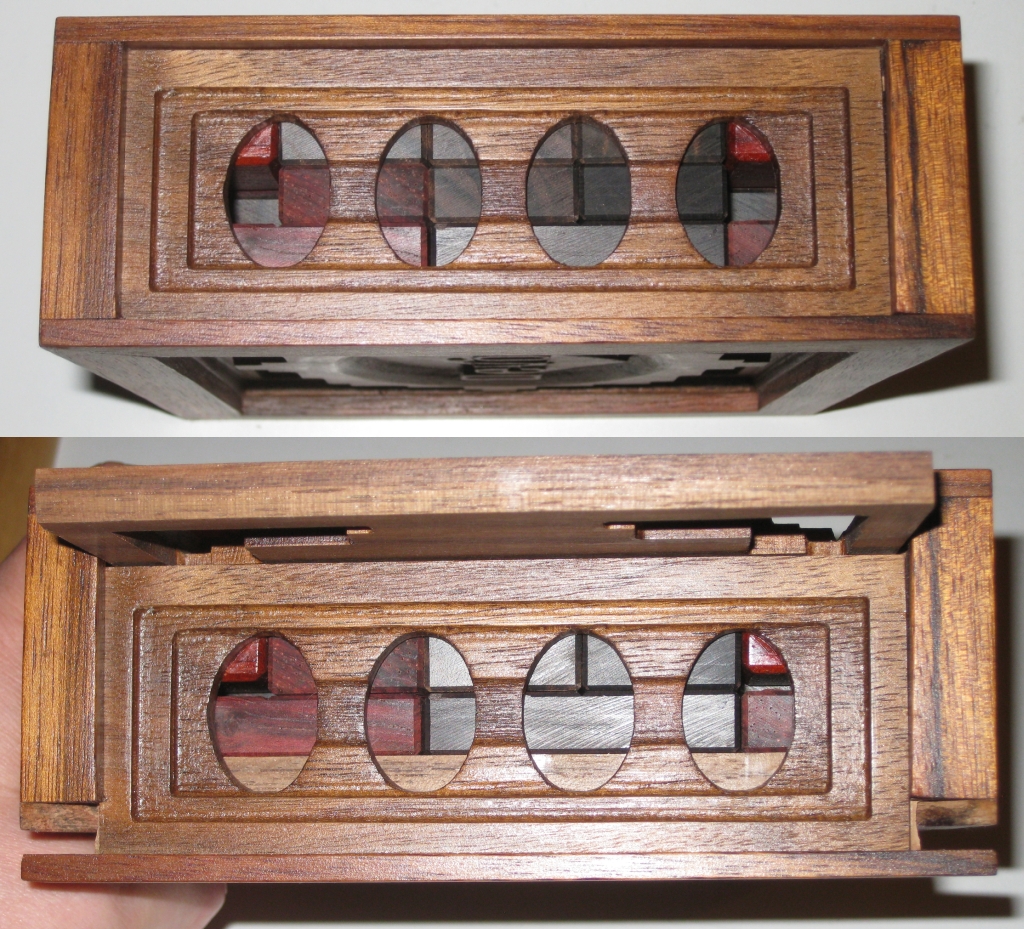
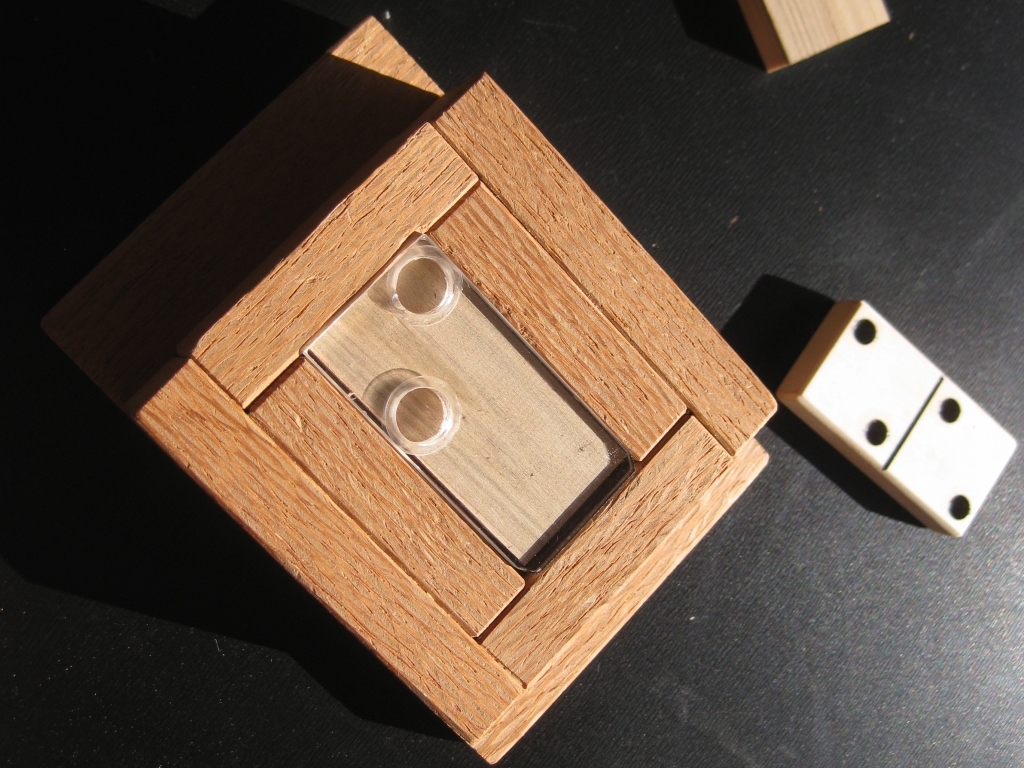
Front of the box showing the solved state, and the open mechanism
The Upper image shows the gaps which have to be created. Looking through the two outer holes in the box, there’s a gap in the middle layer of tiles. The top two reddish bricks at the top are the two which are glued to the frame and make the locking mechanism. Once those spaces are clear, the front can be slid down, allowing the top to slide part way out, allowing access to the dominoes.

The opened box, allowing access to the dominoes
In terms of the difficulty, this is a very challenging puzzle. Those holes which are all around the box look huge until you try to move a domino inside the box, and realise that the gaps are not as large or as helpful as you might like. I found myself often tapping the side of the box against my palm to cause a domino to slide where I needed it. Moving dominoes between layers is especially tricky, and it’s not had to create a state inside the box that will take a lot of time to solve. Even Stickman himself admits that he found himself locked out of the box for hours.
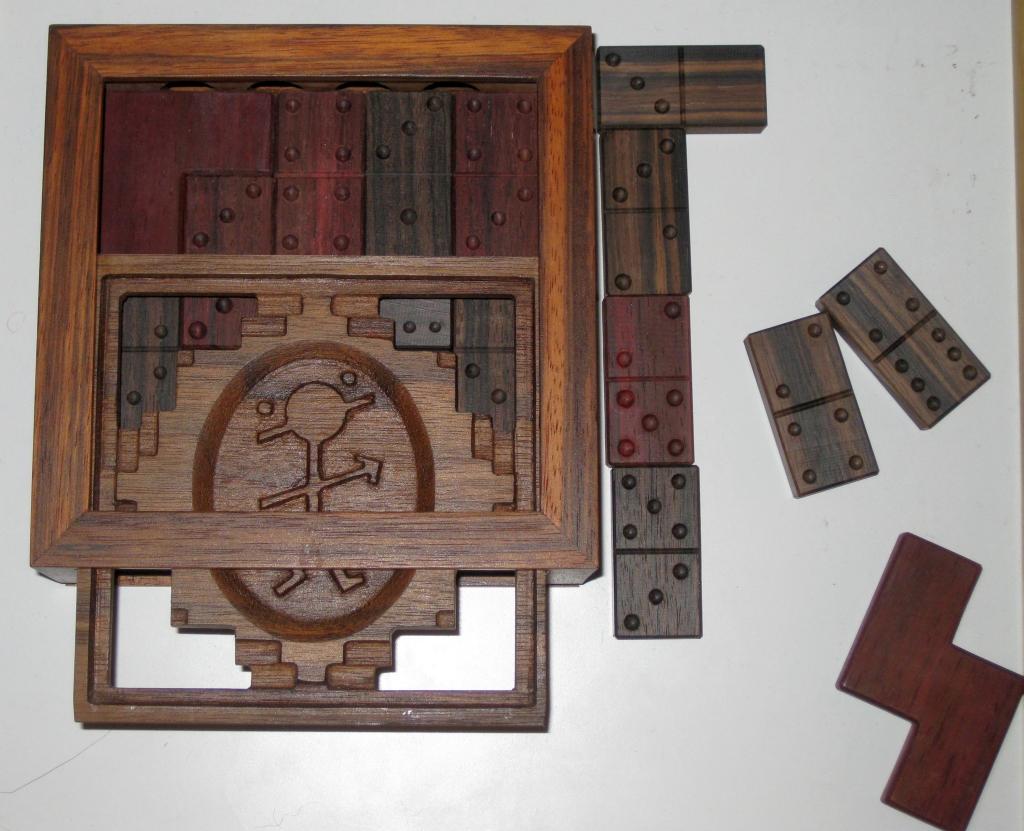
The opened box, allowing access to the dominoes
I really like this puzzle box, and it doesn’t hurt that once you solve it, you can go ahead and make use of the dominoes inside. I’m very pleased to have been able to turn this into a working puzzle and I hope this will give more puzzle enthusiasts a chance to play with another Stickman design.