Monthly Archives: September 2012

Washington Monument – IPP32 Exchange

One of the puzzles I really liked the look of while taking part in the IPP32 Puzzle Exchange was Mr Puzzle’s Washington Monument. Brian’s description of the puzzle when he presented it, plus the really high quality and great look of the puzzle meant this was one that I went looking for on the day of the Puzzle Party, and was lucky enough to get one (amongst a number of other puzzles from Brian’s table that day!)

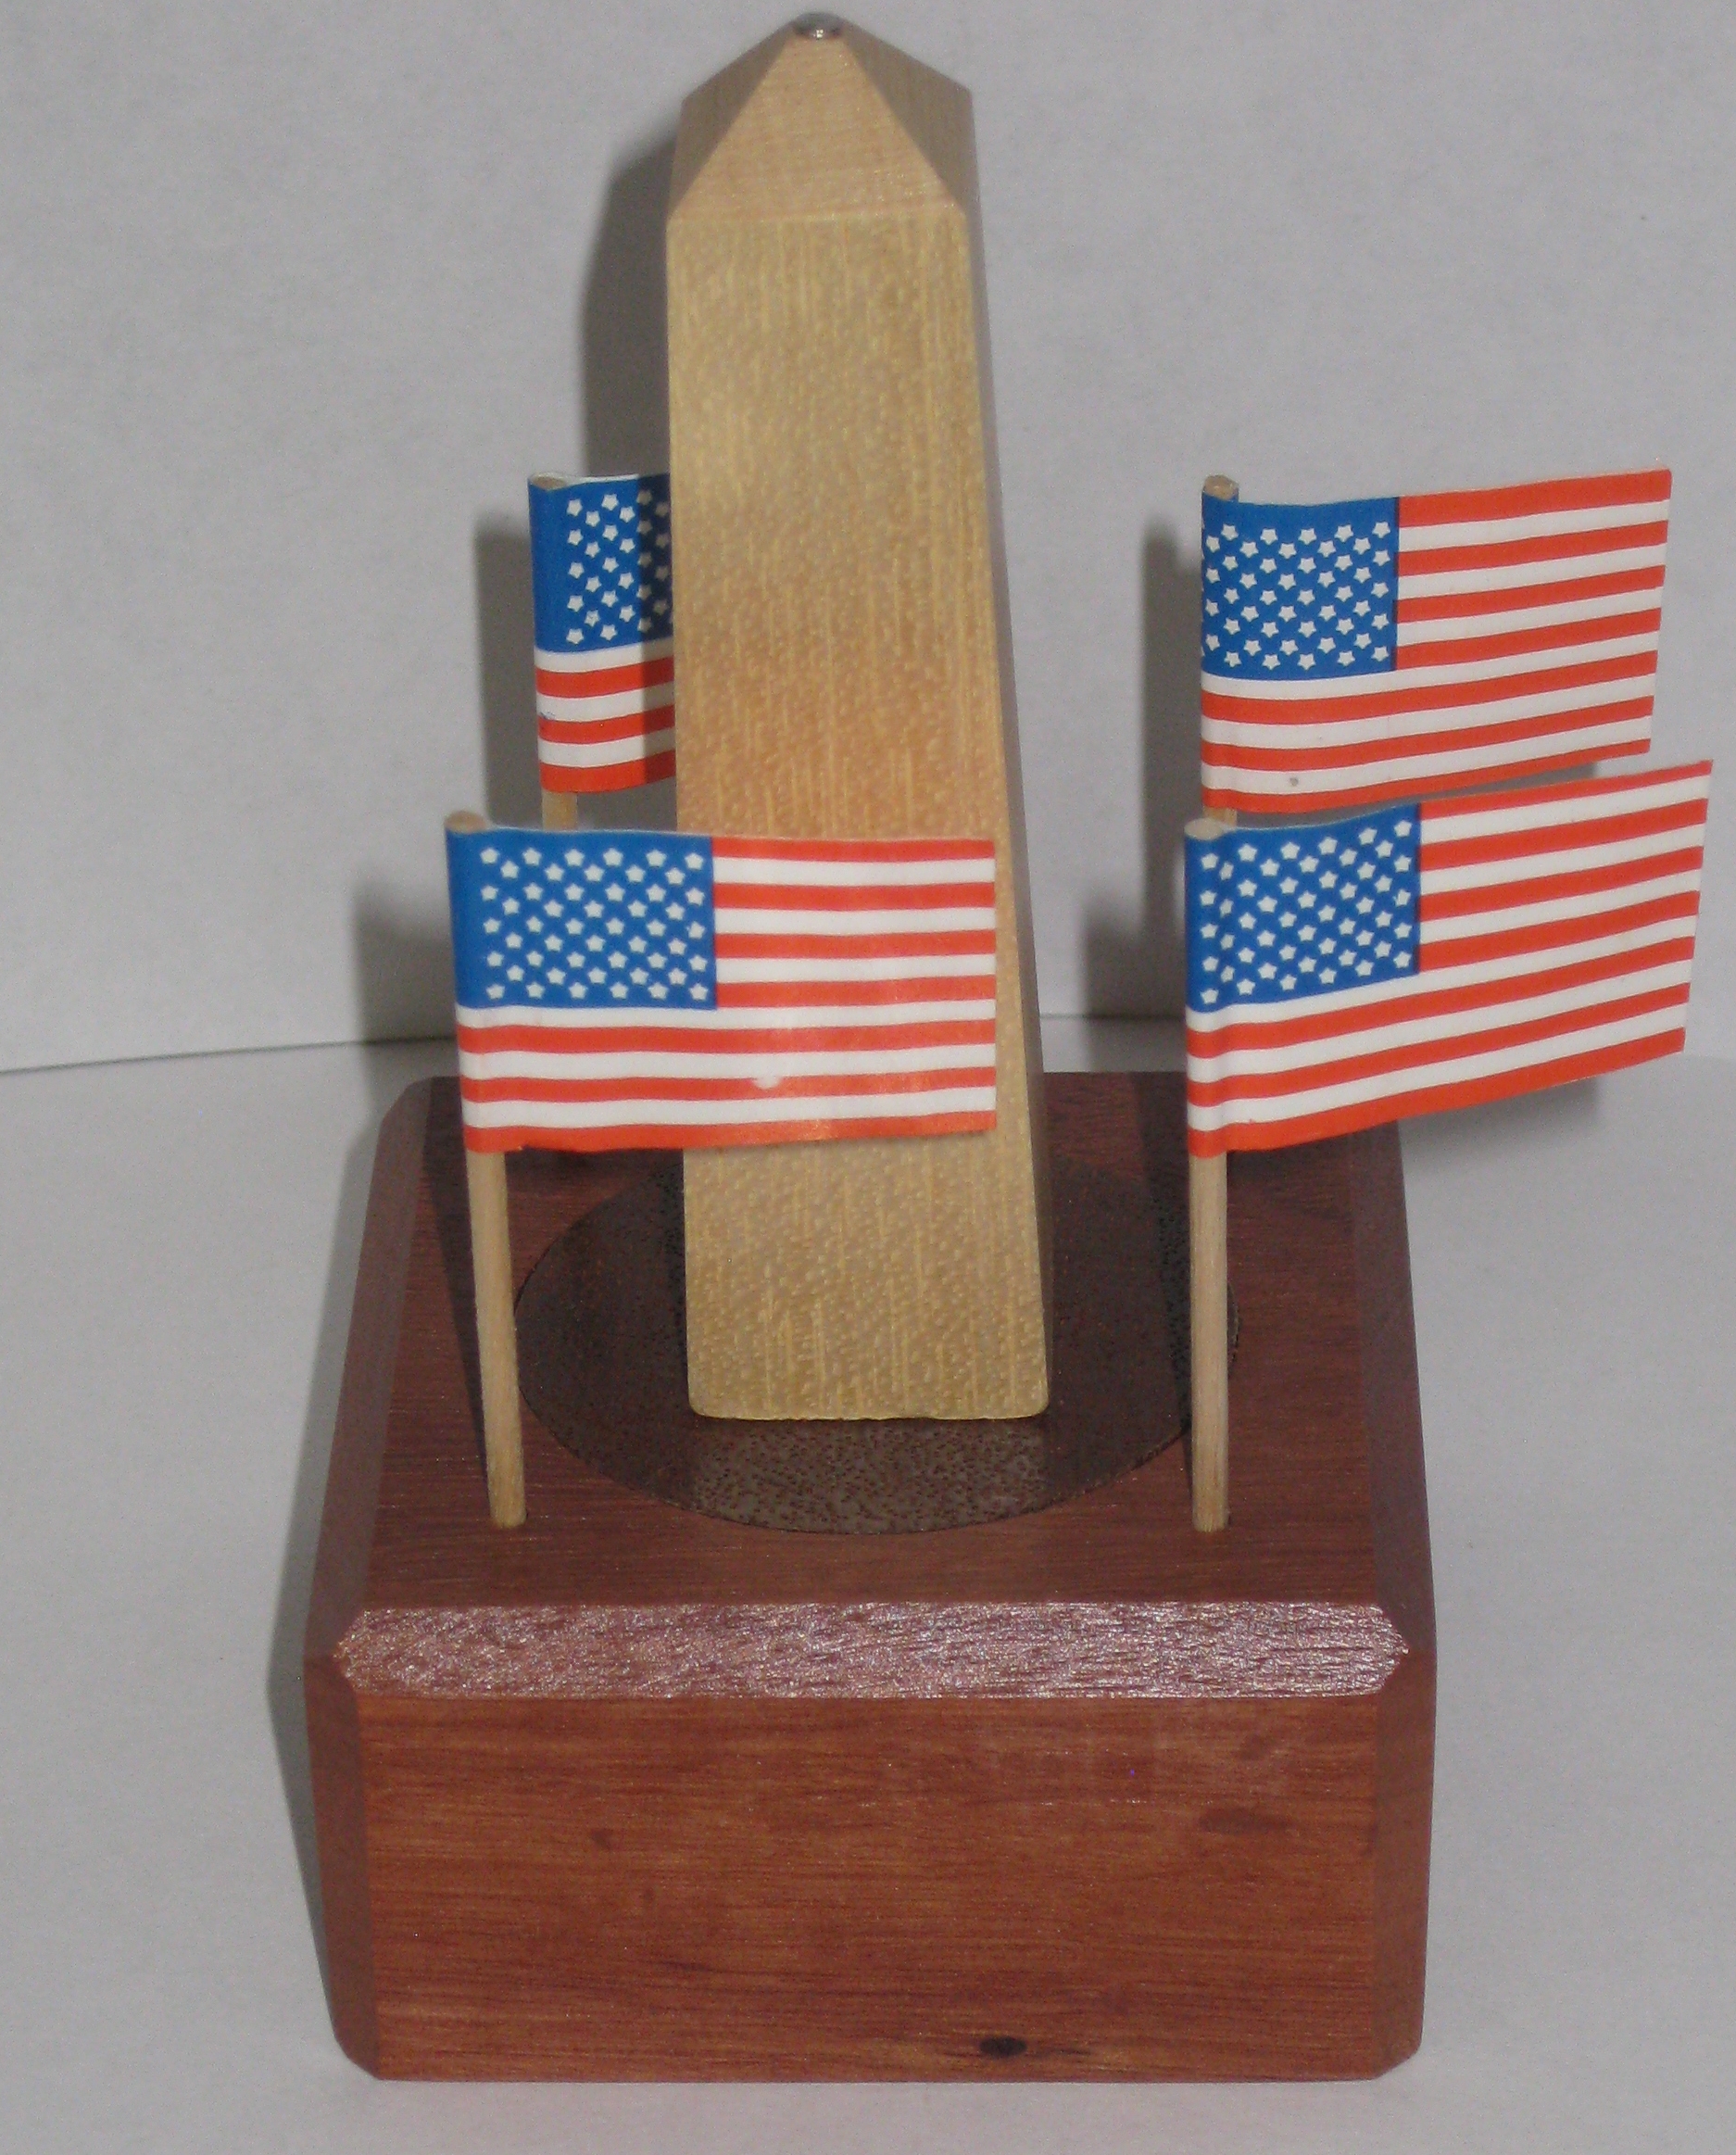
The Washington Monument by Mr Puzzle

The Washington Monument by Mr Puzzle

It’s a good looking puzzle which sits at 5″ tall and the base is 2.5″ x 2.5″ which makes for a good sized puzzle. The puzzle is a very close replica of the Washington monument, right down to the lightning rod in the top of the tower, and the flags surrounding the base. Made from Queensland Silver Ash for the monument and a Western Australian Jarrah base there’s a good contrast between the woods, and it makes for a striking puzzle. Brian has also used this in the description of the puzzle which reads:

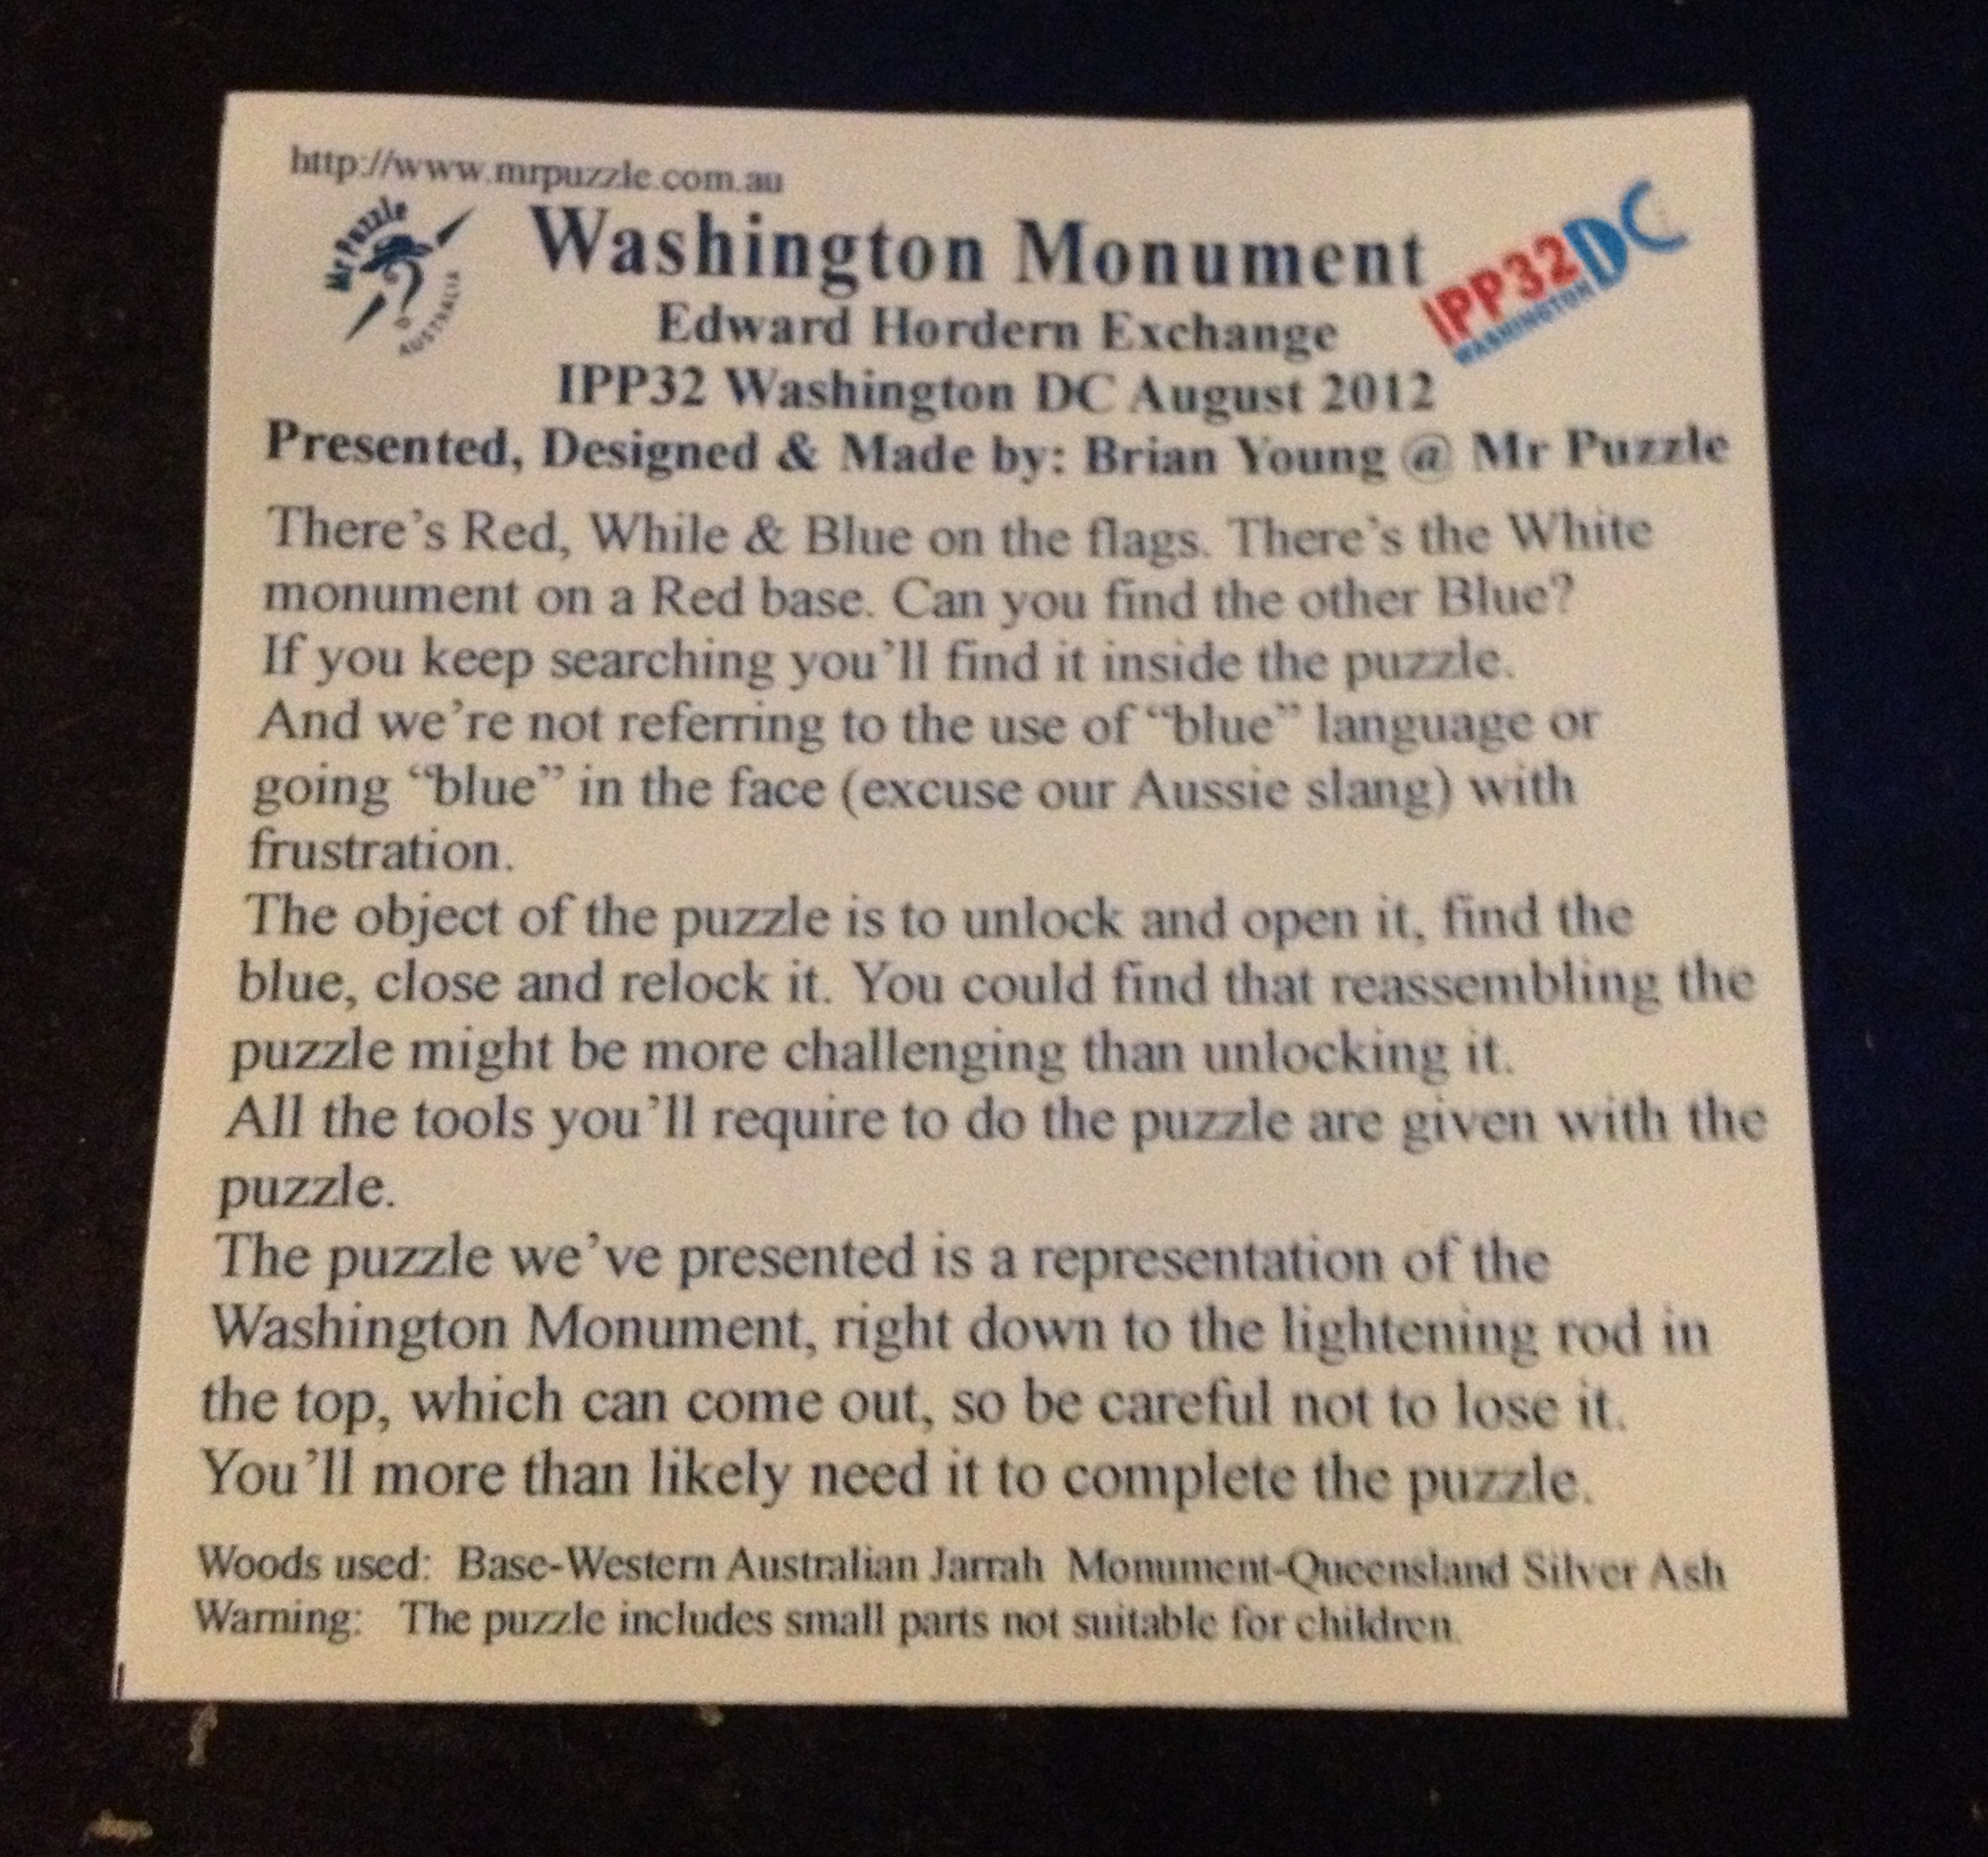
Washington Monument description card

Washington Monument description card

“There’s Red, While & Blue on the flags. There’s the White monument on a Red base. Can you find the other Blue?
If you keep searching you’ll find it inside the puzzle.
And we’re not referring to the use of “blue” language or going “blue” in the face (excuse our Aussie slang) with frustration.
The object of the puzzle is to unlock and open it, find the blue, close and relock it. You’ll have solved the puzzle when you can complete these two stages.
All the tools you’ll require to do the puzzle are given with the puzzle.
The puzzle we’ve presented is a representation of the Washington Monument, right down to the lightening rod in the top, which can come out, so be careful not to lose it. You’ll more than likely need it to complete the puzzle.”

The monument spins freely 360 degrees on its base and you can hear a number of things moving inside the puzzle. Removing the flags, and looking into the drilled holes, you can see some metal pegs as you turn the monument, so it gives you an idea of what’s going on in there, but not how you’d solve it. In order to have solved it correctly, there’s two extra pieces of information that Brian gave you when the puzzle was exchanged (and now appear on his website):

“First stage:
Lock all gravity pins inside the round base of the obelisk so they do not move.
This will allow you to remove the obelisk from the base.
If you open the puzzle by chance then the gravity pins will still move freely; this is not the intended solution. The first stage is not completed until the gravity pins are locked inside the round base.

Second stage:
Unlock the gravity pins so they flow freely again. This allows you to lock the obelisk back in the square base.
You could find that relocking the puzzle might be more challenging than unlocking it was.”

So when I first opened the puzzle, I’d not completed this first stage correctly. The pins were still lose, and I had ‘got lucky’ in terms of opening the puzzle. Being able to see the insides actually didn’t help that much to be able to understand what I should have done, however I’d already figured out that there was something hiding inside the monument that I hadn’t used so far, and clearly that was key. After another 10 minutes or so playing with the puzzle and applying some physics (no I didn’t blow on it or spin it!) I had found out how the puzzle should be solved, and was left with the challenge of locking the puzzle back up again.

The mechanism is very clever and makes for a fun puzzle. I’m not sure how many people will solve it ‘correctly’ first time, but it certainly is a great mechanism, and very well executed. The puzzle received the 3rd Prize for the themed puzzle at IPP32, and it’s deserving of that recognition, both for its iconic look and for being a genuinely good puzzle. I’d recommend getting a copy of this while there are still some available!

I’ll be reviewing the other puzzles I picked up from Brian soon, as well as many more of the IPP puzzles, so keep an eye out for those soon.
Brass Trasure Chest

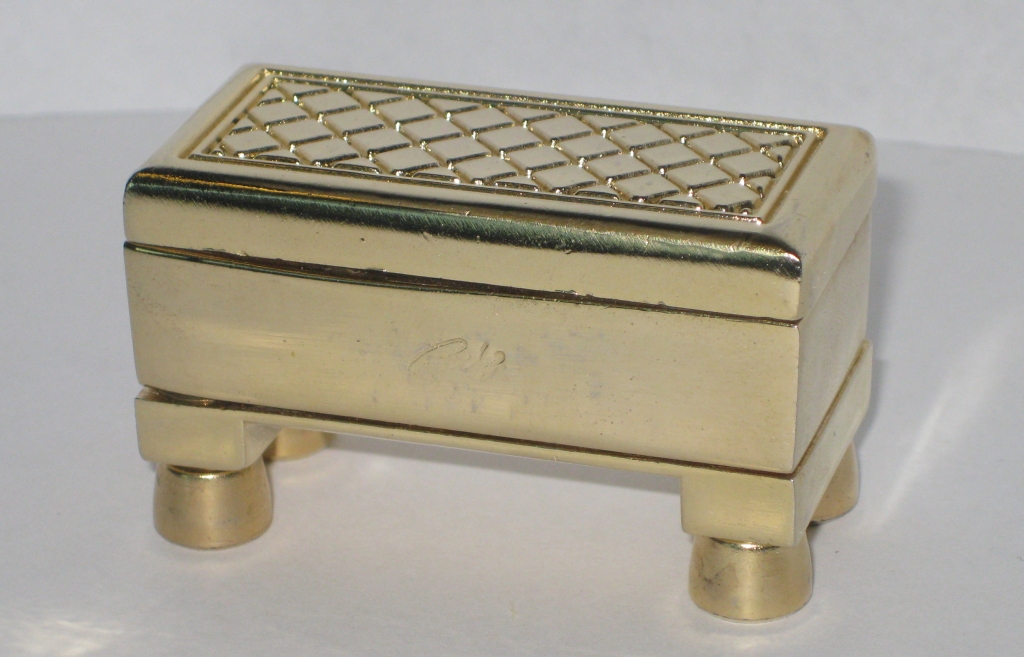
The Brass Treasure Chest is a Rocky Chiaro design, produced by Puzzle Master. As the name suggests, this is a small Brass puzzle which is made to look like a treasure chest, and like many of Rocky’s designs contains a devilish locking mechanism that will keep you puzzling for quite some time.

Brass Treasure Chest by Rocky Chiaro

Brass Treasure Chest by Rocky Chiaro

Having met Rocky Chiaro when I was at IPP, and being able to spend time talking to him at his puzzle table on the day of the Puzzle Party, it was great to see the passion he has for his puzzles, and to see just how happy he was to demonstrate his puzzles, and talk about them in general. Getting insight into why he made a puzzle the way he did, or having him show me a much better way to solve a couple of his bolt puzzles after I bungled my way through the solutions myself was superb. Currently the only one of Rocky’s puzzle design’s I own is the Brass Treasure Chest, and having played with a number of his puzzles now, I will have to remedy that!

The Puzzle itself is quite small, measuring 2 1/8″ x 1″ x 1 1/4″, and has a good weight to it given that it’s made from a big lump of brass. The front of the puzzle has Rocky’s signature scribed into it, and if you’re familiar with trick opening boxes, that can’t just be coincidence, and will surely be useful when you try to solve it. The box is reasonably well made, although there are a few edges on my copy which don’t line up perfectly, and there’s a couple of small gaps in the seams between sections of the puzzle. You’re going to have to look closely to see it, and it doesn’t affect the puzzle at all, so it’s not something that should put you off. And no, it’s not going to help you to solve the puzzle either.

When you first start solving this puzzle, there’s a couple of things you’ll find fairly quickly as the first couple of steps are fairly easy to find and allow the top of the chest to rotate a small amount. After that, you hit a dead end, and that’s where the really tricky part starts. Moving the puzzle around (or shaking it) will let you hear that there’s a couple of loose parts in there rattling around, and figuring out how they move is key to opening the box fully. This is fairly typical of Rocky’s designs so will give you a good idea of whether you’re going to like his style of puzzle boxes.

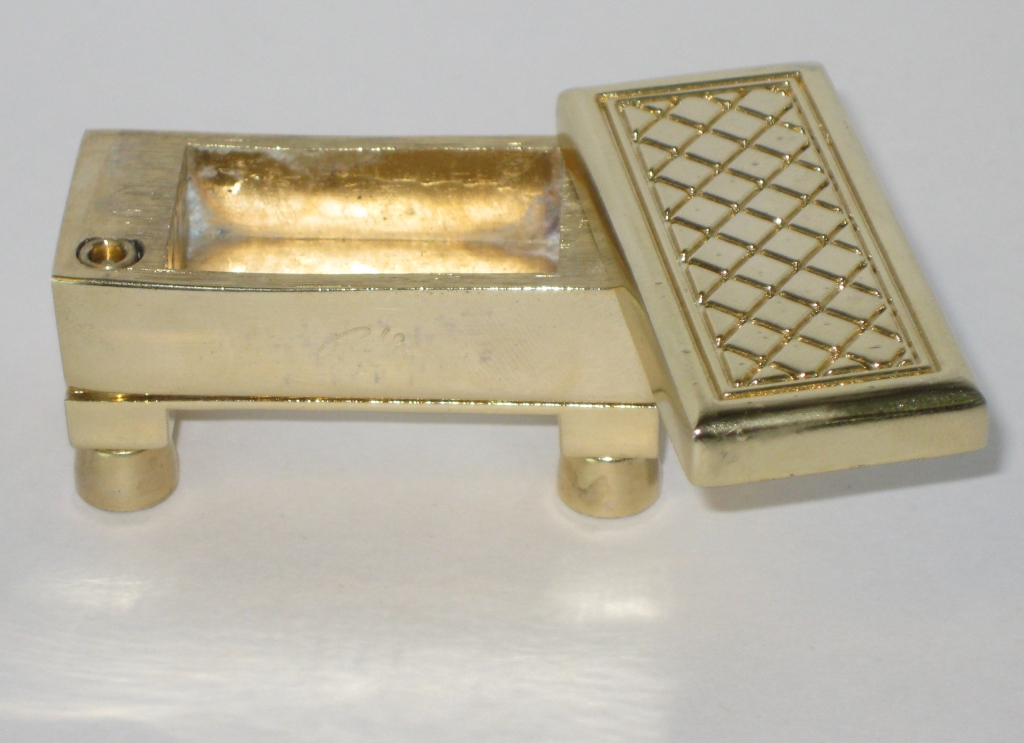
Brass Treasure Chest by Rocky Chiaro opened.

Brass Treasure Chest by Rocky Chiaro opened.

After a lot of what felt like blind stumbling I finally managed to get the box open. I really didn’t understand exactly what I’d done to solve the hidden mechanism, and it took quite a bit of fiddling around with the lid open to understand what I did to allow the lid to swing open freely. It’s a challenging little box, but once you understand the mechanism, it can be opened quickly and repeatedly. The first time took me around 45 minutes over a couple of nights of playing and thinking in-between. No solution is provided with the puzzle, but if you need one, you can find it here.

There’s a small space inside as you can see from the picture which could be used to store a very small item. That said, I’m not sure if anyone would actually store anything inside their puzzle vessels. (I know I don’t)

As an introduction to Rocky’s puzzles the Brass Treasure chest is a very affordable first puzzle, and although the fit and finish isn’t as good as the puzzles that Rocky hand makes, it is a great puzzle for the price. As I mentioned, the mechanism is a classic design so it will give you a good idea of whether you’d enjoy his style of puzzle, before spending a lot more money on a handmade original. Having been fortunate enough to see all of Rocky’s puzzles in person, I can’t praise his work highly enough. Anyone who still makes all his puzzle by hand in brass, with no CNC or computer aids and is able to turn out such high quality puzzles is truly a master craftsman.