- Building a Matrioshka (Part 1)
- Building a Matrioshka (Part 2)
- Building a Matrioshka (Part 3)
I’ve had a bit of a break from working on my own puzzles, as work and life in general have been rather hectic meaning I’ve just not had the time. However over the Easter weekend, I had three whole days that I could do something puzzle related. I’ve still not been able to pick up some wood to get back to working on my burr cube, however I did have a lump of oak left over from the box project my oldest son wanted to make as a birthday present.
After reading Kevin’s review of the Matrioshka here. I noticed that the puzzle is entirely made of triangles. Now I just happened to have a number of leftover ‘scrap’ that would fit the bill perfectly from the box. So I sat down with a pencil and paper to figure out how Vinco created his box, and see if I could replicate it.
Note: This project is purely for my own learning, and experience in working with wood to build puzzles, at the scale I need to be working at to create my own puzzles. This is not for sale. If you like Vinco’s puzzles, please buy them, they really are great puzzles, and the craftsmanship is superb. I own several of Vinco’s puzzles, and highly recommend them.
With all that said, on to the build …
To break down how the puzzle is built, we need some good photos. Kevin happened to upload some excellent pictures, and I’ll not repost them here. Go read his review and have a look if you’re interested. The bottom line is that the outer shell is made of 54 idential pieces. They are equilateral triangles on the edge, with a piece length that is twice the length of the side. So, I set about creating 54 identical pieces.
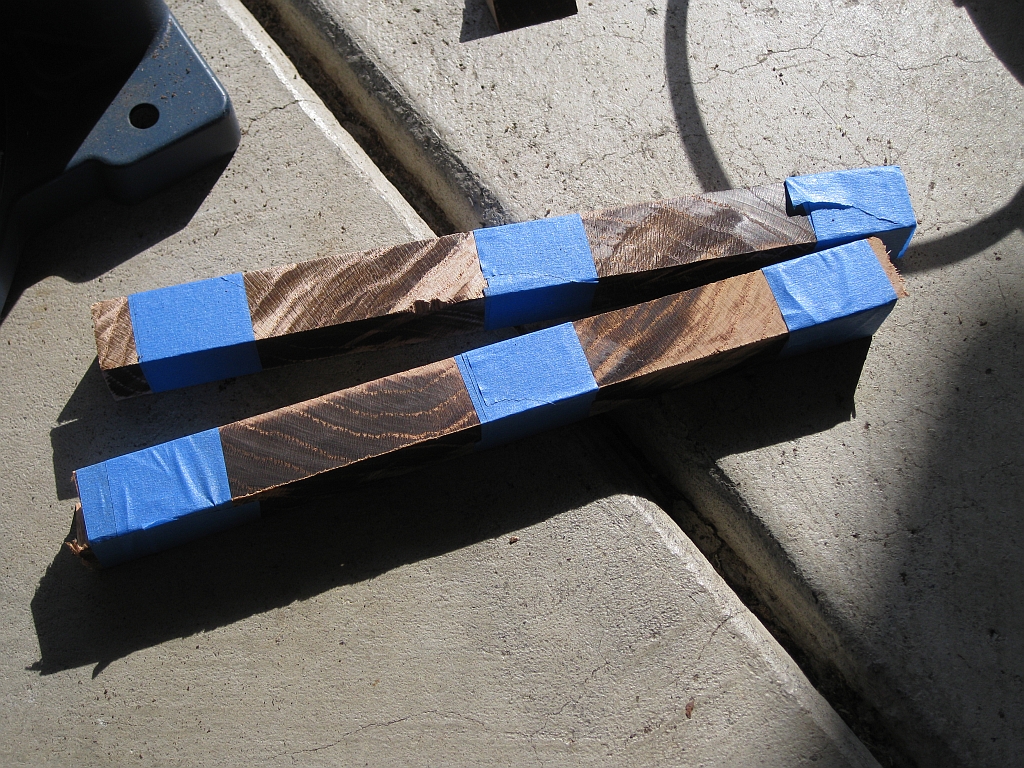
The first thing was to cut the wedge shaped strips of wood which I would eventually cut to the correct length. I took out my mitre saw, and set about making the cuts. One small issue I had was that the amount of the blade in contact with the wood generated a lot of heat, which warped the strips I was cutting. As a result, I had to tape two together as they cooled to make sure the wood was going to end up straight again when I was ready to cut it to length.

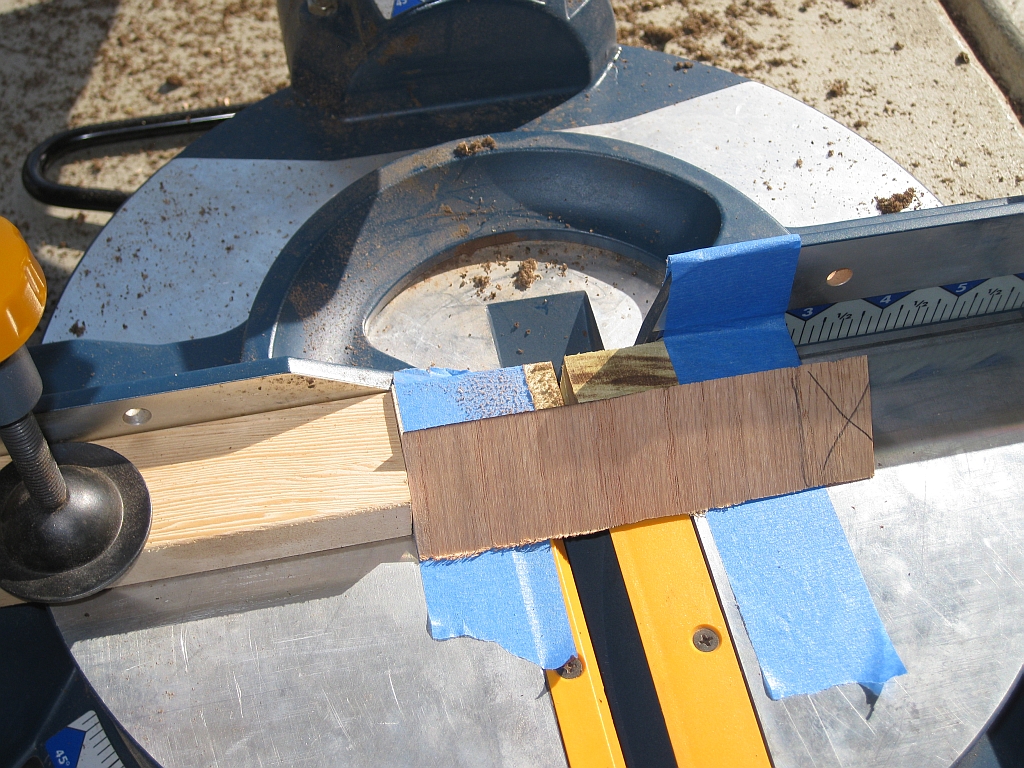
With all the strips cut, I had to cut them down to the correct size for each piece. I measured one piece, cut it and checked that it was exactly right. With that done, all I had to do was clamp down a stop, put a sacrificial fence in place and start cutting. As you’ll see from the photo, I used a scrap piece of wood as a zero tolerance fence to avoid chipout on the pieces I was cutting. It just saves some time later.

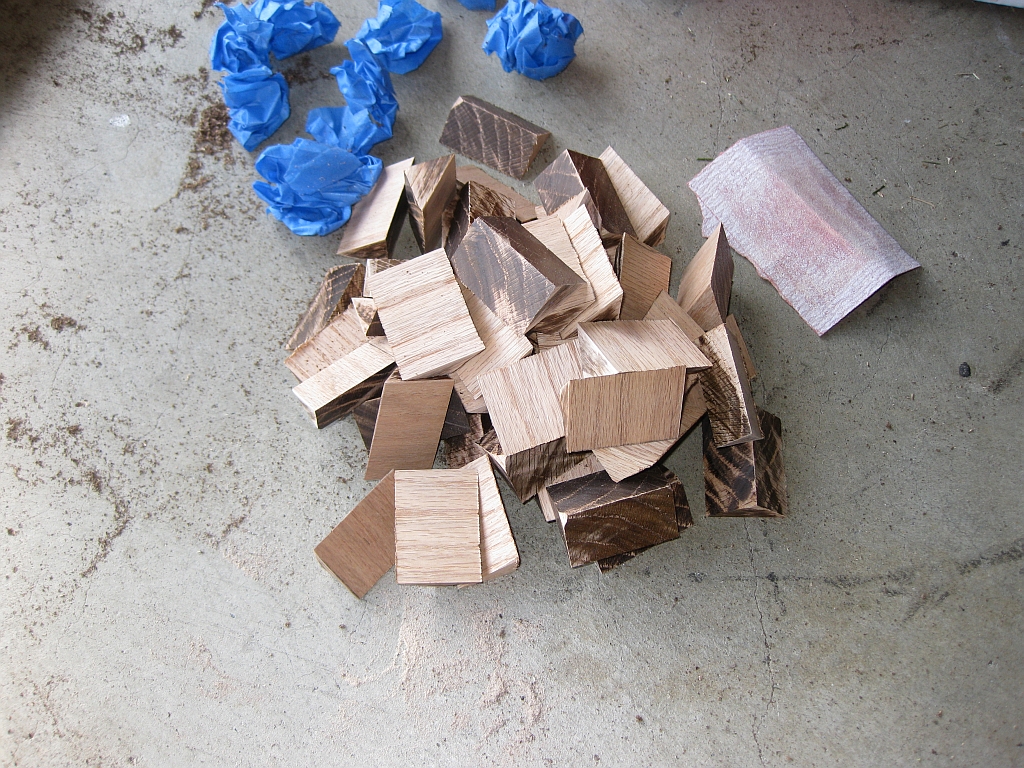
After about half an hour, I had a reasonable pile of pieces next to me, and it was time to do a little rough sanding before gluing up the pieces.

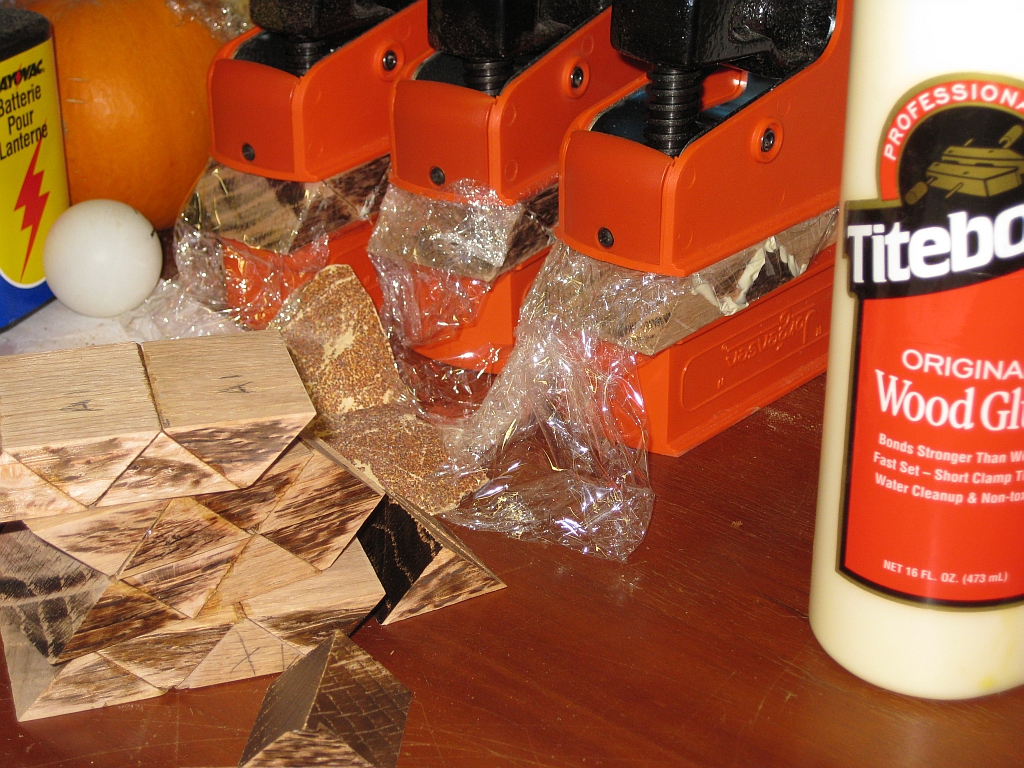
With the rough edges sanded down so that things were a bit neater, and all the pieces labelled to make the glue-up easier, it was time to get the clamps out. The shape of the pieces I was gluing up made things a little more challenging, but with a few of the scraps from cutting the pieces out, life was made simpler again.

It’s worth noting at this point, that all these pieces are oversized. This gives me a little bit of material to work with so that I can sand and fine tune all the pieces. For this to look good, it has to have a tight(ish) fit, and the only way to do that is to make sure the pieces are all the same. Despite using the fence, and stops on the saw, not all my pieces came out to be the same size. After all, I’m still learning, and you could say that this is an ambitious project. That said, how do we learn if we don’t push ourselves?
In the next post, I’ll continue with building the Matrioshka and think about putting each of the six pieces together that will form the final puzzle.
I am in awe at your skills! Considering you have never attempted wooden puzzle-making before, that is just amazing. I wish I could do stuff like that!
If I did, however, I would have less time to play with my puzzles!
Looking forward to the 2nd instalment.
Kev
Nice work on this puzzle. In the last photo of this post you are gluing up all of the triangles into each leg. A suggestion is to make sticks with the cross-section you want but leave them long. Glue the sticks into the right arrangement, then cut the pieces for the legs, this will allow you to maximize your clamps and to get more uniformity out of the pieces.