- Building a Matrioshka (Part 1)
- Building a Matrioshka (Part 2)
- Building a Matrioshka (Part 3)
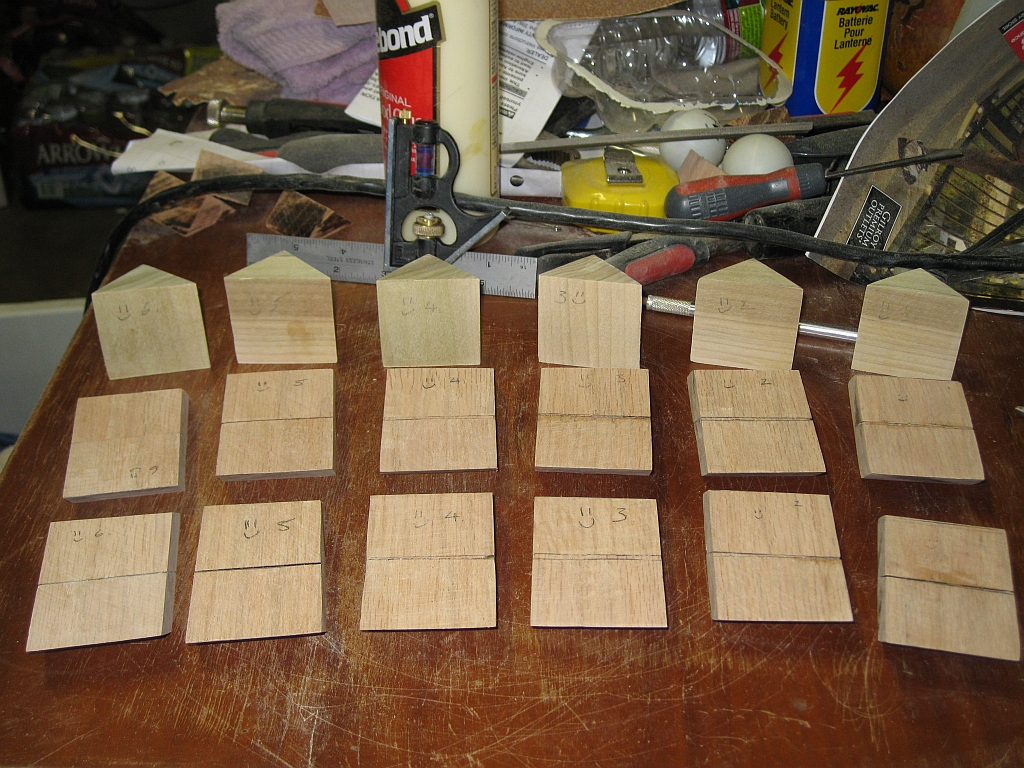
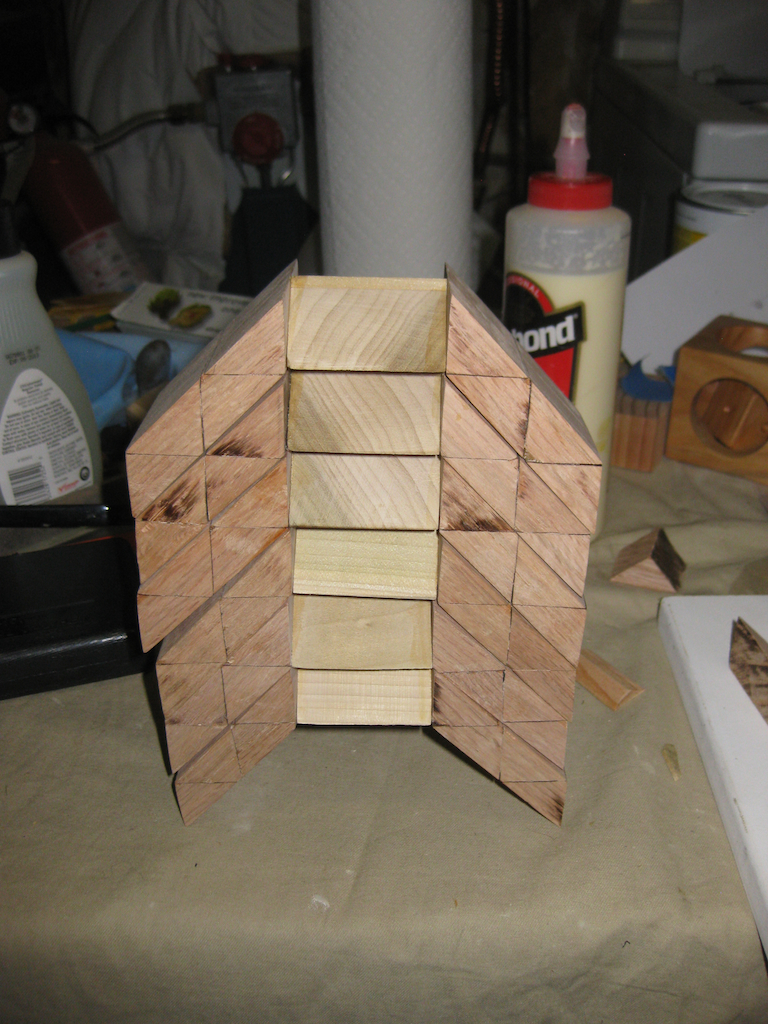
At the end of the last post, I’d finished making all the individual parts that would make up the puzzle, and was ready to start putting things together. The number of individual parts has reduced from the original 54 to just 18, but things are no less daunting at this stage.
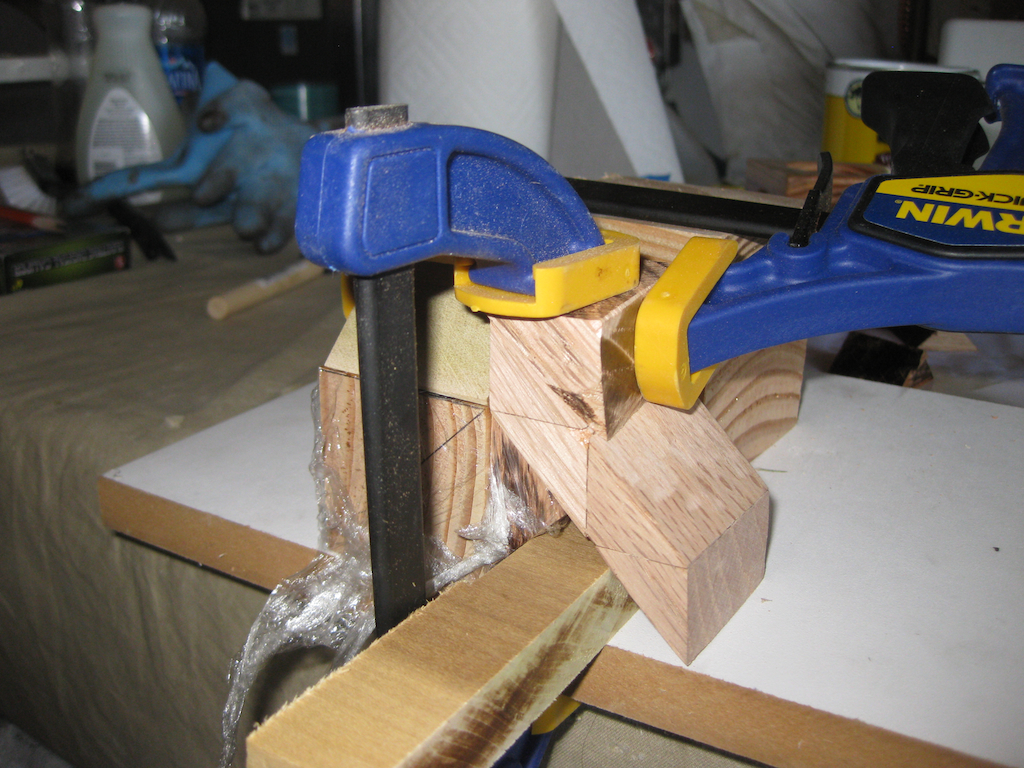
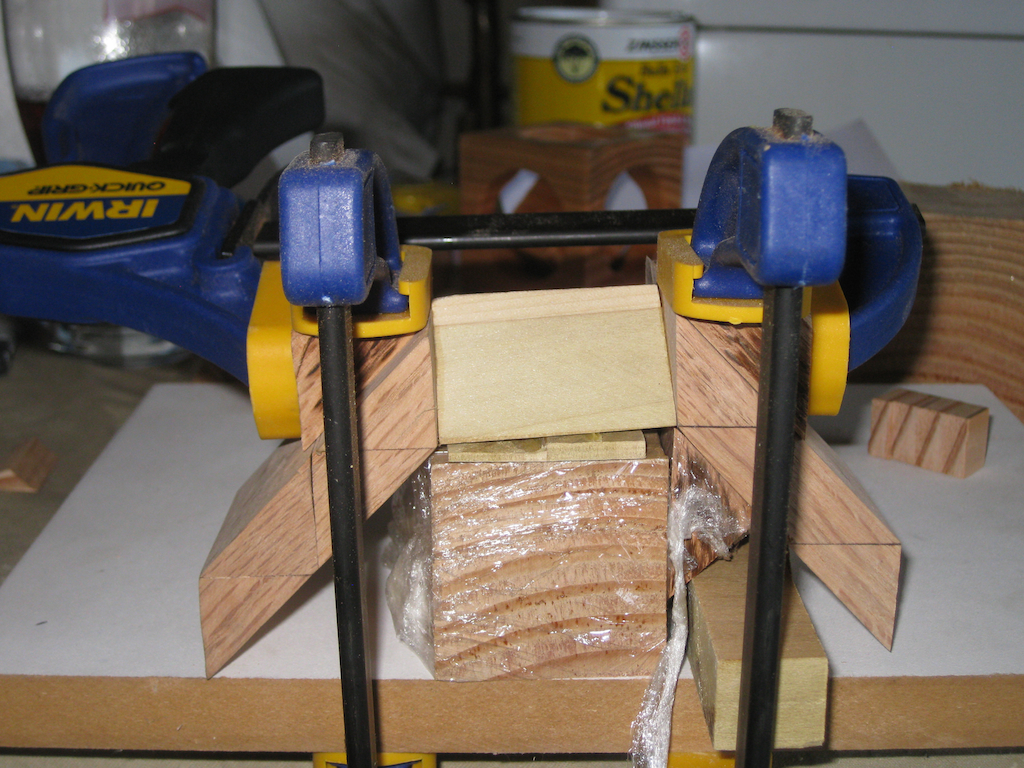
The biggest problem remaining was how on earth I was going to glue the ends to the bridge. There are no square ends on this thing that you can put a clamp on, so it makes holding the pieces together a real challenge. Building a gluing jig was probably the right way to go, but even that made for some interesting clamping!
I decided not to try to make a jig that would glue both ends at the same time. I wanted something simple that would support the pieces as I glued them, and in the end, the jig was much simpler than I thought it needed to be. Some of the original scrap pieces I had left served fairly well, and also meant that I could glue both sides at the same time. I’m not an expert woodworker, I don’t have a lot of ‘spare’ or scrap wood lying about (remember I’m only starting out doing this, so no reserve of wood to pick from) so this did the job.
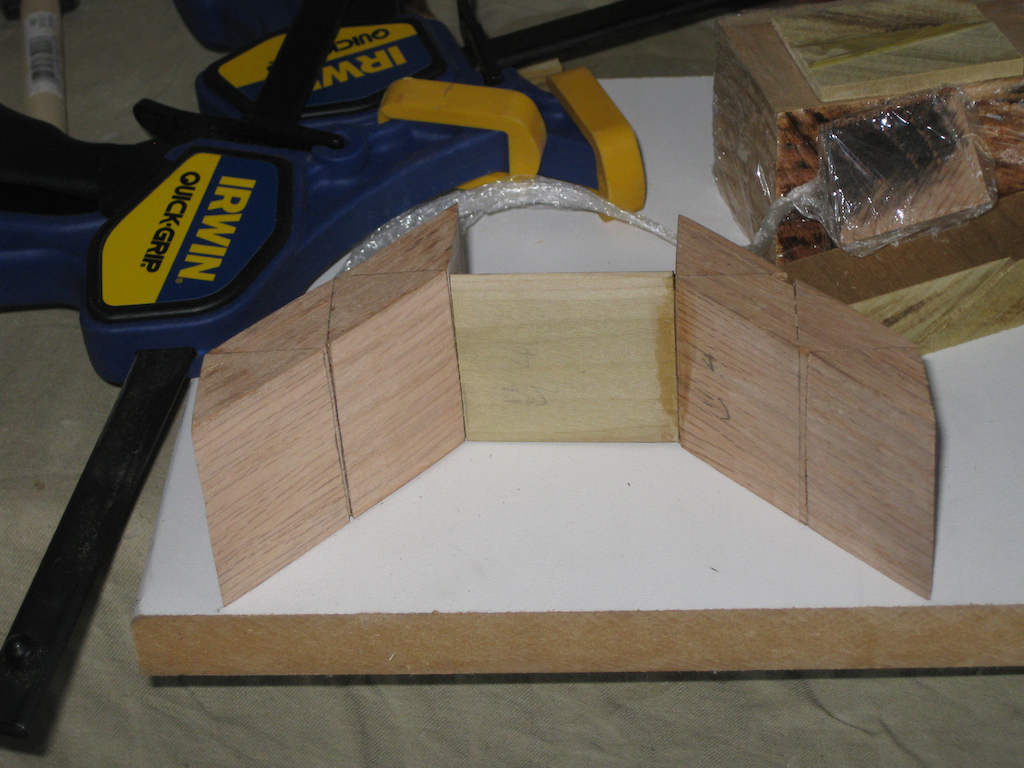
Sticking with the very simple jig above, I could glue one end at a time and create the pieces. Granted if I were doing this in bulk, or attempting to create something I could sell, I’d be thinking about a more efficient scheme. For now, this works, and is all I needed.
One down, 5 to go!
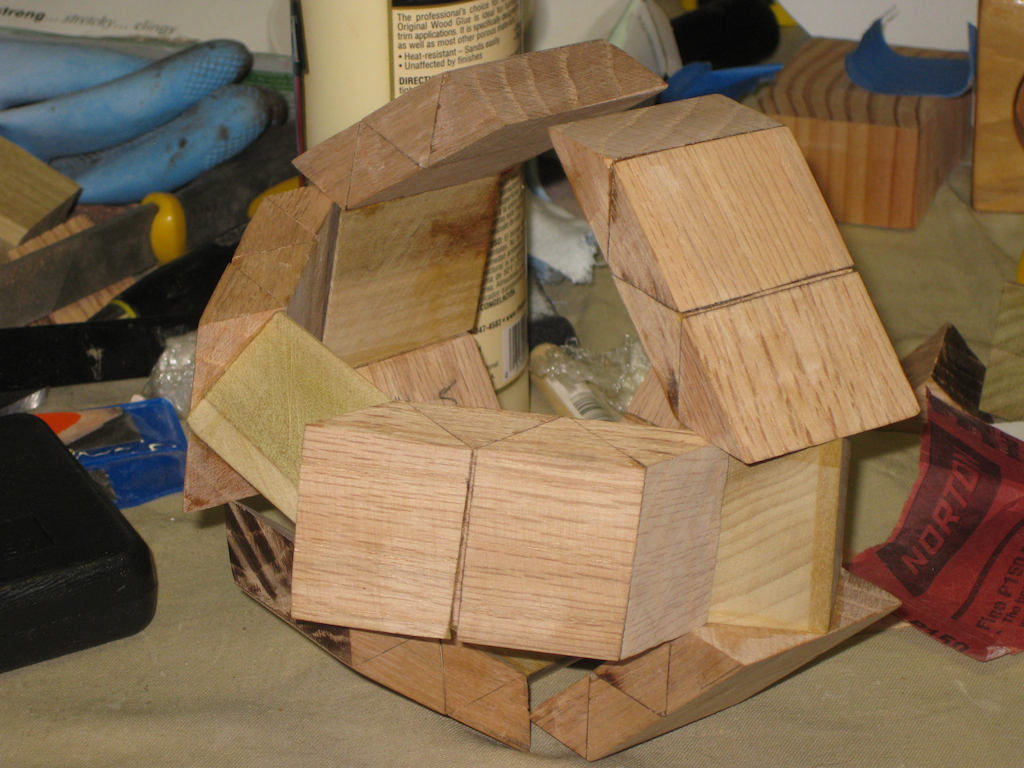
After several hours over the weekend (since I do all this in my spare time, which I don’t have a lot of just now!) I had 6 pieces glued up and ready for a test fit. Yes, the time had come to see how much of a mess I’d made of my first ever serious attempt at making a puzzle!
With some hesitancy, I took the plunge and tried to fit the pieces together into the final puzzle … It’s a tight fit, but things were taking shape! I spent a little time with the sandpaper and sanded the pieces down just a hair. Using my digital calipers, the bridge was 1.333″, and the edges were around 1.49″. So there really wasn’t a lot in it, but enough that some work was required. A little bit of sanding on each of the pieces, and I had them down to around 1.32″.
And here the story ends unfortunately. When I tried to put all six pieces together, tiny inaccuracies in the fit of the pieces, and minute misalignment between the ends meant that the whole puzzle is just enough off that it’s not going to go together and slide the way it is supposed to. Despite the end result, I don’t consider this a failure. You may remember back in the first post, I said that this was a learning experience for me. And I’ve learned a lot through the process. I’m sure I’ll come back to this puzzle in the future, and expect version two to be better!
Neil,
Have you re-visited this puzzle and made another one? It would be wonderful if you can actually produce a video of the process this time. You have the video editing, woodworking, and puzzle design skills and why not combine them into one production? Please consider!
Eddie
Eddie, Yes I have considered going back to the puzzle, and making a working version. Whether I’d video the process or not, I’m not sure. Operating the camera and making cuts is very time consuming, and at the moment I don’t have enough free time to do that, not to mention that my shop isn’t really set up for it. I would like to be able to show more of the puzzle making process on video, but that will take a little time to sort out. In the mean time, I hope you enjoy the new things I’m working on. Expect a new design review soon!
Neil