It’s been a while since I’ve sat down and shown the process of making a puzzle, mainly because I’ve been busy in the shop working on making puzzles, and haven’t had time to write, however the Really Bent Board Burr by Derek Bosch is one that is worth writing about.
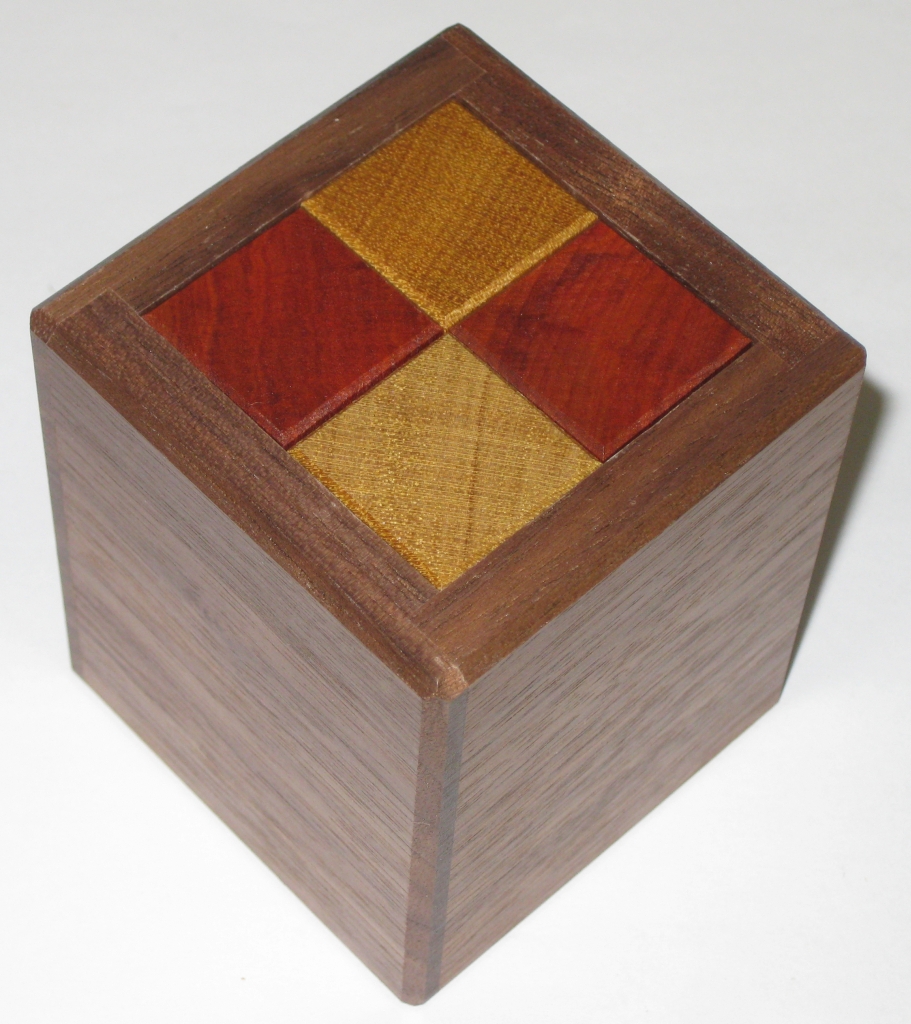
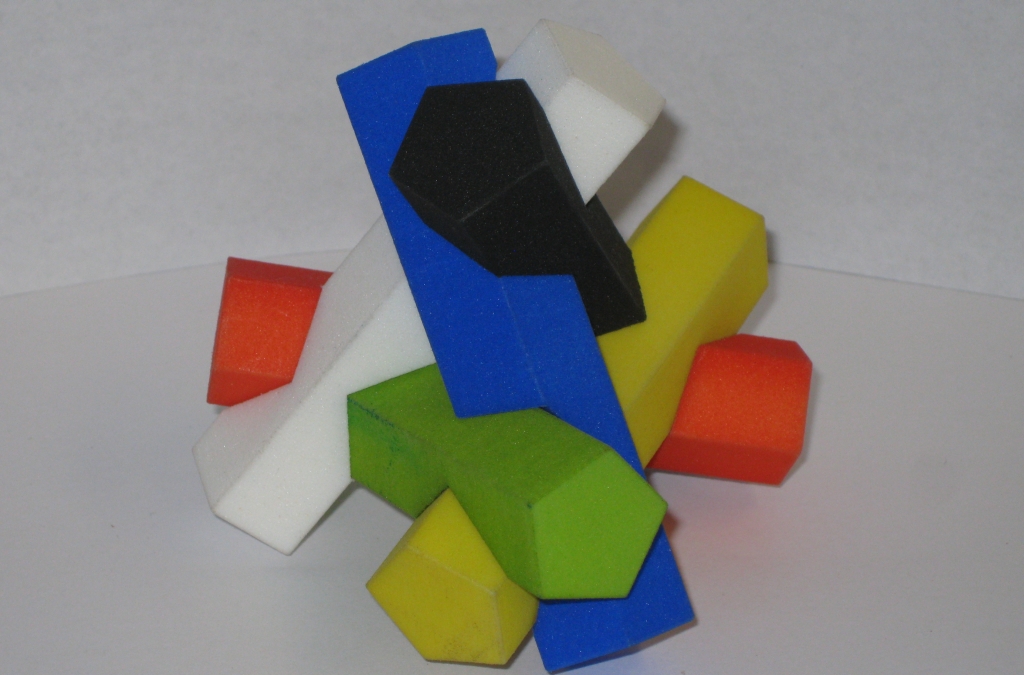
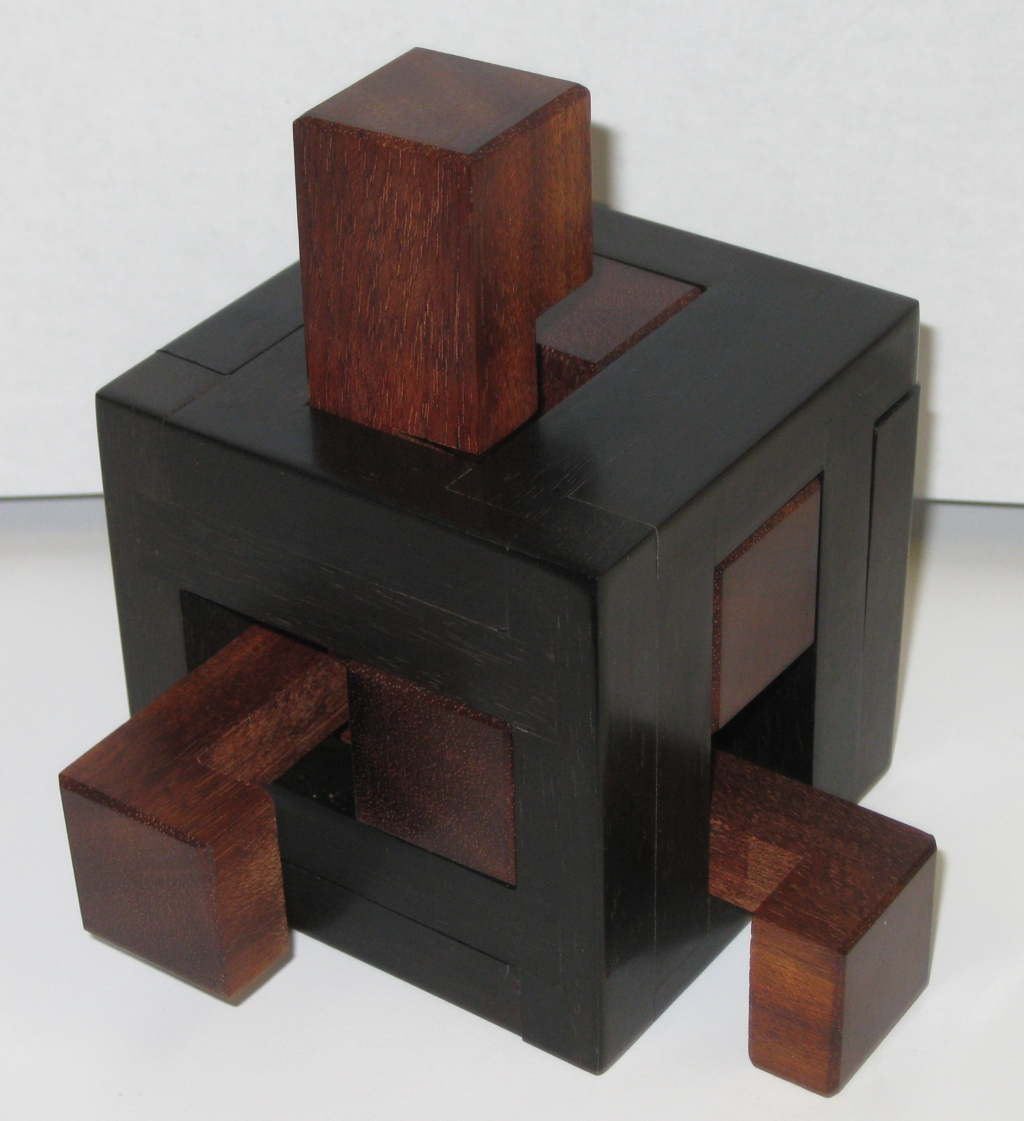
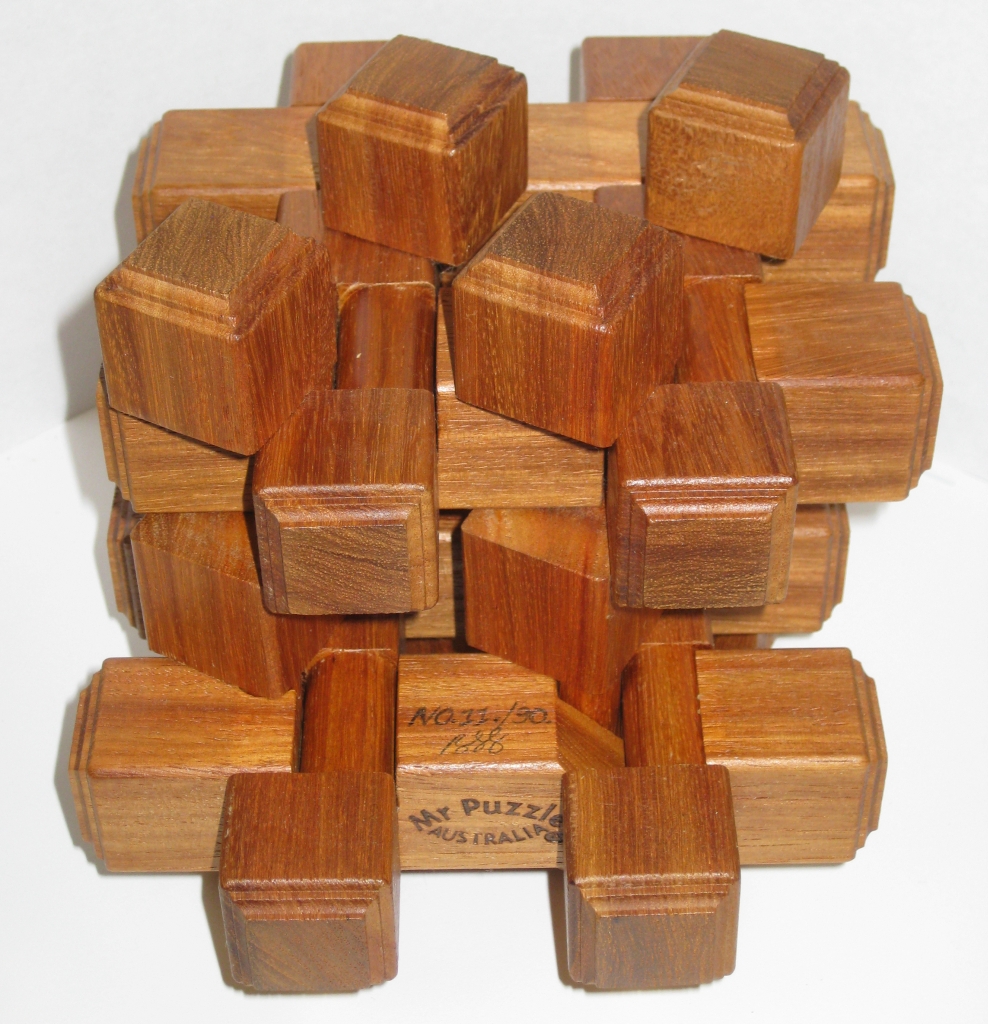
The Final puzzle
I’ve never owned a copy of this puzzle, and it has always intrigued me. I’ve talked about making copies for long enough, and now I finally have, so here’s a little bit of insight to the puzzle, and the process of creating it. The puzzle was originally produced by Tom Lensch back in 2007 and the craftsmanship as you’d expect was superb. Hopefully I’m able to do it justice, but I’ll let you be the judge of that.
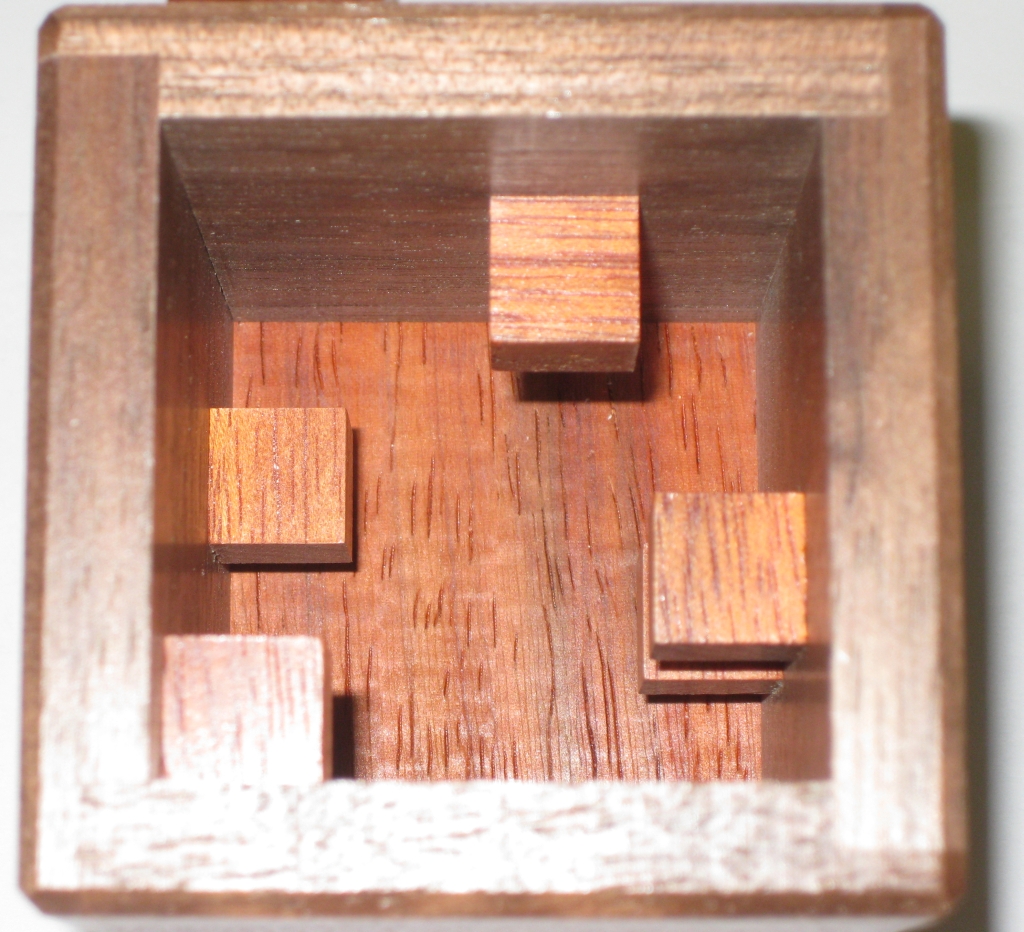
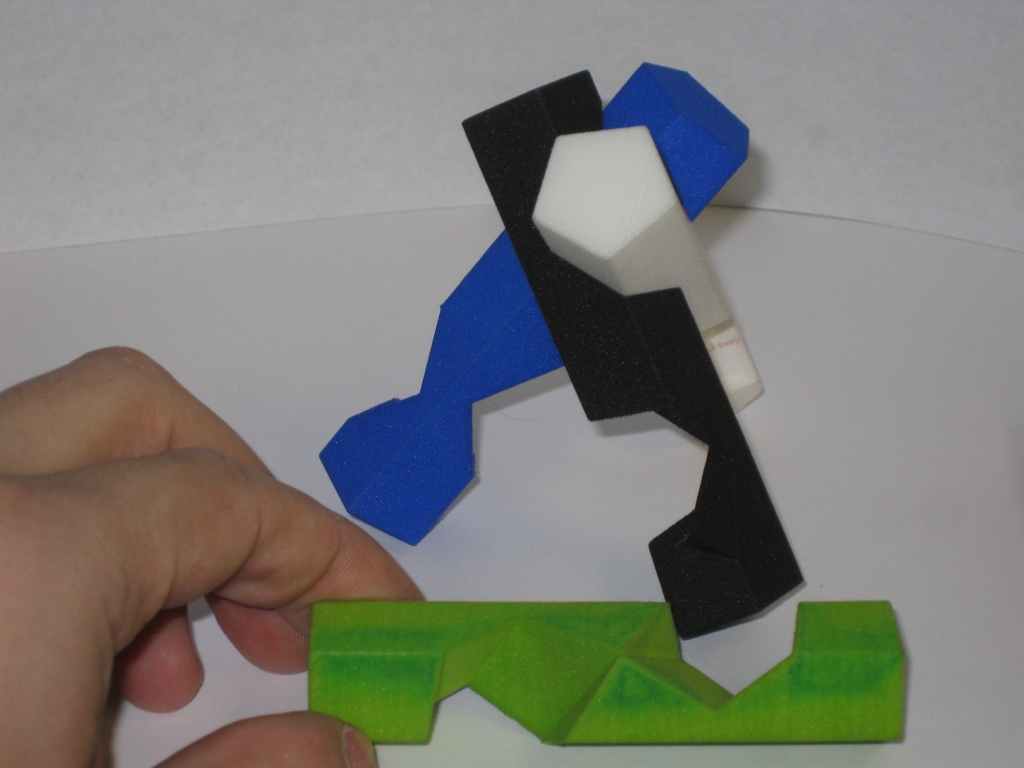
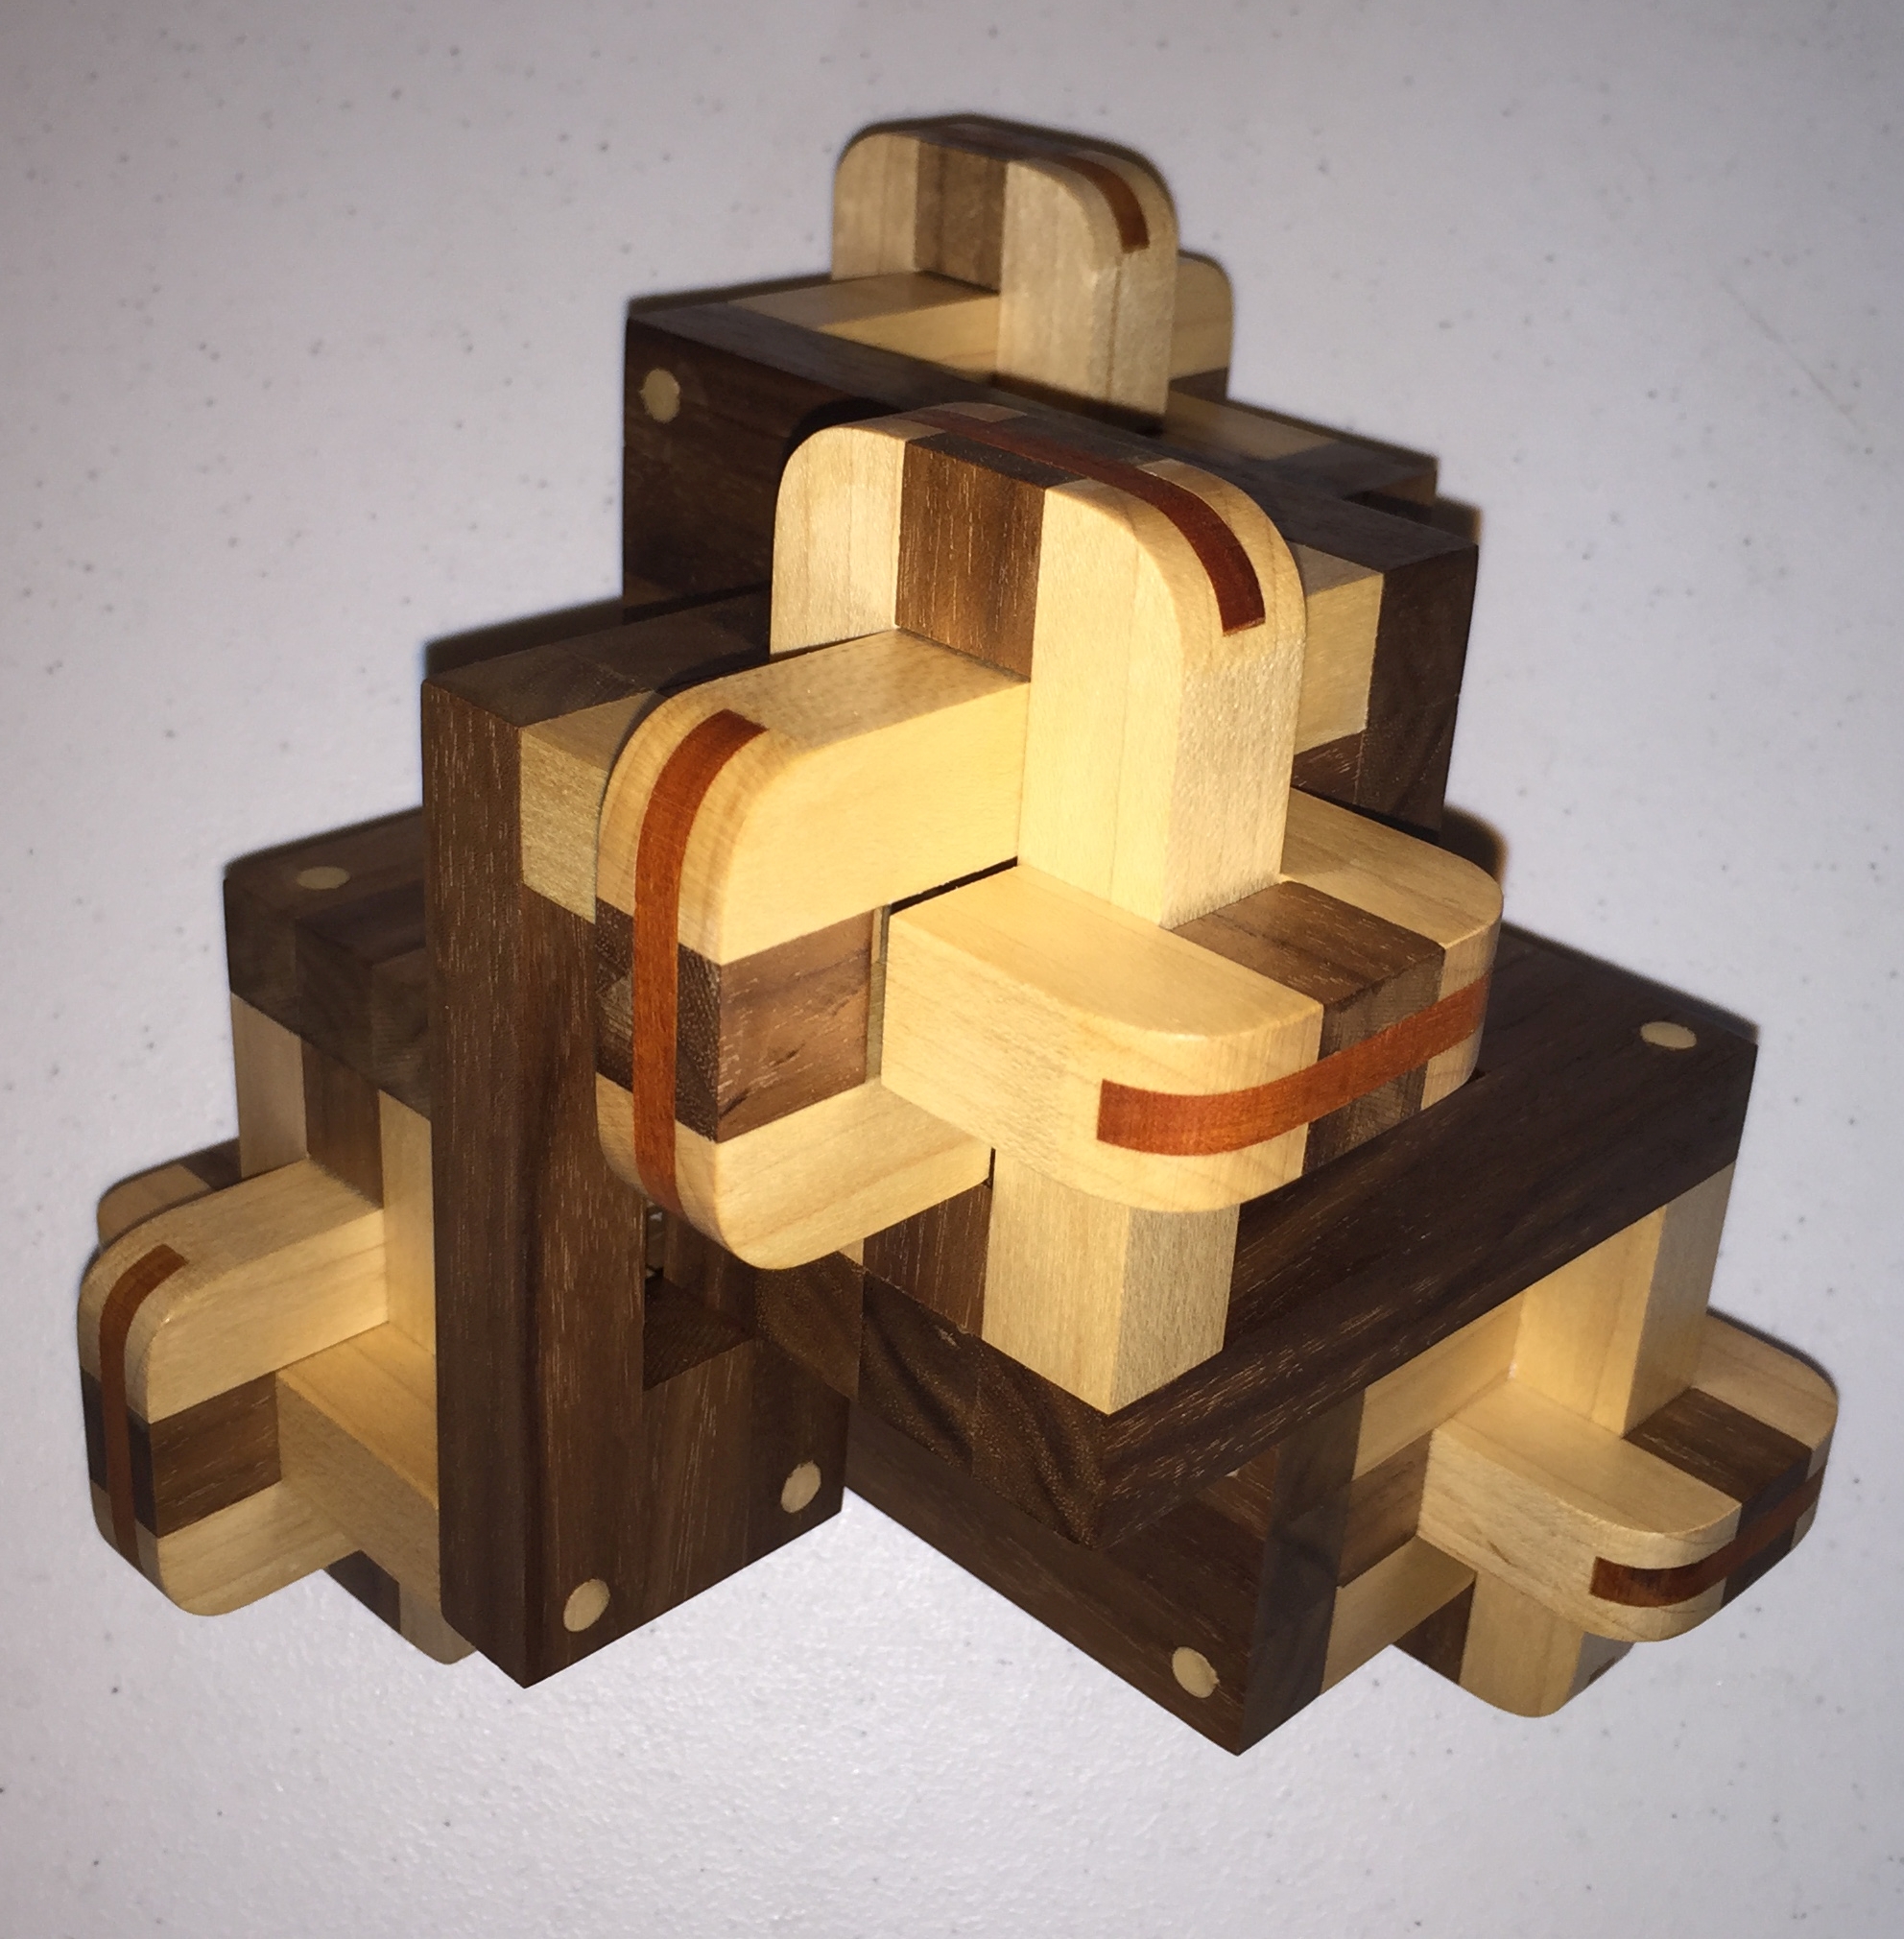
An alternate angle
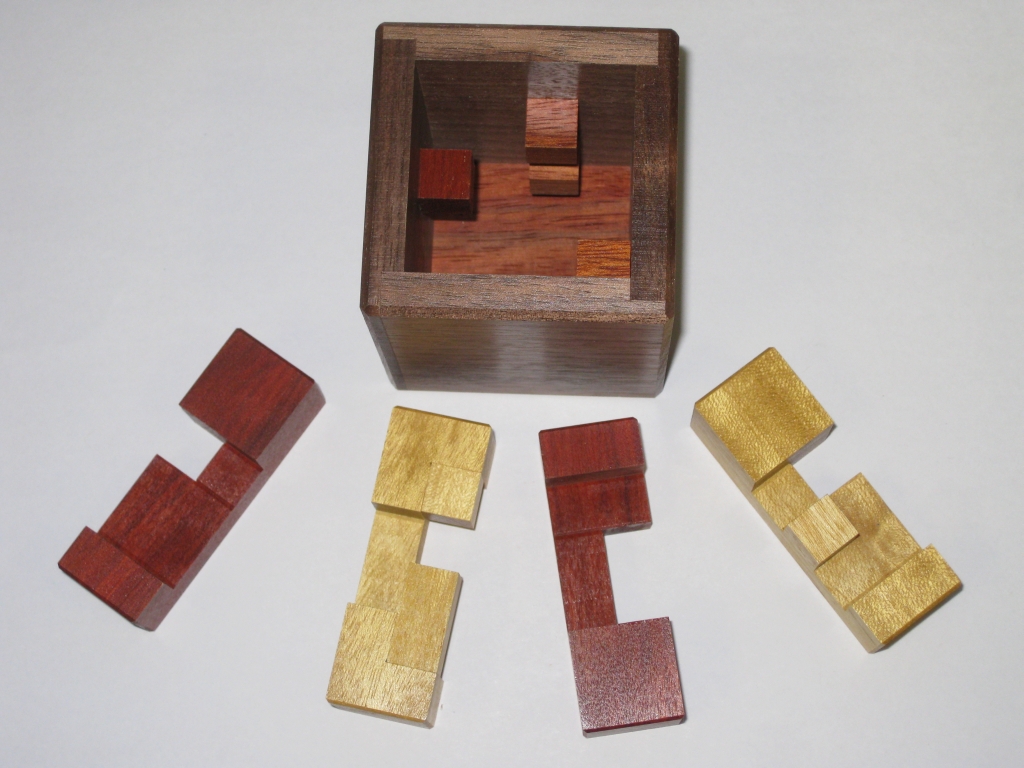
Before I get into the details of making this puzzle, here’s a few interesting things about the puzzle. It’s hard to tell from the assembled puzzle, but this is a 6 piece puzzle, with three different types of pieces used in the construction. Each piece forms a ‘Z’ shape with two ‘C’ pieces attached to a central ‘O’ piece. The puzzle itself has two different solutions using the same 6 pieces. An easy and a hard solution. The easy solution is a level 10.6.1.4 while the hard is a staggering 20.2.10. In all honesty calling the easy solution easy is a joke. This is a really tough puzzle both to assemble and dis-assemble, however the final shape is well worth the time to solve. (And no, I’m not smart enough to assemble it without help!)
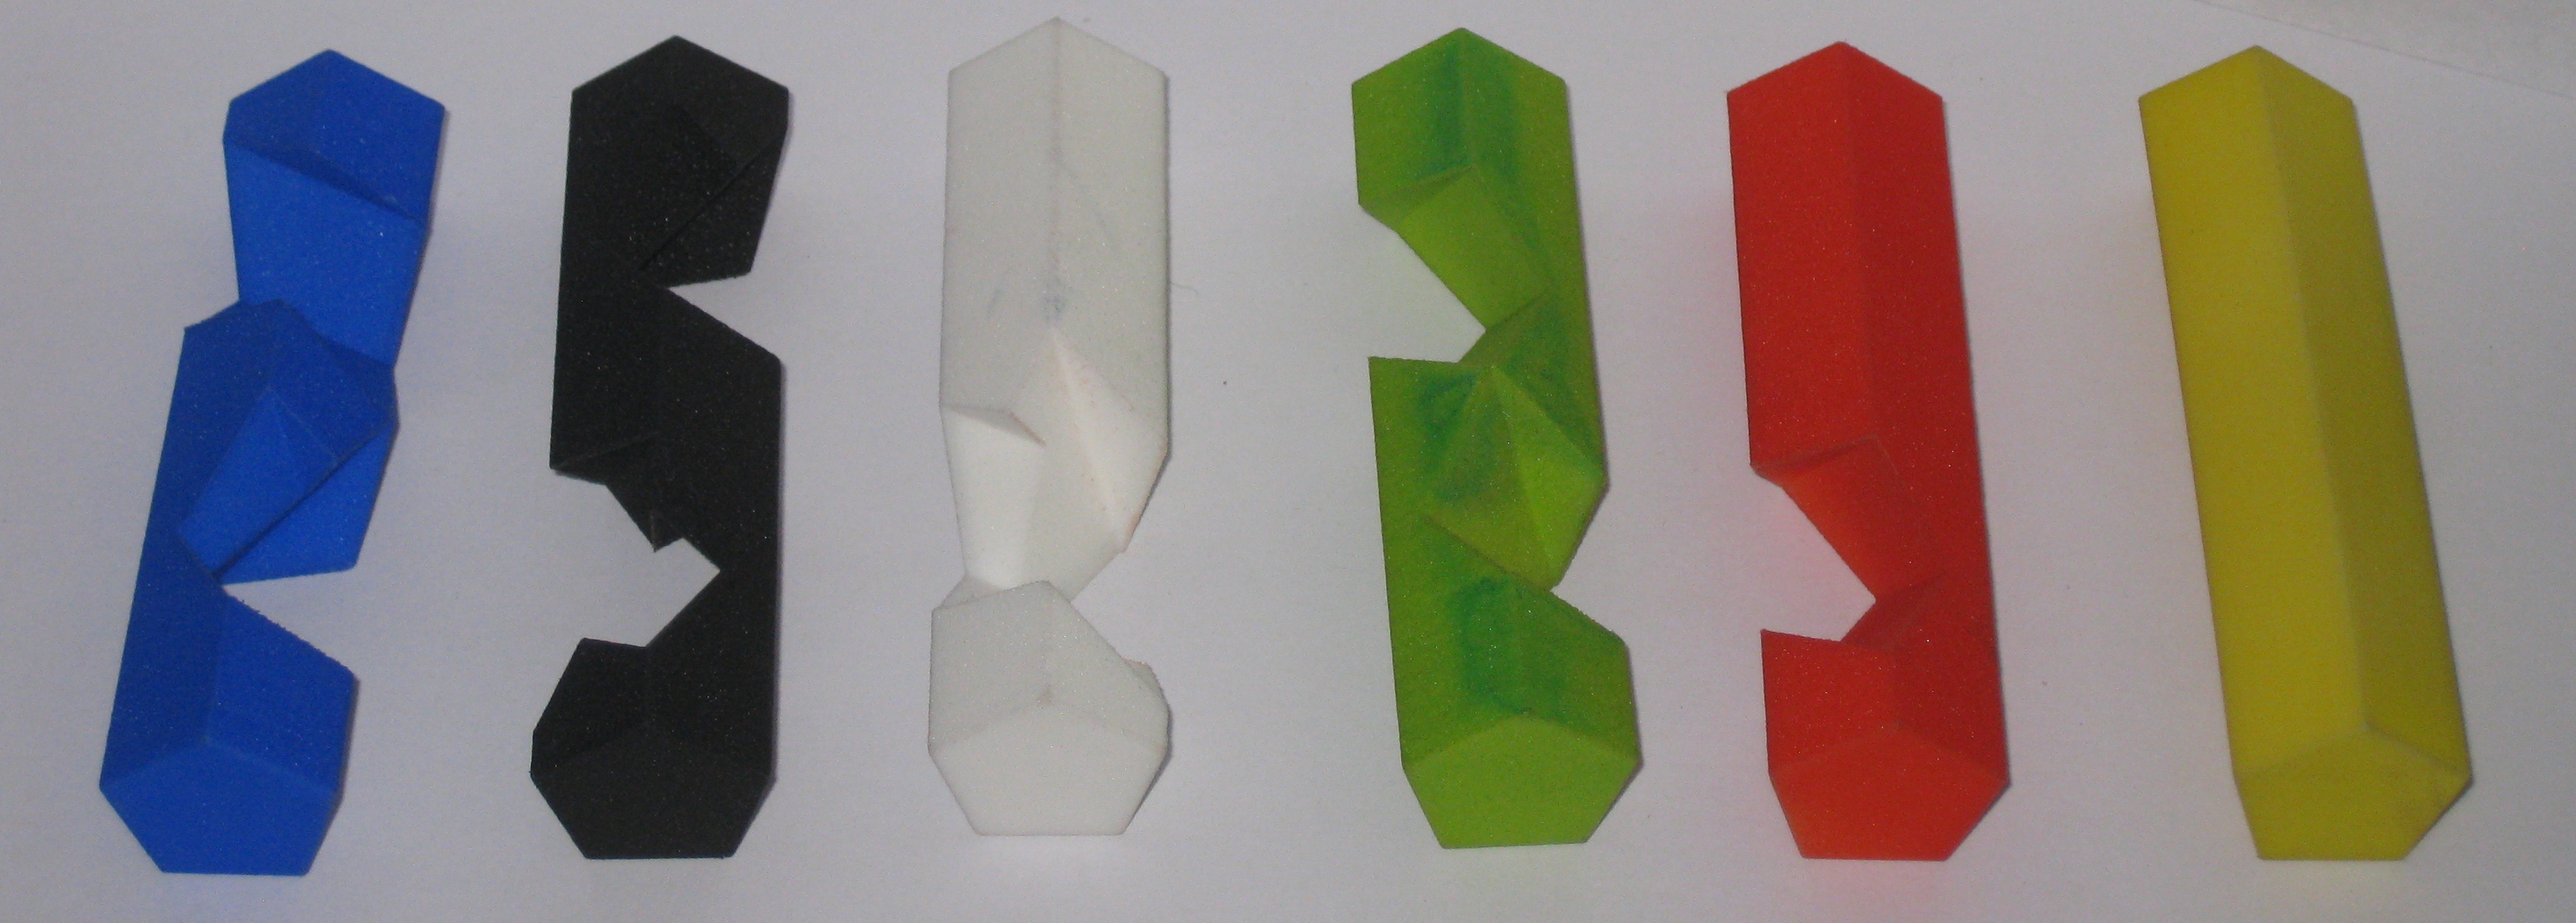
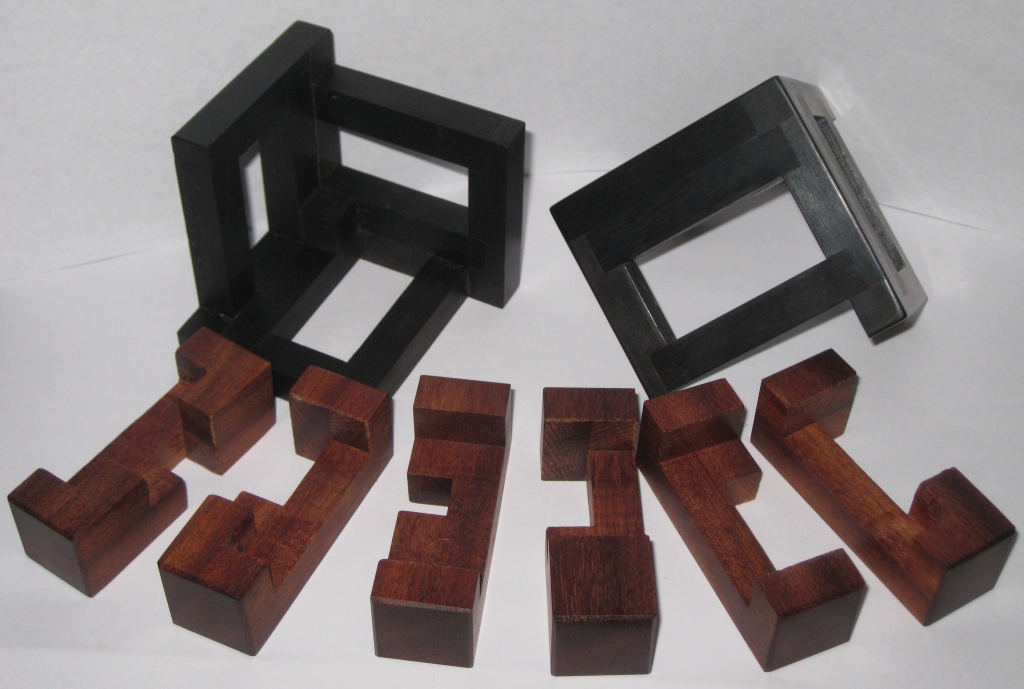
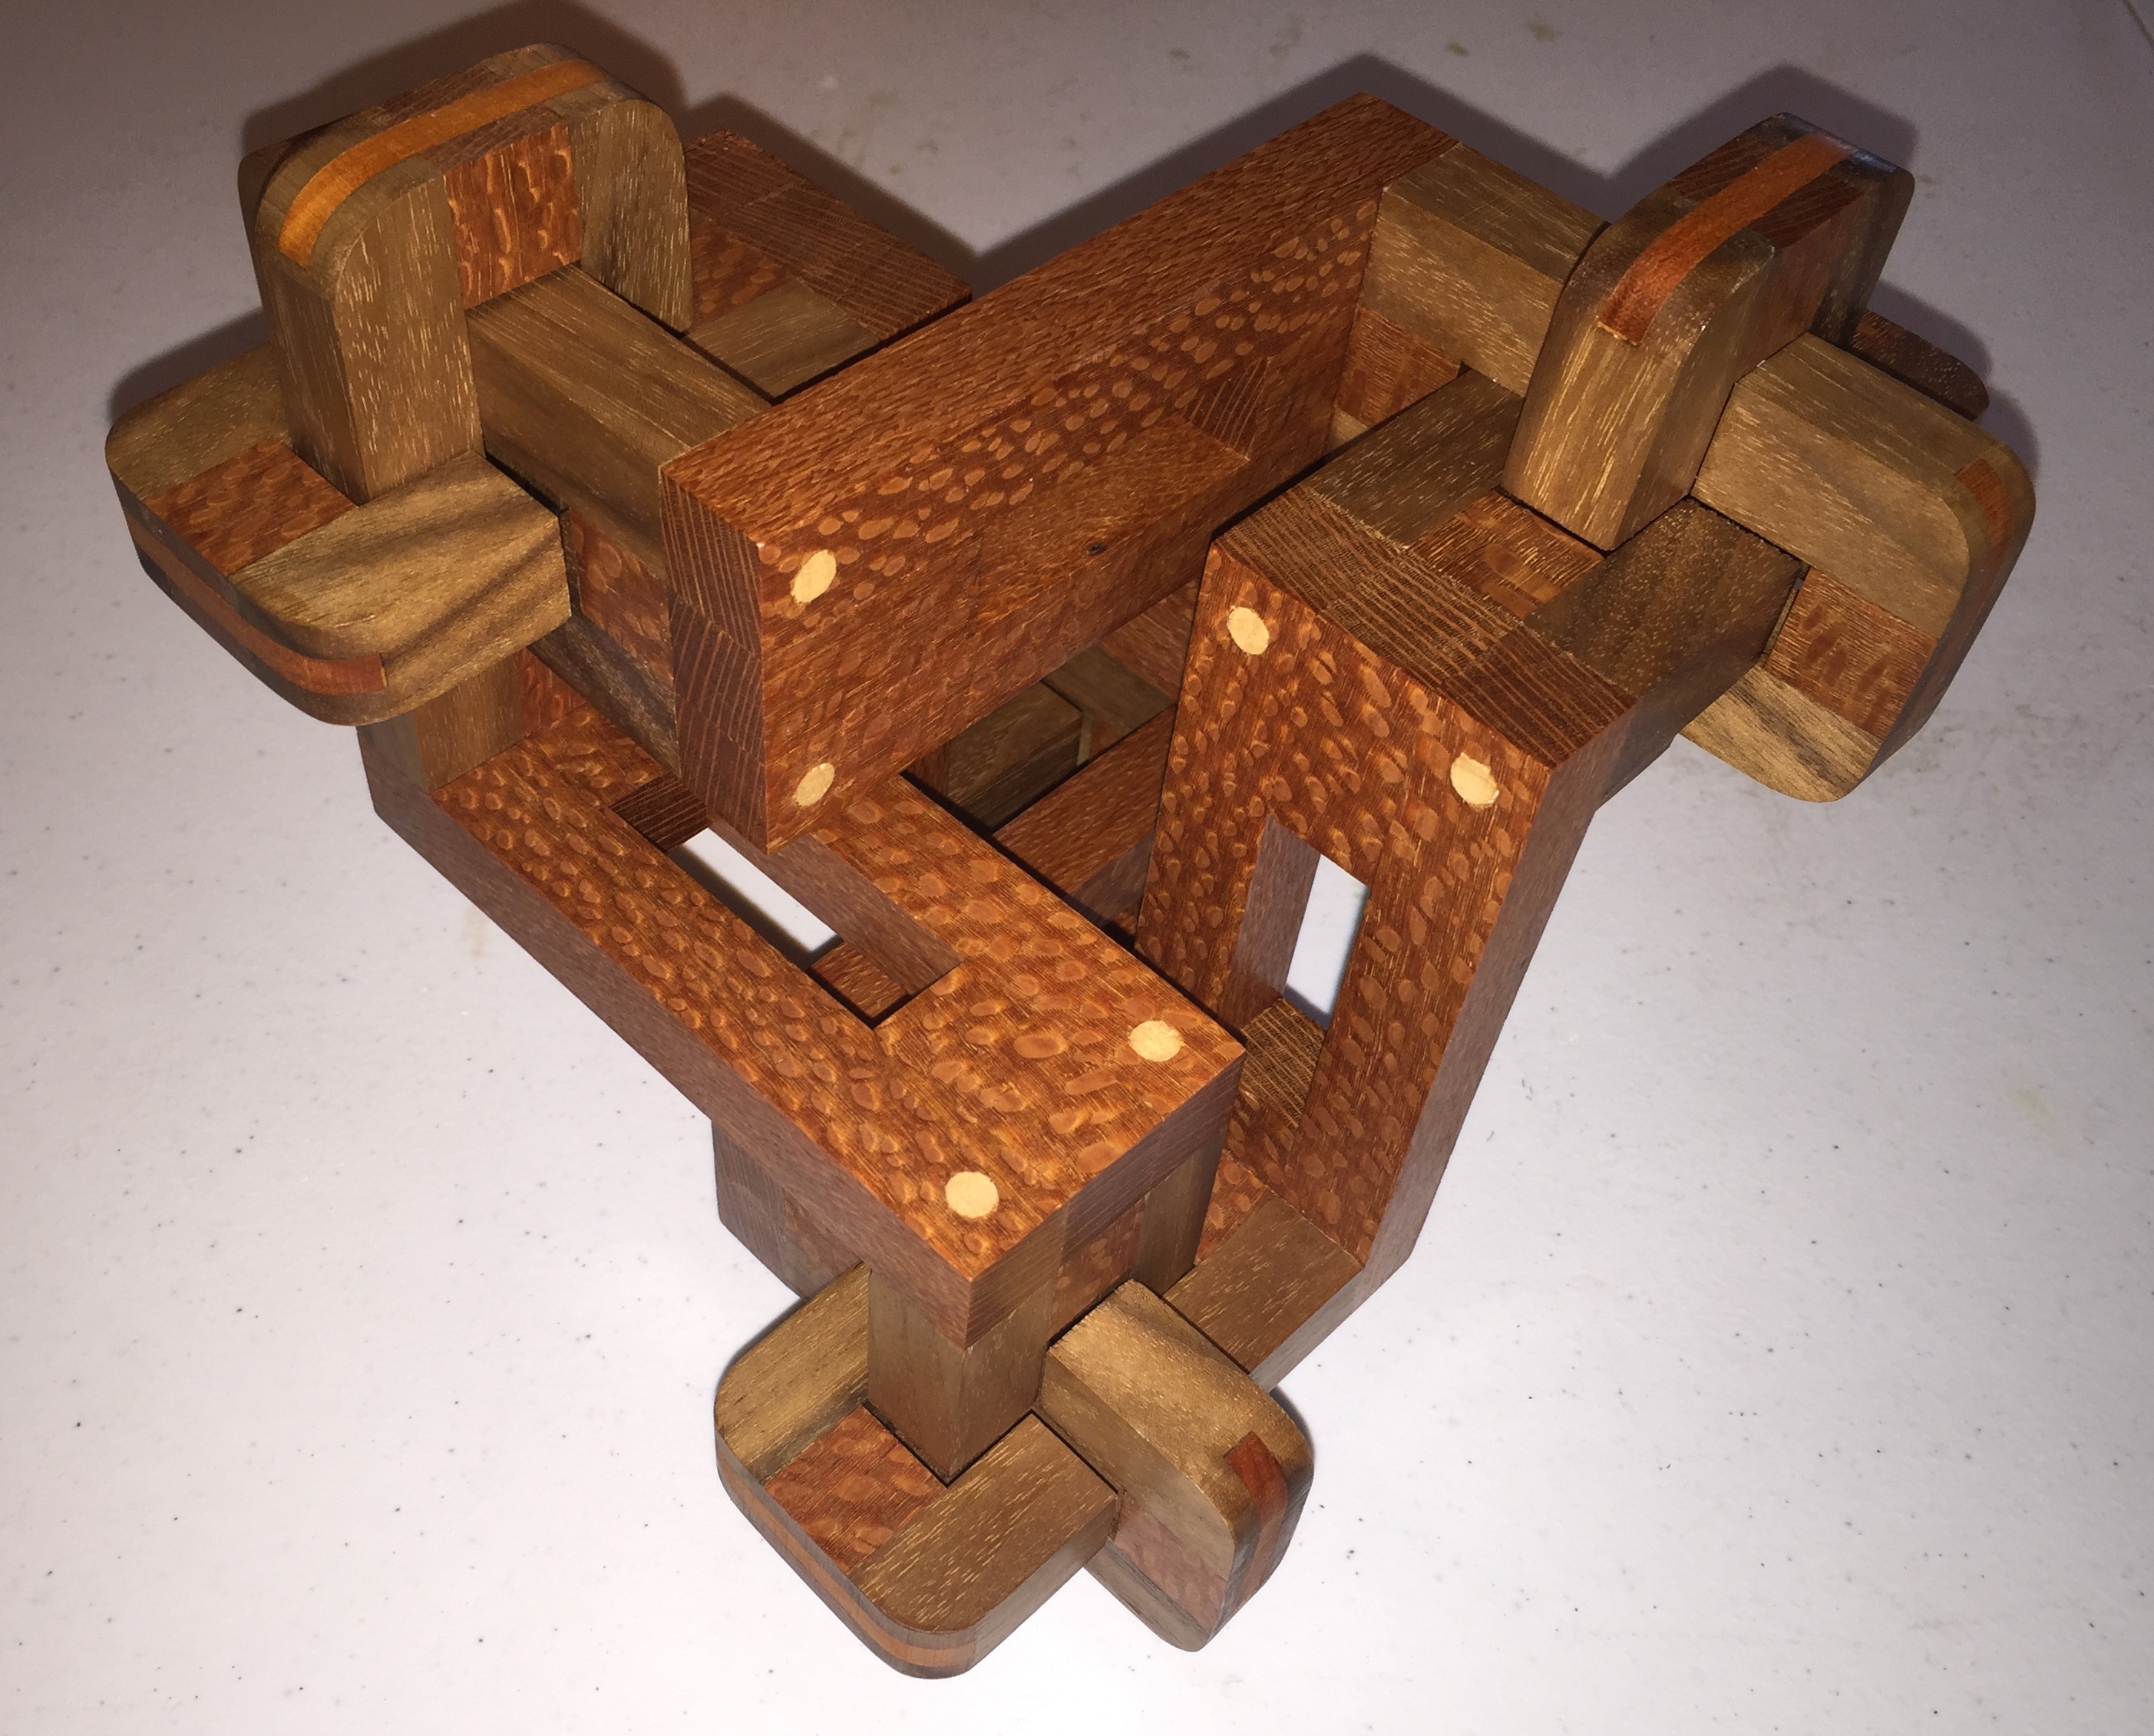
All six pieces that make up the RBBB
The pieces form a set where three of the Z’s have the C’s attached with the opening facing in opposite directions, two with the opening in the same direction, and the final is a mirror image of the second piece type. Given the length of the C’s and the minimal gluing surface to the central structure, the joints need to be reinforced to prevent them from breaking. Equally, the end of the C’s need to be reinforced to prevent them breaking too. All told there’s a lot of work to producing such a puzzle, however the end result is in my opinion worth the extra effort.
Starting with square sticks
The start of any such puzzle is with the preparation of the stock. Square sticks need to be accurately milled from the boards giving straight, consistent sticks as a starting point. For this run of puzzles, I had a selection of Maple, Walnut and Lacewood to work with. Fortunately all the stock I had was 8/4, meaning that I could create sticks that were over 1/2″ in diameter, resulting in a very pleasing and not small final puzzle. Overall, each puzzle requires 12 feet of wood to make, and 2 feet of dowel to pin the pieces ensuring they are strong enough. That’s a lot of wood!
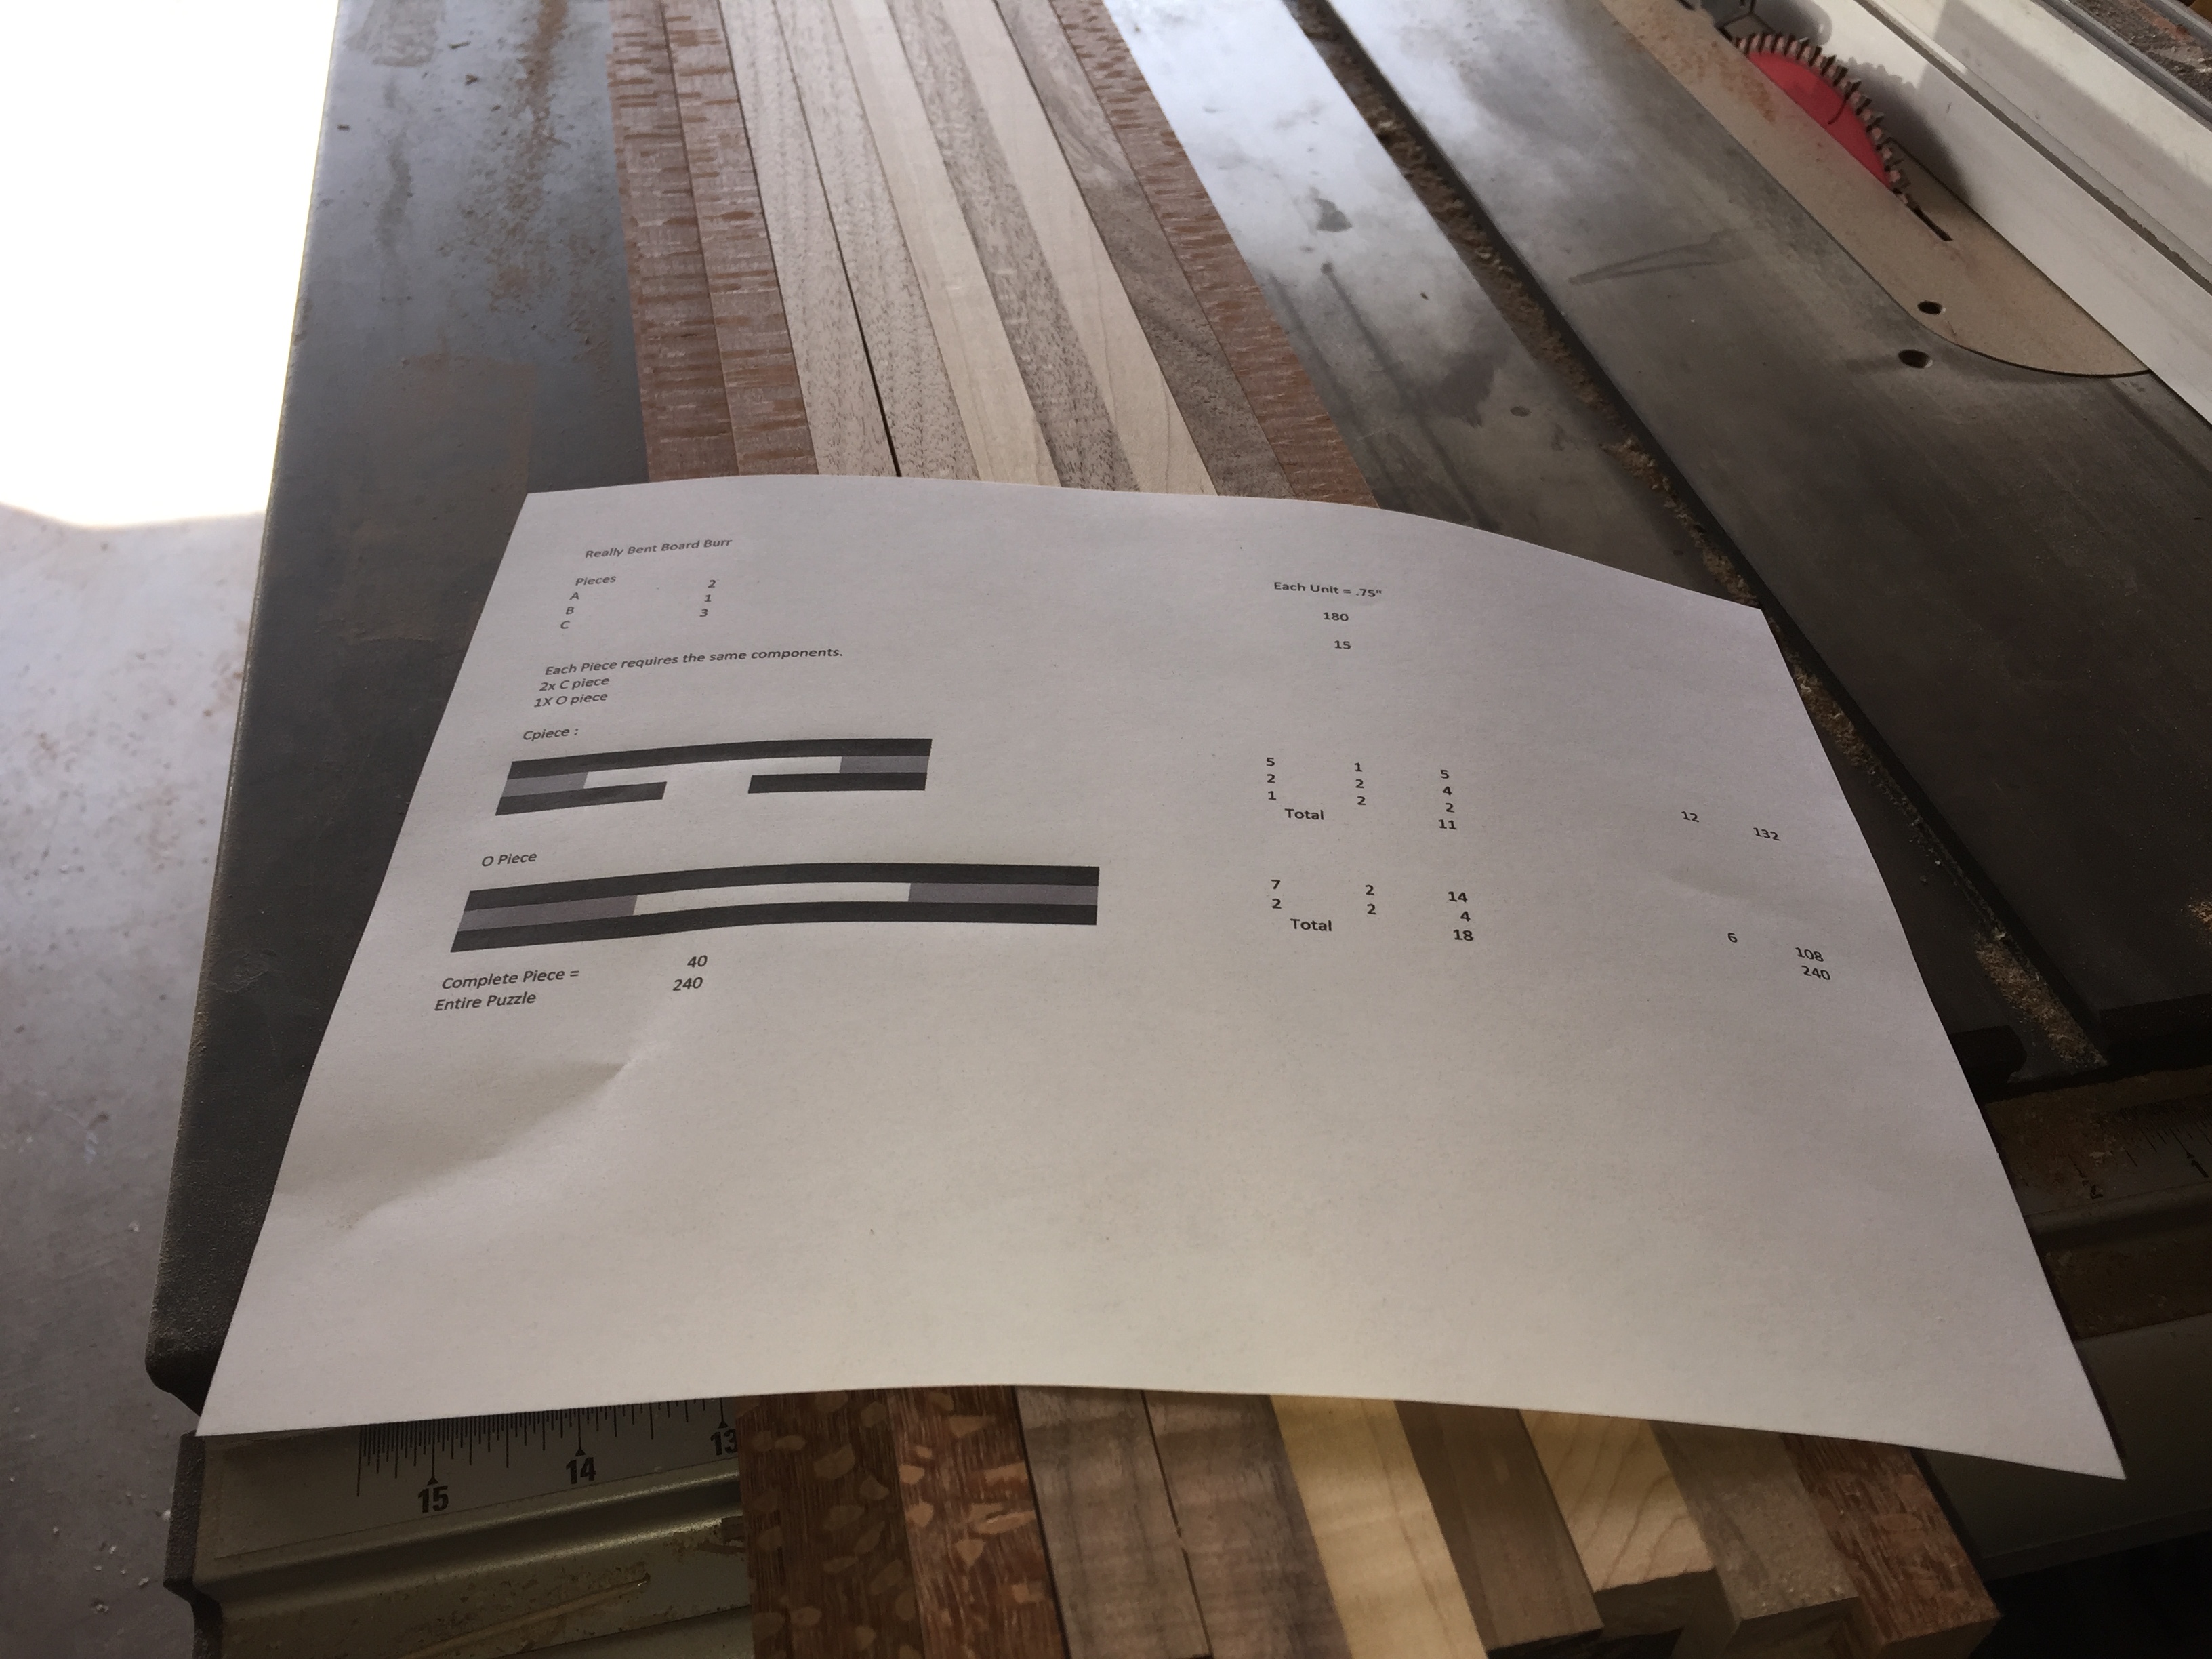
You can see my cheat sheet in the image above, where I mapped out the pieces and produced a cut list for the individual sticks needed to create the final puzzle. The colouring on the pieces on my cheat sheet is partly to make seeing each piece easier, but it also helps with the wood selected for each piece, resulting in a pretty interesting final puzzle piece.
The size of each of the pieces is determined from the width of the square stock. That sets the size of a single cube, and from there the units required are 1×1, 1×2, 1×5 and 1×7. I made a set of these pieces, which are easily created my combining the smaller units, all cut from the stock I’m using to ensure their size is accurate. You can see them in one of the photos below, sitting on my saw.
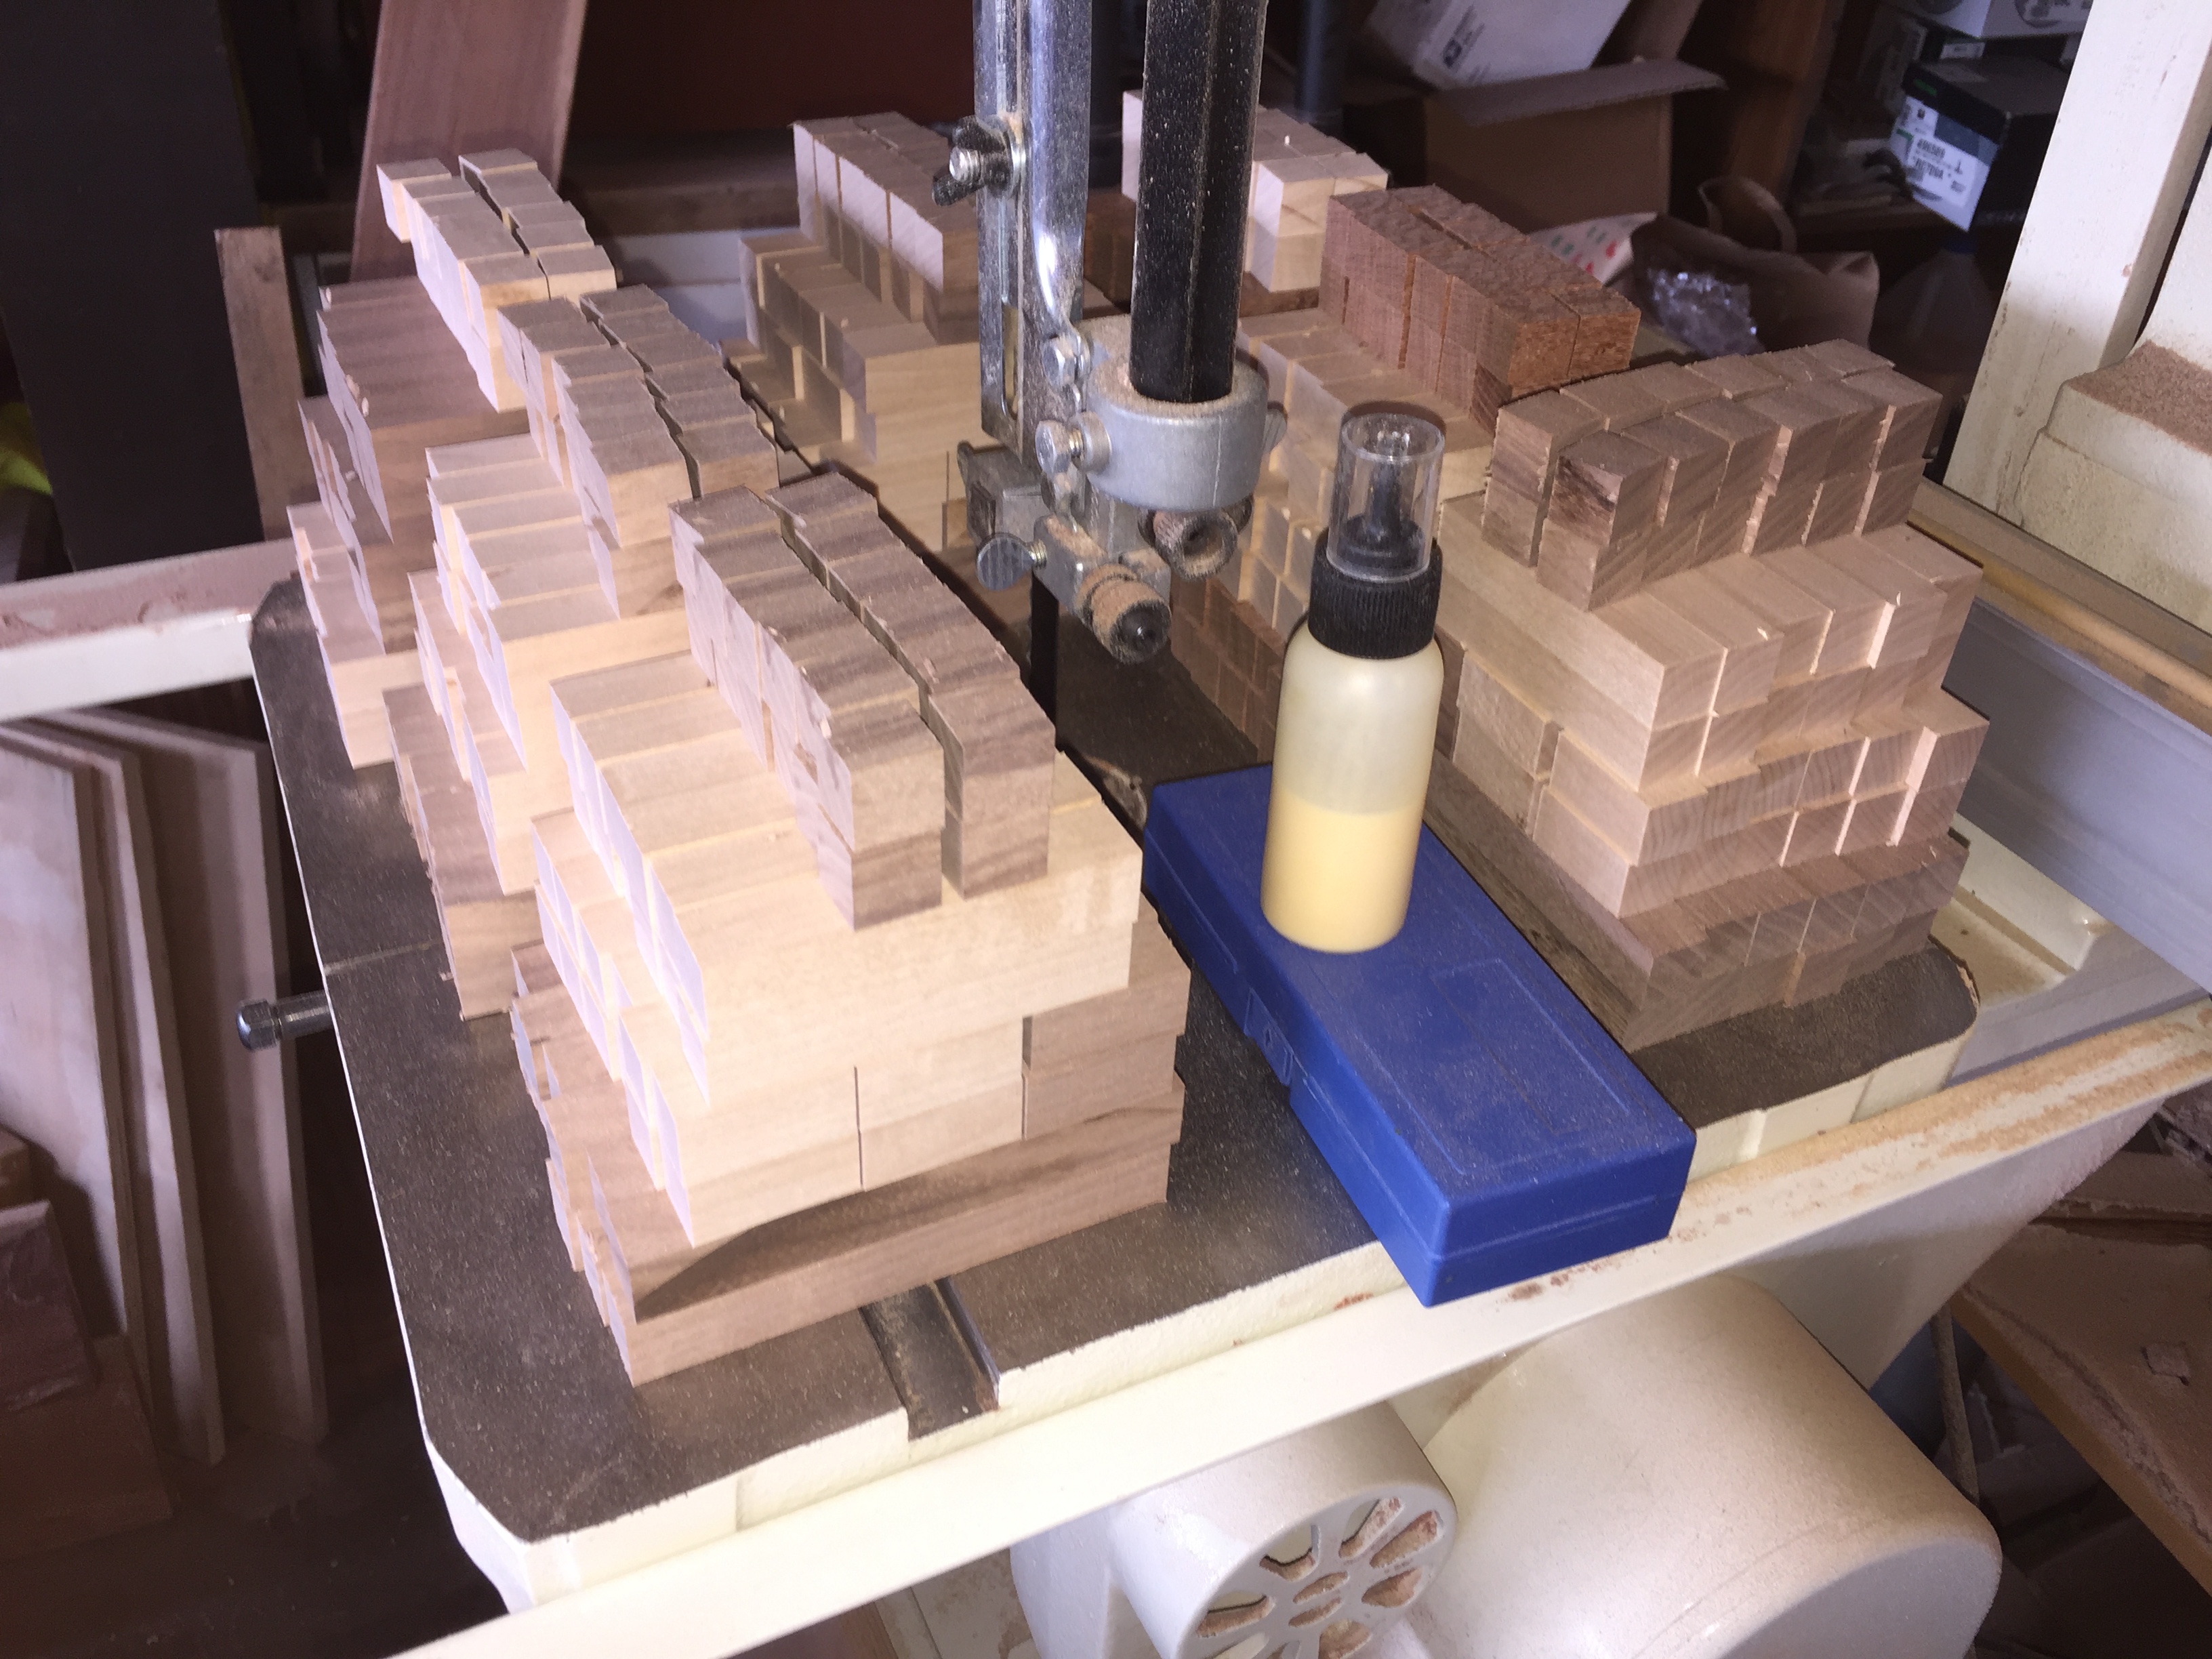
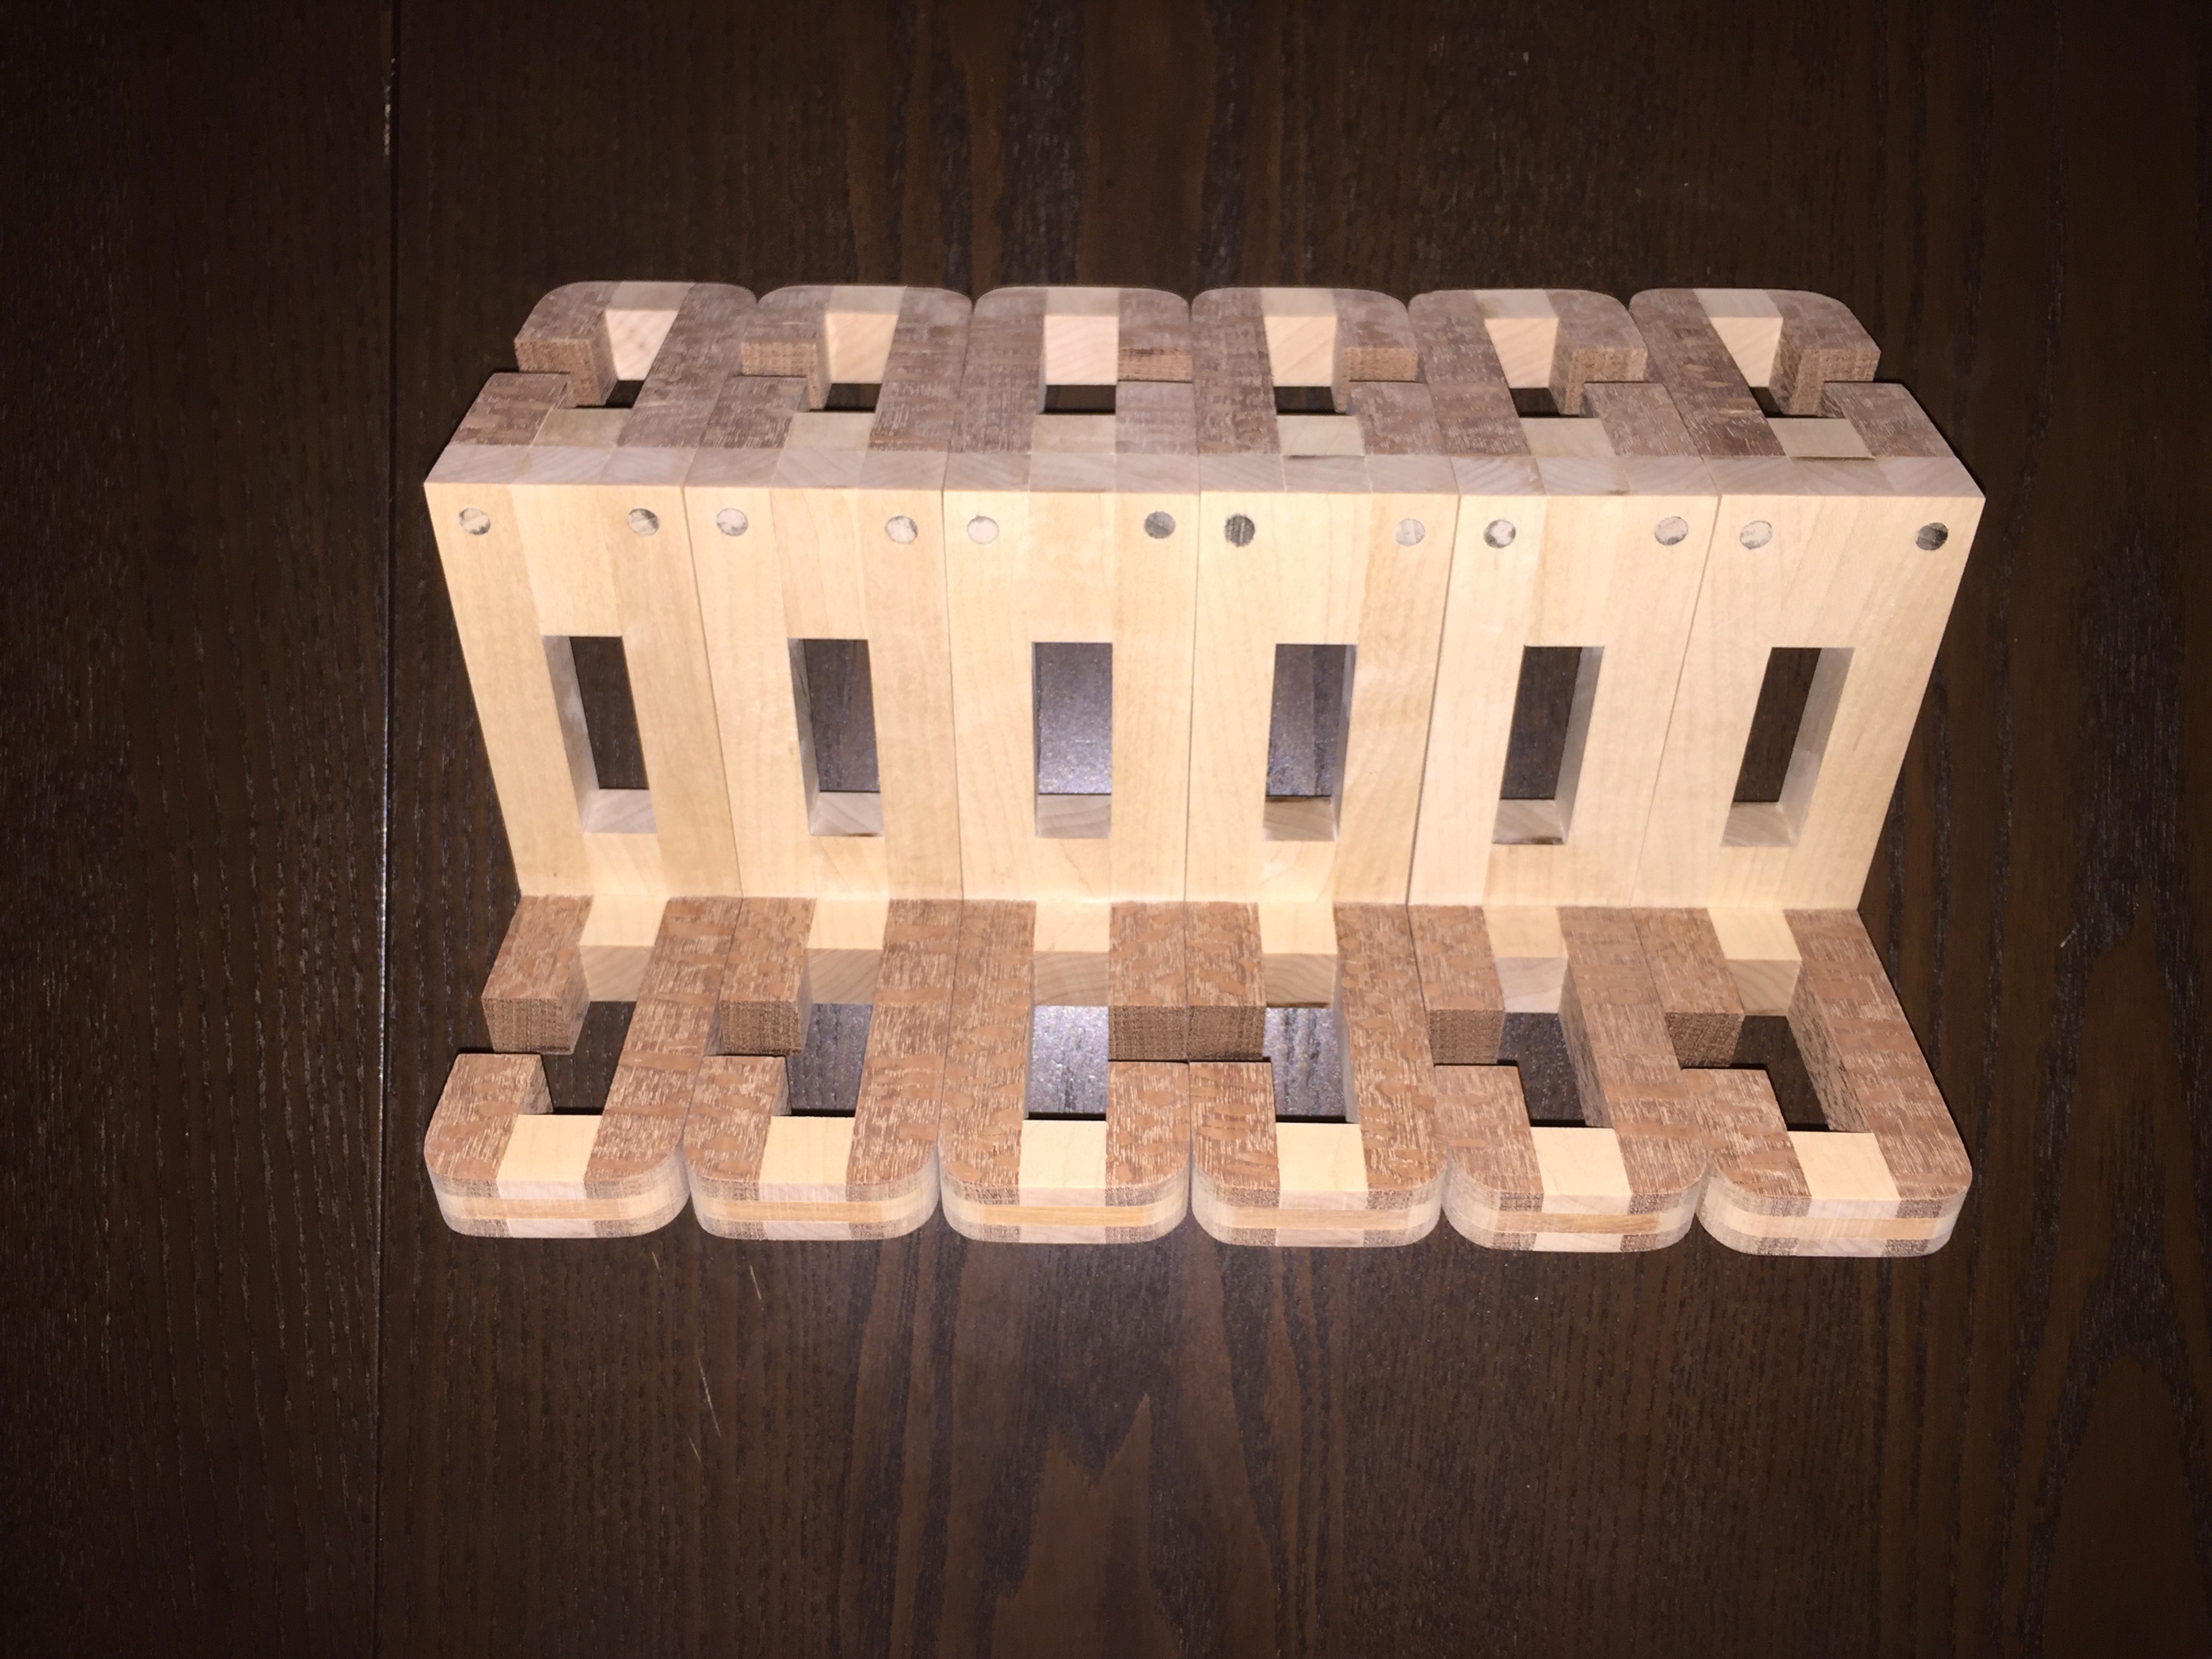
Stacks of pieces. Each stack is one puzzle
The square sticks are cut to the correct lengths for each puzzle in batches, and then stacked to create the pieces for each puzzle. In total, I cut enough pieces for 10 copies of the puzzle to be made. As I’ve mentioned before, once the jigs are setup to make the cuts required, the effort to create 10 copies is not significantly more than to create one, so it just makes sense to make multiple copies. I’m sure there are people out there who will be interested in a copy.

Making the C’s
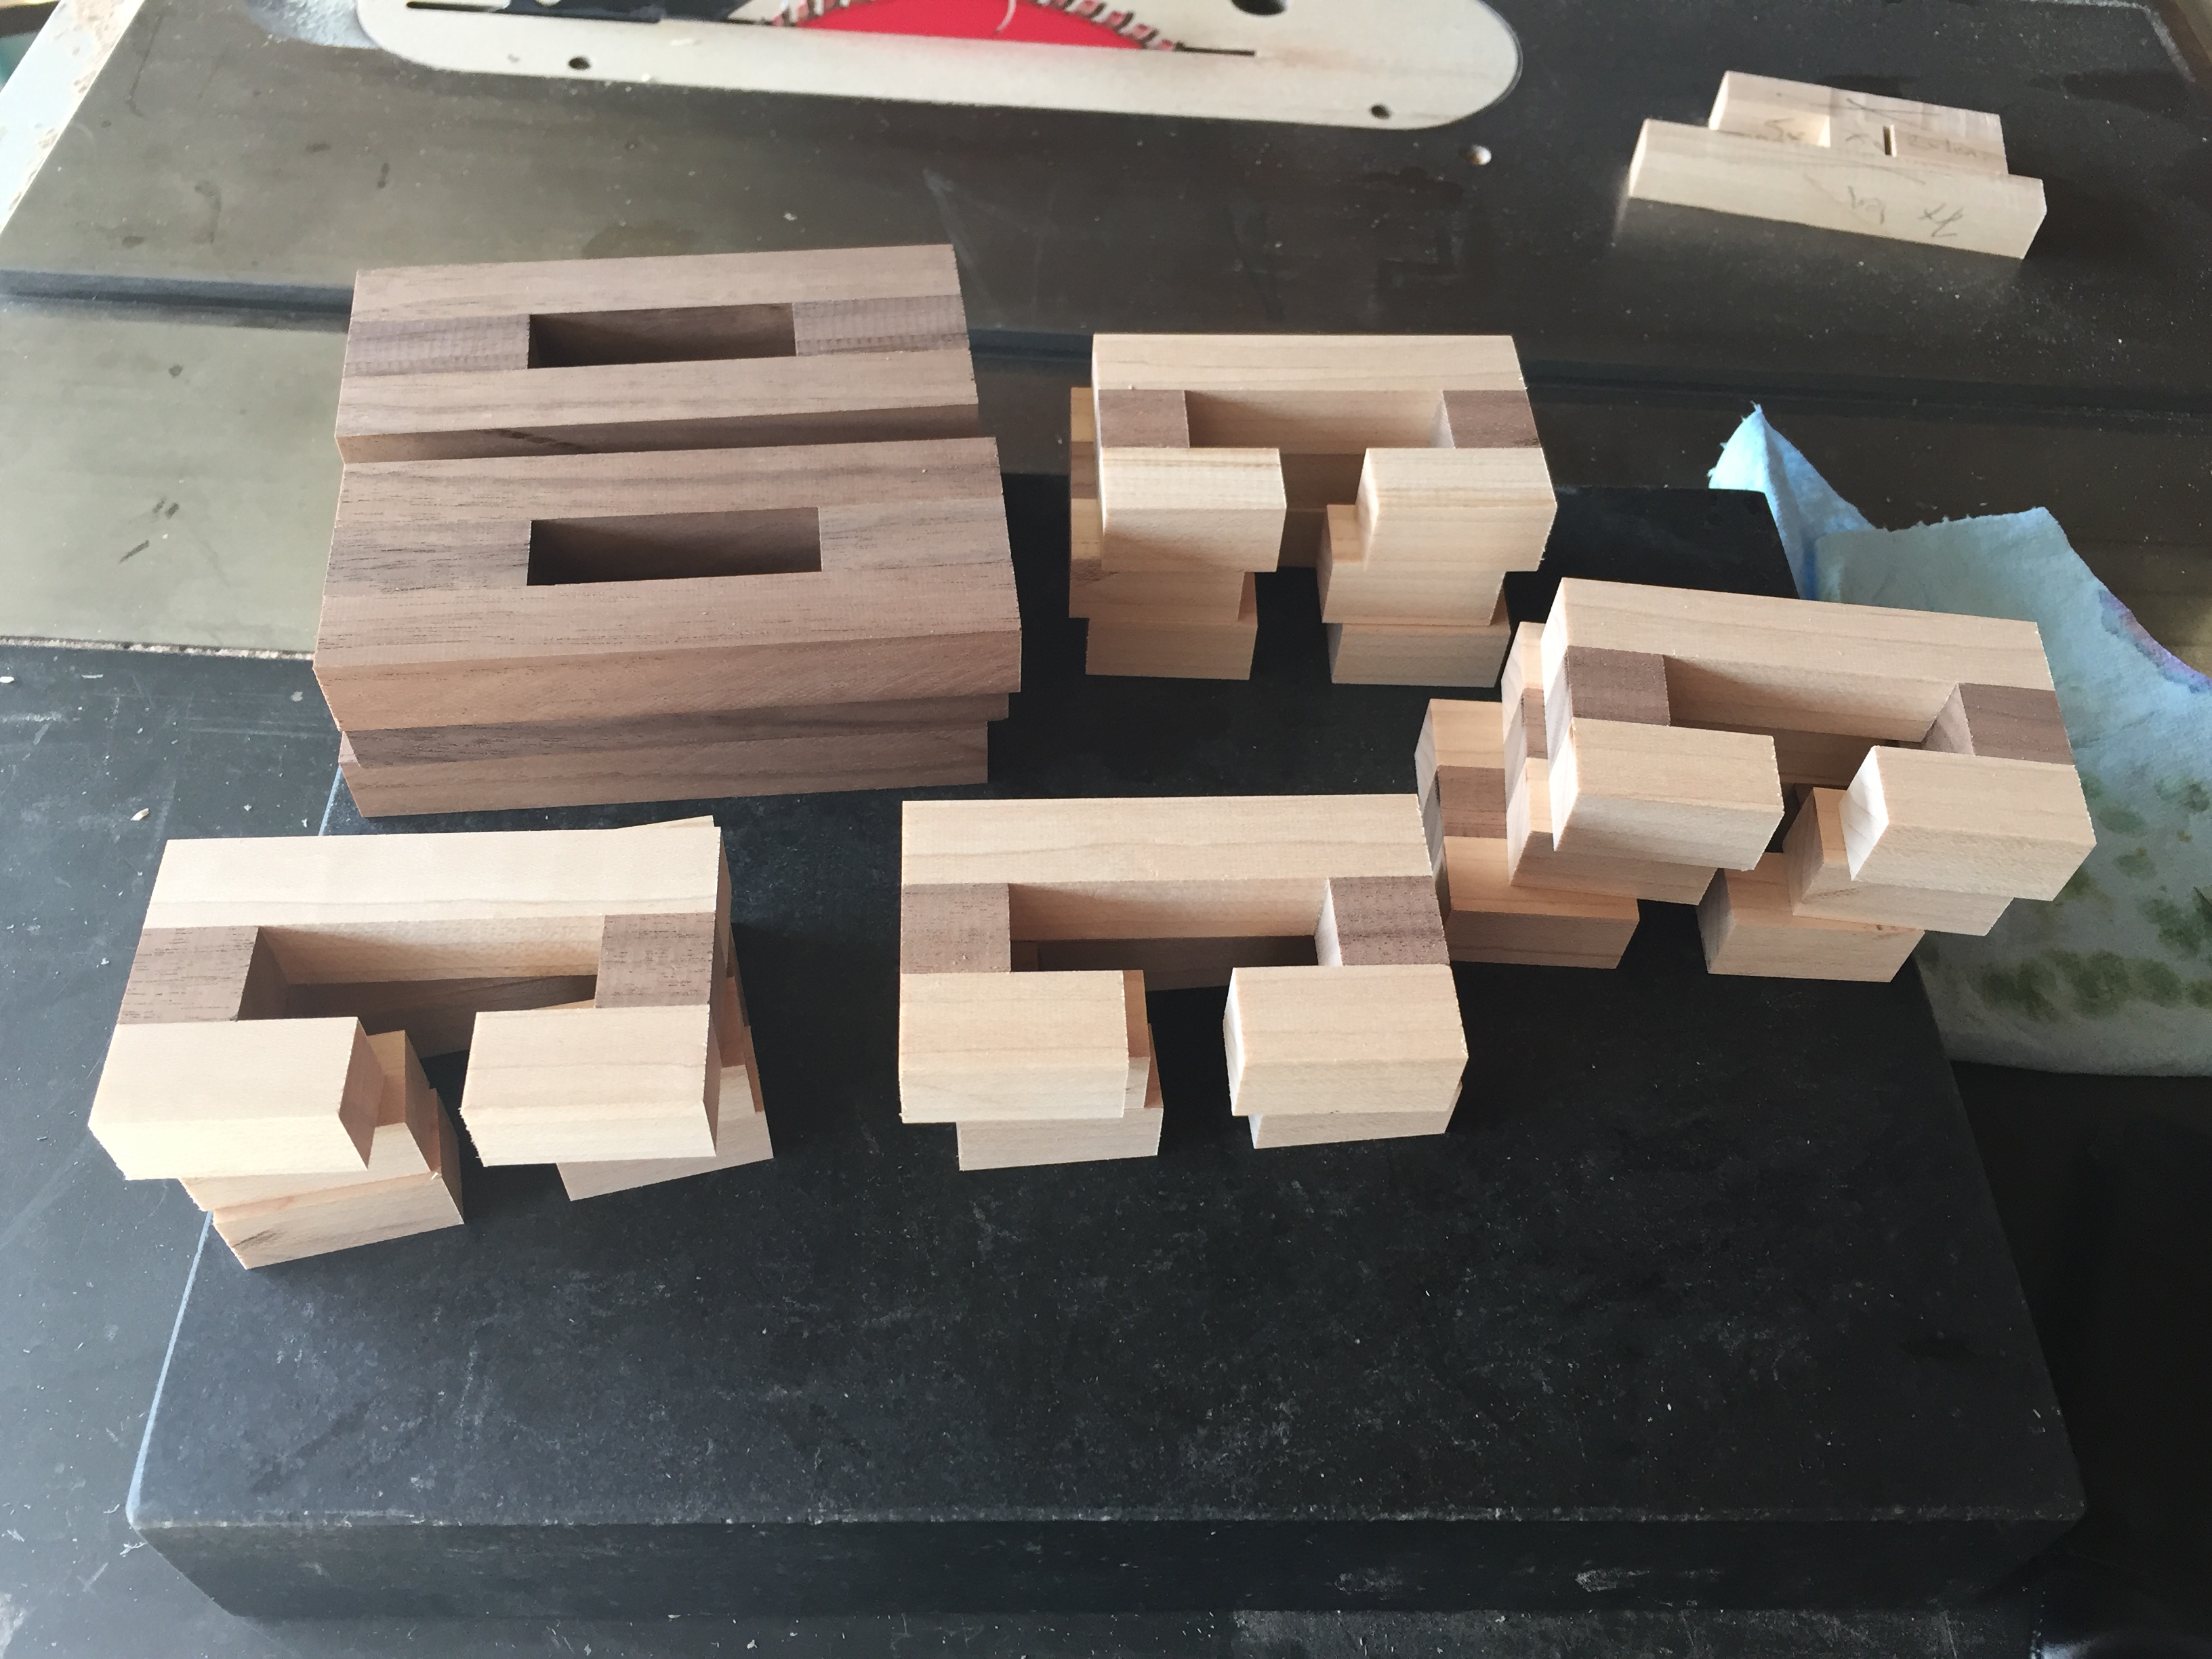
C’s and O’s
From each pile of sticks, the individual components of each individual puzzle piece are created. Since each piece consists of two C’s and an O, those can be created en-mass, and then assembled into the correct puzzle piece.
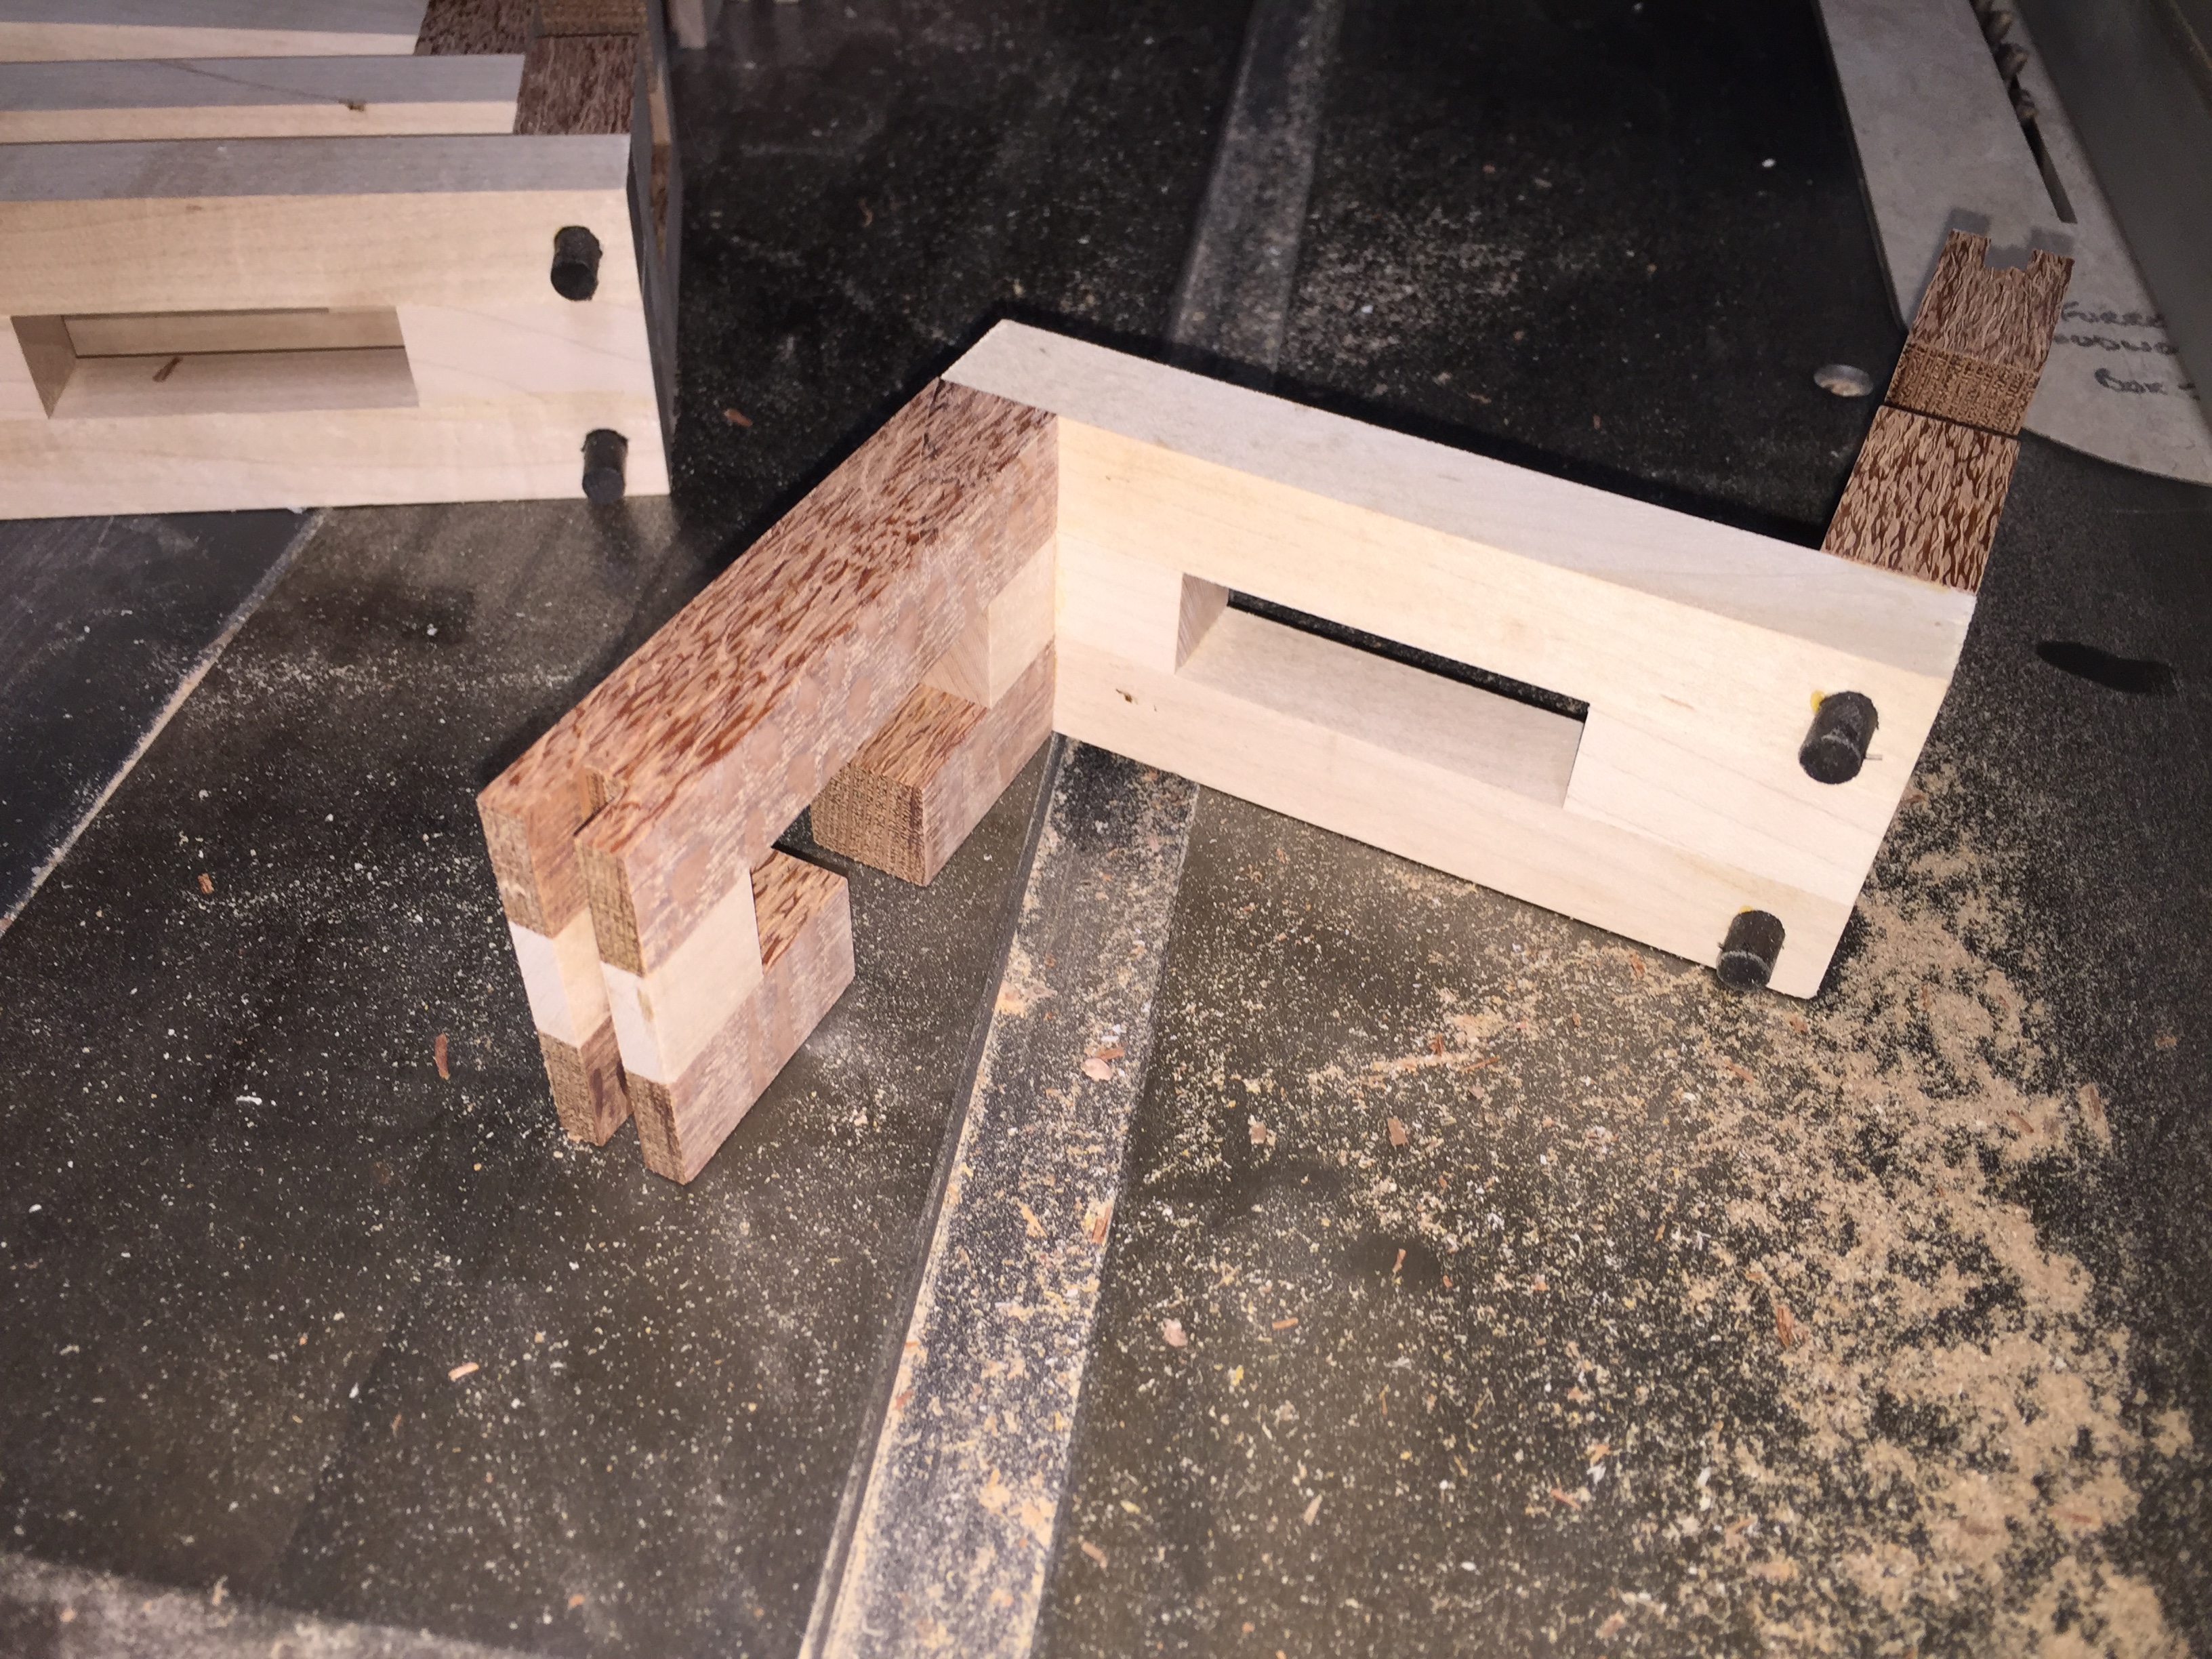
Dowels glued in place and slot cut for the spline
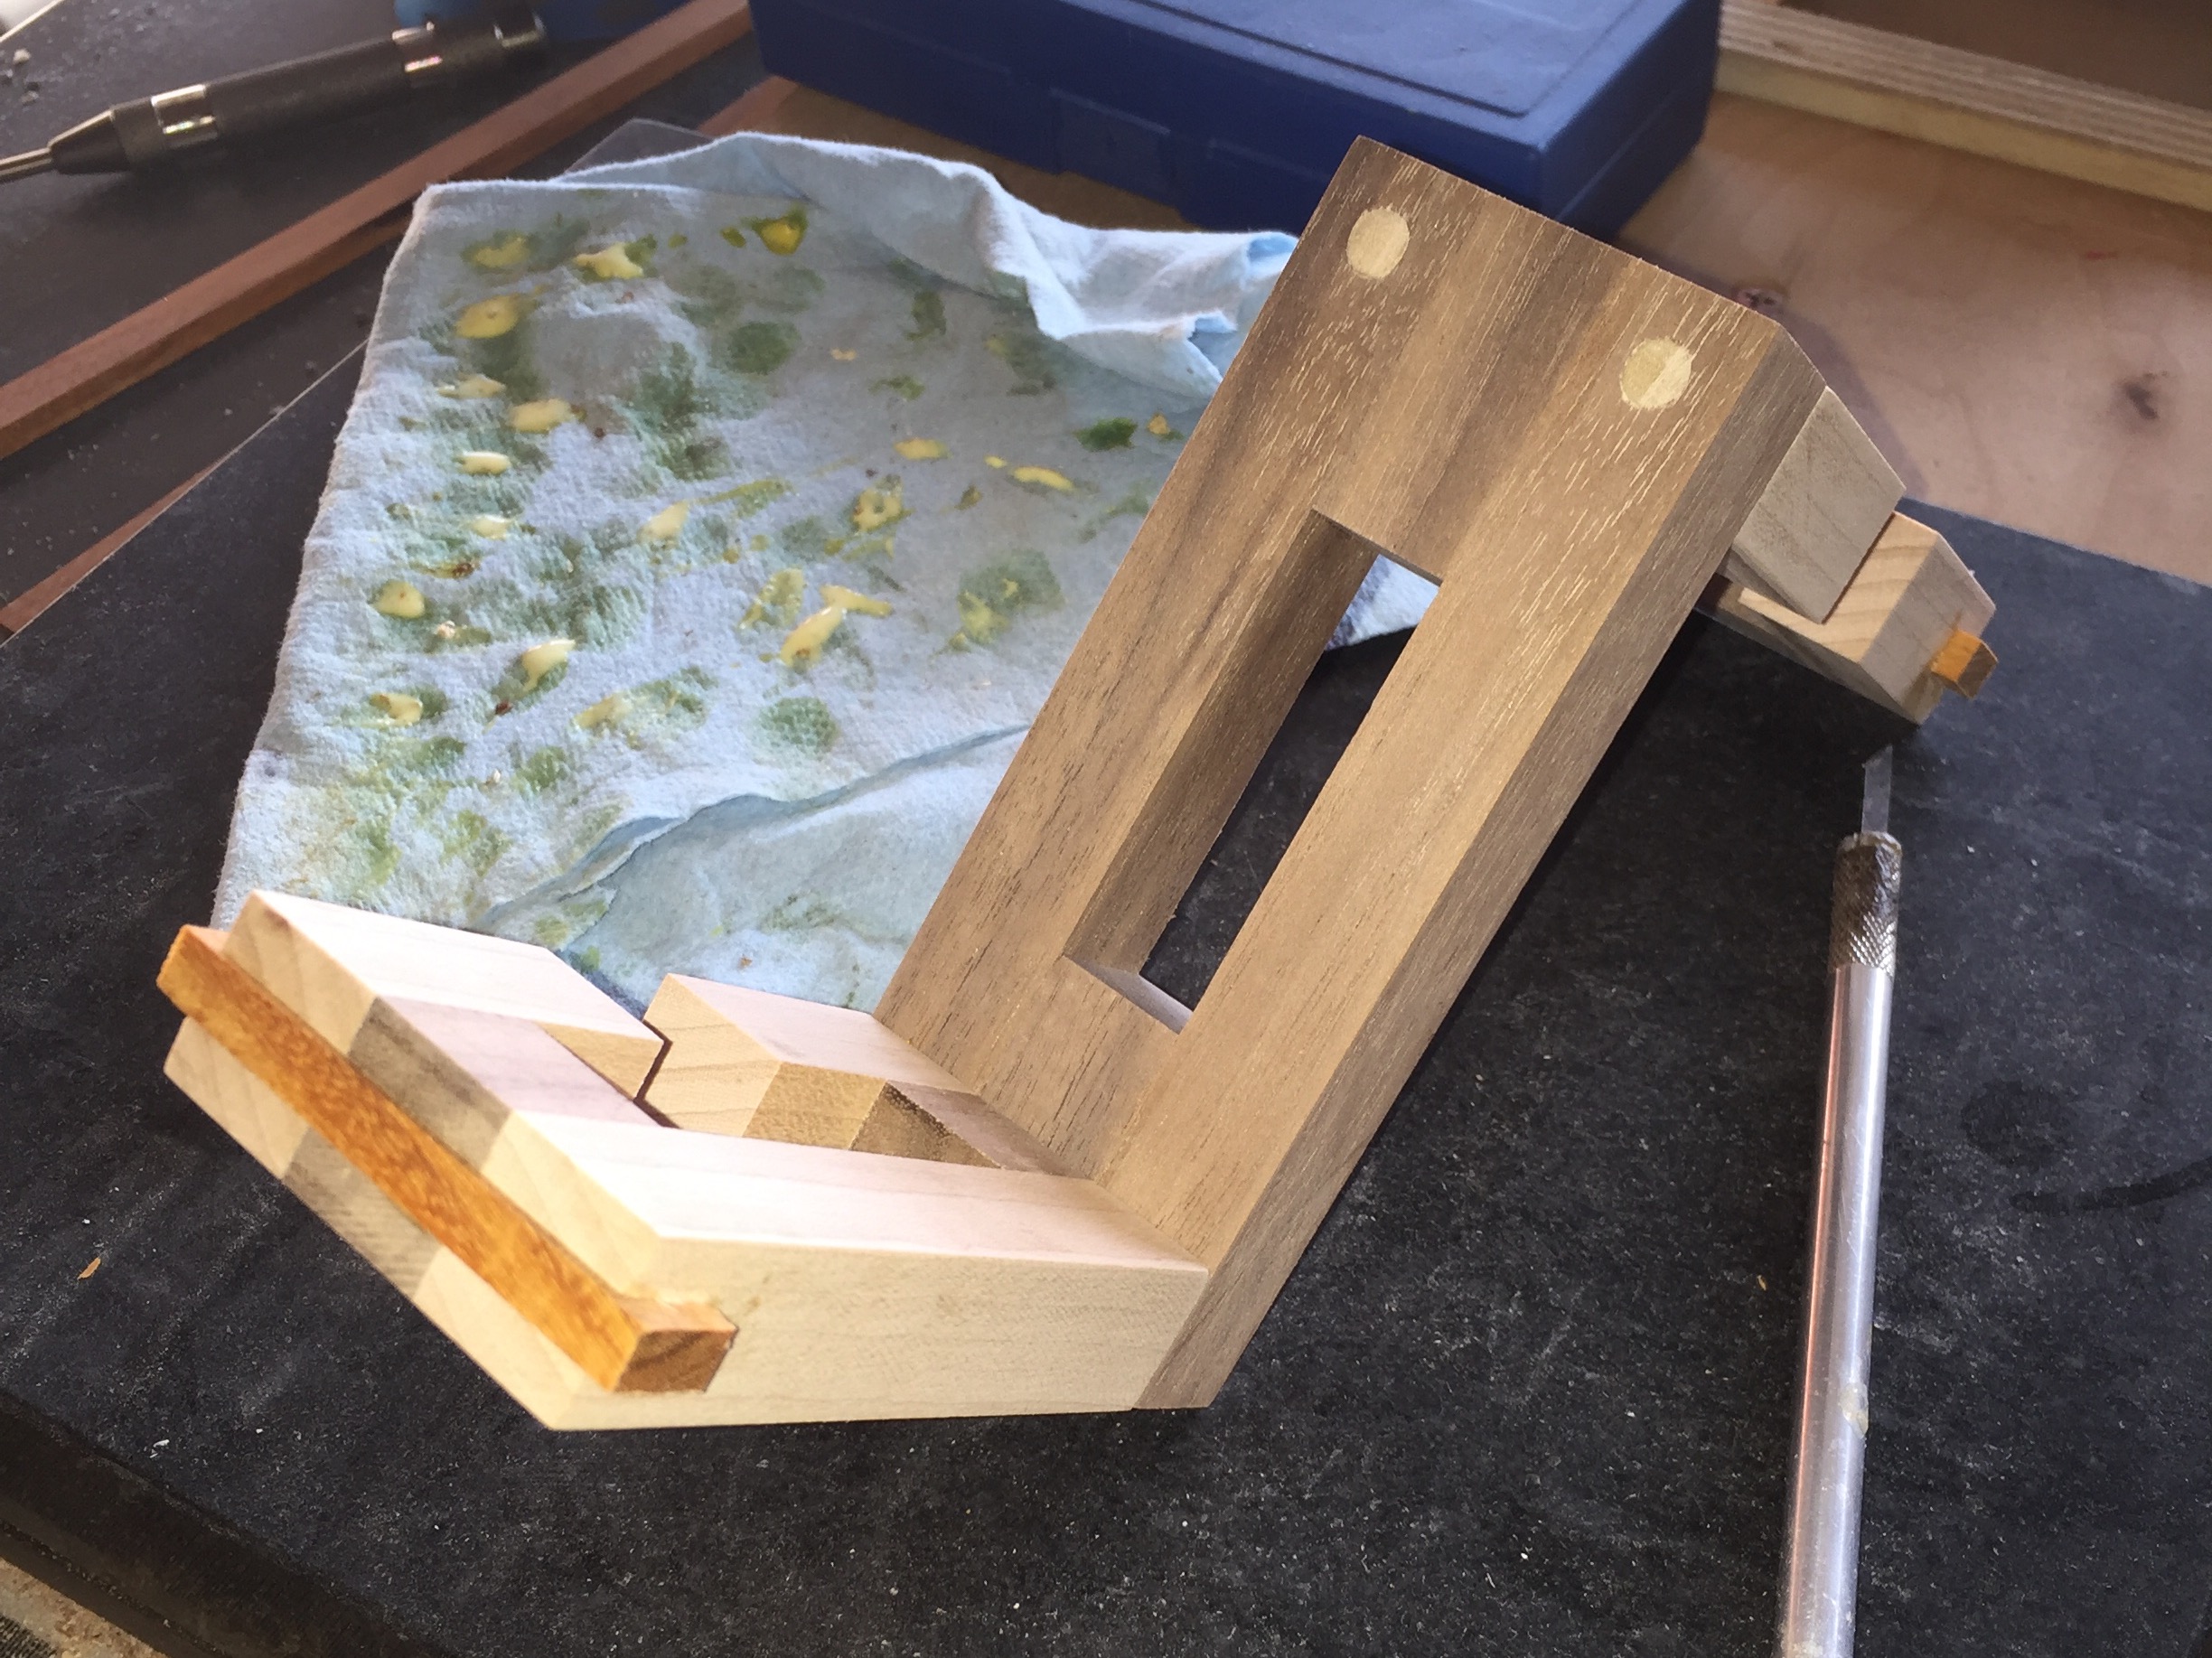
Splines glued in place
After the individual components are completed, they are glued together to form the final puzzle pieces, and then holes are drilled through the O’s to allow dowels to be glued into place, forming a much stronger joint between the components and helping to ensure that significant force would be needed to break the pieces. At the same time, the pieces are run across the table saw to add a flat bottomed groove in the ends of the pieces to allow a spline to be added. That spline will reinforce the ends of the C’s again helping to ensure that the pieces will not break when the solver is playing with the puzzle. These ends are very weak without some additional support since there is very little gluing surface, but lots of force available given the length of the pieces.
Once the glue has dried, the dowels are trimmed with a special saw which does not mark the surface the blade rests against, and the ends of the c-pieces are rounded to both clean up the spline, and add a visual element to the puzzle pieces in the assembled state. The other advantage to doing this is that is hides any tearout that was created from cutting the groove in the ends of the pieces. Normally I will back-up the cut with another piece of wood against the back of the piece where the blade will exit. This prevents the wood fibers which are unsupported otherwise from being ripped away from the piece, however with this type of cut that is very difficult, and taping the joint is only partially successful. So from my perspective as a craftsman, this rounding is both useful and pleasing to the final puzzle piece.
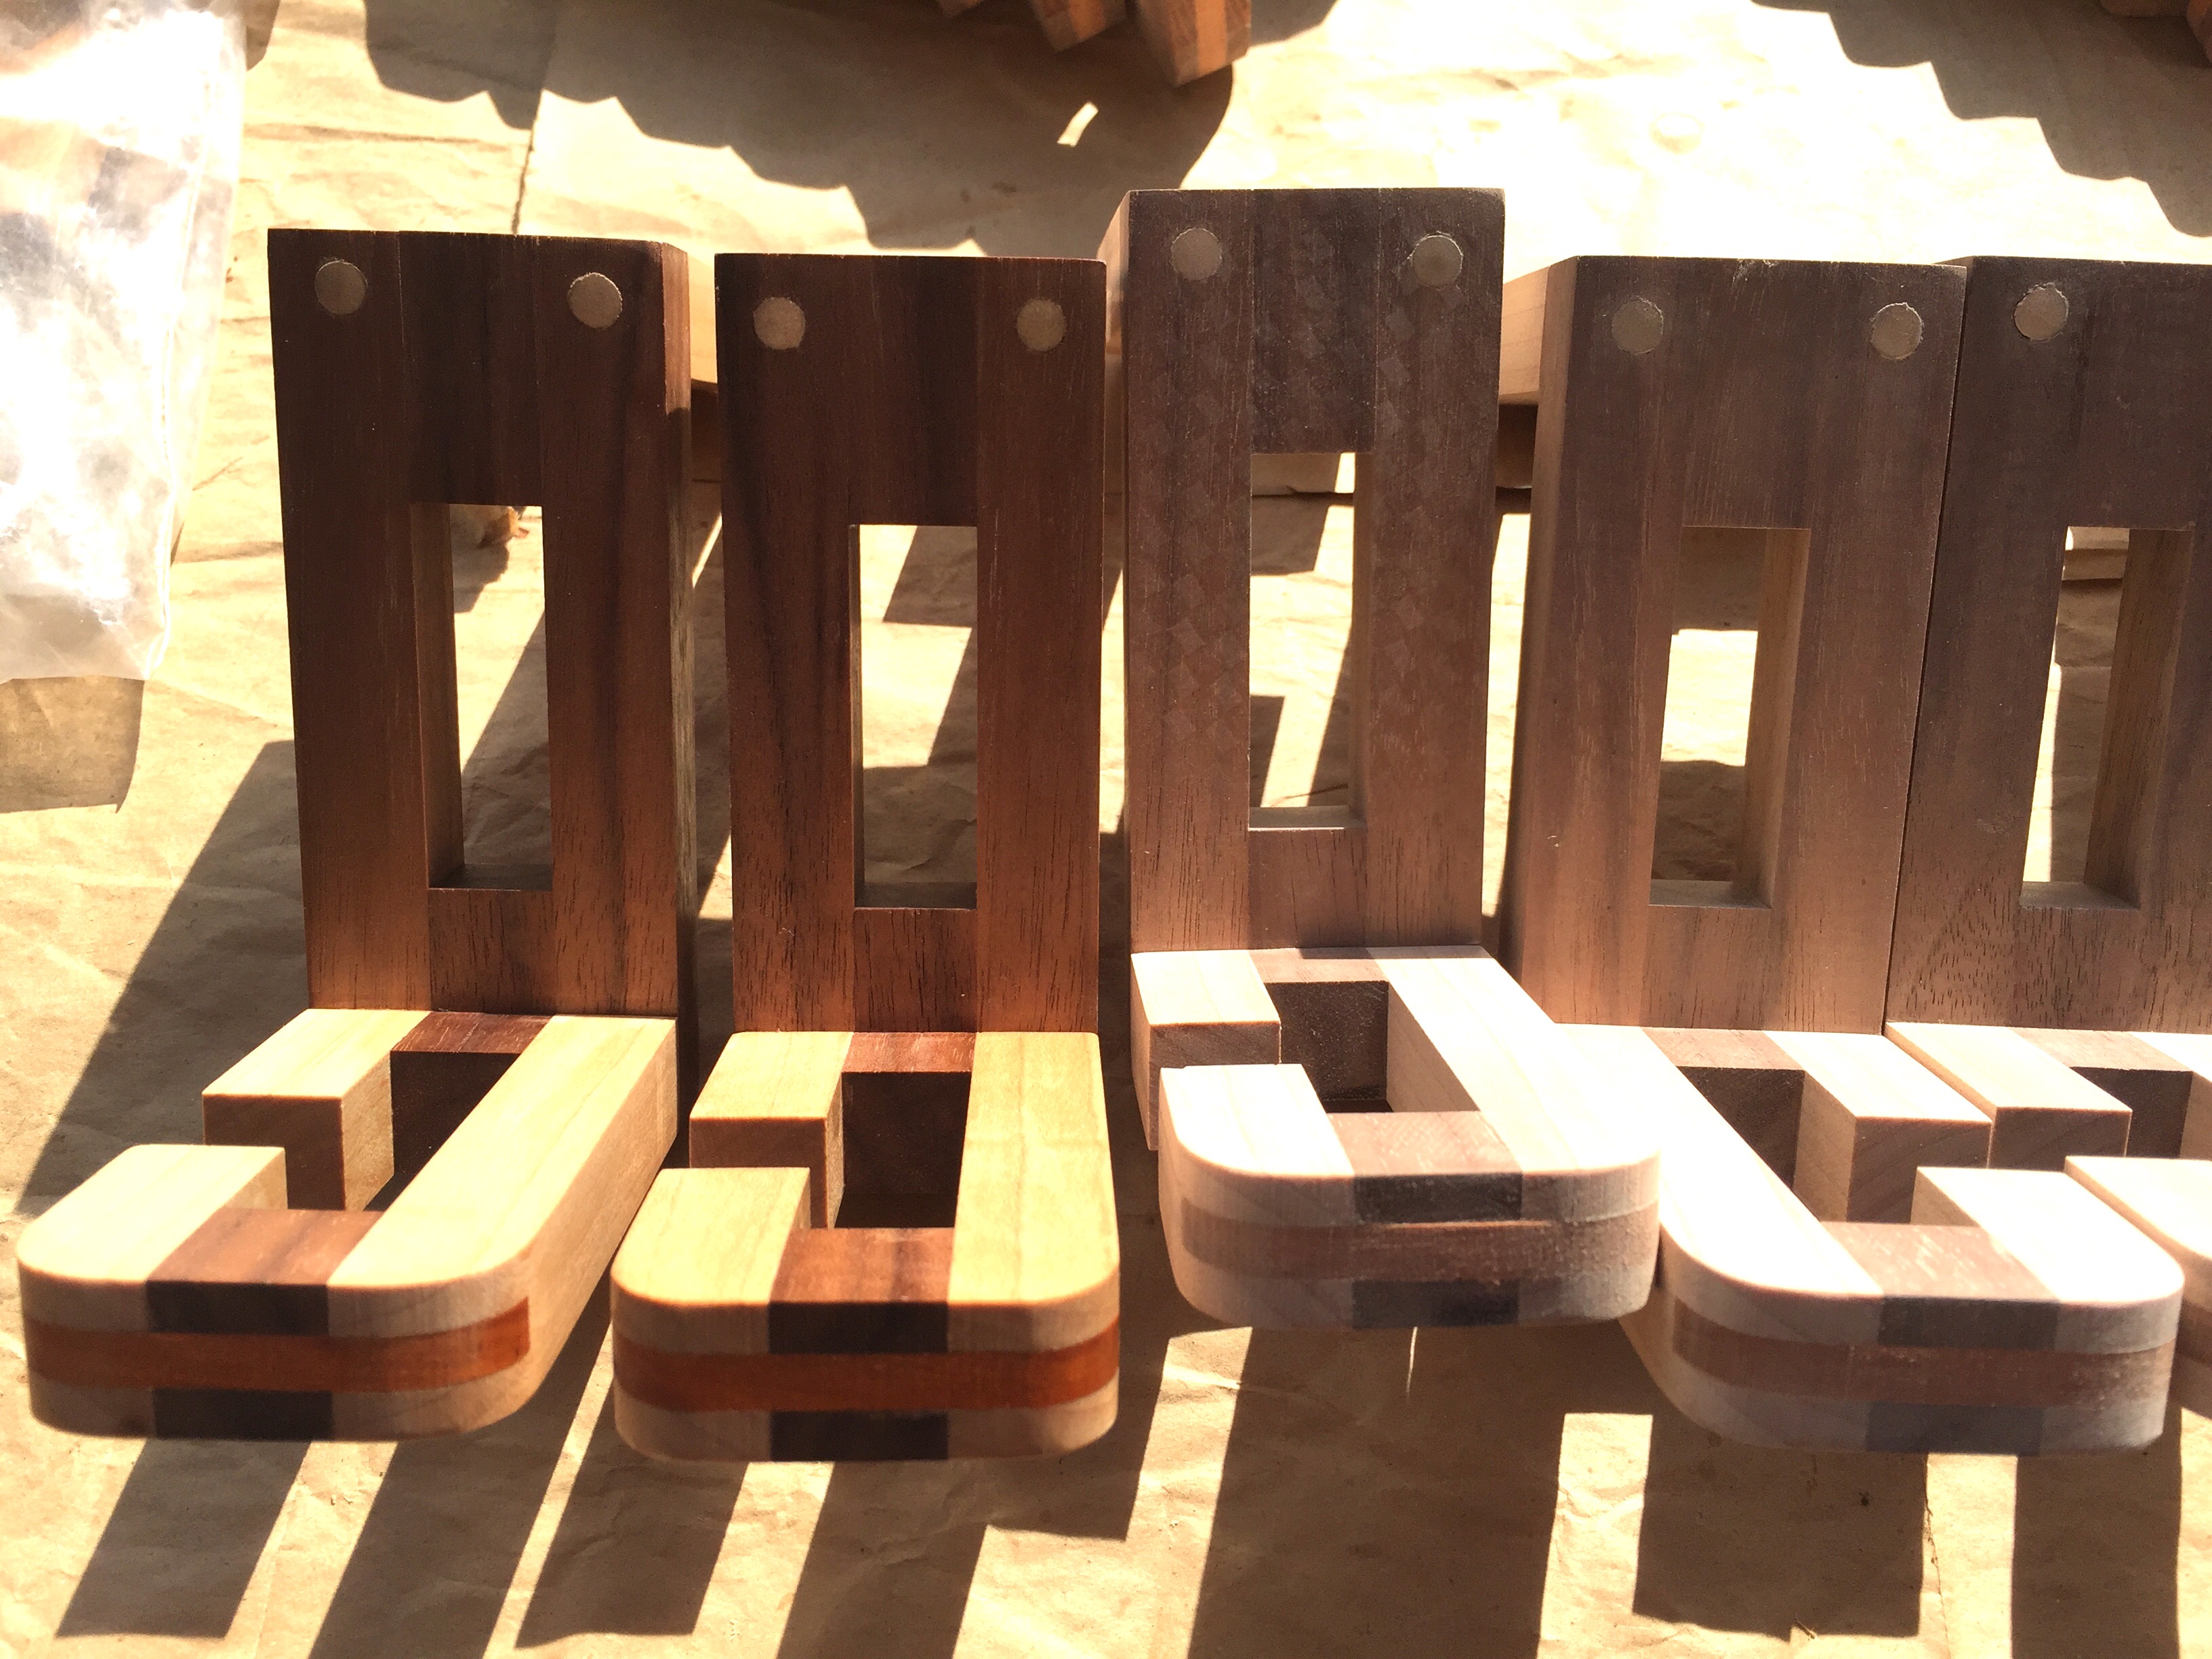
Applying finish really brings out the beauty of the wood
At this point, the puzzle can be tested to ensure that all the pieces fit together. Unlike many other puzzles I’ve made there’s no way to test the puzzle sooner. That means that I could have spent 10 hours making the pieces, and have nothing but scrap to show for it. Unfortunately, the pieces are so long that without all the dowels and splines, they are not strong enough to be put together into the final puzzle meaning that it’s an all or nothing build. Fortunately with the experience I have gained over the last few years, the puzzles went together without issue. Only minor sanding was required in a couple of places on one of the puzzles to ensure a good fit.
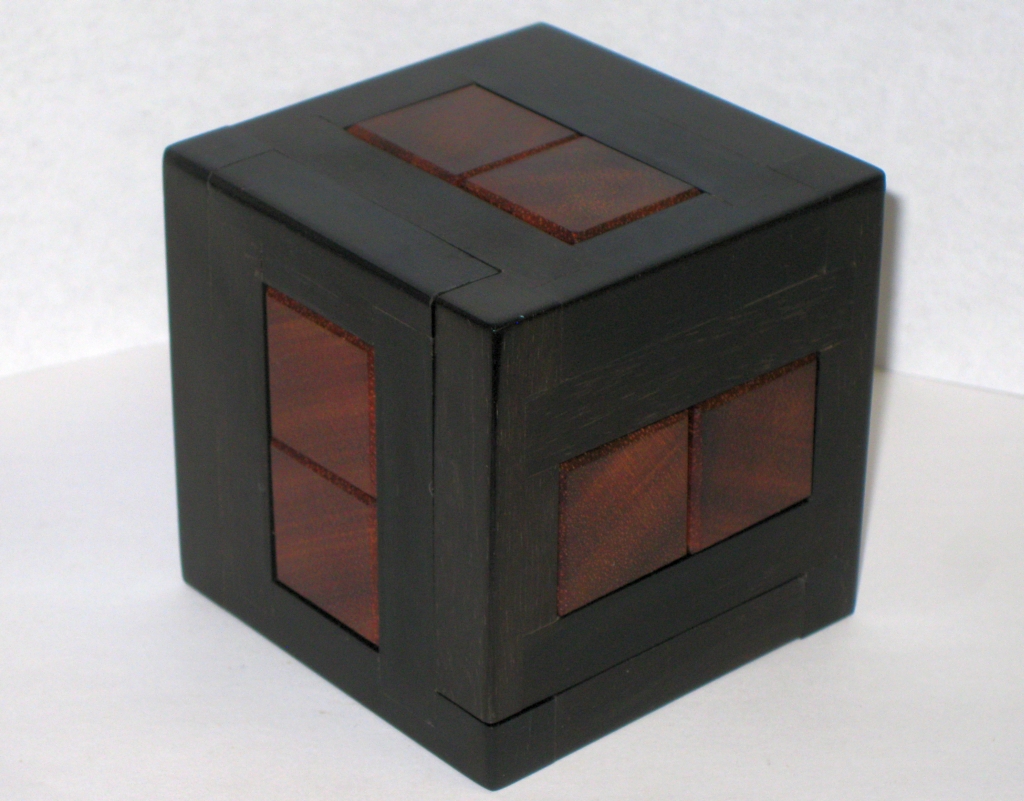
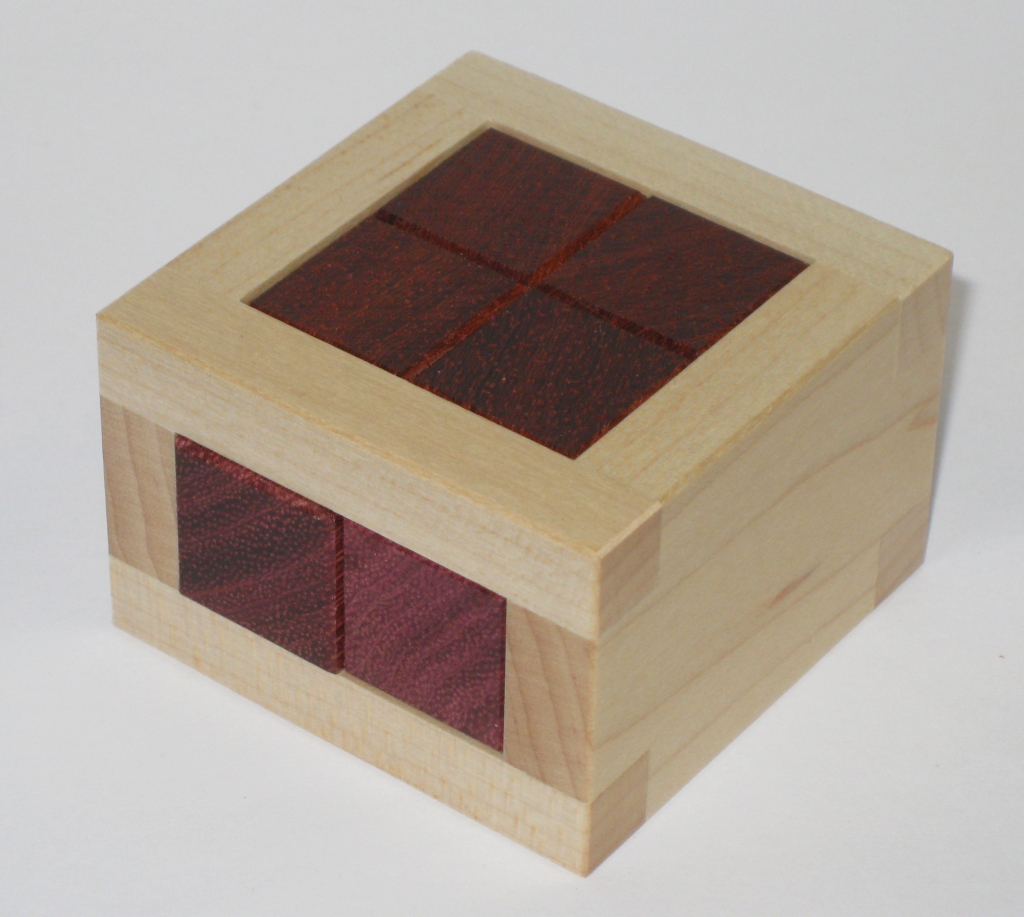
With the pieces tested and fitting together, they can be final sanded up to 600 grit to ensure a smooth and tactile surface, then finish can be applied to bring out the beauty of the wood. My go-to finish for puzzles is still a thinned lacquer then the Beall Triple Buff system to really make the pieces shine.
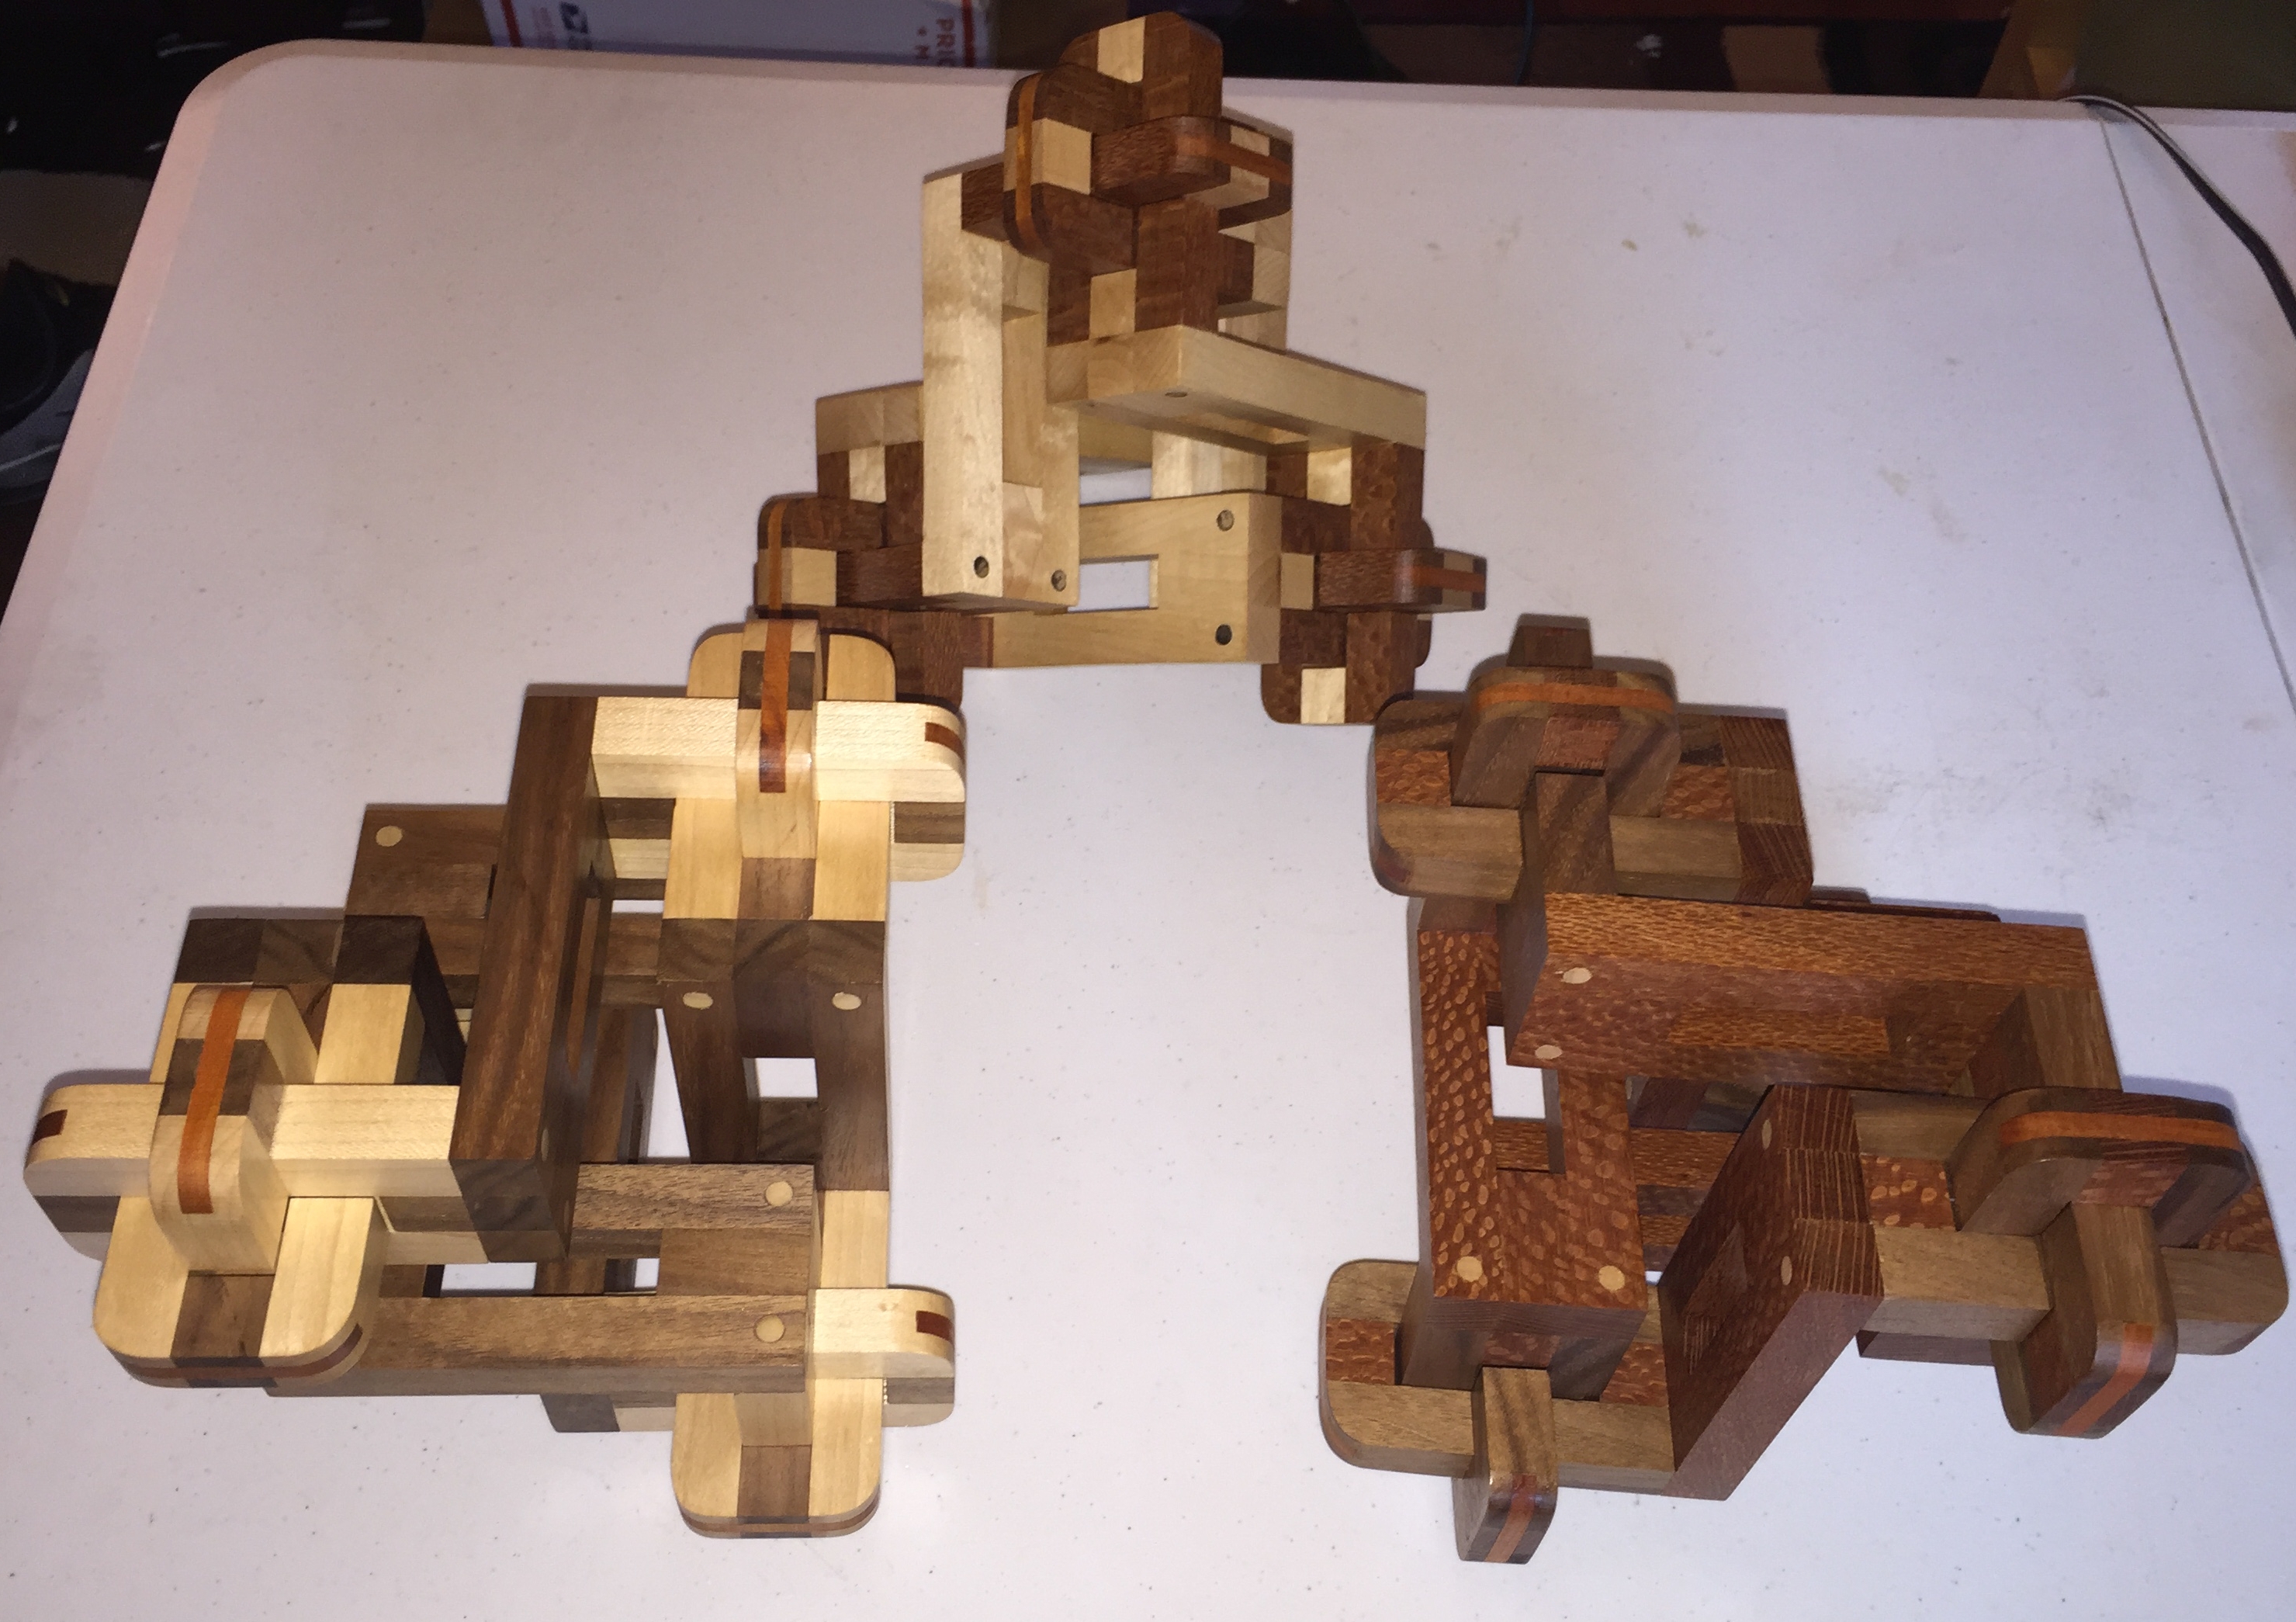
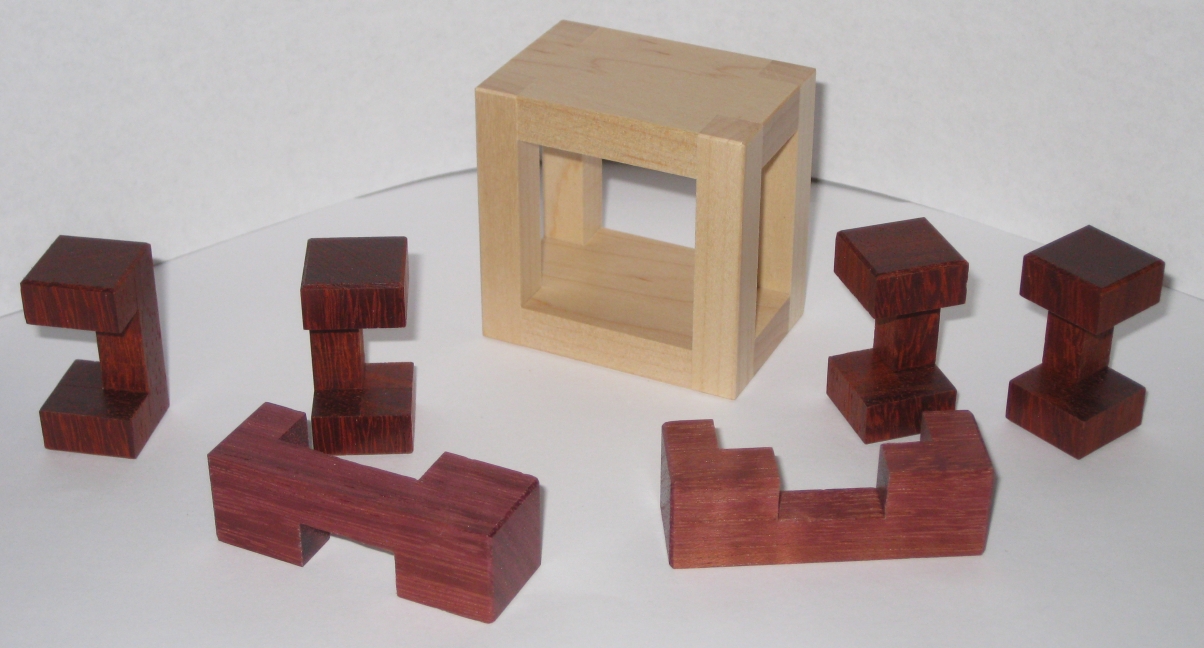
Just a few finished puzzles
That’s about all there is to it. Each puzzle takes around 15 hours to make from start to finish, and I’m now very happy to have one of these excellent puzzles in my collection. They are a lot of work to make, and I’ll be honest, as happy as I am to have one in my collection now, I’ll not be making more of these any time soon! Hopefully the write-up was interesting, and hopefully I’ll be back to writing more soon.