I was very fortunate to be invited to the California Puzzle Party yesterday hosted by Stan Isaacs at his home. Having no idea what to expect, I packed up the Pagoda Puzzle boxes, and Stickman #2 and headed for Stan’s house.
On arrival, the door was opened by Dick Hess, who was in town, and was one of the reasons that the puzzle party happened when it did. My fiancée Jen and I were ushered into Stan’s house, and shown through to one of the back rooms which was a little larger than the hall we were standing in.

Two shelves of Coffin puzzles
Walking into the room, from floor to ceiling are shelves with books, and puzzles. One wall which had two full shelves, and many more puzzles scattered through the books, was almost entirely Stewart Coffin originals. Needless to say I picked up a good few and had a go at solving them during the day, including a Pennyhedron, Scorpious, Diagonal Cube, The Reluctant Cluster and a Hexagonal Prism.
Looking around the room, it’s difficult to know where to start. There is a shelf of Karakuri puzzle boxes, A Topsy Turvy mounted on the wall, various co-ordinate motion puzzles on stands and sitting on top of puzzles, and desks with assortments of puzzles littering them. As I look around in wonder, not knowing where to look, or what to pick up, Dick Hess comes over and hands me a small box and tells me it’s a small memento of the day.

A souvenir from the CA Puzzle party from Dick Hess
I’m now holding a really elegant, but what looks like overly complicated disentanglement puzzle, very much of the tavern puzzle style. Thanking Dick, I played for a few minutes without making much progress, before putting the puzzle back in its box to play with in my own time, so I could talk with the increasing number of puzzlers turning up, and try my hand at a few of the puzzles sitting out. Before doing that however, Dick had a number of puzzles of his own design with him that he was selling to anyone who wanted them. I decided to pick up his IPP28 puzzle “The Family Puzzles”, “Hybrid 54 – Loop and Twister”, and The Yak Puzzle.

The Family Puzzles

Loop and Twister

The Yak Puzzle
Reviews of all of the puzzles from Dick Hess to follow later, when I’ve had time to sit down and play with all of them.

One of the tables covered in puzzles
On top of one of the desks were a number of burr puzzles, including a maze burr. Also on show was the complete set of Wunder Puzzles from Eric Fuller. Having had no luck with #2 myself, I had a play with the original, which I was able to solve fairly quickly. The three follow a nice progression in complexity, and it certainly helps to have solved the first two before trying the third. Guess I may have to go back and pick up the other two as they are all really nice puzzles. Let’s just hope Eric has a few left!

Alles Roger
Also sitting on the table was a copy of Rojer’s “Alles Rojer”.
I have to admit, I spent quite a lot longer playing with this dexterity puzzle than I care to admit, and I did not solve it. To be fair, I felt a little better when no-one else there solved it either. Getting past the first obstacle seems fairly straight forward. To get past the second needs some sort of puzzling zen which I did not possess.

More puzzlers, and some familiar faces
Things by this point were getting fairly crowded in the room I had been in as a number of other puzzlers had turned up, including Derek Bosch, Ray Stanton, Bill Darah to mention a few. Jeff Chiou from MagicPuzzles.org also walked through the door at one point, so it was nice to talk to a fellow blogger, and to meet Jeff in person, having read his blog for some time before starting my own.

Chuck's Challenge in iPhone
Chuck Sommerville of Chips Challenge fame also arrived at one point, sporting the same shirt as can be found in his latest came Chuck’s Challenge on the iPhone. The likeness is uncanny!
Just standing talking with everyone there, and hearing about their experiences whether from designing puzzles, solving, or collecting was fascinating, at least to me. Jen on the other hand was less impressed.
As time was flying by, I was told I should really see the rest of the house, as there were many more puzzles elsewhere. And that is an understatement. Stan showed me out to “The Puzzle Room”. The photos will say far more than I can (and sorry they’re not better but I forgot to lift my camera and was stuck using my iPhone to take pictures) but if I thought I was lost previously …

Standing outside the puzzle room

The Entrance to the Puzzle Room. There is virtually no free space in here

The shelves of burrs and wooden interlocking puzzles

Even more shelves and boxes of puzzles.
I could have spent weeks in this room. Boxes of puzzles from floor to ceiling (nearly 8′ high), and only enough space to walk around the central stack of boxes. From talking with Stan, this is the result of 25 years of puzzle collecting. There are some amazing puzzles tucked away in this room, and I had only a short amount of time to spend, however there were Charles O. Perry puzzles in here, Hanayama Cast series, IPP puzzles going back many years, and in a random box I opened, a number of Karakuri Christmas presents including Iwahara’s House with Trees box. It’s an amazing insight into Stan’s collection, but really I was only able to scratch the surface of what he has hidden away.

Marcel Gillen's Chess Pieces
Coming back into the main house, and exploring more of the puzzles sitting around I cam across a collection that most puzzlers dream of. A complete collection of Marcel Gillen’s Chess Pieces. Not only were these just sitting next to the fireplace, but they were free to play with, and I couldn’t resist. They are a stunning set, and really beautiful to open. I doubt I will ever own a set of these, but at least I have been able to play with them.
With the tour of “The Puzzle Room” complete, and nearly four hours having passed since I arrived, I went back to playing with a few of the other puzzles Stan had out. In the main living room, there were a number of Karakuri puzzle boxes, which I spent some time playing with, including “The Coffee Cup by Akio Kamei, and “Three-cornered deadlock” by Hideaki Kawashima. So many puzzles, it really was hard to choose what to try to solve.

The Odd Packing Puzzle by Iwahiro
One puzzle I spotted sitting was the “Odd Packing Puzzle” by Hirokazu Iwasawa (a.k.a. Iwahiro). Having read about this puzzle on Brian’s Damn Puzzle Blog I had to have a go for myself. Having played with the puzzle myself, I really like the design of this puzzle. It’s a good honest puzzle where everything is on show, and there’s nothing hidden. There are only three pieces and the idea is to get all of them into the box as shown in the picture I took. To be able to get more than just one piece into the box, you really have to spend time understanding how the pieces can move inside the restricted space you have. And it’s not obvious at first how they can all move. There are many more degrees of freedom in that tight space than you may think at first, and when you finally understand how things move, this puzzle is a joy to solve.

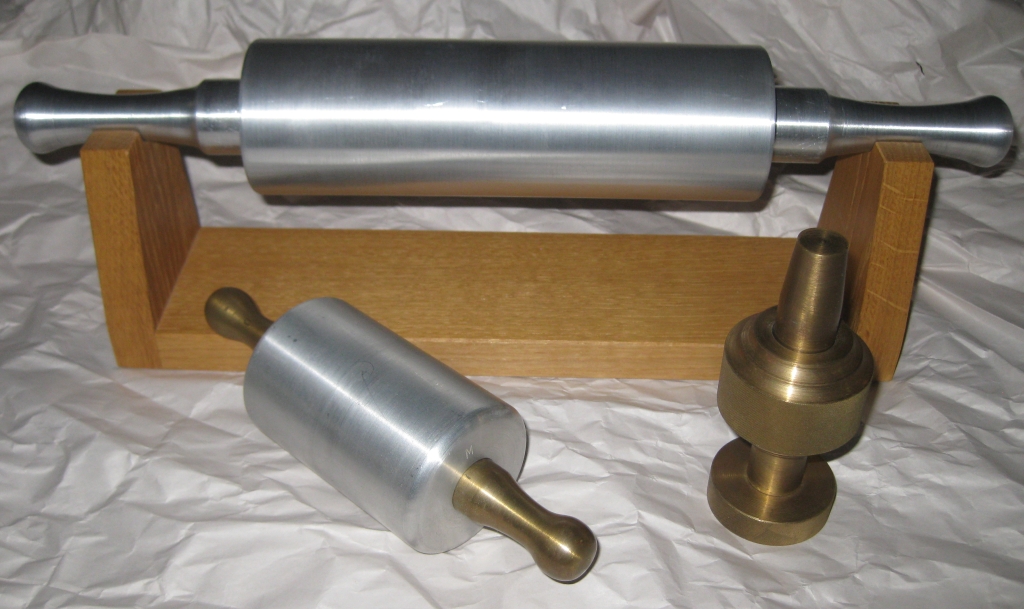
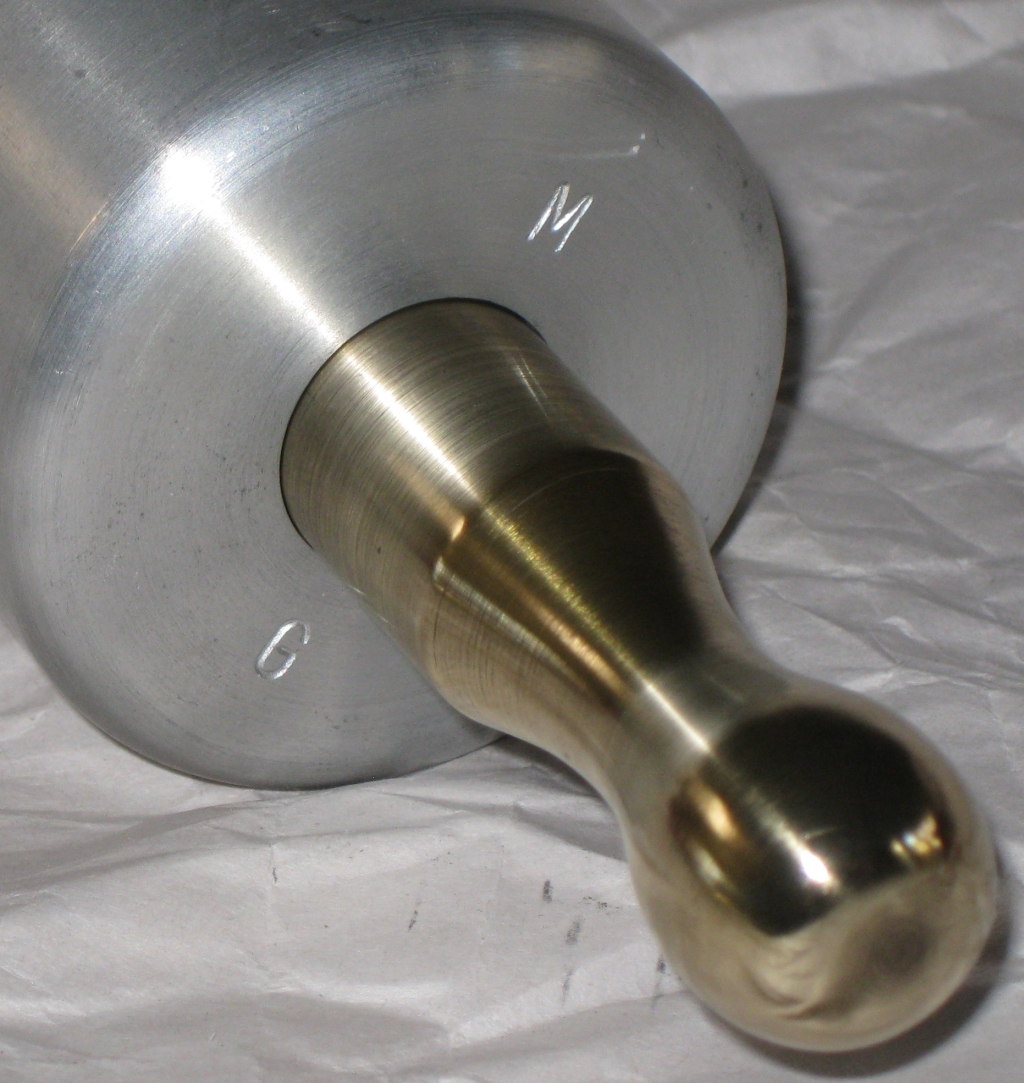
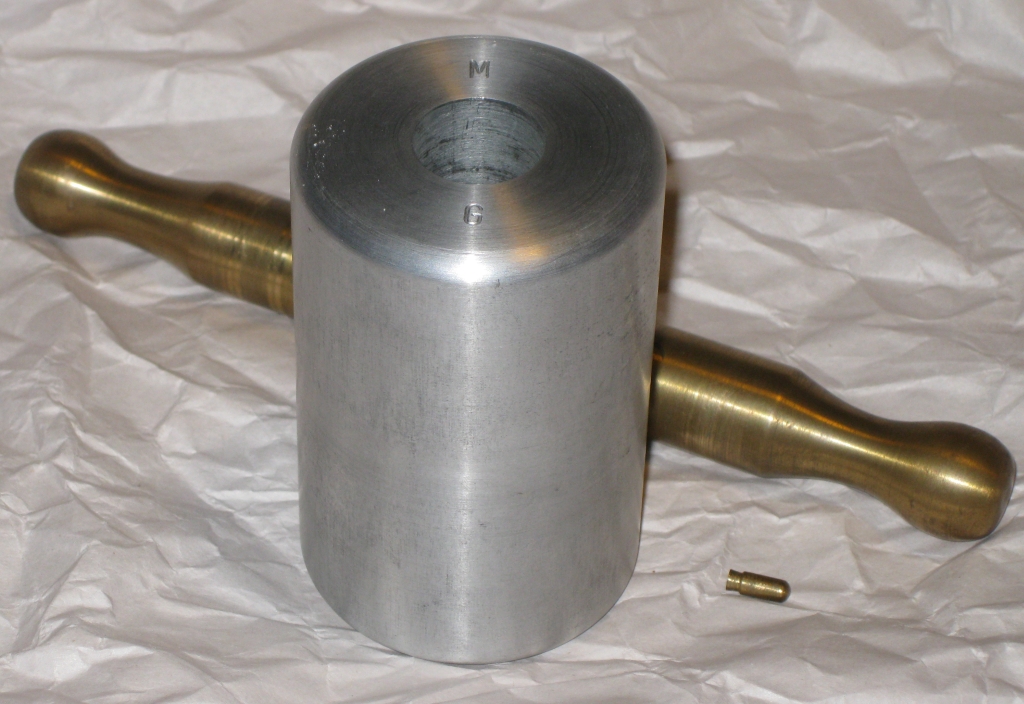
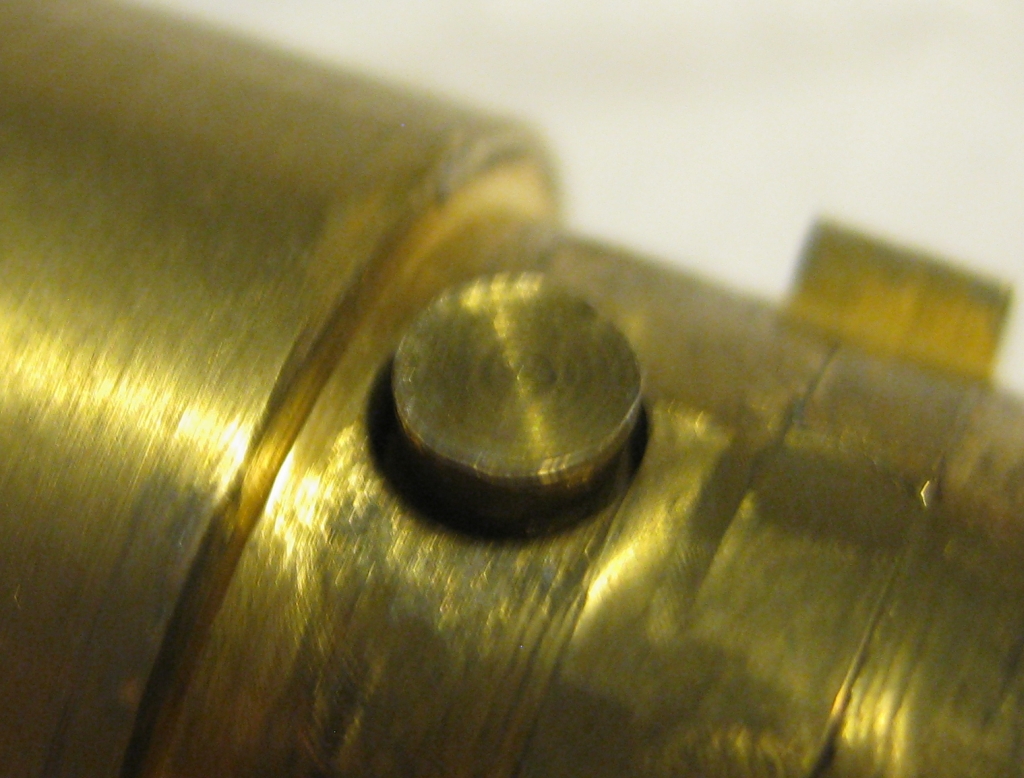
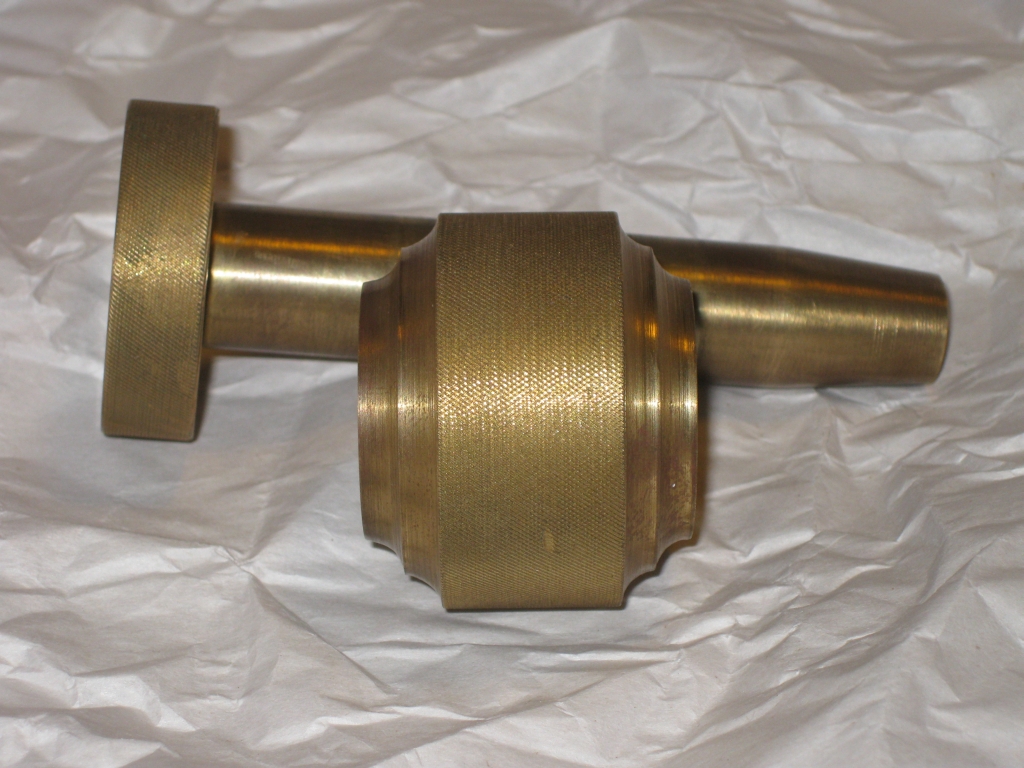
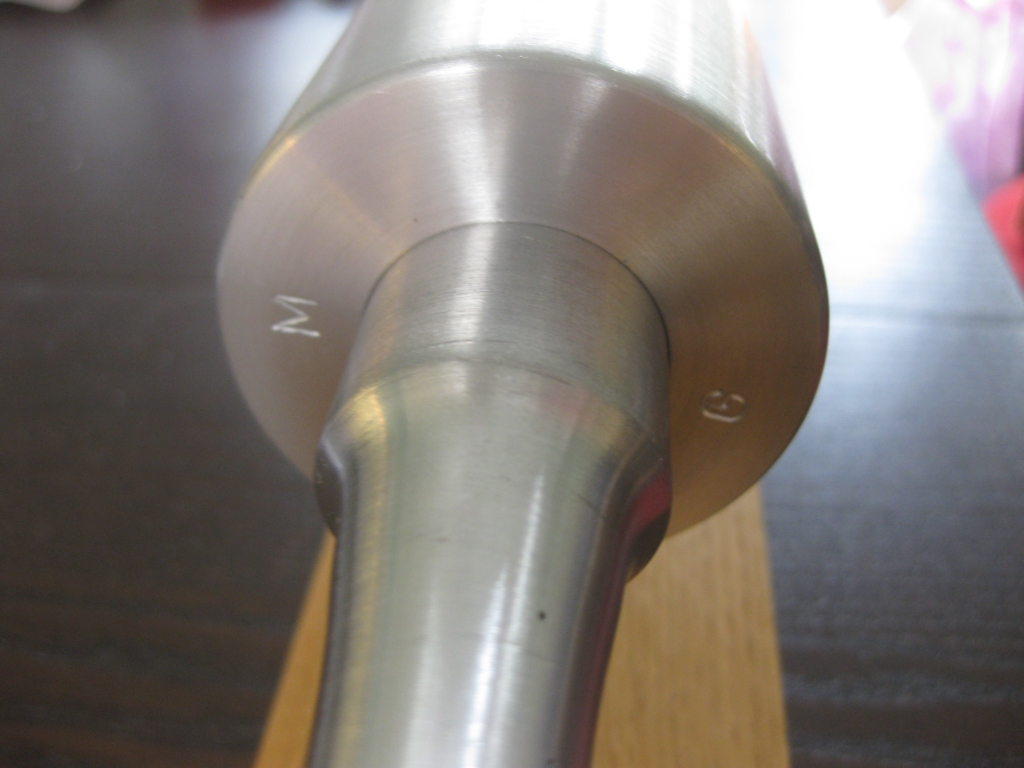
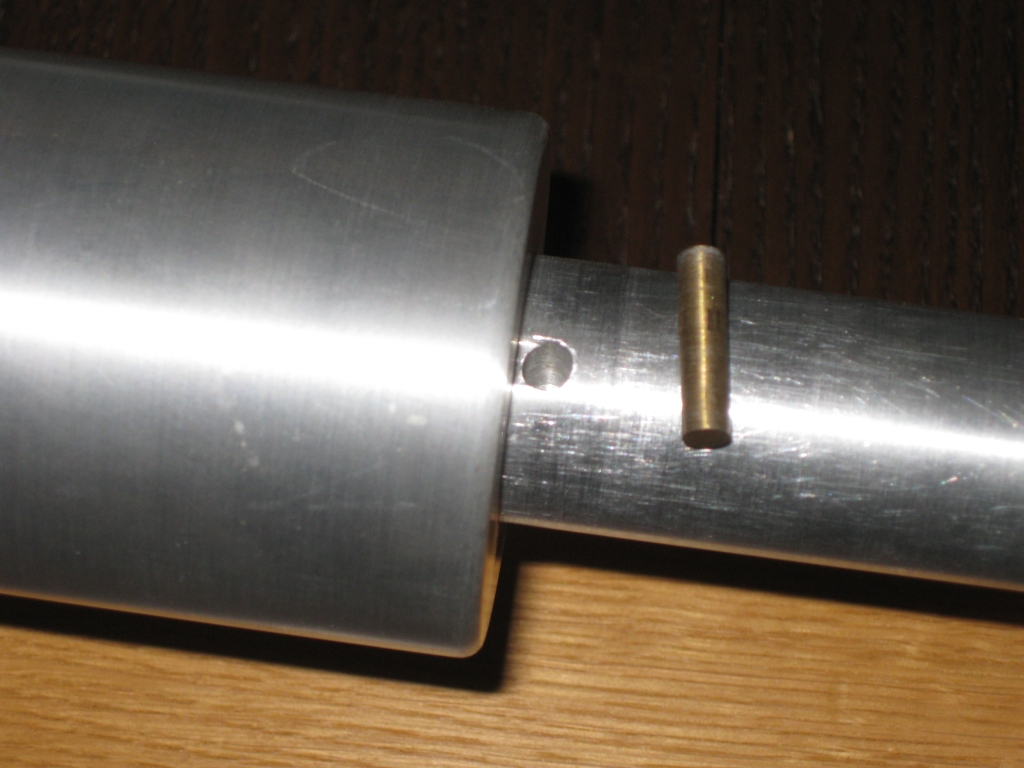
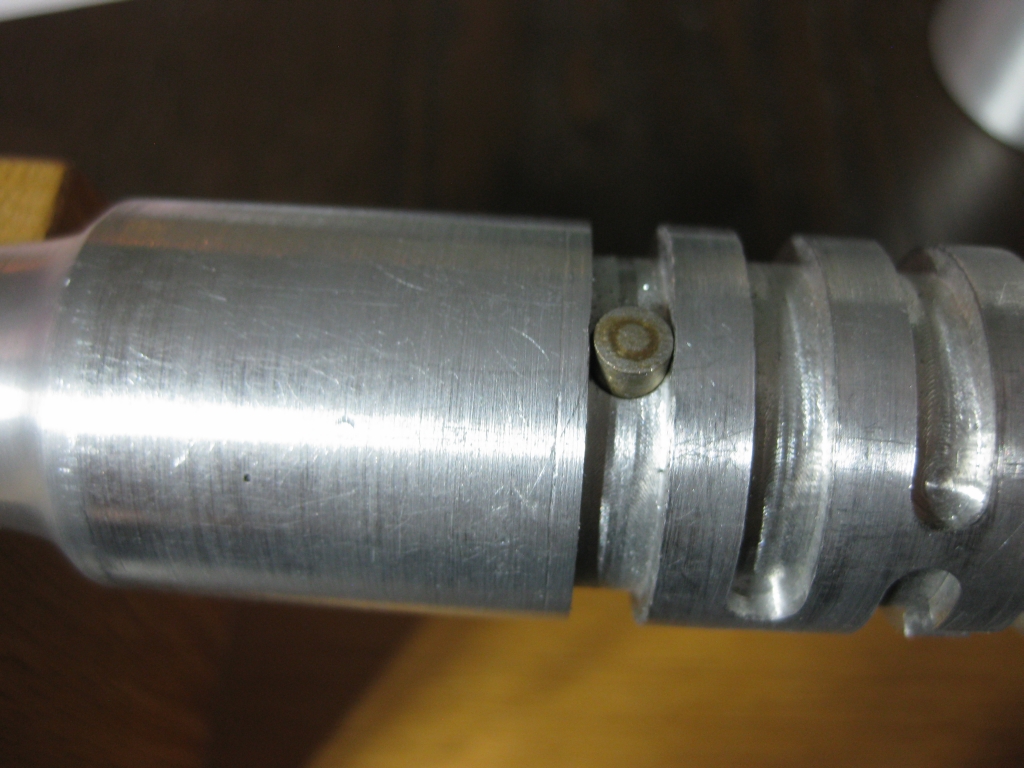
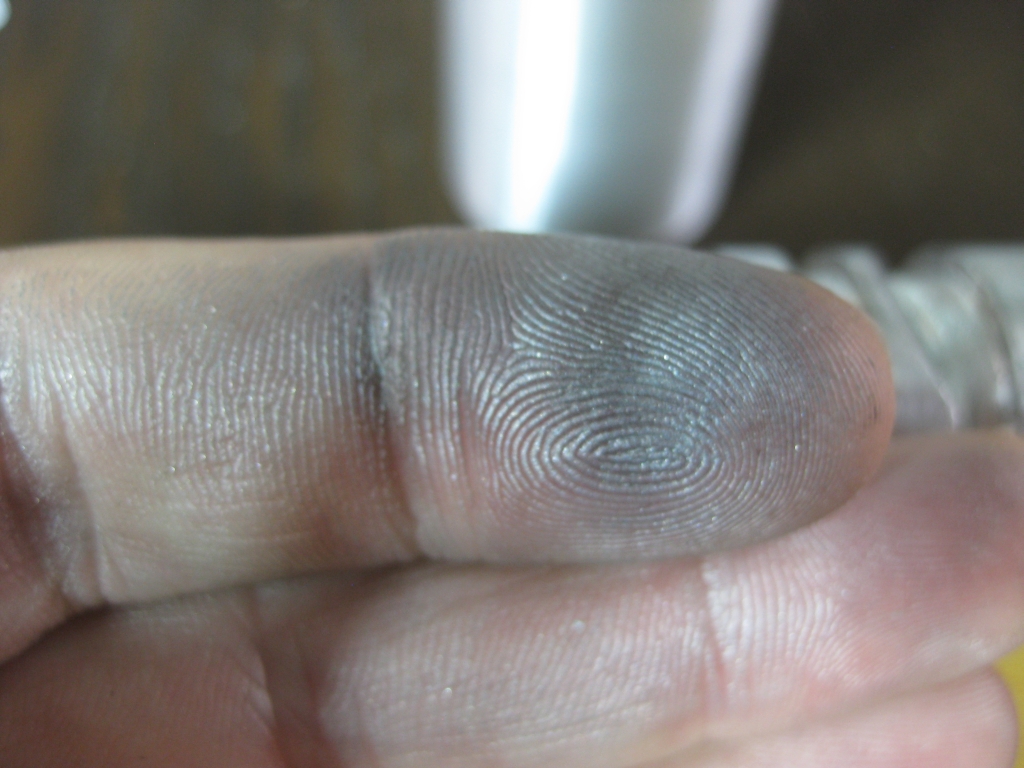
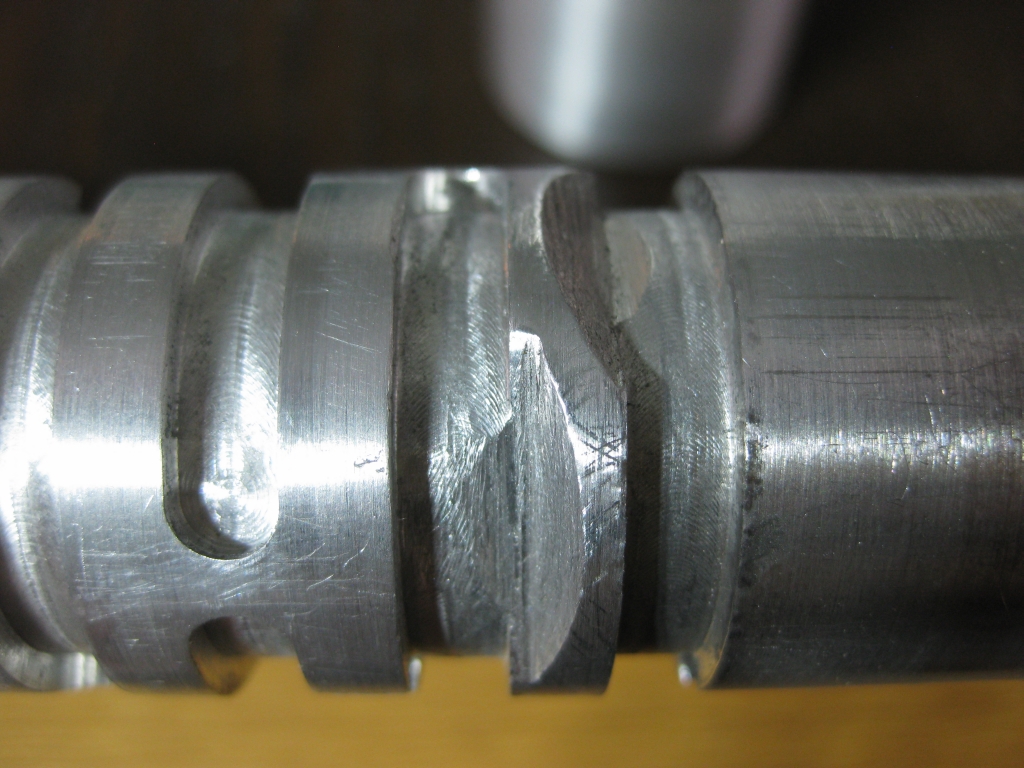
Ray Stanton 3 Piece Burr

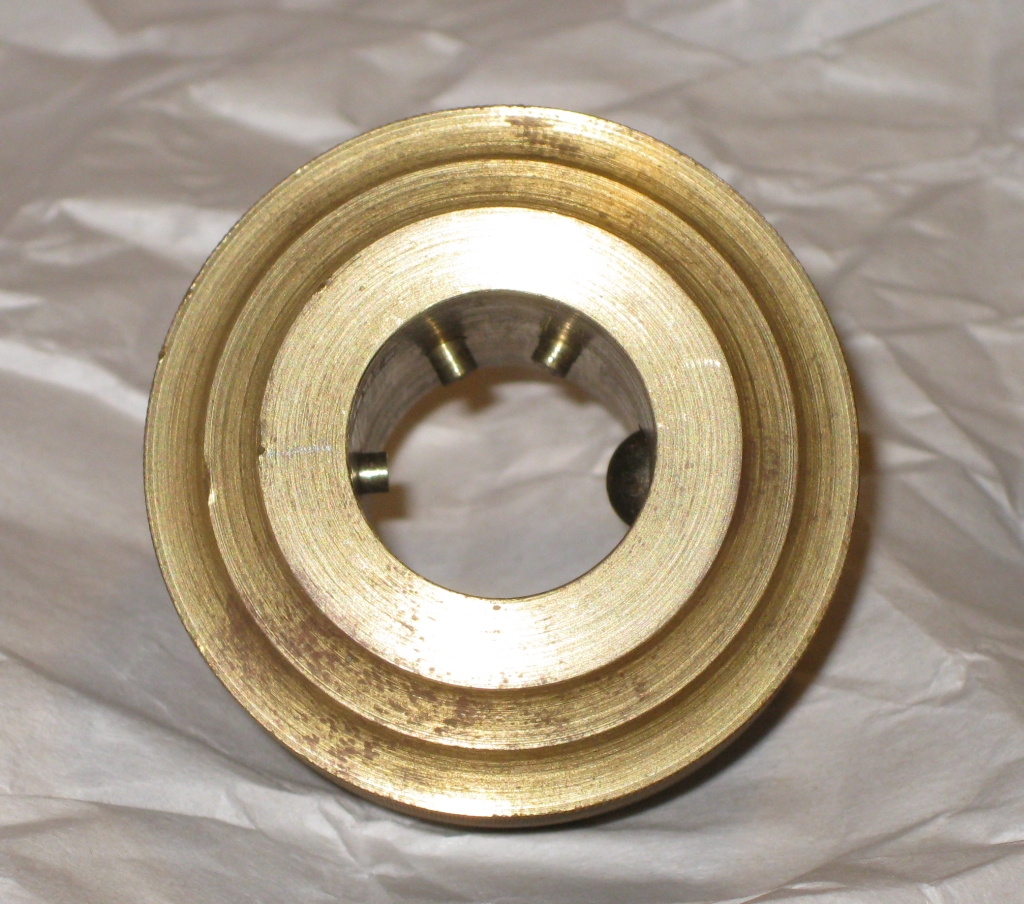
3 Piece Burr Opened
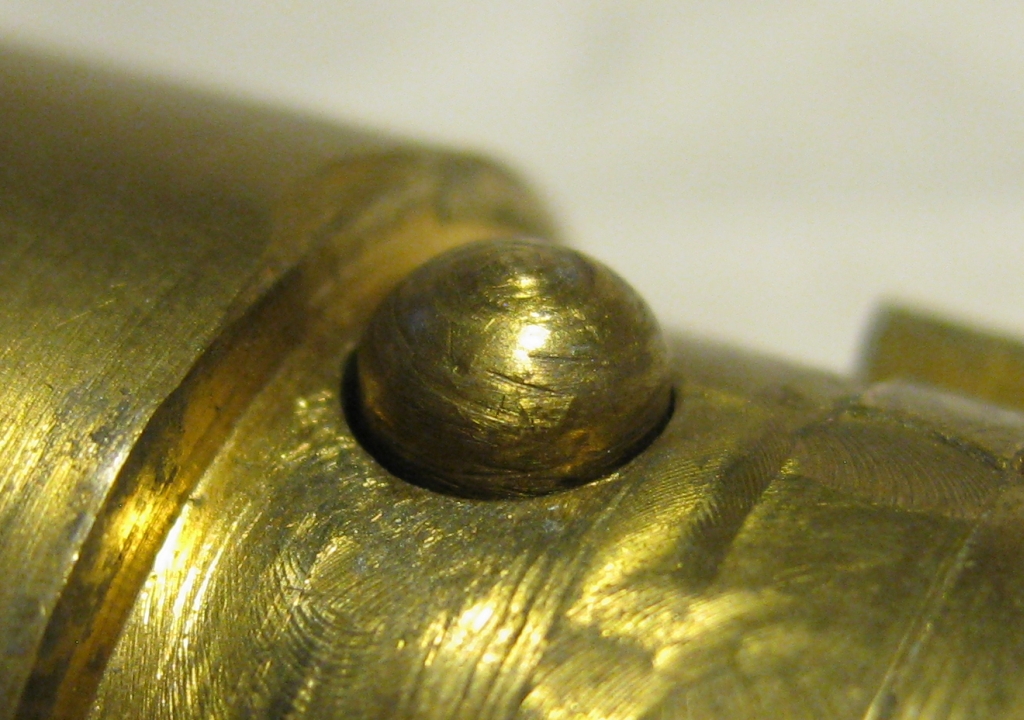
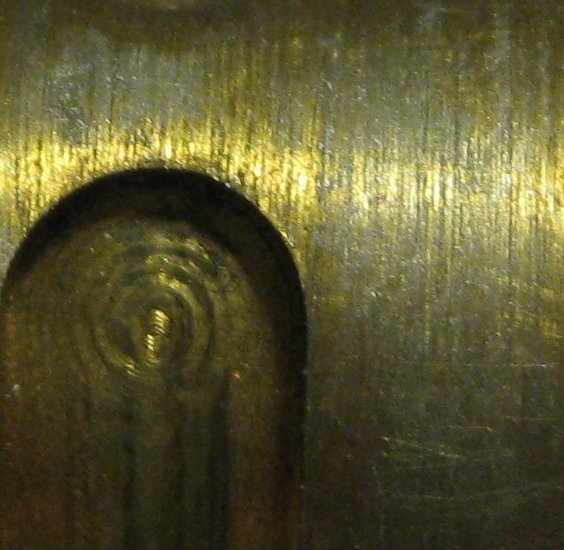
While playing with various puzzles, I picked up a three piece aluminium burr. This was an unconventionally notched burr which is only solvable using co-ordinate motion. While playing with this, Ray Stanton who happened to be talking to Jen about mobile phones at the time said he had one of his own design in the car with his having no internal voids if I wanted one. Of course I said that would be great, and gladly accepted his offer. When I asked him what he wanted for it, he shrugged it off saying he didn’t want anything, “Maybe at another party” he says. Yet another case of puzzlers being a generous bunch and such a great group of people to spend time with.

Tanacube by Bill Darrah and Peter Ramussen
Before leaving there was one last puzzle I spotted sitting on the table. Tanacube, by Bill Darah (who was standing next to me) was sitting on the table, and I couldn’t resist trying this puzzle. For more information, go to the Tanacube webiste, for all the background. The copy Stan has is the beautiful six wood version, with tight fitting pieces, and a really solid construction. The six pairs of pieces form the cube in this very challenging puzzle. What makes it harder is that there is a unique solution in which adjacent pieces always have different colors. The state the cube was in when I got it was this unique solution, and getting it back to that state is no simple task. Another wonderful puzzle, that I am very pleased to have been able to solve.
While playing with the Tanacube, Bill pulls a bag out from a pile of things he brought, and promptly asks the room “Is there anyone who doesn’t have one of these?”

Shades of Donuts by Bill Darrah

Shades of Donuts Puzzle cards
What he’s holding is his IPP exchange puzzle from IPP29, Shades of Donuts. Bill then goes on to explain that he found this puzzle in a dollar store, and decided to buy it and take it home, as the back of the box promised an interesting logic puzzle. Getting it home, he found out that there was no puzzle, just a tray of donuts, and some text on the back saying that there was a puzzle. So Bill set about creating the set of cards on the right in the photo which was the set of rules for each puzzle. In total there are 60 ‘challenges’ on the cards making for an interesting exchange puzzle. The real work here was all the time Bill put into creating the cards, and not the physical puzzle itself. Amazingly, Bill notes that there are a number of mistakes on the original cards, from the 2009 IPP, which he submitted after finding them agreeing that working on such a puzzle at 2am is not the best idea.
I’d like to say thank you to Stan Isaacs for hosting the party, his hospitality and collection were both superb. I hope to be invited back at some point in the future as there were so many puzzles, it just isn’t possible to enjoy them all in the few hours we had.