Monthly Archives: December 2011

Twist and Shout

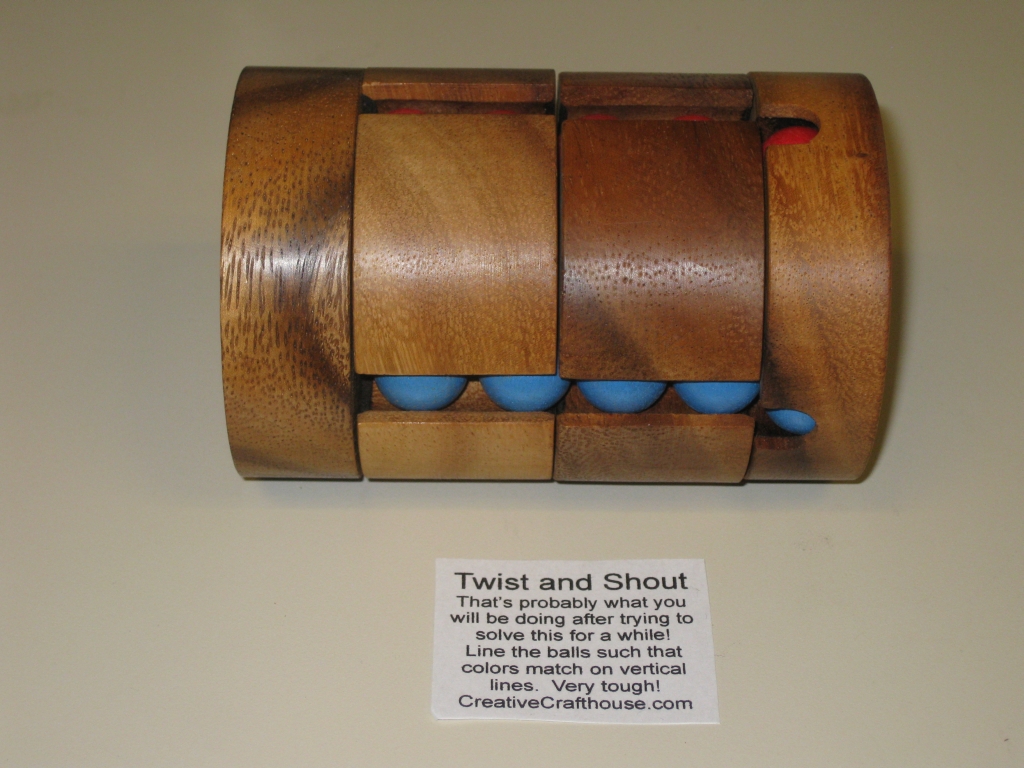
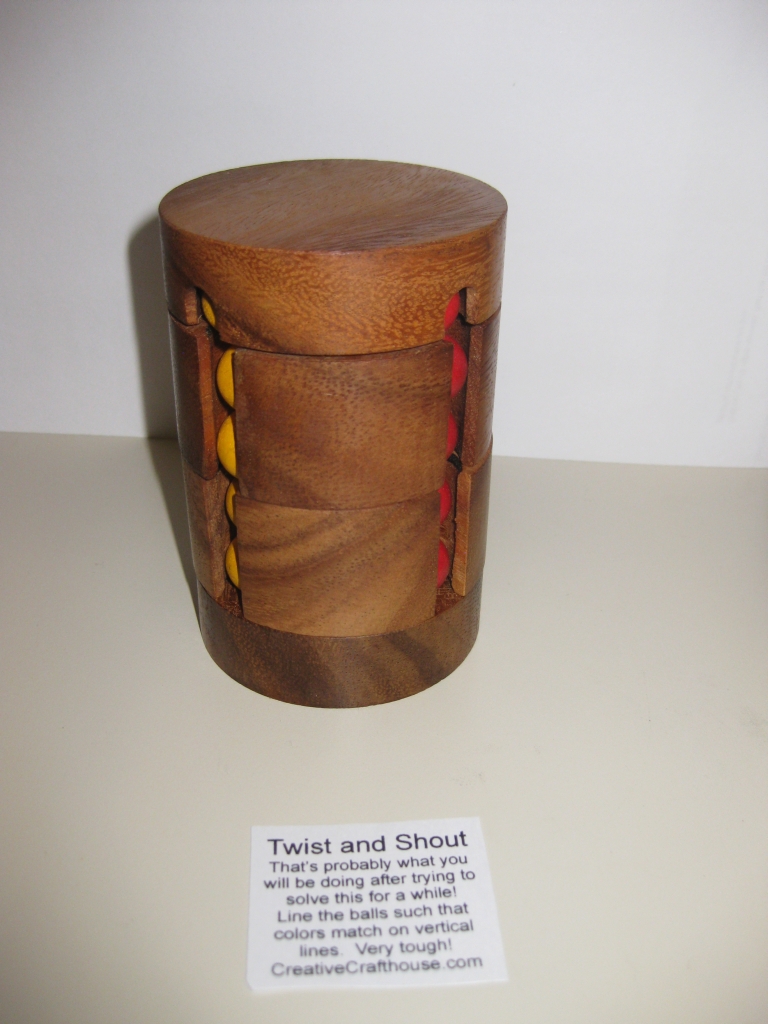
Twist and shout was the fourth puzzle from Creative Crafthouse that I bought while in Death Valley. When I saw this, it reminded me of the Ten Billion Barrel puzzle, that I had as a kid, and really just had to buy it. In truth, this is closer in type to the Babylon/Ivory Tower puzzle or a Whip It puzzle.

Twist and Shout by Creative Crafthouse

Twist and Shout by Creative Crafthouse

The object of the puzzle is to jumble up the coloured wooden beads, and then restore the puzzle back to its grouped coloured columns. Much easier said than done, given the number of possible combinations. There’s no solution provided, as the puzzle comes ‘solved’ but once it’s messed up … well that’s up to you to fix it! There’s four columns of five coloured balls and six rows if you count the top and bottom of the puzzle. Red, Yellow, Blue and Breen painted wooden balls are held in the columns making it stand out as the colours are very vibrant.

Unlike the Ten Billion Barrel puzzle, you move only one ball at a time, when it drops into the spare space at the bottom, so the number of balls in play at any one time is much more manageable (10 at a time for Ten Billion Barrel!)

Twist and Shout

Twist and Shout

I have to say this is a really well made puzzle. I don’t know what wood has been used, but the grain shows some wonderful detail, and the movement is very smooth. There’s no screws in the puzzle, and it’s made from solid pieces of wood. I have to assume that there’s a wooden dowel in the centre which is glued in during assembly. It means you’re not going to be unscrewing the puzzle to solve it, and there’s no stickers on the pieces, so no cheating there either!

Overall, this is a really well made puzzle, and well worth the small price tag that Creative Crafthouse is asking for it. There’s just something about a wooden puzzle that makes it so much more appealing than a plastic version, so in my book, this wins out over the other plastic versions which are available.
The Wine Barrel Puzzle

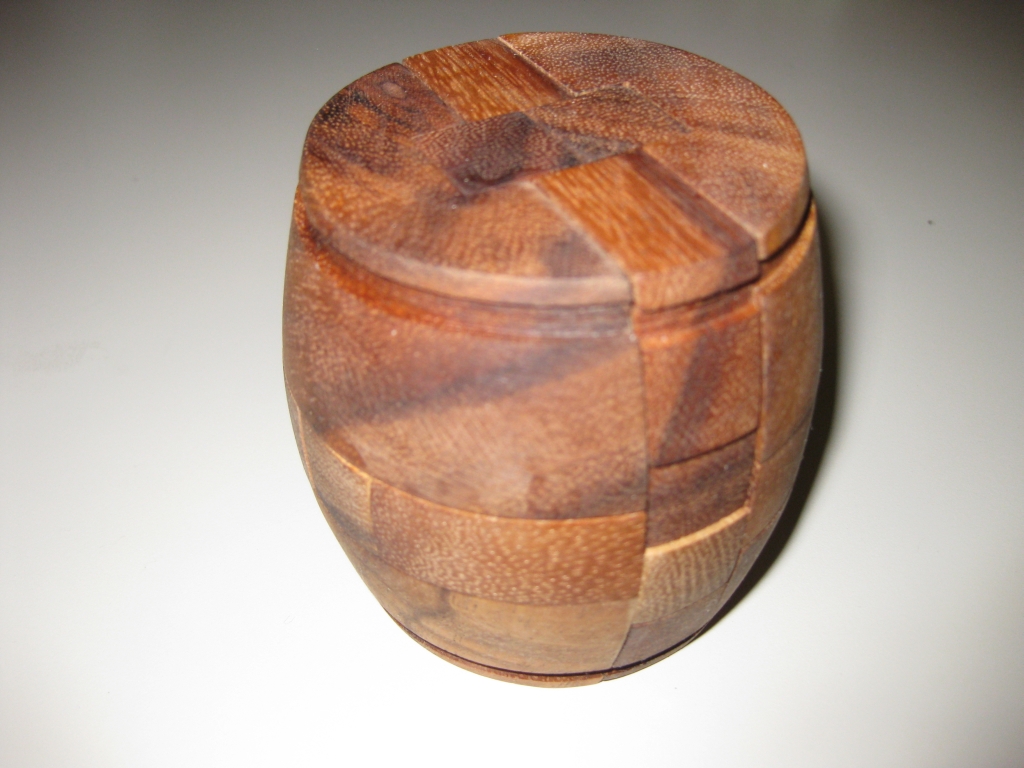
The Wine Barrel Puzzle is a 12 piece Burr Puzzle, and another of the Puzzles I picked up while in Calico (Death Valley). This is a nicely made puzzle from Creative Crafthouse. To read about some of the other puzzles I bought while in Death Valley head here.

Wine Barrel Burr puzzle from Creative Crafthouse

Wine Barrel Burr puzzle from Creative Crafthouse

This is an old puzzle, dating in origin to somewhere around the early 1900’s, and is an interestingly turned burr. When assembling the puzzle, the last two pieces are inserted together to form a key piece which keeps the puzzle in its barrel shape, holding all 12 pieces together. Fairly easy to take apart, once you find the key pieces, as with most Burr style puzzles, this isn’t as easy to put back together, however the Creative Crafthouse version does come with the solution on a folded sheet of paper if you get stuck.

I’m no expert on Burr style puzzles, but I managed to put this back together in a very respectable 15 minutes, having left the pieces alone for a bit after dis-assembly, so it was less likely I could just remember how they came apart.

This particular puzzle is offered in two different sizes, and the one I have is around 3″ high, and 3″ in diameter, making this the large version. I have no idea what the wood used is, however it has a very interesting grain pattern, and makes for a nice looking puzzle.

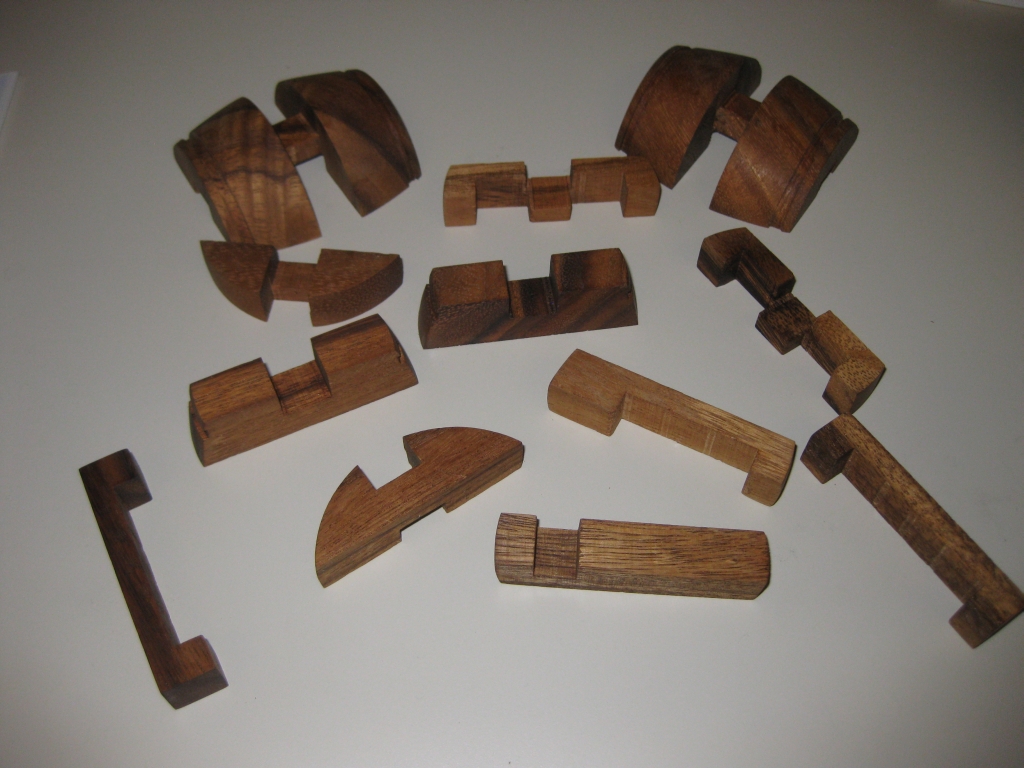
The 12 pieces of the puzzle

The 12 pieces of the puzzle

As I mentioned, the puzzle comes apart into 12 pieces, 5 pieces are pairs, which make up either side of the barrel, and the remaining two are unique. Overall, the build quality is fairly good. A couple of the pairs of pieces aren’t exactly the same size, so putting them into the solution back to front does leave a slightly misaligned finish, however it certainly doesn’t stop the puzzle going together very smoothly.

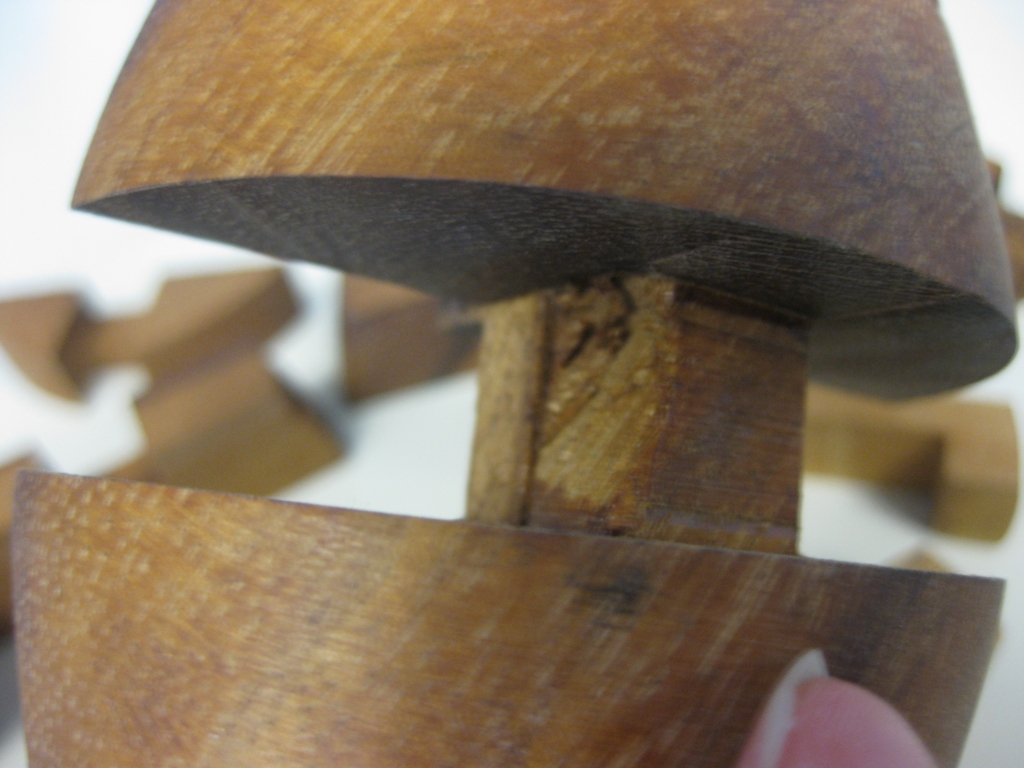
Slight damage on one piece

Slight damage on one piece

On one of the larger pieces in my copy, there’s a section of tearout, however again, this is entirely cosmetic, and hidden inside the puzzle, so really is of little consequence.

All in all a really nice version of this puzzle, offered for a very reasonable price. Well worth the money!

Cast H&H

This entry is part 8 of 8 in the series Hanayama Cast Puzzles

In my latest shipment from Puzzle Master, I received this from the Hanayama Cast series of puzzles. Cast H&H, like its name suggests consists of two pieces shaped like the letter ‘H’ which are entangled around one another. The goal is to separate them and then put the puzzle back to its starting position. Thanks to Puzzle Master for sending me this puzzle to review.

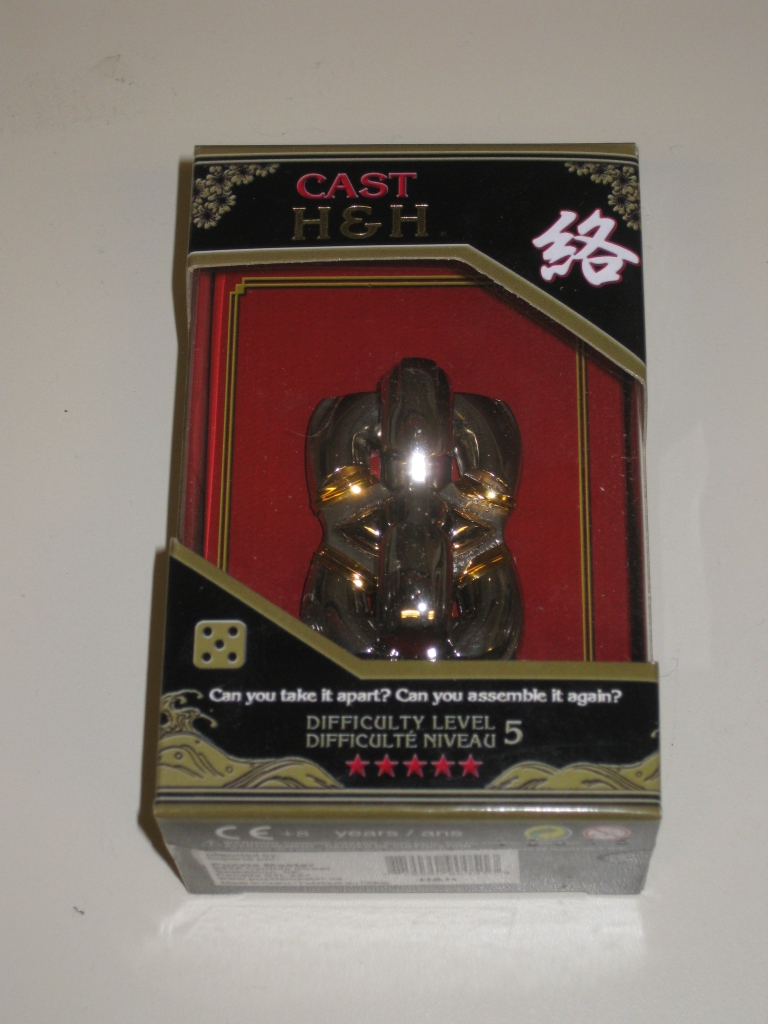
Cast H&H boxed

Cast H&H boxed

This is another puzzle designed by the prolific designer Oskar van Deventer and is ranked 5/6 on the Hanayama scale (9/10 from Puzzle Master). As usual, the puzzle comes packaged in the familiar Hanayama Black and Gold packaging, which I realise I keep talking about but never show. So to rectify that, I’m using a picture of the puzzle boxed here!

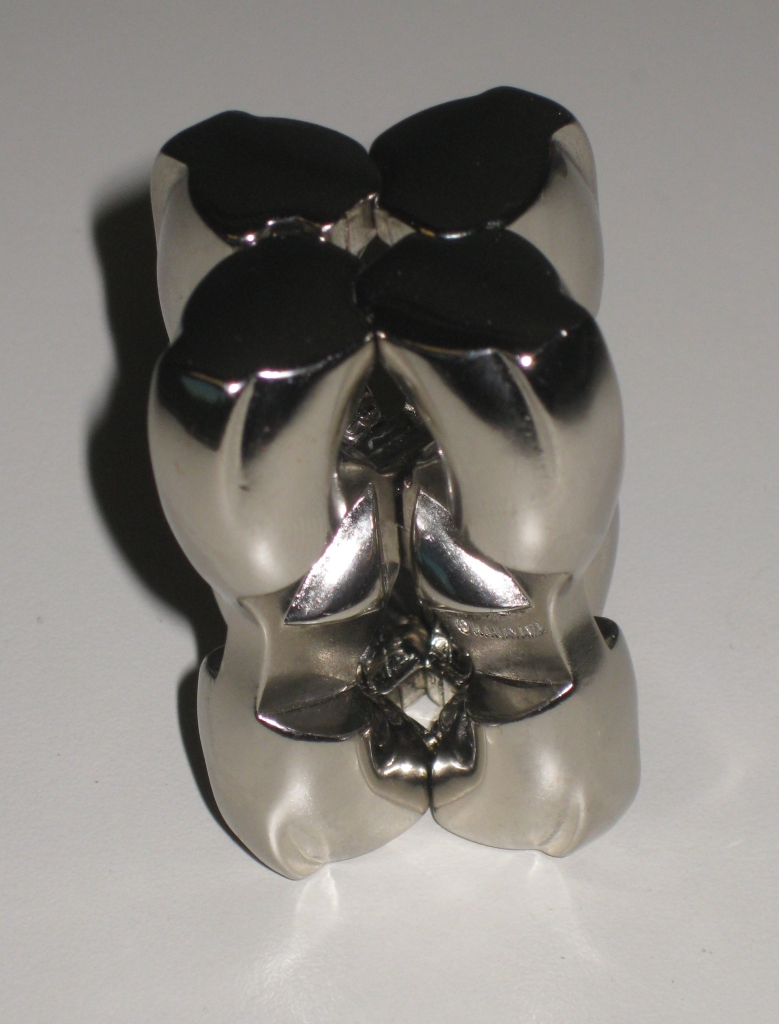
The starting position

The starting position

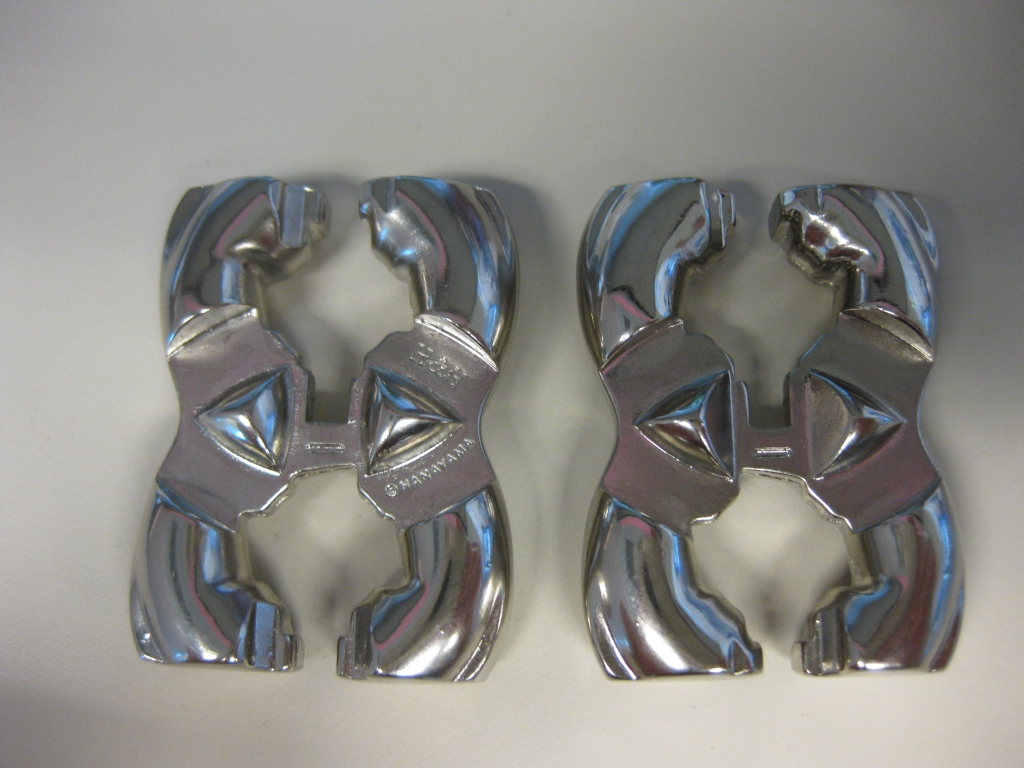
I really like the look of this puzzle. It’s finished with a highly polished chrome material, and the curves really do make this a great looking puzzle from any angle. There’s something about the sharp lines in the centre, along with the wavy lines of the puzzles profile that makes you want to pick it up. And when you do, you realise just how smooth and tactile a puzzle it really is. As you’ve come to expect, one of the pieces is stamped with the puzzle’s name, and the Hanayama logo. If nothing else, this allows you to keep track of one piece’s location and orientation when trying to solve the puzzle.

Now if you happen to have someone who dislikes the clinking of Metal on Metal while you try to solve a puzzle, then I’d suggest not playing with this while they’re around. It’s very hard to keep this one quiet, so maybe best to play with this one on your own. I found it fairly easy to get turned around when trying to solve this one, and as such it took nearly half an hour to separate the two pieces. Given that it’s not any easier to put it back together, I spent probably the same time again to get it back to the start. Along the way, I managed to re-solve it while trying to re-entangle it, possibly more than once!

The range of movements between the two pieces is surprisingly high. It’s possible to slide the pieces along their centres, rotate one piece along the outer curves of the other, rotate it in the top or bottom gap that would be the top/bottom of the letter H and also rotate the pieces entirely within themselves. That may sound like gobbledygook, but if you’ve played with the puzzle then you’ll know what I mean. (And if you’ve not, then get one and you’ll understand!)

The two Cast H&H pieces

The two Cast H&H pieces

This fairly large number of possible moves with very similar looking pieces leads to the ease with which you can get turned around while solving this one. But it’s not that easy. The shape of the pieces are very cleverly constructed so that a move that may be possible with one end of the pieces, isn’t possible with the other. Frustrating, but certainly gets you thinking as to how you can maneuver the pieces where you need them.

Some 'helpful' text

Some 'helpful' text

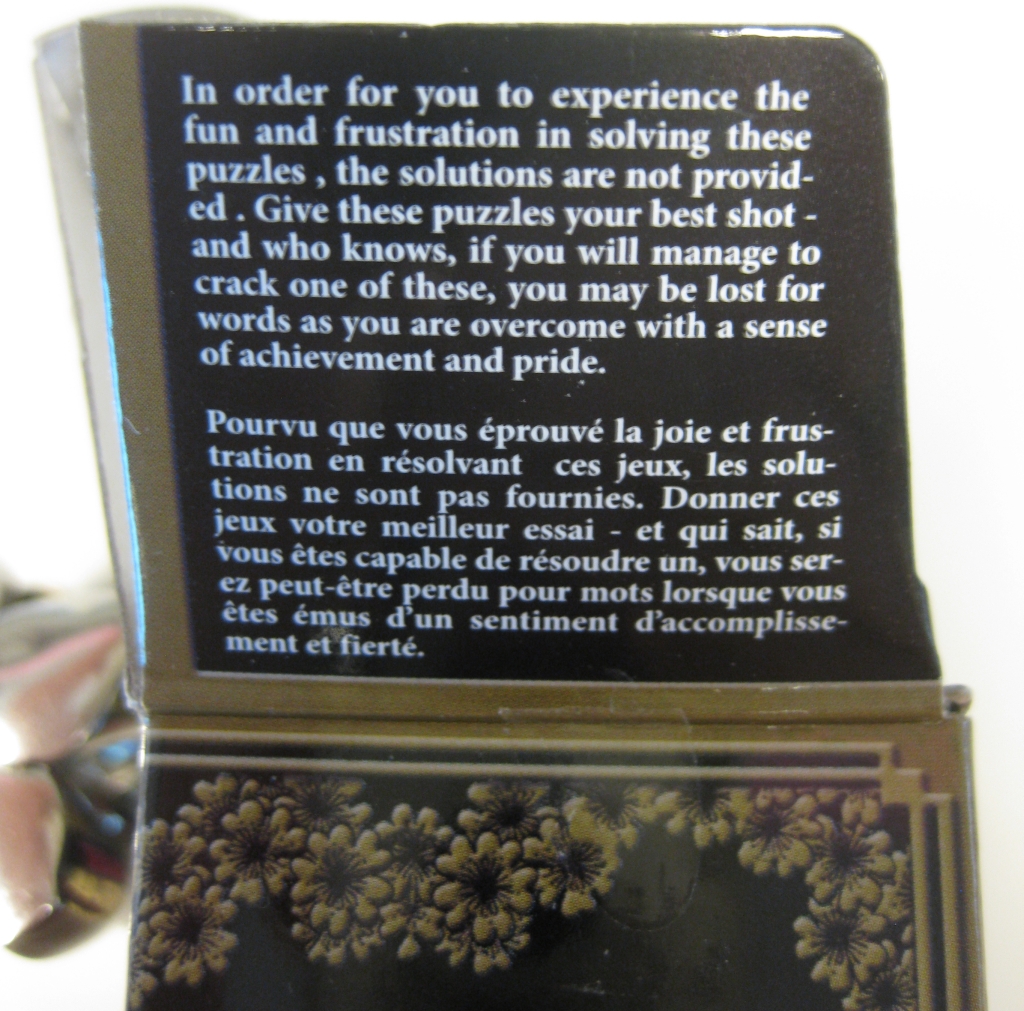
No solution is included with the puzzle, again as to be expected from the Hanayama puzzles, but if you’re really struggling then head over here to download one. Since I’d not noticed it before, even the box tells you there’s no solution to be found. After all, we all love the feeling when we solve a new puzzle, so why spoil the experience!

This was a very enjoyable puzzle to work on. Just the right level of frustration, but not so much that you’ll not be able to solve it and be forced to go looking at a solution. As always, the Cast series puzzles are not expensive, and with the holidays coming up, these make great stocking stuffers!