Category Archives: Puzzle Reviews

IPP 32 – Day One

The first official day of the IPP 32 started on Thursday and many more puzzles were arriving. There was an organised tour of DC however Jen and I weren’t on the list. Originally our youngest son was coming with us, and at 14, being stuck on a bus and having to do something organised probably wasn’t going to be the best idea, so we’d not booked any of the trips. As it turns out he decided he didn’t want to go after all, so it was just Jen and I but we were too late to get on the tour. Instead we ended up doing some more sight seeing ourselves, and took in the Air and Space Museum, Native American Museum and the Art gallery.

Heading back to the hotel in the early afternoon, I spent some time in the design competition room playing with a few more of the entries I’d not played with the night before. I plan to write about each of the entries I played with so I’ll not talk about them here, just stay tuned for more posts coming soon. I did manage to solve over 50 of the 80 entries without the solutions, but there were a few I didn’t even play with. Given that I love puzzle boxes I started with those, and from there played with the puzzles that looked interesting to me. With so many puzzles to play with you really have to make some choices and perhaps even ignore some. For me I mostly passed by the twisty puzzles, as it’s not something I really enjoy (or am very good at) but that still left a lot of excellent puzzles to spend my time on.

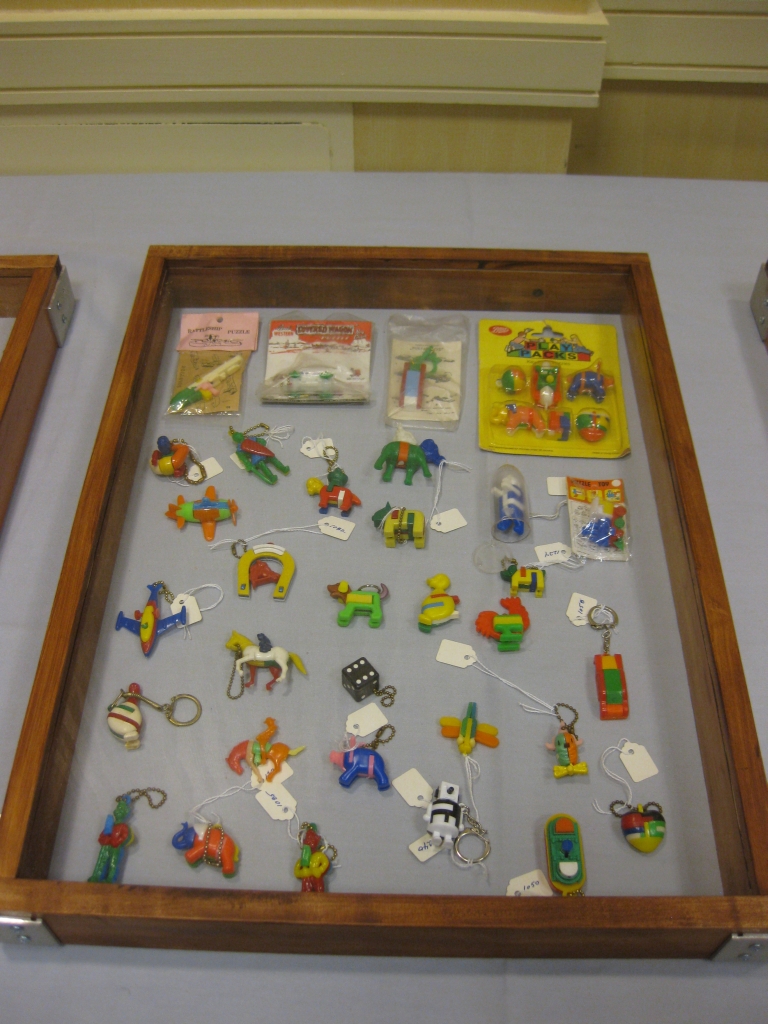
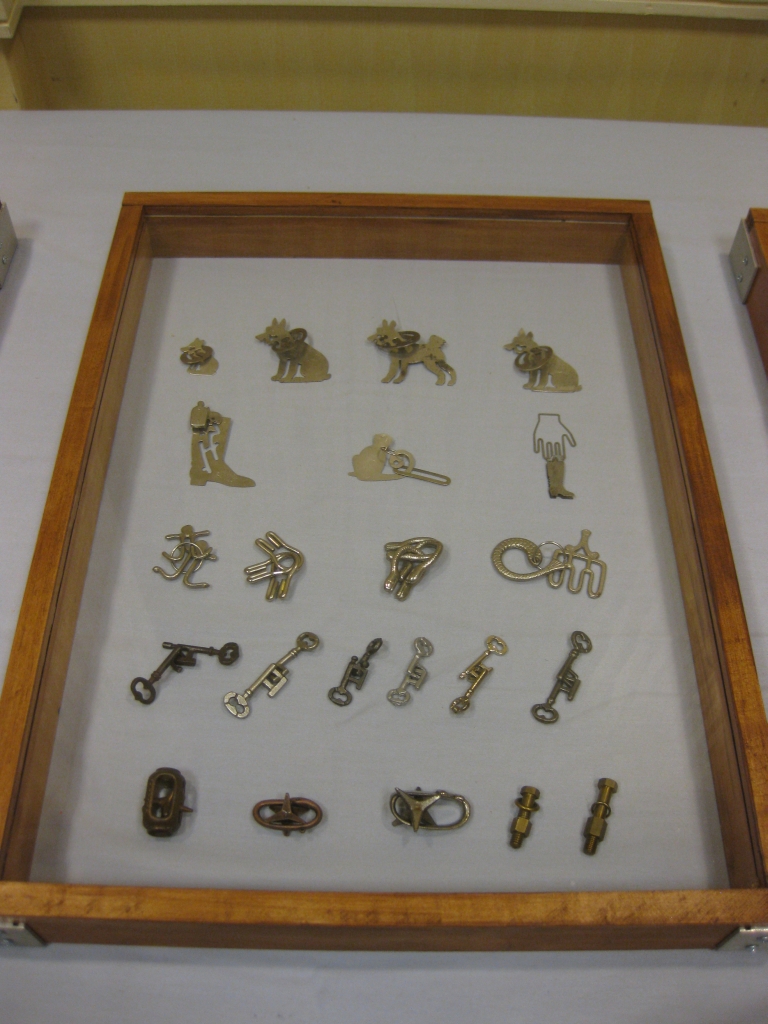
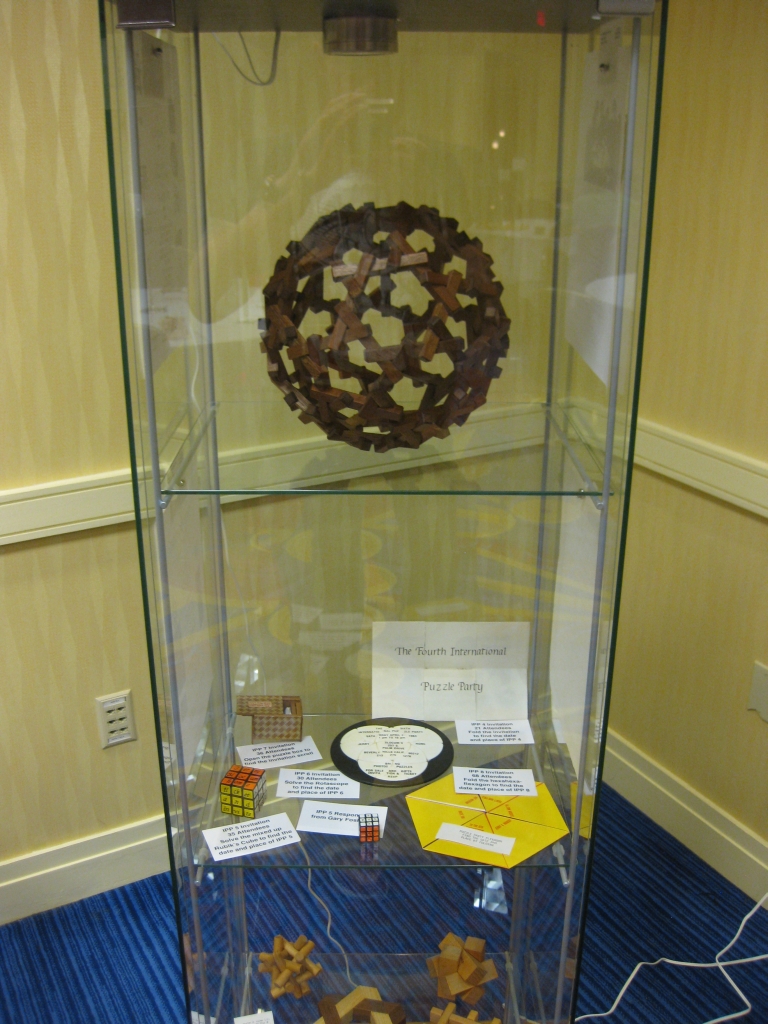
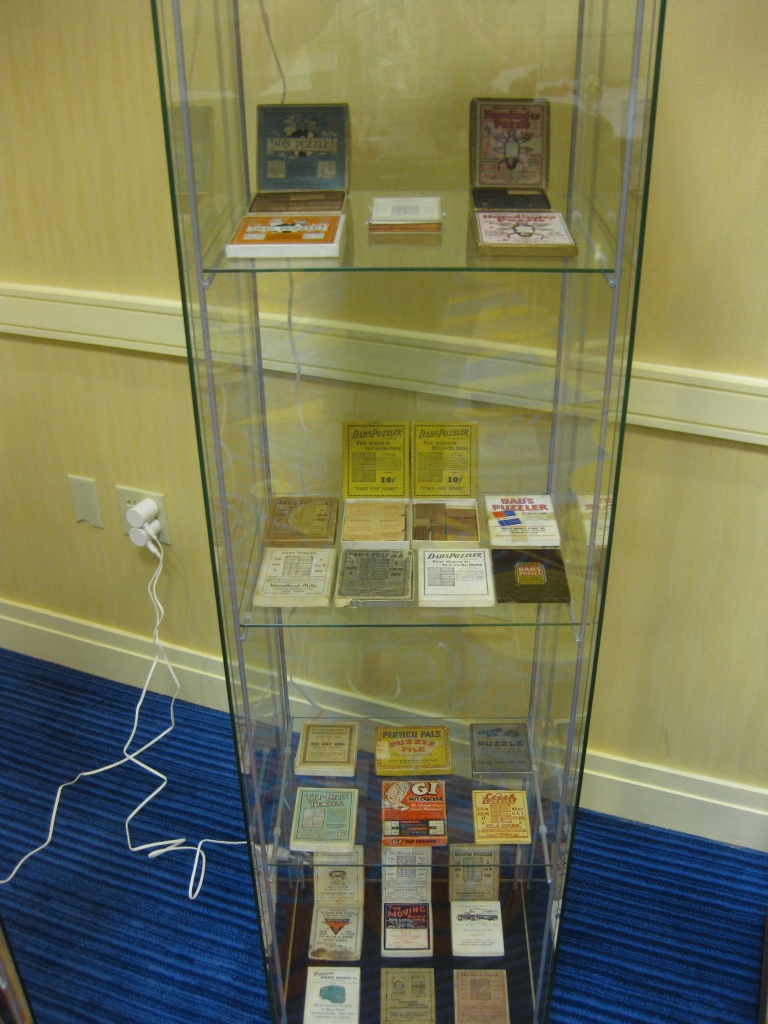
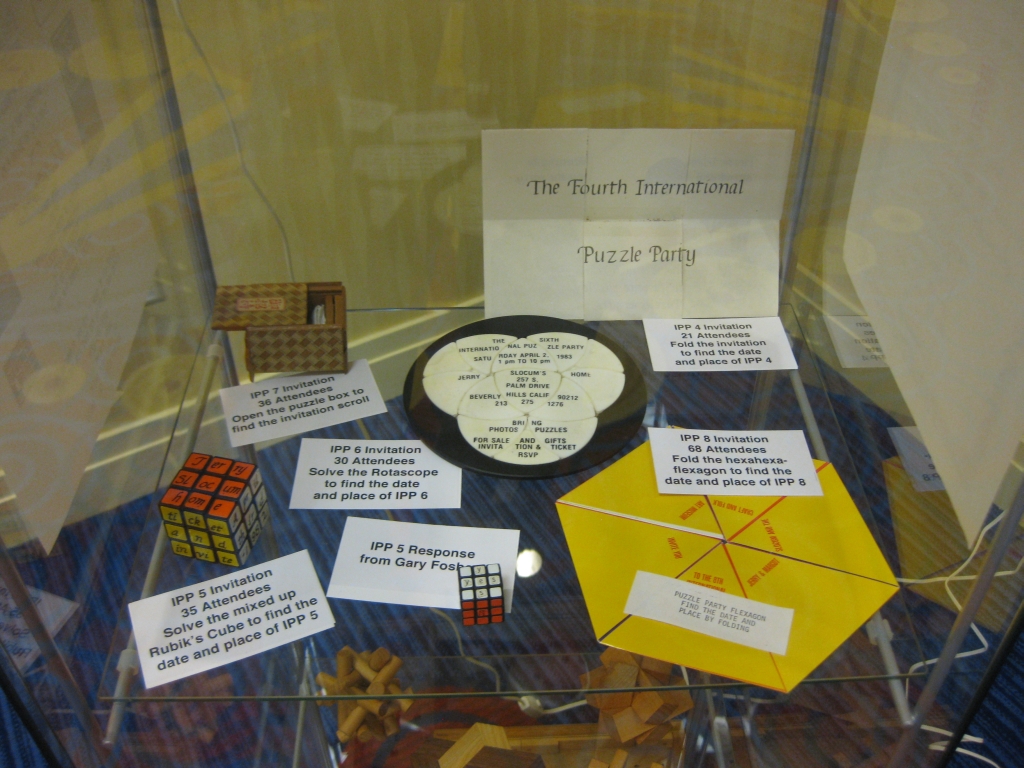
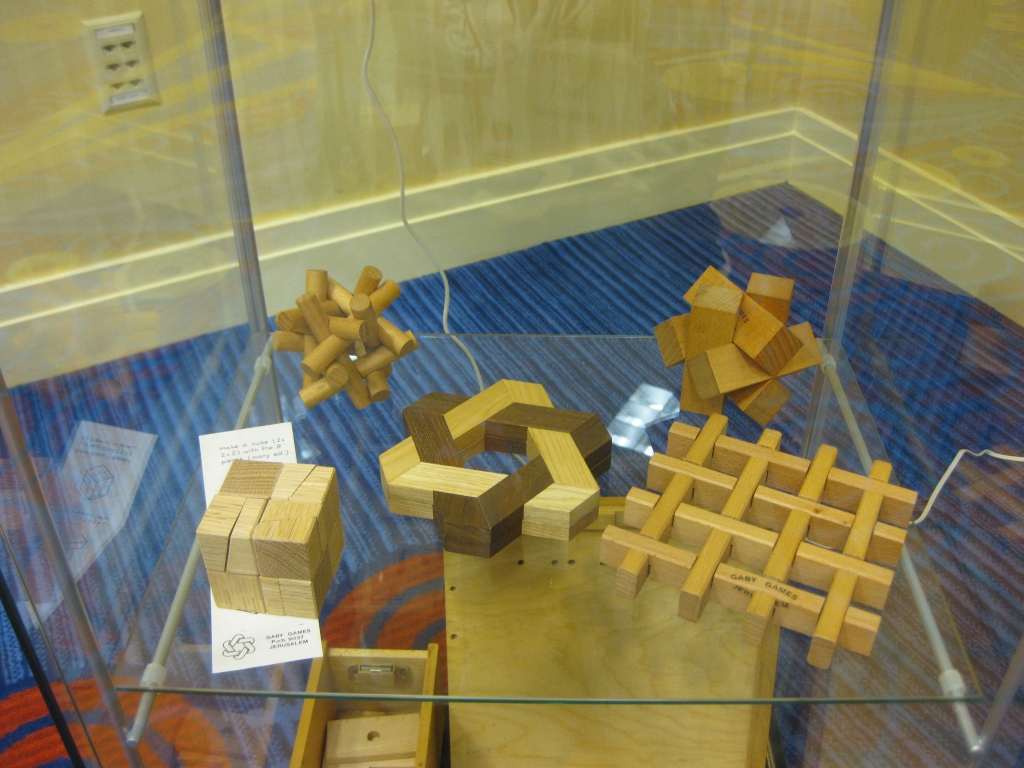
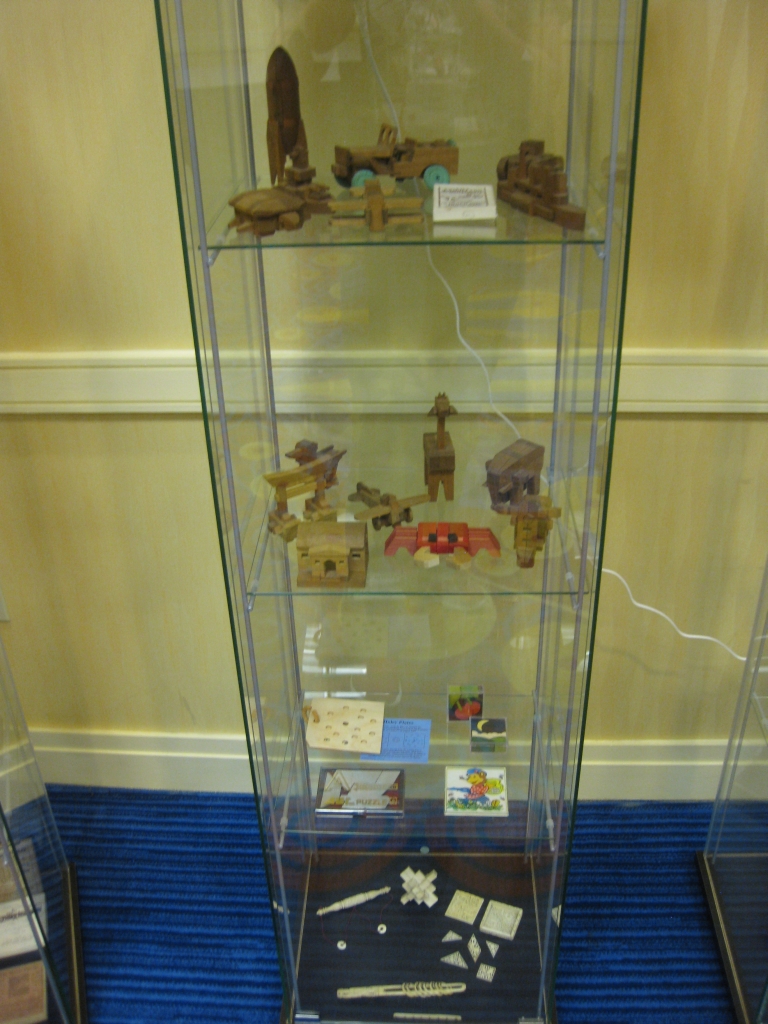
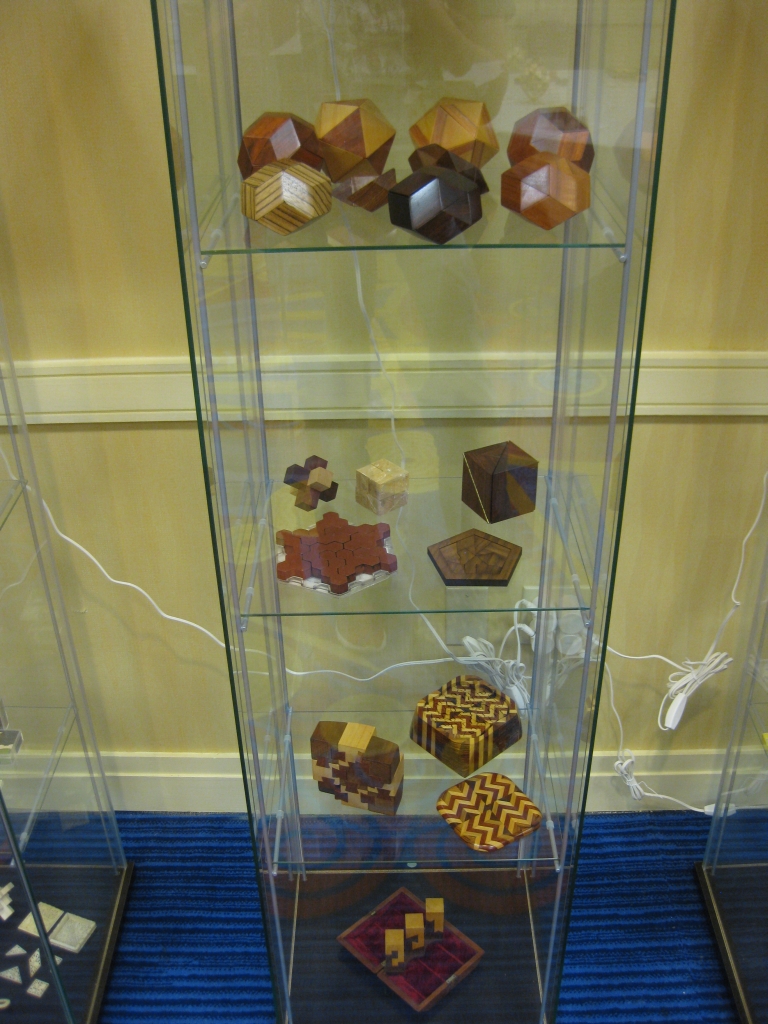
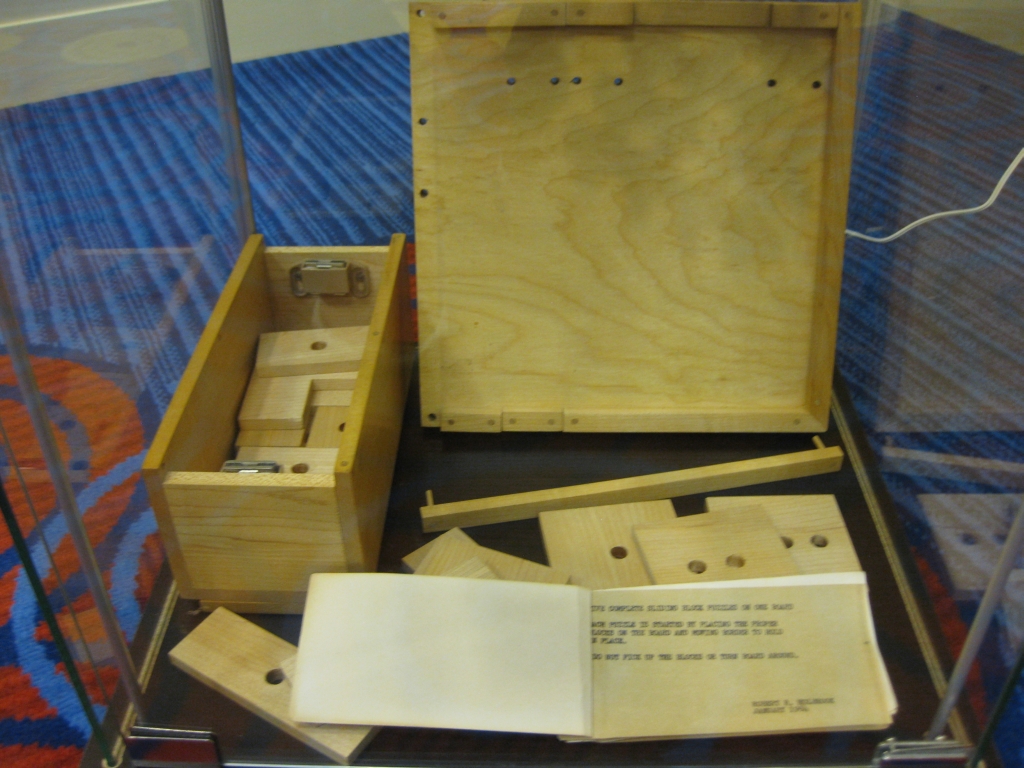
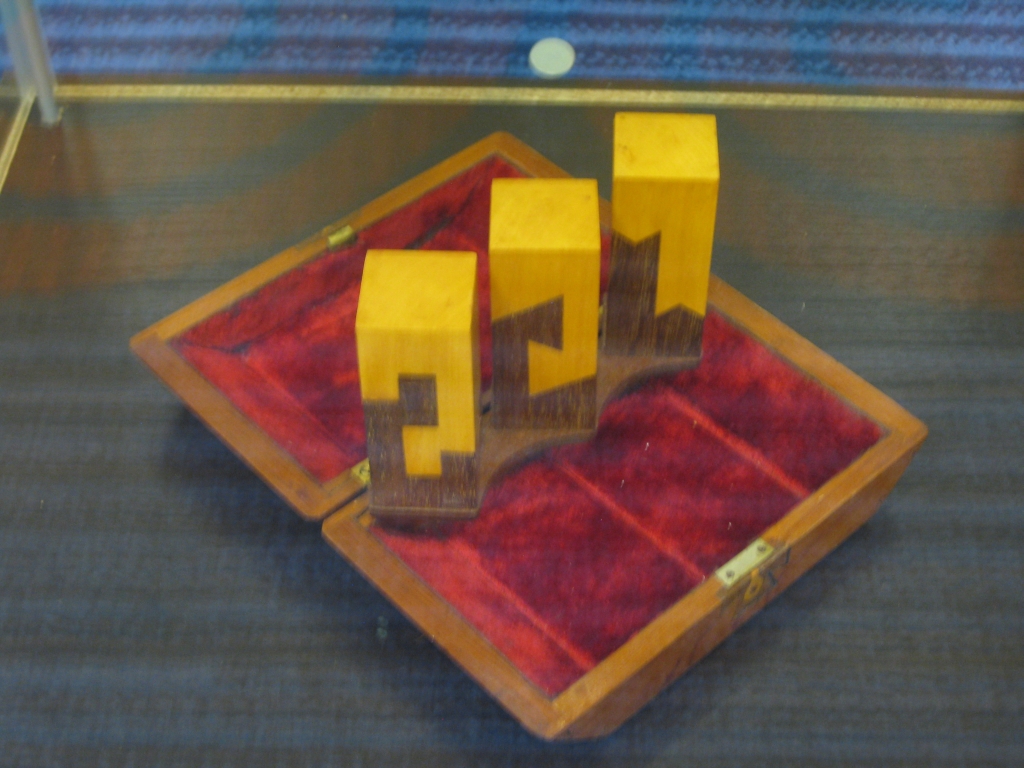
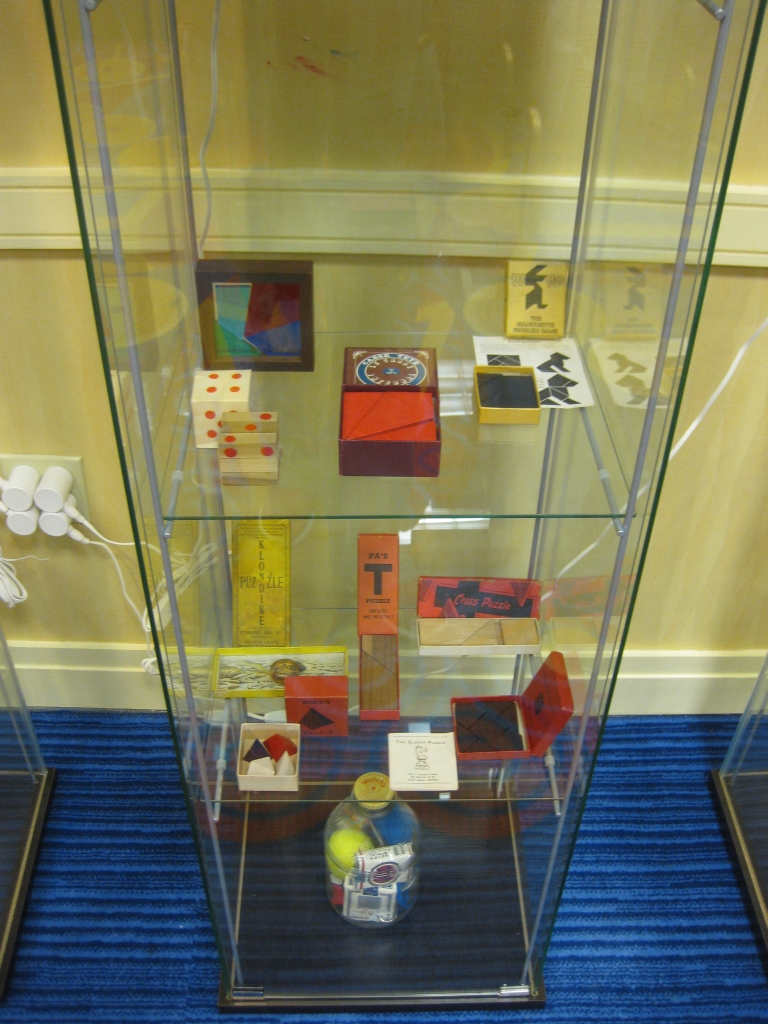
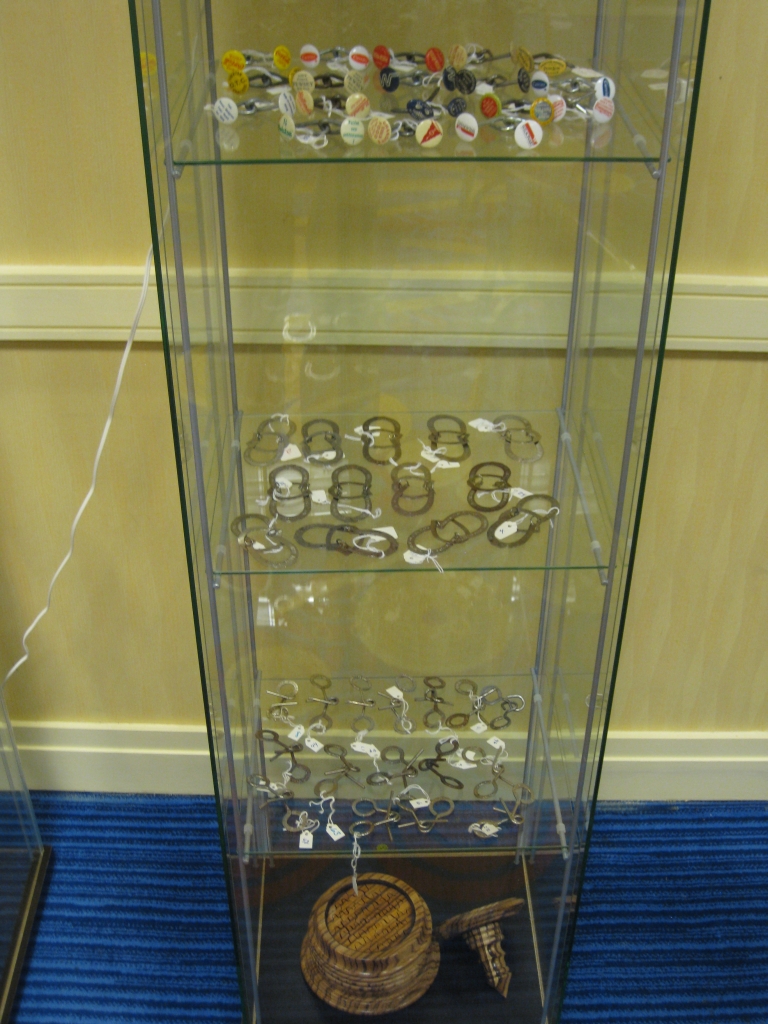
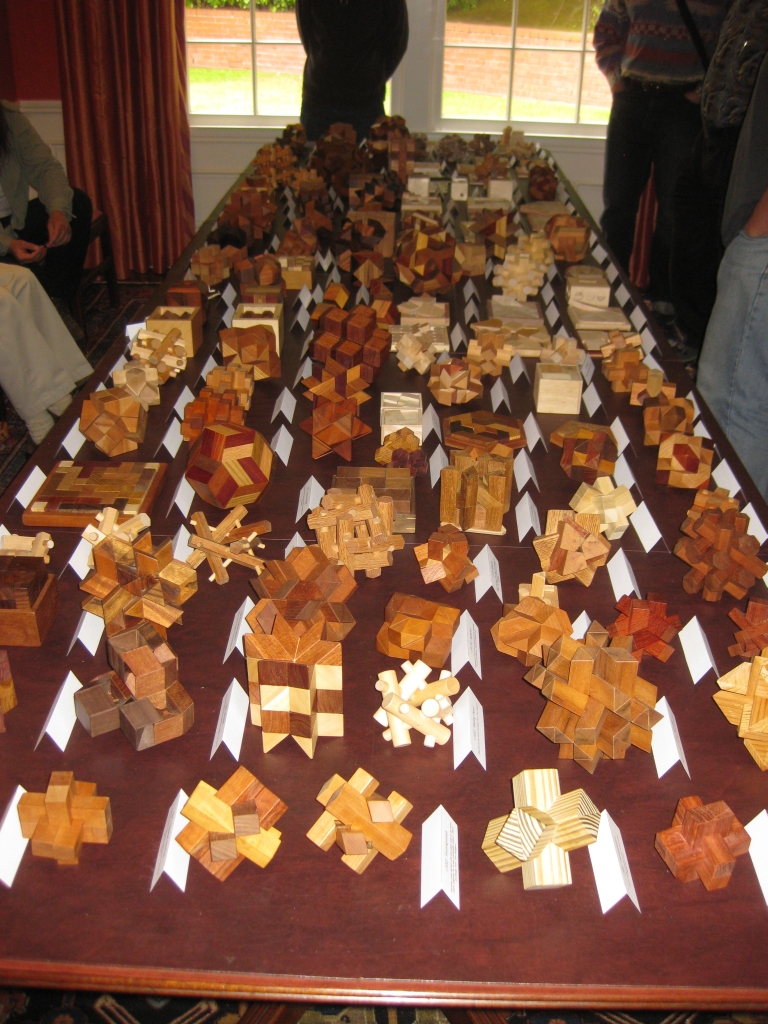
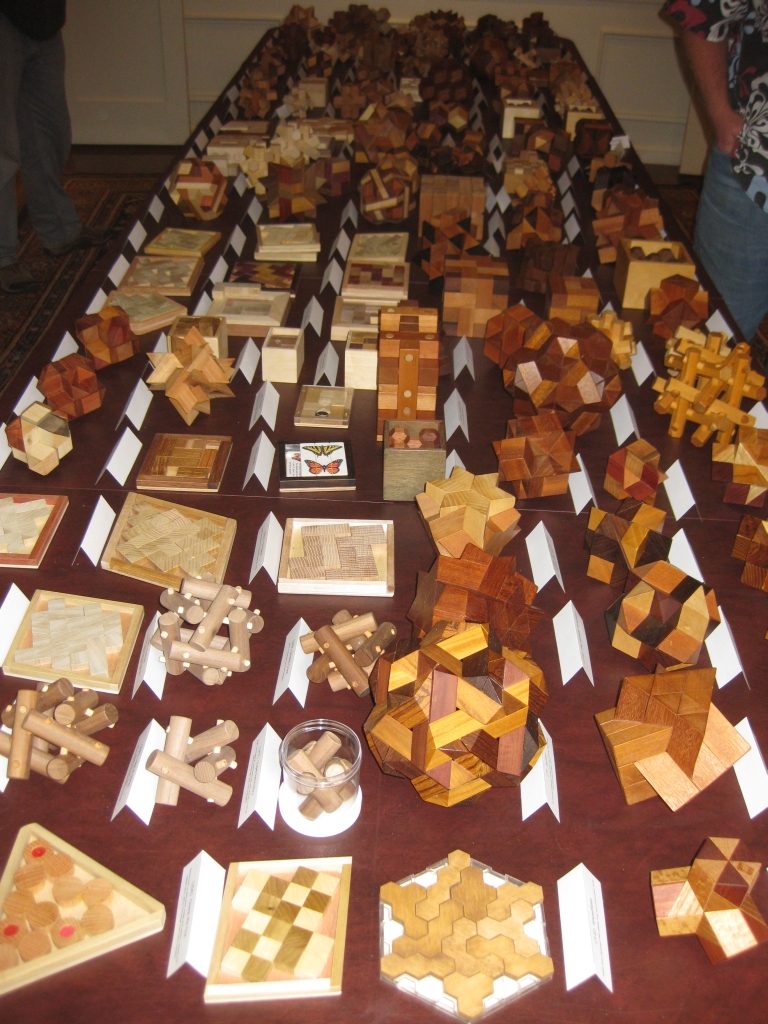
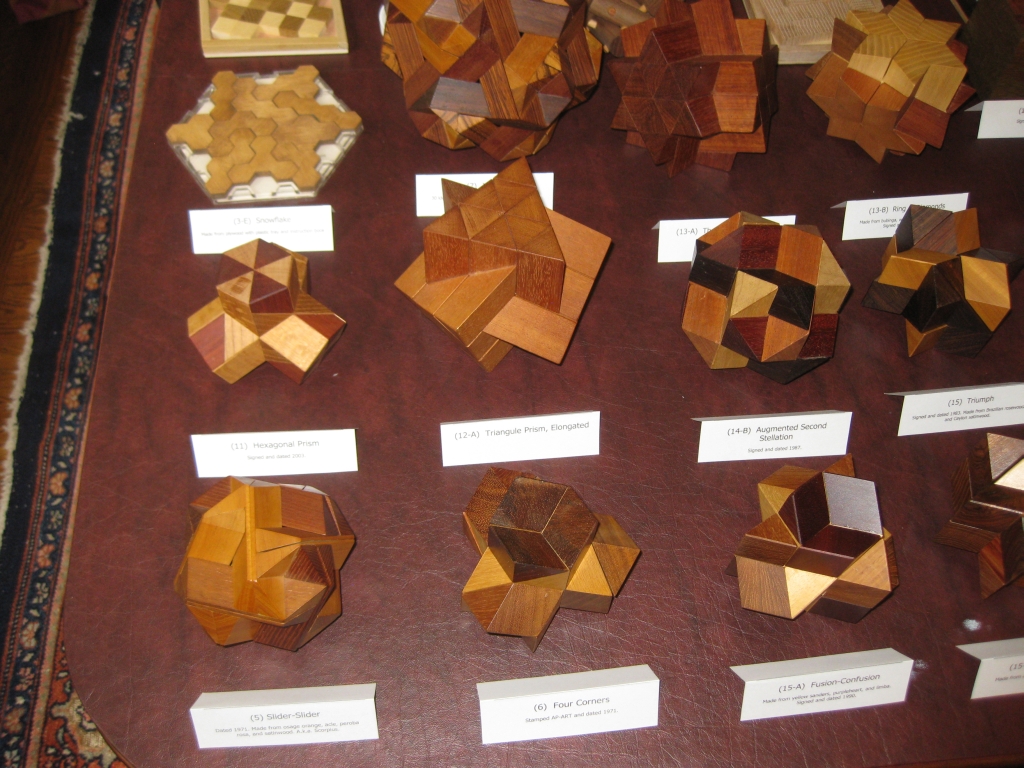
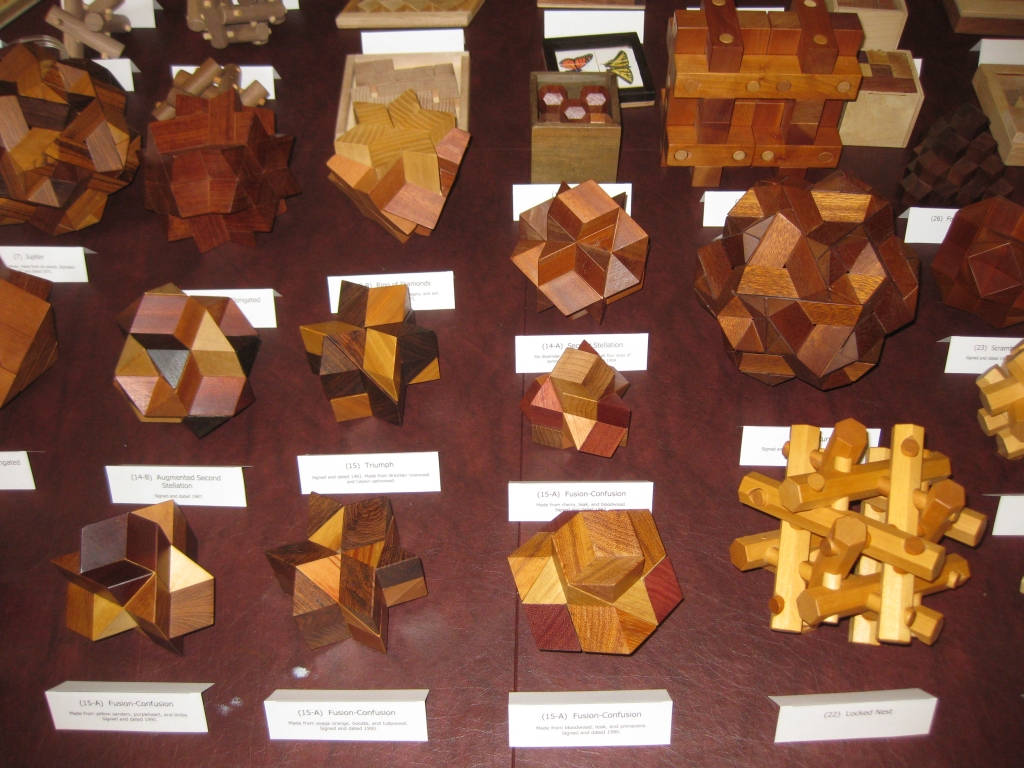
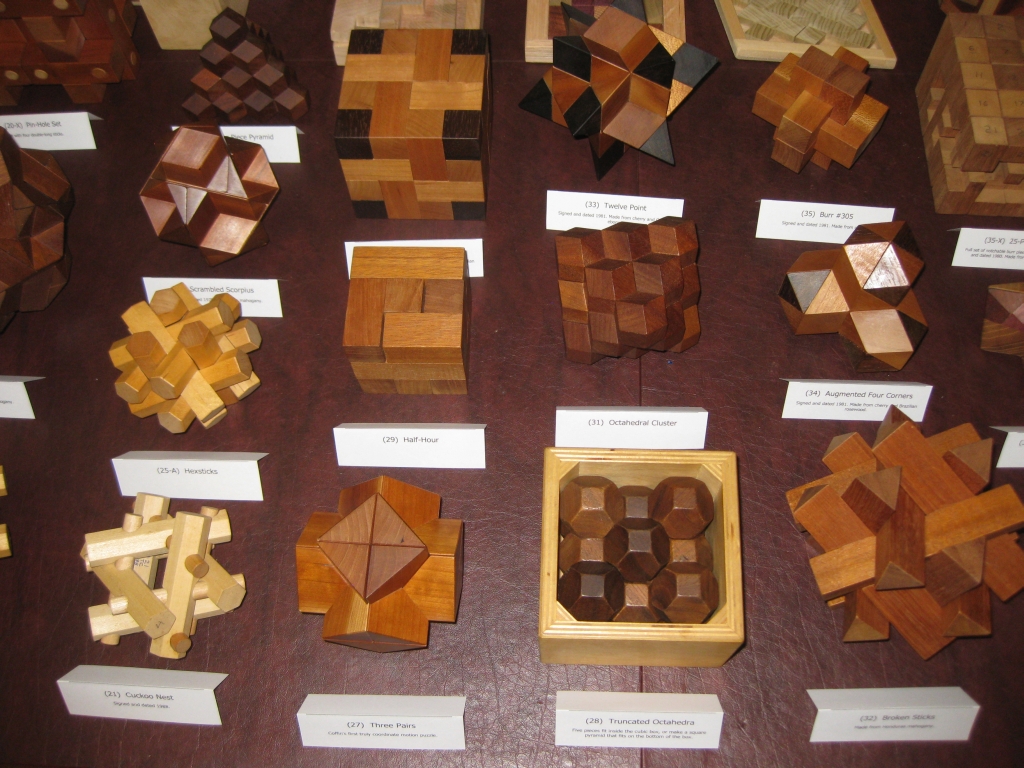
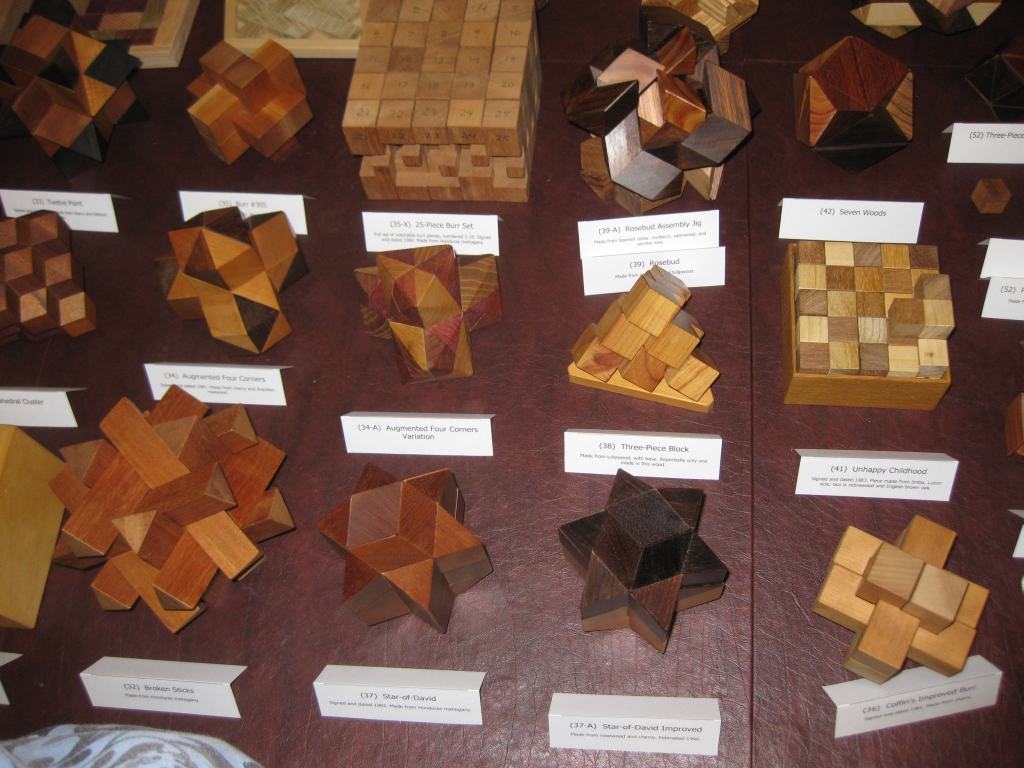
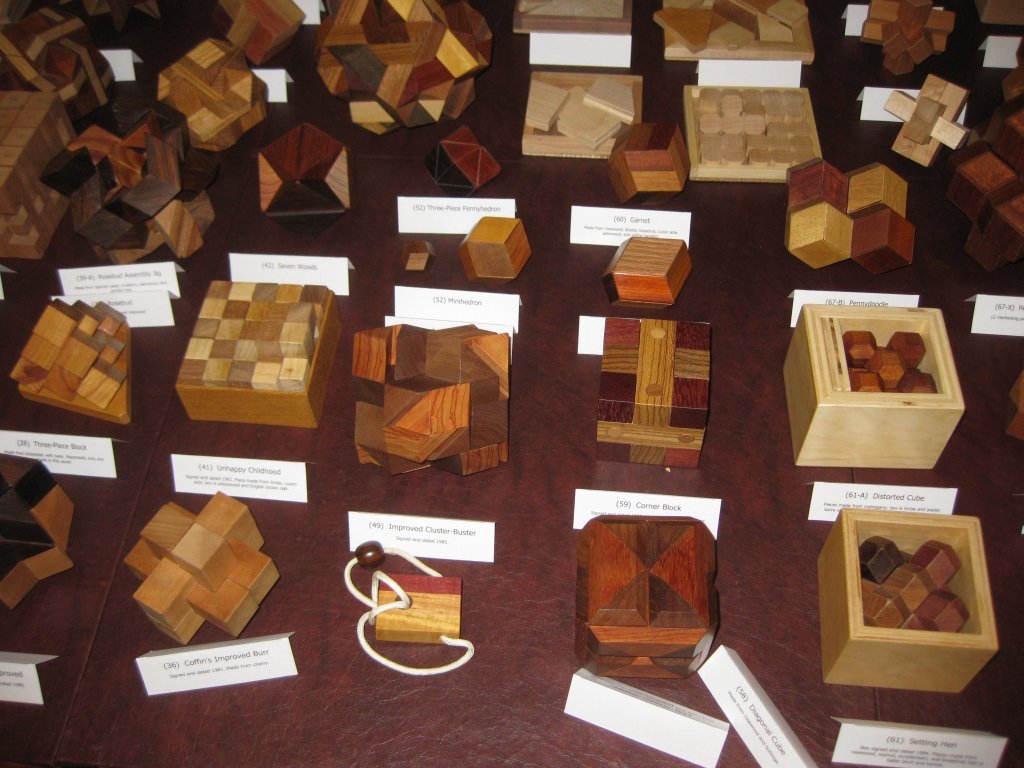
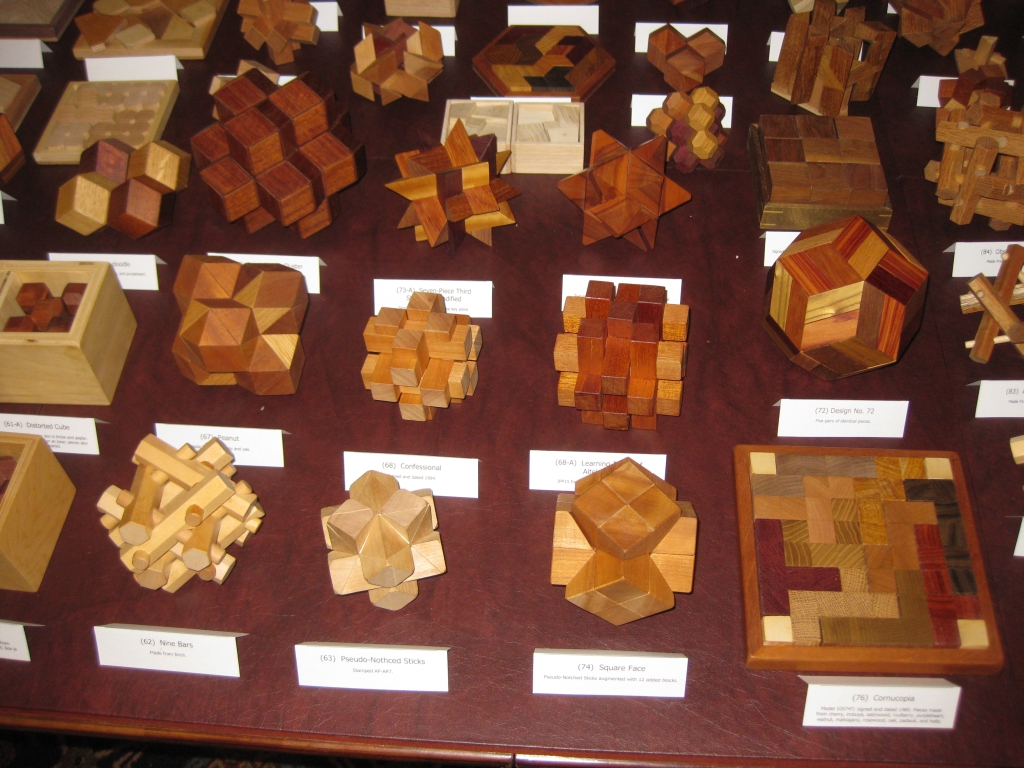
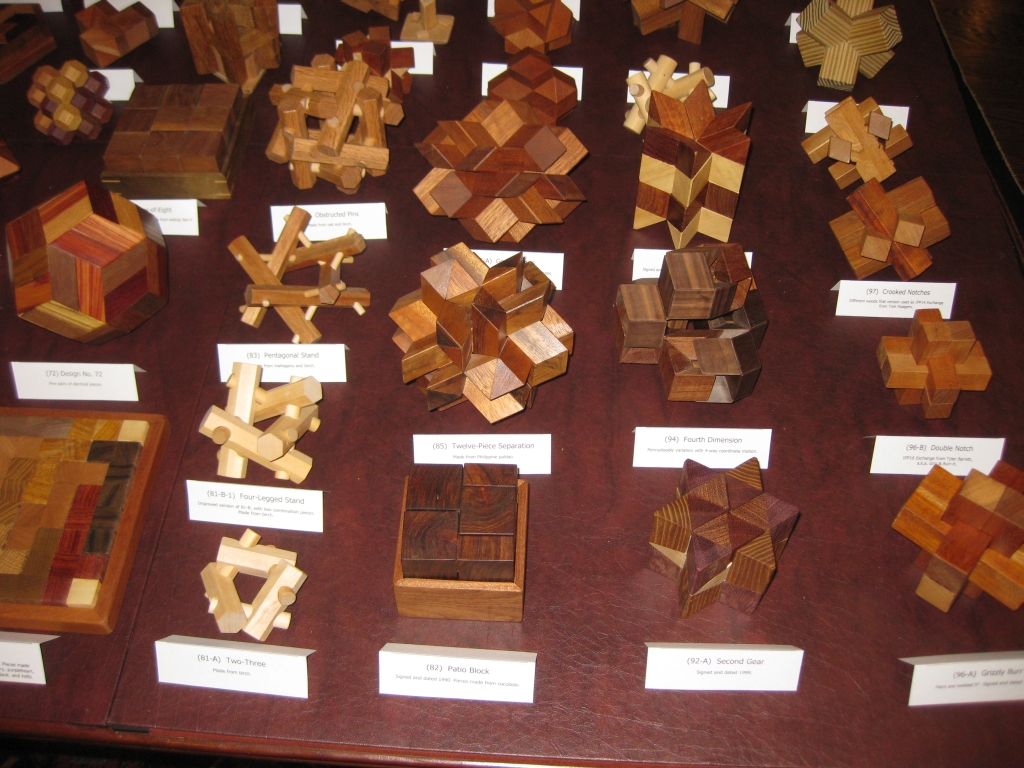
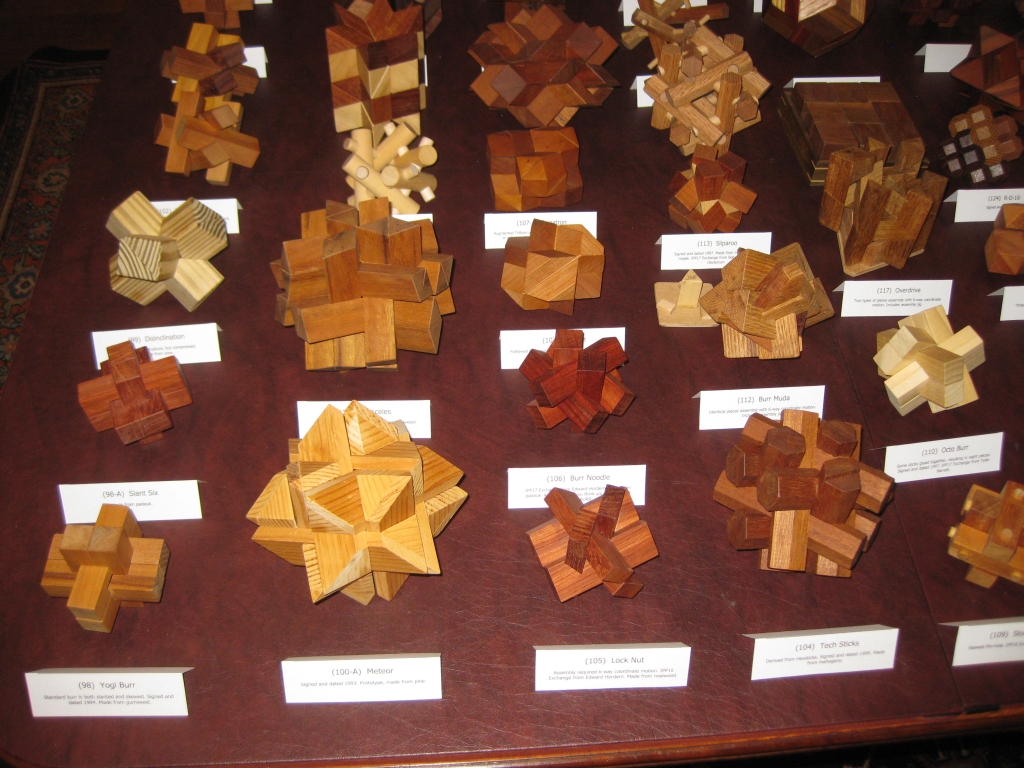
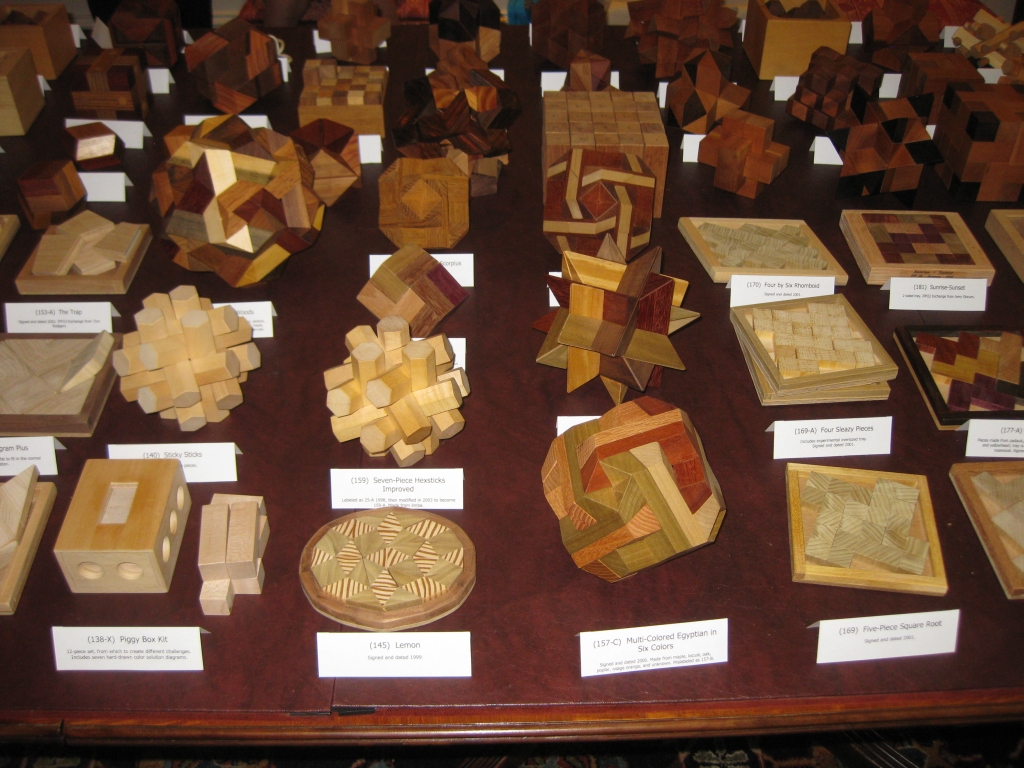
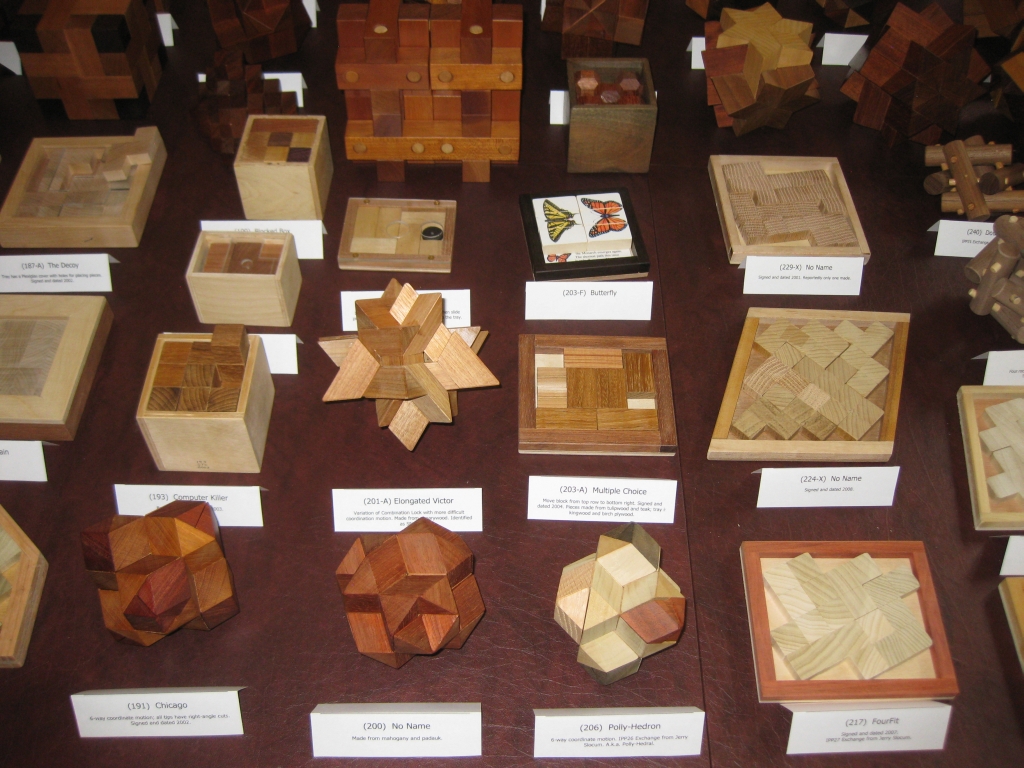
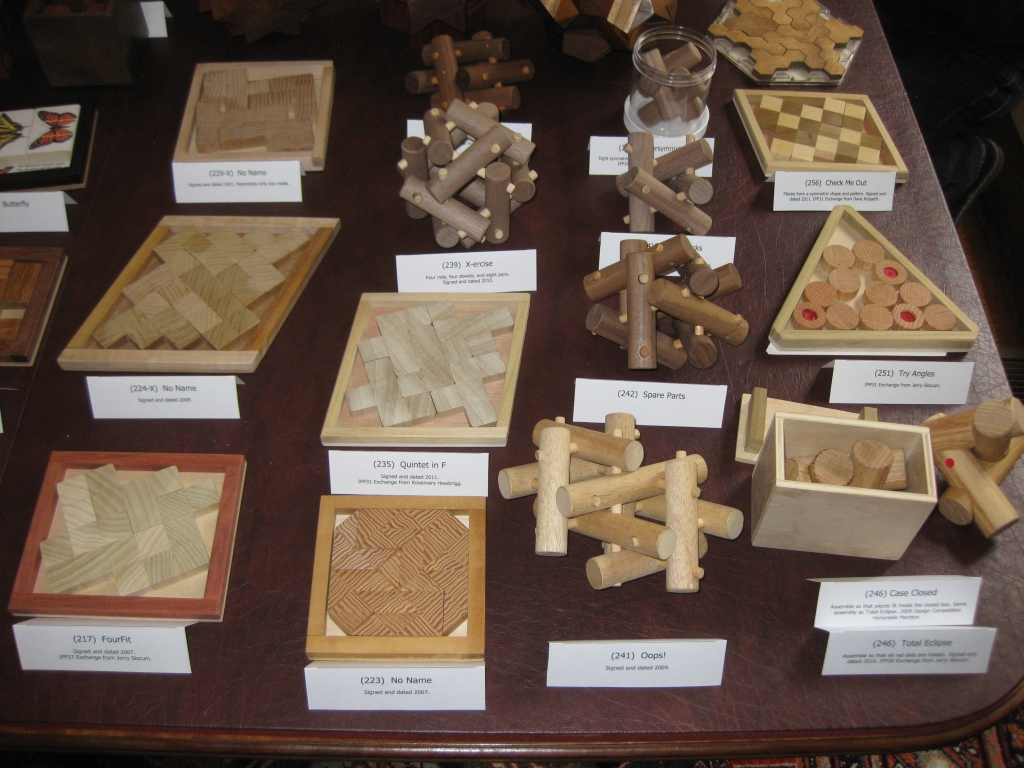
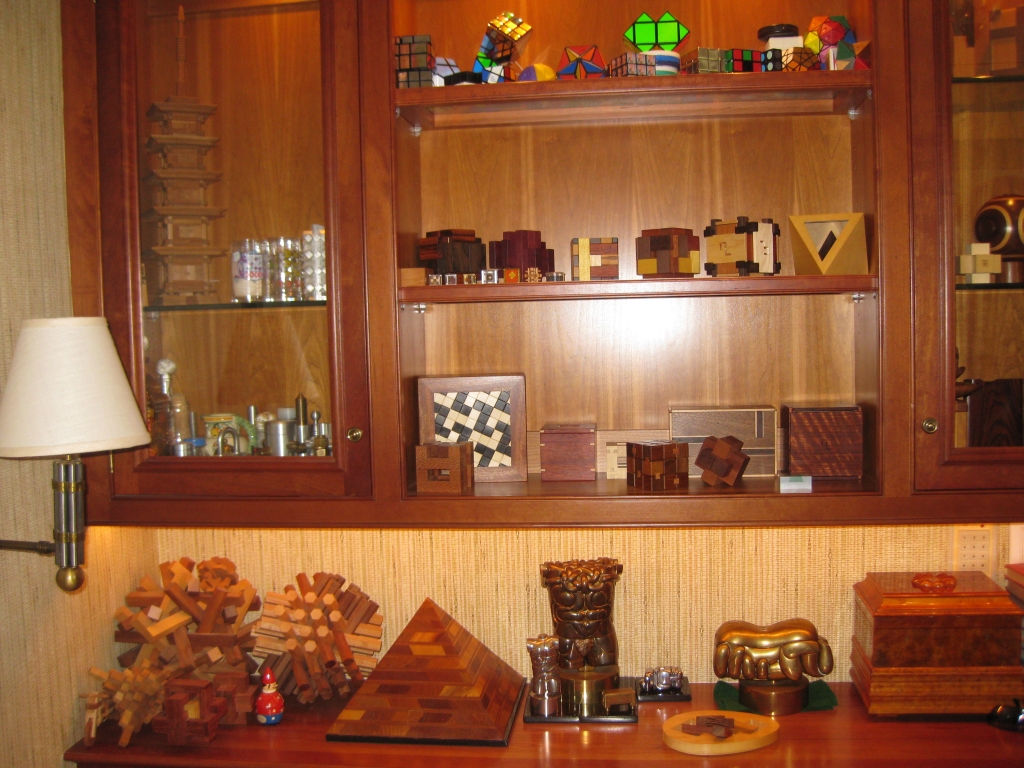
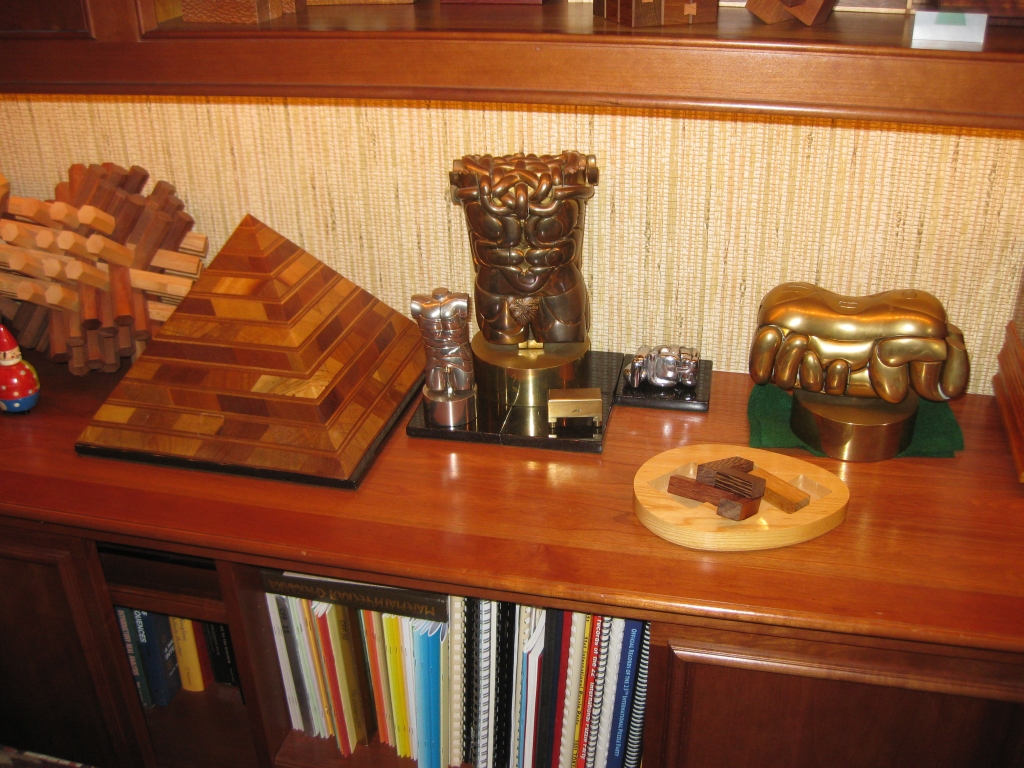
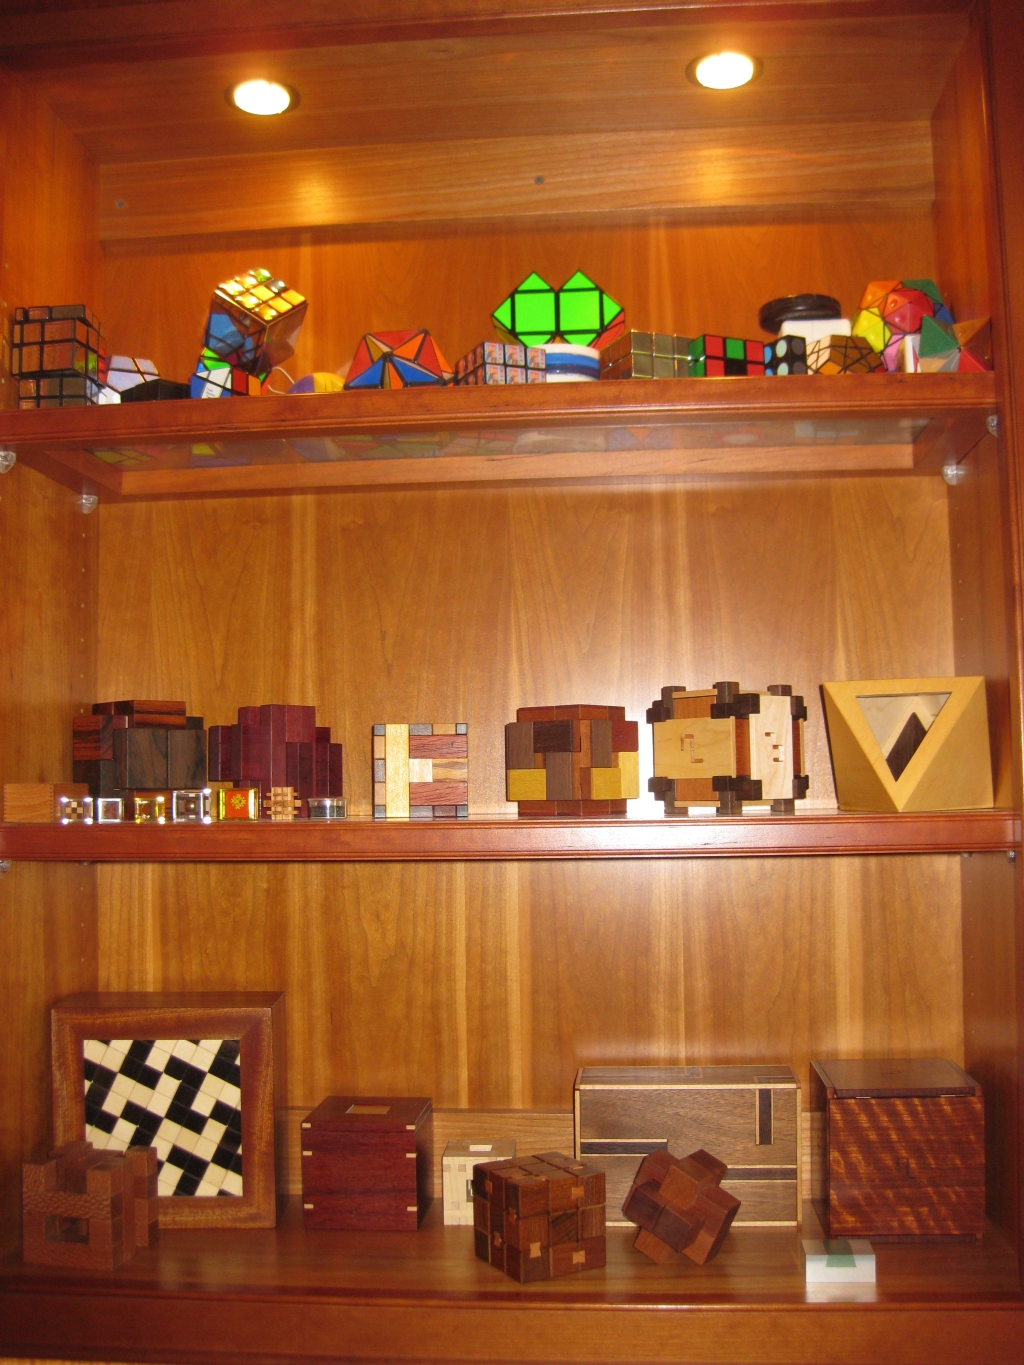
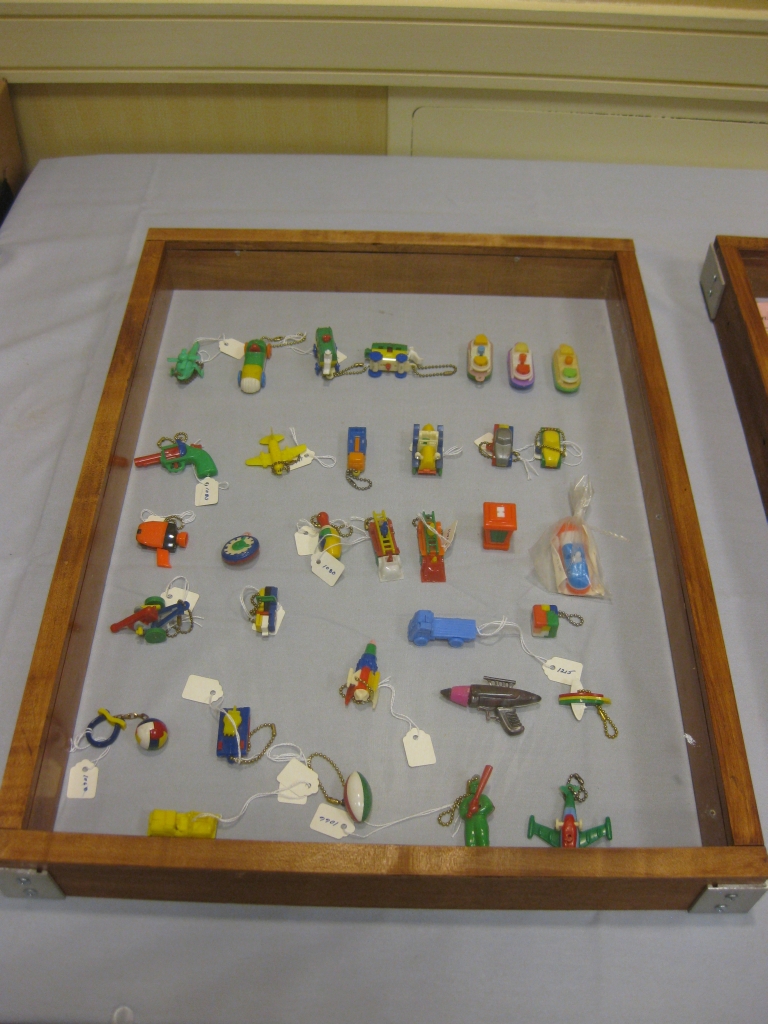
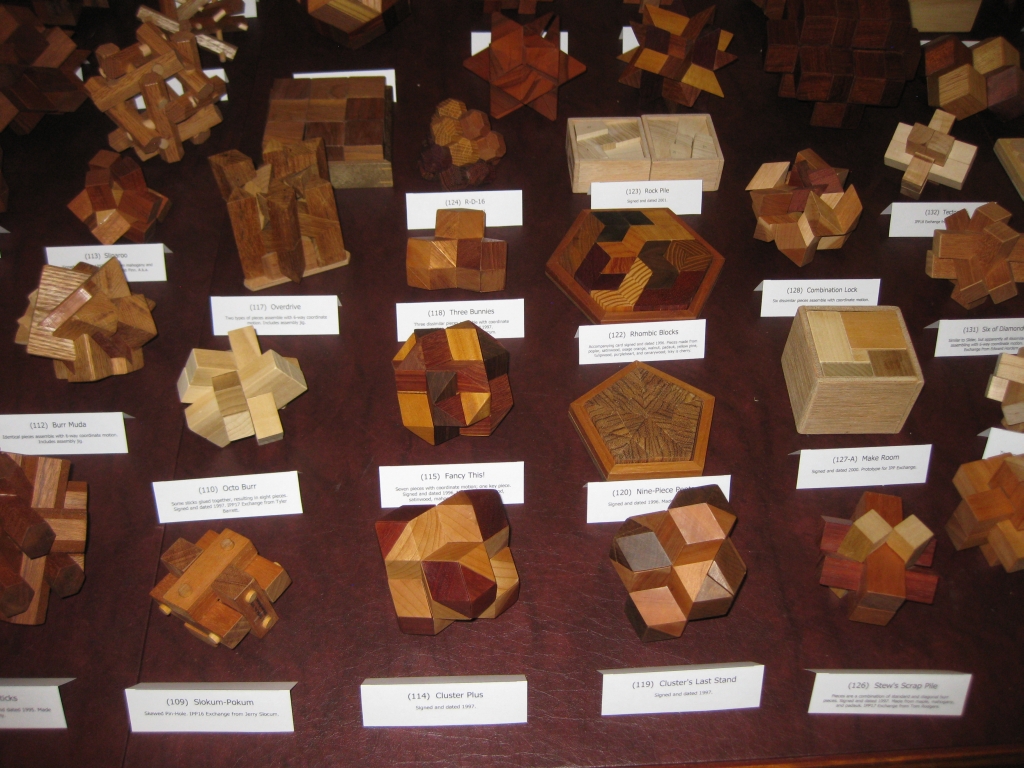
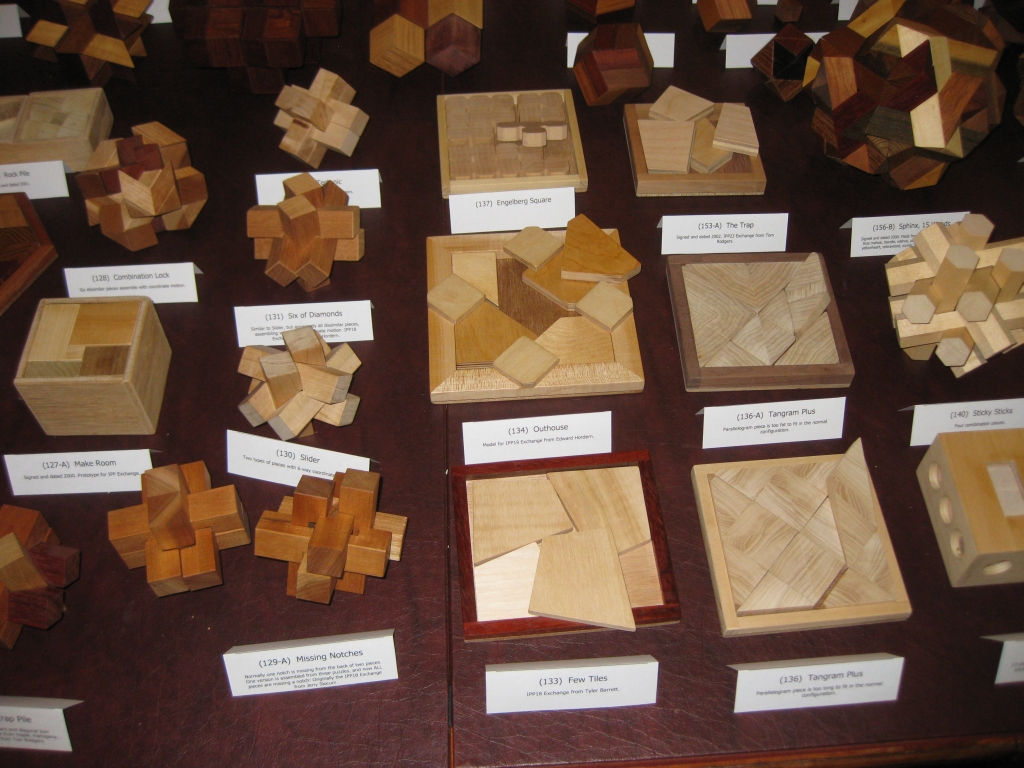
Also in the Puzzle Design room was the Holbrook Puzzle Collection Exhibit. This included a number of superb puzzles from the Holbrook Collection. Rather than try to describe them all, just have a look at the photos below. There’s some superb puzzles in there, and also some great IPP history.

Holbrook collection

Collection Pictures

Holbrook collection

Collection Pictures

Holbrook collection

Collection Pictures

Holbrook collection

Collection Pictures

Holbrook collection

Collection Pictures

Holbrook collection

Collection Pictures

Holbrook collection

Collection Pictures

Holbrook collection

Collection Pictures

Holbrook collection

Collection Pictures

Holbrook collection

Collection Pictures

Holbrook collection

Collection Pictures

Holbrook collection

Collection Pictures

Holbrook collection

Collection Pictures

Holbrook collection

Collection Pictures

When the puzzle room shut for the day, I took the time to have a quick shower and freshen up before the Founder’s reception. I’ll be honest, it really wasn’t what I was expecting. Given the cost of the ‘dinner’ I expected a sit down meal with some sort of formal event organised. Instead, it was a buffet style finger food with sliders and salads. Not only that but the drinks were not on the house, and had to be bought separately. Now at this point you’re probably thinking that I’m some sort of tight Scotsman. That is far from the truth as anyone who knows me will tell you, but when you’re being asked for $4 for a glass of coke, and you don’t even get a full can for that, you can tell that things were a bit steep. Even the main bar downstairs wasn’t nearly as pricey. That said, it was more of a meet and greet with only a few words from Jerry Slocum and Chris Morgan who was this years Host.

There were even more great people to spend time with and talk to at the evenings Founder’s reception. This was the end to the first official day of IPP, and I found myself introduced to many more giants in the puzzle world including the founder of IPP, Jerry Slocum himself, Marcel Gillen, John Rausch, Robert Yarger, Eric Fuller, Tom Lensch, Gregory Benedetti, Laurie Brokenshire, Stephen Chin, James Dalgety, Scott Elliot, Rocky Chiaro, Robert Sandfield as well as meeting up with my good friend Derek Bosch and his wife Michelle who had made it in late the previous night. I realise now that despite having my camera with me all the time, I really didn’t take that many photos of all the great people I was meeting. Fortunately Rox did, so you can see all the people photos that she took instead! Of course there were many people who I know from the local puzzle meets like Stan Isaacs, Abel Garcia, Marc Pawlinger, Bram Cohen to name just a few.

It was fascinating talking to Marcel about his puzzles, and relating my experiences with his rolling pins to him. To hear him talking about the problems working in metal and that he now creates puzzles using a CNC machine and MDF! Having seen his exchange puzzle from this year’s IPP, you can be assured that even though he’s no longer making puzzles in metal, he’s still making great puzzles! The thing that really amazes you when you talk to some of the people who have been in the business of collecting or designing for a long time is that everyone is very open and approachable, and really wants to help you. The number of people who gave me advice or help is incredible, and everyone interested in what I was doing and making.

As people started to drift off myself, Peter Wiltshire, Allard and Derek Bosch with our respective other halves grabbed a few chairs and had a seat. It turns out Peter is a pretty good magician and had a few tricks up his sleeves to keep us entertained. His presentation and patter is superb, and it really took me back to they days when I used to do magic too. He had a particularly fun trick with the key from his minibar in the hotel room (or so he was telling us). A solid wooden bar which had a hone in one end and a chain passing through the hole with the key looped through the chain. Passing it behind his back the hole moved from one end of the bar to the other then back …. ok so not the real magic. The real magic was when the hole moved from the end of the bar to the centre of the bar. At all times, the chain could be pulled through the hole showing nothing tricky was going on. Peter had shown me the trick the night before and I’d been puzzling over how it was done all night. I had a pretty good idea, and from the position I was sitting in at the reception I was able to see the full mechanics of the puzzle. When Peter had finished the puzzle, he turned to me and asked if I’d had a good view of it that time, so he knew that from the position I was in I could see what was going on. That shows a lot of trust as normally a magician will not give anyone the advantage of seeing how a trick is done. It turns out I was right as to how it was done but Peter’s presentation keeps the secret perfectly.

As we were sitting one of my friends from back in California Marc Pawlinger wandered over with his son. The funny thing is that Marc lives just a few miles from me, however seems we only manage to meet up at puzzling events! Peter had another great trick with a little mouse which he showed to Marc’s son and got a great reaction. So much so that he had to show it to the adults as well who also really appreciated it. Peter also had a really nice card trick that he showed us. Both Derek and myself thought we knew how it was done, but it turns out we were both wrong. I thought I saw something as Peter was showing us, but despite being close to understanding the method, I was a little off…. That had to puzzle me until the Sunday night where Peter showed me how it was done. Thanks Peter!

With the reception over, a few of us drifted back downstairs to the bar area to continue conversations, and eventually end up in the puzzle design room again playing with more of the competition entries. There certainly are a few die hard puzzlers out there who you could find in the design room pretty much any time it was open. I’ll not mention names as you know who you are…

Next up is the day of the Puzzle Exchange.
The Opening Bat

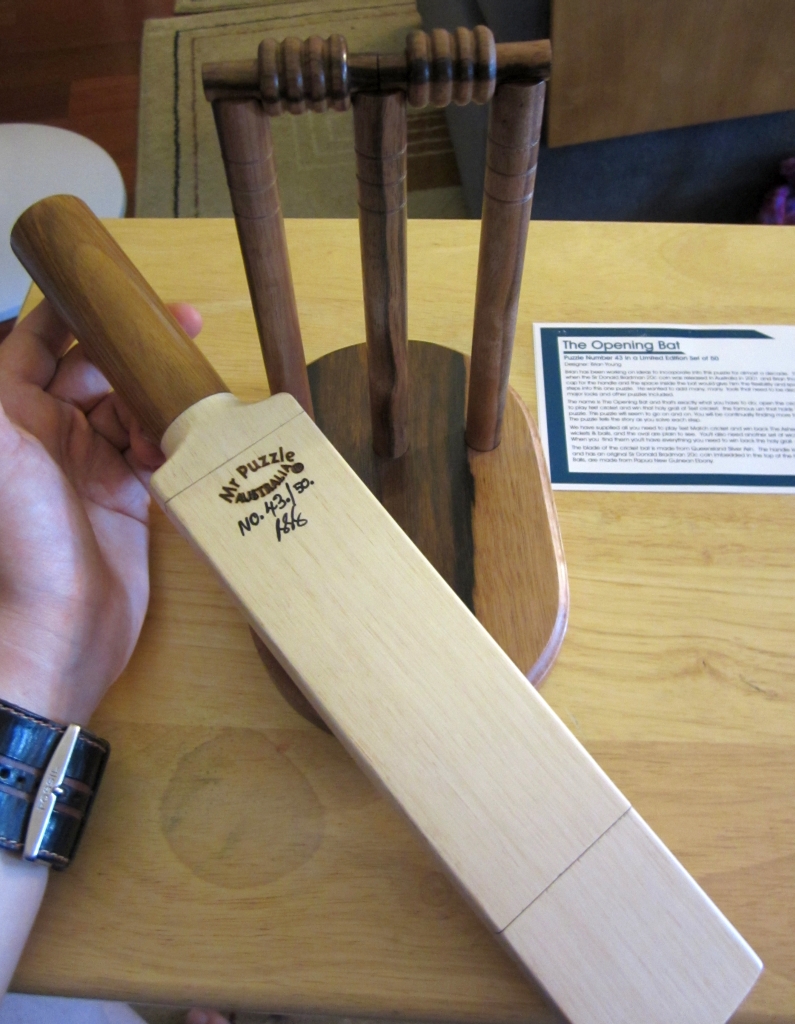
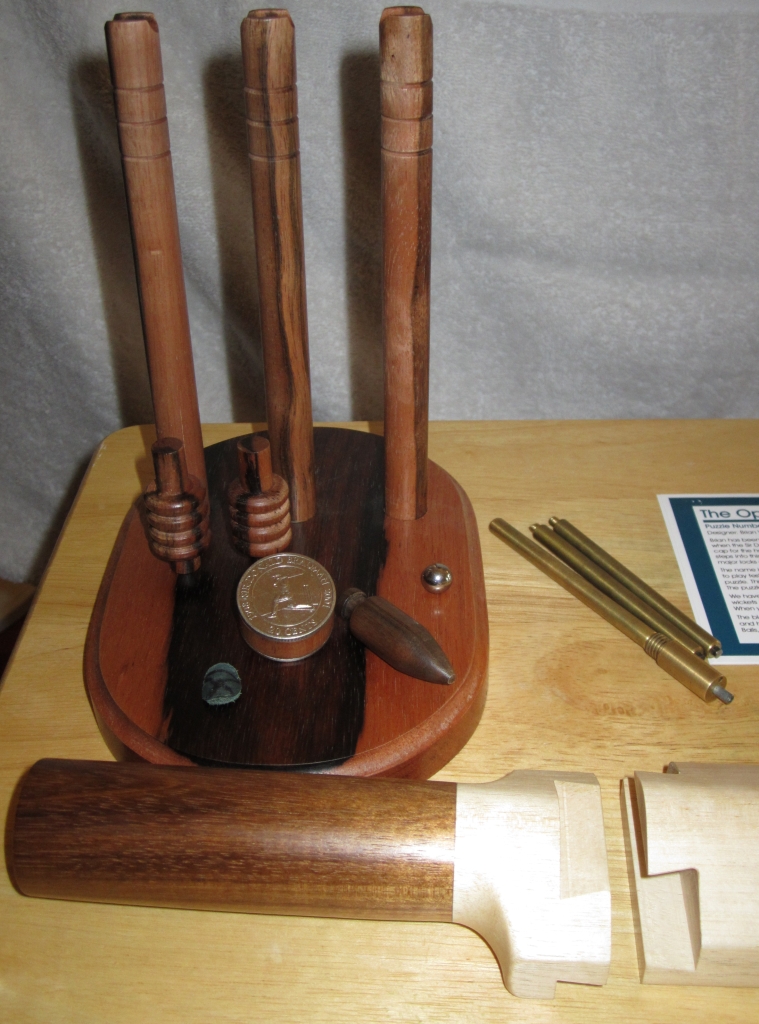
The Opening Bat by Mr Puzzle is a pretty serious sequential discovery puzzle which was ten years in the making. When the puzzle was first released in 2010 I looked longingly at it, but had to resist the urge to buy one as I couldn’t justify it at the time. A year later, and Brian still had a few copies available. Well the money was burning a hole in my pocket, and even though I’m not a huge cricket fan (despite playing in my youth) I’d heard a lot of good things about the puzzle, so took the plunge and ordered a copy.
The Opening Bat by Mr Puzzle

The Opening Bat by Mr Puzzle

A few weeks later, the puzzle arrived very carefully wrapped and I excitedly opened the box to find the bat, and wickets securely stowed along with a couple of other puzzles I’d ordered at the same time. To give you an idea of scale and the look and feel of the puzzle, I’ve put together the video below. Read on for my full thoughts, and a rather scary moment when I was solving the puzzle for the first time.

As you can see from the video, the puzzle is not small. The Bat measures 13.75″ x 2.3″ x 1.3″, the Oval is 7.25″ x 5″ and the wickets stand 7.9″ tall. Limited to just 50 copies, there’s not too many of these around, so I’m pleased to have been able to get one. Brian tries to use local Australian woods wherever possible, and The Opening Bat is no exception. Normally cricket bats are made from willow, as it stands up well to the impacts from the hard cricket ball. Unfortunately it’s not a great wood for making puzzles from. Brian uses Queensland Silver Ash for the blade of the bat in the puzzle. The handle is Tasmanian Blackwood and the Oval, Wickets and Bails are all Papua New Guinean Ebony. Overall it’s a stunning looking puzzle, and given it’s size certainly has a presence on my puzzle shelves. (Not to mention that I had to re-arrange the shelves somewhat to accommodate its height!) There is a small brass pin embedded in the base of the oval which matches with a similar hole in the bottom of the bat, which allows the bat to sit as though it is resting against the wickets. It’s a nice touch and makes for a great display piece.

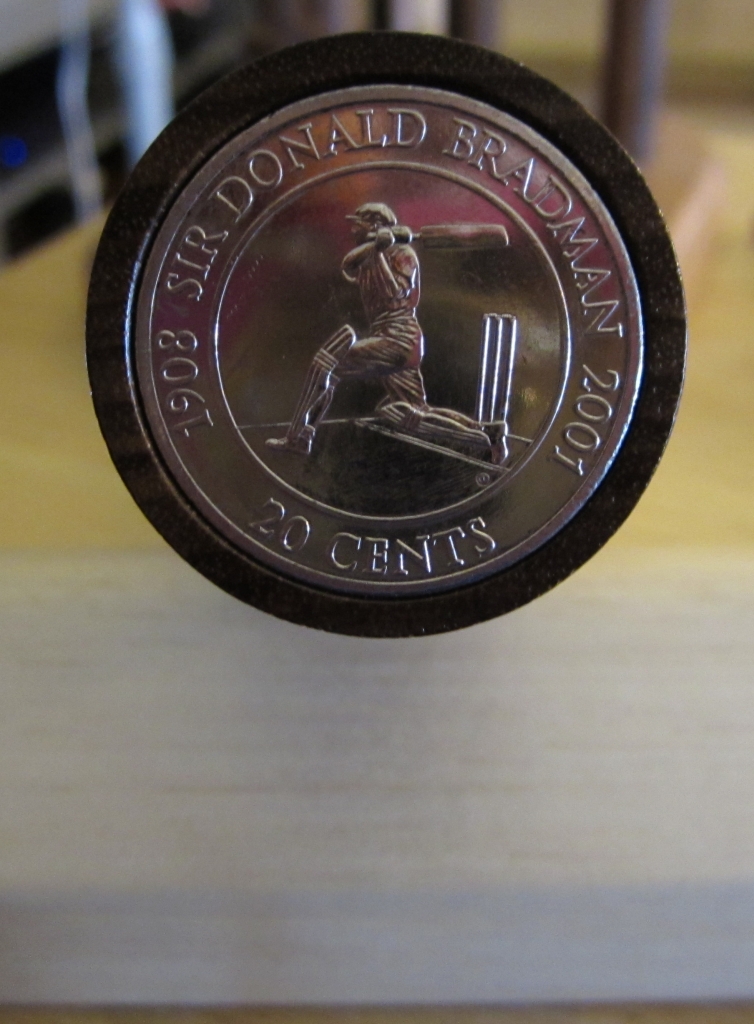
Sir Donald Bradman coin crowns the handle

Sir Donald Bradman coin crowns the handle

The final goal of the puzzle is to remove the Sir Donald Bradman coin from the top of the handle. There’s no chance of prising the coin out of its current spot, and certainly not without damaging the handle, so I’ll save you the trouble of thinking like that and tell you to forget that idea now. Besides, if you could get to the end of the puzzle without taking the journey then you’d really be missing out.

The coin itself is really the inspiration for the puzzle and according to Brian, the first ideas for the puzzle came around when the coin was released in 2001. From that point, it seems like Brian’s mind went into overdrive and he continued to add elements to the puzzle. Now some people may disagree given the difficulty, but I for one am pretty happy with all the work Brian put into the puzzle. The size and shape of the bat has given Brian a lot of space to work with, and he’s crammed a lot of steps into that space. The puzzle consists of three main puzzle locks, which must be solved to release the coin at the top of the handle. However there are many more steps along the way to find all the tools required to open each lock. In Brian’s own words, “As far as sequential discovery puzzles go this one’s on steroids!”

When it came to solving the puzzle, I’ll admit it took around two months for me to solve the puzzle with probably around 5-6 hours of time actually spent working on the puzzle. Why so long? Well sadly work had been hectic and I simply didn’t have the time to sit and play with puzzles. As a result there were long periods where the puzzle and the tools I’d found sat on a table taunting me with my lack of progress.

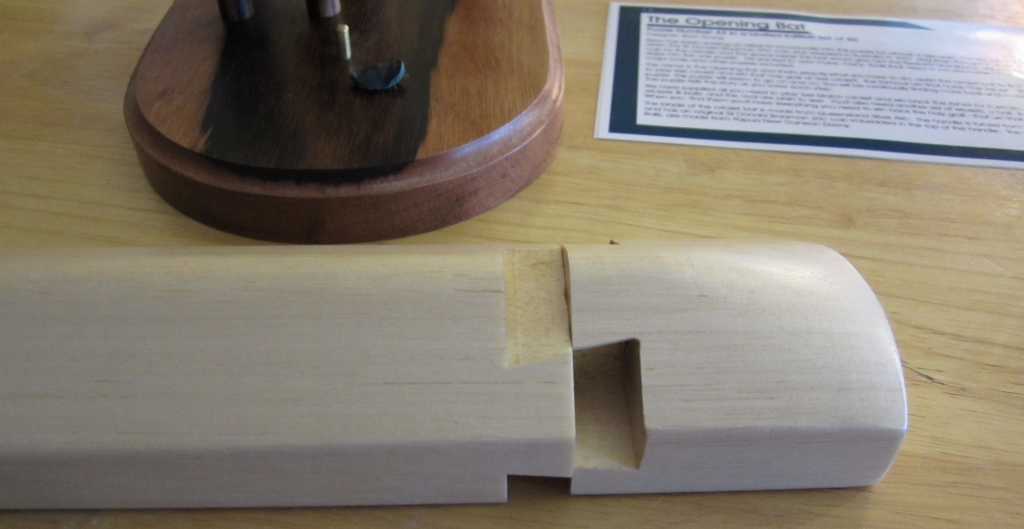
The first lock defeated

The first lock defeated

Nothing in the puzzle is quite what it seems. Brian has managed to conceal tools in every possible part of the puzzle, and some very close attention is required to be able to find everything you need. I was fairly lucky and found the first hidden tool fairly quickly, which also revealed the Baggy Green Cap. Another ten minutes or so, and I’d successfully navigated the first lock, and removed the bottom of the bat.

With the first piece of the bat removed, it can be set aside. There’s nothing else useful in there. What you’re presented with now is the head of two hex bolts and the lock from the first stage, neatly hiding in holes drilled into the main section of the bat. Now being a good puzzler, I know that external tools are not required, so I didn’t go hunting in my tool box for a way to remove those bolts. Instead, more investigation of the puzzle is required. As it happens, I was remarkably lucky, and stumbled upon the tool I needed by pure luck.

I was sitting with the pieces of the puzzle on my table, and happened to have a folding knife sitting on the table. At one point I must have nudged one of the pieces, and it rolled across the table, un-noticed by me. After a while fiddling, I looked across and found that the piece was stuck to the blade of the knife!

Well Brian mentioned that there were lots of magnets used in the puzzle, and it seems I’d found one! As it happens this piece if the puzzle is so well disguised, I have no idea how long it would have taken me to find this tool had it not been for that piece of luck. I have to commend Brian here, as the grain matching, and fit of the particular piece is incredible!

So with a new tool found, I quickly removed the rods on either side of the second section of the bat, before hitting another dead end. I had no idea how to remove the central rod, but there is a small clue as to what you might need to help with that process. It took probably another half an hour, or more for me to find the well disguised tool needed and be able to remove the third rod. At this point I’ve now managed to discover the three extra wickets needed to play Cricket, but I’m still no closer to opening that second lock!

From here I sent several hours trying to combine the various tools I’d found up to this point, along with a torch to try to see to the bottom of those long holes in an attempt to open the second lock. I lost count of the number of combinations of things I’d tried, and none of them seemed to help. In a fit of desperation, I placed a particular tool I’d found into the hole, thread first, and then used a different tool to reach to the bottom of the hole, and turn it. Now, that was a pretty bad idea, as the first tool ended up stuck and I was pretty sure at this point that I’d gone wrong.

I sent an email to Brian who helped me confirm exactly what I’d done then gave me a few suggestions as to how to fix the problem, and the assurance that regardless of what I’d done, in the worst case, I could send it back to him and he’d fix it. Now I appreciate that I’ve been remarkably vague here, but I’m trying not to give anything away. As it happens Brian’s suggestion worked, and I was back in business. If you want to see what I did, then click here. And if you have this puzzle yourself, don’t drop anything down the holes that you can’t reach to pull back out! as it turns out, I’m not the only person to have put something into the puzzle that wasn’t intended… at least I used something that came with the puzzle.

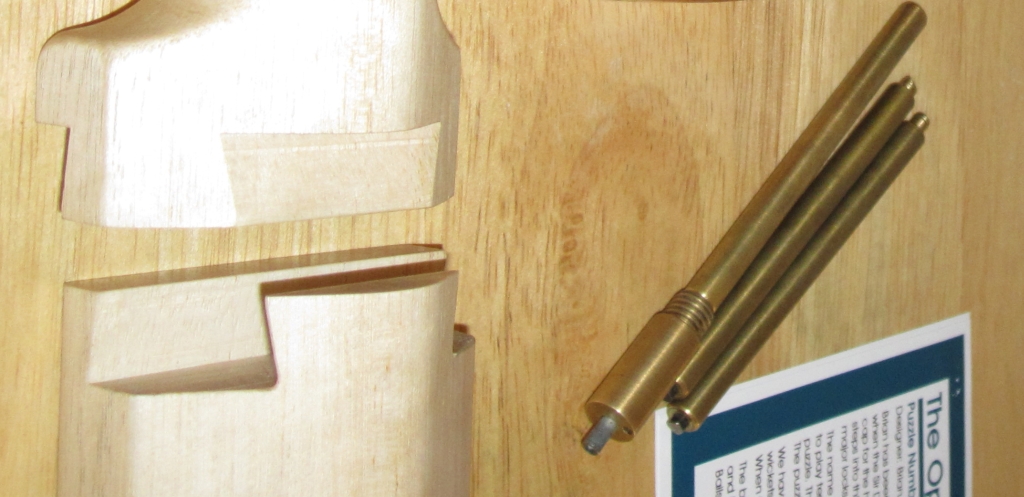
The second lock defeated

The second lock defeated

So with my panic over, I was back on track to solve the puzzle, however I still hadn’t opened the second lock. Fortunately, it didn’t take too much more time to be able to remove the final piece holding that dovetail joint in place and I had the second lock open!

All that remained now was the handle of the bat, and the third lock. Now I already knew that the puzzle here was the same as the one contained in “Houdini’s Torture Cell” as Brian had noted that the reason he made the Torture cell was so that more people could have access to this little puzzle, however that didn’t make solving it any easier. Unlike the Torture Cell where you can see what’s going on, here everything is blind. That said, you can figure out what’s going on fairly easily, and with a little luck, you’ll have that coin rising out of the handle fairly quickly.

The puzzle fully solved

The puzzle fully solved

True to Brian’s word, when you open the last lock, not only is the coin removed, but you’ll find you have a second set of wickets (brass rods), the cricket ball (silver ball bearing) and at this point, you should be good for that game of cricket to win back the Urn containing the ashes, which is also there.

For the observant amongst the readers, you’ll notice that I’m not really showing many of the tools in the pictures, and that is entirely deliberate. I don’t want to give anything away, that might spoil the discovery should you get a chance to play with this puzzle yourself. I’ve also been very careful not to give any clues when it comes to how things are hidden in the puzzle. Really a huge part of this puzzle is the journey of discovery as you find each element, and I’d hate to spoil that. It’s too good a puzzle to ruin it for you.

Overall, I really enjoyed the puzzle, and highly recommend it should you get the chance to own one, or if someone is willing to let you play with their copy, don’t pass on the opportunity. Brian has done a great job and there’s clearly a lot of time and care went into the puzzle. Hat’s off to you sir, it’s a great puzzle!

Allard and Brian have also reviewed the puzzle on their blogs, so if you want another opinion, then go read what they have to say.

Vinco’s Double Desk Box

Most regular readers of my blog will be familiar with Vaclav Obsivac’s work. The ‘Vinco’ puzzles are well known as being very high quality wooden puzzles at very affordable prices. One of my puzzle friends recently moved house, and I was round visiting just before he moved. As we wandered through his garage, stocked from floor to ceiling, and wall to wall with boxes, he pulled out Vinco’s Double Desk Box, which was sitting unsolved, and handed it to me saying “See if you can put that back together for me”. After a challenge like that I couldn’t really say no now could I? That would ruin my reputation of being able to actually solve puzzles!

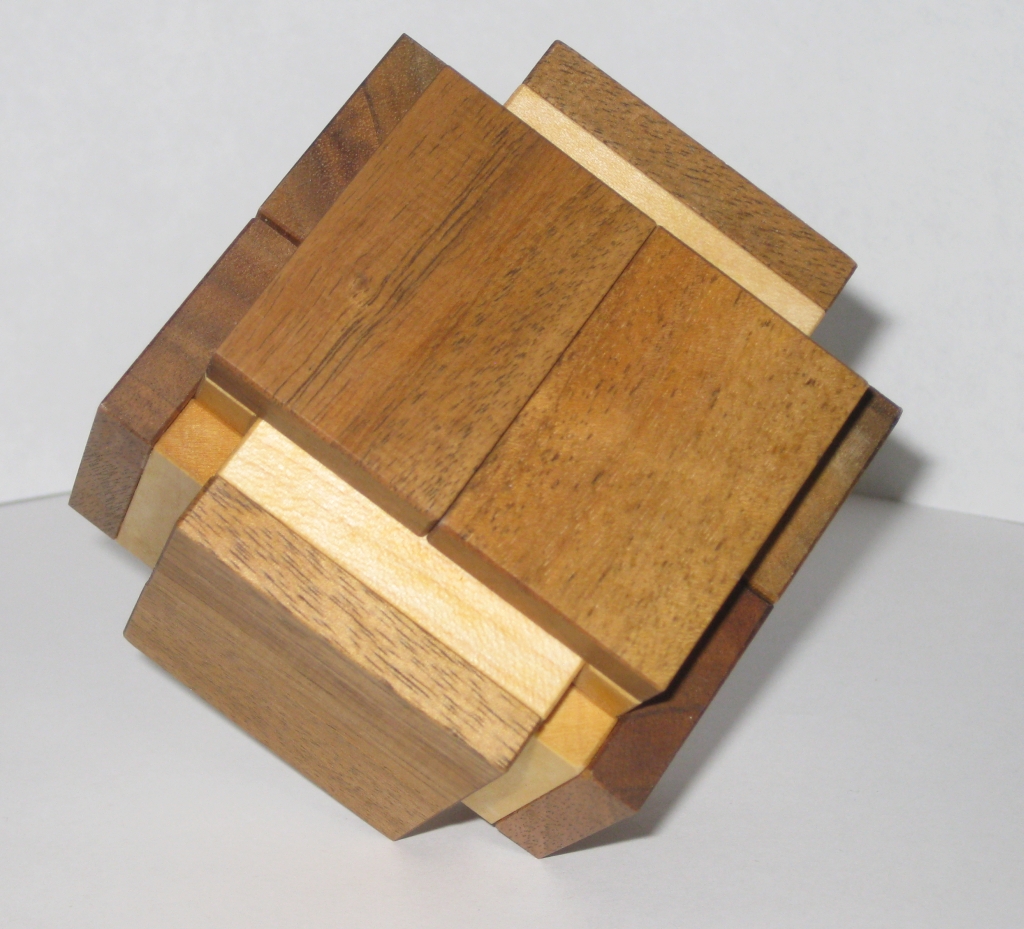
Double Desk Box by Vinco, solved.

Double Desk Box by Vinco, solved.

As you can see from the photo above, I was successfully able to put the puzzle back to its original solved state, so for now I’m probably safe.

The puzzle is a four piece co-ordinate motion puzzle. As you’ve heard me mention in the past, co-ordinate motion puzzles are something of a signature for Vinco’s puzzles, and this is another great example. The mechanism is similar to those used in other co-ordinate motion puzzles, so it will not be a huge surprise to anyone familiar with some of Vinco’s other offerings. Of course the challenge with all co-ordinate motion puzzles is figuring out where to put your fingers to be able to start separating the pieces without the puzzle flying apart, leaving you with no idea how to put it back together again!

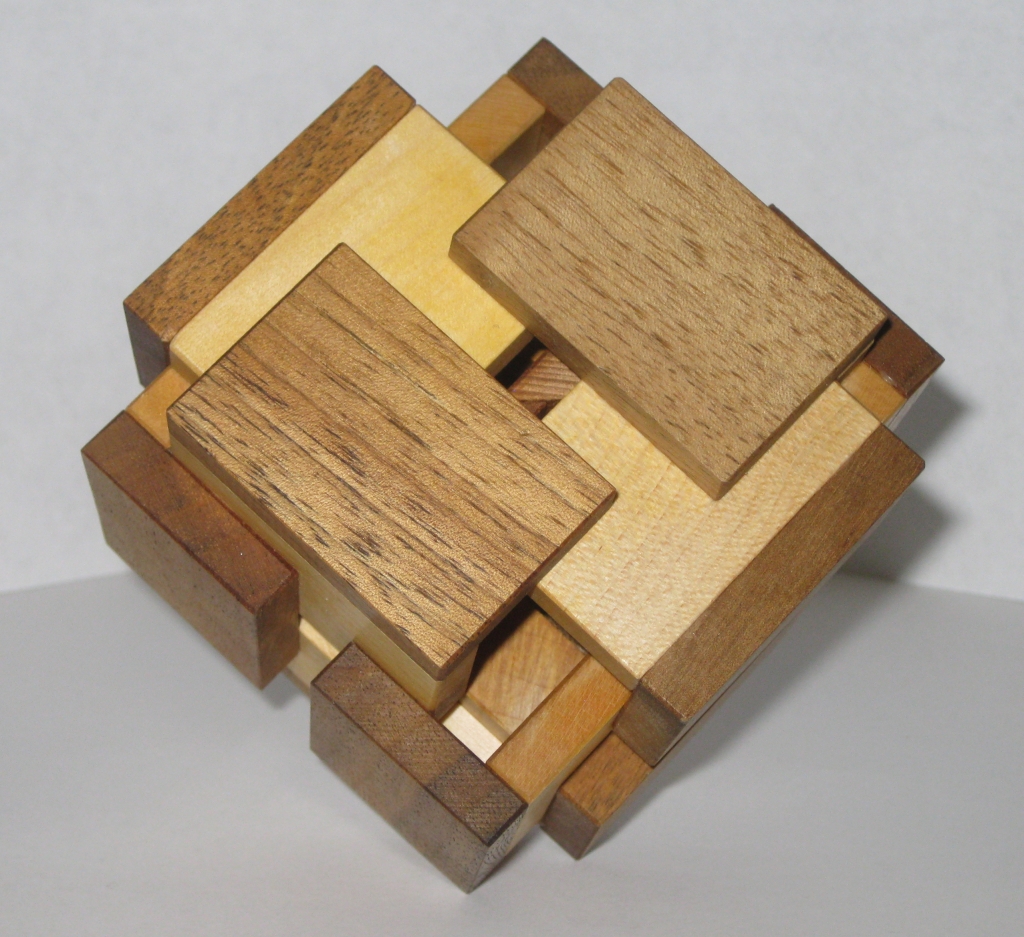
Double Desk Box by Vinco, starting to open.

Double Desk Box by Vinco, starting to open.

The box starts off measuring 3.25″ x 3.25″ x 3.25″, but as you start to open it, it expands to over 4″ before the internal pieces are no longer touching and they fall into a heap. Unfortunately I’m not sure which woods were used for this puzzle as Vinco wasn’t listing the woods when he produced these puzzles. The puzzle is available from Vinco directly, or from Puzzle Master

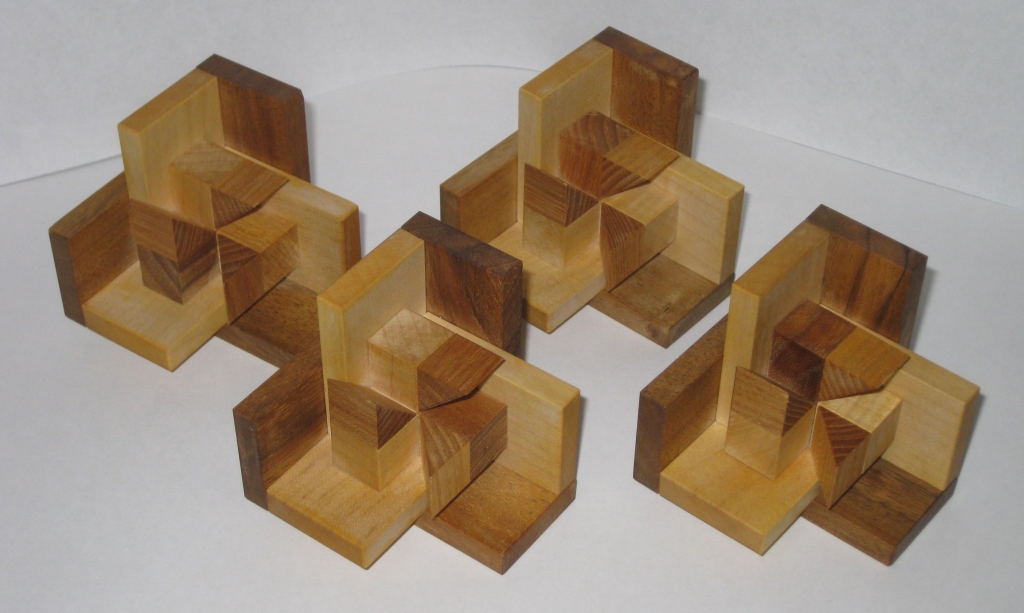
The four pieces of the Double Desk Box

The four pieces of the Double Desk Box

As you can see above, the four pieces of the puzzle are identical, making re-assembly ‘easier’. Of course with any co-ordinate motion puzzle, assembling requires the puzzle to be expanded to the point of collapse, and then carefully aligning the pieces, while hoping that you don’t move anything causing it to all collapse again. With only four pieces, this is one of the easier puzzles to assemble and disassemble, however there is a reasonable degree of dexterity required, since the tolerances are up to Vinco’s usual standard. (Read, very well made, and darn tricky!)

This is a good looking puzzle and not too challenging to put together. Puzzle master rates this as 9/10 (Grueling), but if I’m honest I don’t think that’s fair. This is much more like a 6, in my opinion. Vinco himself rates it as a 3/5 (or 6 if you include his 5+ scale). All in all a fun puzzle, which is very well made, and great to hand to beginners since you’ll get it back together fairly easily if they give up.

Hinged Box

During the recent Baxterweb auctions I was fortunate enough to win a couple of puzzles. Hinged Box by Eric Fuller was one of those purchases.

Hinged Box - Eric Fuller

Hinged Box – Eric Fuller

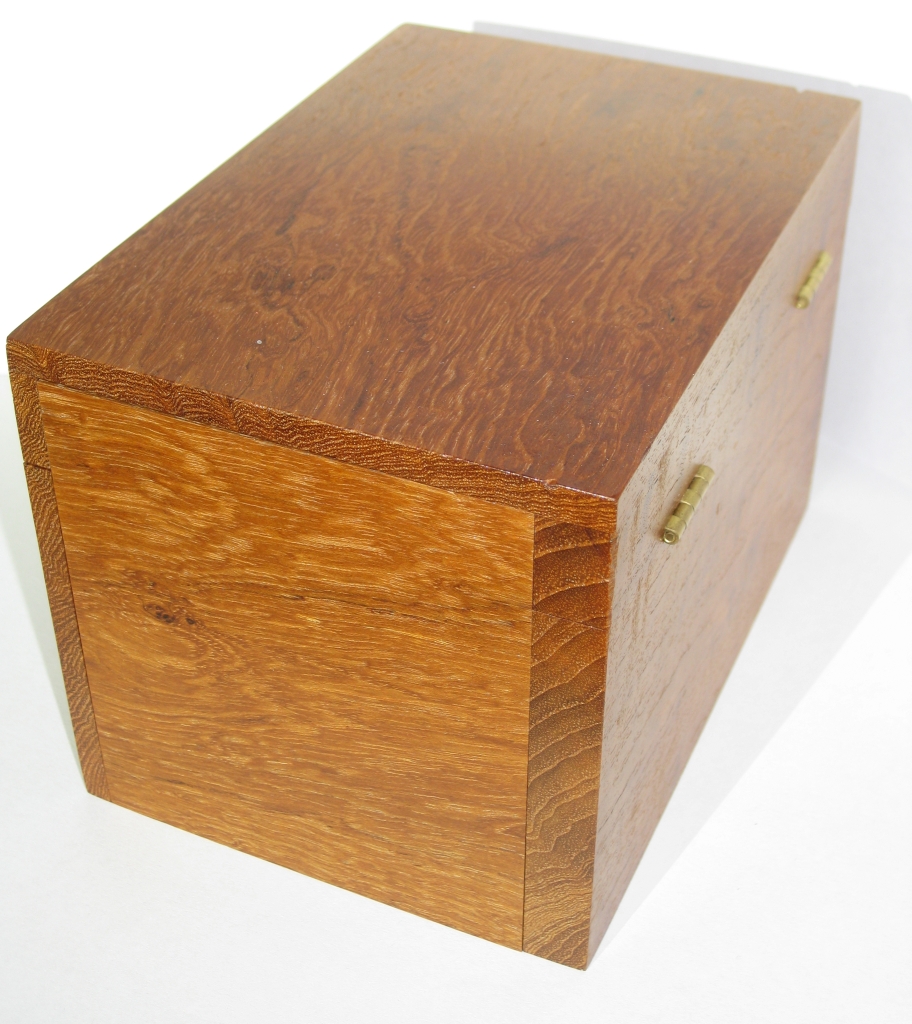
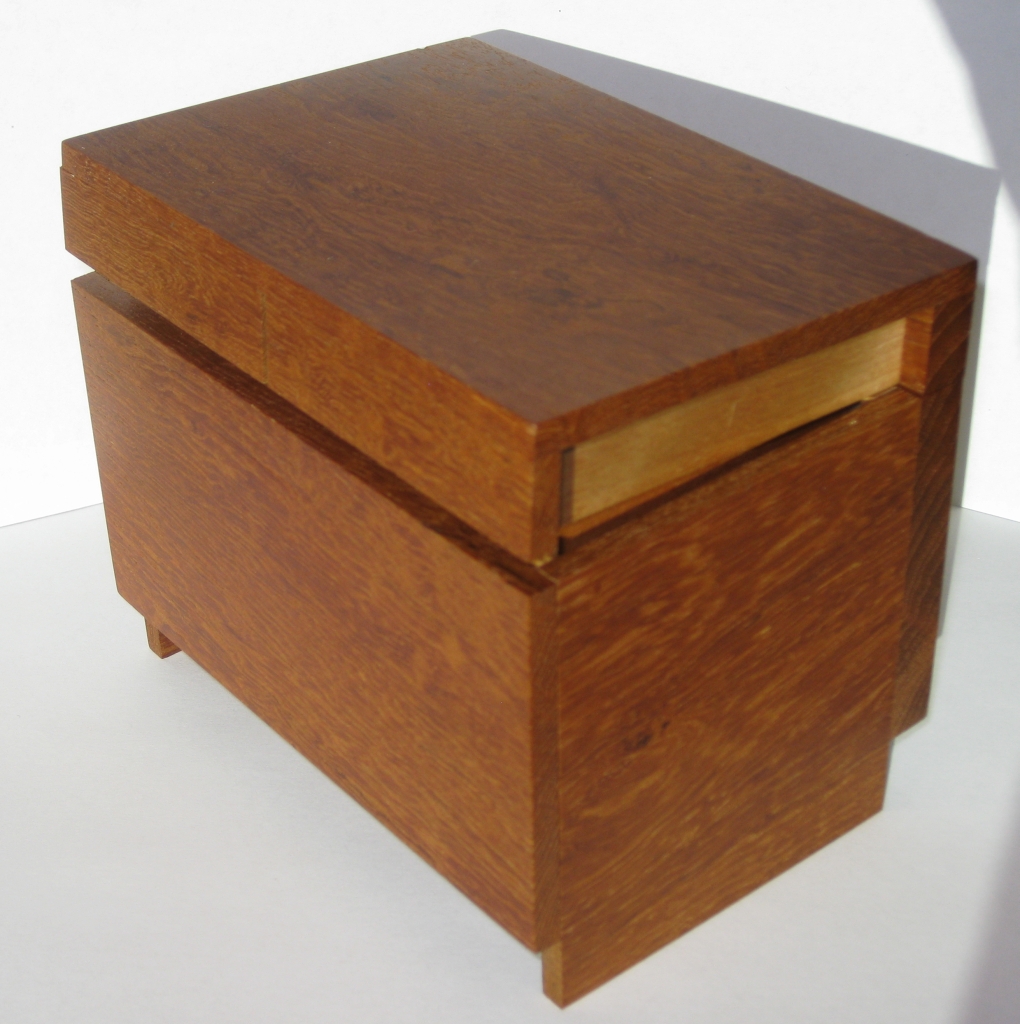
This beautiful looking puzzle is made from figured Teak, and really stands out as a great looking box. Measuring 6″ x 4.25″ x 4.25″ it’s not a small box either, so it stands out on the puzzle shelves, despite being a fairly plain ‘box’. The copy I have was listed as having a long scratch on it, but it took me quite some time to find it, and given that it’s underneath the finish, I’m pretty sure it’s been there since the box was made. Not that I’m complaining, it certainly doesn’t take away from the beauty of the box at all. Eric made this box in several woods. Have a look in the Cubic Dissection Gallery to see all the combinations which were available originally.

So why is it called the “Hinged Box”? Well this photo of the back of the box should clear things up.

Hinged Box hinges - Eric Fuller

Hinged Box hinges – Eric Fuller

The back of the box shows two small brass hinges, and hint at the way the box will open. Of course, I’ve had puzzles before which have visible hinges at the back, and they were entirely red herrings, designed to throw you off. In this case however the hinges are real, and when you finally solve the puzzle, the lid swings open the way you’d expect.

I had this puzzle for several weeks before I solved it. My work schedule has been hectic (hence the lack of posts here) and as such I’d pick the puzzle up and play for a few minutes at night when I got home from work, but realise I was far too tired to apply logical thought to the box. As it turns out I found most of the solution fairly quickly. Some simple investigation will reveal a number of sliding panels, and a few panels which look like they should slide but don’t. More poking and prodding will get the panels which didn’t move freed up, and at that point I hit a dead end. I couldn’t see any more forward progress, and as such went backward and forwards with the moves I had found for several days.

One evening a few weeks ago, I was having a fairly good night puzzle wise, and I can only attribute that to having had a Sunday off for the first time in weeks as I’d solved several puzzles that had been sitting on my unsolved table. I picked the Hinged Box back up and within a minute had found the move which was eluding me and had the box open.

Hinged Box opened- Eric Fuller

Hinged Box opened – Eric Fuller

I’ve been careful not to give anything away as to how the box opens in the photo above, but as you can see it opens the way you expect it to given the hinges. Overall, this is a really nice puzzle, and the final move is very well hidden, and in my opinion rather unexpected. Great puzzle Eric, and I’m glad to have one in my collection.

California Puzzle Party – hosted by Nick Baxter (Part 2)

So at the end of the last post, I had been playing with Marcel Gillen’s Rolling Pin puzzles, and ended up with very silver hands thanks to the aluminium dust. That really was the end of the day though and I have missed out a big chunk in the middle, so time to back track a little and fill in the blanks.

Alan Boardman with a cigar box containing one of every puzzle he makes

Alan Boardman with a cigar box containing one of every puzzle he makes

Alan's Business Card

Alan’s Business Card

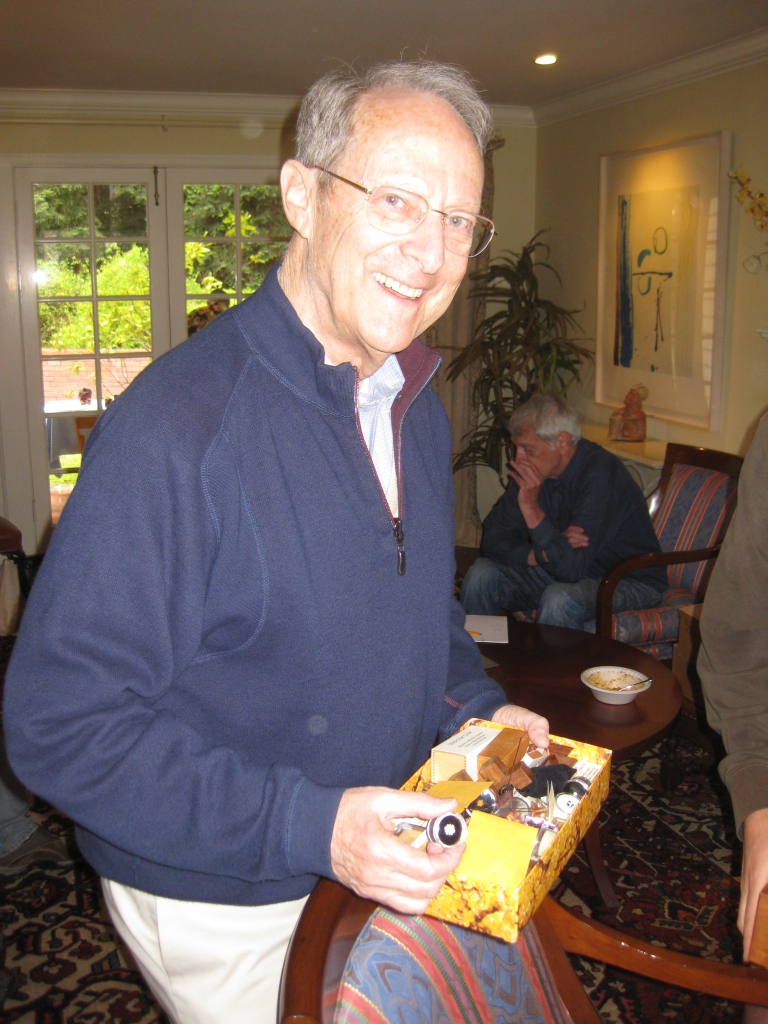
I had the pleasure to meet Alan Boardman for the first time, and was able to see some of his work up close. Often with photographs of puzzles, it’s hard to tell the size of them, but with Alan, Scale is everything. He considers himself a microxylometagrobologist. Yes, he makes tiny puzzles. The remarkable thing is that these puzzles, most less than an inch in size, and many less than a quarter inch in size are made with regular woodworking tools, with a level of precision which needs to be seen to be believed. Even his business card needs to be seen to be believed. A beautiful slice of 2ply Birdseye Maple!

As I mentioned in the first part of the puzzle party writeup, Nick Baxter went through a guided solve of the IPP 17 Host gift made by Gary Foshee. I took photos throughout the solve, and will do a writeup here. Warning, there may be a number of images here showing parts of the sequential discovery where clues as to how to solve the puzzle may be seen. I feel that given how limited this puzzle is, that few people will be able to see or solve this puzzle, and as such I fell less concerned about showing steps of the solution. However if you don’t want to see anything, then don’t click the link below.

Read on

Continue reading

California Puzzle Party – hosted by Nick Baxter

It’s been a while since I’ve updated the blog, as I’ve been pretty busy with work, and with progress on a certain puzzle I’m making, but I thought this one was worth the wait. Before I say much more, I’ll give you two pictures. As ever, click them to see a larger version…

Nick Baxter's entire collection of Stewart Coffin Originals

Nick Baxter's entire collection of Stewart Coffin Originals

Nick Baxter's entire collection of Stewart Coffin Originals

Nick Baxter's entire collection of Stewart Coffin Originals

Yes, that table, measuring probably 16′ long is a lifetime of work from puzzle designer, builder and inspiration to many; Stewart Coffin. In a rare occurrence, Nick who graciously invited us to a puzzle party at his house, had the entire collection out and on display for cataloging. Not only that, but he was happy to let us play with the puzzles, and for others demonstrate some really unique movements to some plain looking puzzles. To see the collection through the pictures I took really doesn’t do it justice.

The video shows a scan of both sides of the table, and hopefully gives a better idea of what’s there. Obviously, the larger images below show the collection in more detail, but sometimes a video is more useful. Something incredibly interesting that a few of the people who were there commented on, including Scott Peterson, who is well known for some stunning Coffin reproductions was that the size of the puzzles gets smaller as the numbers get higher. Now this may fit with how many people thing about your skills as a wood worker progress over the years. Start big, get smaller as you go, but we came to a different conclusion. When Stewart started making puzzles, he was able to get his hands on lumber in much greater thicknesses than is readily available today. So as the years go on, and the lumber gets thinner, the size of the puzzle pieces you can make gets smaller. Maybe other people out there have thoughts, but that was ours!

The series of photos which follow, show the collection. Enjoy.

The collection

The collection

The collection

The collection

The collection

The collection

The collection

The collection

The collection

The collection

The collection

The collection

The collection

The collection

The collection

The collection

The collection

The collection

The collection

The collection

The collection

The collection

The collection

The collection

The collection

The collection

The collection

The collection

All I can really say personally is WOW. Thank you to Stewart Coffin for creating so many unique and beautiful puzzles for us to play with, and thanks to Nick for letting us see them!

Now that you’ve stopped drooling, the collection of Coffin’s was only one small part of the day.

There were many familiar faces present, including Bram Cohen, Alan Boardman, Abel Garcia, Scott Peterson, Derek Bosch, Marc Pawlinger, Stan Isaacs and a few faces I didn’t recognise. Nick’s wife was also there, and had laid on quite a spread of food including some excellent chilli to keep the puzzlers well fed throughout the afternoon.

As this was the first time I’d been to Nick’s house I had a good wander around to see what puzzling delights were on show. In the puzzle room there’s quite a few familiar puzzles on display. I recognised a couple of Kagen Schaefer’s boxes, as well as Berrocal’s and many of Eric Fuller’s puzzles, plus a pretty nice collection of Marcel Gillen’s work. I didn’t have time to play with many of the puzzles on the shelves, but I’ll come back to the Marcel Gillen puzzles…

Nick's puzzle room

Nick's puzzle room

Nick's puzzle room - Berrocal

Nick's puzzle room - Berrocal

Nick's puzzle room

Nick's puzzle room

Nick's puzzle room

Nick's puzzle room


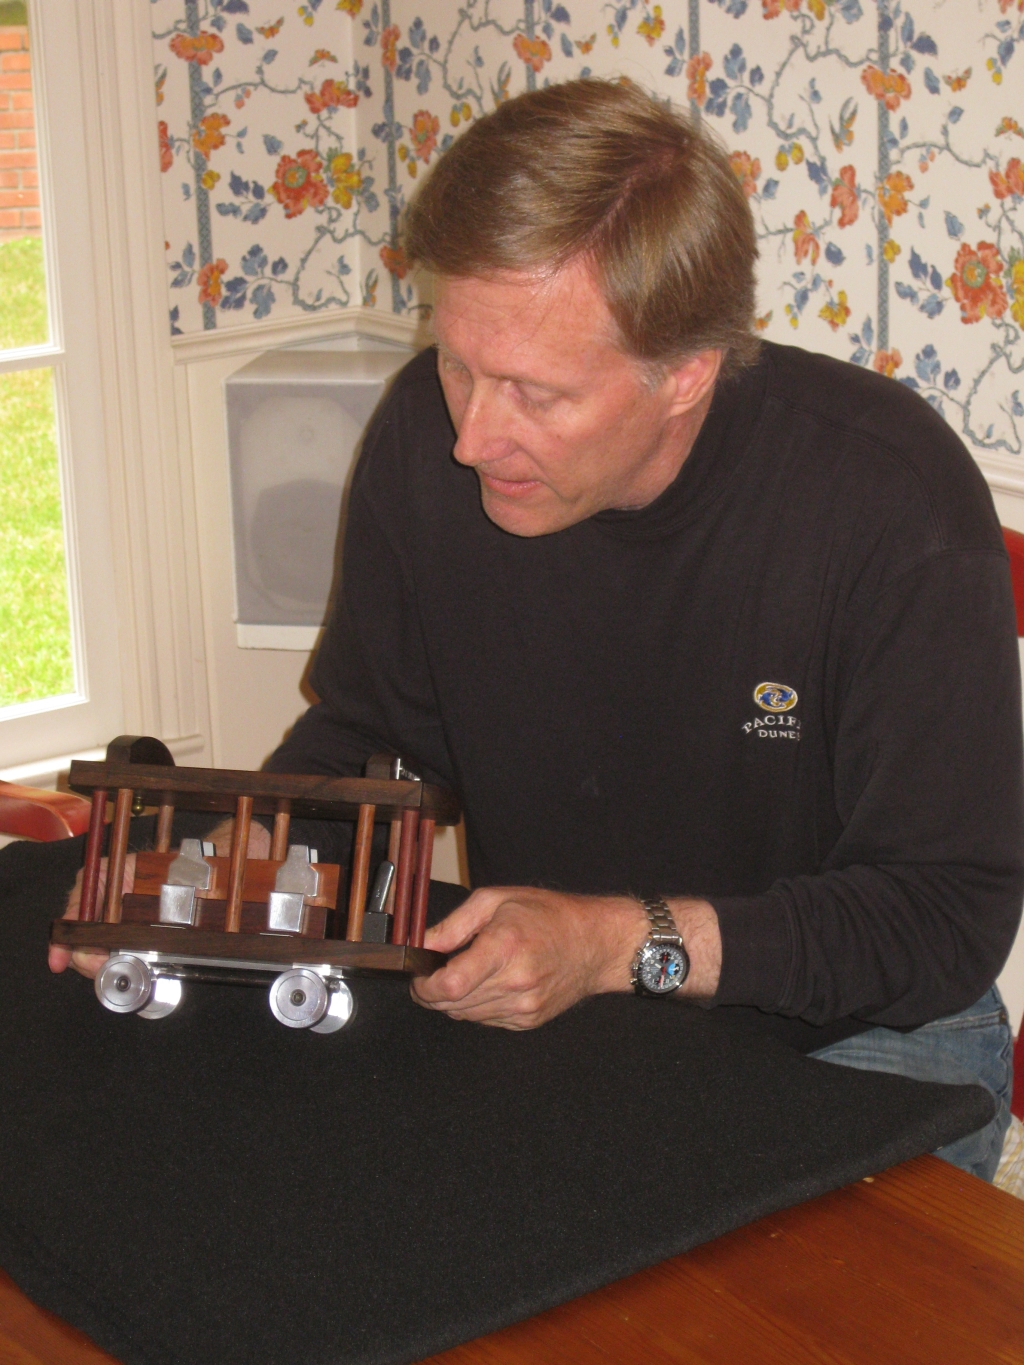
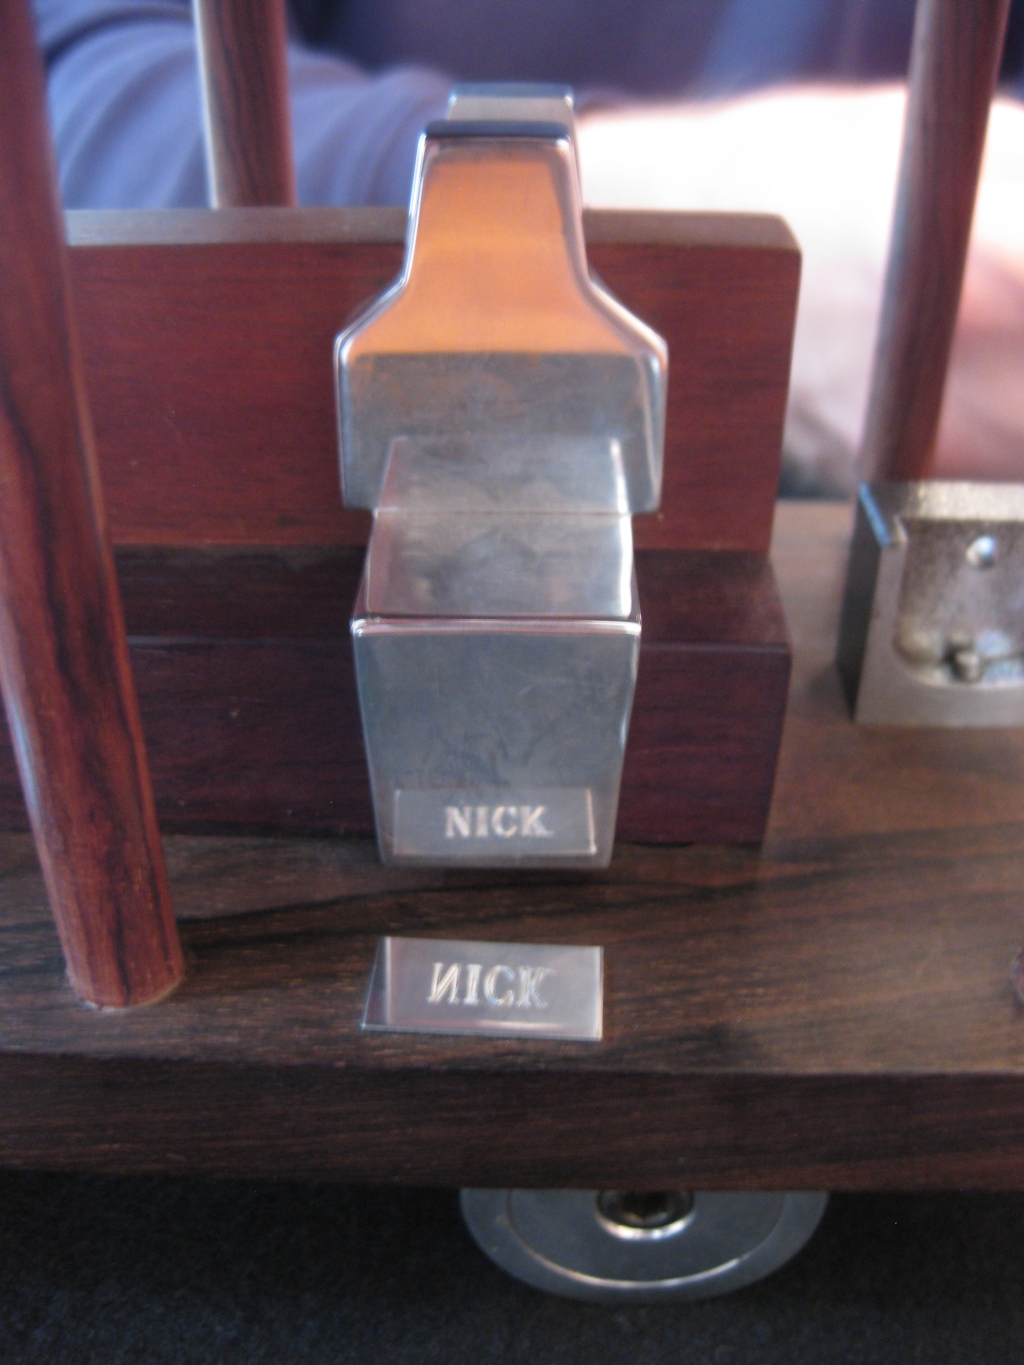
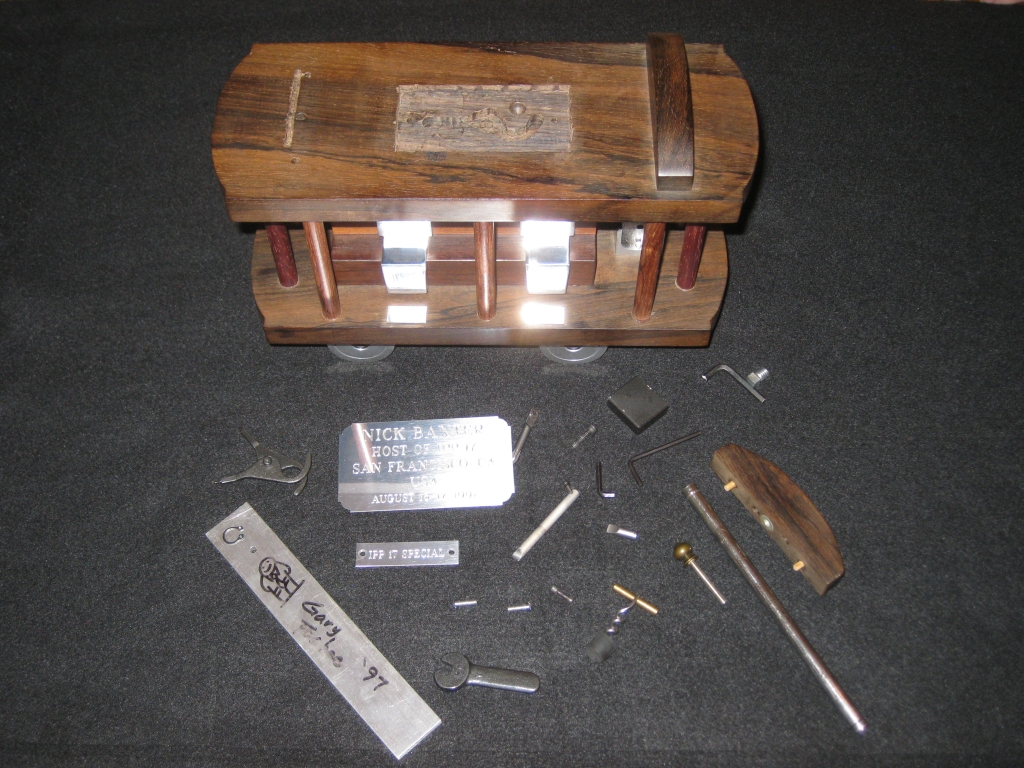
While I was browsing the room, Nick announced that he was going to be doing a guided solve of the Host gift from IPP 17, made by Gary Foshee. Well I didn’t want to miss that, having seen the Trolly Car sitting on Nick’s dining room table when I walked in. It is a sequential discovery puzzle where each part of the puzzle opened reveals new tools, or parts of tools which must be combined in some clever ways to be able to get to the next part of the puzzle. The object is to remove the four passengers, whose names are inscribed in plaques at their feet. I’ll do a full review of that puzzle in part two of the writeup for the Puzzle party as I took pictures throughout the disassembly, but here’s a couple of quick pictures to let you see just how much is hidden in the puzzle.

The IPP17 Host Gift

The IPP17 Host Gift

The IPP17 Host Gift

The IPP17 Host Gift

IPP 17 Host Gift

IPP 17 Host Gift

After Nick had spent 20 minutes or so taking the puzzle apart, with suggestions from the collected audience, a few of us remained around the table for the assembly process to restore the puzzle to its start point, including myself, Abel and obviously Nick. As we talked the topic of the Revomaze puzzles came up and I mentioned that I’d solved all so far except the Gold, and we discussed my thoughts on the series and also Gold Specifically. Abel asked when I’d received mine as he didn’t have his and we talked a bit more as Nick struggled to remember exactly where each piece came from! After he was finished, he asked me to join him in the puzzle room, which of course I did.

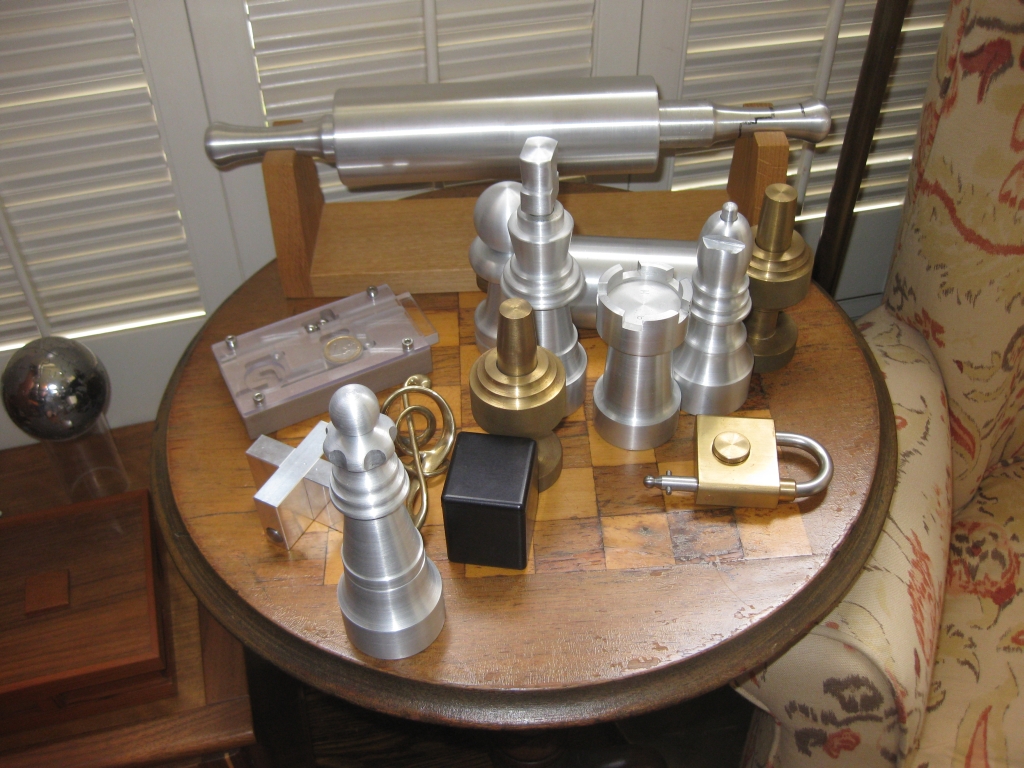
The Gillen Collection

The Gillen Collection

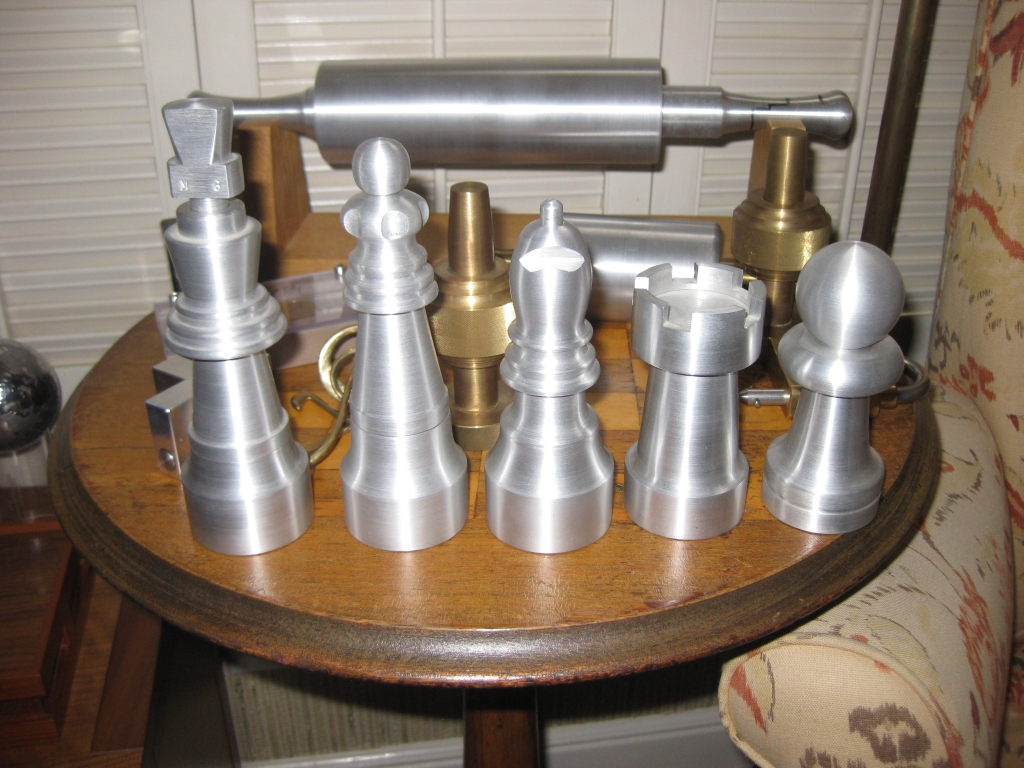
There he picks up the small Marcel Gillen rolling pin puzzle and hands it to me asking “See what you make of that”. So I start playing and quickly find that there’s a maze in there, and the handle of the rolling pin is what is navigating the maze. Sound familiar? Anyway, after a couple of minutes, I find that there’s a sprung pin in there which rides on top of a maze, and gives a distinctive click when you fall off, forcing you to back track to the start and retry. The weight of this puzzle is significant, certainly more than that of a Revomaze Extreme. I quickly find that I can navigate the maze, and moving slowly I can feel the edges of the maze much like you can with practice on the Revomaze. Nick mentions that the larger, entirely aluminium rolling pin is even heavier when I point this out. So I must have a go of that too! The larger one took it’s toll on me. I ended up with my hands silver from all the aluminium dust having spent around half an hour working on it! I believe I made it around half way though the maze as I has able to get from the start to the other end of the pin consistently before falling off. Nick who’s opened the smaller puzzle from IPP13 but only made it half way in the larger says he thinks that’s around half way! For those who have solved a Revomaze, these puzzles significantly predate the revomaze, but lack the ‘quick reset to start’ found in the earlier Revo puzzles.

I did have a play with the much smaller, and lighter Eis Puzzle which I did solve. But I’ll be going back to complete these rolling pins as I’m pretty sure with a little more time I can crack both of them!

Also on that Gillen table was a fair collection of the Chess pieces, so I took the much better picture above since I had remembered my camera that day, unlike the last time at Stan’s

I also spent a while talking to Nick about the current Black Letter labs puzzle series as Nick and I are working together with a team of Renegades solving those. At this time, our team is #2 in the overall rankings with a combined solve time for the first 4 puzzles of 3 days, and it’s been a lot of fun (When we finished both artifacts 3 and 4 we were briefly in first place overall). I’ll write more about that in another post though.

I had a great day and it was good to see a lot of familiar faces. Come back in a few days when I’ll hopefully be able to post the rest of the writeup, including some items from Alan Boardman and his miniature puzzles, and the Trolly Car guided solution.