Category Archives: Puzzle Reviews

Puzzle Master Trick Locks 1-5

I recently borrowed a set of five Puzzle Master Trick Locks from fellow puzzler Brian Pletcher, through the Puzzle Library run at Renegade Puzzlers. Brian has already reviewed the locks, so check his series of reviews here. Jeff Chiou had the locks before me so I met him over lunch to talk about puzzles and for him to pass on the locks to me, since we work fairly close to one another. Read his thoughts on his blog here

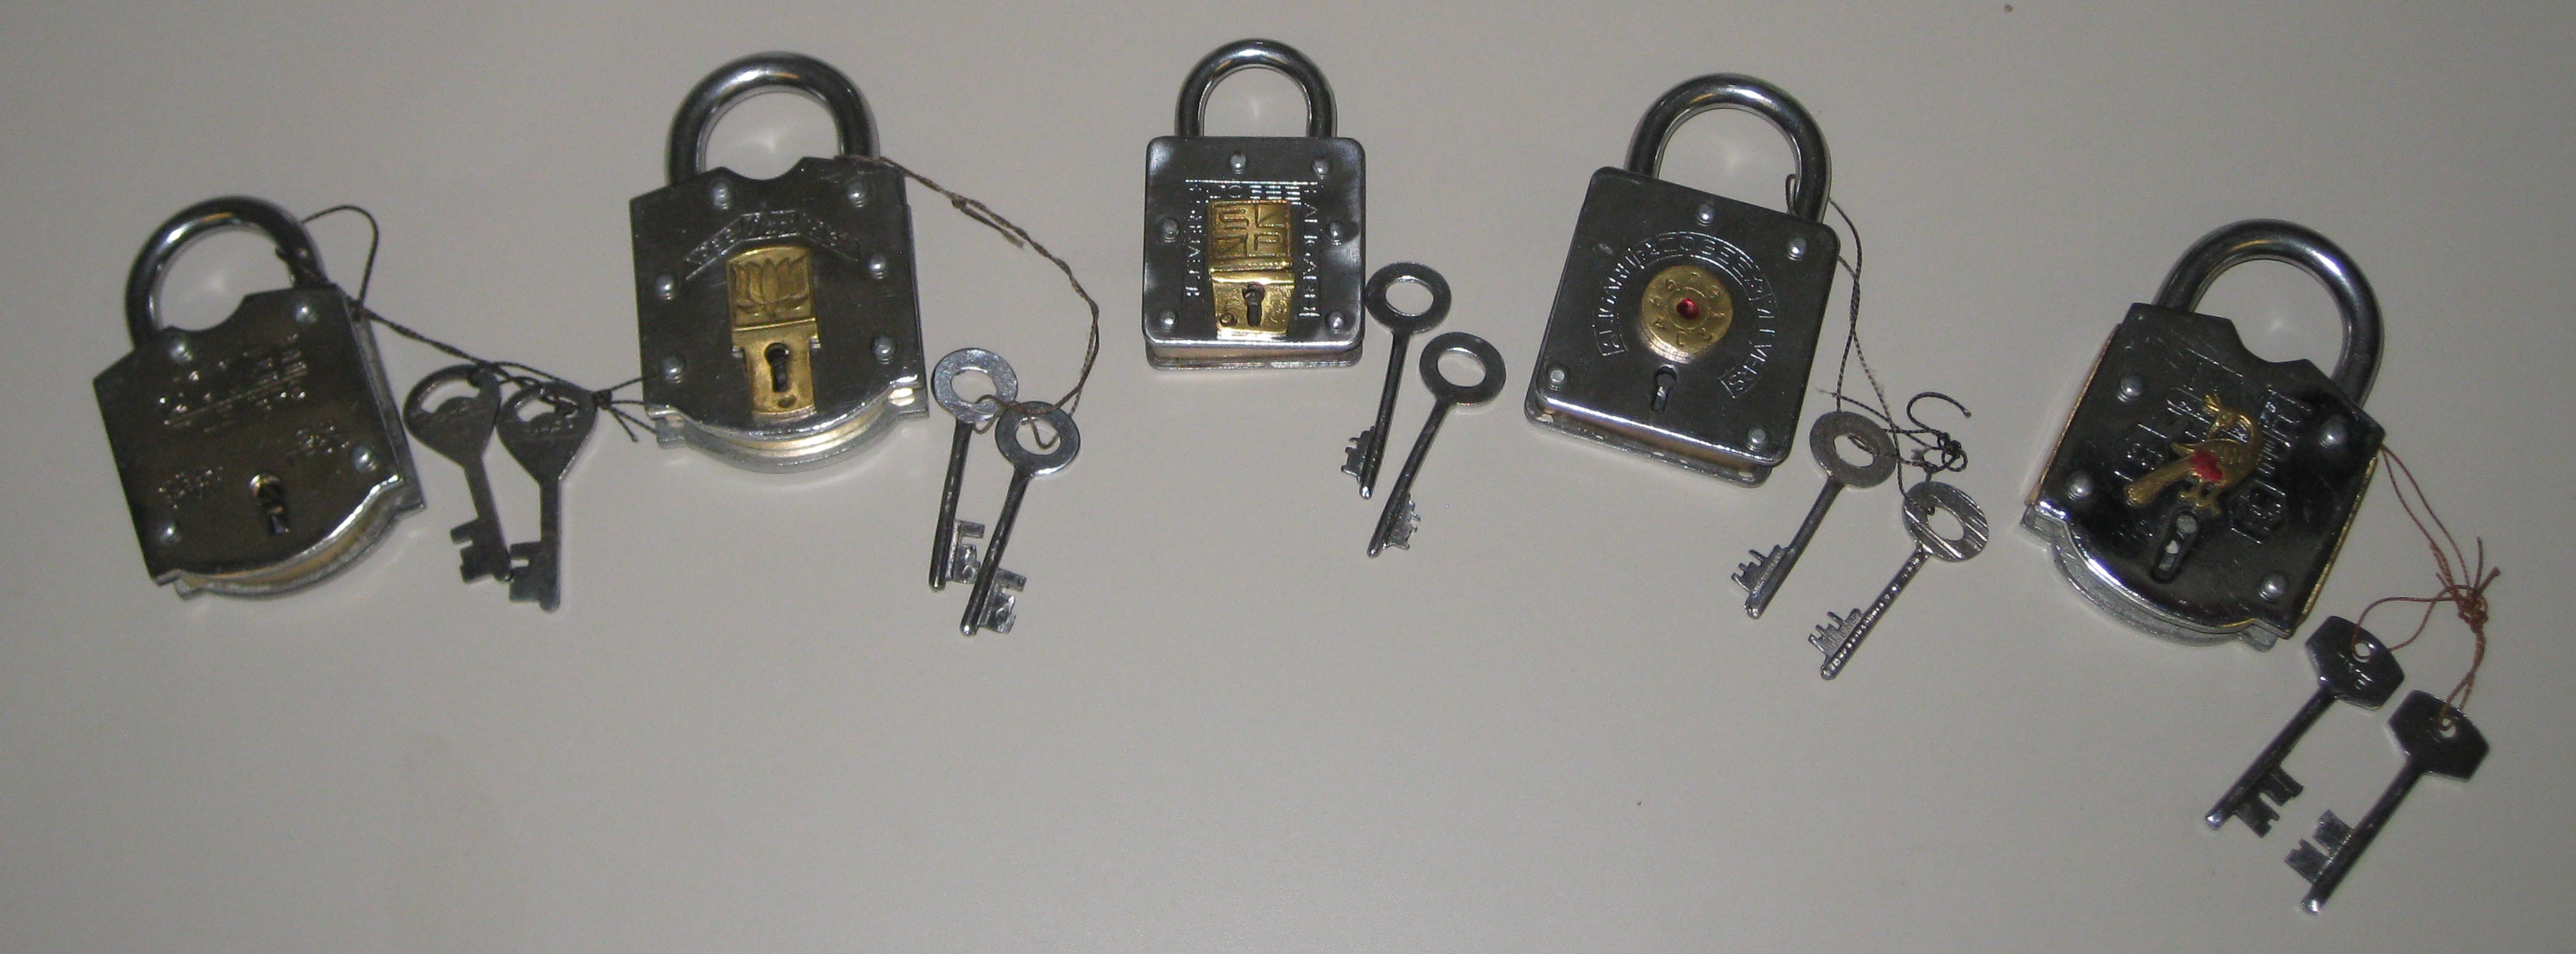
All 5 Puzzle Locks

All 5 Puzzle Locks, from left to right - 1, 3, 2, 4, 5.

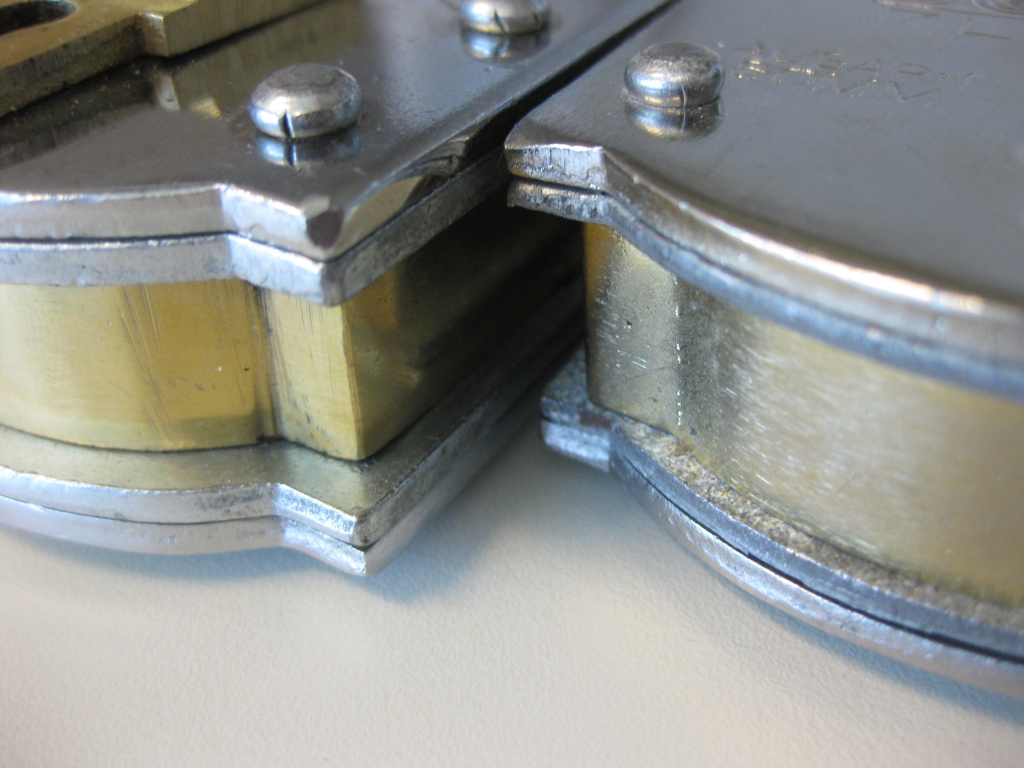
Edge Closeup

Edge Closeup

The first thing to note with all of these locks is that they are all solid. They’re constructed from double thick steel plate and brass riveted into stacks as you can see on the right. That gives them a very solid feel, and significant weight to each lock. One thing to note from that however is that it doesn’t mean that these are high quality locks. The fit and finish is rough giving the locks a ‘well used’ feel to them. The keys for the locks seem flimsy by comparison to the build of the locks themselves. Priced between $20 and $30 per lock these aren’t the cheapest puzzles out there, but they are on the low end of the scale when it comes to puzzle locks. That is somewhat reflected in the level of difficulty of the puzzle, as I’d classify all of these as easy. I’m not a trick lock expert, however I opened all of these very quickly. The locks come from India, and to my knowledge, Puzzle Master is the only place to buy them currently.

Trick Lock #1

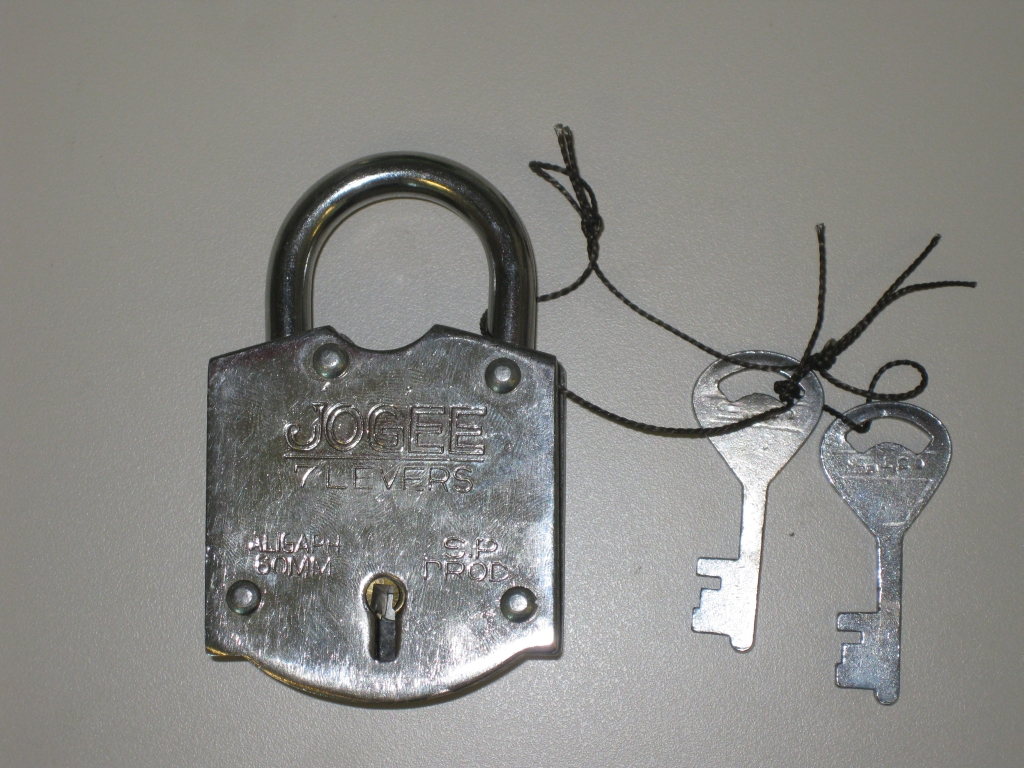
Trick Lock 1

Trick Lock 1

The first of the trick locks is the most traditional looking lock of the set. From the front, there’s nothing unusual, however inserting the key and turning in any direction isn’t going to get you far. The secret to this lock isn’t well hidden, and really is my one big problem with this lock. Had the secret been hidden better, this would have been a far better puzzle lock.

Trick Lock #2

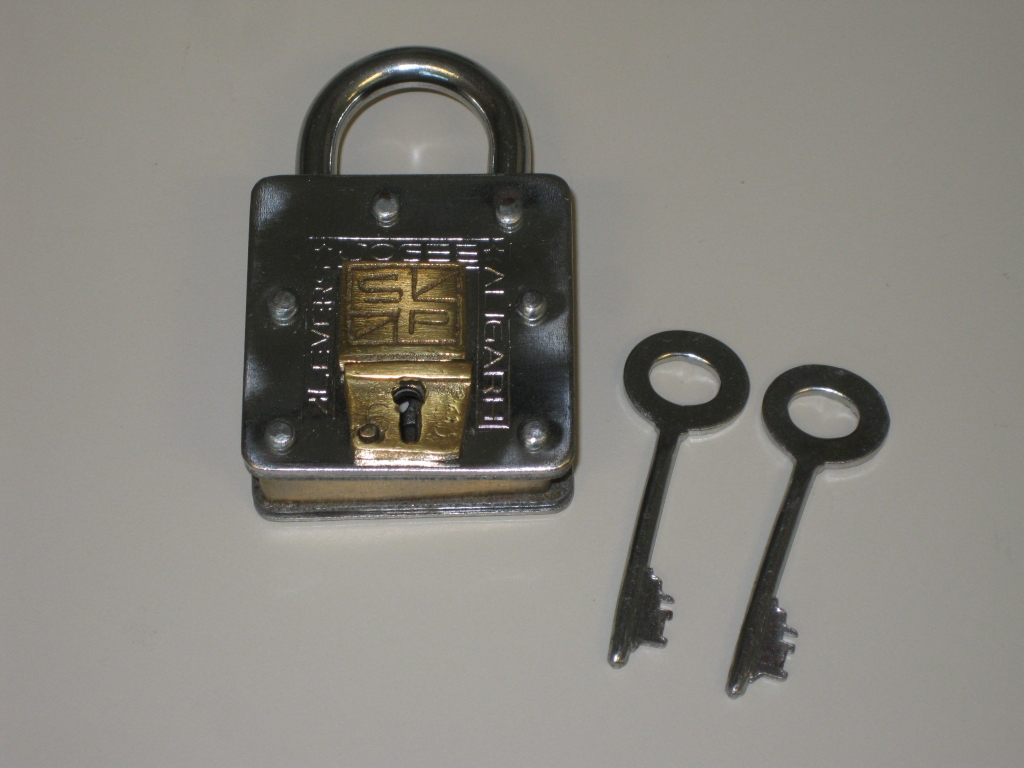
Trick Lock 2

Trick Lock 2

The second lock in the series is both the smallest and lightest of the locks. Inserting the key into the lock you’ll find that it doesn’t even turn so clearly that’s not the solution. This has a novel mechanism which may catch some people out as it’s not entirely obvious. The fit of the mechanism lets it down slightly , but also helps to throw you off the scent as things which really shouldn’t move, do. The back of this lock gives the puzzler a hint as to its solution, however the mark on the back is subtle, and may be easily missed as a manufacturing defect. Given it’s location I’m inclined to believe it was a hint rather than a flaw.

Trick Lock #3

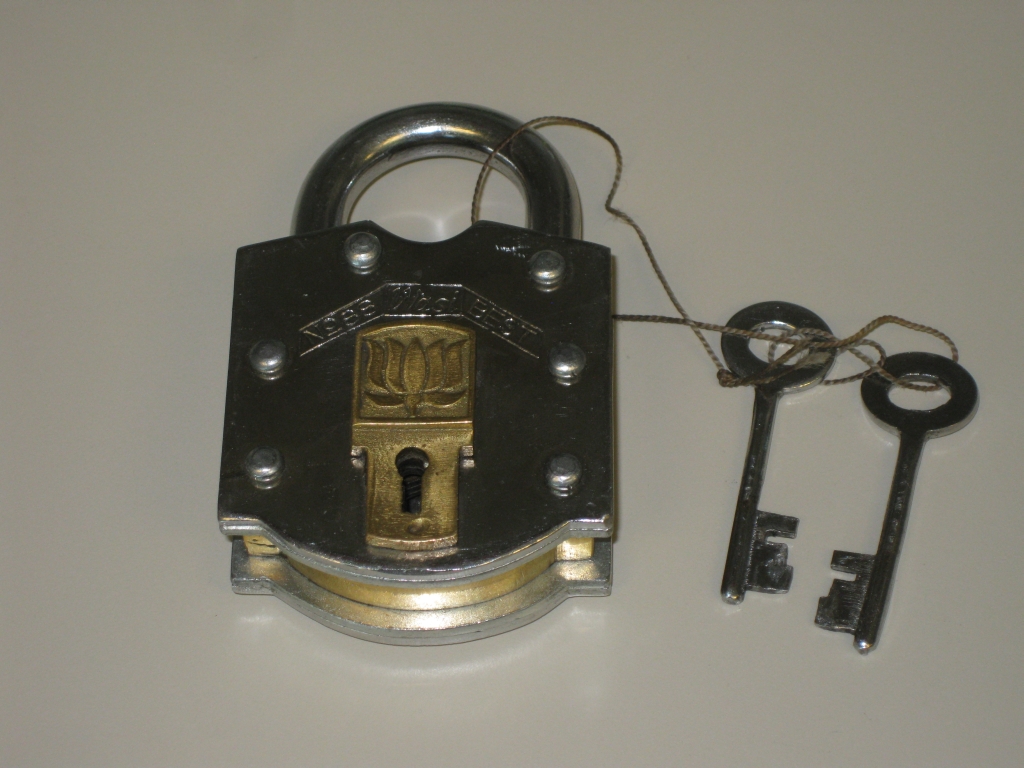
Trick Lock 3

Trick Lock 3

The third lock in the series is a fun lock. The mechanism isn’t obvious, and is possibly the best hidden of the series. I have to agree with Brian’s review that it is entirely possible to open this lock without knowing how you did so, and given that, not reset it back to it’s locked state. The stylised front adds a nice feature and is probably my favorite aesthetically in the series. Again, it’s not a difficult puzzle, and the solution isn’t obvious so this may keep some people guessing.

Trick Lock #4

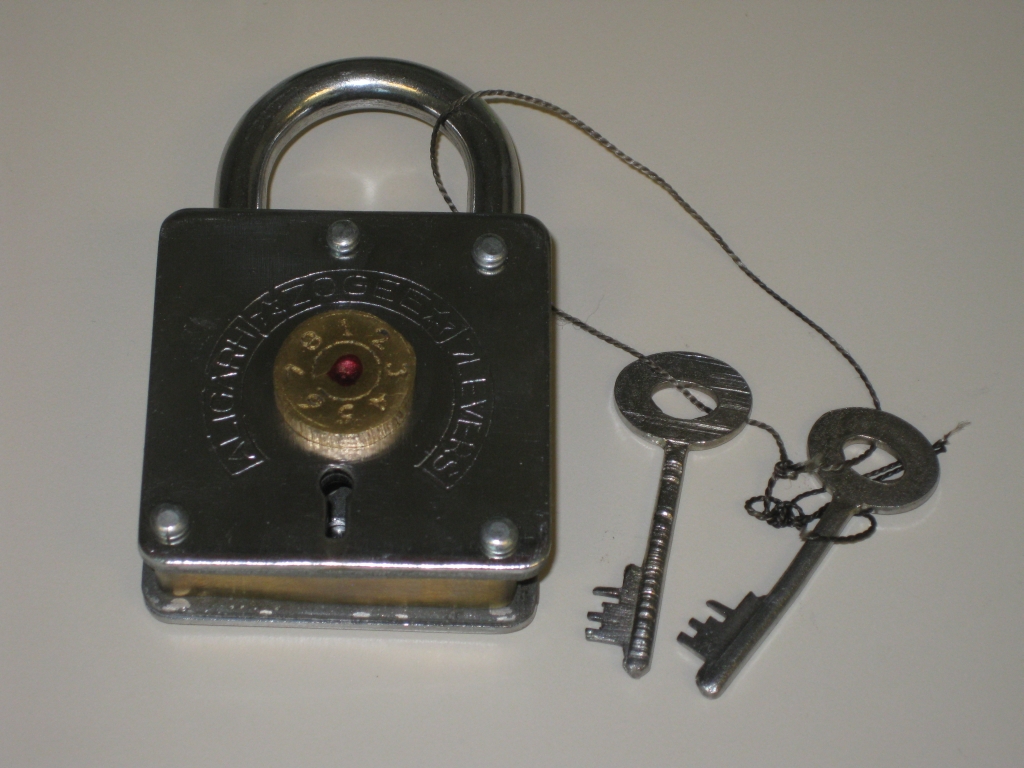
Trick Lock 4

Trick Lock 4

Number four is an interesting lock, with a combination dial on the front face. Again, the back of the lock will come in handy when trying to solve this lock, as there’s a handy clue stamped into the back for you if you’re paying attention. The dial itself is fairly roughly cut and etched with the numbers 1-8, plus a red splodge of ink in the centre. I don’t much care for the red ink, as it really doesn’t add anything, and isn’t particularly well applied. The dial on this particular lock is incredibly stiff, but it is possible to rotate it 360 degrees. It’s easier to stop at 8 and reverse your direction rather than trying to keep going however, so I’d recommend that approach. This is very similar to #2 in the series in terms of opening the lock, but the mechanism is different enough to be worth opening even after solving the earlier lock.

Trick Lock #5

Trick Lock 5

Trick Lock 5

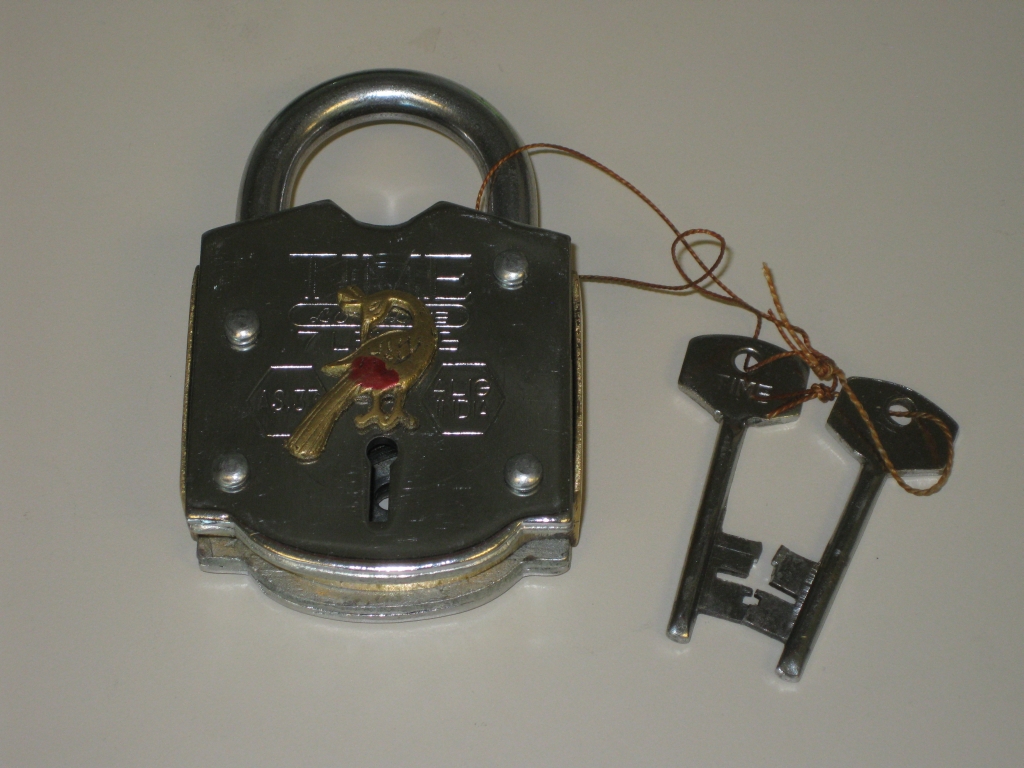
The final lock in the series is the heftiest lock in the set, and the central core of this one looks to be hewn from a solid block of brass, unlike the other locks, which use thinner plate bent to shape. The bird on the front has again been splashed with some badly applied red ink, which really does nothing for the look of the puzzle. This time there’s no obvious hints on the back of the puzzle, so you’re on your own with this one. It’s not the most difficult of locks, but could keep you busy for some time trying to understand how the mechanism works. Even though you can see clearly into the guts of this lock, you’ll not find any clues there either. This is probably my favorite, as it’s the most challenging lock in the series.
Japanese Puzzle Box

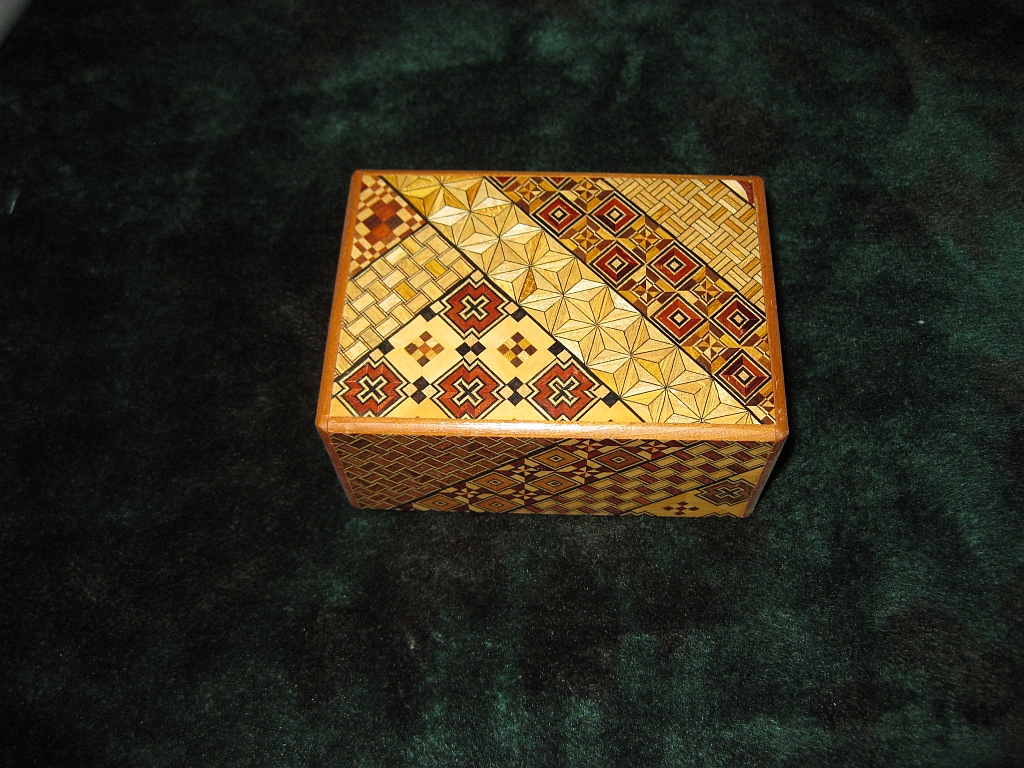
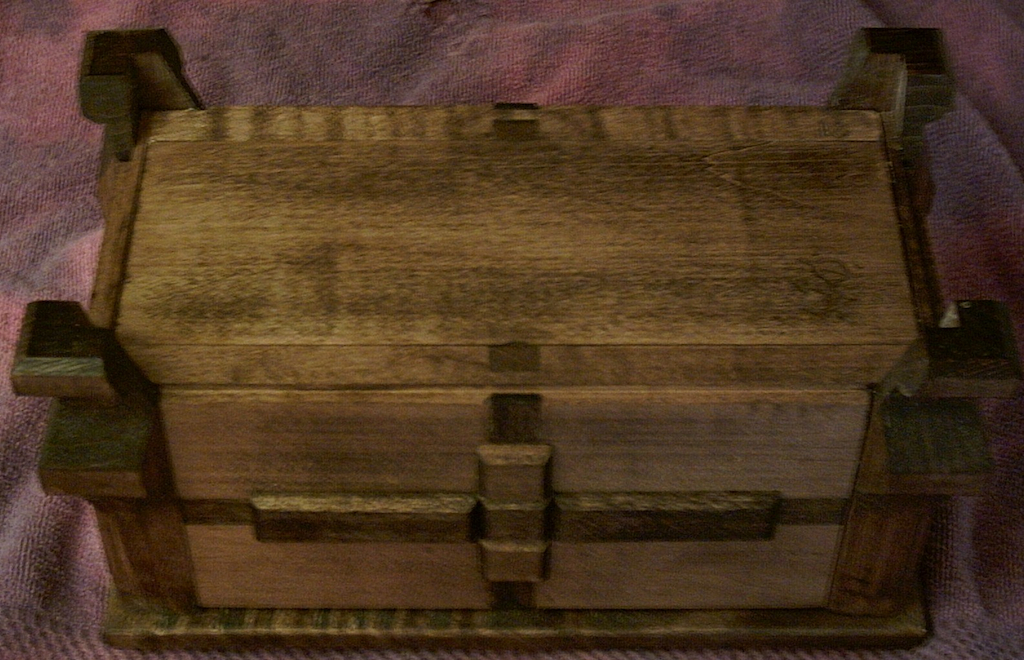
This Japanese puzzle box by an unknown maker takes me back in my puzzling history. This was the first puzzle box I ever bought, and was on a trip to San Francisco with my family when I was finishing University around 14 years ago. This is where my fascination with puzzle boxes stems from, and it’s still a box that I enjoy opening even today.

Japanese Puzzle Box

Japanese Puzzle Box

As you can see it’s a standard Japanese box, with Yosegi patterns on all six sides. This box is fairly large for a Japanese puzzle box and comes in at a 5 Sun box.

So if woodworking wasn’t confusing enough given that everything is measured in inches for cuts (yes I’m Scottish, and we use the metric system for everything except speed and distance – don’t ask me why), and board feet for buying lumber (It’s simple enough when you understand, but way to confuse someone new to woodworking), the Japanese have another system called Suns. What it actually equates to is the following:

Sun Size Size in Inches
1 Sun 1.22″ (Mame)
1.5 Sun 1.83″ (Mame)
2 Sun 2.44″
2.5 Sun 3.05″
3 Sun 3.66″
4 Sun 4.88″
5 Sun 6.10″
6 Sun 7.32″
7 Sun 8.54″

This particular box is a 36 move box. It’s by no means the most complicated box to open as the sequence is (mostly) the same from start to finish. Once you find the sliding panels, the box follows the same sequence until the top panel slides off. Well that’s mostly true. There is one sneaky move towards the end of the 36 moves where one slider actually moves back to a previous position to allow the next move to take place. This certainly caught me out the first time I tried to open it (as I threw the opening instructions away), and it catches most people I have given this box to as well.

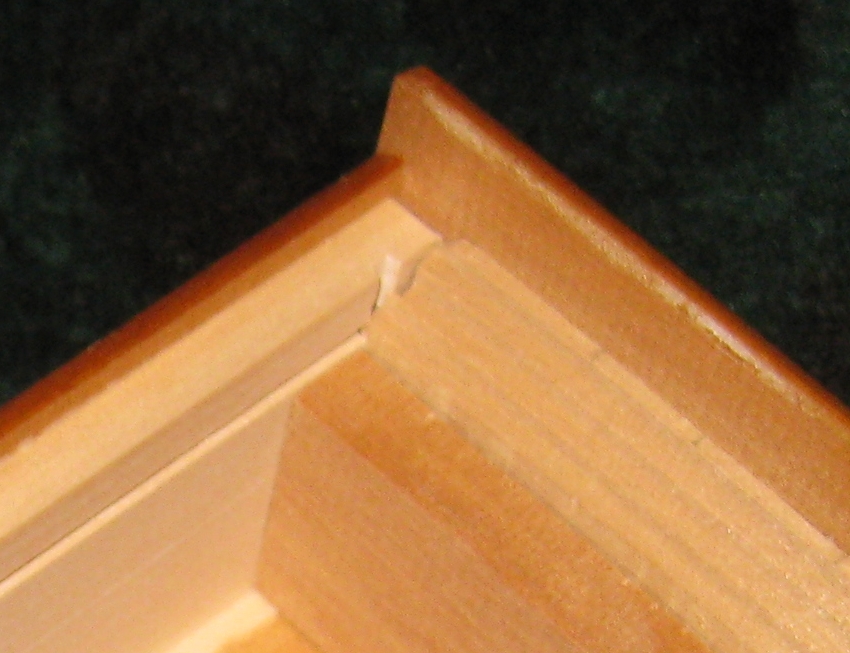
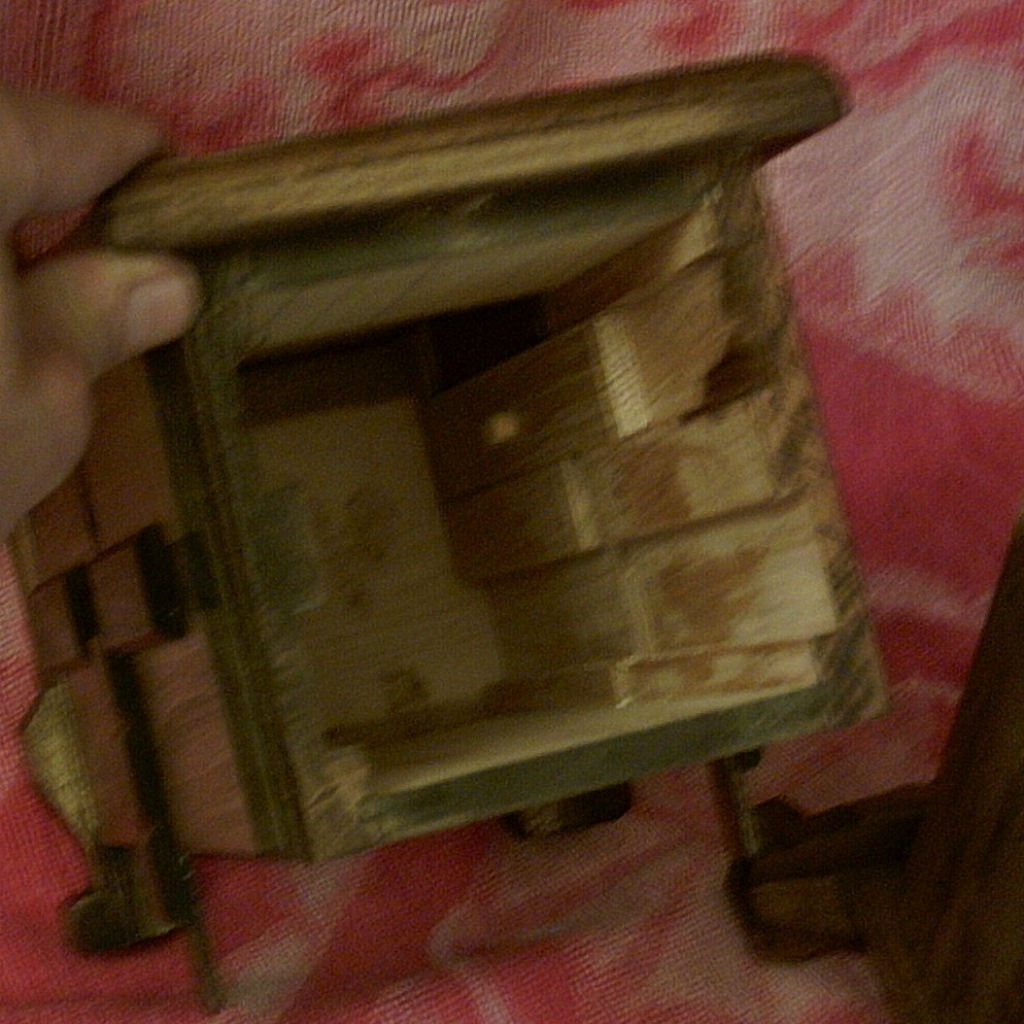
The image below shows a closeup of the internal mechanism for this box, which I find fascinating. If you click on the picture, you’ll see the full box, so if you don’t want to see the full box, don’t click the link. It doesn’t give anything away really, but now you’ve been warned.

Japanese Puzzle Box open

Japanese Puzzle Box open

The amount of work which went into this box is just stunning, especially when you consider that I paid less than $30 for it. This may be a mass manufactured box, but the quality of the fit and finish is excellent. Even the slides are well hidden with no visible gaps between the pieces.

As my first box, this holds a special place in my collection, and as a fairly large box it even has useful storage space inside if you want to keep a small object away securely hidden away. Just don’t use “The Big Bang Theory” method of opening it.

Cast Rattle

This entry is part 3 of 8 in the series Hanayama Cast Puzzles

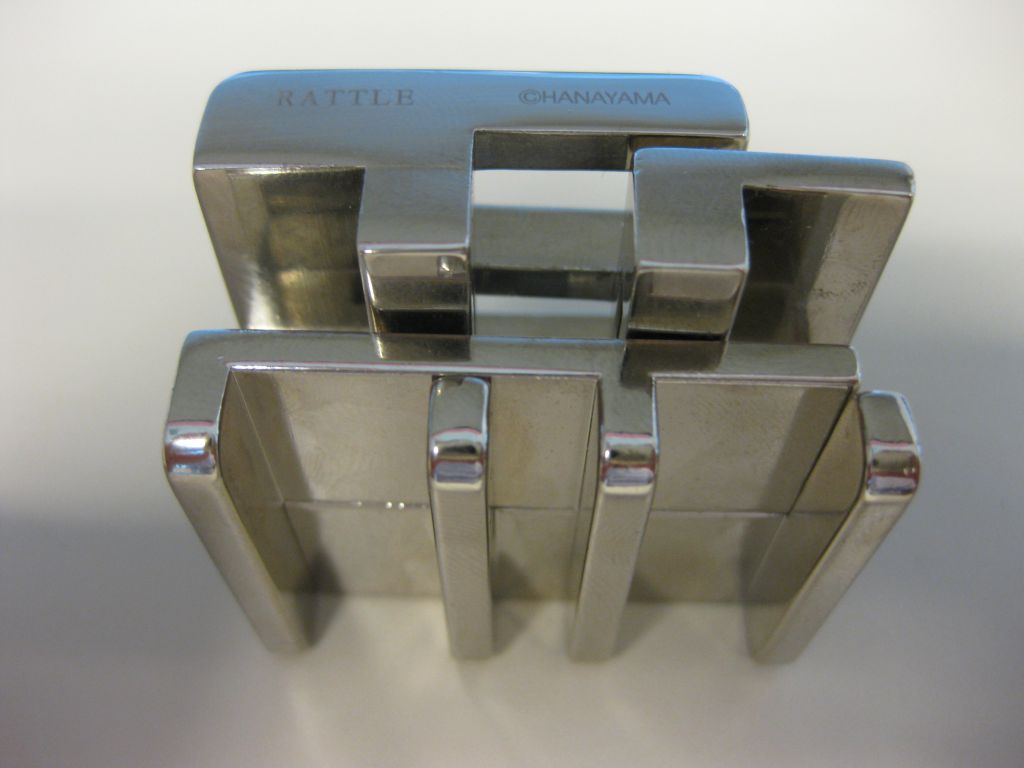
Cast Rattle is another excellent puzzle from the Hanayama Cast series of puzzles. This particular puzzle is designed by Bram Cohen. The highly chromed, clinking puzzle challenges you to separate the four joined pieces, then put them back together, before you drive your significant other insane from the rattling. Thanks to Puzzle Master for sending me this puzzle to review.


Cast Rattle by Hanayama

Cast Rattle by Hanayama

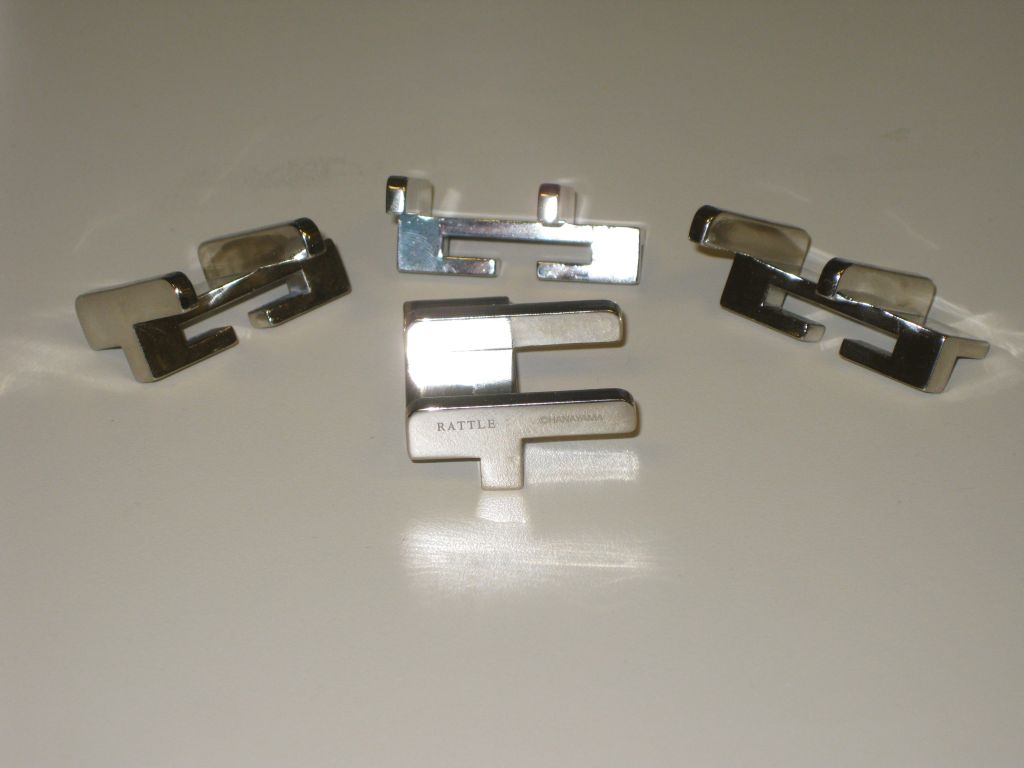
As other people have already commented in their reviews, this puzzle really lives up to its name. The four identical pieces rattle and clink with each and every touch of the puzzle, and most attempts to silence it will prove to be futile. The chromed finish is very slick, and there is very little friction between the pieces to keep them in any particular spot. Have a look at Kevin’s review and Brian’s review to see what they had to say about this puzzle.

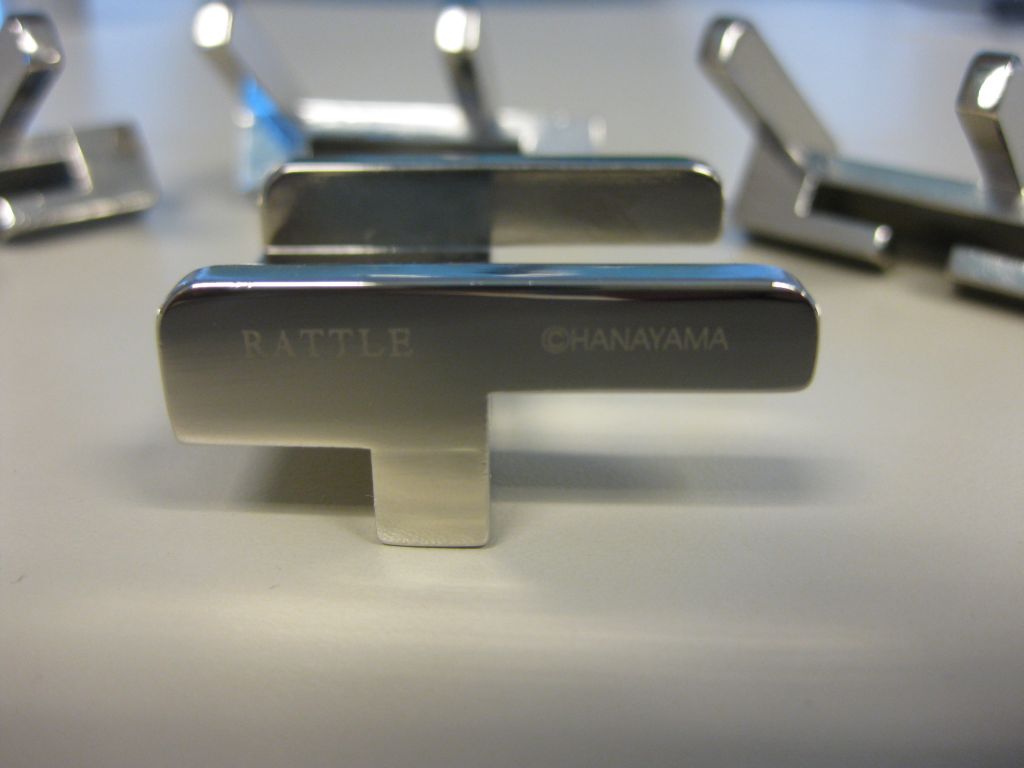
If you’re familiar with the cast series, then it will come as no surprise to find that the name of the puzzle, and Hanayama’s name are laser etched onto one of the pieces. This puzzle is no exception and lives up to the high quality that we are familiar with from the Hanayama series. It’s a solid puzzle with a good weight and excellent fit and finish. Despite its small price tag, this is a high quality puzzle.

Cast Rattle closeup

Cast Rattle closeup

At its smallest, the puzzle is around 1.5″ square x 1″ high. The pieces fit very loosely together which adds to its tendency to rattle, but there’s really no unnecessary movement here. Moving the pieces around in relation to one another, you can see everything, making this another ‘perfect’ puzzle.

You may not realise it, but this puzzle is actually a burr puzzle. Don’t let that put you off though. I know that many people are not a fan of burrs but this is a great puzzle and you’d be missing out if you passed it by. The loose connection of the pieces, and the ability to see all parts of the puzzle make this a rather unique burr. Nothing hidden from you and yet something keeps the pieces locked together.

With nothing hidden, it should be easy to see how it should open, right? And this is where the frustration sets in. Idly fiddling with the puzzle in your hands is unlikely to see you opening it any time soon. Tugging and pulling wildly at the pieces in the hope they will pop apart also won’t yield particularly impressive results. A more structured approach (and a level surface) help in solving this one. You can see from looking at the pieces and how they connect that all you need to do is line the pieces up, and they should fall apart. The beauty is that the pieces are so accurately made, that the alignment has to be spot on for that to happen.

Cast Rattle pieces

Cast Rattle pieces

I’ve given this puzzle to a few different people to try to solve, and most have managed. The interesting thing is that each person approaches the puzzle differently, and as such I’ve witnessed a couple of solutions. The most Neanderthal solution involved holding two pieces and shaking until things fell apart, to the other end of the scale where carefully aligning pieces on a desk and gently repositioning with a pencil until the top two could lift off. Interestingly both were successful!

After I solved this for the first time, and could look closely at the pieces when I was re-assembling the puzzle, I noticed something very interesting. That led to what I consider to be a very elegant solution. Taking a couple of tooth picks and carefully placing them between the pieces, you can precisely align them, and separate the pieces with minimal effort. I wonder if this was intentional when the puzzle was designed or just luck!

The effect of such a precise construction, and low friction surface is that even when you’re putting the pieces back together, almost as soon as the pieces touch, they will move out of alignment locking themselves together again.

Hanayama rates the puzzle as a level 4/6 and Puzzle Master a level 8/10 – Demanding. I have to say that these are spot on. It’s a challenging puzzle and could keep you rattling away for hours if you don’t look carefully at the pieces and their interaction. Even after solving it, and knowing what you have to do, this still provides a challenge every time you come back to it. I highly recommend Cast Rattle for all ages and level of puzzle solving, although I’d suggest not handing it to the baby!

Stickman #2 – Revisited

Some time ago I wrote about the Stickman puzzle box I’d won on a Puzzle Paradise auction. Since then the puzzle has been on a bit of a journey, and as a result I felt it was time to revisit this puzzle.

When I won the puzzle, I spent some time talking with its creator Robert Yarger, and he mentioned that it was a really solid puzzle, and he’d have no issues handing it round for people to try. Well with that in mind, I took it with me to the California Puzzle party. Unfortunately, when it was there, something went a bit wrong, and the puzzle jammed. I was able to shut the puzzle, but there was something very strange going on. Sadly, I had to put the puzzle back in my bag, and that meant no-one else was able to play with it that day.

I wrote to Robert and described what was happening. He instantly offered to take the puzzle back and see if he could figure out what had happened, even mentioning that if he couldn’t fix it, he’d find a way to make things right by me. (As a fellow puzzler has mentioned, nice bloke that Stick guy!) Interestingly, this was only the third Stickman puzzle that Robert has ever had to repair, and one of those was due to an accidental high dive from a shelf. Given the number of puzzles he’s made, and some of the incredibly intricate work he does, that’s a pretty good recommendation of his work.

So I packed the box up, and sent it off. A few days later Robert got in touch to tell me that he had found the problem and would be able to fix it. Before I knew what was happening, Robert had the box all back together and it was back in the mail to me.

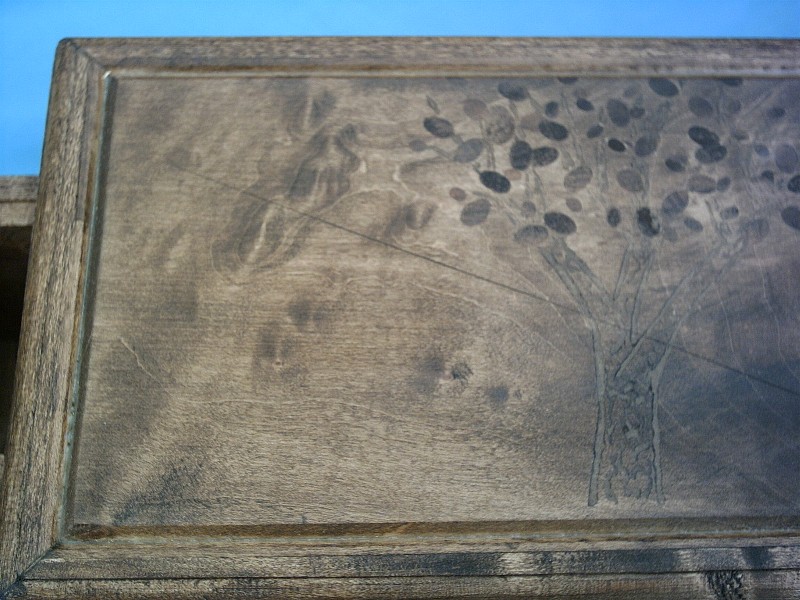
The top before repair

The top before repair

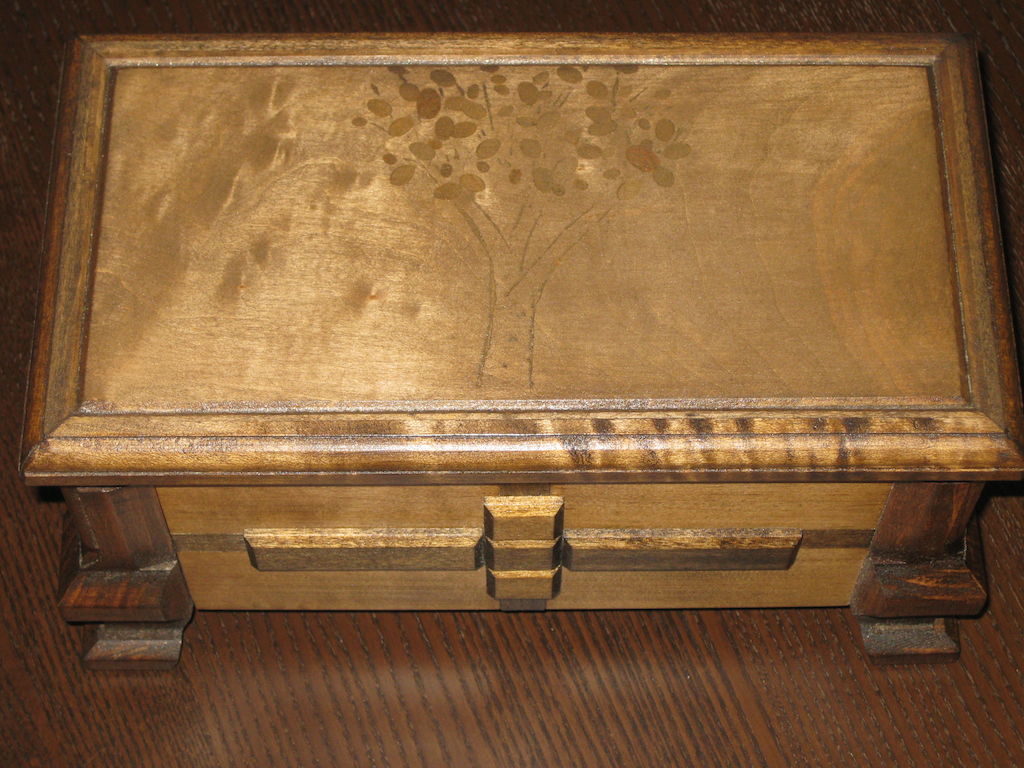
Top after repair

Top after repair

While Robert had the box, he did a little restoration on the top. As you may remember, there was a scratch on the top of the box from the original creation. Robert mentioned that it was common on his early work. Seems like he wasn’t too happy about that scratch being there as he sanded the box down to remove it, then refinished the box, so now it’s even better than new.

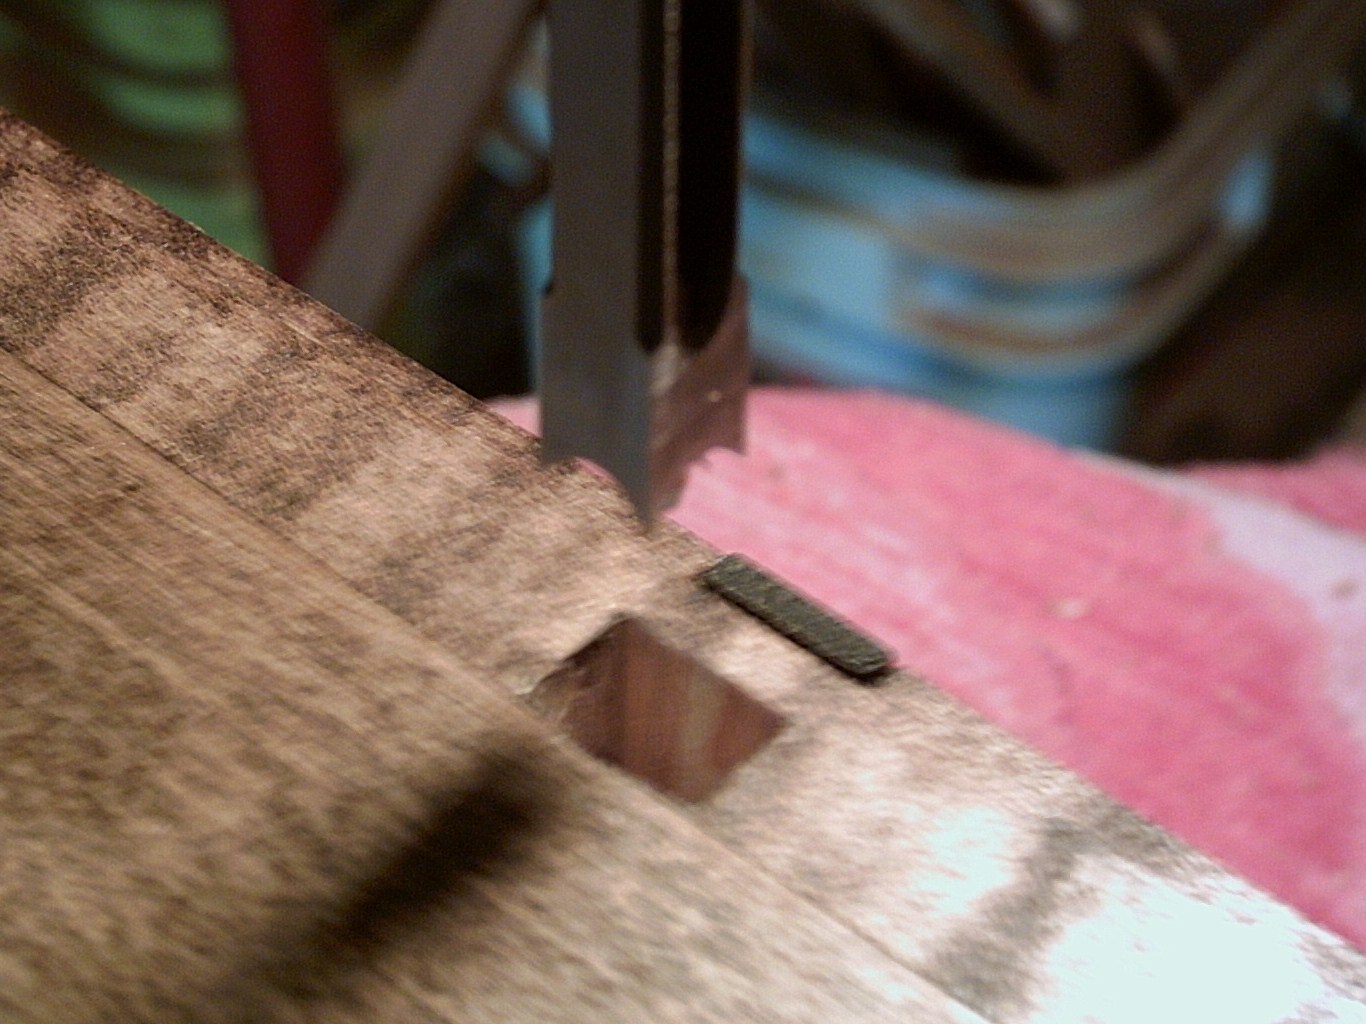
It turns out that what had happened is that on one side of the puzzle, the internal stops had broken and was now free floating inside the puzzle. For a 10 year old puzzle, it wasn’t anything anyone using the puzzle had done, but just a case of old age. To fix things, the part which came free has now been replaced and a much deeper groove cut into the side to embed things firmly. No chance of that coming free again.

Here’s just a few pictures from Robert’s surgery. These don’t give anything away. I’ve kept the pictures of the internals for myself. Thanks have to go out to Robert though for sending me the pictures. He certainly didn’t need to show what goes on inside his puzzle!

This looks drastic, taking a mortiser to the bottom

This looks drastic, taking a mortiser to the bottom

The inside of the box

The inside of the box


Back as good as new

Back as good as new

Wil’s Aluminium Cylinder

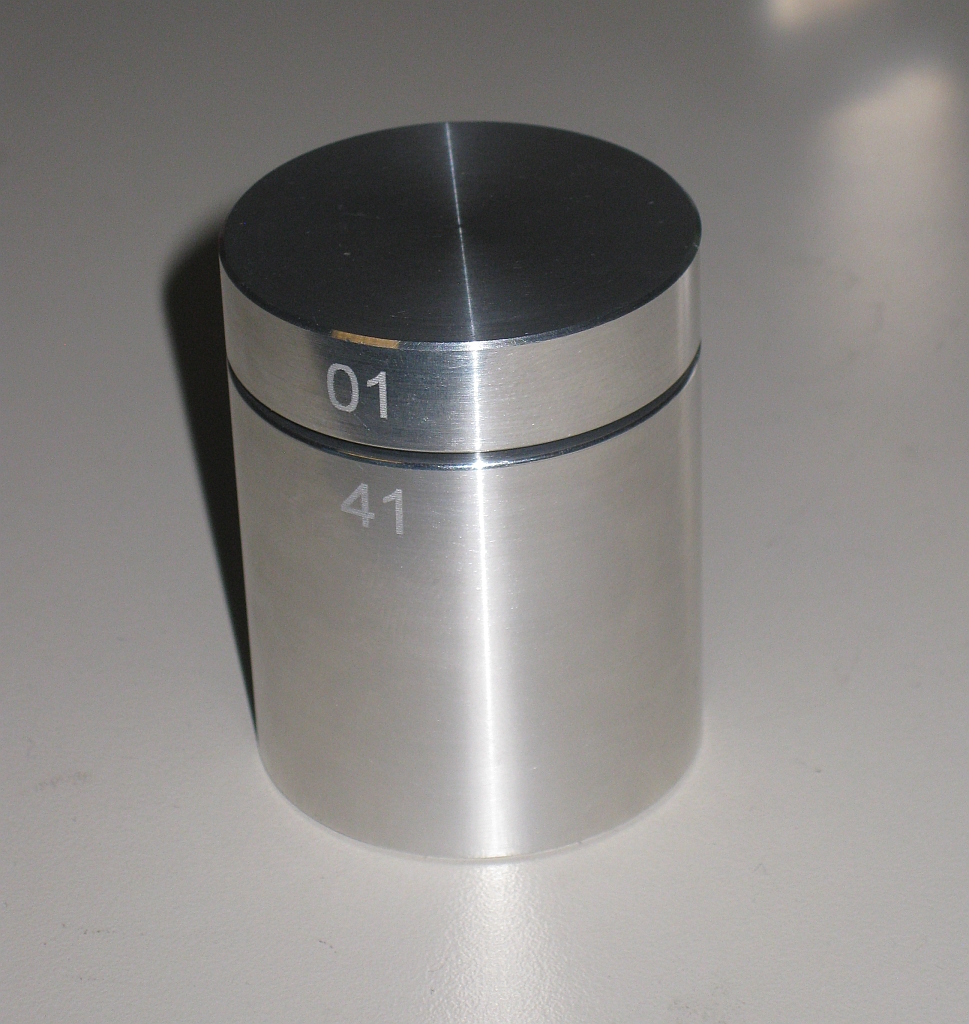
The Aluminium Cylinder is another intriguing puzzle from Wil Strijbos in the Netherlands. Wil has been making metal puzzles for quite some time now, and the quality of his work is excellent. Have a look at my review of Wil’s first ever puzzle design The Aluminium Cross, to see where it all started.

Aluminium Cylinder by Wil Strijbos

Aluminium Cylinder by Wil Strijbos

The object of the puzzle is to remove the lid from the cylinder. The lid will spin 360 degrees in either direction, can be depressed a new millimetres, and the puzzle rattles when you shake it. Other than this, there is a small hole in the bottom of the puzzle which allows you to see into the middle of the puzzle. This hole isn’t much use, but does allow you to see a feature at the far end of the hole which must be useful. Finally, laser engraved into the side of the puzzle are two numbers. These relate to the particular run of the puzzle, and the puzzle number within that run. They may also be useful in solving the puzzle, but I couldn’t comment on that 😉

When I started playing with this, I didn’t seem to make a lot of progress. The puzzle will go silent as you move it around in your hands, then you hear things rattle when you press the lid down. None of this seems to do much other than confuse. After a while I managed to do something useful, and a ball bearing appeared in the hole in the middle of the puzzle. I confess that at this point, I had no idea what I’d done, or how to replicate it. Turning the puzzle upside down and looking in the hole, I watched the ball bearing disappear into the feature at the top of the hole, and it was gone again.

Much puzzling later, I managed to get the ball back out, and again had no idea how I’d done this. I looked at the puzzle when the ball appeared, and tried to figure out what I’d done differently. I still had no idea at this point, and repeating it seemed beyond me. So it was time to think! (c) Allard

Some time later, I finally figured out what was going on, and a few minutes later, the lid popped up with a satisfying sound. Once open the locking mechanism is fully visible, and you’ll be amazed as to just how simple it is. This is a wonderful mechanism, and my hat is off to Wil for creating this. Reversing the opening process closes the puzzle, and returns it to its starting state, ready to confound the next unsuspecting puzzler.

I can now open the puzzle in around 10 seconds, however shutting it still takes me a little longer. For some reason it’s not as simple to close as it is to open!

This is a great puzzle, and highly recommended for any puzzler. Be warned though, this may take a lot of time to solve!

Cube Vinco

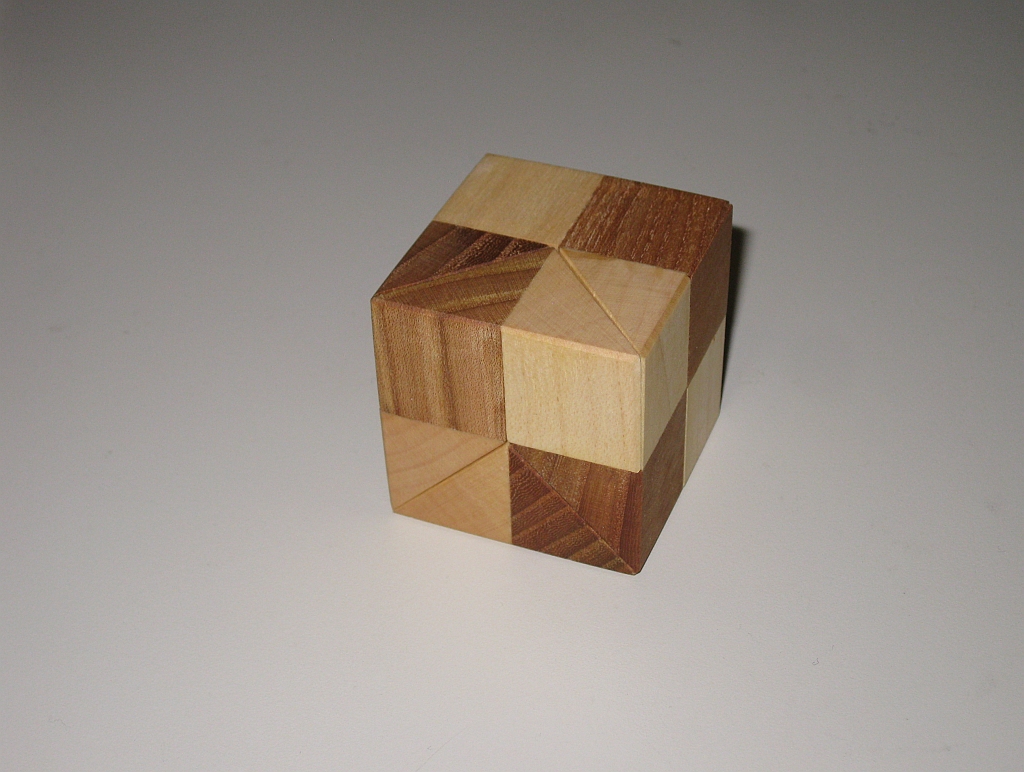
Cube Vinco is a beautifully made puzzle from Vaclav Obsivac. This modest wooden puzzle unlike many other of Vinco’s puzzles is not a coordinate motion, but rather a take apart puzzle, and is made just as well as any of the other items he sells. I got this one from Puzzle Master, for around $15, or you can get it from Vinco directly.

Cube Vinco

Cube Vinco

This is one of the smaller puzzles from Vinco at only 1 3/4″ cubed. The woods used are fairly plain, however the workmanship is excellent. Each of the four pieces fits together very tightly, so that although the seams are easily visible, determining how to take this puzzle apart is not obvious.

One of the nice features of the way this puzzle is created is that most people when they pick it up will hold it such that as they pull on the sides to try to free the pieces, they will actually be holding onto both sides of the same piece, and in fact holding it even more firmly together, making separation impossible. Even when you know how the pieces go together, it takes a few tries to be able to find the correct finger hold to be able to start moving the pieces apart.

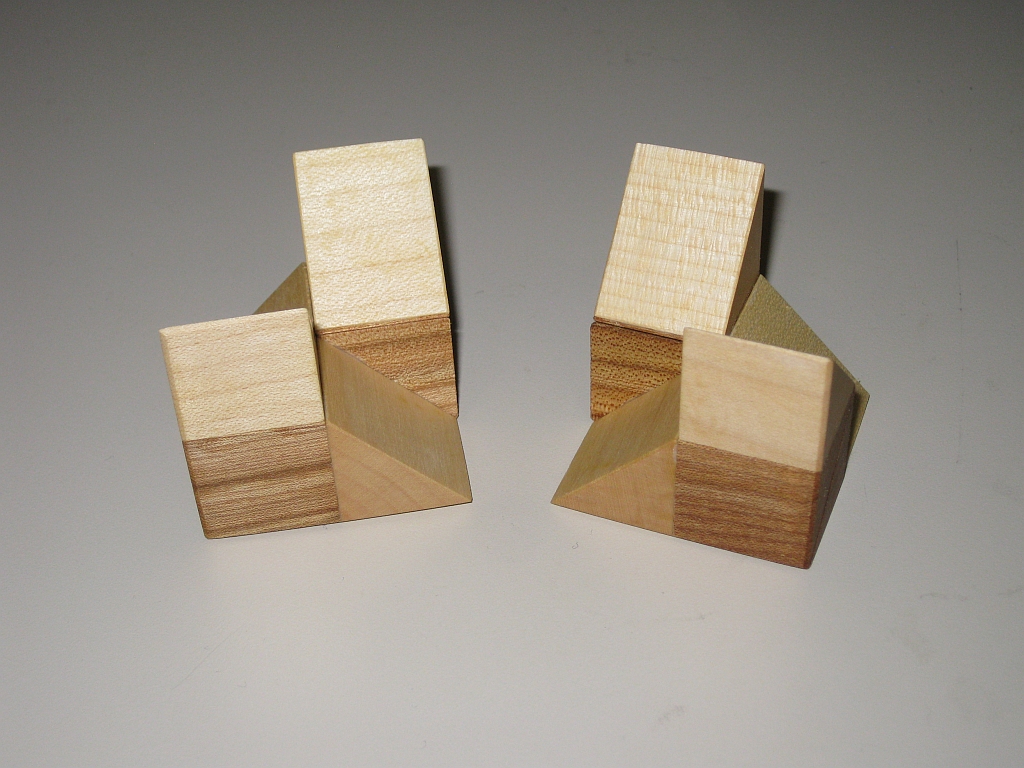
Cube Vinco Halves

Cube Vinco Halves

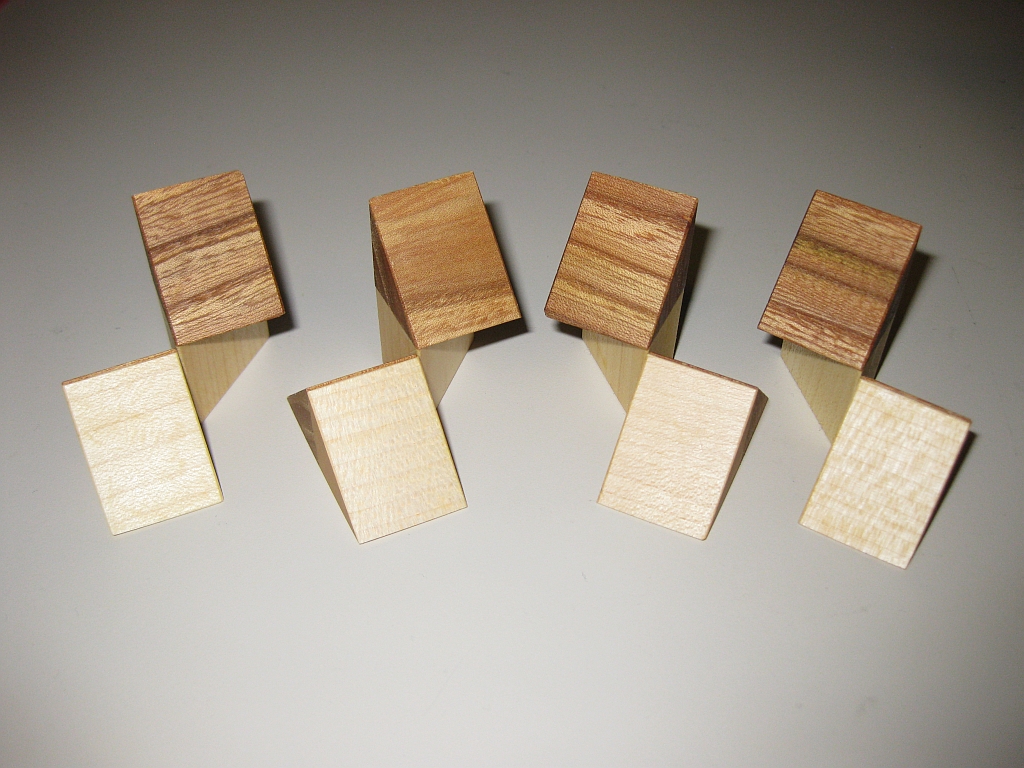
The puzzle is made up of four pieces, which are a set of two mirrored pairs. The only way to put the puzzle together is to create these pairs, then in turn join them together to create the finished cube.

Cube Vinco Halves

Cube Vinco Pieces

Without seeing the pieces being taken apart, this could be a difficult puzzle to put together, even with only four pieces. In fact when taking it apart, due to the very snug fit of the pieces, more often than not, the pieces fly apart in your hands (and across the room) so you’re not going to see how the pieces were assembled.

Puzzle Master rates this as a Level 8/10 puzzle – Demanding, however I have to think this is a little high. While it’s nicely made, quoting Stewart Coffin, “It is more of an amusement than a puzzle” ( taken from “The Puzzling World of Polyhedral Dissections”). That said, I still think this is a great puzzle to own, and at such a low price how can you resist adding it to your collection!