This entry is part 10 of 11 in the series
RevomazeIf you’ve read my posts on the Revomaze puzzles, you’ll know the first generation of puzzles ended with the release and solving of the Gold Puzzle. There are a few special editions out there, but for me solving the Gold, was the end of the journey on the R1 puzzles. Chris Pitt, has come out with an entirely new design of puzzle, a second generation of Revomaze puzzles, the R2’s. The first in the series is Mercury.
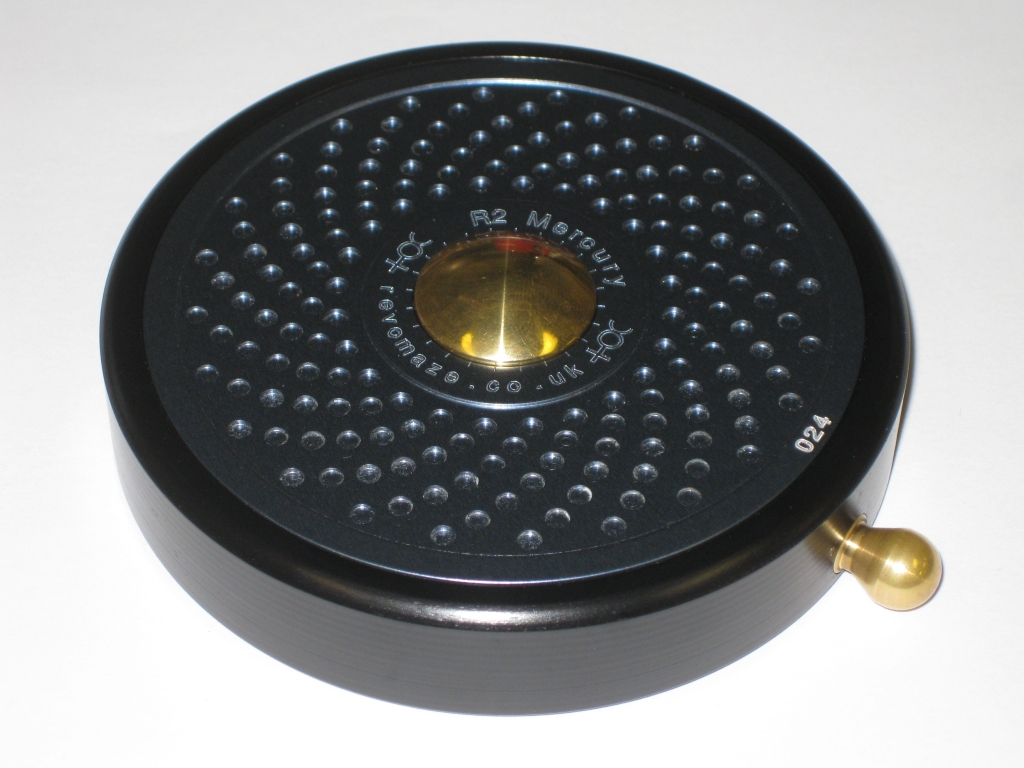
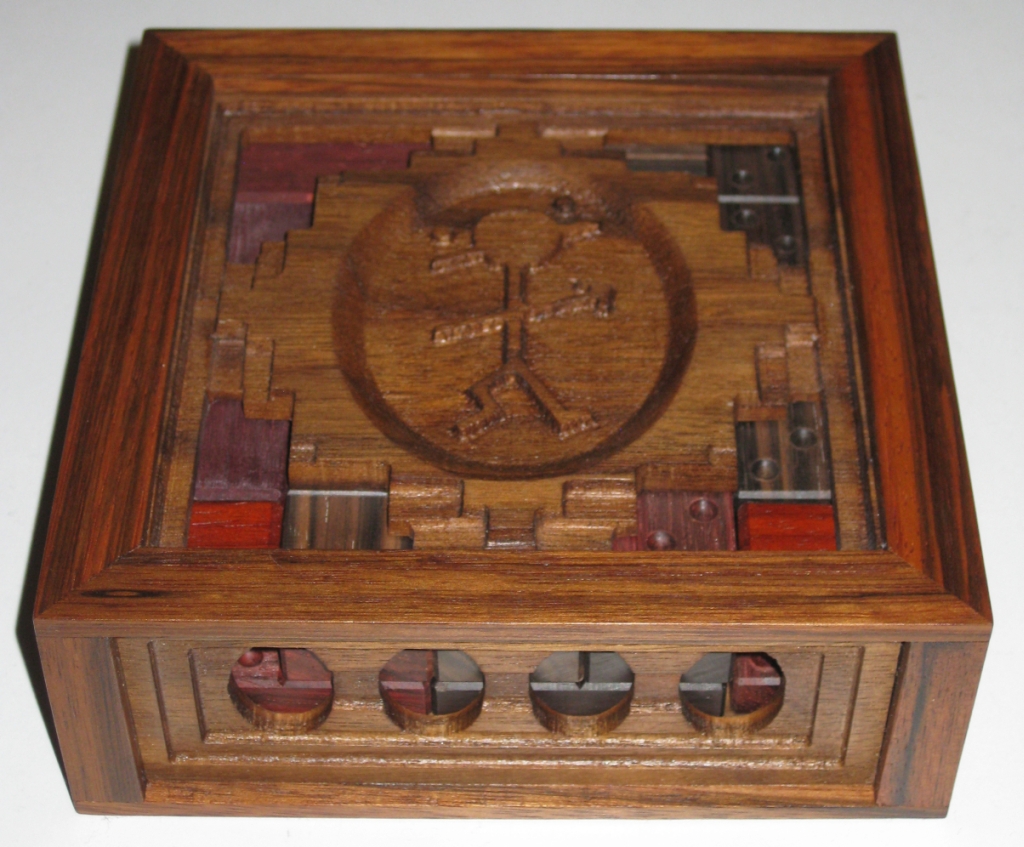
Revomaze R2 – Mercury
This second series is based on the planets in the solar system, and the closest to the Sun, Mercury, is the first to be released. The series has had a difficult birth, with the company trying to raise funds to buy CNC machines to bring all the production in-house, and move away from the reliance on engineering companies to produce the limited run puzzles they wanted. To that end, “Voyager Status” was created. This was an up front payment to guarantee the price of each puzzle in the series (up to 10 puzzles) for early adopters. For that you’d receive a limited edition coin (stored inside the puzzle of course), your puzzle would be part of the initial limited edition run of 100 puzzles and would be engraved with a serial number to set it apart from other general release puzzles to be released later.
So back on the 12th March 2013, I sent Revomaze £50 of my hard-earned cash, and sealed myself a place on the voyage to the R2. At some point over the course of the next 8 months there were a few changes to what Voyager status meant, and a decision was made at Revo HQ to limit the R2 run to only the 100 puzzles from the Voyager sign-up. The result of this decision is that the puzzles would only be made to meet the Voyager demand (100 max) and no more would be produced or sold until the Voyager members have ALL of their puzzles from the entire series. So at this point, if you missed out on Voyager status, expect it to be 3 years before you get your hands on a Mercury, or any other puzzle in the series. Note that this assumes a release schedule of 3 puzzles per year.
Not long after the Voyager announcements, the option was given to the first 20 people who wanted to pay for the puzzle to receive the puzzle ahead of the main batch, and be part of a ‘Beta Trial’ to allow Chris to sort any issues, and make sure the puzzle worked perfectly. Since I’m always happy to help bringing a new puzzle to life, I agreed to be one of the first batch. On the 1st May 2013, I paid for my puzzle, and began the wait for the R2.
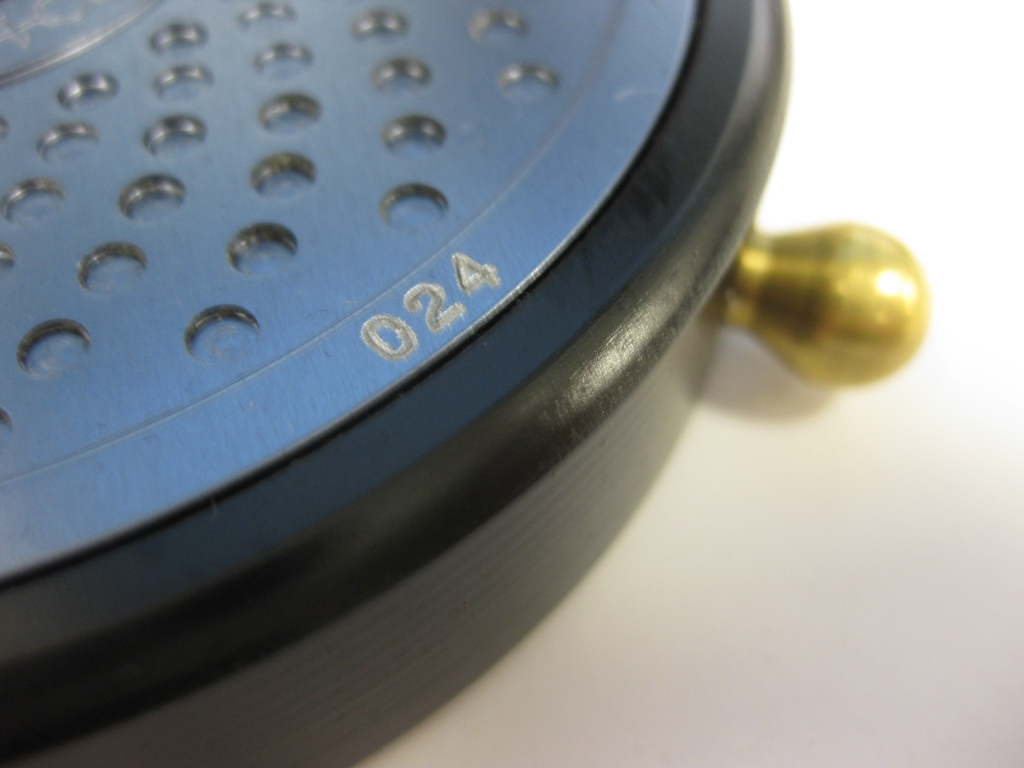
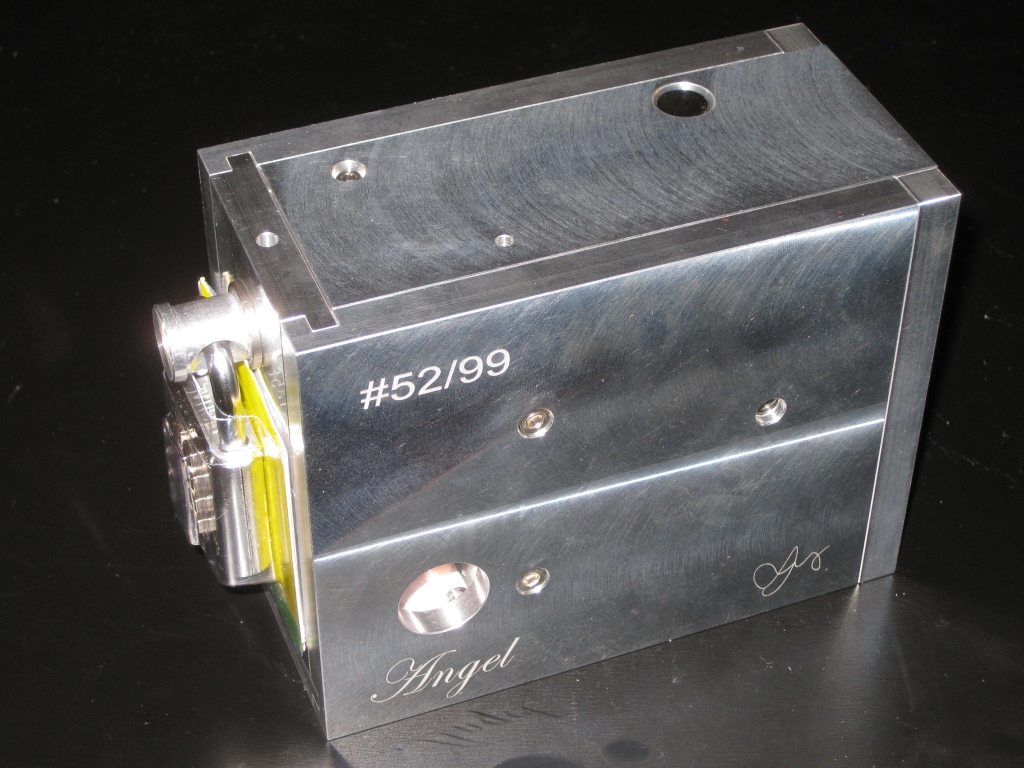
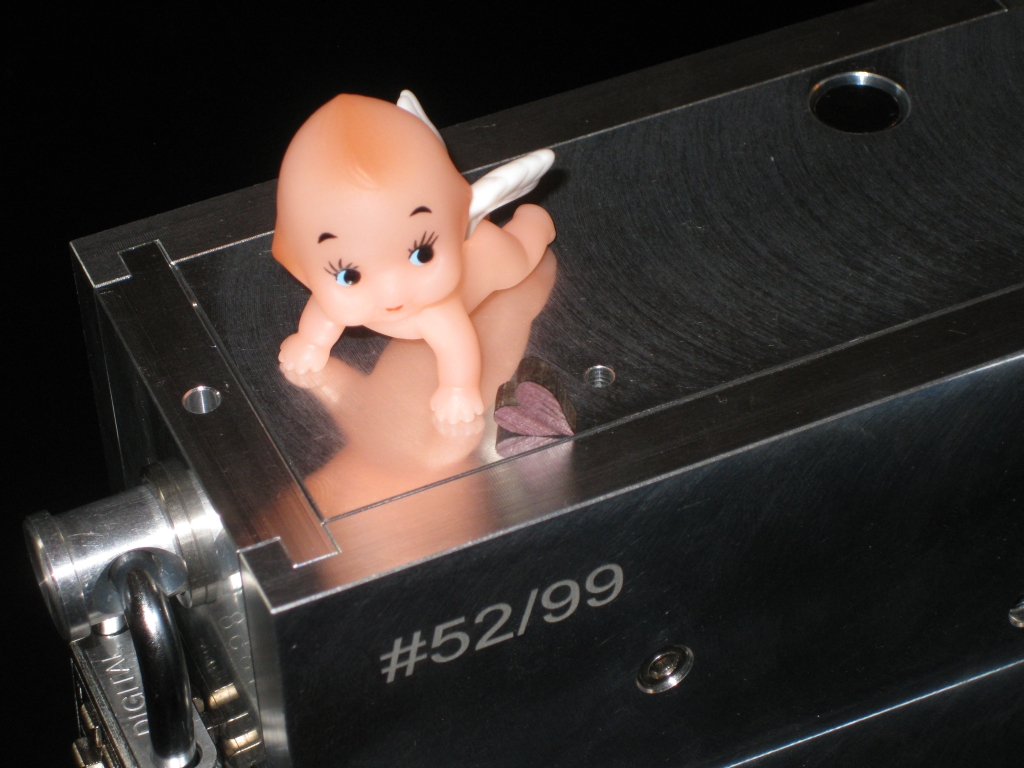
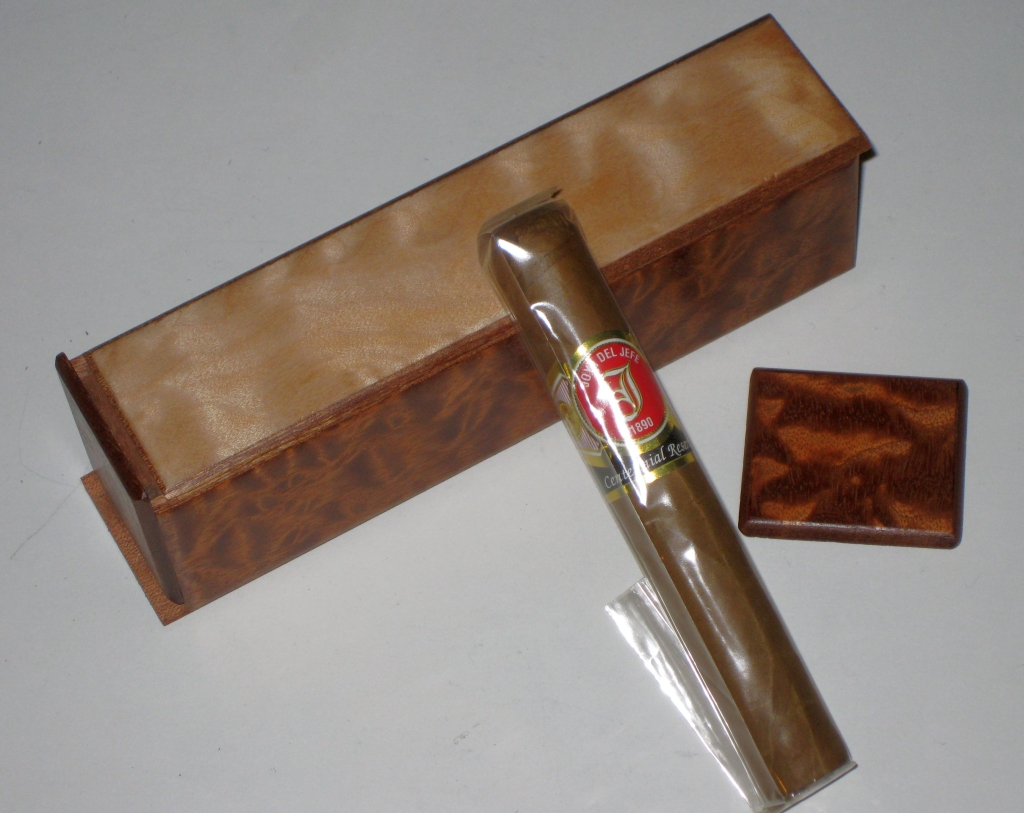
Mercury #24
Background covered, I should probably start talking about the puzzle, as I’m sure that’s why you’re here. I received my puzzle on the 14th February 2014 and eagerly opened the package when I got home from work, to start playing with the new puzzle. My plan was to take it to the California Puzzle Party on the 15th, and let people play with it there. In fact Chris had express shipped the puzzle to me to ensure that I had it for the Puzzle Party. (Note: He’d done the same for a puzzler on the East coast, and also to some of the puzzlers in the Midlands) Before taking it to the party though I wanted to have some time to play and understand the puzzle. Foolishly, I’d hoped that I could open it before the party. I spent 2-3 hours with it on the 14th trying to understand what was going on, and start mapping out the paths inside the new maze. Most of that was just spent getting used to how different this puzzle is to the original series. It’s a completely different animal that needs a very different touch to be able to solve it. And yes, I did take my wife out for dinner that night… I’m a romantic at heart.
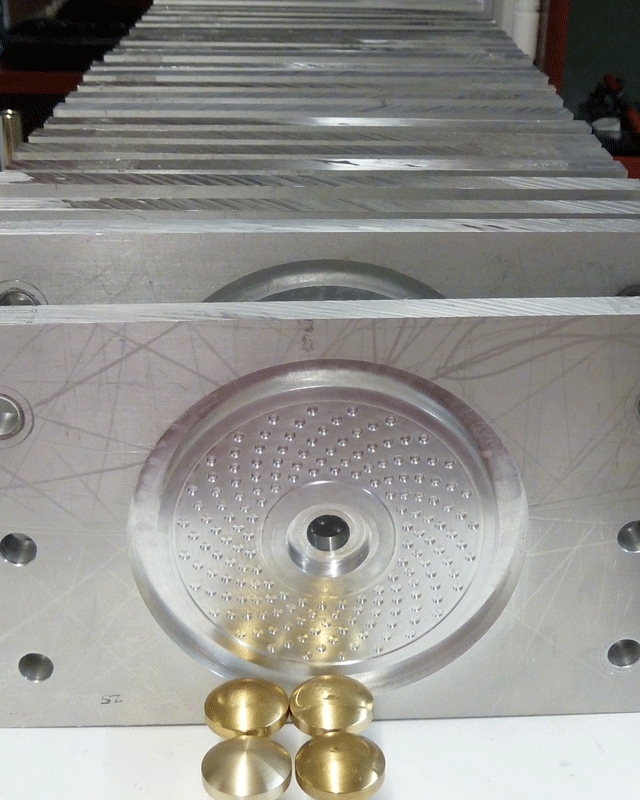
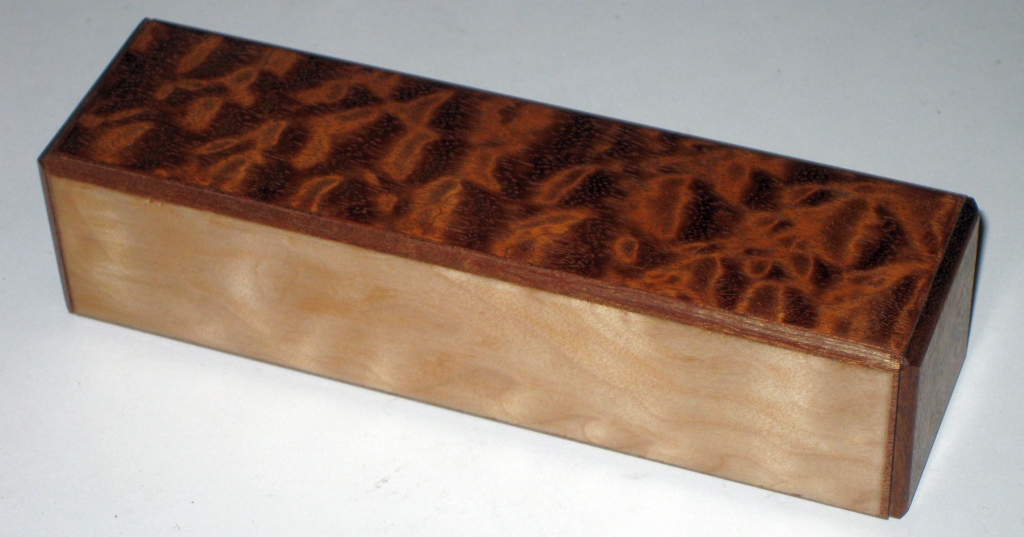
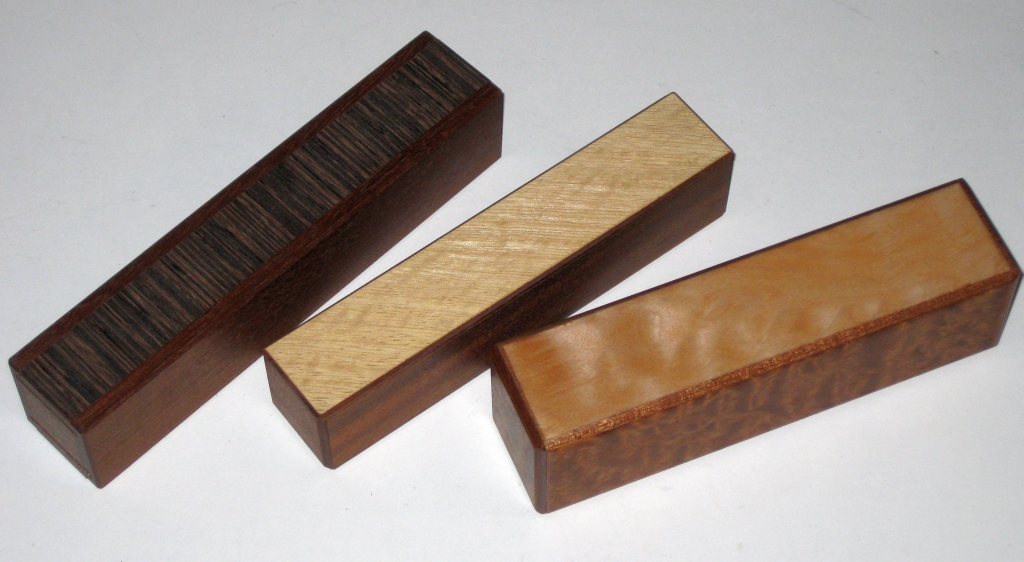
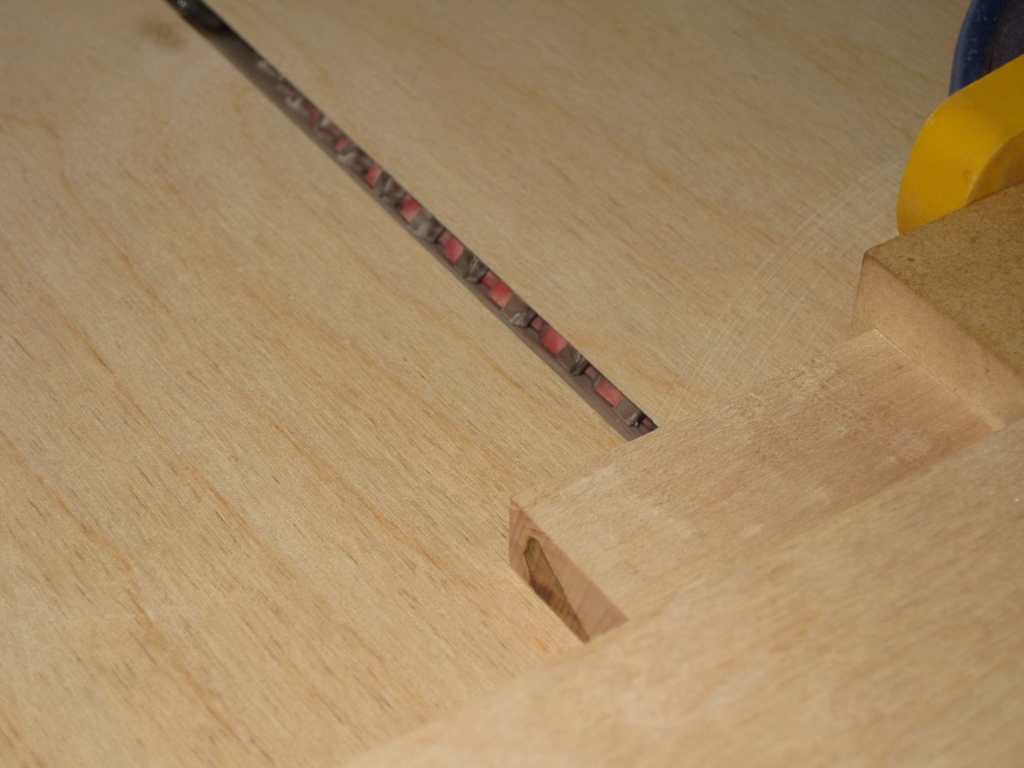
The raw maze before it’s finished
The puzzle itself is made from a couple of solid blocks of aluminium and measures 4-1/8″ in diameter by 1″ tall. Including the knob for the draw bar the puzzle is 4-5/8″ and weighs in at 800g. Now I’ll be honest, despite being heavier than the original R1’s, the puzzle feels lighter. Perhaps just the weight being spread over a larger diameter helps.
Unlike the R1 where the pin was in the sleeve, and the maze on the central core (or draw bar if you like) requiring you to twist, push and pull the core to navigate the maze, the R2 is a little different. The pin is attached to the draw bar, and the maze is etched onto the titanium coloured disk which rotates inside the black outer case. To navigate the maze you need to both push and pull the draw bar while simultaneously rotating the disk. This requires a lot more coordination than the original maze, and is a very different experience. Any skills you may have learned from solving an R1, will be of little use to you here.
Despite my best efforts and a very crude map, I certainly didn’t solve Mercury before the Saturday puzzle party. One issue which did arise as I played with it was that the silky smooth rotation that the puzzle exhibited on the Friday night, wasn’t quite as smooth by the time I arrived at the puzzle party. I wish I’d realised before going as the puzzle was mostly unusable given the amount of friction between the maze plate and the case. We required two hands on the disk to turn it in any direction, and really any chance of playing with the puzzle or solving it were gone.
Talking with Chris, he suggested WD-40 would help. Skeptical as I was, I took the can of WD-40 to the puzzle, giving it a good coating, and spin it did. The friction issues were completely resolved, and it moved better than it had when it arrived. Over the course of the next week, I didn’t have a great deal of time to spend with the puzzle, but I dabbled on and off mapping as I could and trying to understand what I was ‘seeing’.
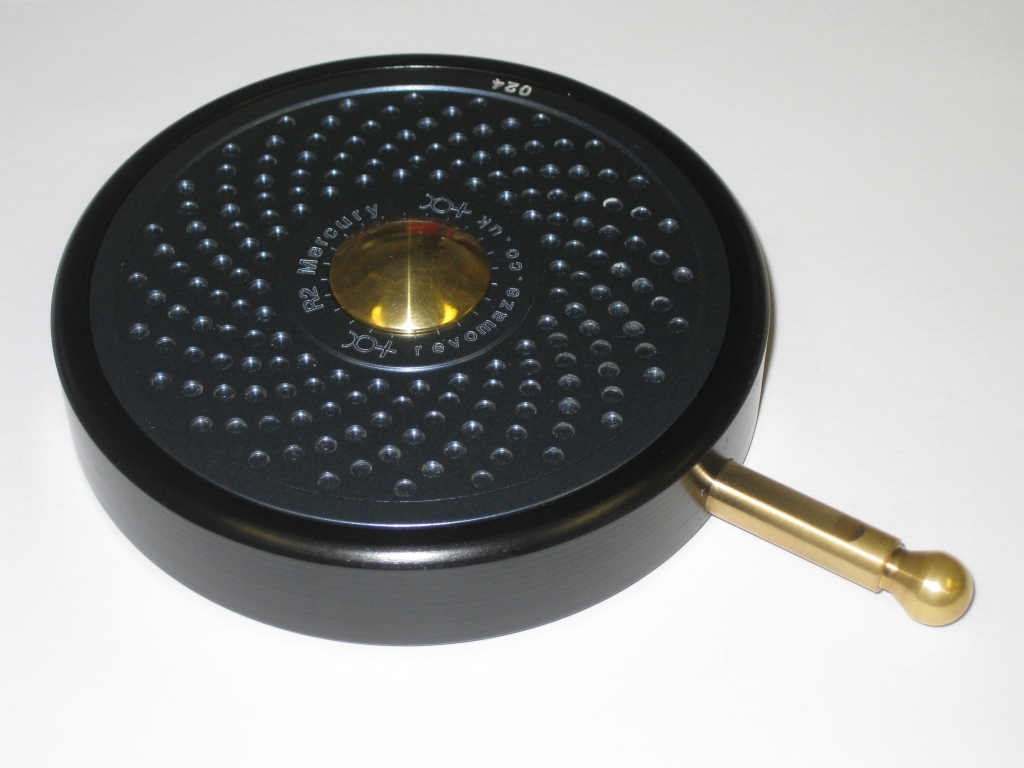
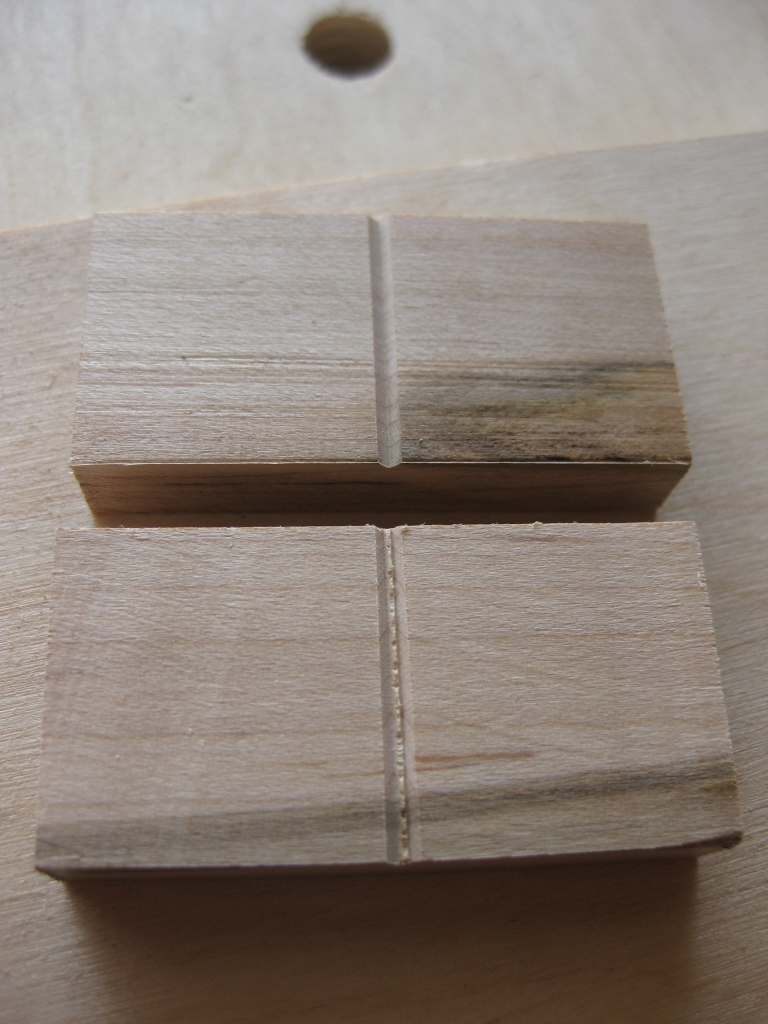
Mercury during solving
Mapping the R2 is a completely different challenge to an R1. With the R1, you can think of unrolling the maze to a flat plane (since effectively that’s what it is – wrapped onto a cylinder) but the R2 is already flat, and is circular. Some Polar graph paper may be useful here. Fortunately, the centre of the disk has 24 notches, and the dimples on the outer rim match to 15 degree increments. Handy for reference! I started out with regular graph paper making a very crude attempt with a compass. Let’s just say it wasn’t elegant, but it worked. A couple of people pointed me to that wonderful invention – the Internet – to download some polar paper, and I transferred things to there.
One thing you’ll find in Mercury is that it’s full of curves. Actually it’s full of circles! Chris claims that the design of the maze is meant to represent the cratered appearance of the planet itself, and I guess I can see that. As I mapped, I found that there was a chunk of the map which I couldn’t get to , just a little clockwise of the serial number, and part around 10pm. Now knowing that nothing would be wasted in here, I knew that’s where I had to get to, but finding how was proving challenging. The other very concerning aspect I discovered was a trail leading through ~25% of the maze, where everything I had was trap. This was starting to look a lot like a Green. And I hate Green.
After a good few hours trying to find how to get to these new areas, find it I did, and my fears were confirmed. The puzzle becomes a serious dexterity challenge, needing the lightest of touches, and an excellent map. To get there, is a challenging section that I am sure will cause a lot of frustration (it did for me), assuming you can find it. The entrance is very challenging to find, and needs some very careful exploration of the maze.
Given that I have one of the first copies, there’s a few issues in the puzzle which Chris is already solving, as quickly as they are identified.
- The Spring is a little light, meaning that it’s possible (and even easy) to hug the walls a little tight, and as a result get to parts of the maze through a route which was not intended. That’s fixed with a stronger spring in the draw bar.
- There is a slight amount of play in the draw bar, meaning that it can rotate a fraction while you’re solving. It’s not a problem that affects the maze, and it certainly won’t help you, but that will be tightened up in the later releases.
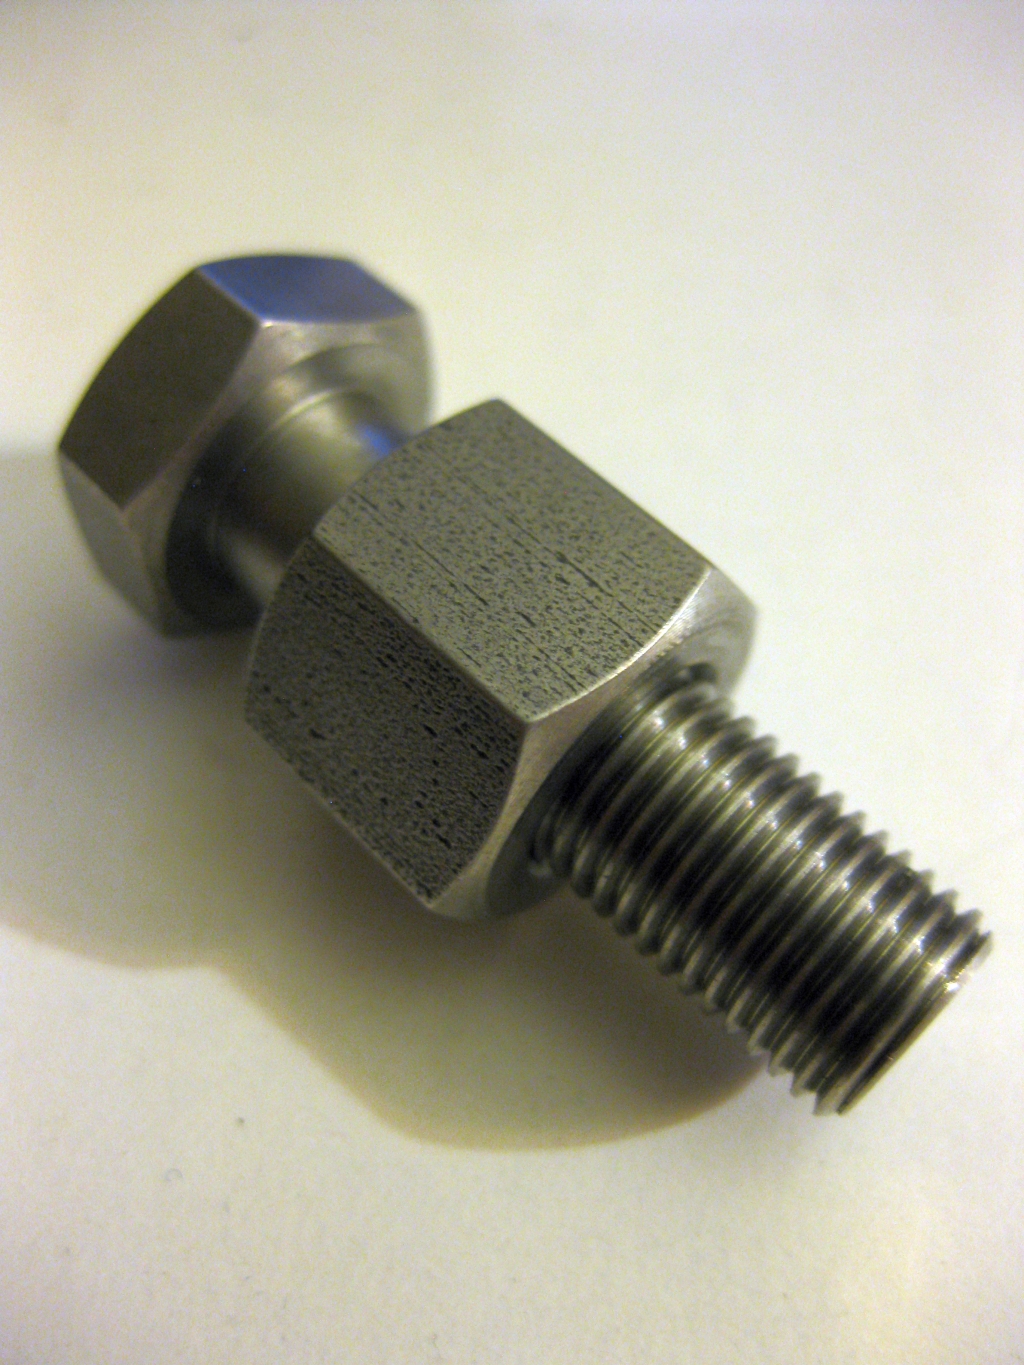
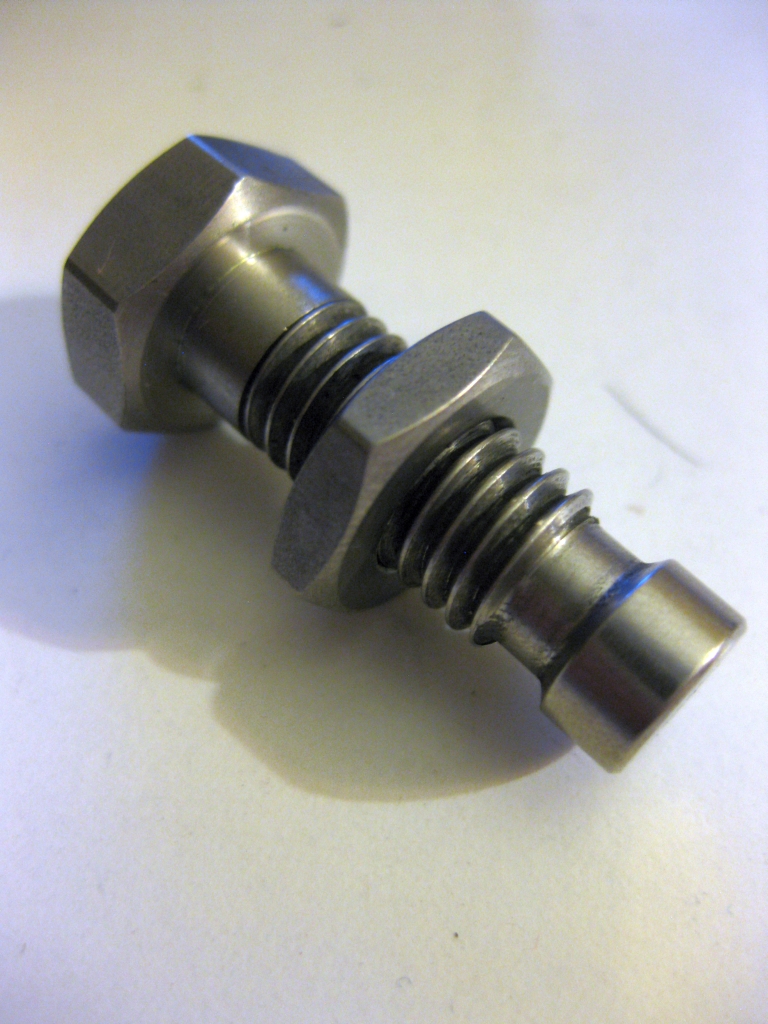
- The last and biggest issue with the early release is that the pin has a fairly rounded profile as you’ll see in the photo below. That means that in some areas where there are ledges in the puzzle, the pin won’t stay on the ledge, without applying some pressure to the wall. That’s being fixed with a different profile for the pin head.
As a result of these issues, a number of people have managed to open the maze very quickly having taken a path which was not intended. I didn’t find these shorter paths, and completed the maze as intended. The benefit of having produced this short run is that Chris is learning how the puzzle is used by someone who doesn’t know what’s going on inside, and by the time these get into general production for the remaining 80 in the run, they will all be perfect. It was a very sensible decision by Chris, and one which I hope he is aware was the best way to launch a new design, and make sure it’s exactly the way he intended.
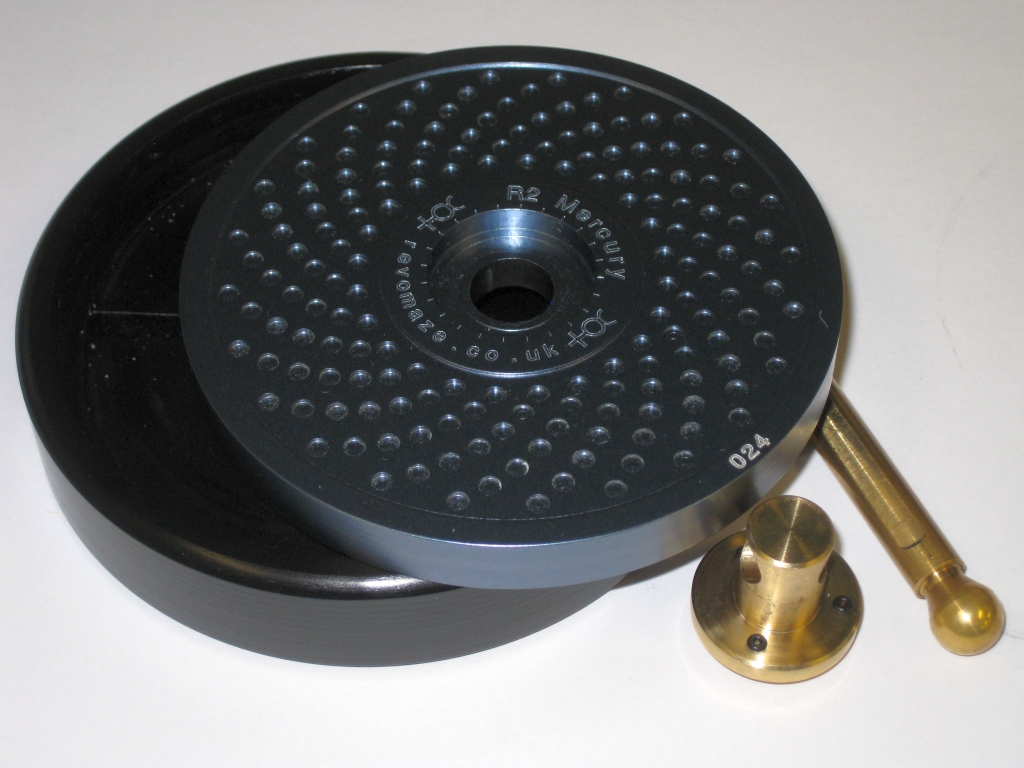
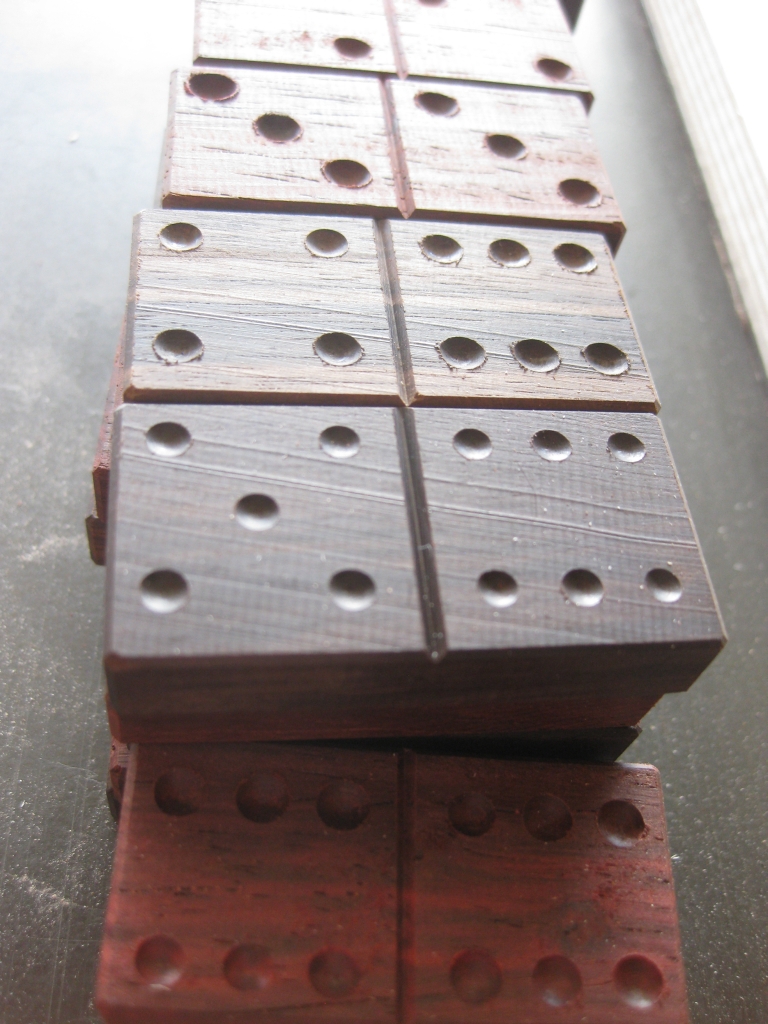
Mercury #24 – Open
From start to finish it took me around 8.5 hours to open the Mercury, and I’ll be honest, it’s a challenging puzzle, not for the faint of heart. It’s difficult from start to finish, and darn right evil from 50% through to the end. I’d even go so far as to say that the very last few millimeters of the puzzle are Satan incarnate. This is perhaps one of the most challenging static puzzle that Chris has released to date, and to my mind is far too challenging for the first puzzle in the series. Yes, you can argue that it took me less than 10 hours to open it, so it can’t be that difficult, considering how long it took me to open Silver from the R1 series, however I go back and re-solve Bronze and Silver. I never go back to Green, and I’m unlikely to want to ever go back and re-solve Mercury.
As a small aside, when the puzzle was opened, I found some small flakes of metal sitting in the case of the puzzle. Presumably from the grinding as a result of the friction between the two large plates of aluminium. It doesn’t affect the puzzle, and I certainly don’t see any damage to the maze, but clearly there is some wear as a result of using the puzzle.

Metal shavings in the case