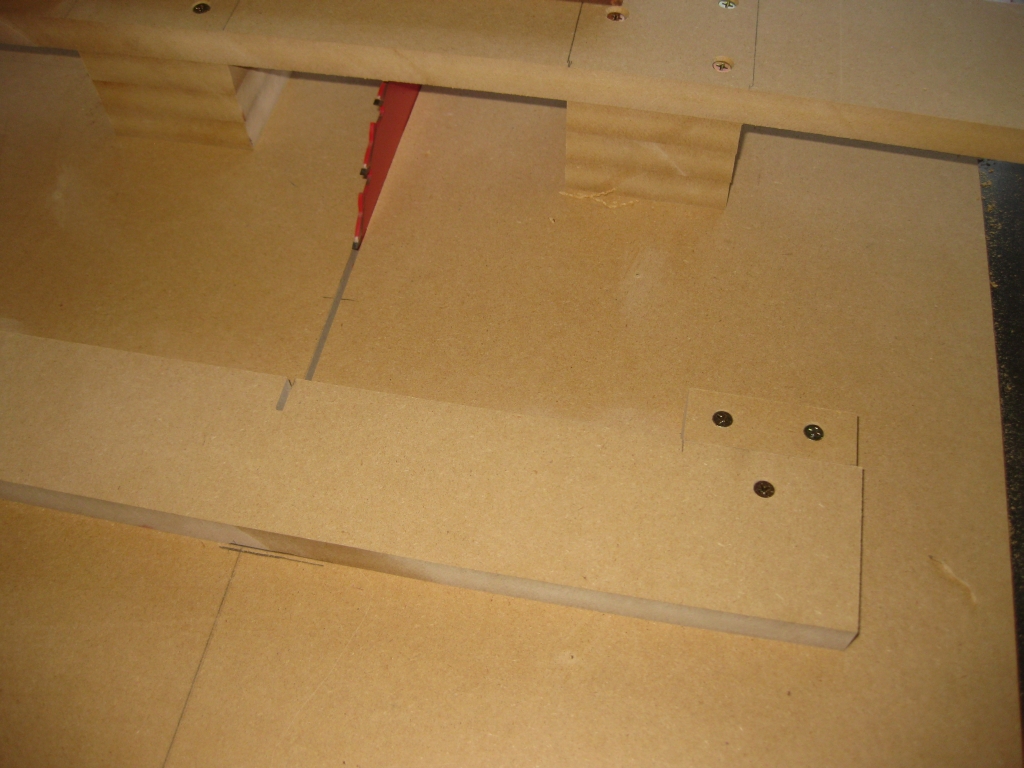
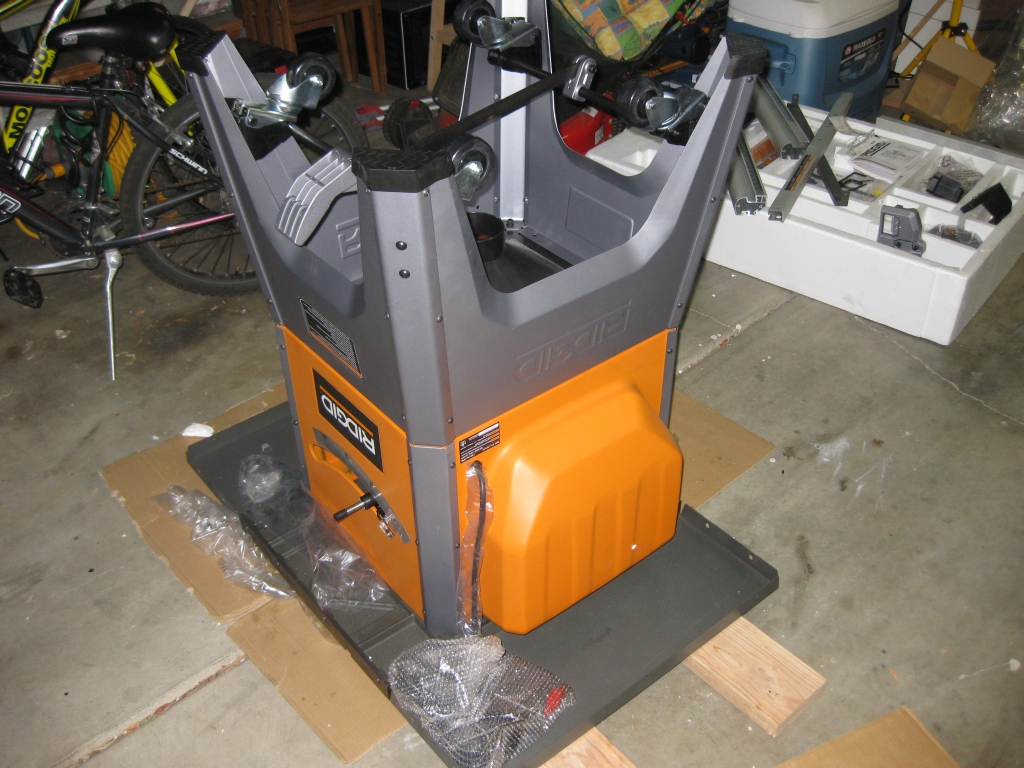
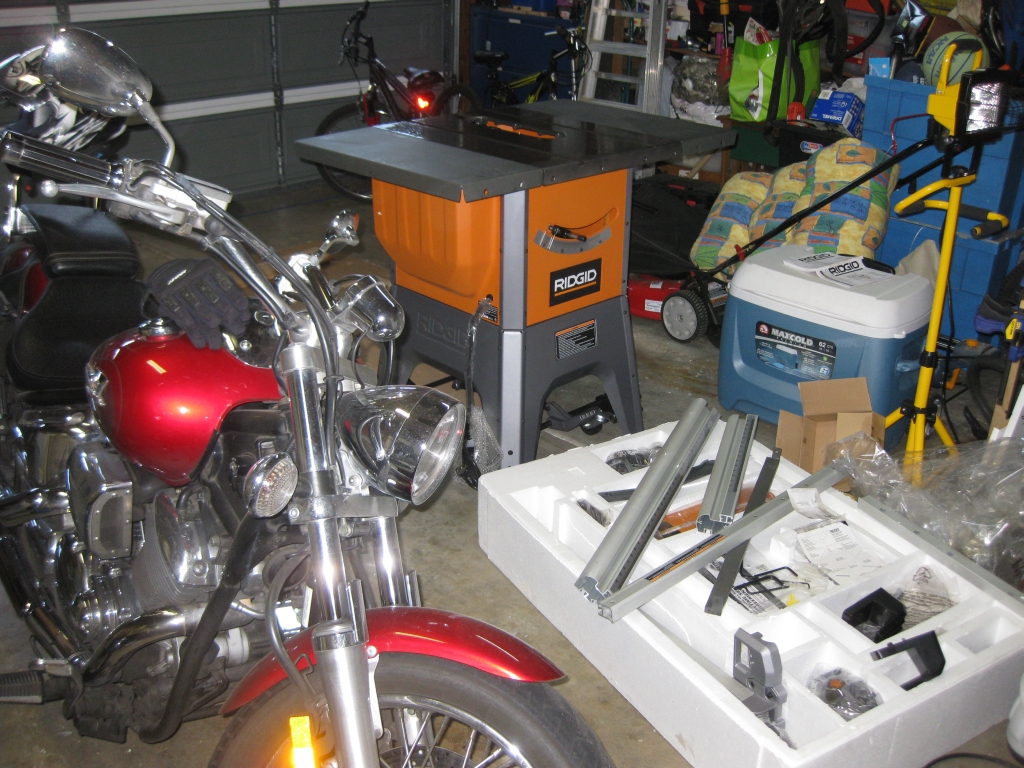
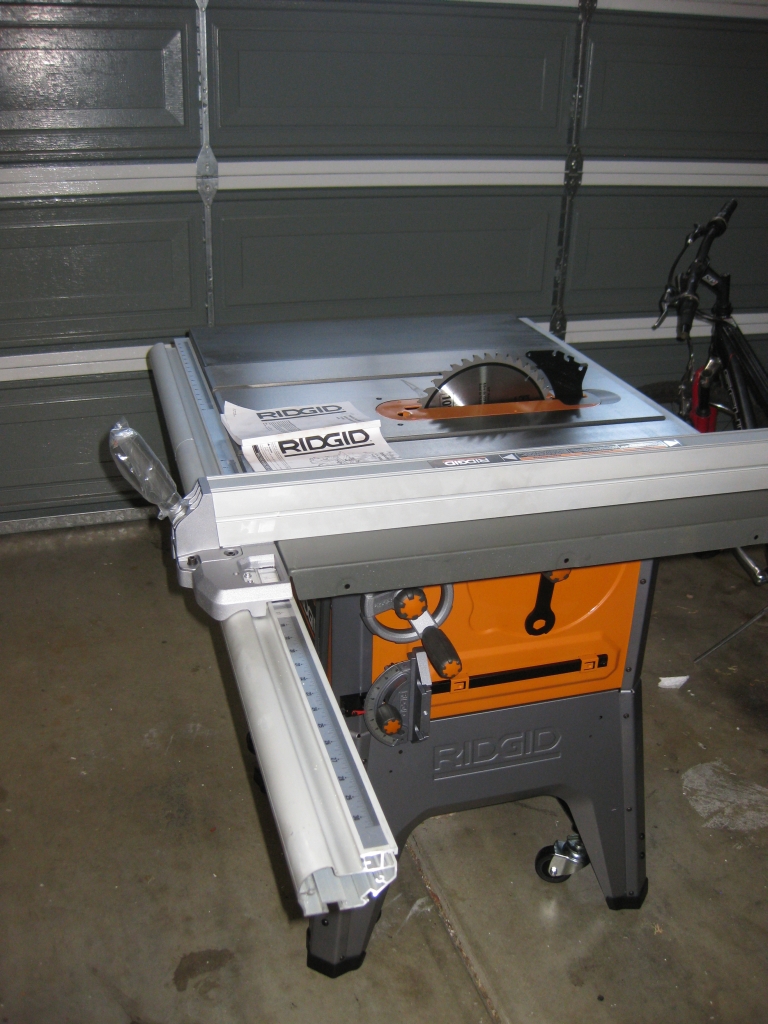
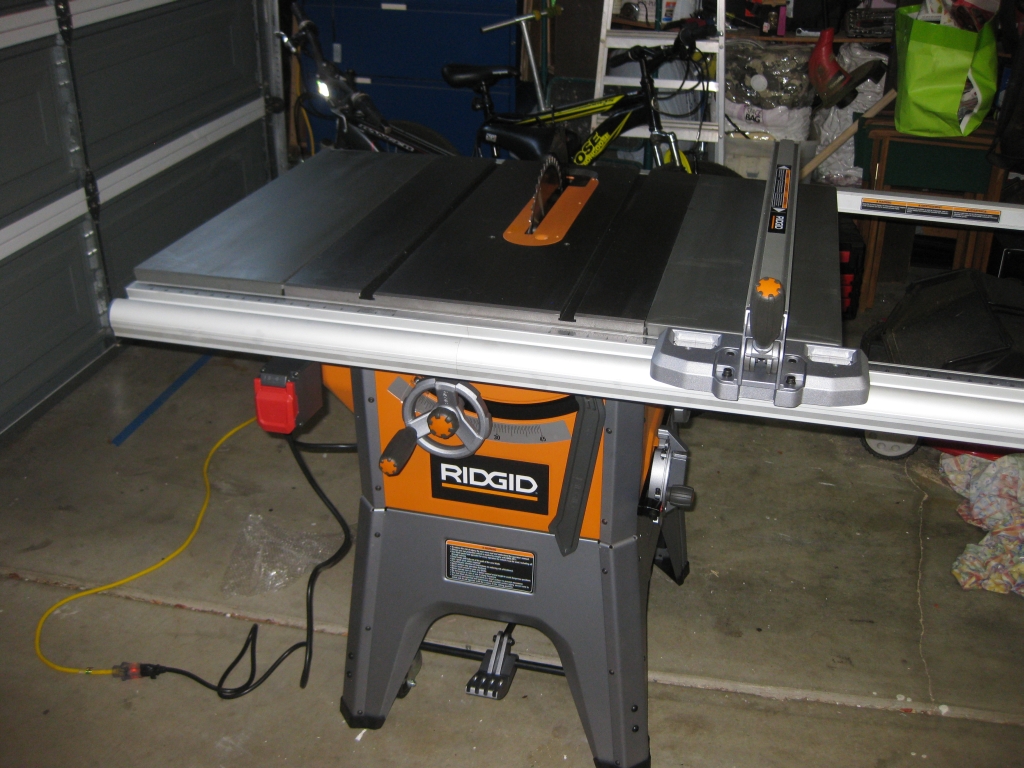
I recently wrote about the first of my puzzle making jigs to create square sticks as the first stage in creating the building blocks of many puzzles. With that jig successfully completed, and working pretty well, I had to move to the next stage and create some cubes. I said in the Square stick post that I’d tell you about it soon. Well, soon is now, and it’s time to make a crosscut sled!
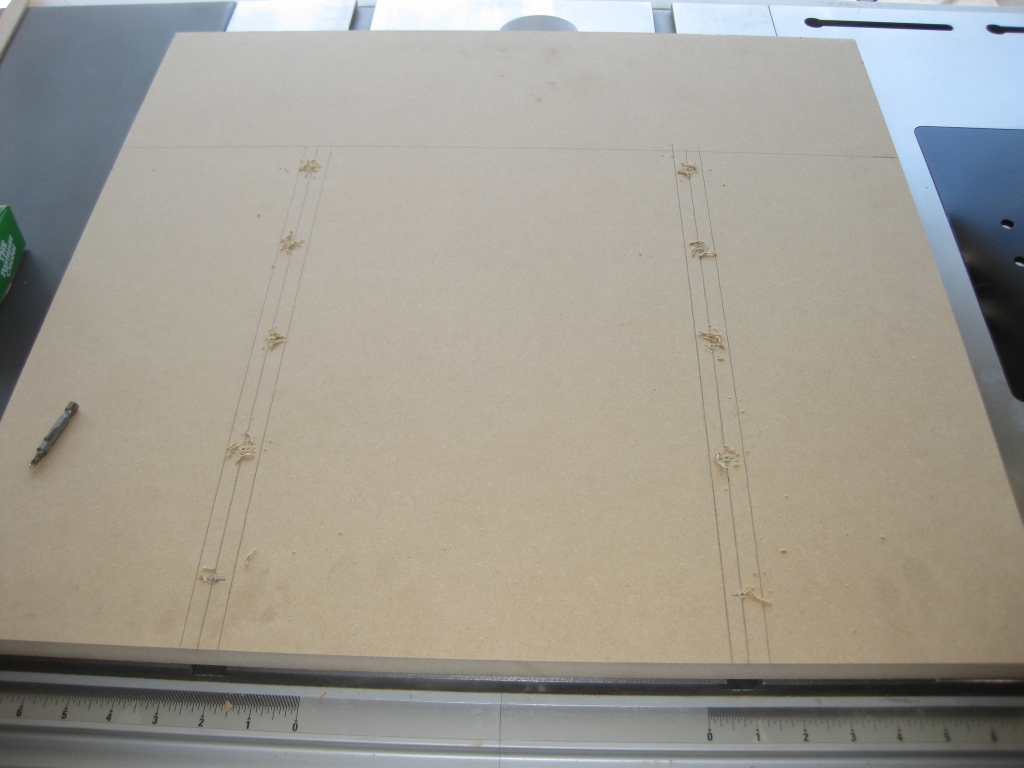
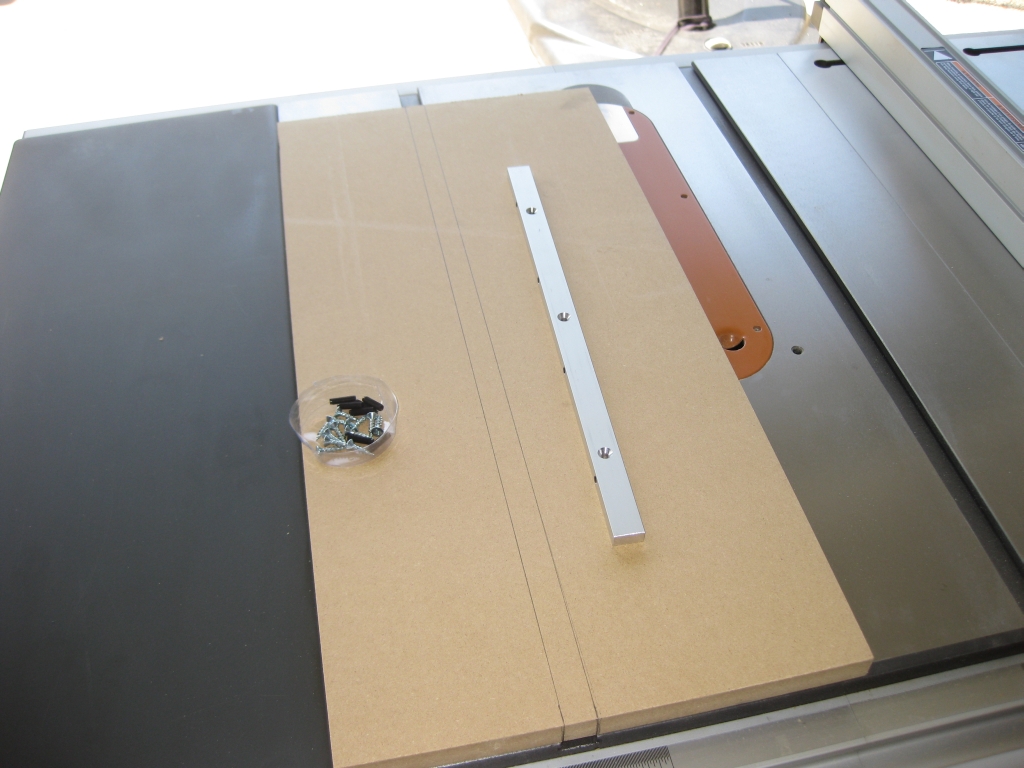
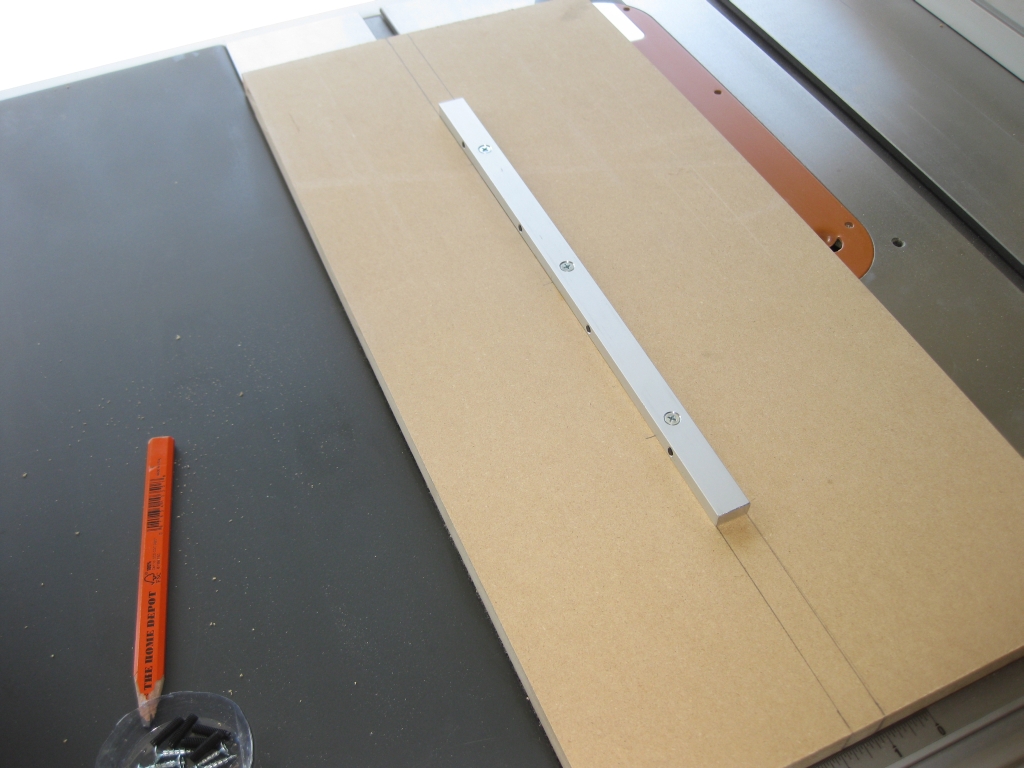
For this jig, I needed a larger platform than the square stick jig, and as such I was going to be using both miter slots on the table saw. I cut myself a slab of MDF and marked it up for adding runners. I don’t have enough of the fancy metal miter bar that I used for the last jig, so I made my own. Starting with a strip of wood rough cut to the correct size for my miter slot, I sneaked up on the correct width by taking thousands of an inch off at a time until I had a snug fit. It didn’t take as long as I thought it might, and I think I now have an even better runner than the metal versions I used on the first jig.
My intention was to drill and counter sink holes in the top of the sled and screw straight into the runners below. Sadly that didn’t quite work out as planned as I didn’t have screws which would fit. What I had was either too short or too long so I had to go to Plan B. I decided to screw through from the runner side into the base. As it turns out, it wasn’t too much of a change and in the end achieved the same end result.
With the runners mounted, I flipped the jig over and tested the fit in the miter slots with the blade below the table. I had a couple of spots which were binding slightly, so I lightly sanded the offending areas until I had a tight but smooth fit with no wobble in the jig. For anyone wondering, the way I found out where the runners were binding was to run a sharpie along the length of the runner sides, then move the jig in the slots. When you take the jig back out, where the sharpie has been rubbed away is where you need to remove a small amount of material. Simple yet effective!
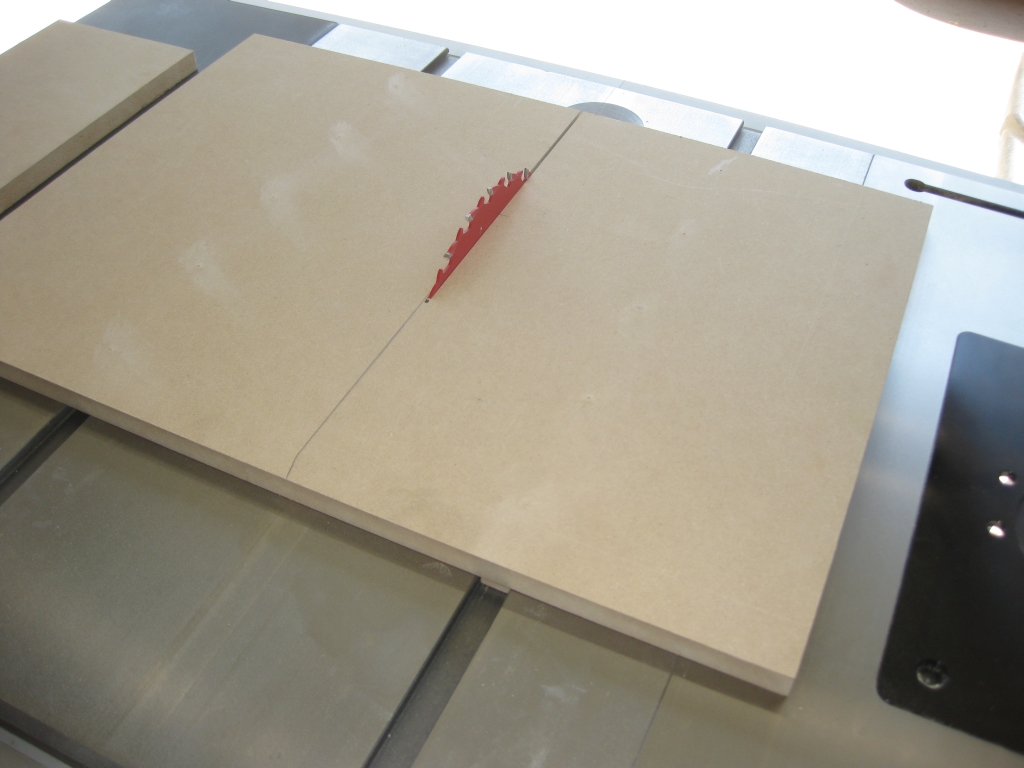
With the sled moving smoothly, I raised the blade up, and cut myself a slot part way through the sled. That slot will help aligning the crosscut fence as I need it to be perfectly square to the blade. Without having the blade through the sled that would be almost impossible.
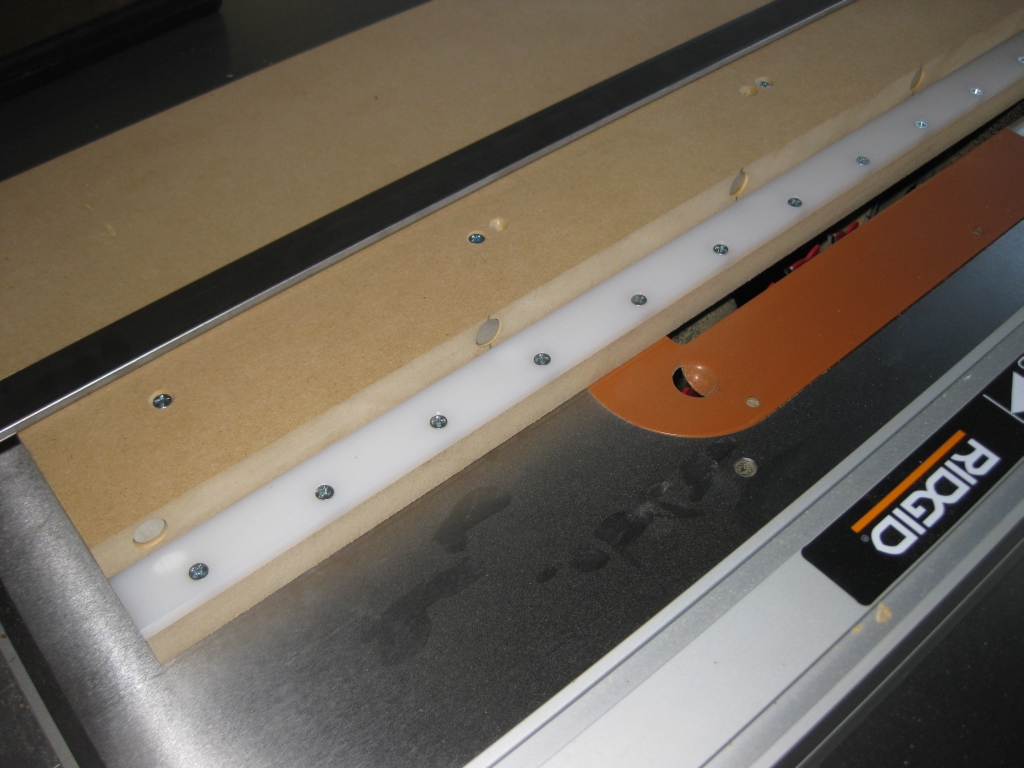
Given the slot I’ve just created, I now have a potential weak point in the sled where it could flex, and degrade the cut. Despite how it may look in the photograph, I wasn’t trying to create a wing to add down-force to the sled.
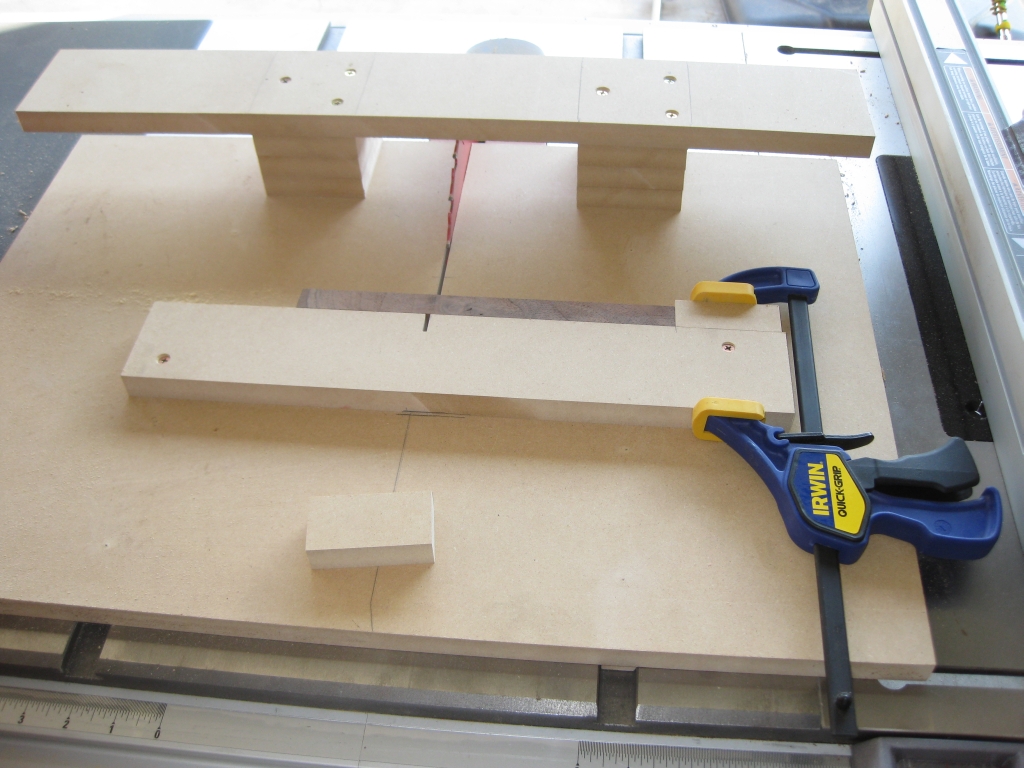
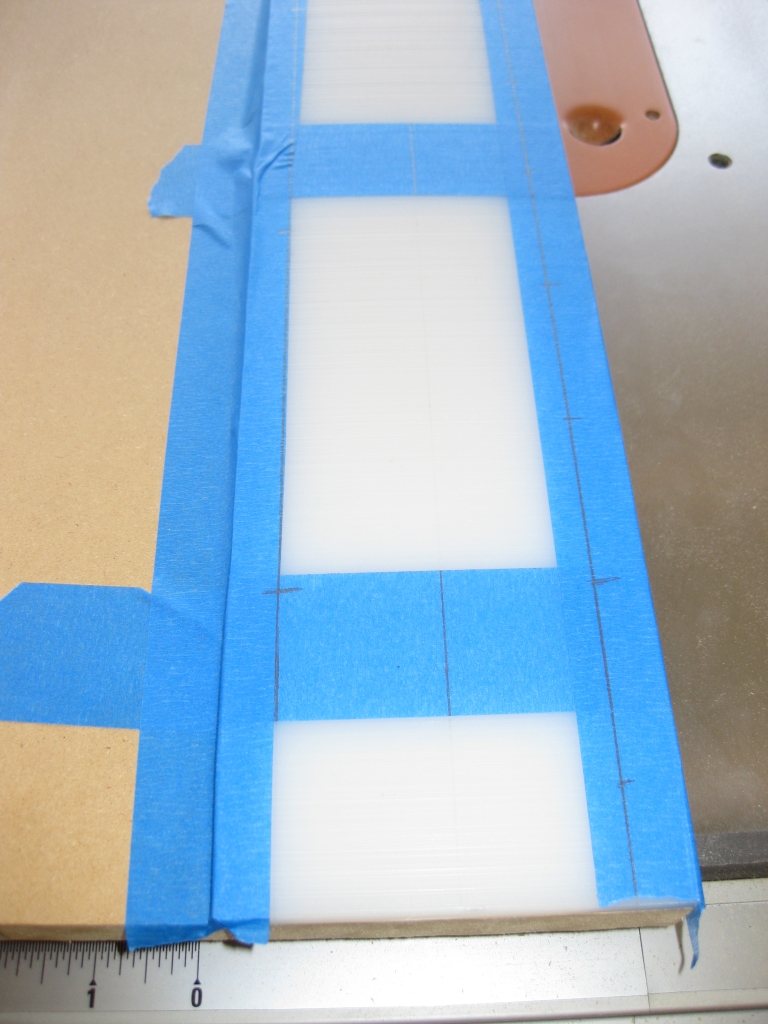
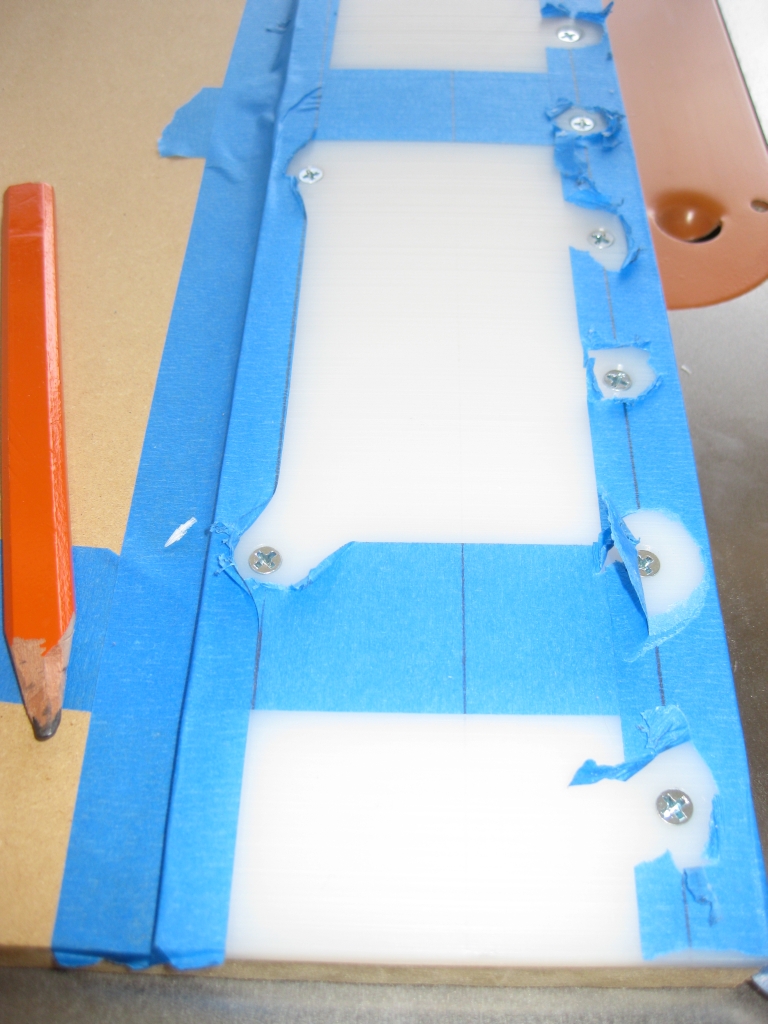
Each of the three spacers on either side is screwed to the piece below with three screws, and gives enough clearance that with the blade raised to the point that the blade stiffeners are just below the base of the jig, it doesn’t cut into the cross bar. The cross bar keeps either side of the sled stable and prevents any twisting or warping of the sled. Yet again simple but effective. (I’m liking the fact that I can keep things simple. Less chance of things going wrong!)
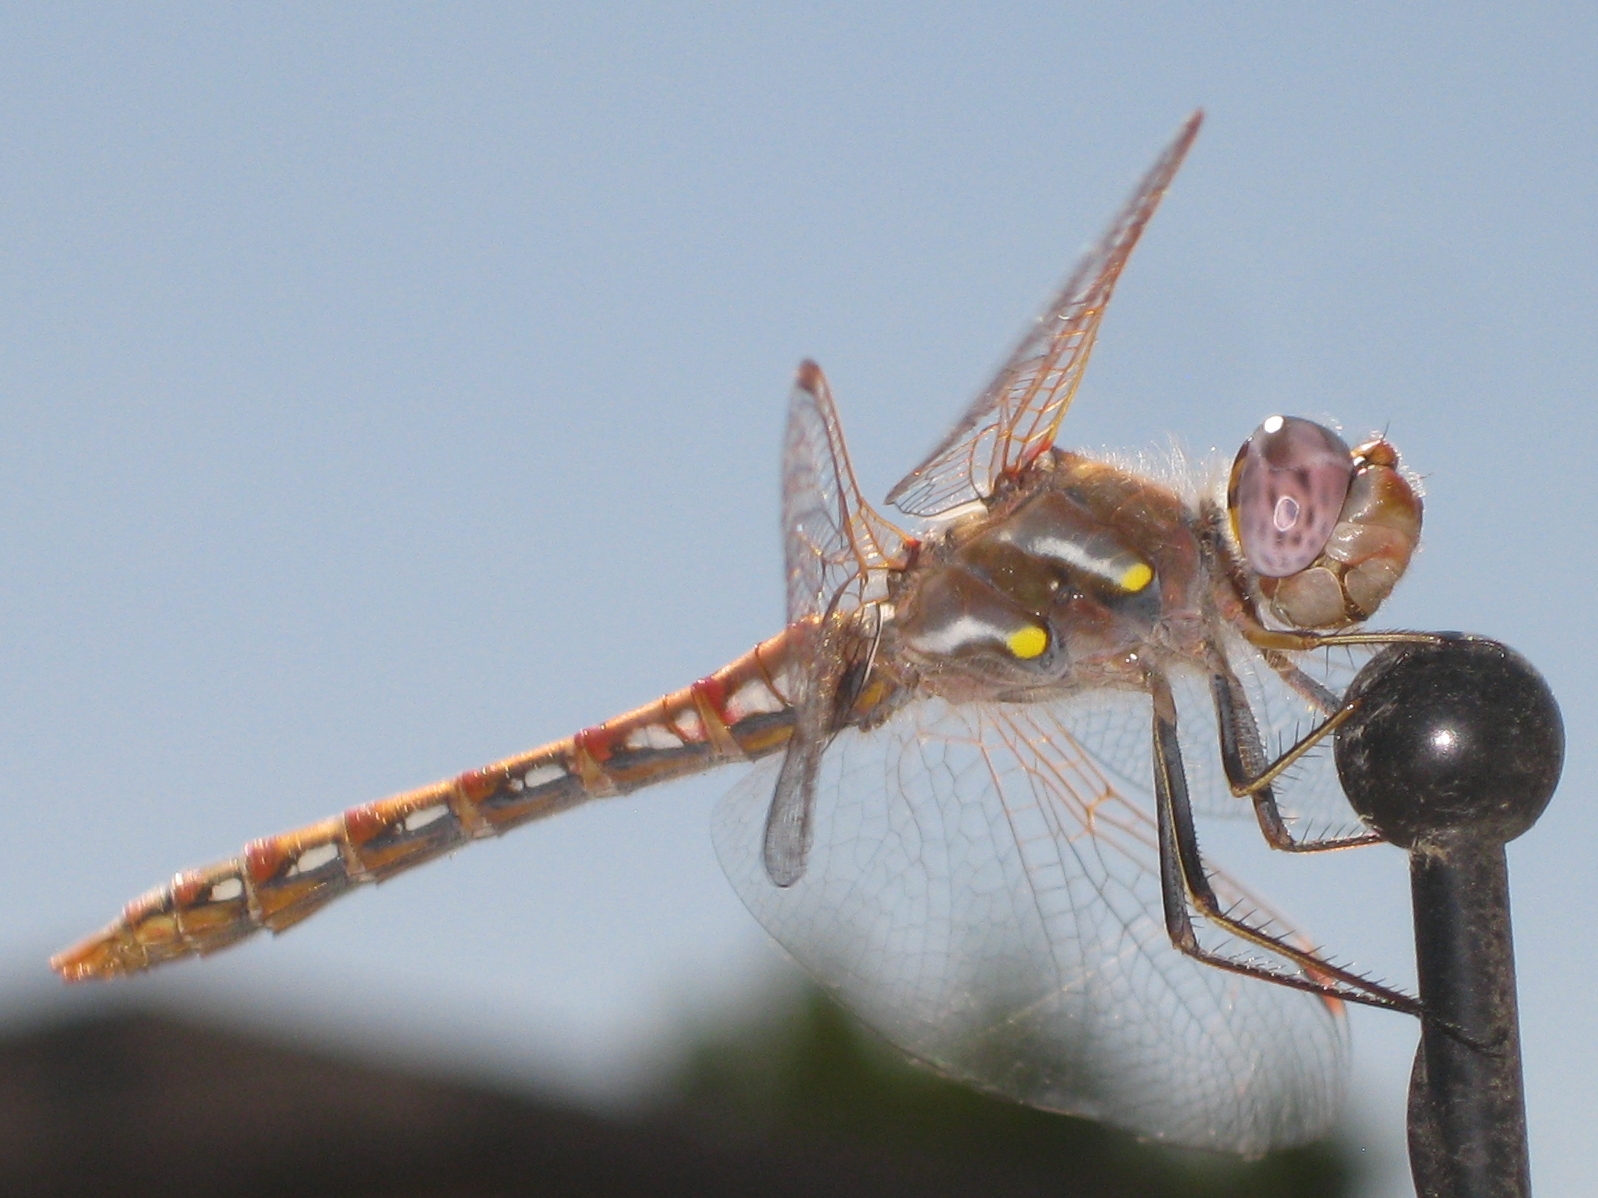
Given that it was getting on for around 5 hours that I’d been working on the saw and building the jigs by this point, I took a break, stretched out my legs and back and relaxed for ten minutes. While I was doing that, I spotted a dragonfly floating around the garden. Standing watching him for a few minutes, he landed on the radio antenna for our car. Given that I still had the camera in my pocket from taking pictures of what I was doing, I grabbed it, as he posed for me! Looking at the pictures later, there really came out well, so I thought I’d share…
Anyway, back to the jig …
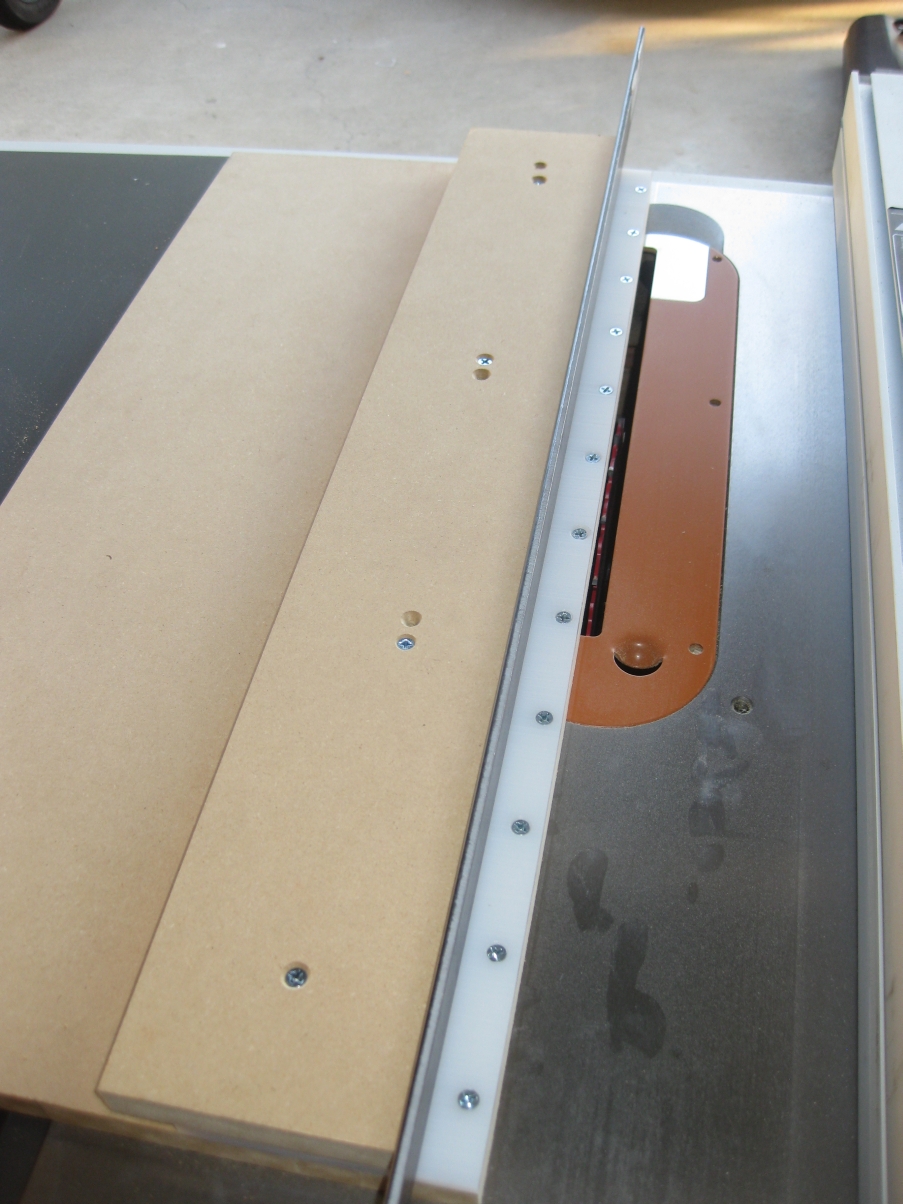
With the back reinforced, I had to add the fence to the sled. The important thing here is that it is at exactly 90 degrees to the saw blade. If it’s off, then the cut will not be square, which isn’t going to make for a good cube. Using the best square I have, I sat one edge against the blade, and the other against the fence board I’d cut. Keeping both edges in firm contact, I drilled one screw hole, counter sank and then screwed the fence to the sled at one corner. With one corner in place, I double and triple checked the fence was square, on both sides of the blade (using two squares). That may be a little overkill, since the blade shouldn’t be different on either side, but I figured it couldn’t hurt!
Everything checked, I pre-drilled and screwed the other side of the fence to the sled, and checked again for squareness. With everything looking good, it was time to add the stop. Now this was something that I’d been puzzling over for a good few days at this point, and hadn’t really figured out how I was going to perfectly measure the offset so that I ended up with good low tolerance cubes. As is ever the case, the answer came to me when I least expected it, in the shower in the morning before heading to work.
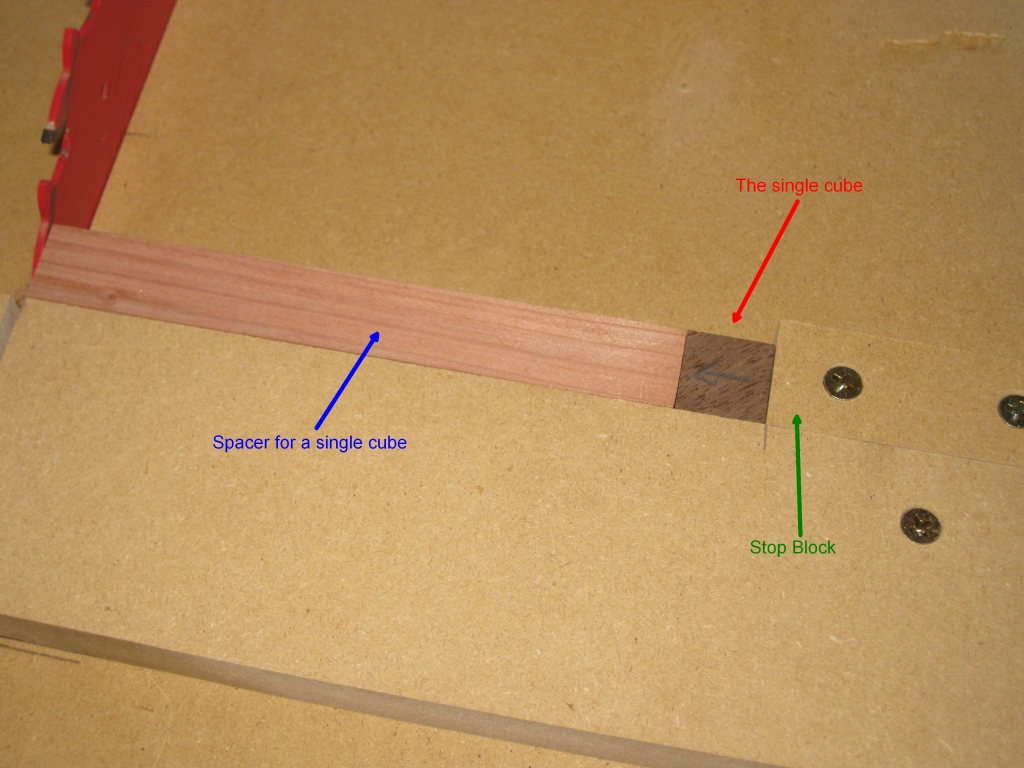
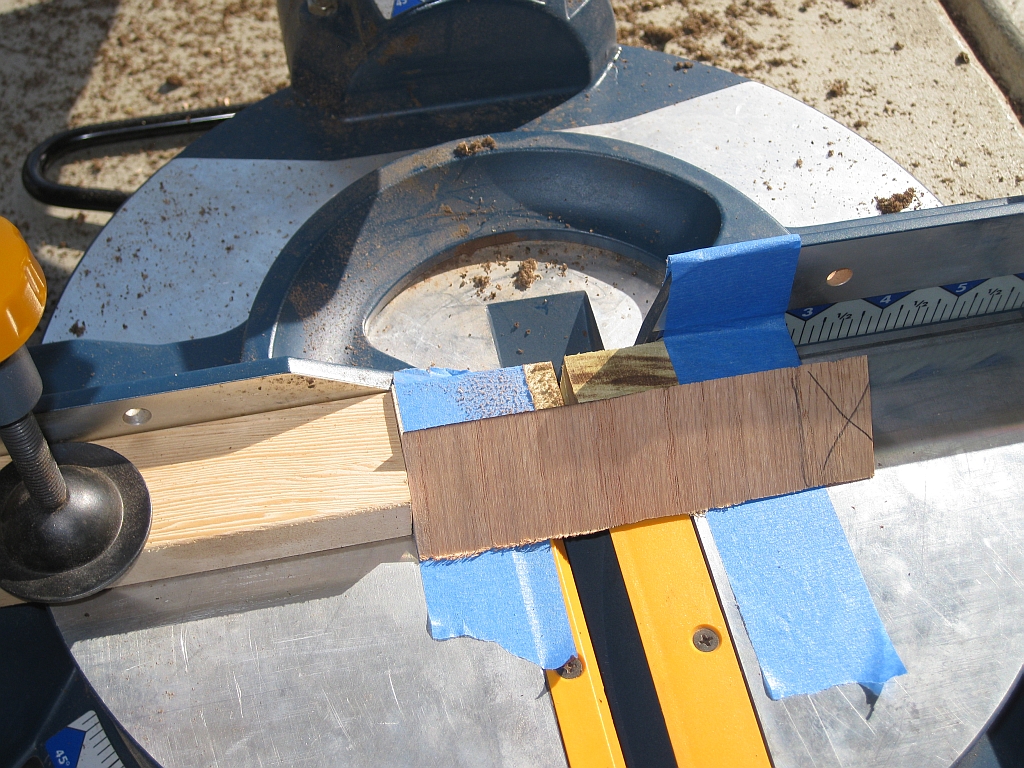
The answer. Make sure that the stop is far enough from the blade to make the biggest cut you’ll need, plus a bit. The reason … Well if you properly size a piece you want to cut (and I’ll get to that) then you can use that piece against the stop, then cut a ‘spacer’ by placing it against the fence, and the piece you want to cut, then cut that piece. You get a perfect spacer, and no complicated measuring required. (Other than the piece you want to end up with). Yes, I know that’s all very confusing, but I’ll annotate the pics below and it will make more sense!
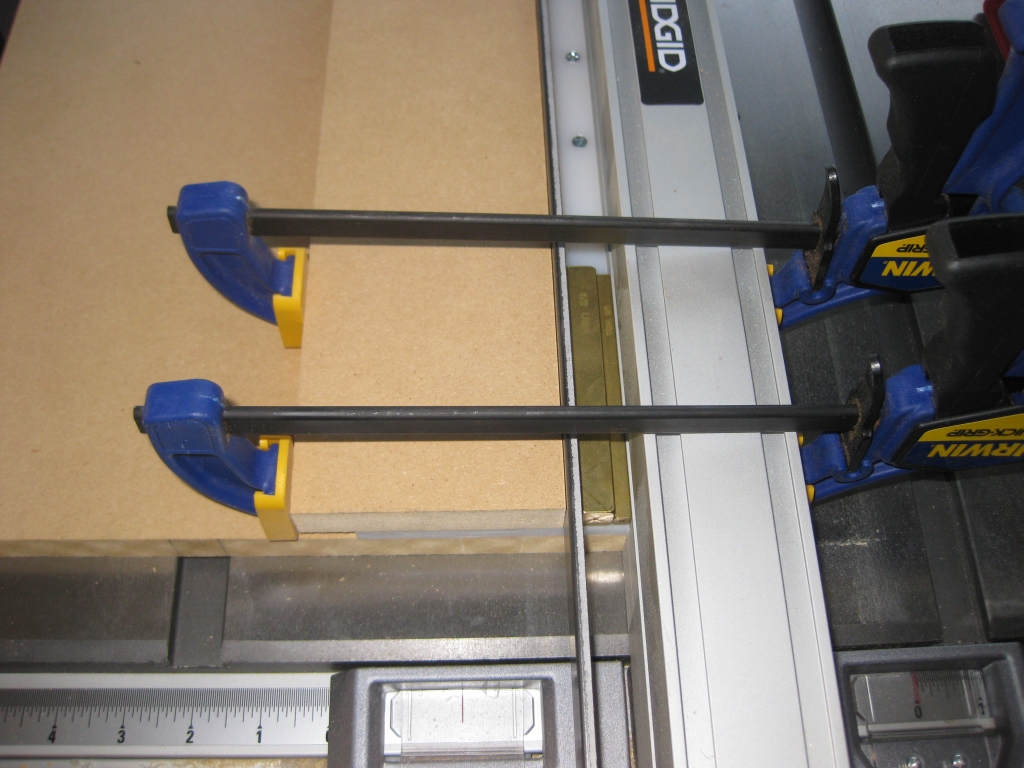
Having screwed the stop in place I could remove the clamp. The stop is placed 6″ from the blade. I’m unlikely to ever cut a stick that needs to be 6″, unless perhaps I’m making 18 piece burrs, so this is lots of space to create whatever sized stick I need.
If you click on the image on the left, you’ll see I’ve annotated it to make my previous explanation simpler to understand. The single cube in walnut was created by shaving a few thousands at a time from the edge of the block and measuring after each pass until it matched the dimension of the square stick. In some regards, that is probably the most time consuming part of the process, as if you take off too much, then it’s a case of starting again.
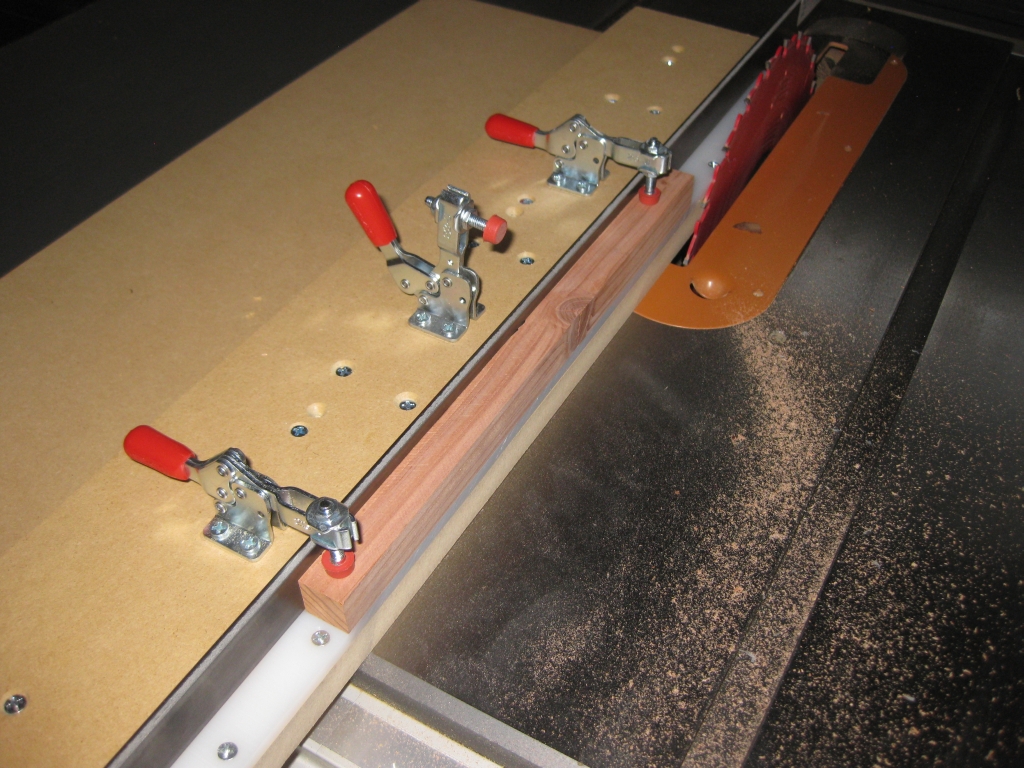
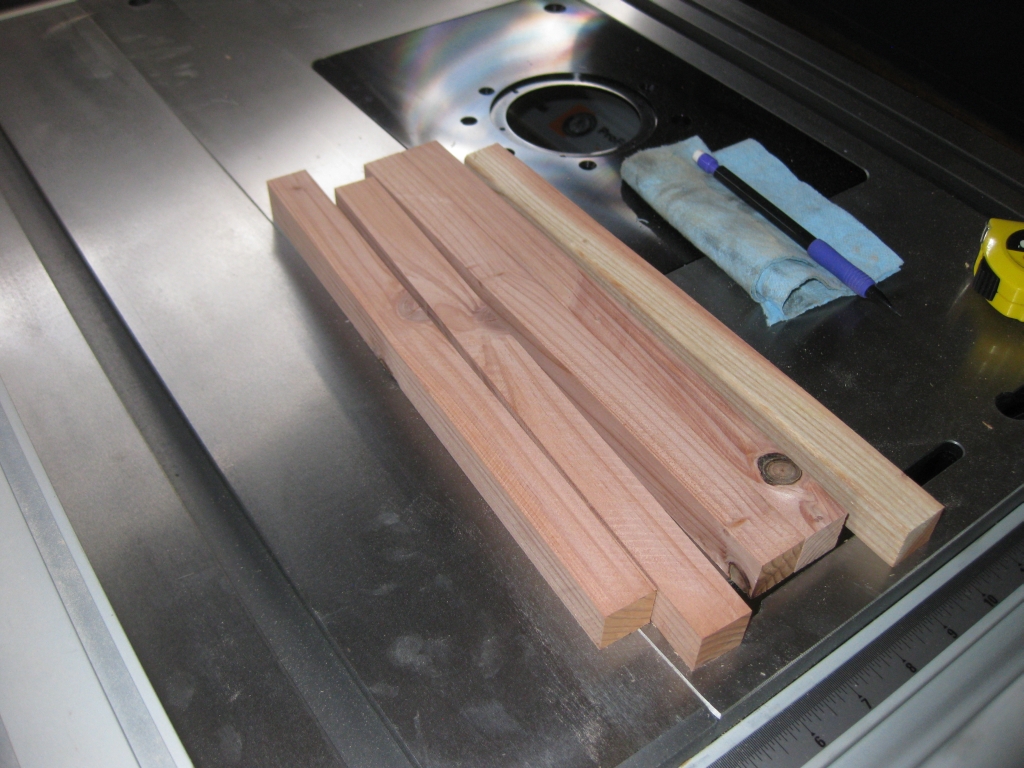
With the first cube created by hand, it can be placed against the stop, then a long stick placed against it to create the spacer. In the diagram, you’ll see I created mine from some of the redwood sticks I’d cut when I was testing the square stick jig.
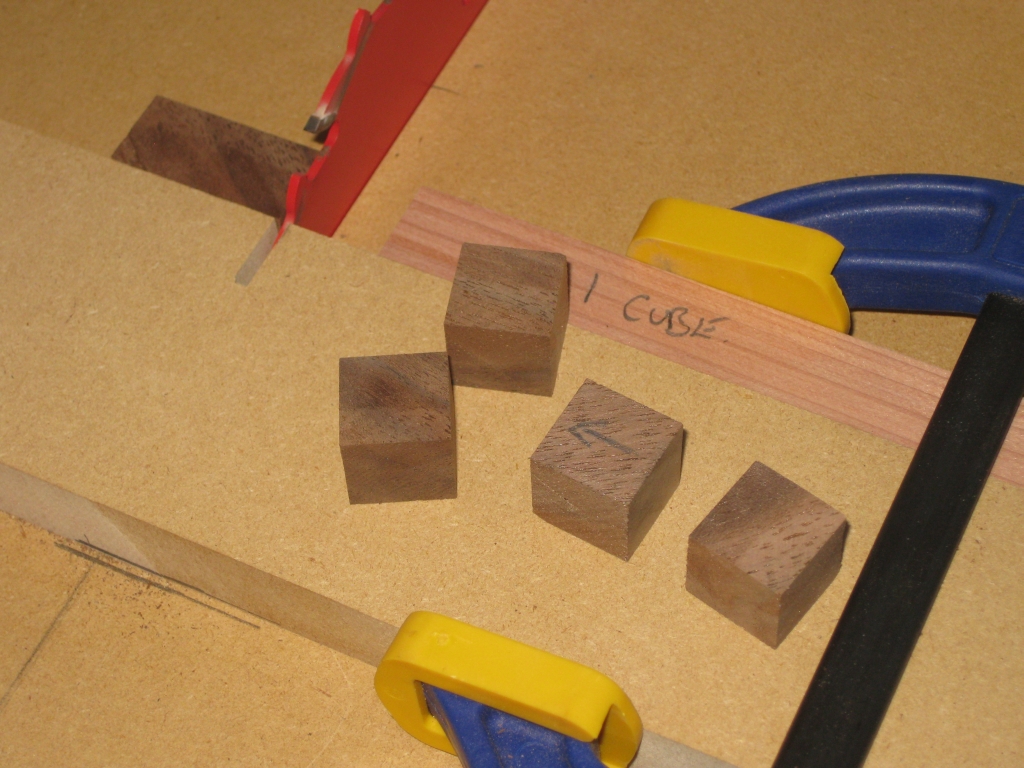
Now it’s a simple task of swapping the order of the pieces so that the spacer is against the stop, and batching out some cubes. I’ve used a clamp to keep the spacer in place, both against the fence, and hard up against the stop to make sure that it doesn’t move between cuts. It’s also important after each cut to clear out any dust that gets between the block and the fence as this will affect the accuracy of the cut. It is possible to adjust the spacer by adding feeler gauges between the stop and the spacer and before each run of cubes, I’ll need to check the sizes to make sure everything is within an acceptable tolerance.
Running through a few cubes, each cube came out almost perfectly. The worst cube had a tolerance of 0.001″ from the size of the square sticks. I can’t really complain when the cuts are that close. It’s going to be pretty good for any initial puzzles I make.
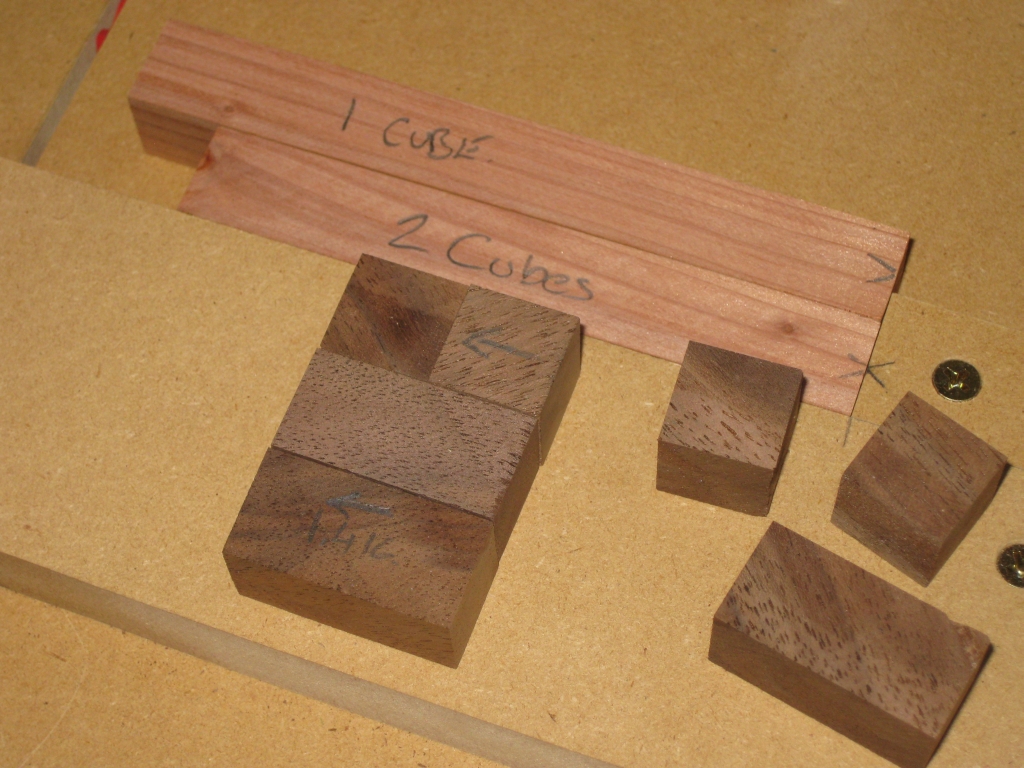
Now with a few cubes cut, I measured them, and selecting two that were exactly cubic, I placed them together and verified that the length was exactly double that of a single cube. Repeating the process I had used for the first cube, I cut a ‘two cube spacer’. This spacer will let me make double sized cubes, perfect for making any of Stewart Coffin’s Convolution/Involution/Involute puzzles.
Let the fun commence!
