Birthday Puzzling

As some of you know, I celebrated my birthday last week, and the day came with some shiny new puzzles and tools thanks to my family.

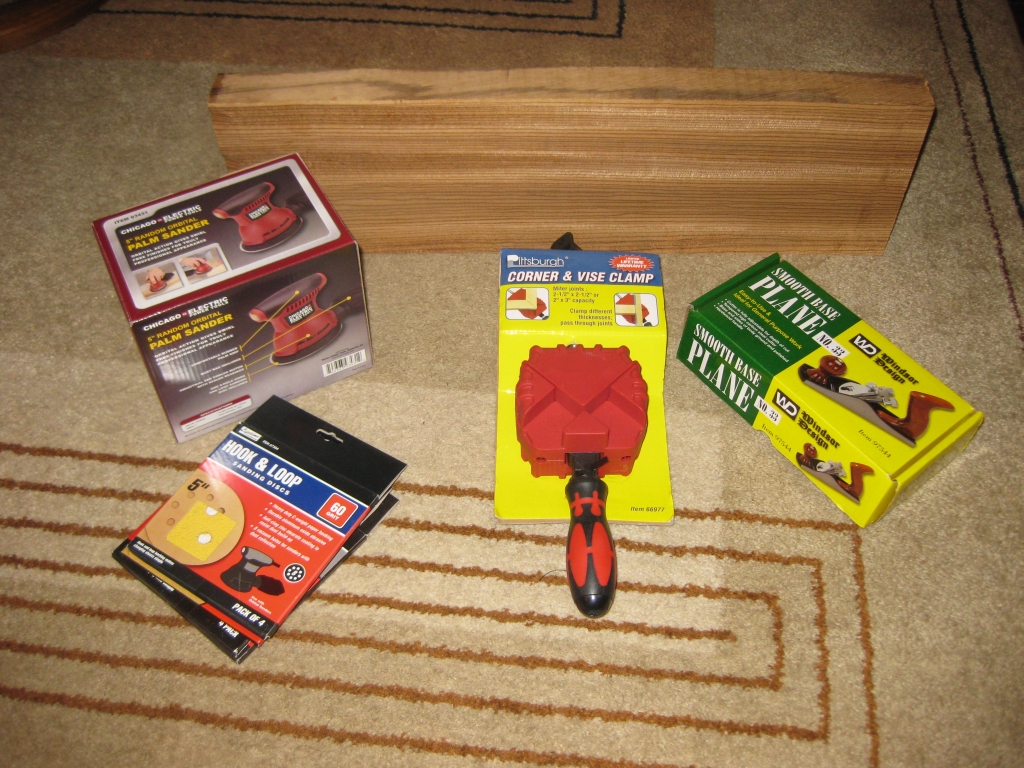
Some Zebra Wood to make puzzles, and a few new tools

Some Zebra Wood to make puzzles, and a few new tools

It seems that my fiancée had been hard at work, talking to a few of my friends and figuring out what and how to get me a few puzzles and tools. Not only was I lucky enough to receive three puzzles from Mr Puzzle, but there were also some tools to help in making more puzzles myself, and three board feet of Zebra Wood to make into puzzles as well.

I have been talking about getting a small random orbit sander for quite a while now. Believe it or not, up to this point, all the sanding that Ive done, regardless of the size of the project has all been done by hand. So to get a nice palm sander plus several different grits of paper was really nice. I have a couple of biggish projects that I’m working on just now, including the charity build of two children’s rocking horses, so that will come in really handy there, as well as finishing the outer surfaces on some of the puzzles I’ve been making.

Also among the tools was a nice hand plane. It’s another tool that I didn’t own and will make a nice addition to my tools. I have a very small plane for fine work, but this will help for some of the bigger projects that I have planned. Finally there’s an interesting corner clamp. I have no doubt this will come in very handy for making boxes for some of the puzzles.

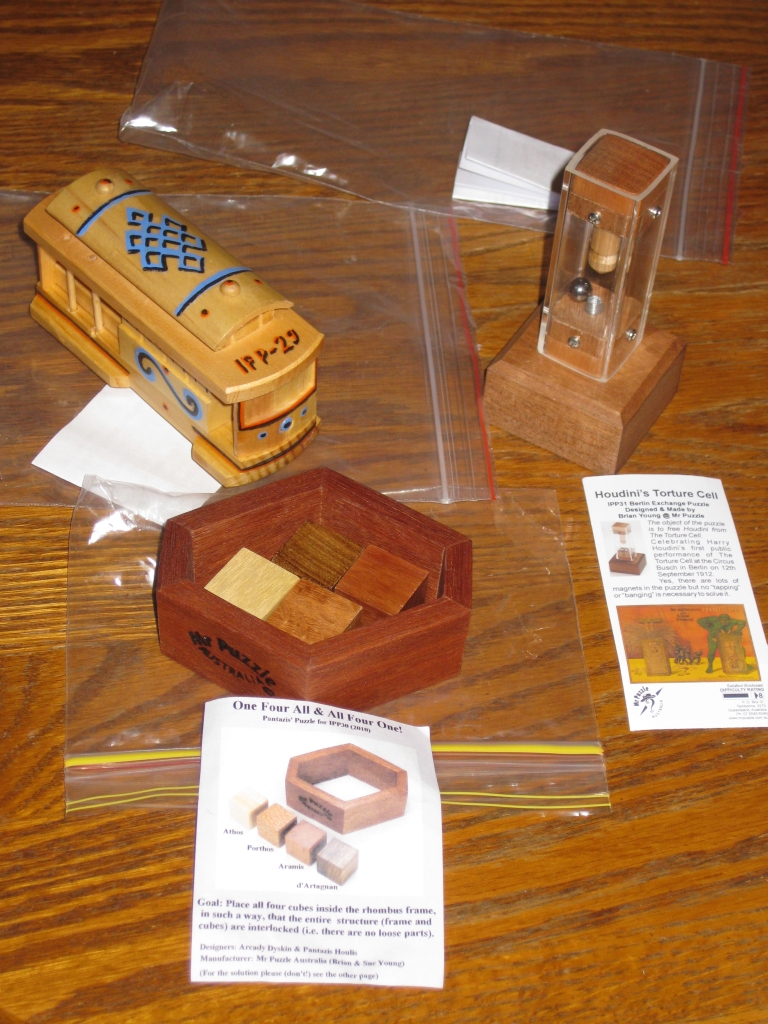
Three puzzles from Mr Puzzle

Three puzzles from Mr Puzzle

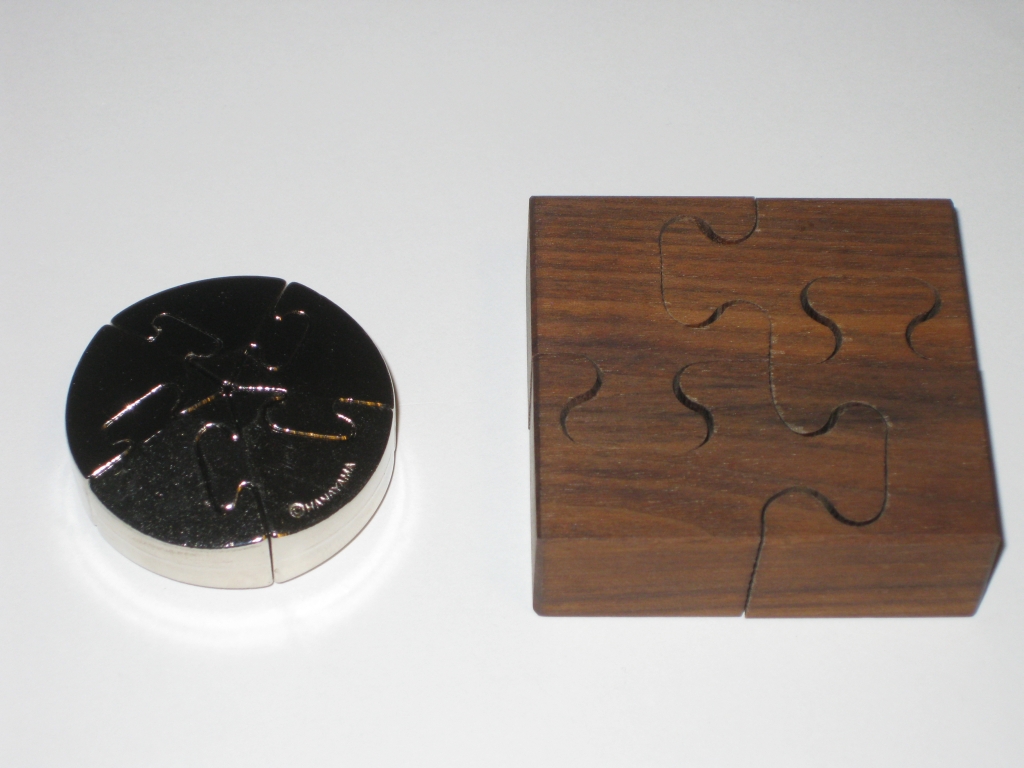
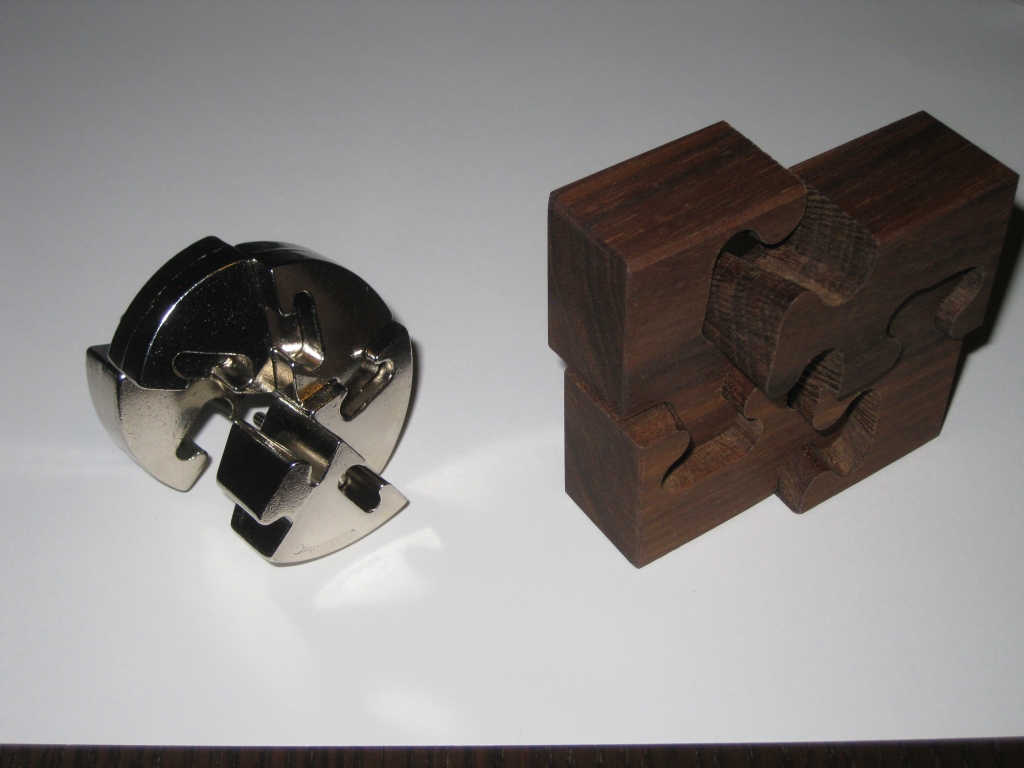
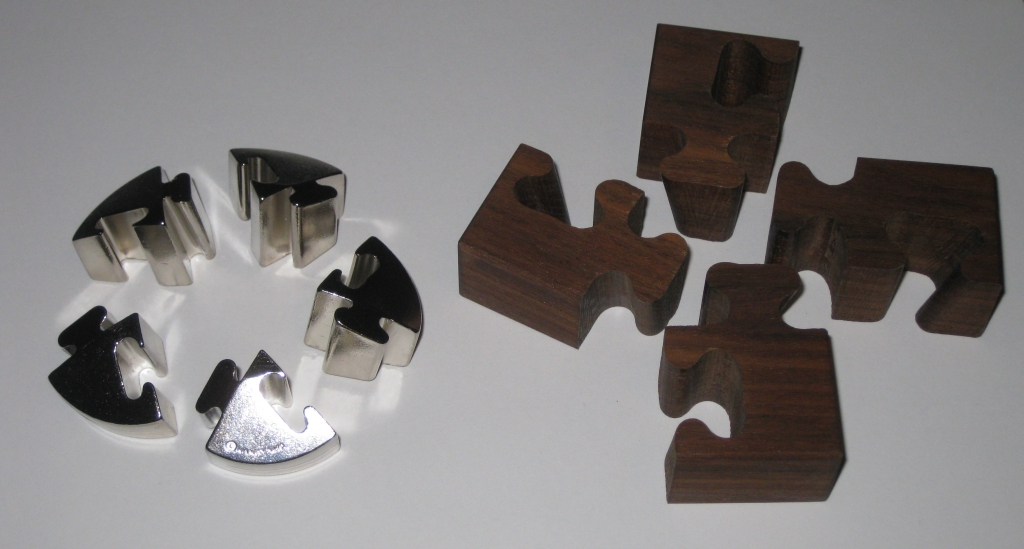
From the puzzle side, I had mentioned to my fiancée that I really wanted to have a proper go at Mr. Puzzle’s IPP exchange puzzle from IPP 31 this year, the Houdini’s Torture Cell. Well it seems that when she went looking for it, she decided it wasn’t very expensive, and had a look around some of the other puzzles on the site to pick up a few puzzles for me. In the end she decided on the Cable Car from the San Francisco IPP, and One Four All & All Four One from IPP30 designed by Arcady Dyskin & Pantazis Houlis.

I’ll be writing full reviews of all the puzzles once I’ve had a chance to play with them all so keep an eye out for them soon.

Buffalo Nickel

The Buffalo Nickel is based on a puzzle design by Oskar van Deventer and was made by George Miller for IPP 20 in Los Angeles is a large burr style puzzle where the object is to fit the two burr pieces into the main body of the coin to complete the border of the coin. It takes 9.5 moves to put the three pieces together into the solved state. I’m not quite sure where the half move comes from, but I’ll take George’s word for it (more on that later).

The front of the Buffalo Nickel

The front of the Buffalo Nickel

The back of the Buffalo Nickel

The back of the Buffalo Nickel

This puzzle was brought to me by a friend after they visited my house recently and I showed them a few of the puzzles in my puzzle cabinets. Her daughter who was with her mentioned that they had this big coin puzzle where you had to put the two pieces into the coin and it was really hard. She had spotted it in a garage sale, and bought it as she thought it looked pretty neat. Unfortunately, she hadn’t been able to solve it, and nor had her mum so it was sitting in its three pieces. Before I could say much my fiancée announces that I’ll solve it for them if they bring it to me. Well, not much I can really say at this point other than, “Sure, I’ll give it a go”. After all how can you disappoint an 11-year-old when she’s been drooling over the puzzles in the cabinets.

The puzzle promptly appears over the weekend and an excited 11-year-old hands me the puzzle and says there you go.
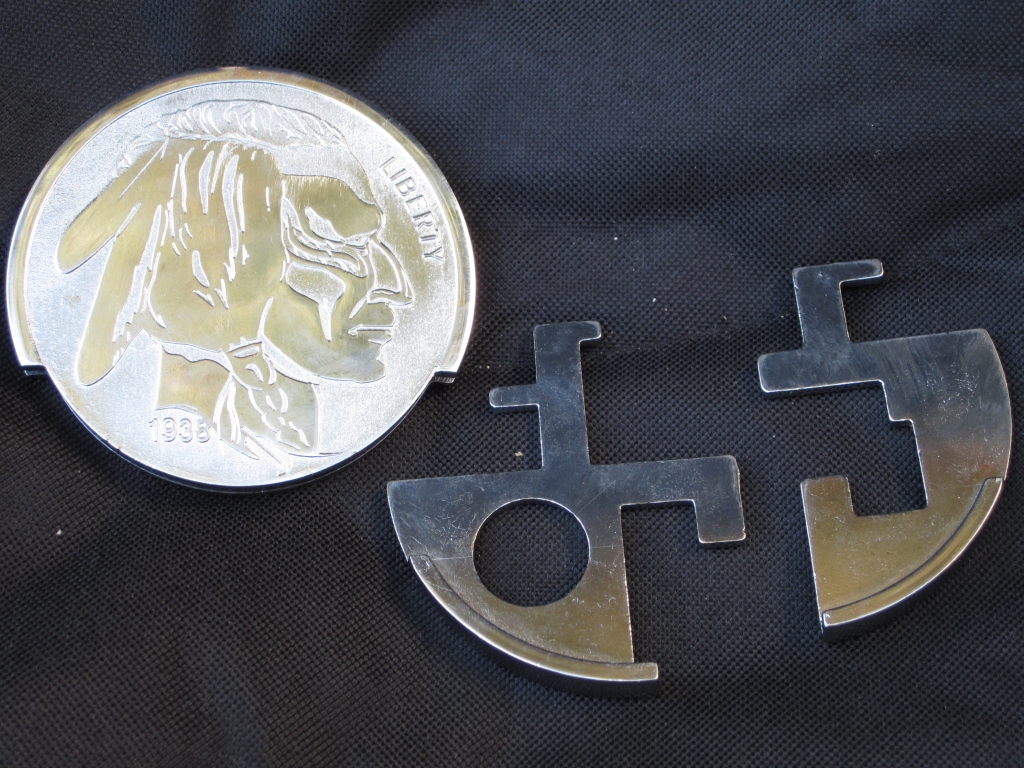
The three pieces of the Buffalo Nickel

The three pieces of the Buffalo Nickel

As you can see the two pieces are simple burr pieces which both interact with each other inside the puzzle and with ledges and holes inside the body of the coin. It’s a big puzzle, measuring around 4″ diameter, and being metal has a good weight to it.

I should point out that when I was handed this puzzle, I was at my Son’s football game (American Football, not Soccer for all those back home in the UK), where I was in charge of the grill. I had just sat down to eat some lunch, so had a burger in my hand when I was given the puzzle. With an excited 11-year-old in front of me I thanked her, and said I’d try once I finished eating.

So finishing my burger, I take a look inside the body to see how much I can see, and look at how the two pieces interact. It seemed fairly straight forward, so I insert both pieces, and play around with how they interact inside the puzzle. I’m able to get the right hand piece in place fairly quickly, but it’s blocking the left hand piece from falling into the correct spot. Taking the pieces out, I play around with just the left hand piece to see how it fits, and it becomes pretty clear that it has to be very carefully aligned to drop into place. The tab on the left has to fit very precisely into the body, and any small angle in the piece prevents it from being inserted.

With that knowledge, I put both pieces back into the puzzle, and have it solved a minute or so after that. All in all it took less than five minutes for me to solve.

Getting up from my seat, I take the solved puzzle to my friend and I’m greeted with “What, What, how, you ….”. I just laughed and said that it was a very nice puzzle, did she mind if I took a few photos to allow me to put up a review of it.

Given that this was an IPP puzzle, the card which accompanied the puzzle for IPP 20, has the following information about the puzzle. The copy that my friend has doesn’t have the card with the puzzle, or its original box.

The Buffalo Nickel Puzzle is based on the Nine-and-a-half-Moves puzzle by M. Oskar van Deventer. It is composed of just three pieces that fit together in such a way to hide a secret compartment. Although the three pieces are flat and lie in a single plane, it takes a remarkable 9 1/2 moves to solve.

There is a very interesting article from Oskar about the puzzle, that does contain the solution (you’ve been warned) which you can read here if you’re interested. I know I mentioned at the top that I didn’t know where the half move came from, however in Oskar’s article, he describes the slide and rotate which is required in the solution as a move and a half. So that explains where the half came from!

I’m very happy to have been given this puzzle to try, and it was a fun little puzzle to play with. Thanks to my friend to lending it to me. Now she has to go solve it herself as she knows it’s possible now!
Flemin’

This entry is part 2 of 6 in the series IPP 31

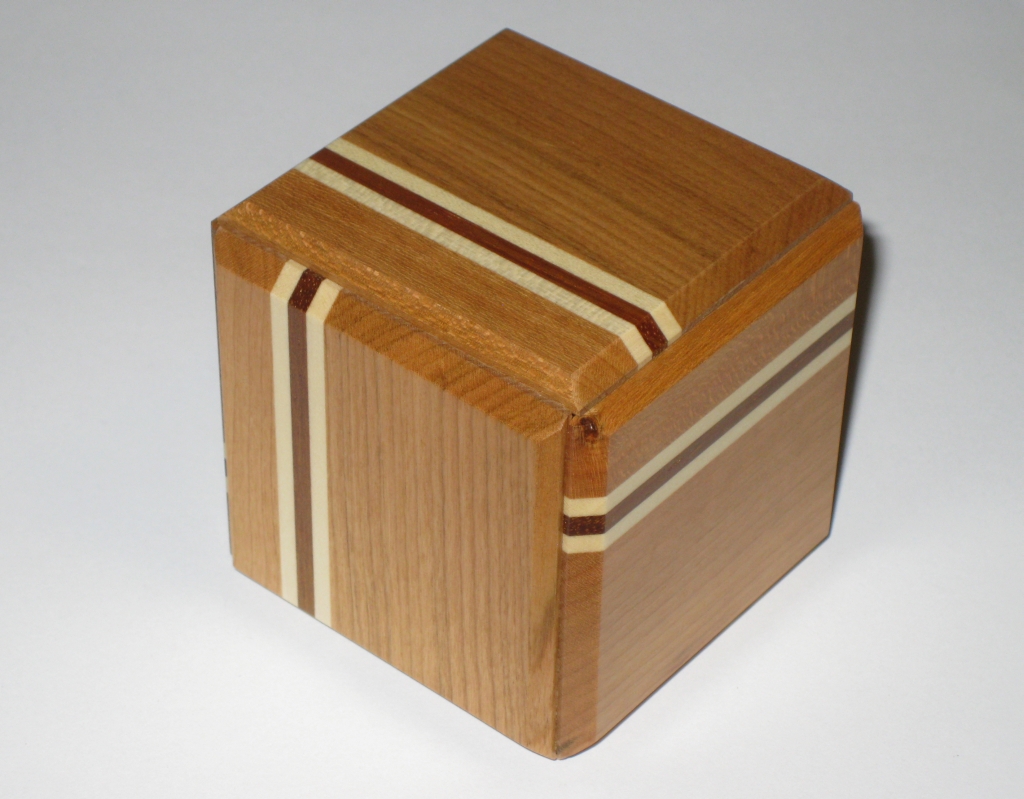
Flemin’ is an interesting puzzle from Shiro Tajima from the Karakuri Creation group. This fairly plain looking Cherry box with an inlay detail apparently conceals a hidden compartment in its centre, however it’s not easy to find!

Flemin'

Flemin'

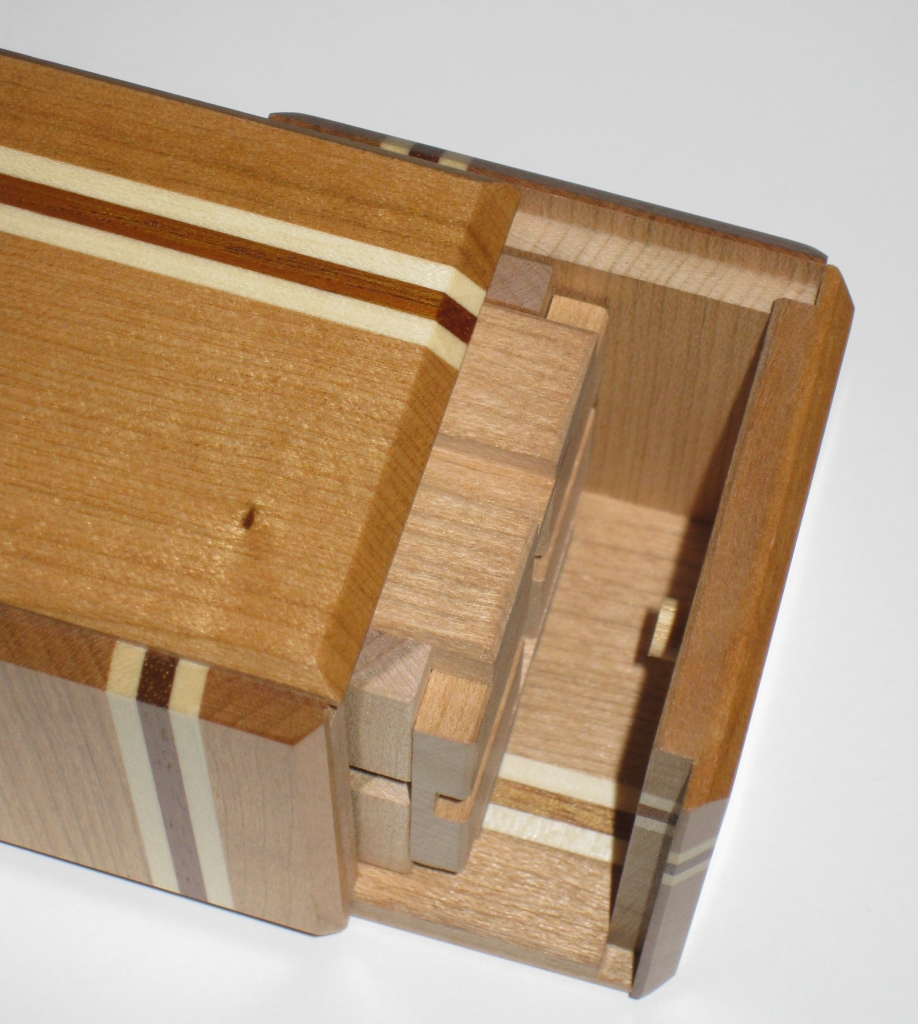
As I mentioned the goal of the puzzle is to open the shell and find the secret compartment. Opening the shell isn’t too hard. The outer panels are attached to the inner cube using short dowels which run in grooves in the outside of the inner cube. The way the panels of the inner cube are glued together prevent the outer panels from being removed, and keep the solver going round in circles. Confused? The picture below should help.

Showing how the pegs interact with the inner cube

Showing how the pegs interact with the inner cube

Made from Cherry, Rengas and Mizuki, this take apart puzzle while fairly plain (compared to some boxes we’ve seen from Shiro Tajima) still has a striking appearance to its outer casing. Created back in June 2010, this box has been around for a while now, but the internal mechanism was slightly redesigned and entered in the IPP 31 design competition in Berlin.

I’ve spent quite a lot of time on this box, which was kindly loaned to me by Derek Bosch, and (like Derek) have singularly failed to find the internal compartment. I spoke with a couple of fellow puzzlers about this puzzle, and eventually, talking with Jim Strayer, he pointed me towards the correct technique to open the inner box. It was Jim who mentioned while I was talking to him that the mechanism had been redesigned, and that he can easily open his copy, but was only able to open the IPP copy once.

Our thoughts seem to come down to the mechanism on this copy being locked solid as a result of expansion of the wood. Sadly, it is a potential problem with wooden puzzles, and it seems that the mechanism on this box is rather sensitive to wood movement. Given that I have the puzzle on loan, I certainly didn’t want to force anything and possibly break a puzzle (and my thumb being slightly out of action doesn’t help). Jim did mention that to open the internal compartment the mechanism needs to move very precisely, and I was concerned about damaging what sounds like a delicate internal movement.

So for now, this one remains unsolved. I can say that having spent possibly an hour and a half working on this one (most of that before my accident), that nothing I had tried would have led me to opening it, so it is a challenging box even when you understand its mechanism.

Given the comments of other puzzlers who’ve struggled to open this one, and the possible problems with wood expansion, I’m not sure whether to recommend this box or not. I really like the concept behind the mechanism, and I’m sure if it works, it is both simple, unexpected and very clever. It is a challenging puzzle, so if you’re looking for a puzzle box that is a little unusual, and will not work the way you expect then it’s a great buy. On the other hand, if you get one where the mechanism is stuck, this will frustrate you no end.

Way

This entry is part 1 of 6 in the series IPP 31

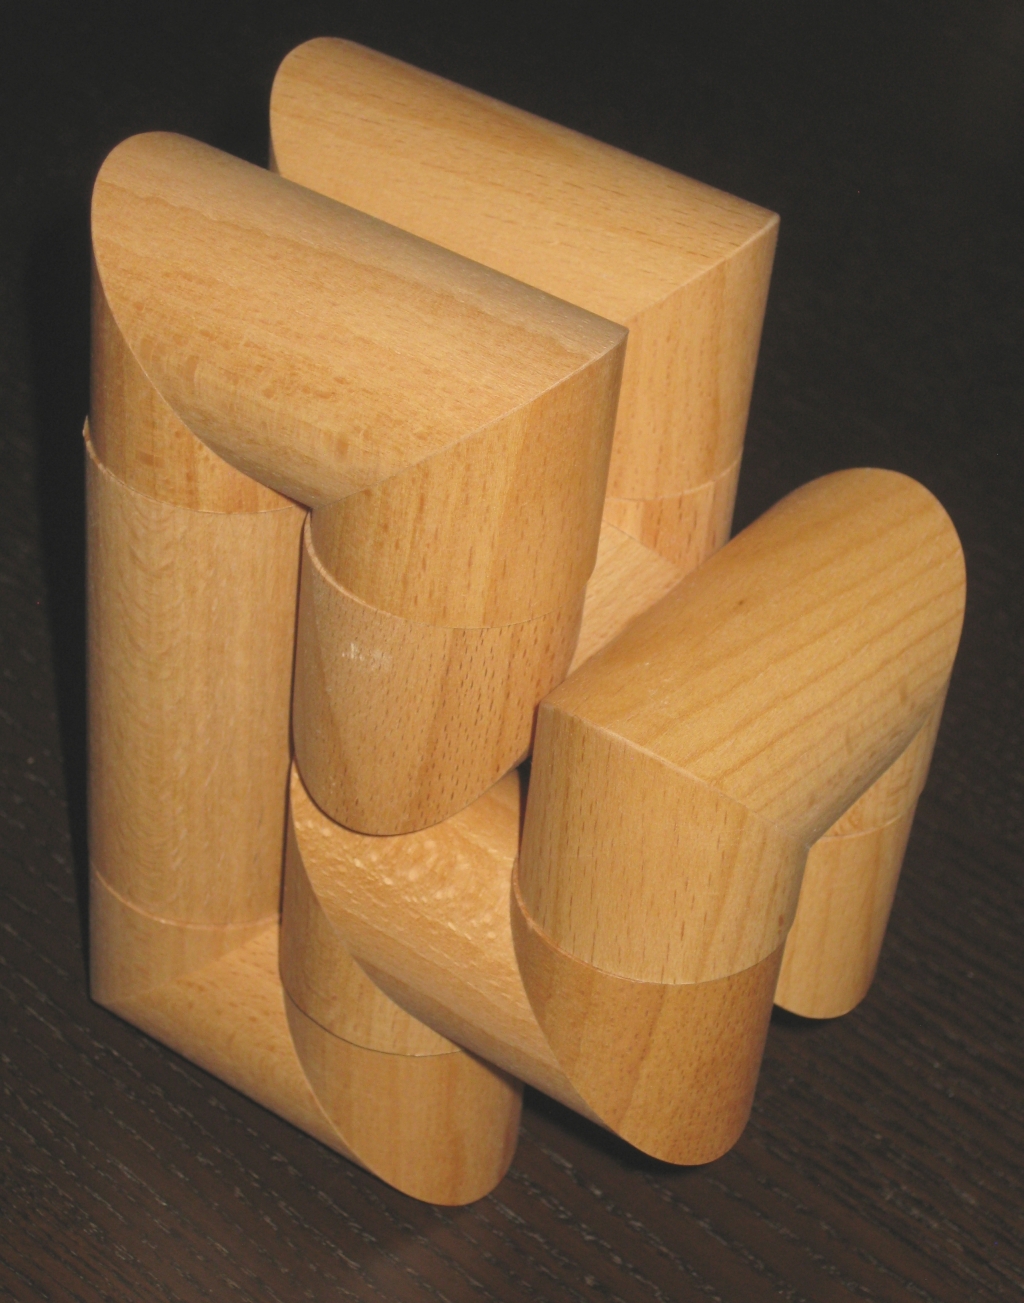
Way by Dr. Volker Latussek is an interesting wooden puzzle which was entered in IPP 31 Design competition in Berlin. Not long after IPP, I was talking with Volker regarding my thoughts on the puzzle, and he offered to send me a copy to play with. Shortly after our discussion a fairly large package arrived in the mail, and there was the copy of Way that he promised me.

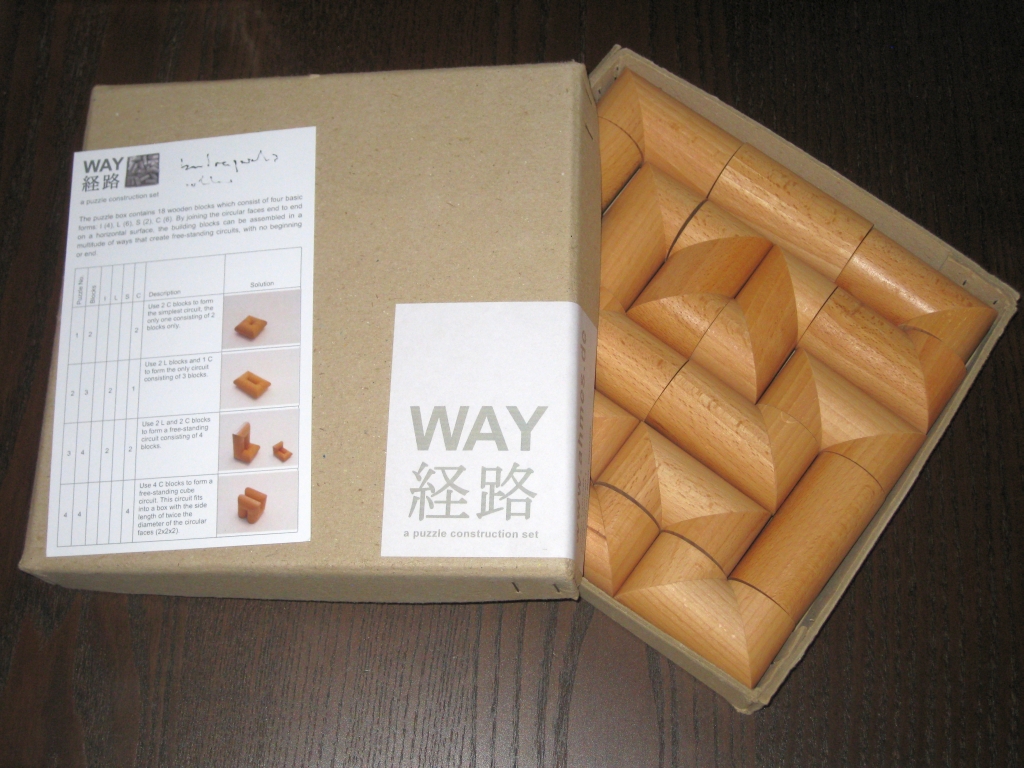
Way boxed

Way boxed

The goal of the puzzle is to create free standing circuits which form a single complete loop from start to finish, using the pieces noted on the challenge card. The circuit does not need to be flat on the table, and can be a three dimensional circuit. If fact, thinking upwards is needed to solve many of the challenges presented. One of the unique points of the puzzle is that there are no pegs or magnets which hold the pieces together, and each of the solutions is stable when the correct solution is found.

The first thing that struck me about this puzzle is the size. This is much larger than I was expecting from the photographs I’d seen. You’ll get a feel for just how big the pieces are from the video (just excuse my gammy thumb). The pieces are all beautifully made, and perfectly smooth. Each of the oiled beech pieces has a good weight to it, and are all fairly large, even in my hands. The whole puzzle with all eighteen blocks measures 8″ x 8″ and each piece has a diameter of around 1.33″. The puzzle comes in a heavy card box with the puzzle name on a sticker on the outside of the box. One of the challenges is even to fit all 18 pieces into the box in a continuous circuit (as opposed to just thrown in there as they normally are after playing with the puzzle).

The Sticker on the box has the subtext “a puzzle construction set”, and it does live up to that claim. It certainly reminds me of the building blocks I used to play with as a child when I was at my grandfathers house, although these are significantly less beat up than those blocks were!

The puzzle comes with a challenge card with 8 different challenges on it, the first four of which are really showing you how to use the blocks, so contain a picture of the solution on the card. My biggest issue therefor is that there’s only really 4 challenges provided with the puzzle to start off. For most people it’s not going to take that long to work through the challenges. Visiting the website, there are now a total of 29 challenges which should keep you puzzling for quite some time, and it seems that more challenges are being added on a fairly regular basis. The most recent challenge was added on the 27th October (at the time of writing). The challenges are not all just ‘build a circuit’ challenges either. Some really need you to think about what you’re doing by adding restrictions on the type of circuit. For example, the circuit must fit inside a 3×3 cube.

Note: New puzzle challenges are added every Thursday. Thanks to the designer for the update

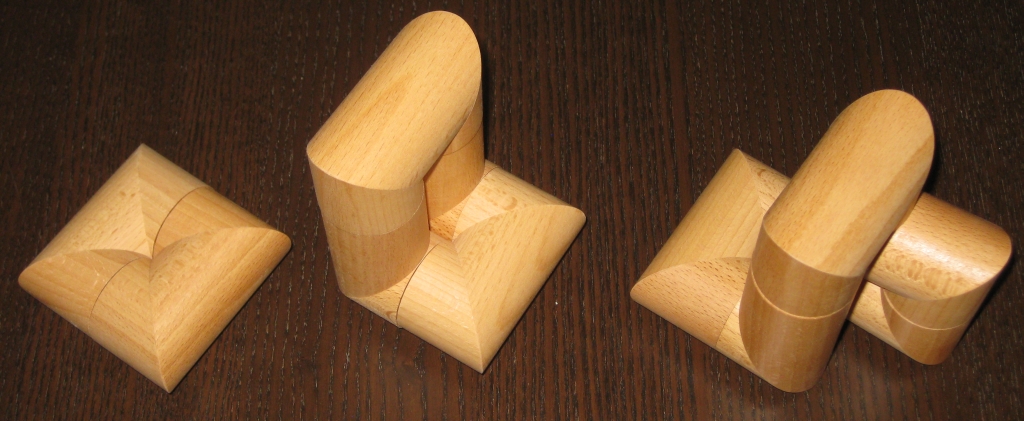
Some simple solutions

Some simple solutions

As you can see from the image above, showing a few of the simpler challenges, it’s possible to construct several of the solutions at the same time, and all of them are stable once complete. One of the issues I had was that the order in which you construct the solution is very important to the stability during creation. While it’s true that all the solutions I have found so far are stable once complete, they’re not always easy to build due to the nature of the pieces to roll. As you’ll see in the video, removing one piece from the completed structure, and the whole assembly in many cases will fall down with a satisfying clunk as the pieces hit the table. While I love the fact that the solutions are all stable when built, I can’t quite get past the feeling that having either the tiniest flat spot on the edges would help the puzzle greatly as the building would be less frustrating. That said, Dr. Volker is very proud of the design, and that the pieces are stable with no other aids, and I think he’s right to be proud of it. Bottom line is that the way the puzzle is, there’s an added dexterity element to the puzzle, which certainly adds to the challenge.

Way shows gravity who's boss

Way shows gravity who's boss

Some of the more challenging puzzles really start to look like they’re defying gravity with pieces hanging outside the main mass of the puzzle creating some interesting overhangs!

Overall this is a really good puzzle, and if the challenges keep coming, then there’s going to be a good reason to keep going back to it for some time to come. You can get one directly from Dr. Volker via the Way Website.

When puzzles start to take over

My puzzle collection has been increasing steadily over the last few years, and as with most collections, they have managed to spread themselves around the house quite impressively. Well over the weekend, my better half decided that she’d had enough and wanted her house back. So what happens… well even with a gammy thumb, we don’t get to sit and relax on our days off so we set to work.

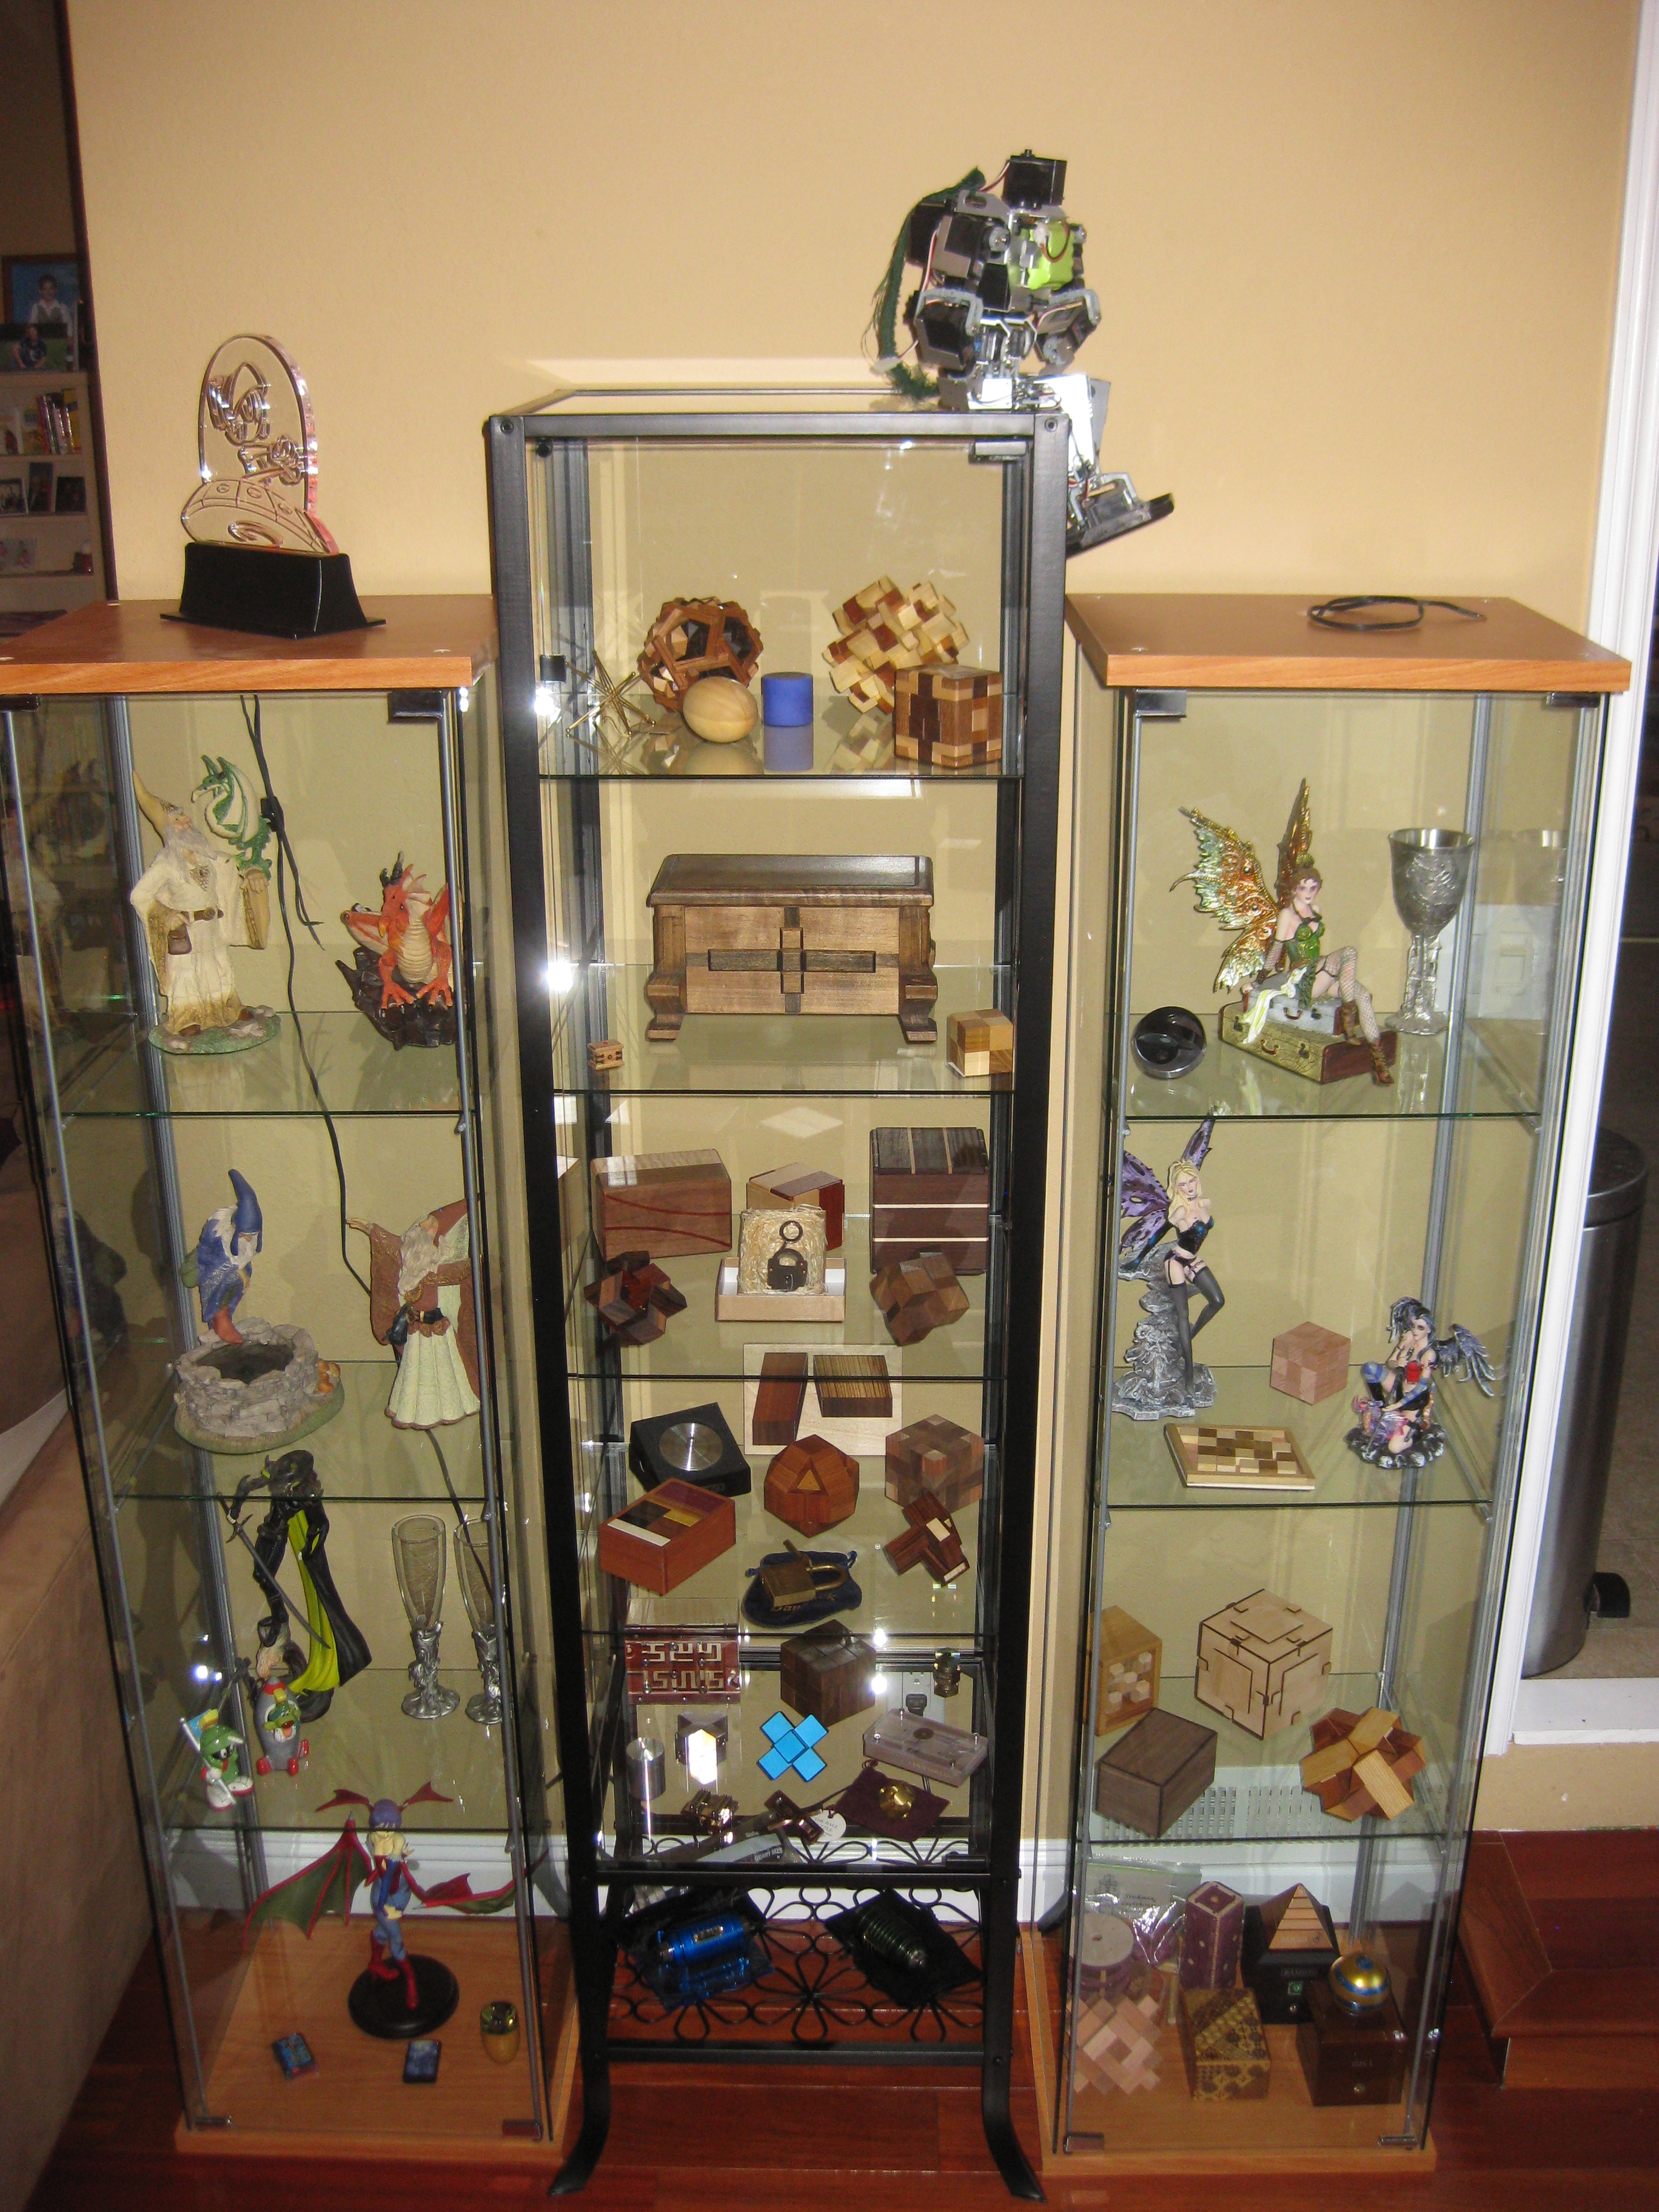
I have had a couple of glass display cabinets which have a few of my statue’s in it but have sadly been hidden at the back of the dining room for too long and needed to be brought out where they can be appreciated. We decided it was time to stop the puzzle collection from spreading all over the house, so a new glass cabinet was purchased, and it was time to re-organise.

Note: All images in this post are very large. Clicking the image will show the full size version so you can see the maximum detail possible.

Puzzle Storage

Puzzle Storage

After around 6 hours on Sunday moving furniture around the dining room, which involved relocating a chunk of my DVD collection, and the Lego collection, and …. ok, you get the idea; the cabinets were freed from their corners and moved into the living room as you can see above. After some Ikea cabinetry, the new glass cabinet was put together and some of the collection relocated to its new home.

The cabinets in the photo are only a small part of the collection, but it does mean that some of the puzzles have at least been brought together and are visible, rather than piled up on top of one another on whatever spare space I could find at the time they arrived.

The figures on the left are mine, and the faeries on the right are my fiancée’s. Sitting on top of the cabinet is one of my other projects. It’s a robot that I’ve been writing code for. There’s a few video’s of it walking here if you’re interested. So far I’ve not connected up the gyro’s so it’s all mechanical balance, and he does pretty well given that.

You might notice a certain Stickman in the bottom of the right hand cabinet. That’s a ‘kit’ that Robert sent me to get working. There was a wee mistake when the threads were being cut so it doesn’t work as intended. I’m currently in the process of reworking it and documenting what’s needed to get it working. I’ll be posting about that in due time, so watch this space.

Puzzle Shelves

Puzzle Shelves

More Puzzle Shelves

More Puzzle Shelves

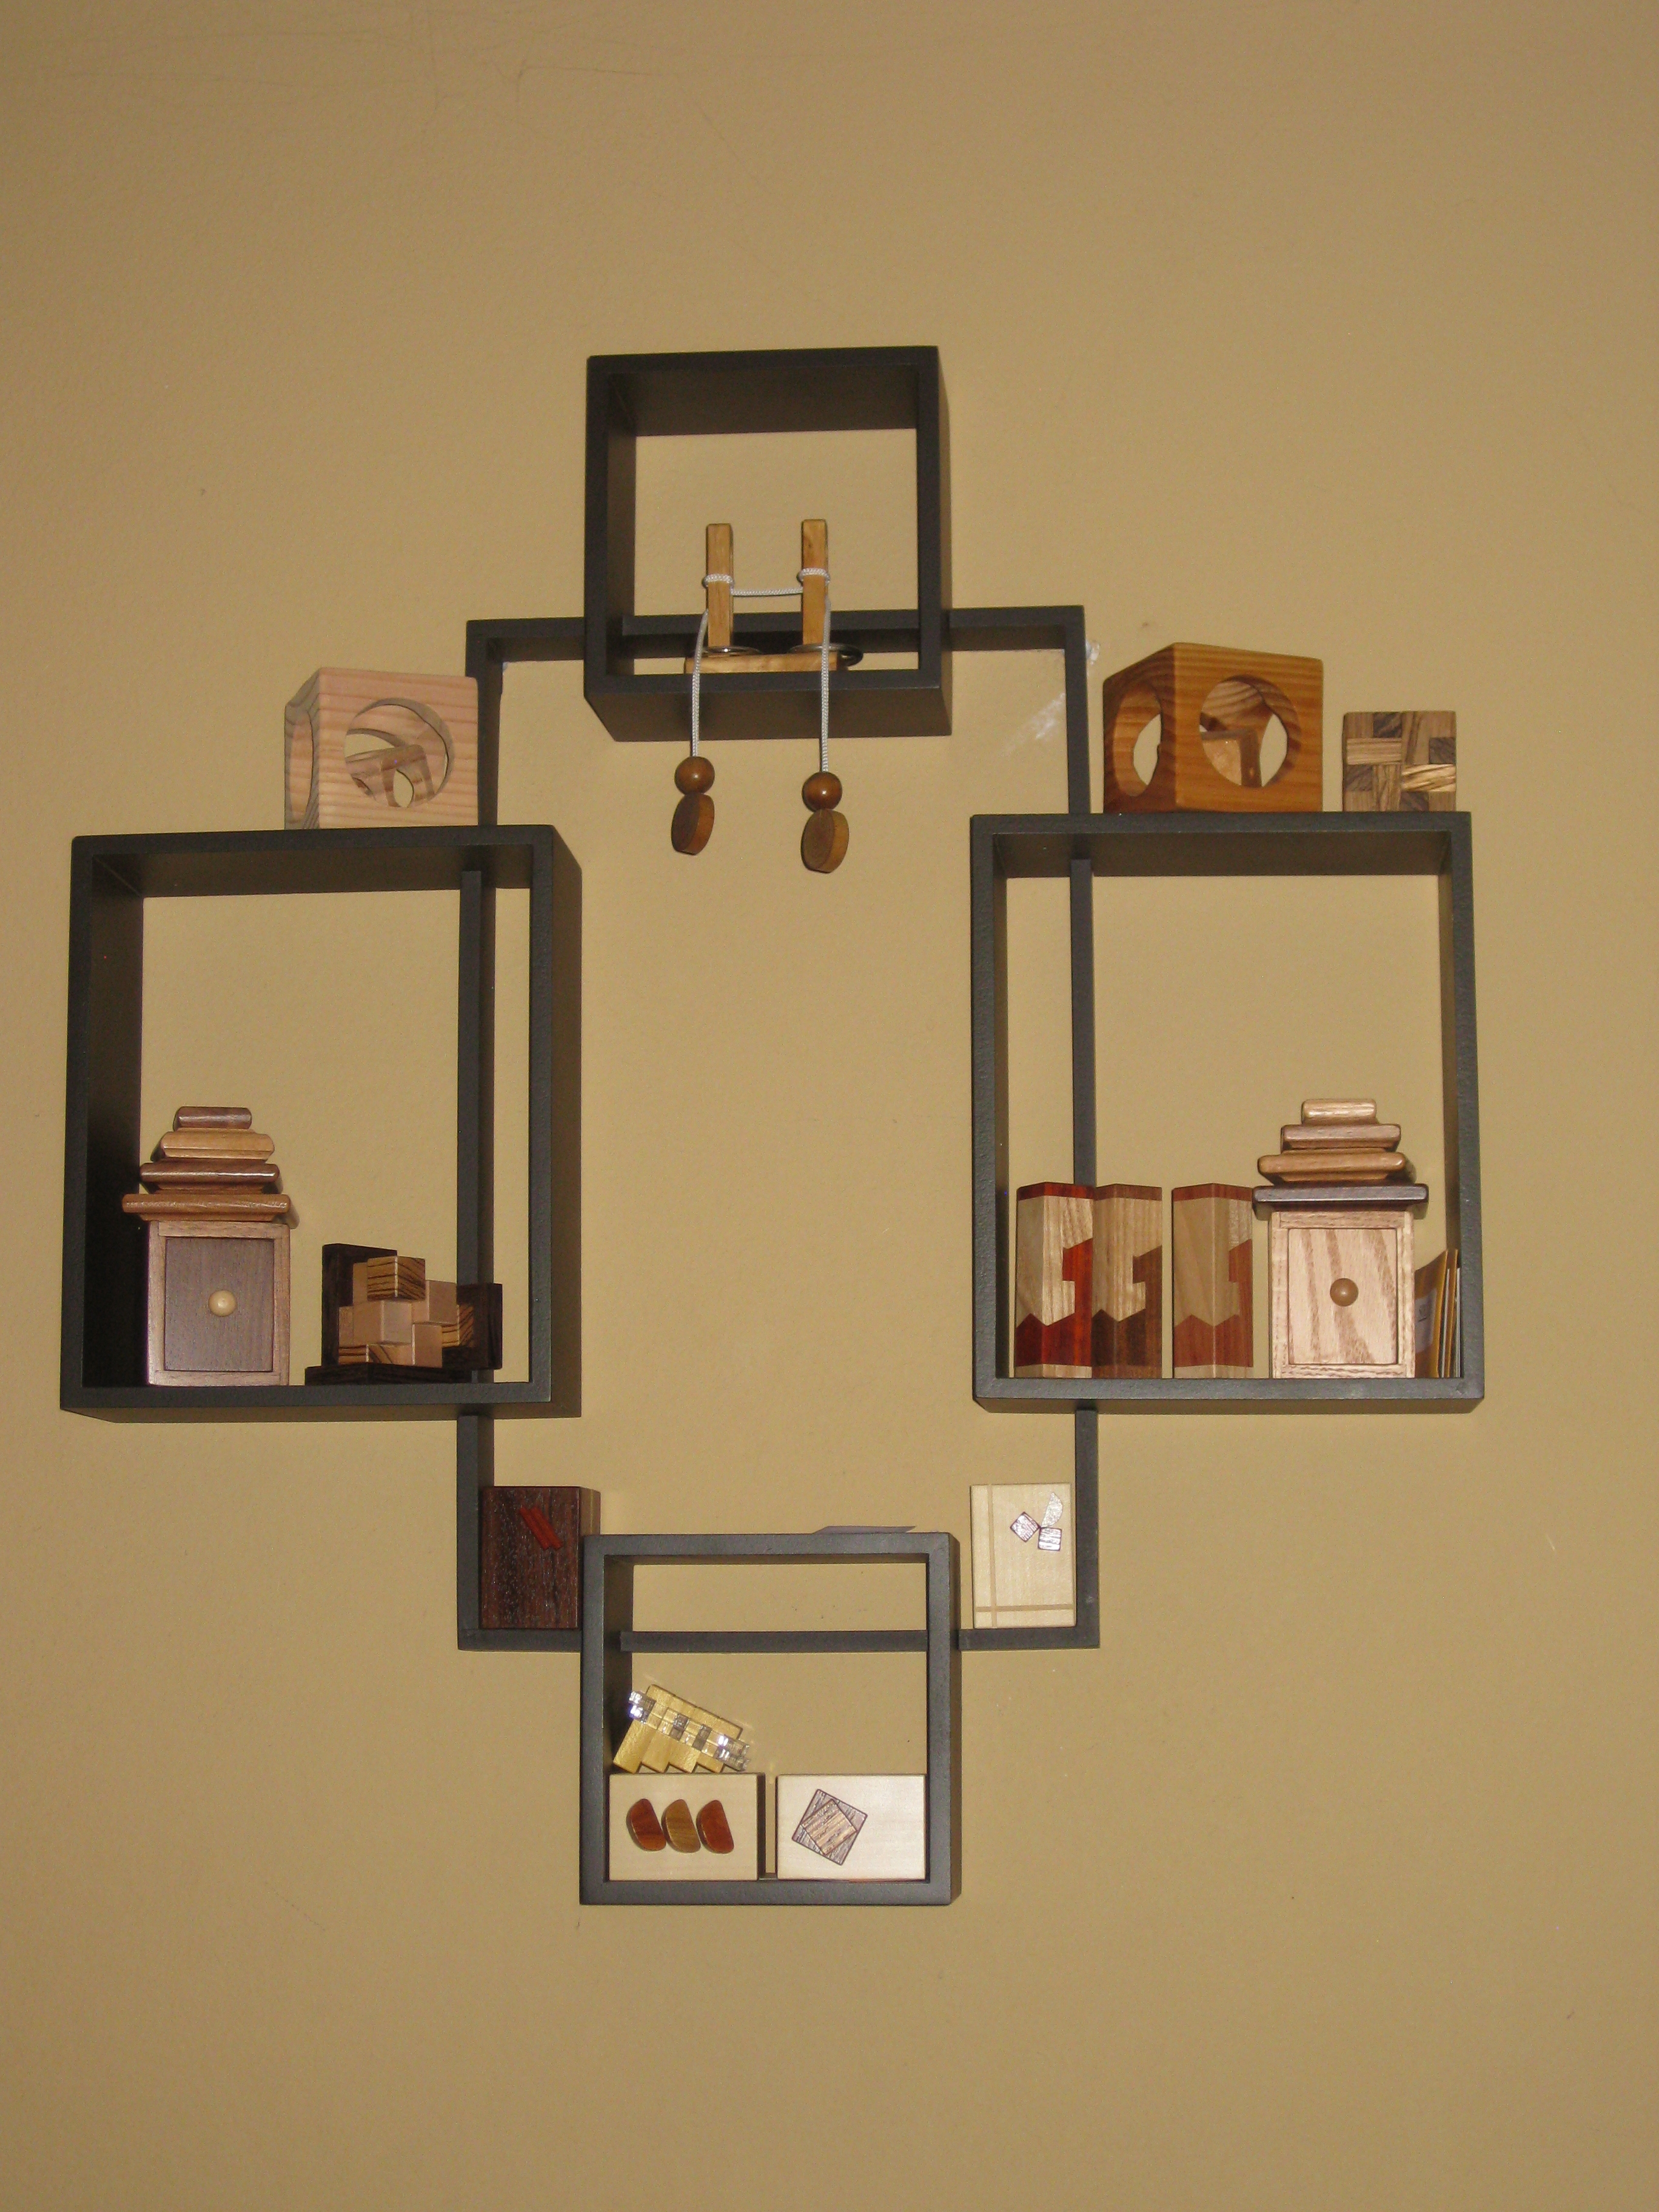
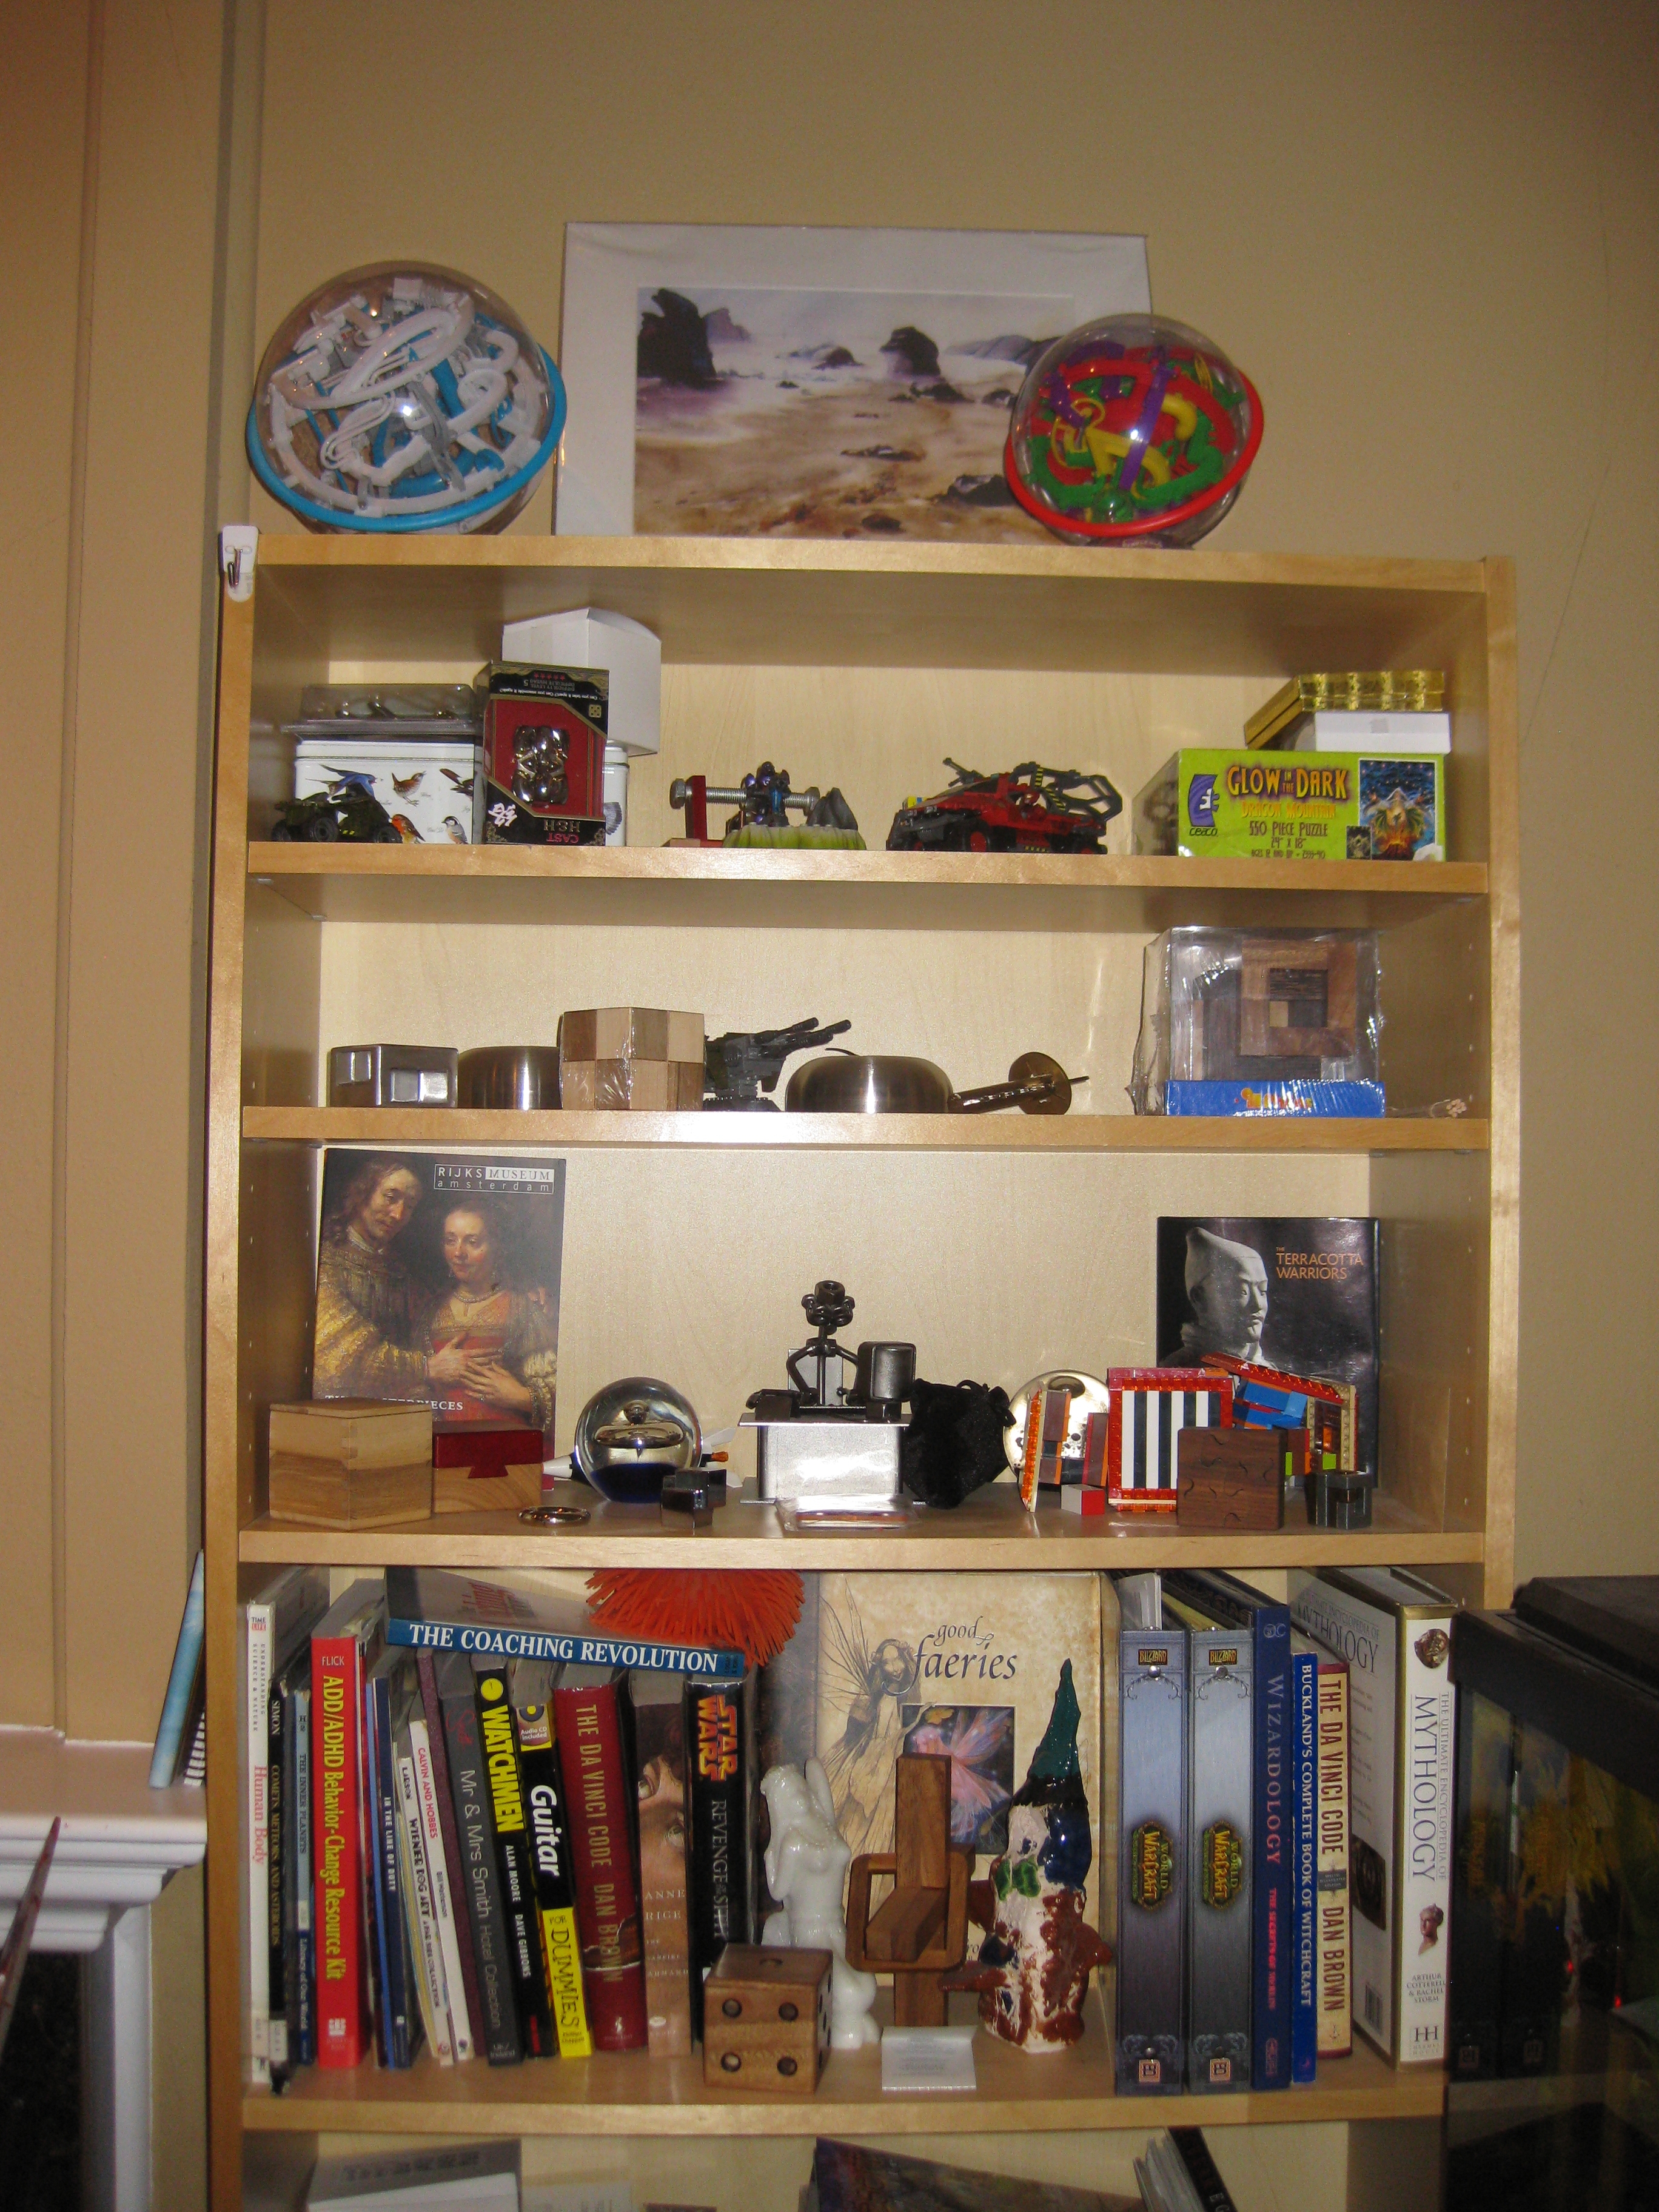
As I mentioned, the gathering of the puzzles is only a small part of the collection. There’s a few other shelves and spaces on the bookcases that have varying puzzles lying around. Not to mention other boxes with puzzles scattered around the house.

That pesky Elephant ...

That pesky Elephant ...

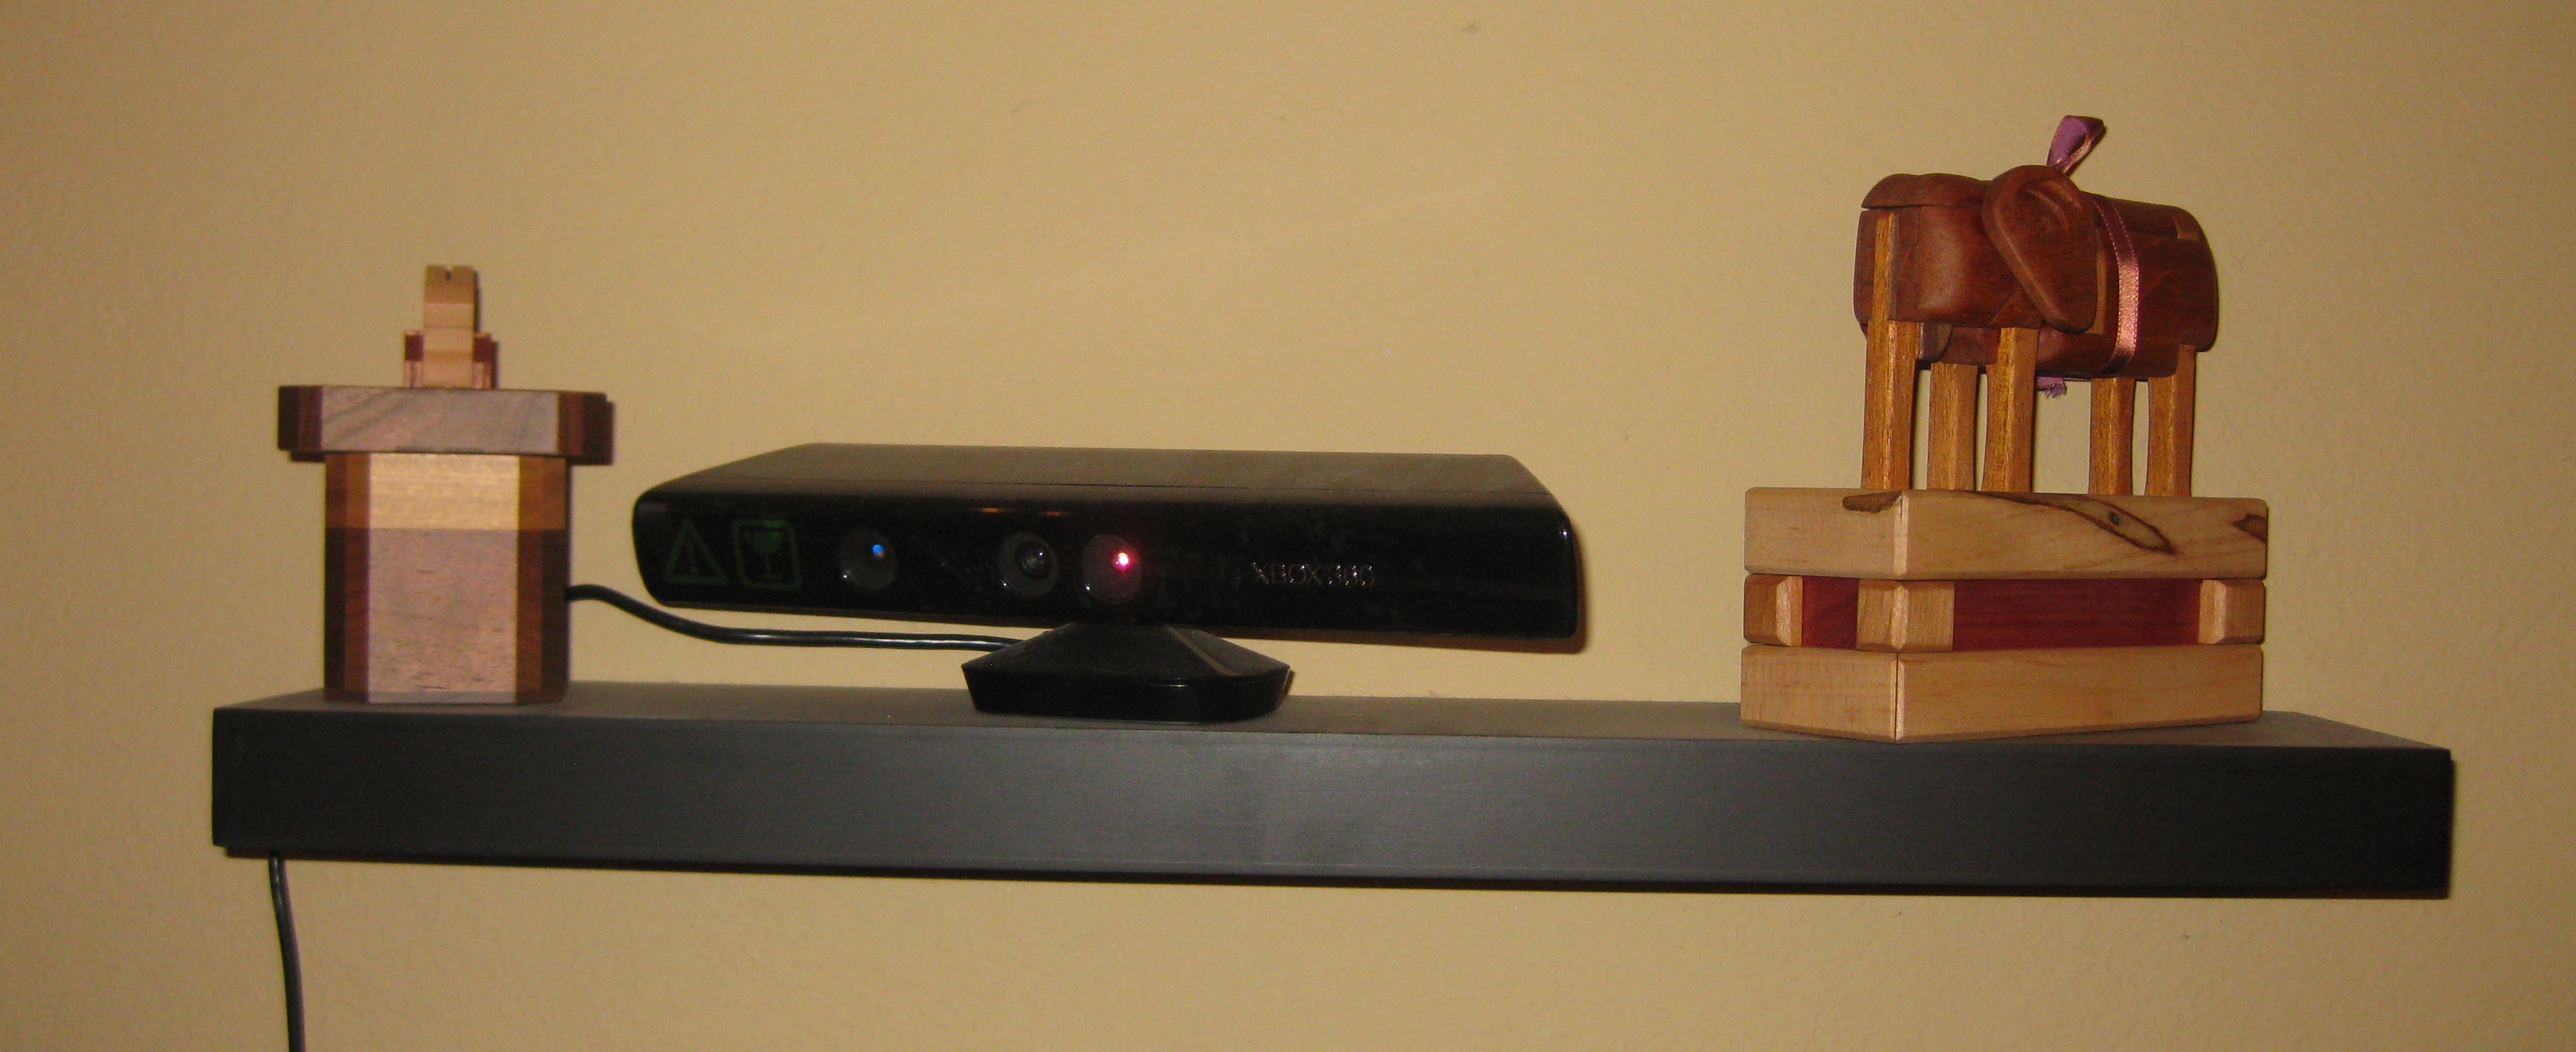
I’m still not quite sure how that Elephant got up there, but I’m slightly concerned that he’s plotting something with the Rabbit in the Magic Hat. I suppose I was warned by its maker that I shouldn’t feed it after midnight, and that they have been known to be a little rowdy …

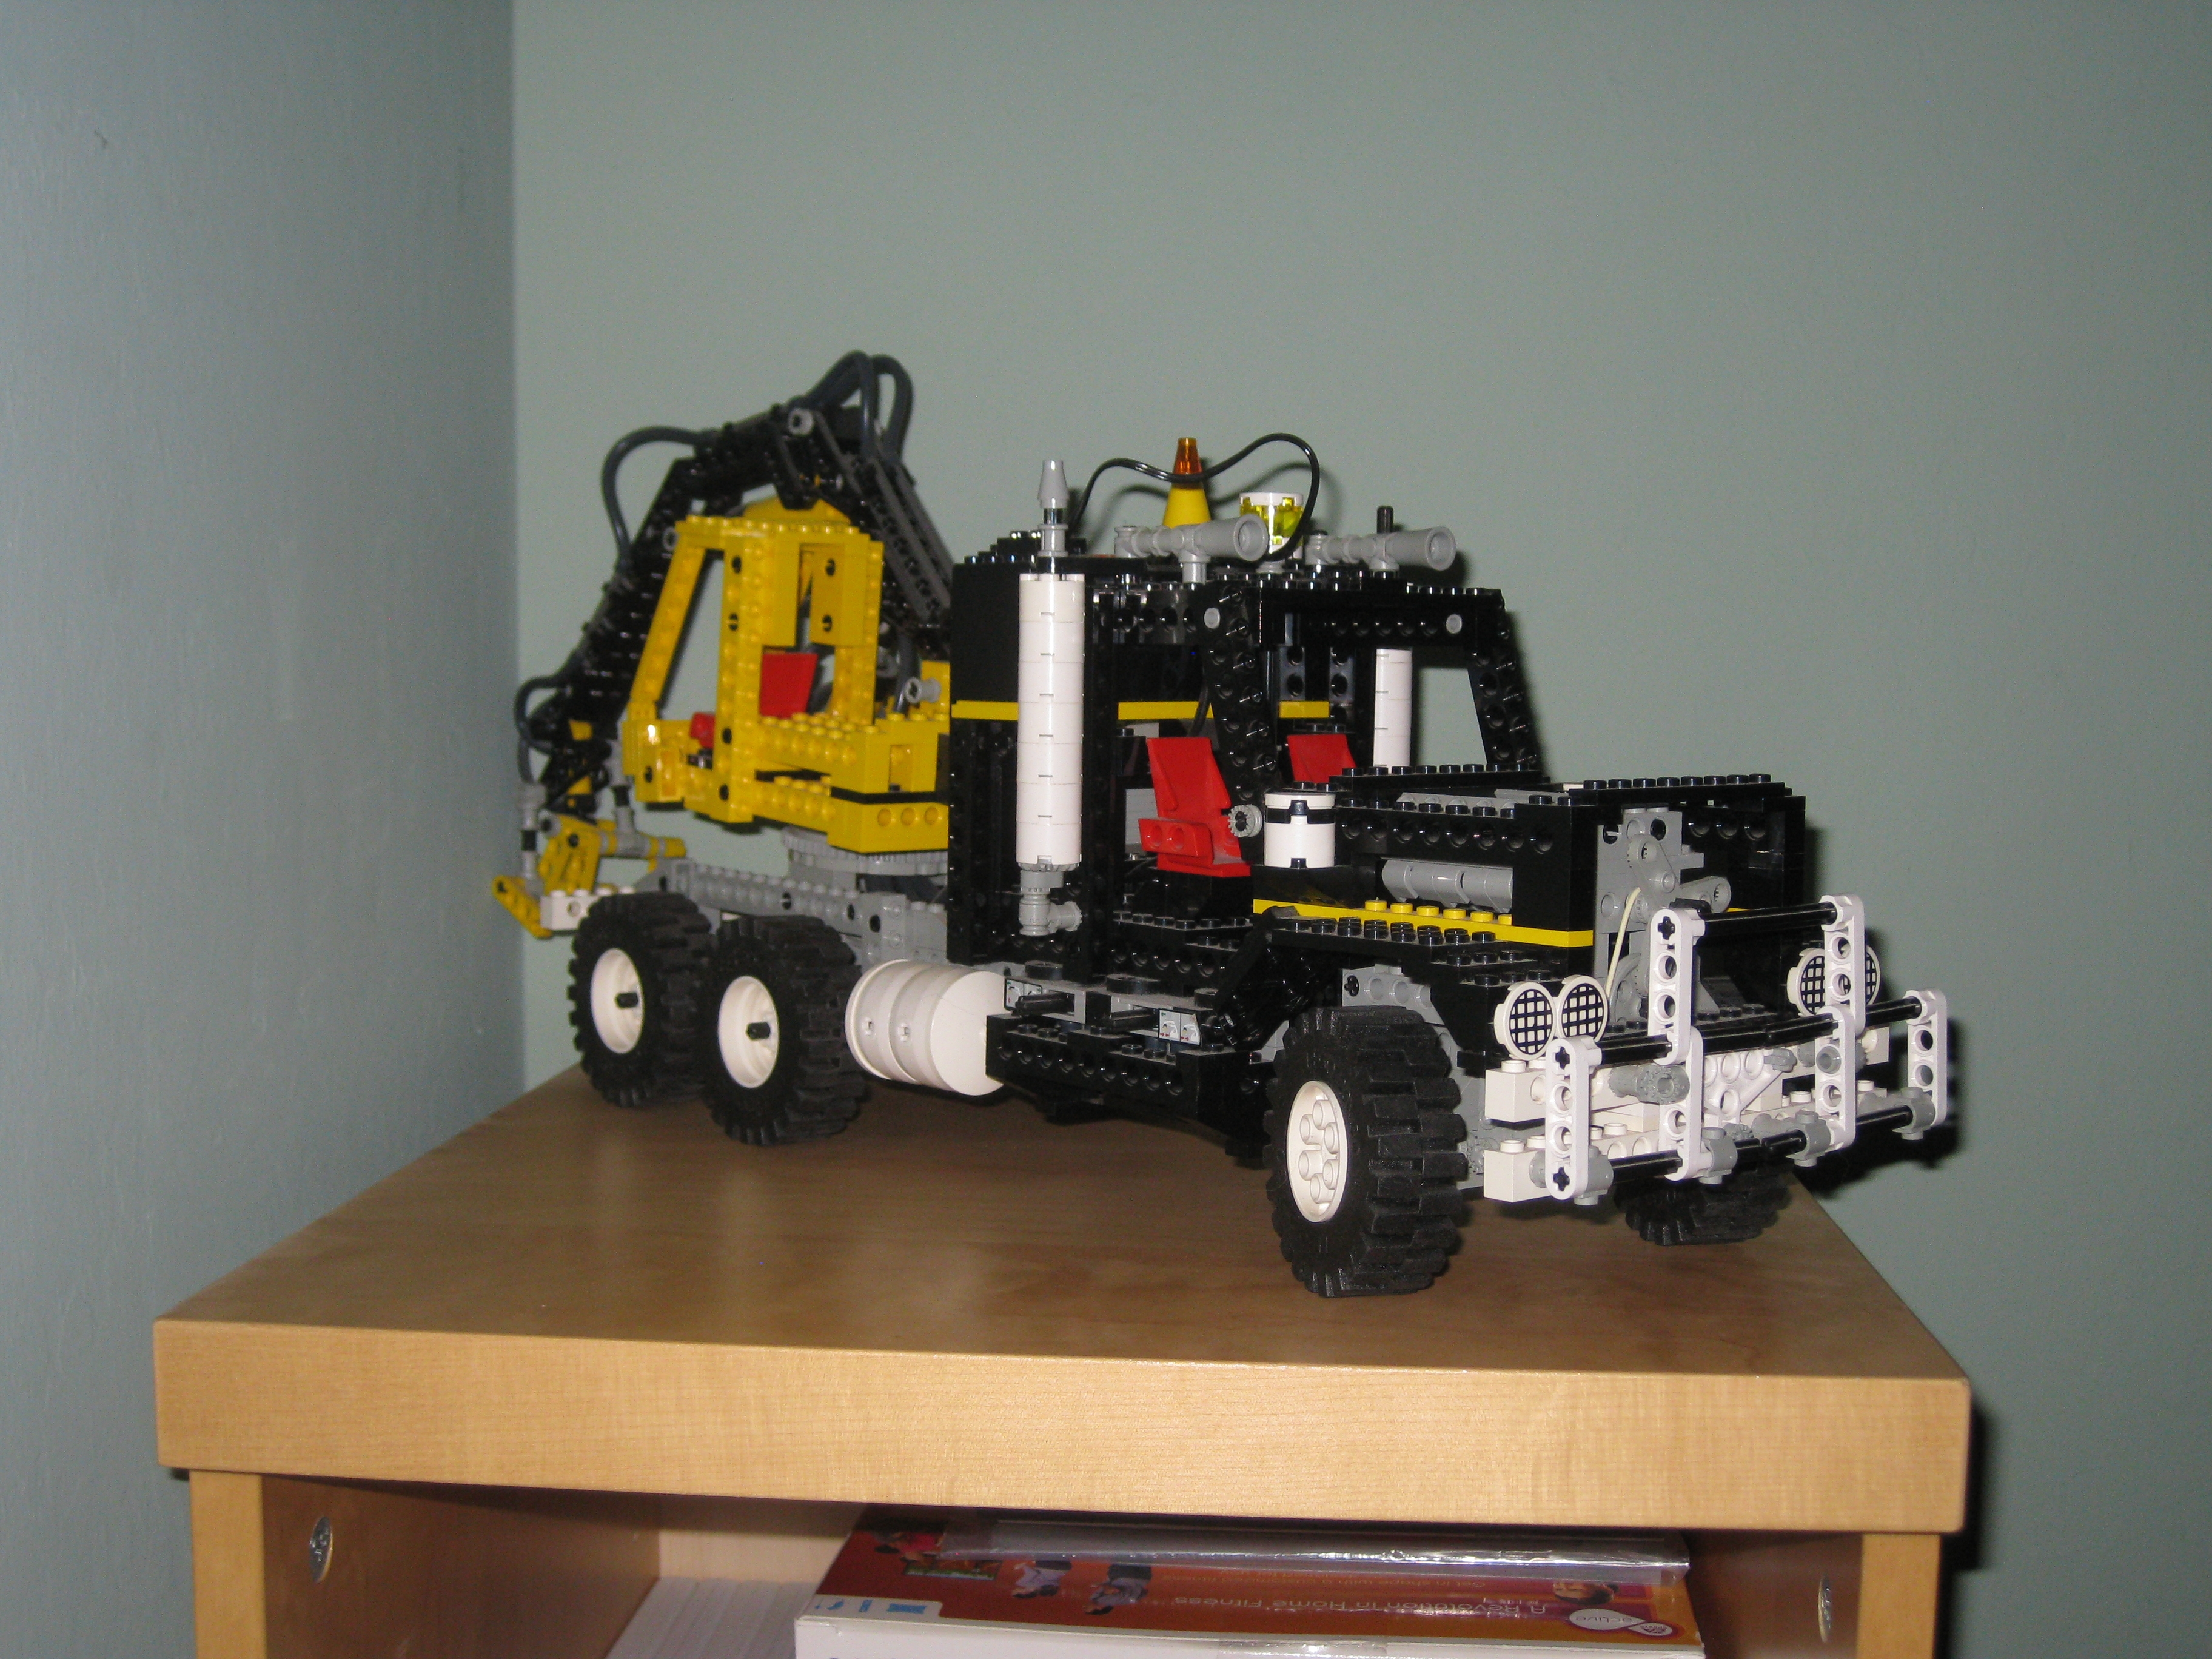
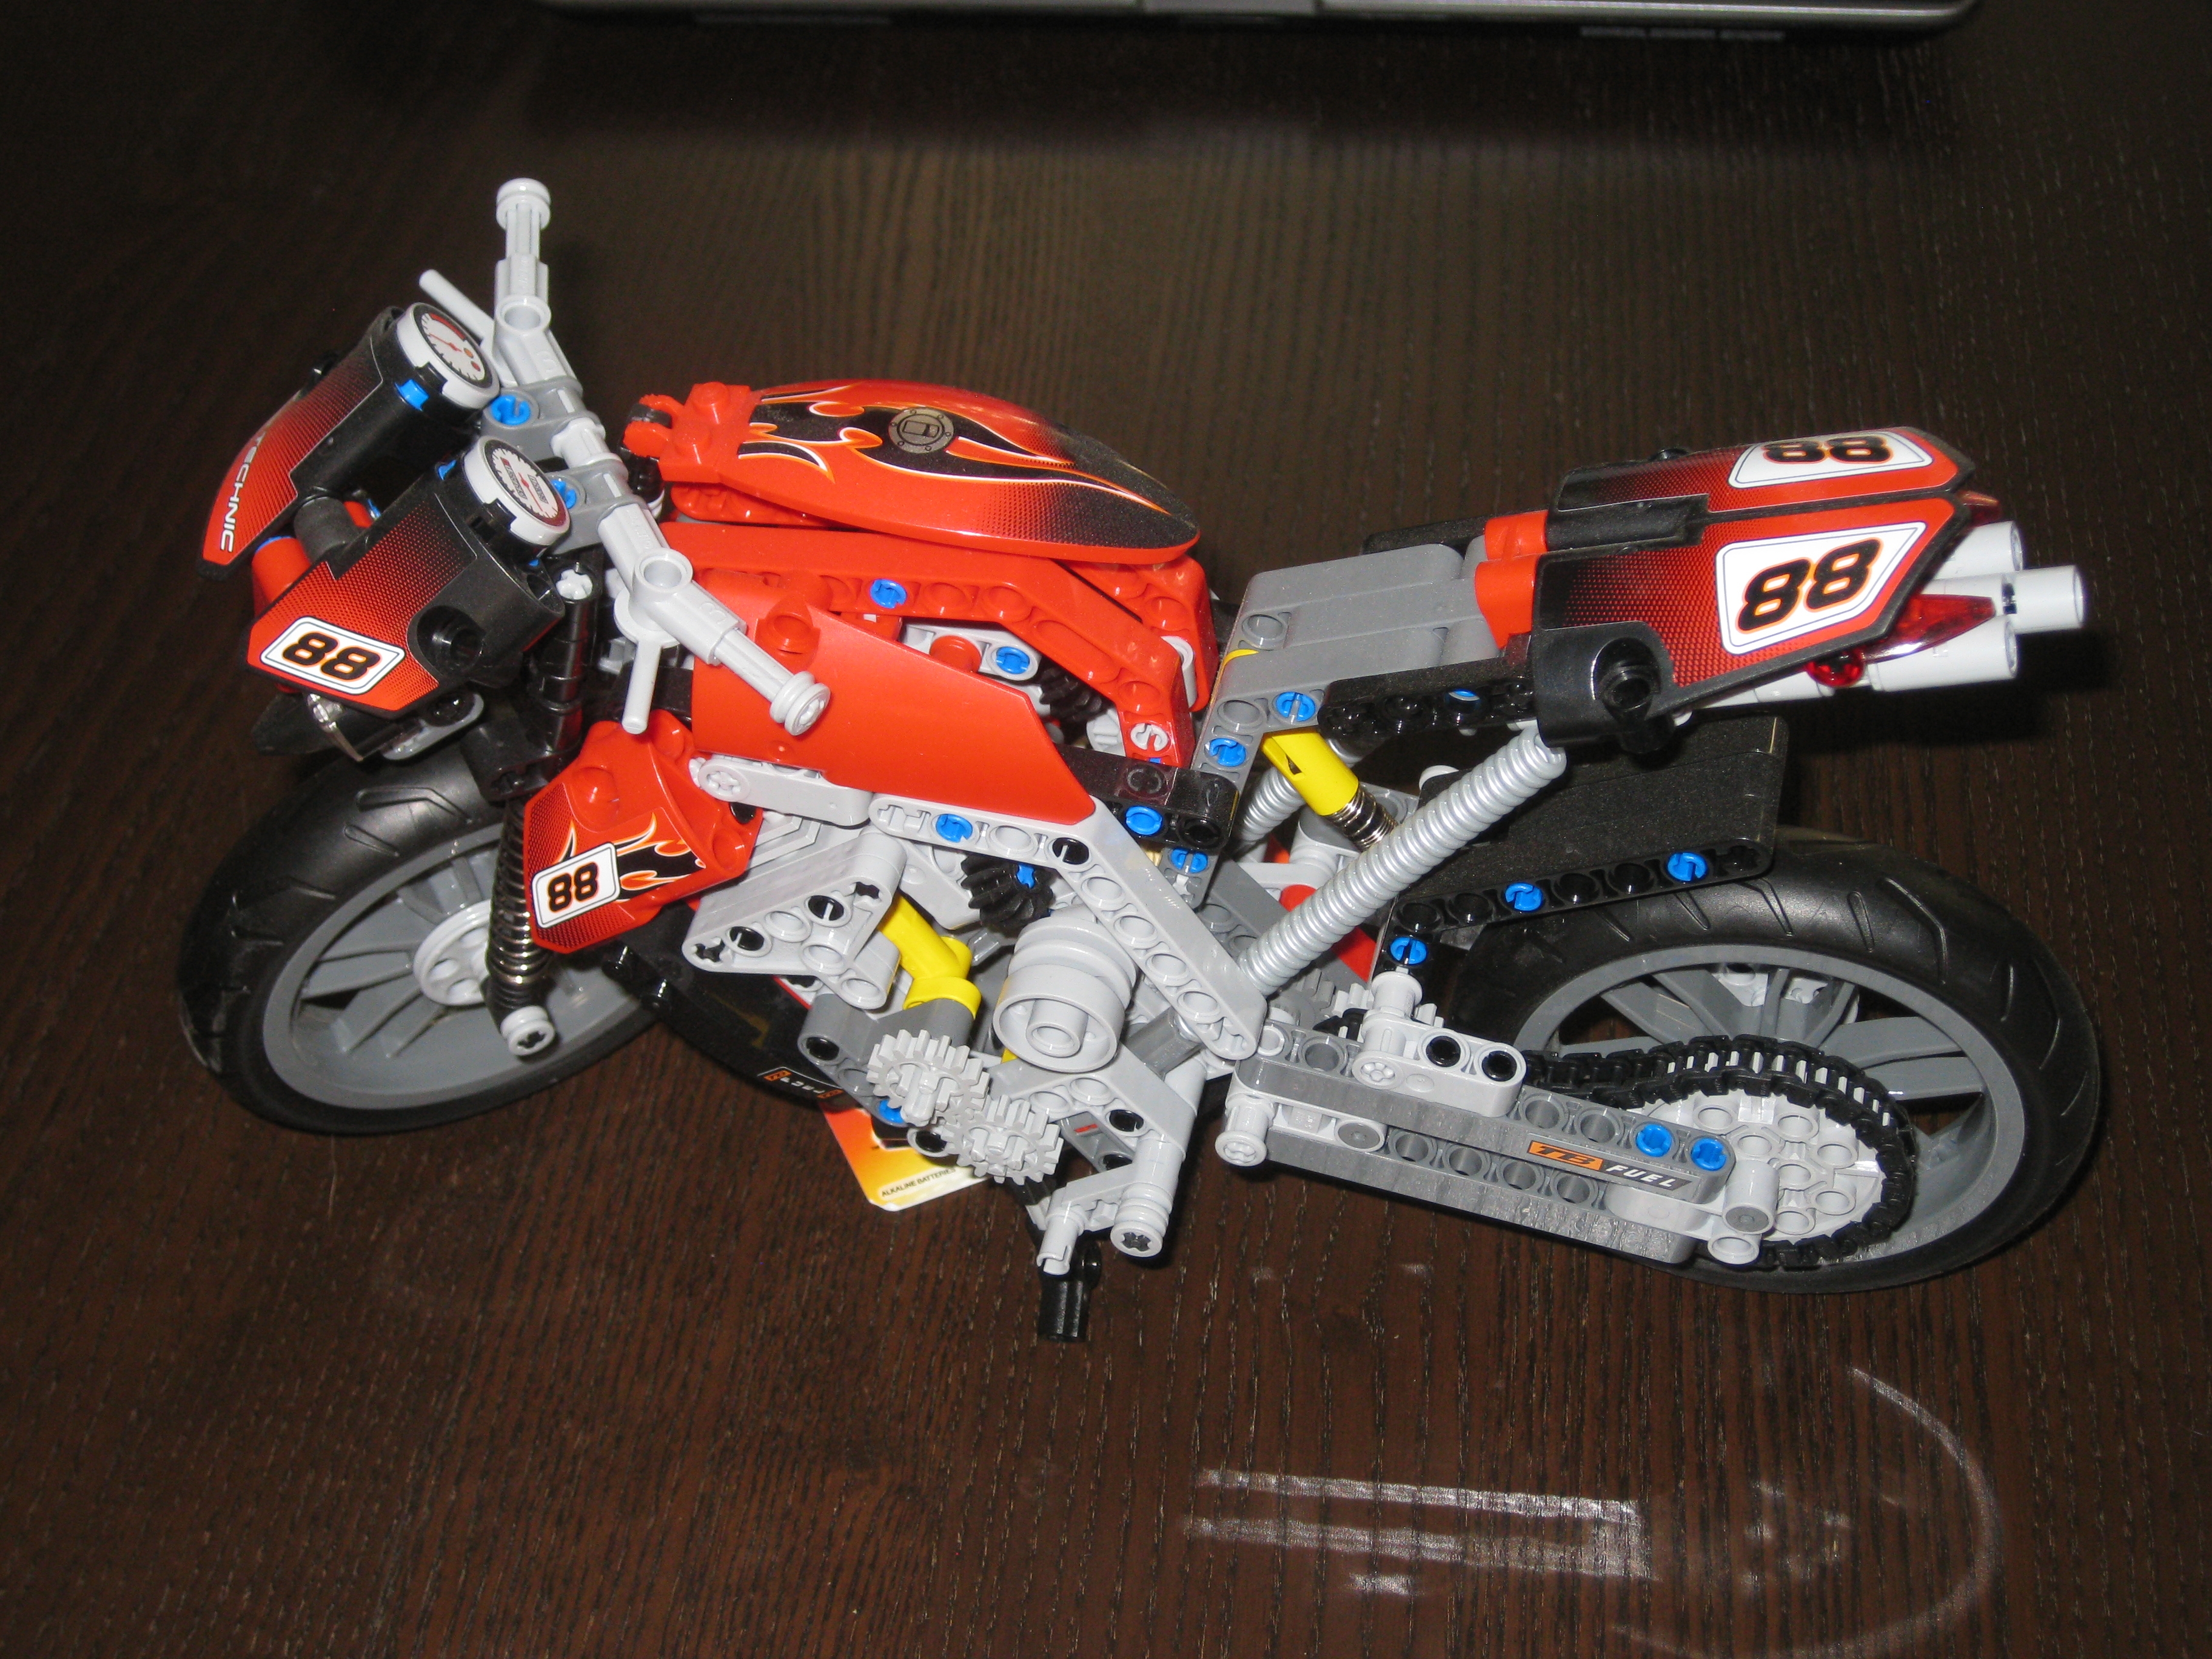
So with the space freed up elsewhere, there’s room now for some of the Lego models I own to get a bit more space, rather than those being crammed into a corner. I have a pretty good number of kits dating back to the 1970’s since I’ve played with and collected Lego since I was a small boy. Given that I’ve had a couple of people ask about some of the models, here’s a quick look at a few that are out and about. There’s probably around 300 kits in boxes in my garage, and varying other models dotted around, but these are probably the bigger pieces that are out and gathering dust.

Lego Models (L->R) – Space Shuttle 8480, Lego Model Team Truck 5580, Backhoe Grader 8862, Blue Fury 5541, Batmobile 7784″ src=”http://thejuggler.net/blog/lego1.jpg” title=”Lego Models (L->R) – Space Shuttle 8480, Lego Model Team Truck 5580, Backhoe Grader 8862, Blue Fury 5541, Batmobile 7784″ width=”525px” /></a>
<div style=Air Tech Claw Rig 8868

Air Tech Claw Rig 8868

Motorbike 8051

Motorbike 8051

Well hope you liked the sneak peek into some of my collection. I’ll be back to the regular reviews soon as my thumb is healing nicely. Going to be a while before things are entirely back to normal, but that’s what happens when thumb meets saw.