After the most recent Puzzle Paradise auction had finished, I was in the site looking at the details for the Stickman #2 that I’d won, and a few items which hadn’t sold popped up again. Two of them were Matt Dawsons’ Improved Pagoda Puzzle Box, and Pagoda Puzzle Box #3.
My fiancée saw these, and really like the look of them. Then asked me to get them. Both. After I’d picked myself up from the floor, I did just that!

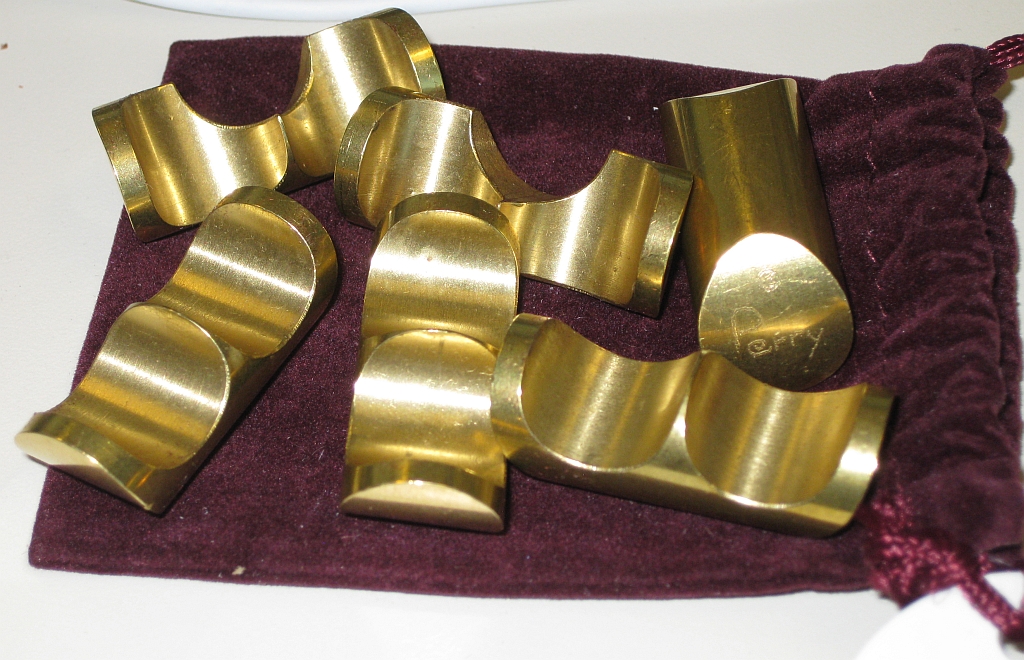
Pagoda puzzle boxes showing Makishi's Signature
Both boxes are designed by Matt, and built by Makishi. Makishi has signed the back of both boxes as can be seen on the shot of the back of the Improved Pagoda. Each box is limited to 40, and are beautifully made. Makishi has done an excellent job on these, and they look like a matched pair. The object on both boxes is to open the drawer that can be seen a the front of the puzzle. The boxes are made from Red Oak, Walnut and Maple, giving the boxes their striking appearance. The boxes both measure 5.3125 inches high, by 3 inches square.

Improved Pagoda Puzzle Box by Matthew Dawson and Makishi
The Improved Pagoda Puzzle box is an improved design from the one submitted to the IPP 29, hence its name. The box is a sequential move puzzle box, requiring 13 moves to open. You open it by raising and lowering the topmost section of the pagoda by spinning the lower two sections. The design is quite clever and is executed in such a way that it’s quite easy to get turned around and close the box again rather than open it. It took about 15 minutes for me to open this one, as the last couple of moves eluded me. This is where keeping track of what you did is really essential, otherwise, you’ll go backwards rather than forwards. After opening the box I spotted a smiley face drawn on both the inside of the box and the drawer, which can be fully removed from the pagoda. I have to assume that these are marks Makishi added to keep the drawers and boxes together while making them. It’s a nice little touch and I’m quite glad he didn’t remove them. I’ve already found myself doing exactly the same thing when working on my own puzzle designs!

Pagoda Puzzle Box #3 by Matthew Dawson and Makishi
The Pagoda Puzzle Box #3 which uses the Walnut as the main wood for the body is a slightly more challenging puzzle, requiring 25 moves to open it. The same basic rules apply for this box, with a few additional steps added to make things just that bit more challenging. This is a really nice puzzle, and I do like the extra complexity added. For myself this is a better challenge than the Improved Pagoda, however the Improved Pagoda is less frustrating for newer puzzles, or non-puzzlers. (We bought the Improved Pagoda for my son who has shown an interest in puzzling having watched me, so it’s simpler opening allows him to find the solution without getting annoyed).
If you’re a serious puzzler, I’d recommend the 25 move box over the simpler 13 move box, but as a pair, these look great together!
You may still be able to get these from Puzzle Paradise currently, or get in touch with Matt Dawson.