Havanas #3 – Mike

Seems like I’ve managed to get a little time free recently to play with the odd puzzle or two, and one I’ve been playing with on and off for quite some time is the latest puzzle box from Eric Fuller, in the form of the Havanas #3. Not only have I had time to play with a few of the puzzles in my backlog, but I even seem to have time to write about them!

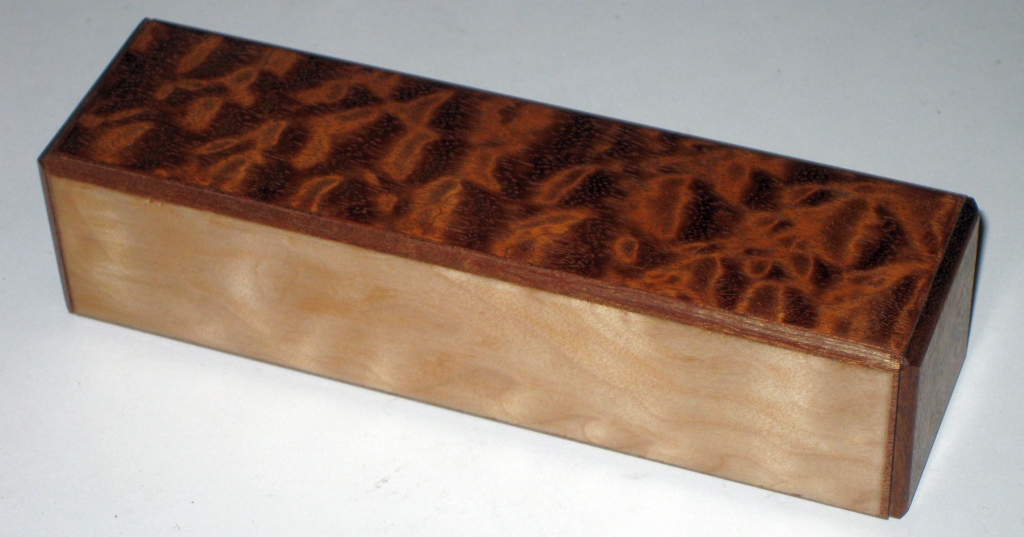
Havanas #3 - 'Mike'

Havanas #3 – “Mike”

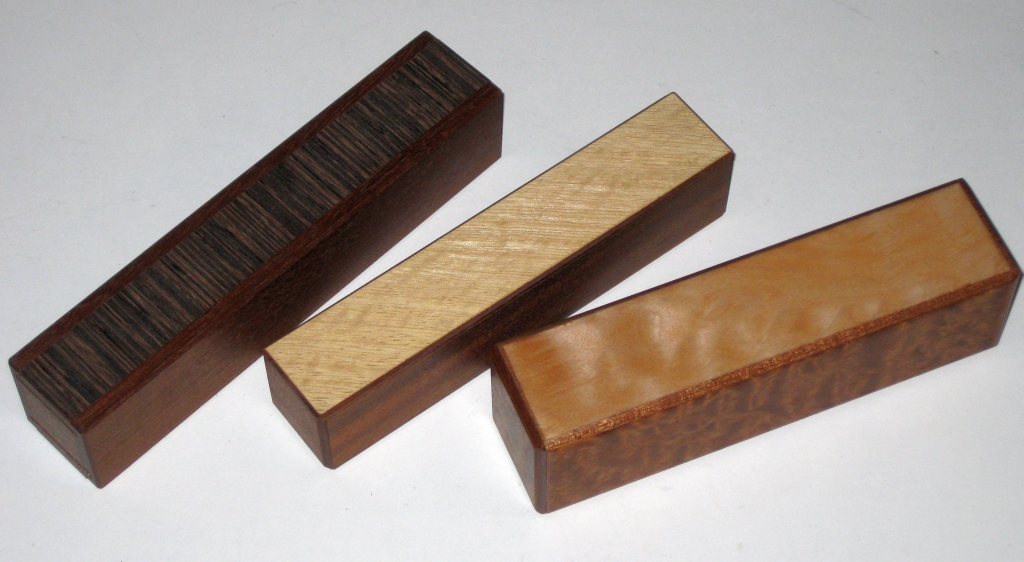
When Eric first offered these back in November of 2013, I had the choice of all three woods he’d made the puzzle in. From the choice of Birdseye Maple, Pink Ebony and Flame Maple, I opted for the Flame Maple.

No matter how hard I’ve tried, none of the photographs in this review do the puzzle justice. The Woods are simply stunning, and need to be handled to be appreciated. Sadly it seems there was a small error when Eric was making these, and he only had enough boxes to meet the pre-order quota of 50 boxes.

All three so far

All three so far

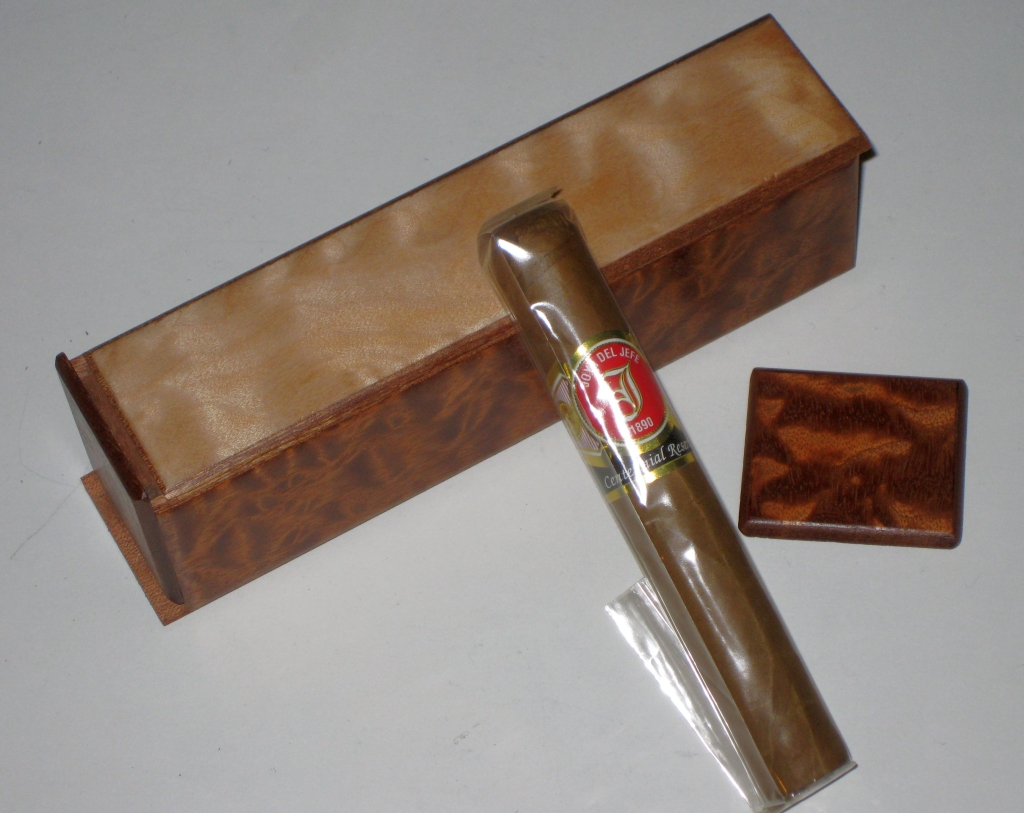
Measuring 1.7″ x 1.9″ x 6.4″, this is the largest of the three Cigar boxes Eric has made so far, and given the trend, I’m not sure how large the next one is going to be. Strangely, despite this trend, the cigars inside the box haven’t increased in size.

The box is made from quartersawn Sapele, which is remarkably stable, and allows Eric to make the box from fairly thin stock without worrying about the wood warping. Each box then has the fancy woods applied as thin veneer to each face. The Quilted Sapele on the sides has a fantastic appearance, and to my mind is complimented well with the Flame Maple on the top and bottom.

A few other puzzlers have already written about this puzzle, so have a look at the thoughts from Allard and Jerry.

I’m a little slower in writing about it, not because I’ve not been lazy, but because it’s taken me this long to open it! Eric stated in the original information about the puzzle that “I’ve given the prototype to several friends to play with and it seems to take most of them roughly an hour to solve.” Well I can say it took me several months to solve it. The first few moves are fairly simple, and won’t challenge anyone who’s played with a traditional Japanese puzzle box. After that, things come to a complete halt, and no further progress can be made.

Havanas #3 opened to release the cigar

Havanas #3 opened to release the cigar

Without giving too much away, there’s something of a red herring in there, that threw me off for far too long. A non-puzzler would probably have opened the puzzle far faster. The final couple of moves are very well hidden, and the box gives absolutely nothing away as to how it will open.

In all honesty, this isn’t my favorite of the puzzles in the Havanas series, and the first is still the best puzzle in my view. I’m looking forward to the fourth box in the series now, and just hope that I manage to open it a little easier than I did with #3.

Lee Valley Trick Bolts

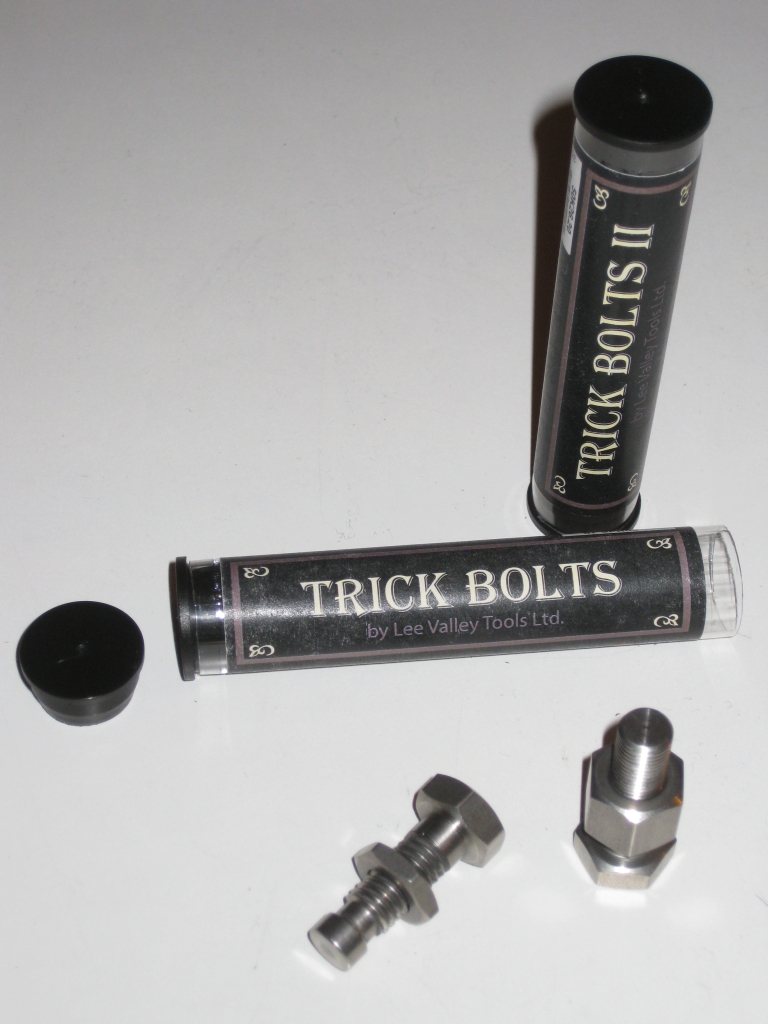
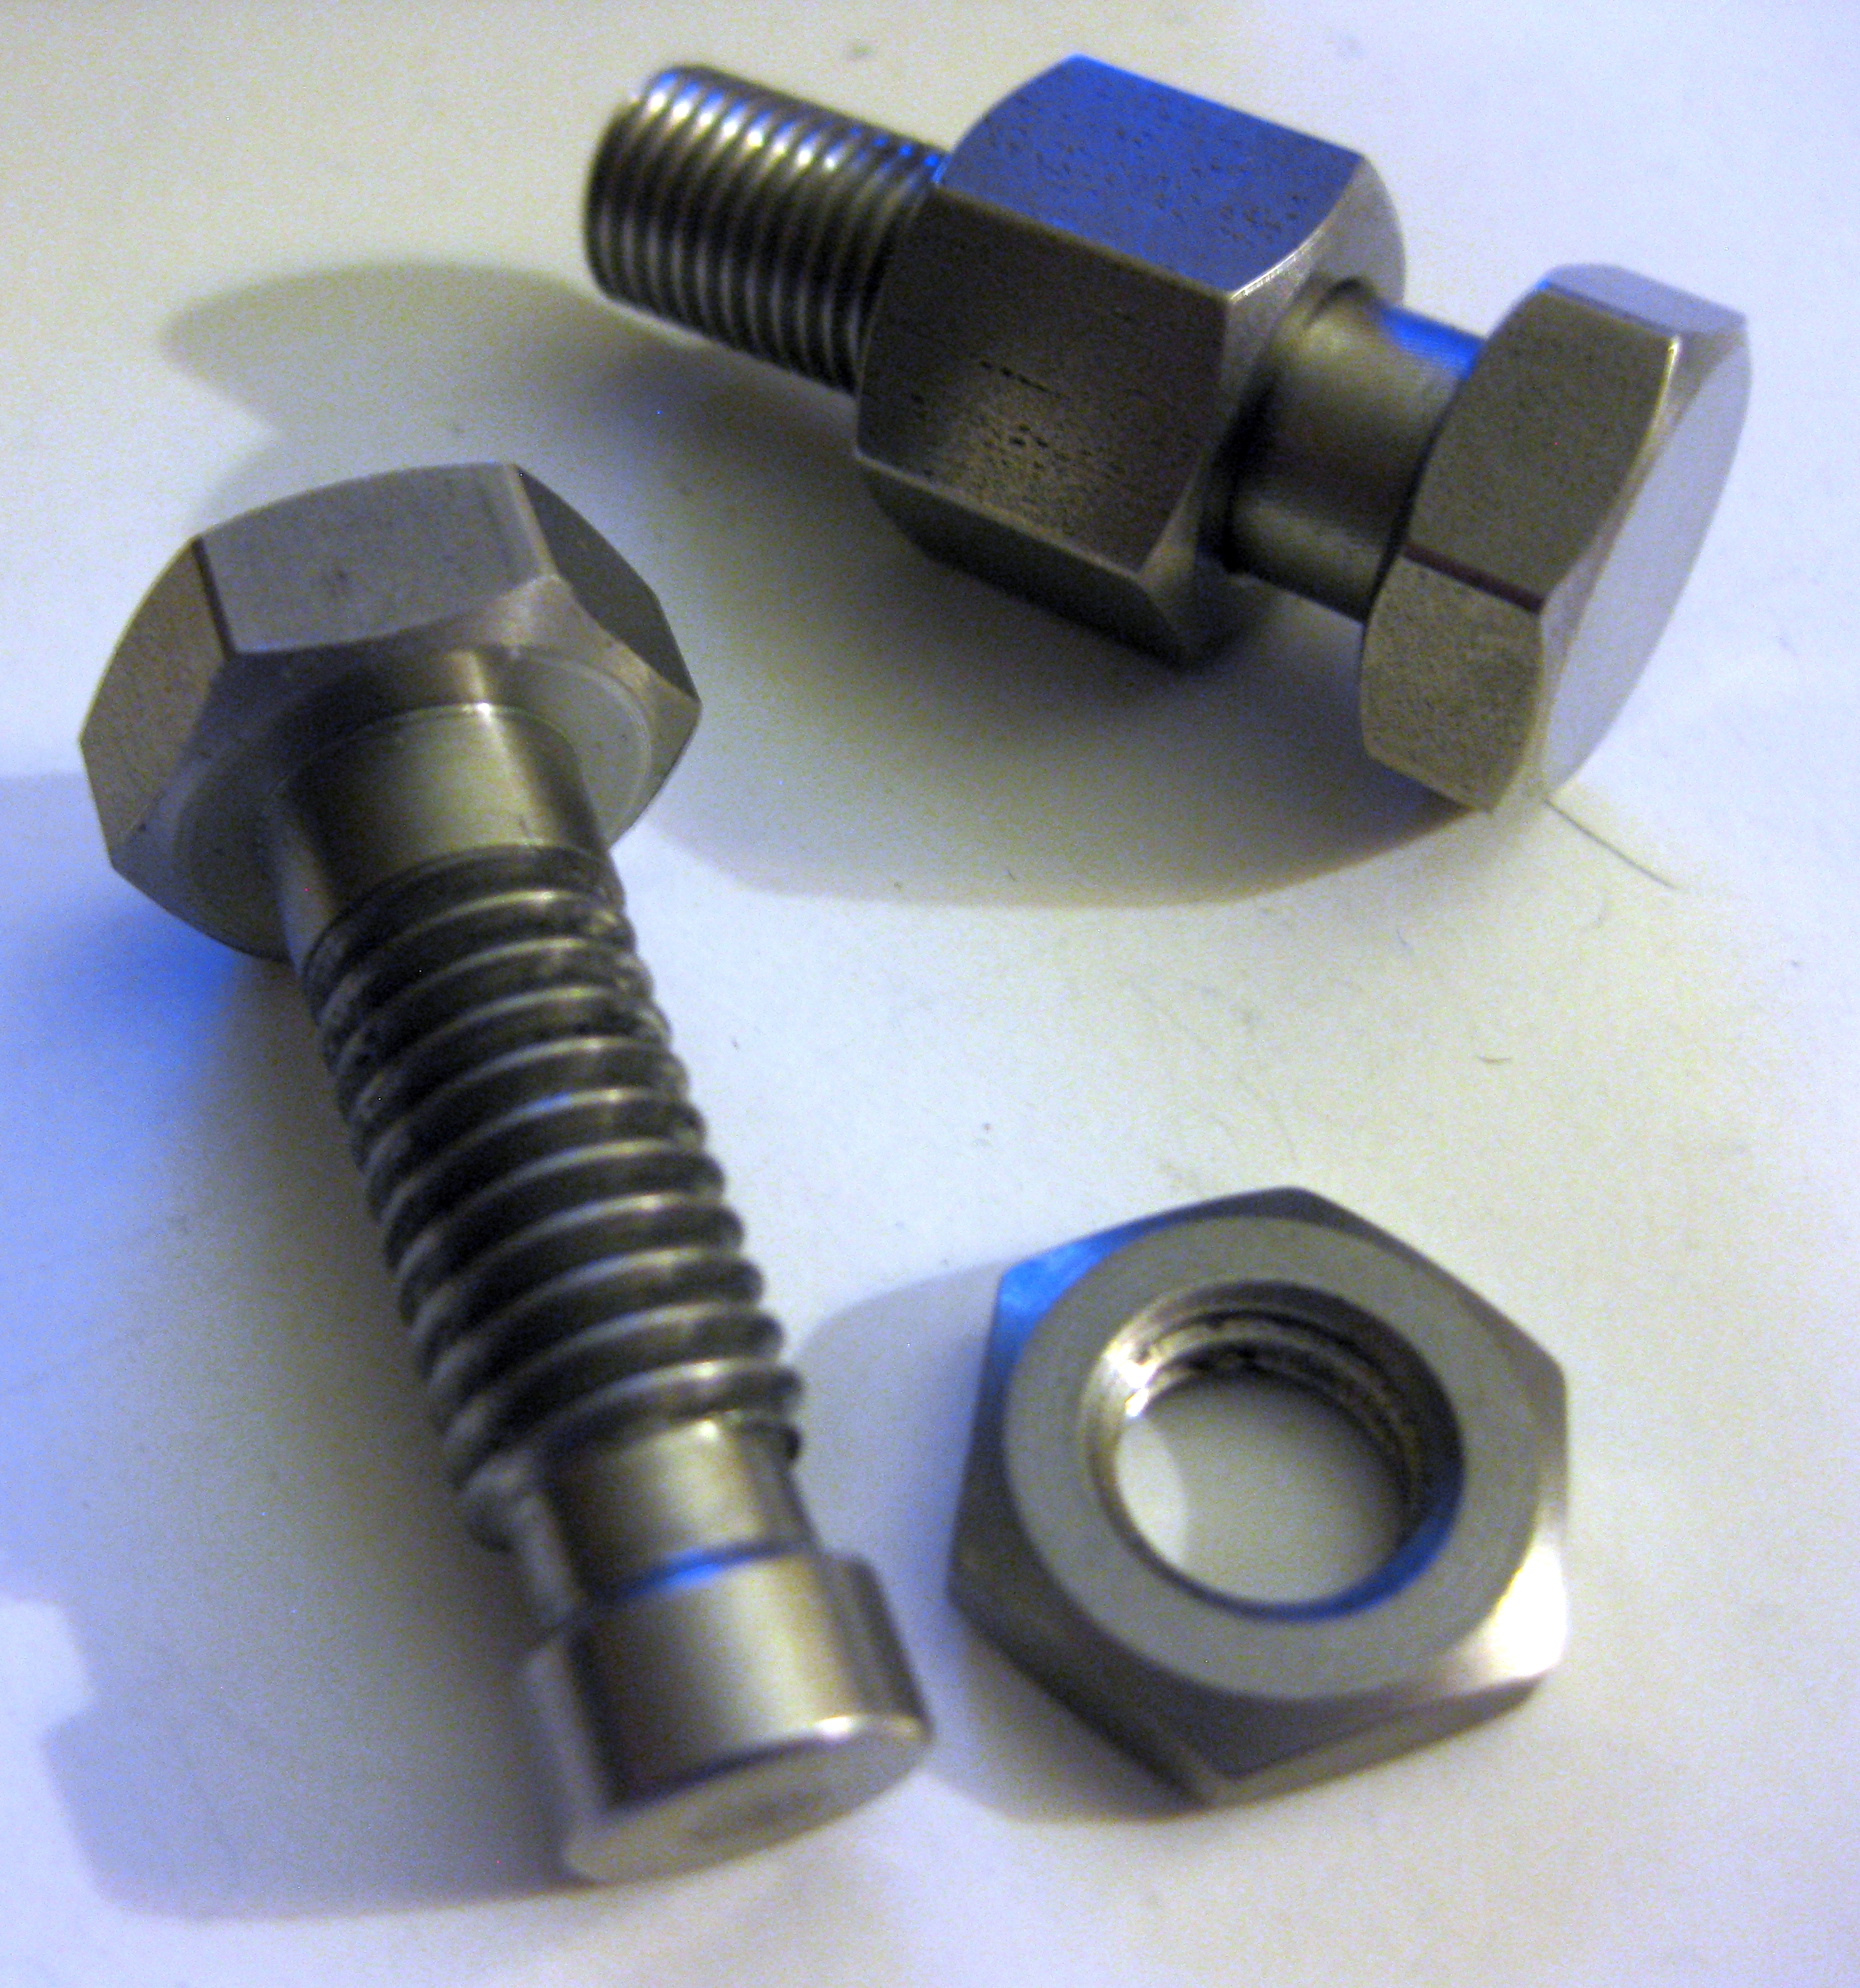
One puzzle type I’ve not written about until now are Trick Bolts. These seemingly innocuous items look just like a screw with a bolt threaded onto it. Of course when you pick it up and try to remove the bolt you’ll find it rather more stubborn than you’d think.

Trick bolts by Lee Valley

Trick bolts by Lee Valley

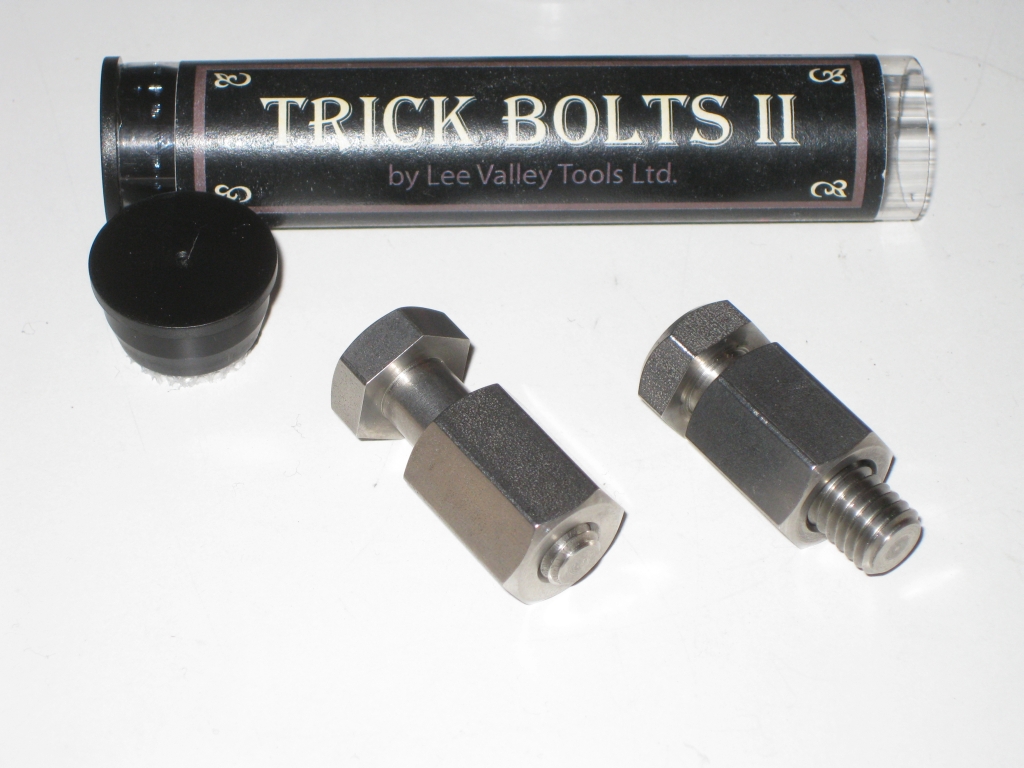
Lee Valley, who are well known for their woodworking tools also has a small number of puzzles they sell as gifts. They recently released their second set of trick bolts and with a few of my puzzling friends talking about them, I decided it was time to add a few bolts to my collection. Head over to Lee Valley to pick up your own copies. All the bolts are made in their own metal shop and measure 1.5″. These are probably the smallest of the trick bolts I’ve seen, however the quality is excellent, and they’re not expensive either.

Trick bolts by Lee Valley

Trick bolts by Lee Valley

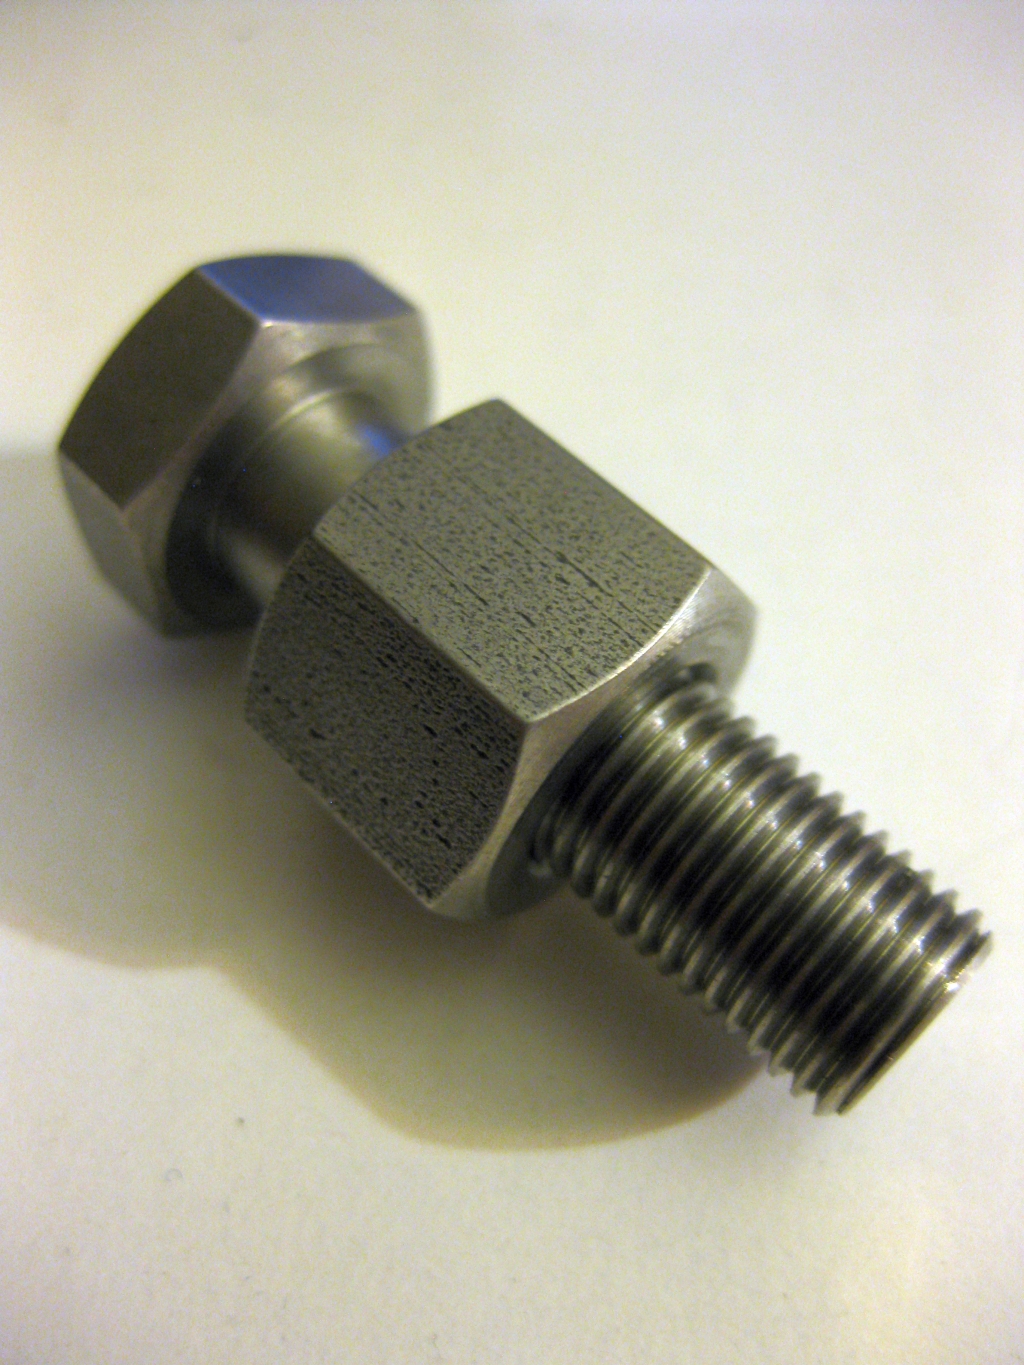
In the first set, the two bolts are fairly straight forward. The large nut on this one conceals it’s trick, and while this is a well known puzzle which you could make yourself, this is a very well made copy. If you have any bolts in your collection, I’d hazard a guess that you have one with this mechanism already.

Trick bolts by Lee Valley

Trick bolts by Lee Valley

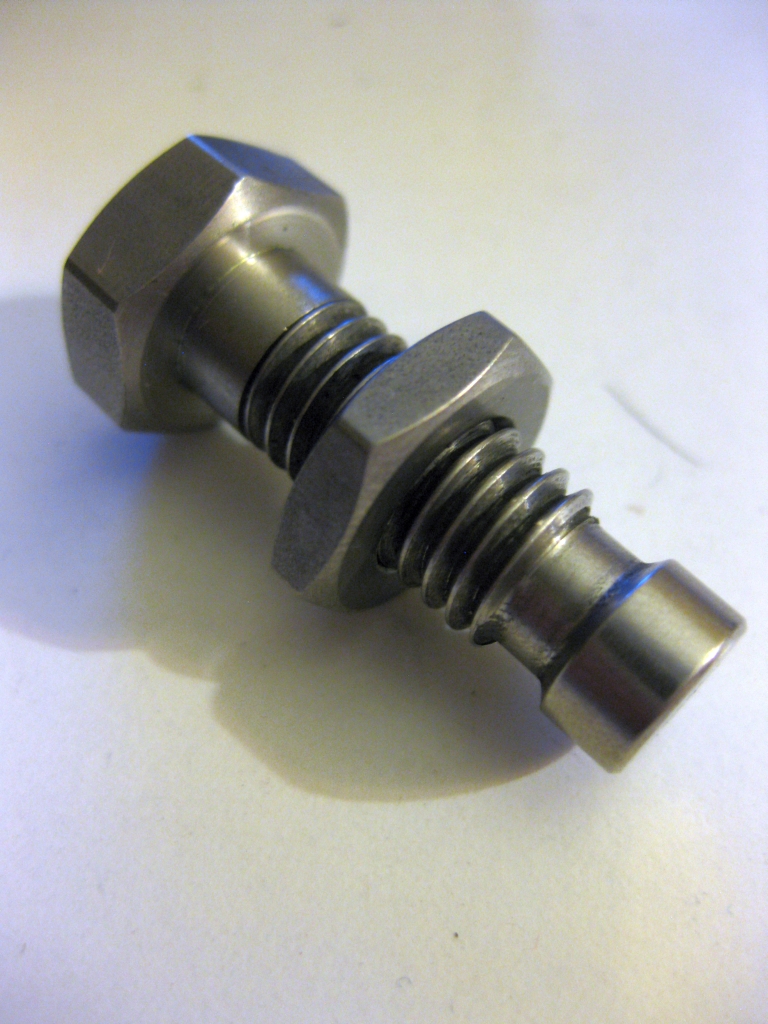
The second of the two bolts with the much thinner nut is able to travel the length of the screw, and will spin freely in the gap at the bottom. At first look it doesn’t seem like there’s a way to remove the nut. This puzzle has another classic trick which Lee Valley have executed perfectly.

Trick bolts by Lee Valley

Trick bolts by Lee Valley

While neither of the bolts took me long to solve, they are well made, and are a great piece to hand to friends and introduce them to puzzles.

Trick bolts by Lee Valley

Trick bolts by Lee Valley

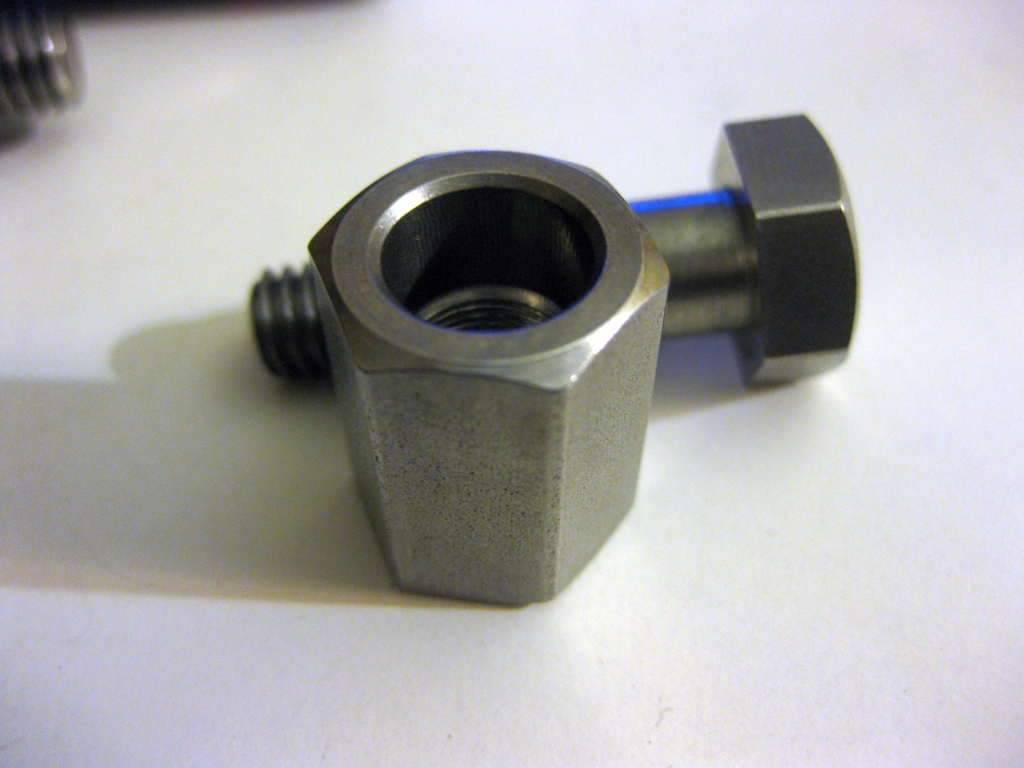
The second set of bolts both look identical, however have very different mechanisms. I’ve not seen these tricks used elsewhere and while neither slowed me down much, they were new and interesting mechanisms.

Trick bolts by Lee Valley

Trick bolts by Lee Valley

While I can’t show the mechanisms of either of these without giving too much away, both of the bolts require multiple movements to remove the nut, and are well worth the investment. They may all be small, and could easily be hidden in a collection, but I wouldn’t overlook any of these.

Stickman #16 – Domino Box

In my last post, I started creating the dominoes to complete the copy of Stickman #16, the Domino Box I had recently acquired. In this post, I’ll finish making the dominoes and review this very tricky Stickman Puzzle Box.

Stickman #16 - The Domino Box

Stickman #16 – The Domino Box

Once the box is filled with dominoes, plus a couple of additional pieces that Stickman created to fill the space, the previous solver can shuffle the dominoes, effectively creating the starting point for the next solver. But before I get to the review itself, I still have to finish making the dominoes. If you’re only interested in the review, then jump here.

The Jig to cut the centre line in the domino

The Jig to cut the centre line in the domino

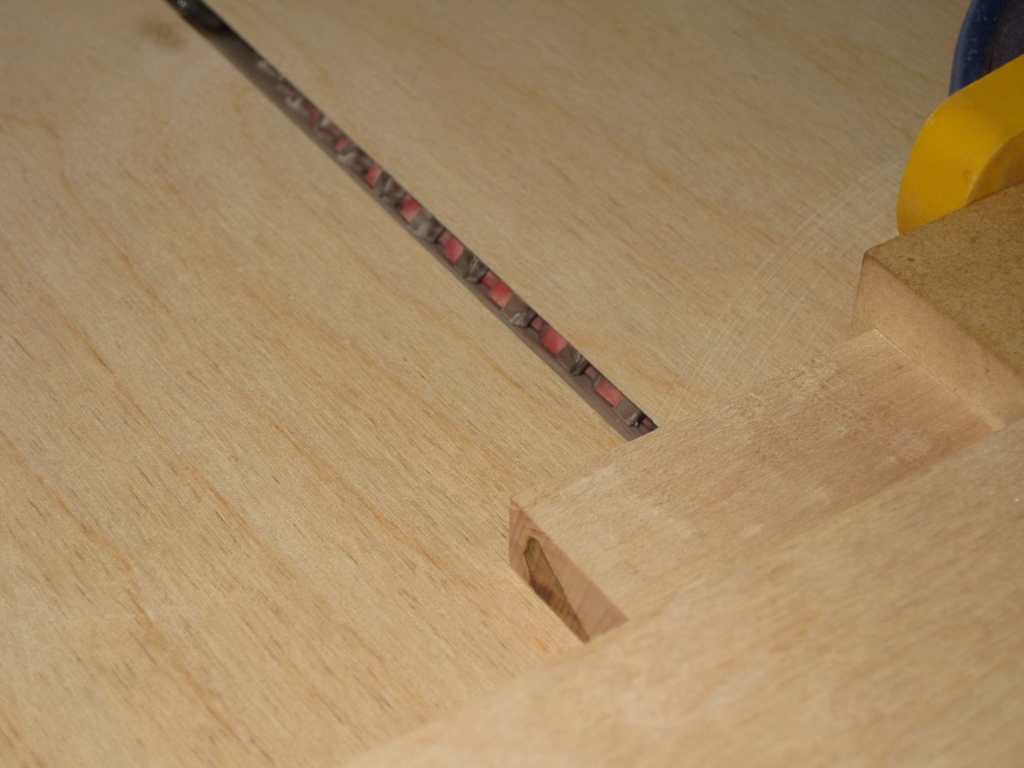
I spent most of my Sunday morning putting together a new jig just to put the centre line in the dominoes. As you probably remember from the last post, I finished up having cut the spots, but still had the challenge of creating that centre line split that all dominoes have. I needed to be able to do this quickly and accurately, and also had to take into account that tearout was possible when cutting across the grain of the wood. Had I been sensible, I’d have cut the centre line before creating the bevel, making tearout a much lesser issue, since the bevel would cleanup any possible tearout.

Given that I didn’t do that (live and learn!) I had to create a crosscut sled, with the blade angled at 45 degrees to the table. This allowed me to cut using the corner of the blade, and create the desired effect. Although it may look like the blade is inside the jig in the picture above, it’s actually 1/64″ above the plane of the jig. Just enough to cut the shallow groove I need.

Adjusting the stop to get a perfect cut

Adjusting the stop to get a perfect cut

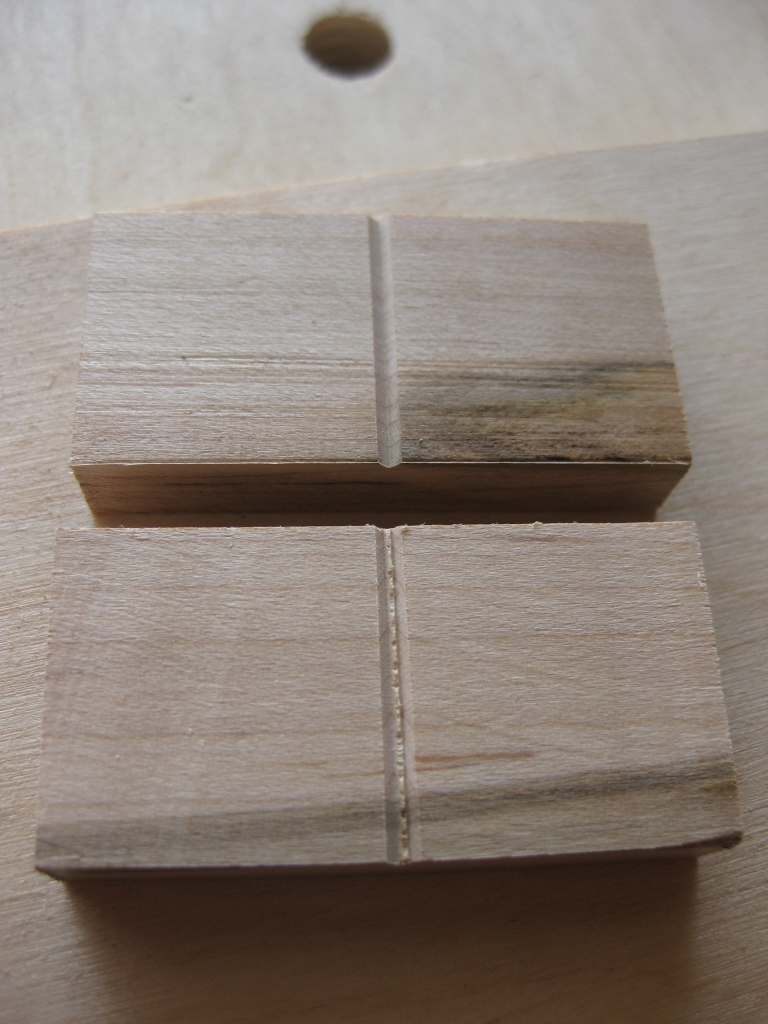
The first attempt, I had my stop block slightly off, so the cut was fractionally too wide and left a hill in the centre of the domino. A quick adjustment of the stop block, and the test domino looked good. The benefit of having the stop and this jig is that the cuts are repeatable, and very quick to make. It takes less than 10 seconds per domino.

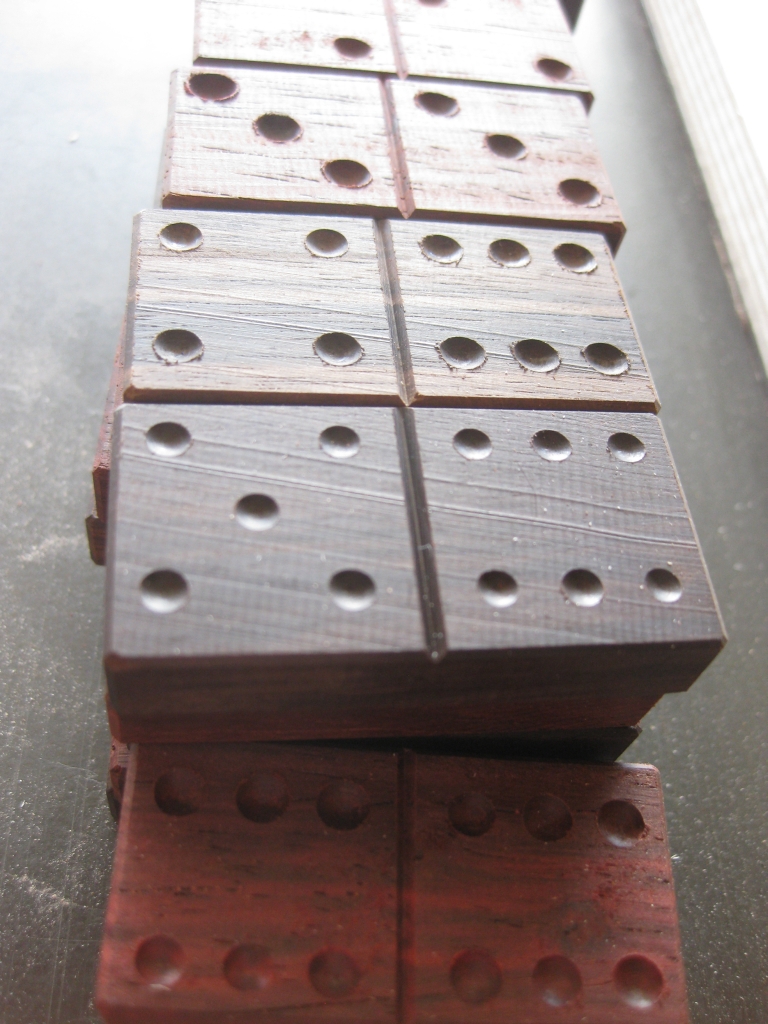
The finished Ebony Dominoes

The finished Ebony Dominoes

Half an hour later, I had two full sets of dominoes finished. Now of course there’s some final sanding and finish to be applied, but the dominoes themselves are complete, and could be used in the puzzle at this point. It took two days over two weekends to make the two sets of dominoes and was time well spent in my mind. There’s another Stickman puzzle (two in fact) which are now complete and will hopefully allow these excellent puzzles to be enjoyed by many more people.

Stickman #16 - The Domino Box, complete and ready to puzzle

Stickman #16 – The Domino Box, complete and ready to puzzle

So with all the work I put in to completing this puzzle, was it worth it, and is the puzzle any good?

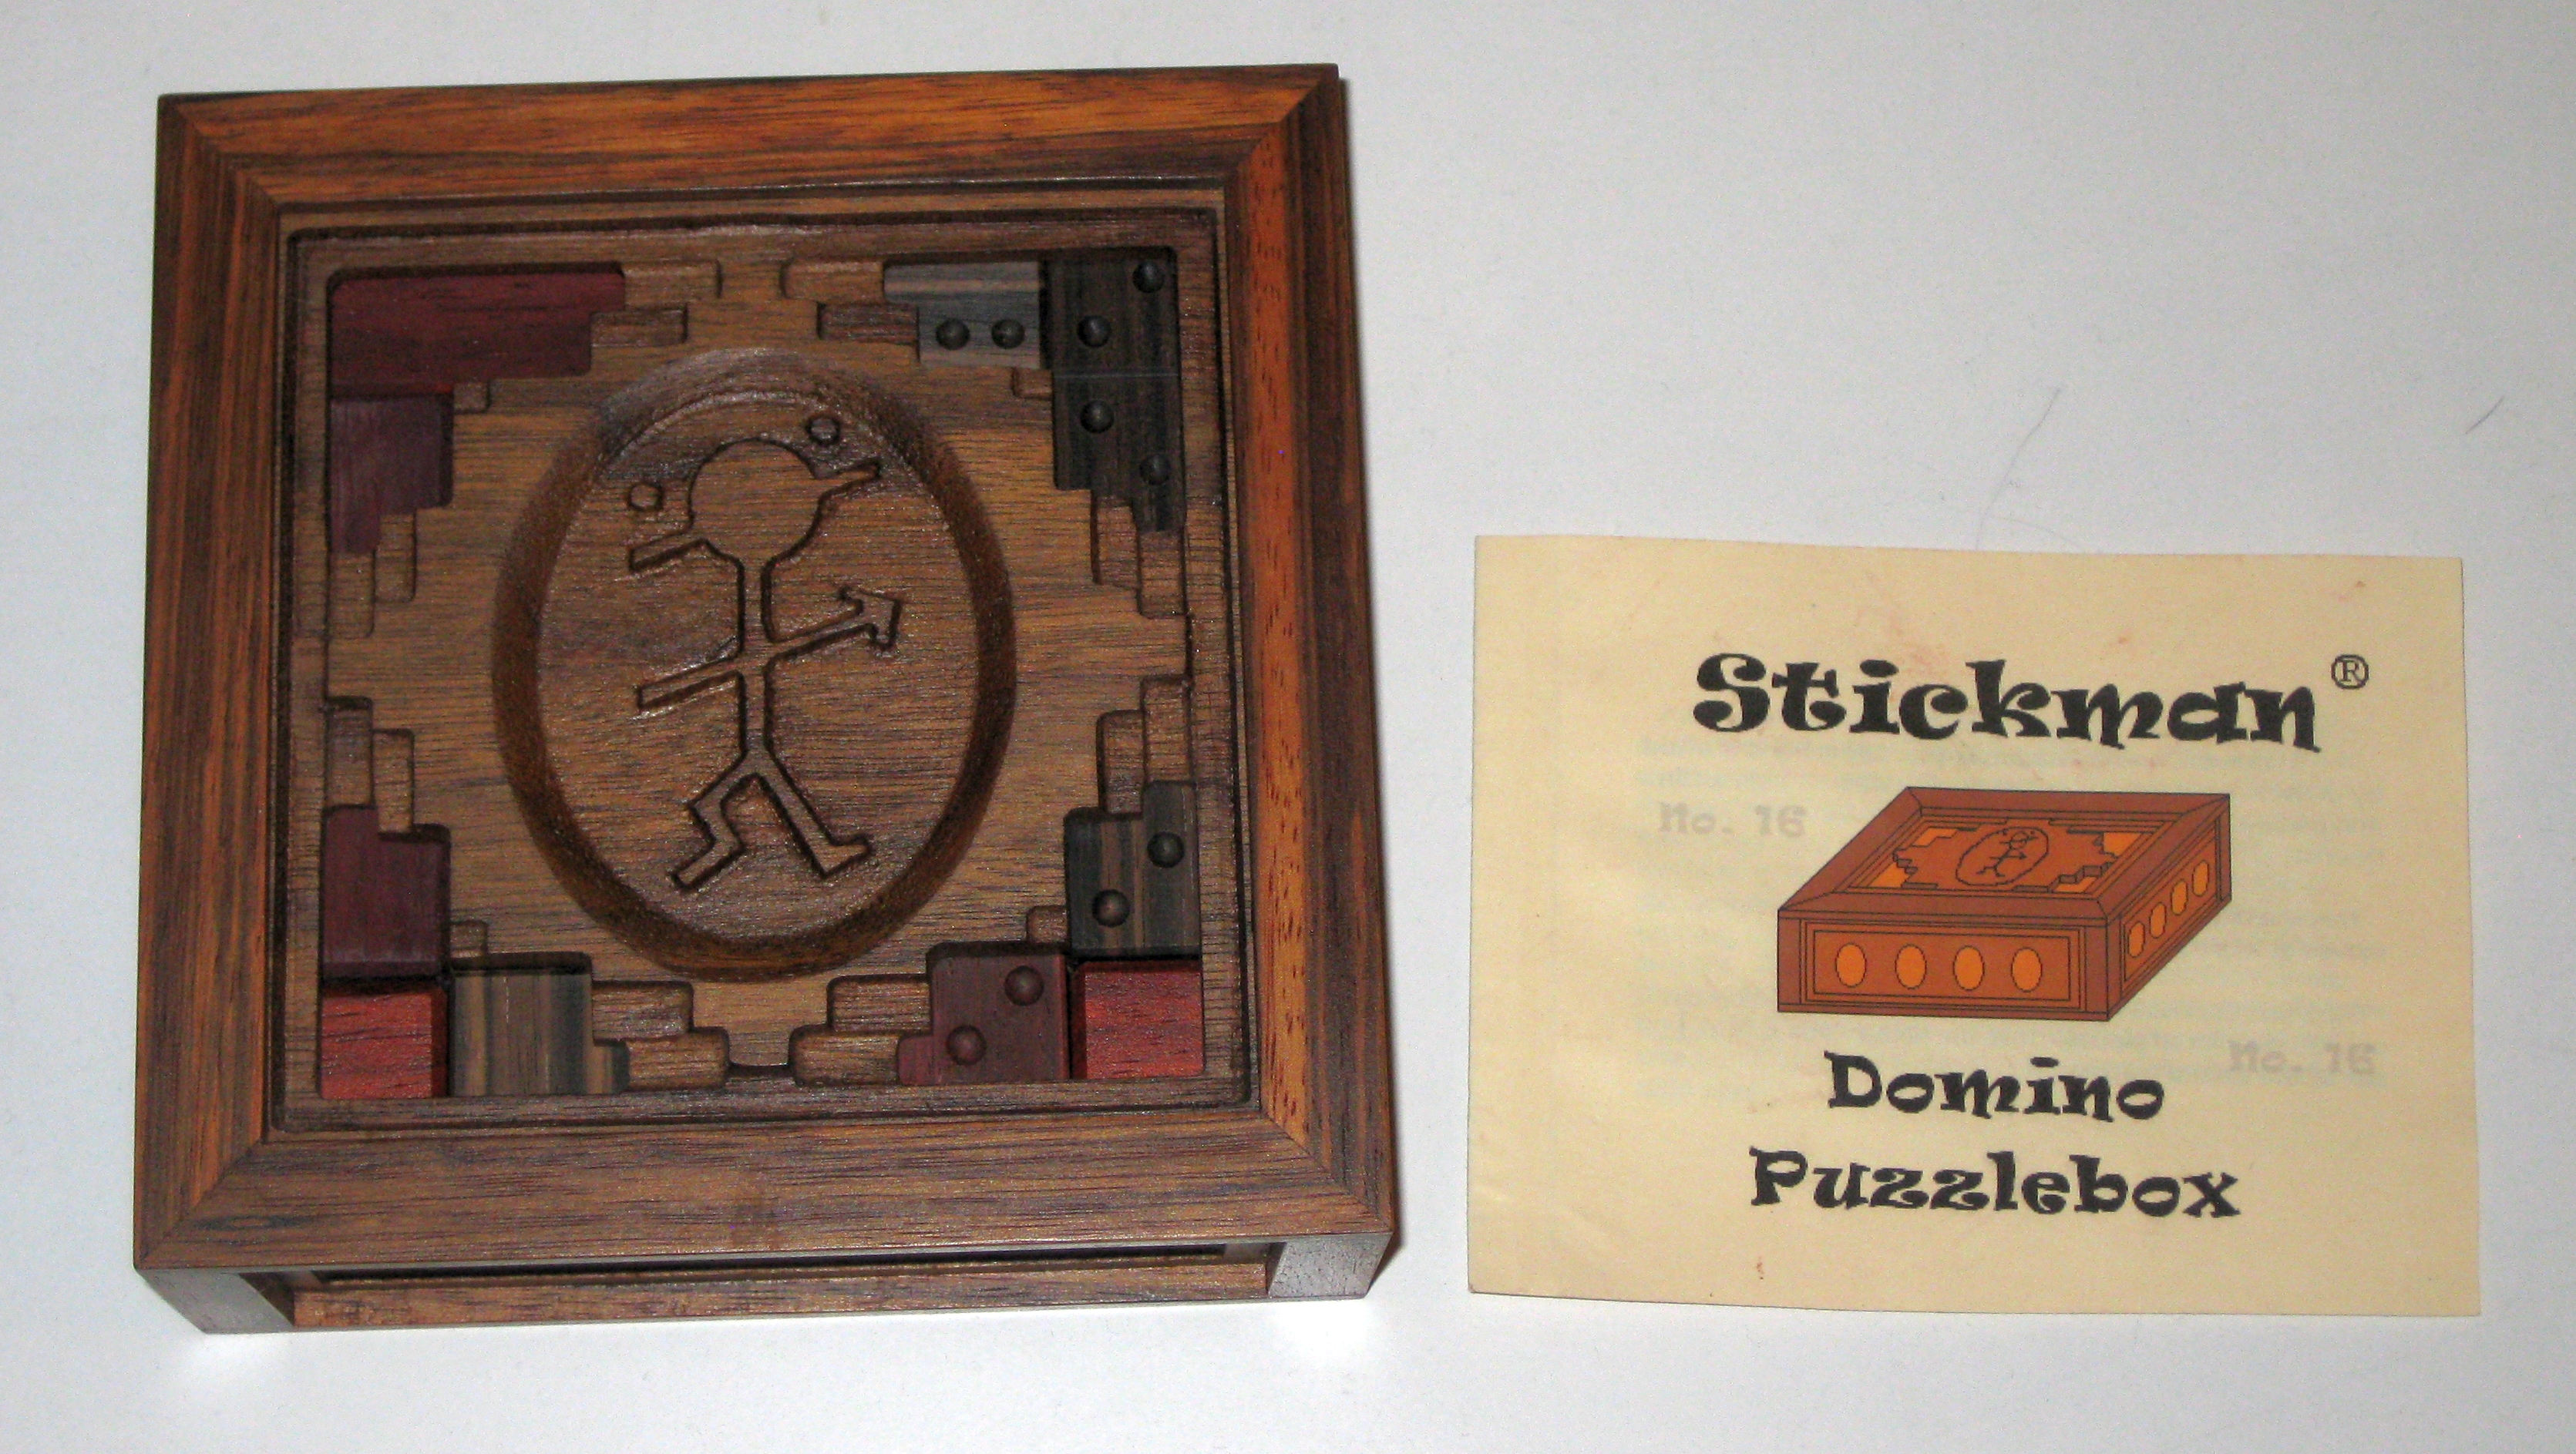
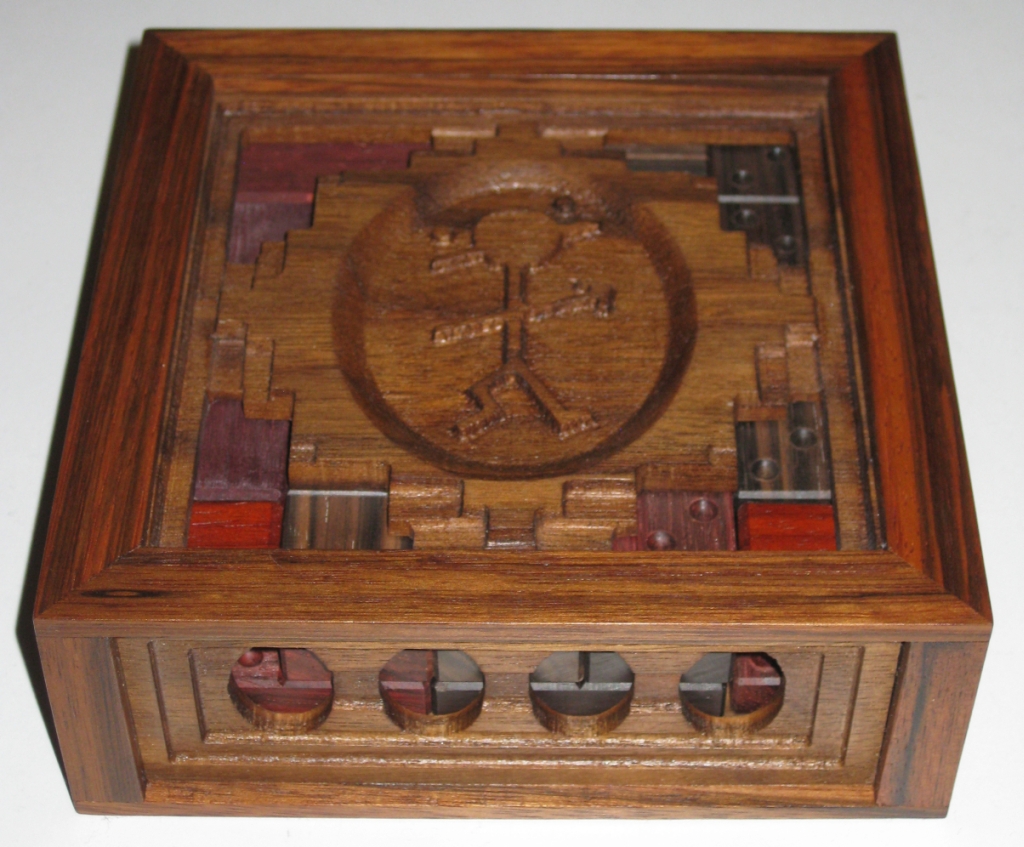
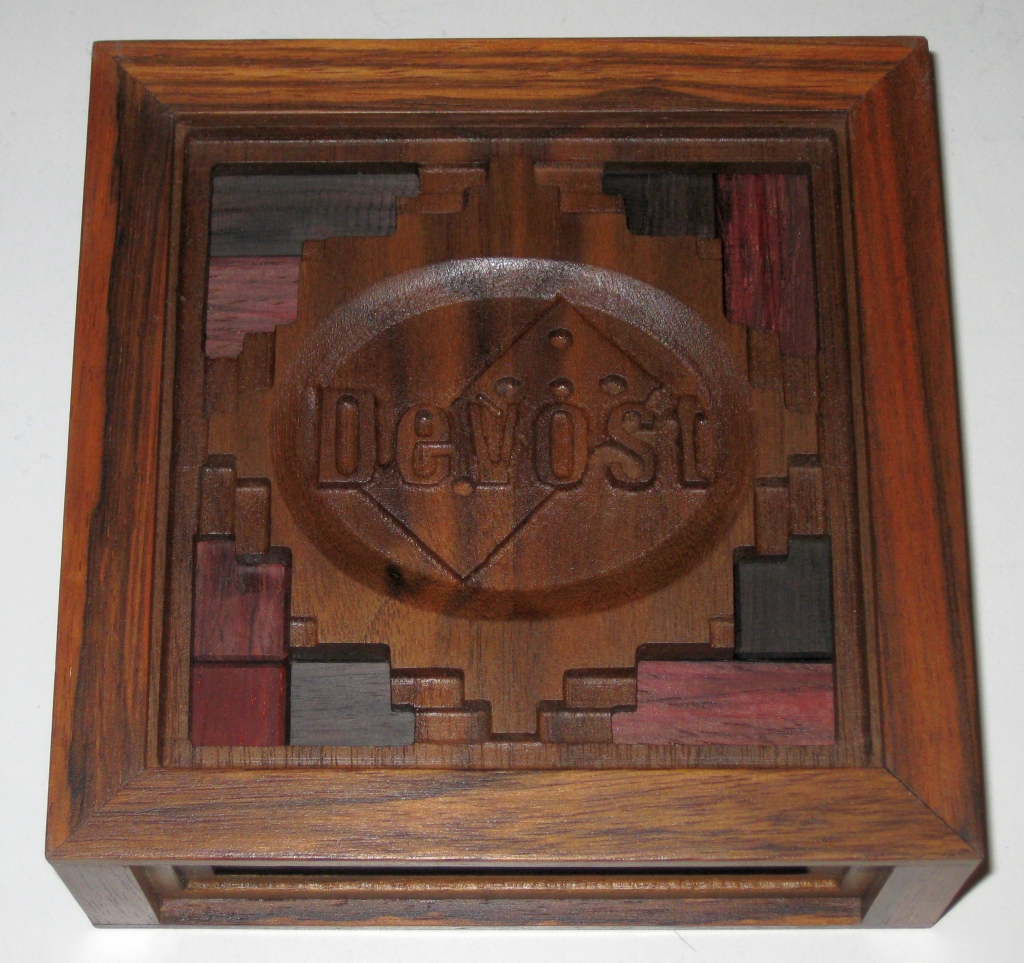
The puzzle measures 6″ x 6″ x 2″, and has enough space to store a regular set of 6 spot dominoes (that’s 28 if you weren’t sure), as well as a few additional shapes just to make things interesting. Made from Walnut and Monticello it’s a sturdy box, which with all the ornate work on the top and bottom makes it a great looking puzzle.

The Base of the box

The Base of the box

With the Stickman logo on the top, the Domino and Devost on the bottom to signify that the dominoes were made by John Devost, this stands out on the puzzle shelves. Of course in my case, the dominoes were made by me, and this is the only set of dominoes in the run of boxes to be made from Ebony. I was very lucky to get the Ebony blocks from John through Stickman, so this is the wood which was intended to be with this box. I’m incredibly happy that some of the Ebony has the amazing red tint to it. Sadly, over time this will oxidse into the dark rich black that is normally associated with Ebony, but for now I’m going to enjoy this wonderful hue.

I think this probably qualifies as one of the simplest mechanisms in a Stickman Puzzle that I’ve come across. If we break it down to the bare minimum, it’s a box, with a sliding lid, and two blocks glued to the inside. Don’t read that the wrong way, the craftsmanship in this puzzle is everything you’d expect from a master craftsman like Stickman, and given the CNC work, it’s one of the more ornate puzzles he’s produced.

It’s up to the puzzler to insert the dominoes into the box, in any orientation he desires along with the additional pieces, close the lid, and then shift a few of the dominoes around to lock the puzzle. The challenge is then to return the dominoes to their original position which leaves a small gap at each corner on the front of the puzzle, allowing it to be opened.

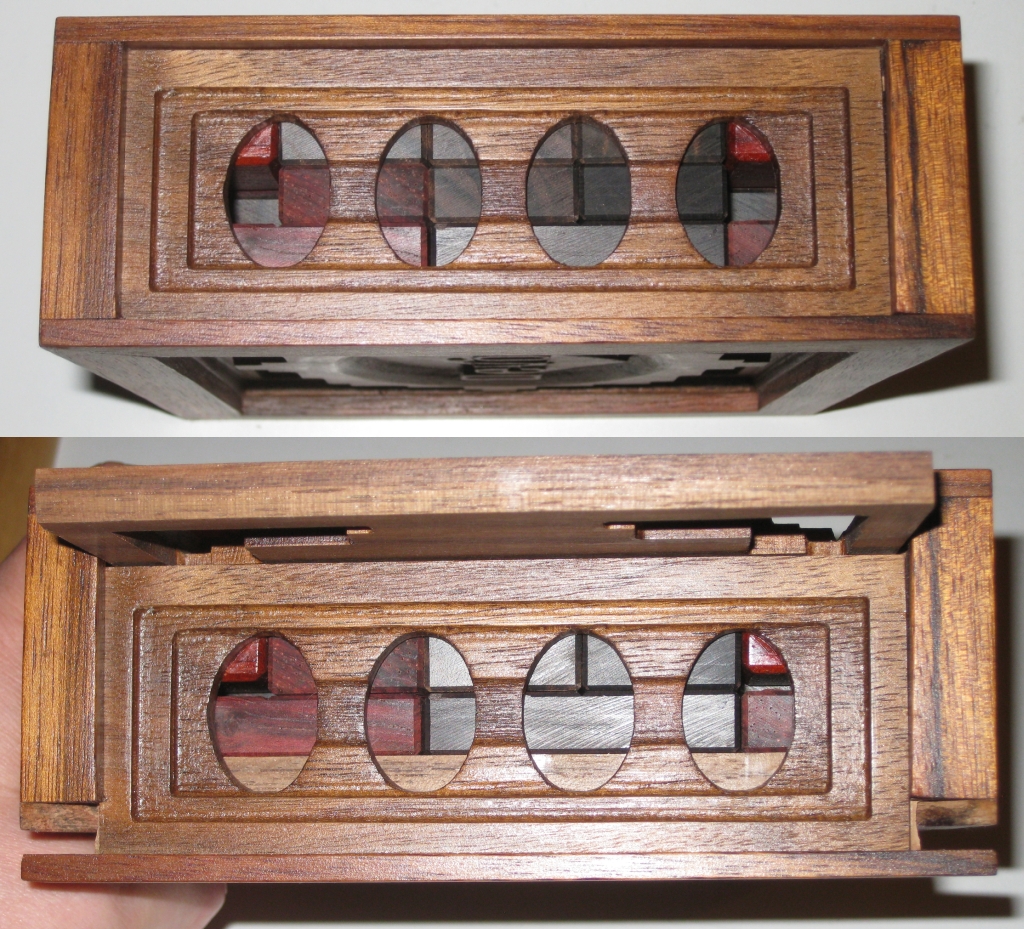
Front of the box showing the solved state, and the open mechanism

Front of the box showing the solved state, and the open mechanism

The Upper image shows the gaps which have to be created. Looking through the two outer holes in the box, there’s a gap in the middle layer of tiles. The top two reddish bricks at the top are the two which are glued to the frame and make the locking mechanism. Once those spaces are clear, the front can be slid down, allowing the top to slide part way out, allowing access to the dominoes.

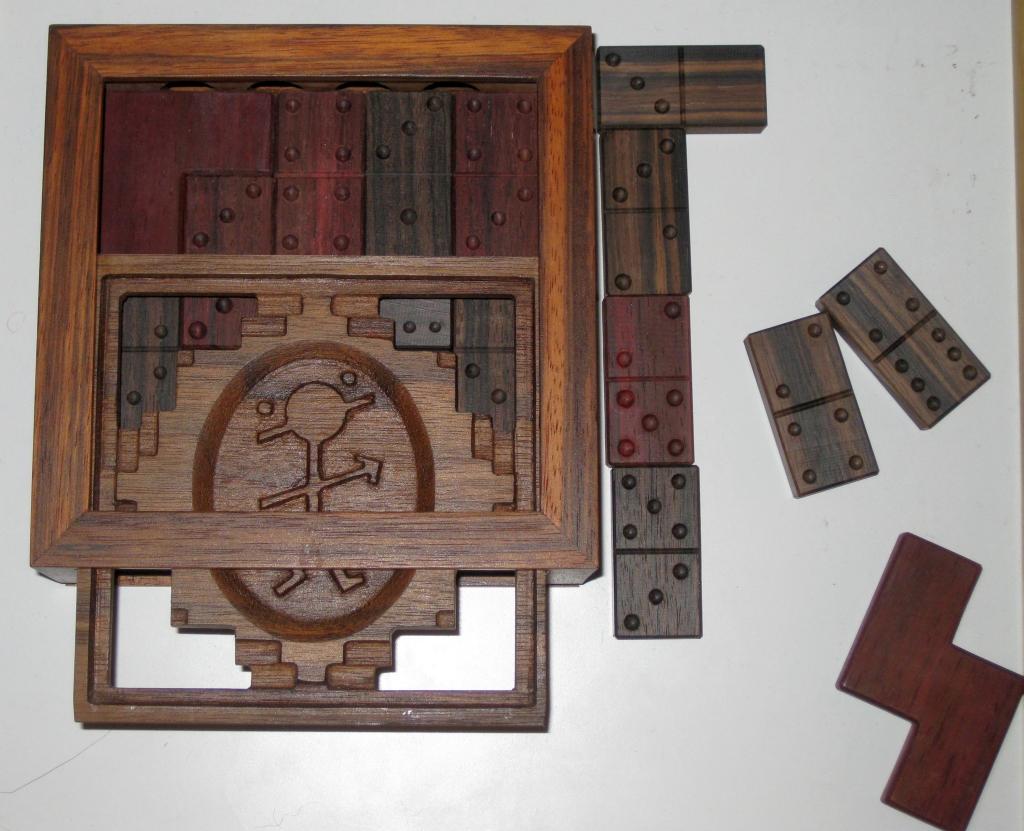
The opened box, allowing access to the dominoes

The opened box, allowing access to the dominoes

In terms of the difficulty, this is a very challenging puzzle. Those holes which are all around the box look huge until you try to move a domino inside the box, and realise that the gaps are not as large or as helpful as you might like. I found myself often tapping the side of the box against my palm to cause a domino to slide where I needed it. Moving dominoes between layers is especially tricky, and it’s not had to create a state inside the box that will take a lot of time to solve. Even Stickman himself admits that he found himself locked out of the box for hours.

The opened box, allowing access to the dominoes

The opened box, allowing access to the dominoes

I really like this puzzle box, and it doesn’t hurt that once you solve it, you can go ahead and make use of the dominoes inside. I’m very pleased to have been able to turn this into a working puzzle and I hope this will give more puzzle enthusiasts a chance to play with another Stickman design.

Bringing another puzzle into the world

Every now and then an opportunity arises to take a puzzle in potentia, finish it, and bring another puzzle into the world. I recently had that opportunity with one of Stickman’s puzzles. At a recent auction, I was bidding on a copy of Stickman’s Domino Box, and given that I’m friends with the man himself, I was talking to him about it. He happened to mention that he had a carcass of the puzzle that just needed the dominoes made for it. He even had the blocks of Ebony to make them.

The Domino Box was a joint venture between Stickman and John Devost. Stickman made the housing for the dominoes, and the extra ‘bits’ that for the mechanism of the puzzle, and John Devost made all the sets of Dominoes.

Turns out neither he nor John Devost had the time, or motivation to make the dominoes, so Robert offered me the chance to take that copy instead of the one I had won at auction. I’ll not go into the details, but both myself, and the person I was bidding against got a great deal on the puzzle, so it was a win-win situation.

The Stickman Domino Box 'kit'

The Stickman Domino Box ‘kit’

What arrived from Stickman was everything needed to make the puzzle functional. As you can see in the photo above, I received four blocks of Ebony, the carcass for the puzzle, a bag of domino templates, the special drill bit to cut the spots, and a jig to help in cutting the spots. There were also some original dominoes cut by John Devost for sizing, the interesting shaped pieces which are part of the mechanism, and the original puzzle booklet. It’s quite the collection of pieces, however it was going to need some work to make it into a Stickman.

Originally, this was to be a special edition, with the Ebony Dominoes however as often happens with a run of puzzles, toward the end the last couple never quite get completed. Having everything I needed, and not having the drain of completing 25 copies of a puzzle, the motivation was there to make up the dominoes. This post will show you the process of making up the set of dominoes to turn this into a functional puzzle, and add a unique copy of the Domino Box to my collection.

Not long after I received the kit, I heard from another puzzling friend, over in the land of Oz who had heard through the puzzle grapevine that I had all the necessary ‘bits’ to make up a set of dominoes. He asked if it would be possible to create a set for him while I was making my own as he also had a carcass that needed the dominoes. Making two sets, isn’t a lot more work than making one, so of course I agreed.

From the Ebony blocks, I had to figure out how to get the 28 domino blanks I needed from the blocks. Unlike the second set where I had a full eight foot board to work with, here I had just enough to make the dominoes. (Ed: I didn’t realise just how close it was until much later)
Some fairly deep checking

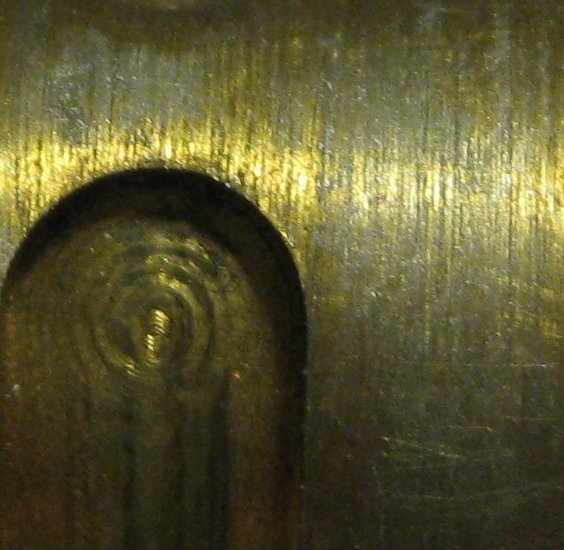
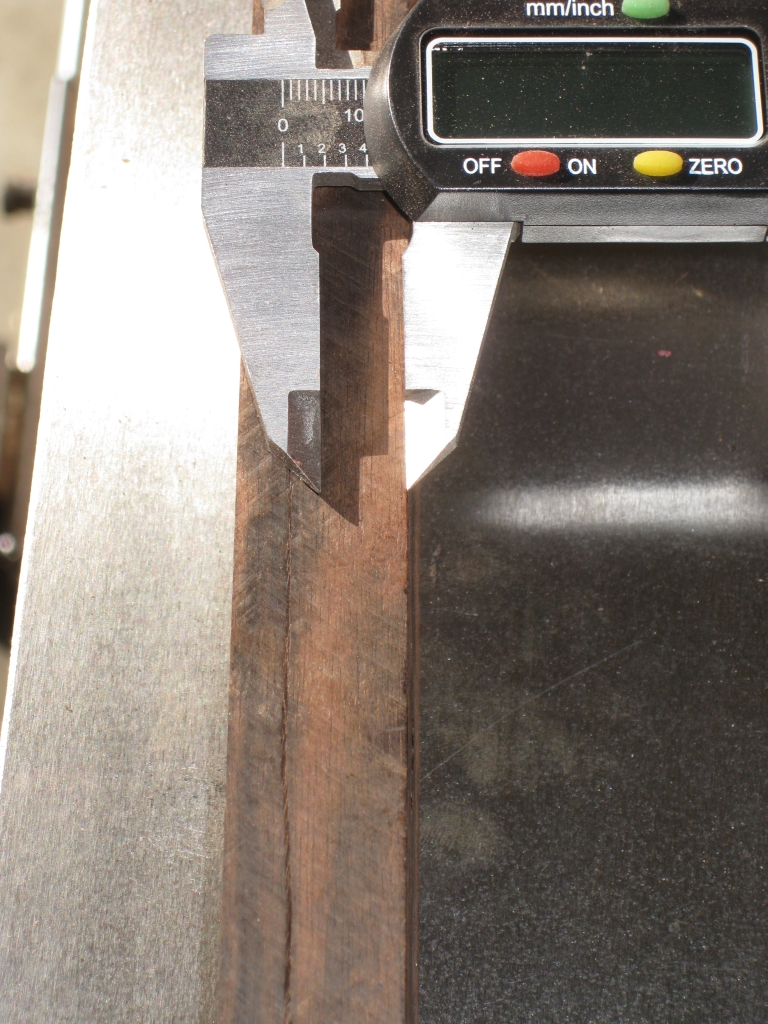
Some fairly deep checking

I also had to be very careful when cutting the blocks to size, as there was some significant checking running through the entire block in two out of the four wood blanks, which would ruin a domino if the checking came through the piece. Fortunately, the block was thick enough that I could cut it and avoid the checking, to get just enough stock.
The Stock milled to thickness

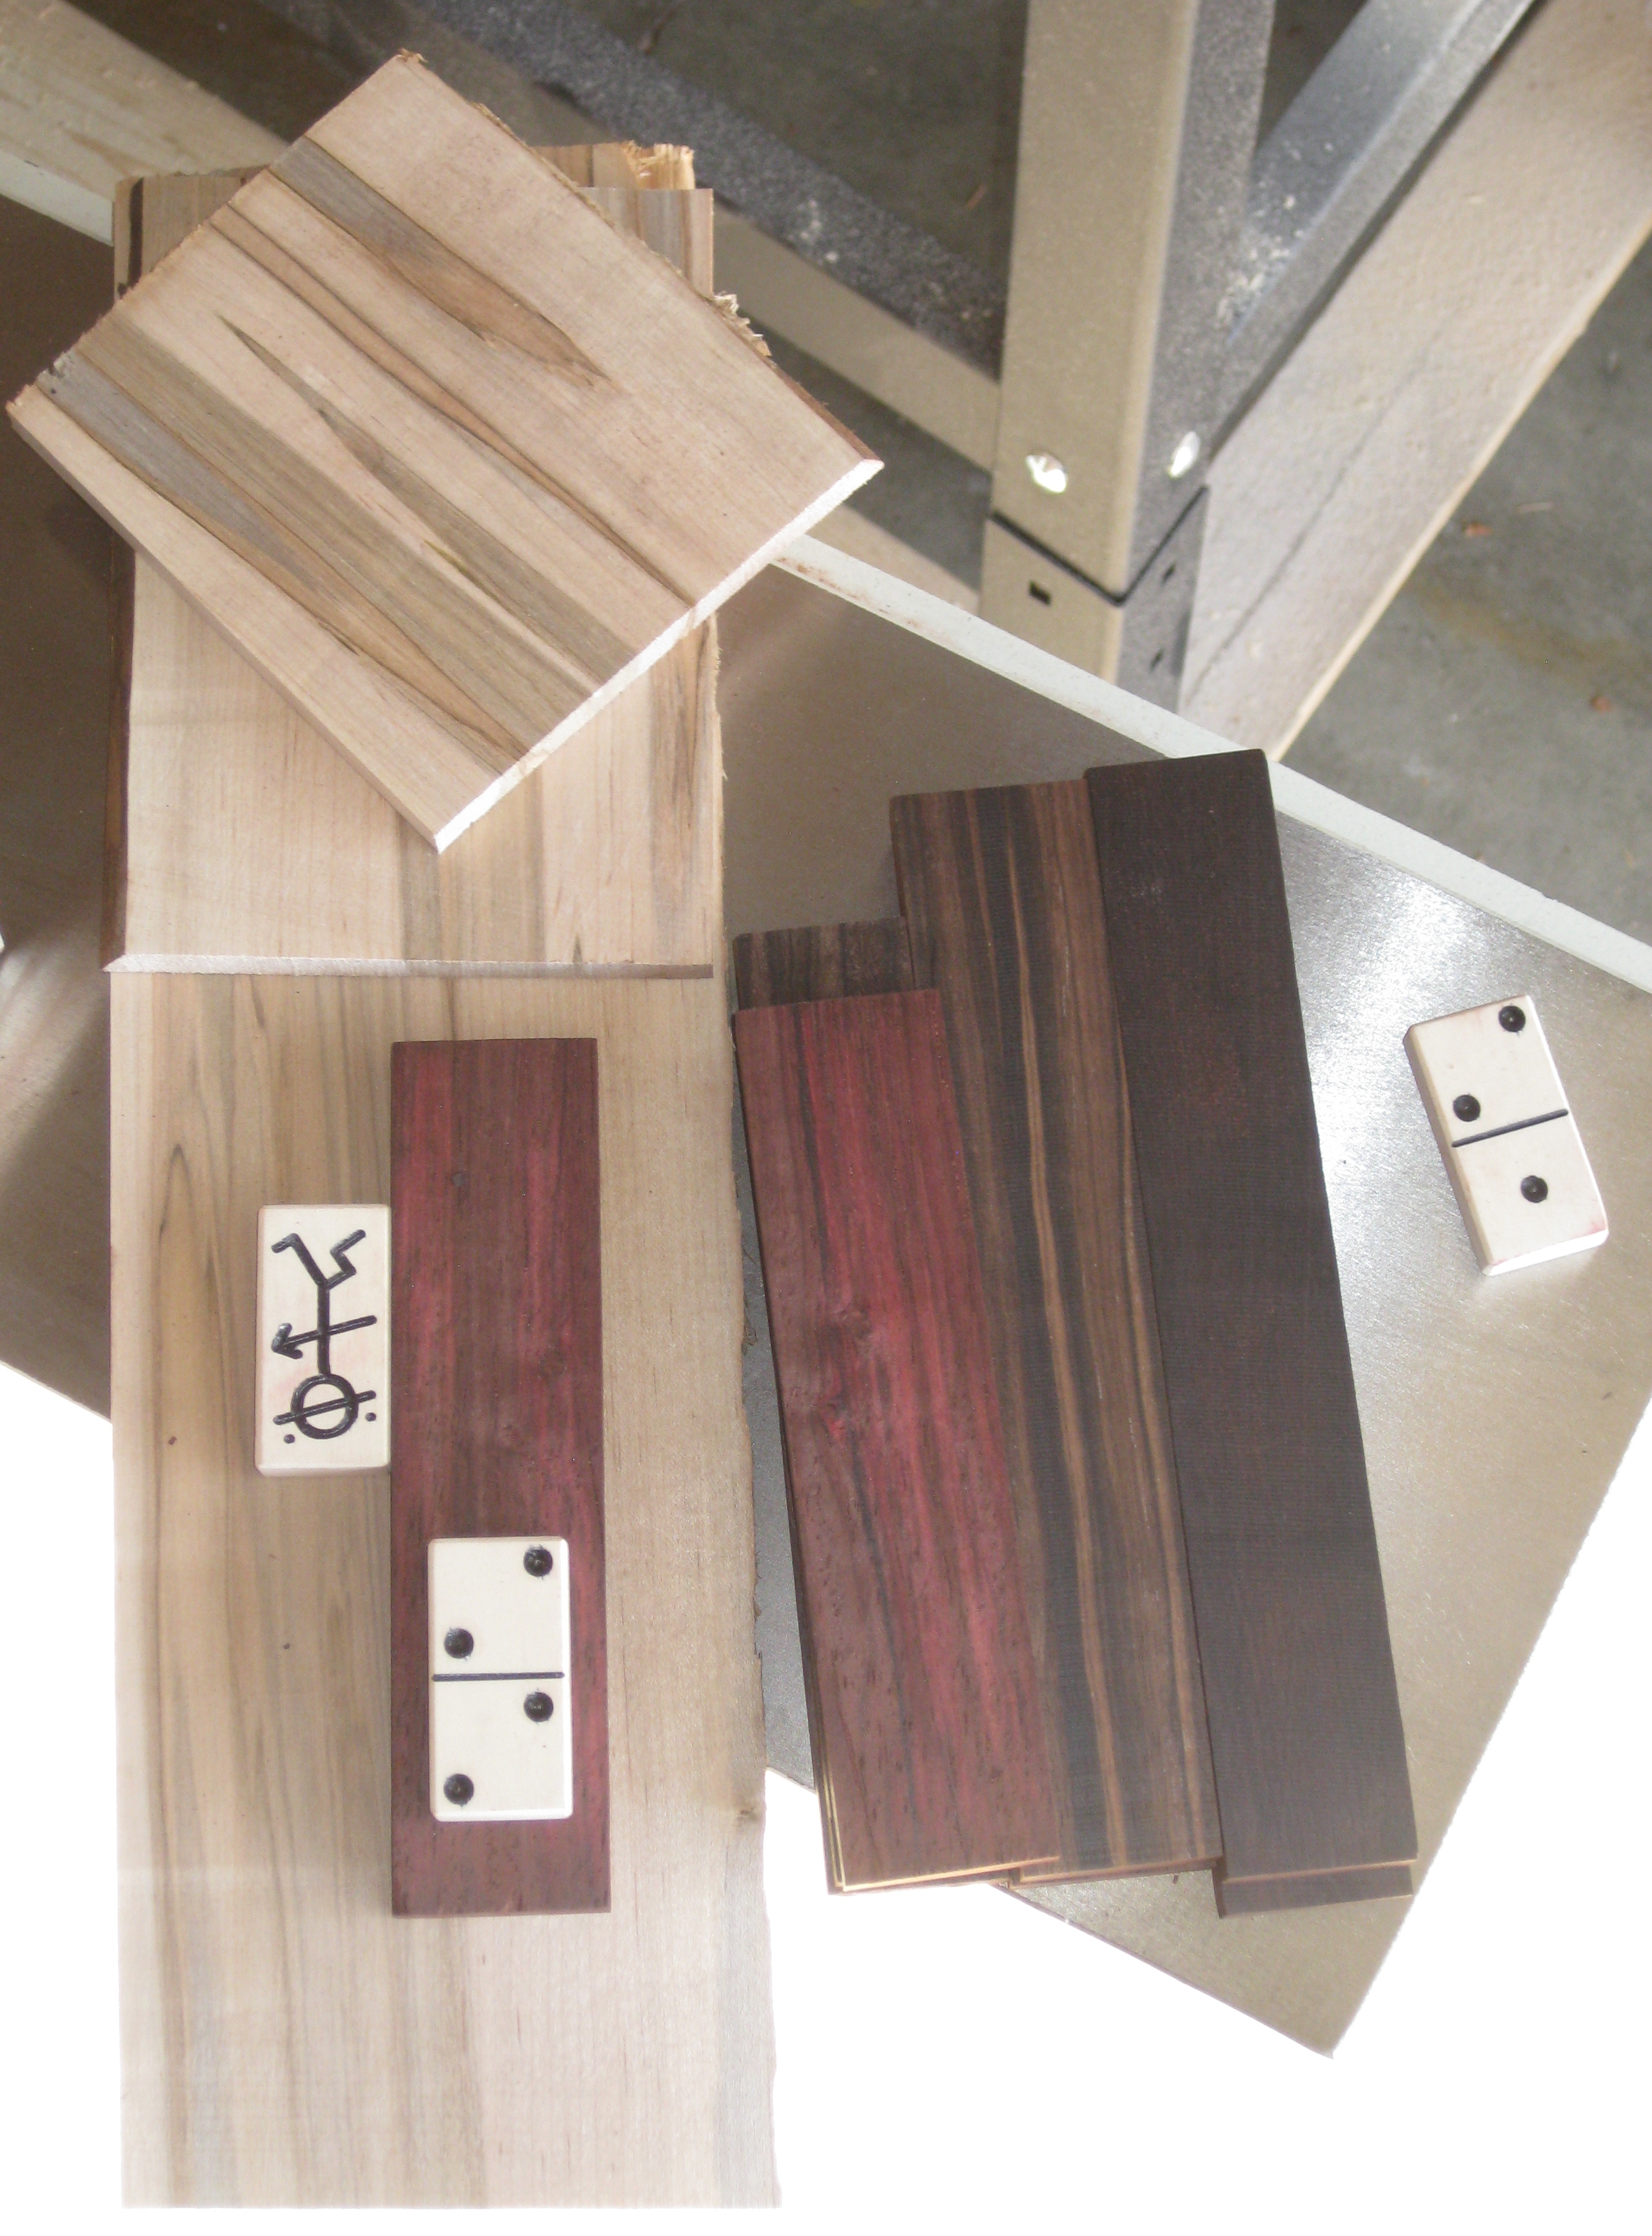
The Stock milled to thickness

With the stock milled to the correct thickness (10mm) for the dominoes I had a set of boards, which as you can see are wider than needed for the final domino blanks. The lighter stock is Ambrosia Maple. I had picked up a beautiful board at a recent trip to the lumber store, and despite not knowing what I’d use it for at the time, I couldn’t pass up such a stunning board. When I was asked to make the second set of Dominoes, this seemed like the perfect use for some of that board.
Cut to width, ready to create domino blanks

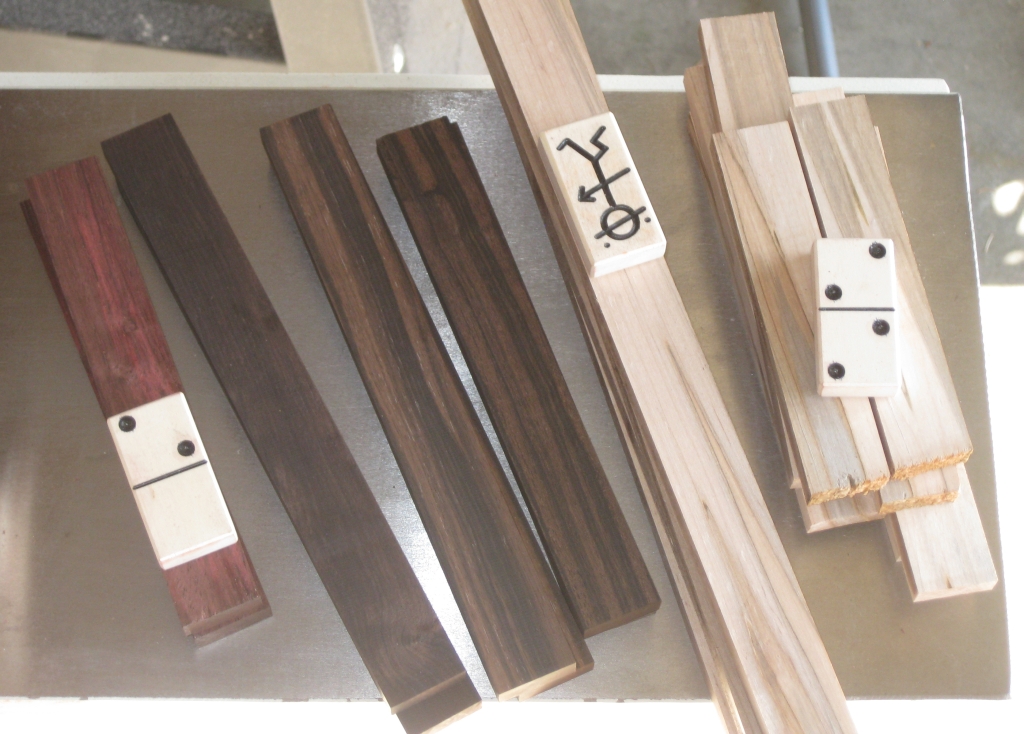
Cut to width, ready to create domino blanks

Having used the original dominoes Stickman had provided, I cut the long strips of wood to the correct width, ready for making into the domino blanks.
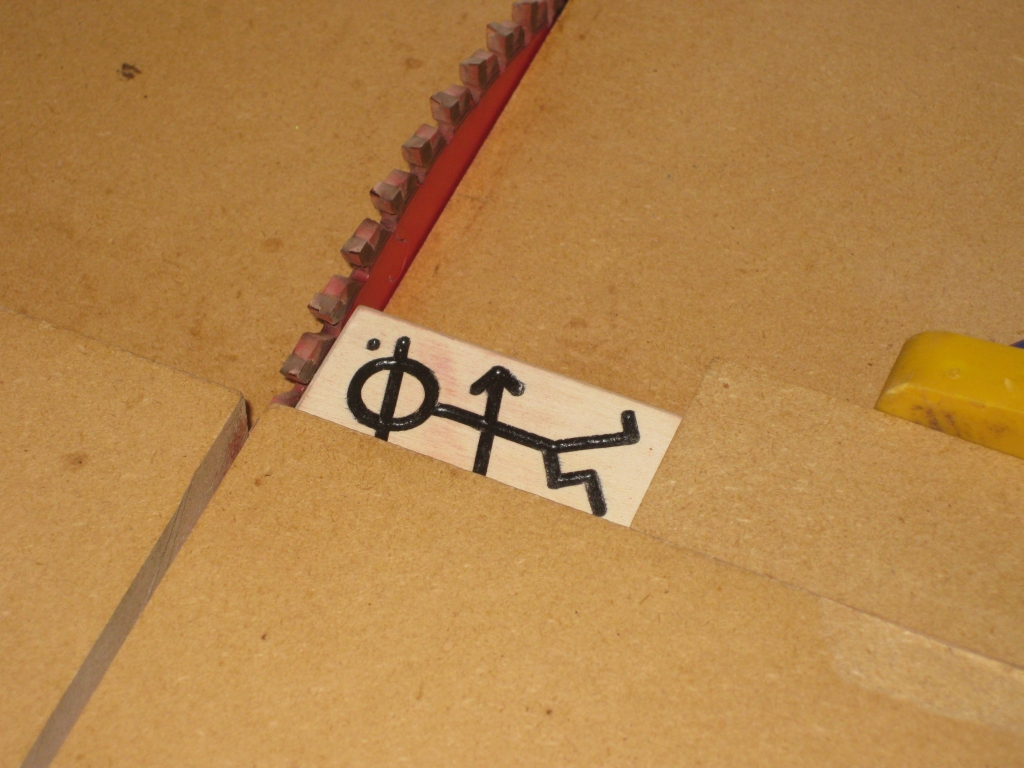
Setting the jig to cut dominoes to length

Setting the jig to cut dominoes to length

With my crosscut sled, I took the original domino and used that to set my stop block to allow me to quickly and accurately cut the blanks to length.
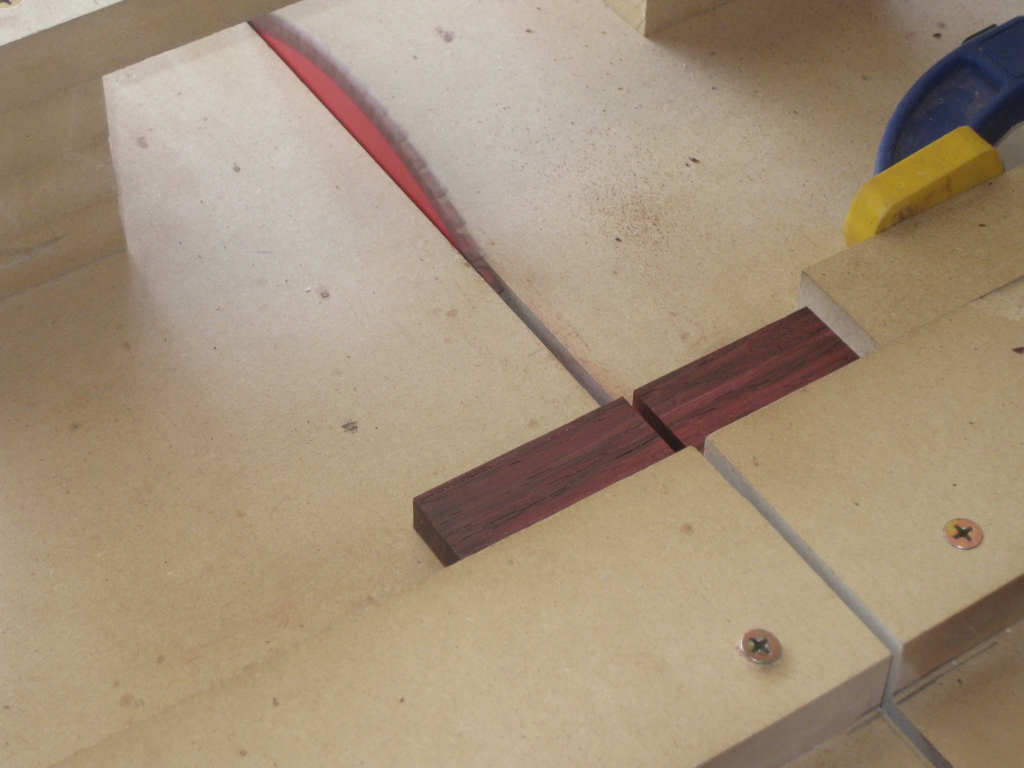
Sticks cut to perfect length

Sticks cut to perfect length

Each long stick has its end trimmed on the sled to make sure that it is absolutely 90 degrees to the long edge, and makes sure it will be parallel to the other end when cut to size. After that, it’s a simple process of placing the stick against the stop block, and pushing the sled across the blade. Each domino blank is perfectly sized, with very little work needed.
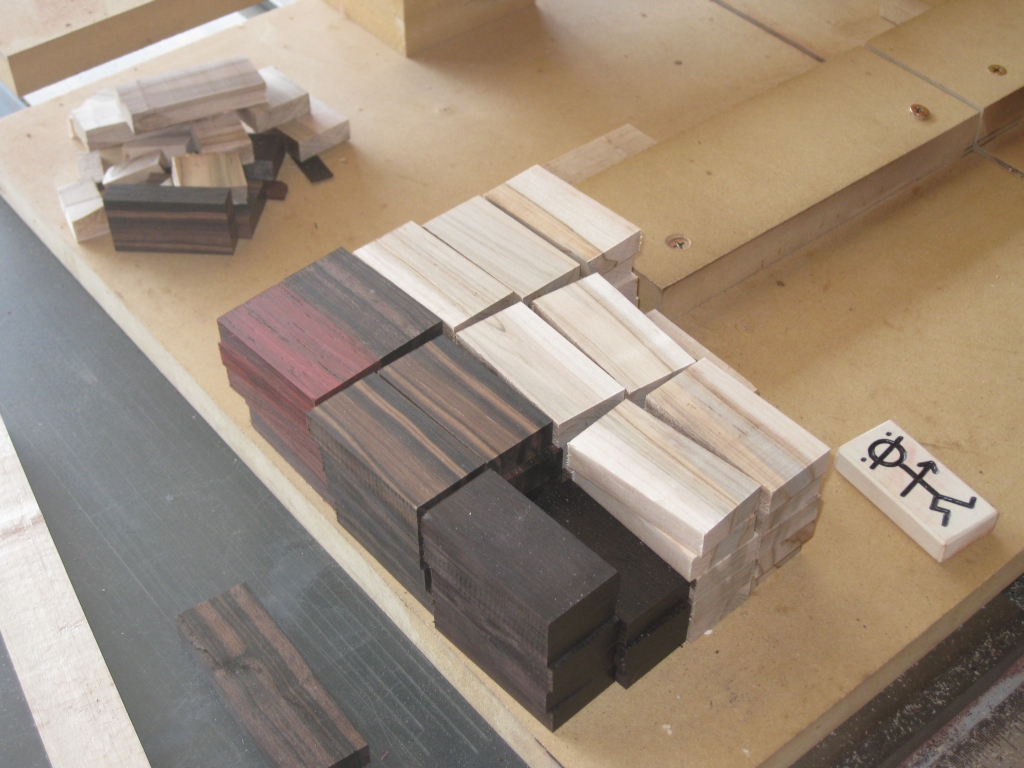
Two full sets of domino blanks cut

Two fulls sets of domino blanks cut

Before long I had a couple of stacks of domino blanks. There was enough wood to get exactly 28 blanks from the Ebony. I had a little more of the maple stock, so I cut a number of spare dominoes just so that I had extras to test out each additional step in the process. After all, I had no room to screw up with the Ebony stock.

In the back left of the image are all the offcuts from the stock. I’ll certainly not be throwing all that Ebony away. I’m sure it will make its way into another project at some point.
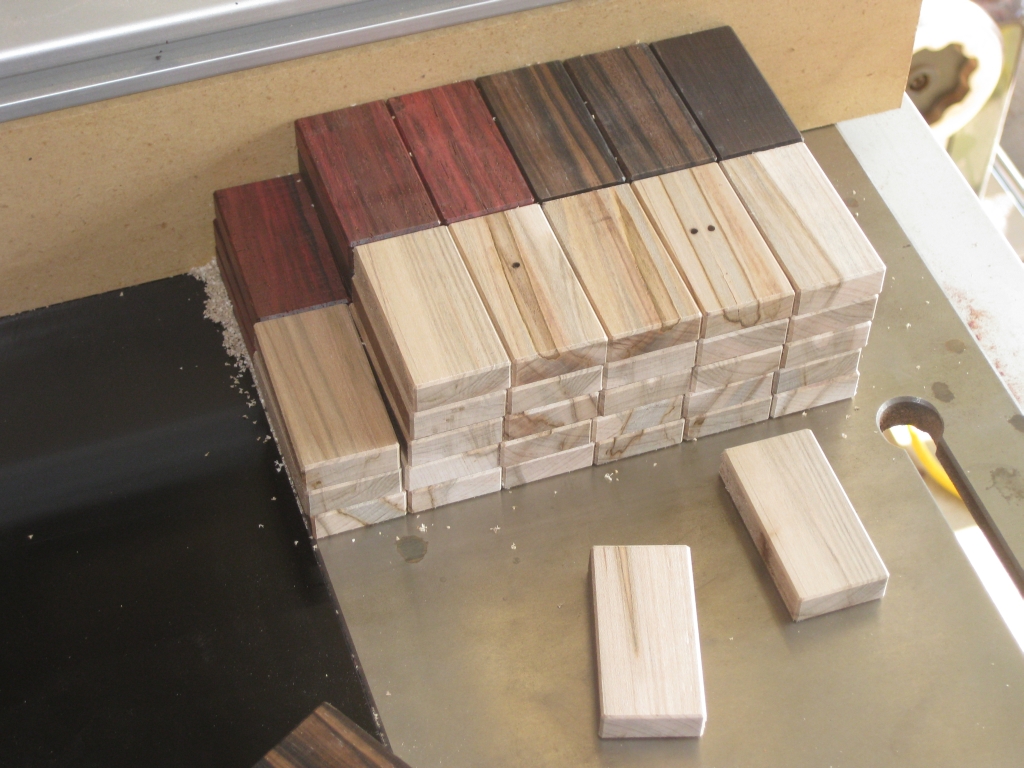
All the blanks chamfered, ready for their spots

All the blanks chamfered, ready for their spots

Leaving the blanks with their sharp edges after cutting on the saw means they’re not particularly nice to handle. The sharp edges, especially on the Ebony which takes such a good edge mean that the pieces are not particularly tactile, and need a little softening. Putting a small chamfer on the edges takes the harshness from the pieces. Initially I was planning to put a roundover on the pieces, however the roundover bit I have didn’t give me a pleasing result, so I decided against it. The benefit of having the spare dominoes meant I could experiment without worrying about something not working.

28 templates including the double blank

28 templates including the double blank

With the chamfers finished, it was time to make these domino blanks into dominoes. The bag of spot cutting templates I received contained all 28 blanks needed, including a double zero tile. I assume that whichever company was making the templates had issues that someone out there forgot to make a double blank, so they had to include it. I took the time to separate the templates into their groups, just to make sure I had everything I needed before starting.
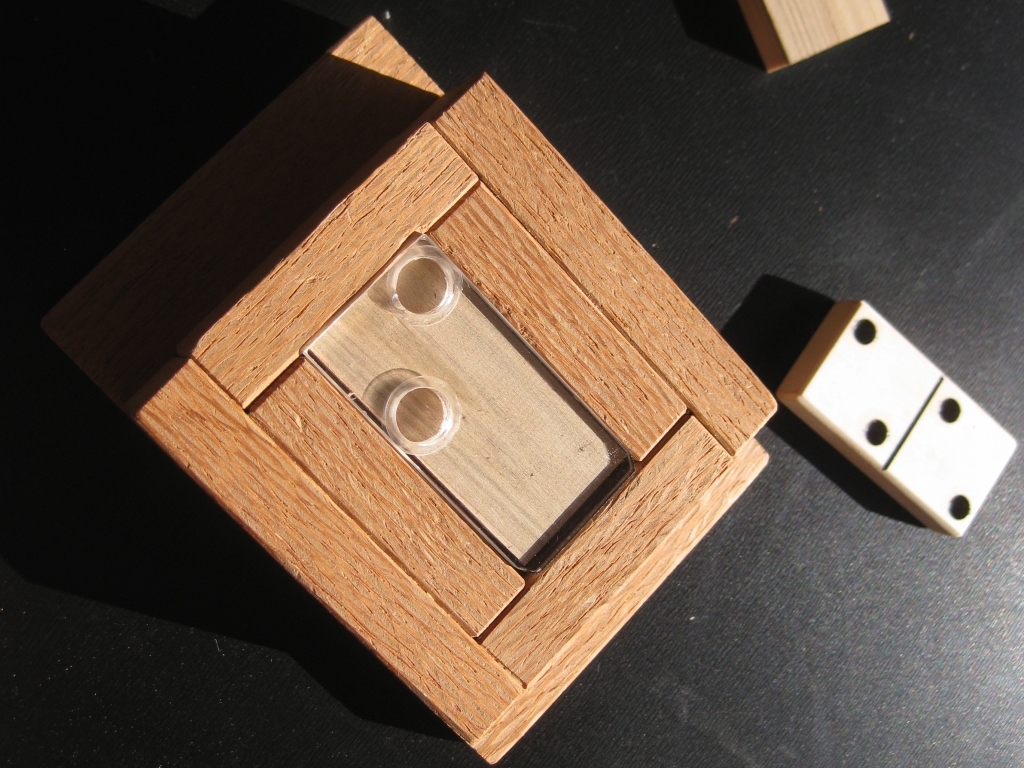
Ready to cut test spots
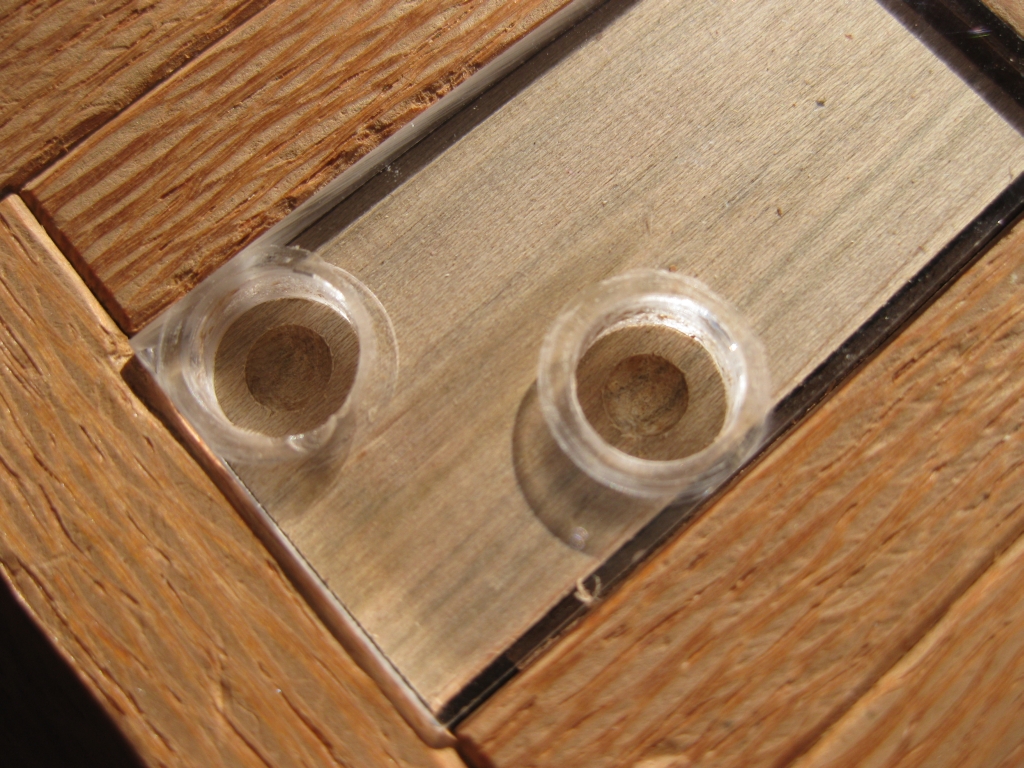
Ready to cut test spots

First attempt at cutting spots

First attempt at cutting spots

Using one of the spare domino blanks I’d cut earlier, I tested the template and spot cutting drill bit to see how they worked together, and get a feeling for how to cut the spots. I added a couple of shims to make sure the blank was positioned correctly under the drill bit template. The drill bit itself is rather clever. There’s a collar on the end of the bit, which drops into the hole in the template, and when you push the drill down, the rounded cutting head protrudes below the template to make the cut. The jig holds both the domino and the template in the same fixed location allowing for consistent spot placement, and no chance of spots becoming oval shaped.
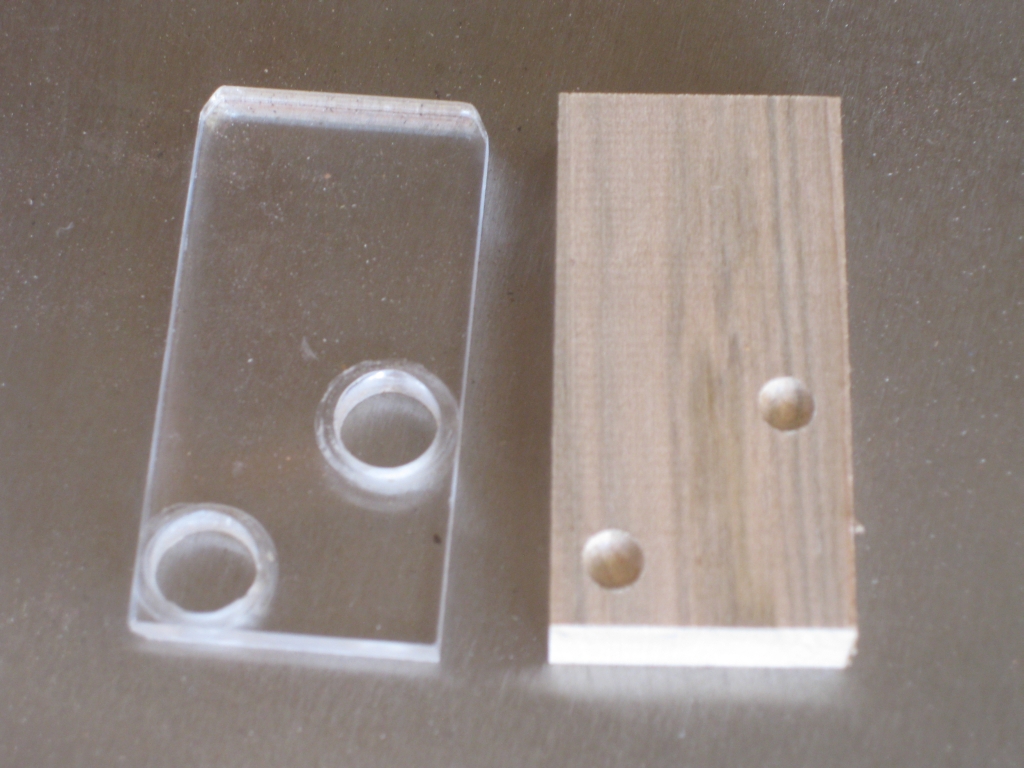
The results look good, time to cut them for real

The results look good, time to cut them for real

The end result is well placed, consistently positioned spots which are all the same depth, with virtually no thought or skill required from the operator. I’ll count that as a good thing, as it would be all to easy to ruin hours of work without the template and special bit.
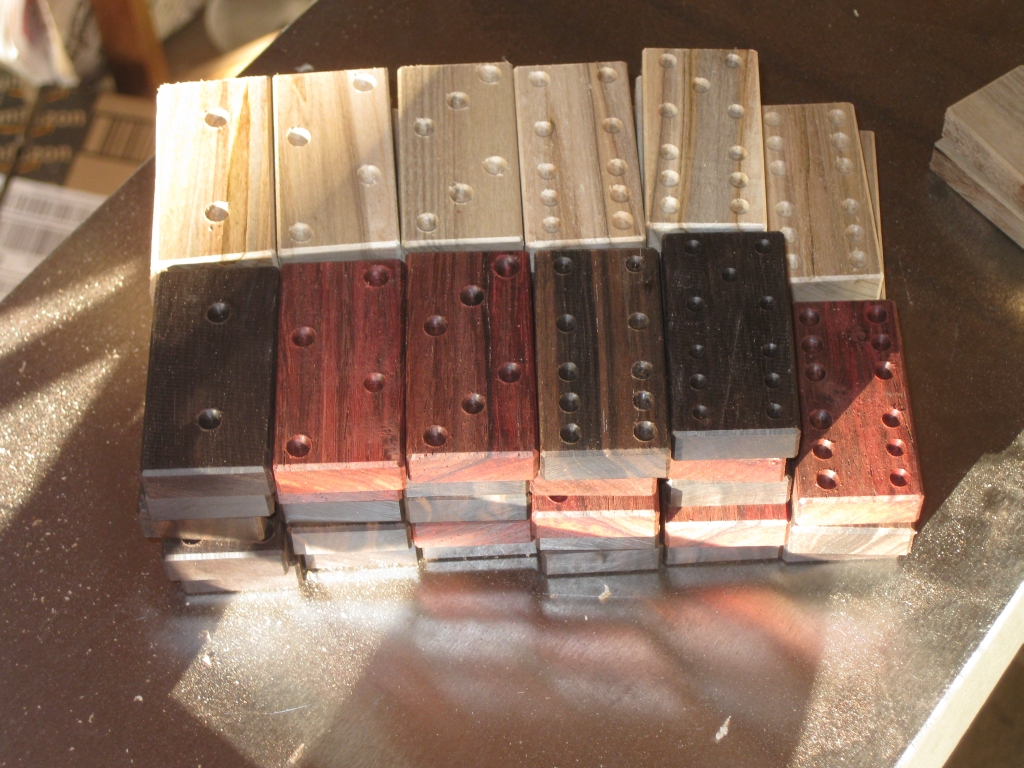
Two full sets cut, but not finished yet

Two full sets cut, but not finished yet

After a couple of hours work with the drill, I had 56 dominoes cut. The two full sets look great, but sadly I’m not finished yet. The central divider needs to be added to each domino, and I need to make a new crosscut sled where the blade is at 45 degrees to the table in order to add that detail. I then also have the difficult choice of whether to ink the spots or not. As you can see from the original dominoes I have, the spots are accented by adding the black ink to really make them stand out. Before I make a final decision I’ll test out a couple of options and see what works best.

The observant among you may have been wondering why some of the Ebony dominoes are red. When I started working the Ebony blocks, one of them had the red tint to the wood. Personally I love the red tint, and wish I had more of this wood. It will eventually oxidize back to the dark black that you can see from the outside of the original block, but I’m going to enjoy the red tint while I can!

In the next post, I’ll finish up the dominoes before putting them into the puzzle, and enjoy solving it for the first time.
Marcel Gillen’s Little Rolling Pin

This entry is part 3 of 3 in the series Marcel Gillen Hidden Mazes

In the final review in my series on Marcel Gillen’s hidden maze puzzles, I turn my attention to the small Rolling Pin. All of these puzzles are from pre-1994, and yet are still functioning perfectly, with no real signs of wear on the mazes. I’ve felt rather privileged to be able to spend time playing with these puzzles, understanding and unlocking their secrets, and have to say a huge thanks to Nick for having been able to borrow these from his collection.

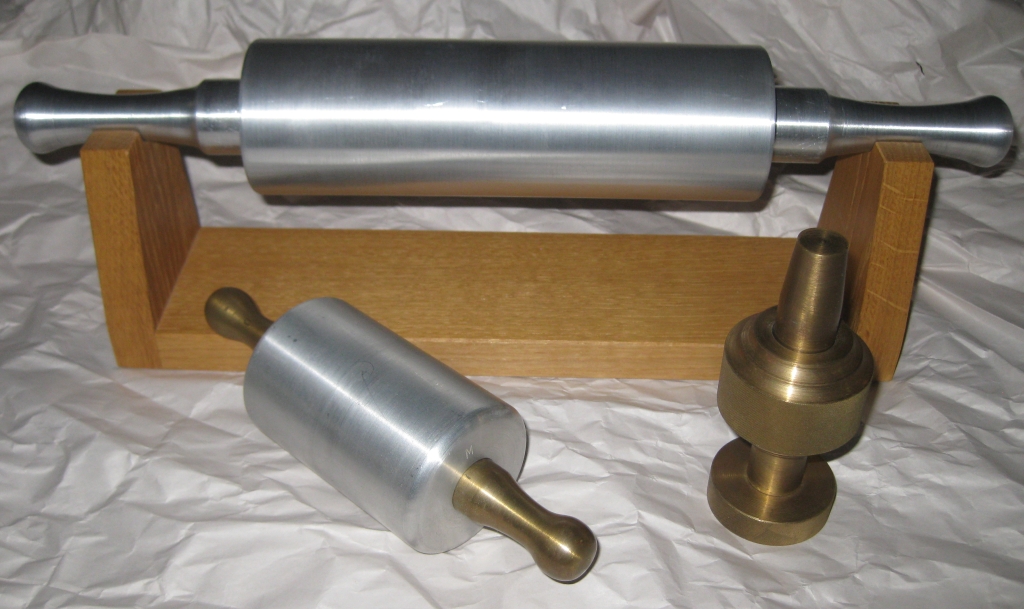
Marcel Gillen Hidden Maze Puzzles

Marcel Gillen Hidden Maze Puzzles

By now the goal of the puzzle should be obvious. Remove the handle from the sleeve which forms the body of the rolling pin. There’s a hidden maze carved into the handle, and a sprung pin in the sleeve which you use to navigate the maze. All sounds simple, yet I found this the most challenging of the three puzzles, all thanks to a very clever feature that Marcel added to this puzzle; one which I’ve not come across before in this type of puzzle.
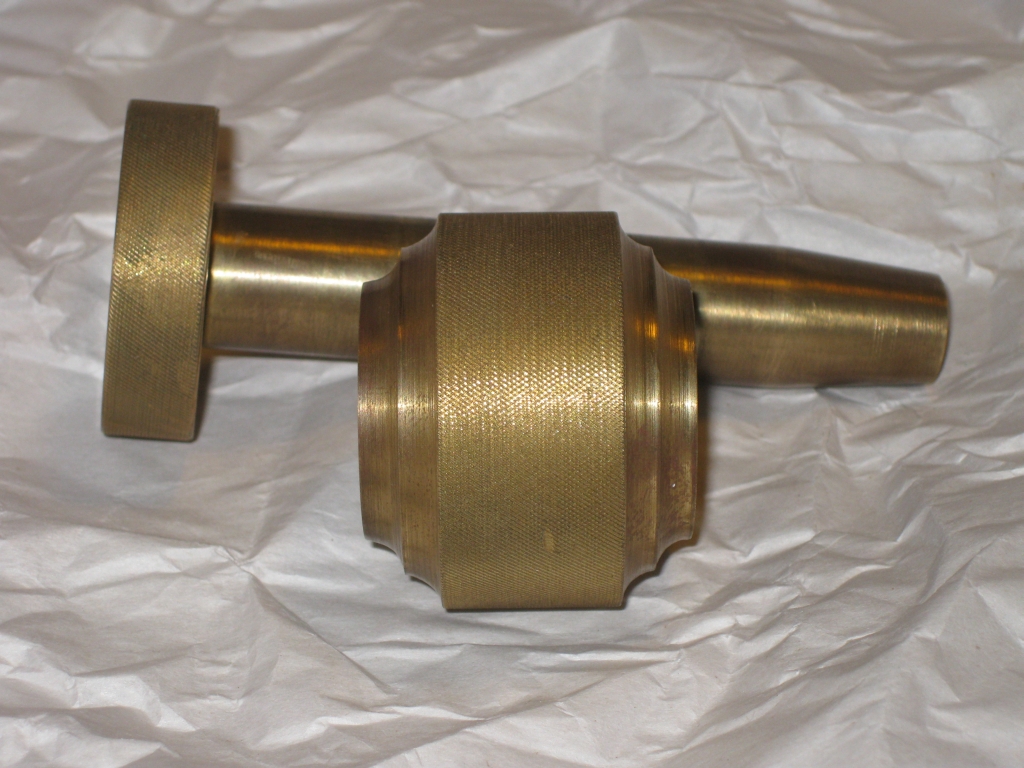
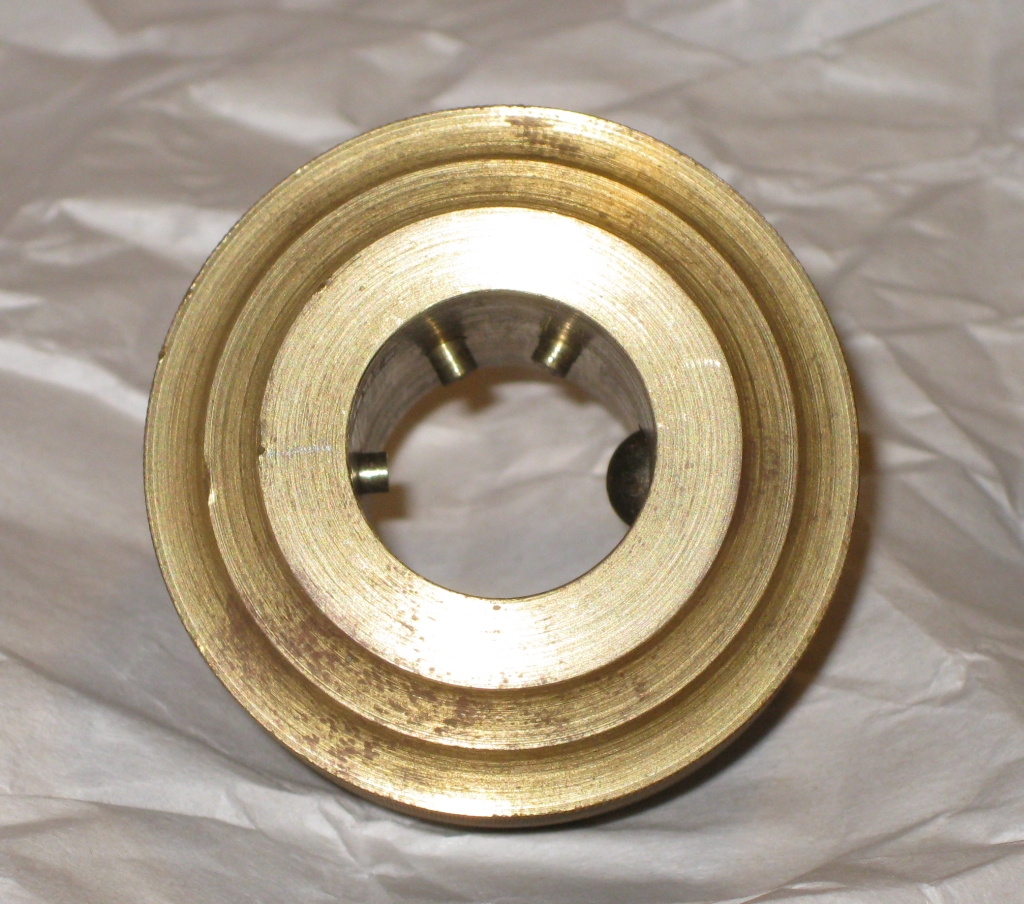
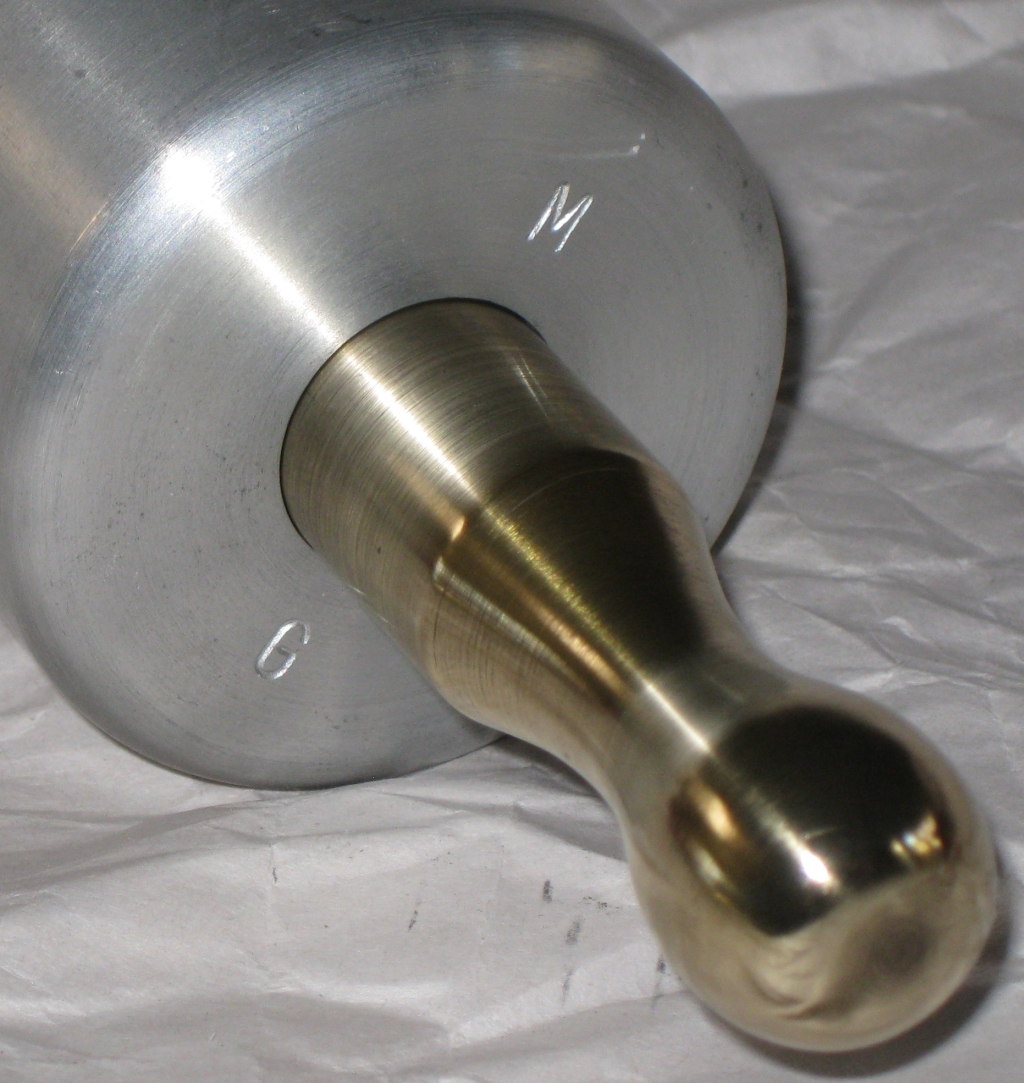
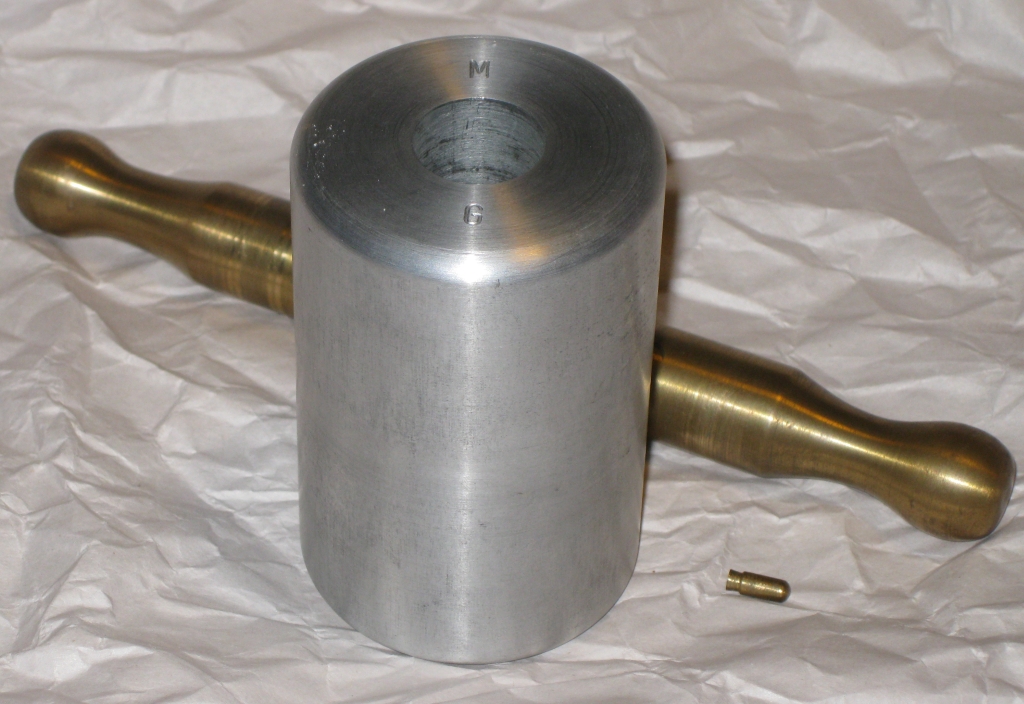
As you can see, the puzzle this time is made up of a brass handle, with an aluminium sleeve. Being significantly smaller than its big brother the rolling pin measures in at 7″ long, 2.75″ diameter around the sleeve, and 1.25″ around the handle. Weighing in at 930g it sits right in the middle of the three puzzles, although not by much compared to the bolt. The end of the sleeve is marked with Marcel’s signature ‘M G’.

Marcel Gillen's Signature

Marcel Gillen’s Signature

When I started trying to solve this puzzle, I spent a lot of time going back and forth in the reset line making, quite honestly, no progress. As I’ve noted in the previous reviews, the puzzles are fairly straight forward to map as you can use the trap to map where the maze is; given that in all of these puzzles the pin rides atop the maze, and there are no walls to guide the pin. This proved only partially useful, as I was unable to find any way to get onto the maze.

Despite knowing better, I continued to repeat the same moves back and forth hoping for a different result, and at no point in my exploration did I find the ramp to enter the maze. Given my experience with this style of puzzle, I assumed that there was a gravity pin, or some other feature which was blocking the path to the ramp. (Ed: I should know better by now that to assume.) Trying different orientations of the puzzle didn’t help. For a short time I toyed with the thought that the puzzle may be broken. Given the craftsmanship of Marcel, this seemed unlikely, so the only option left was that I was missing something.

Small Rolling Pin Solved

Small Rolling Pin Solved

And of course I was. The trick Marcel used is so simple, yet so well ‘hidden’ that I completely missed it for far longer than I should have. Once I had found the entry to the maze, navigating it was reasonably straight forward, until I found something new, which I hadn’t been able to map previously. I have to commend Marcel on the design here. It’s a very simple idea, but works incredibly well.

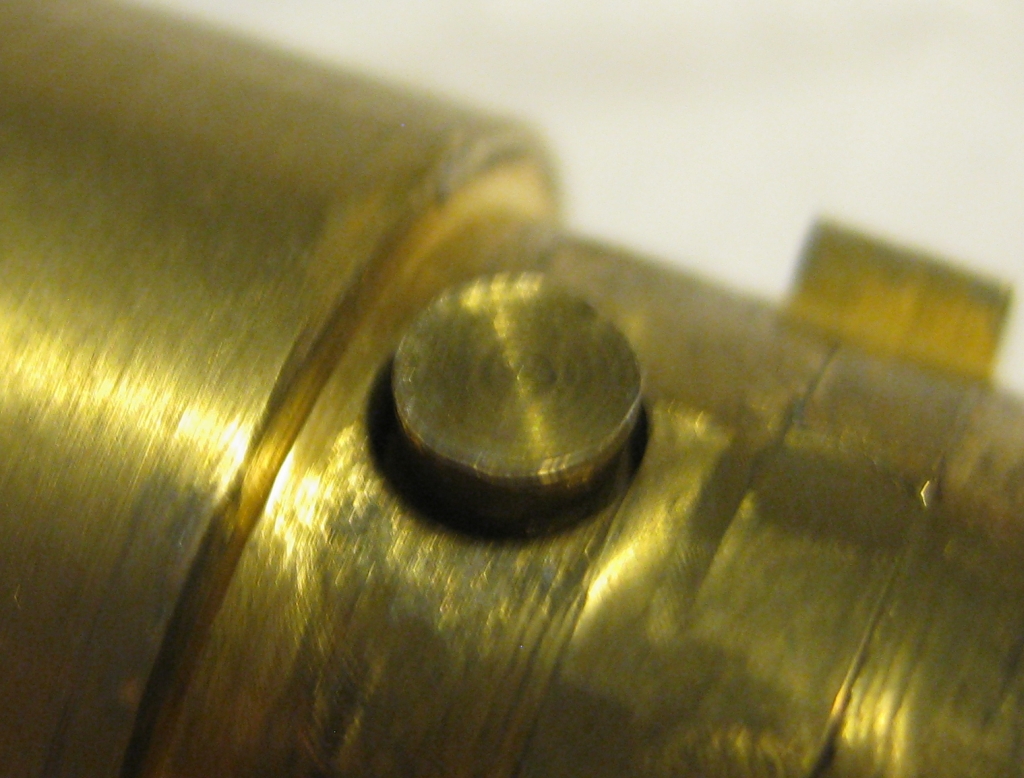
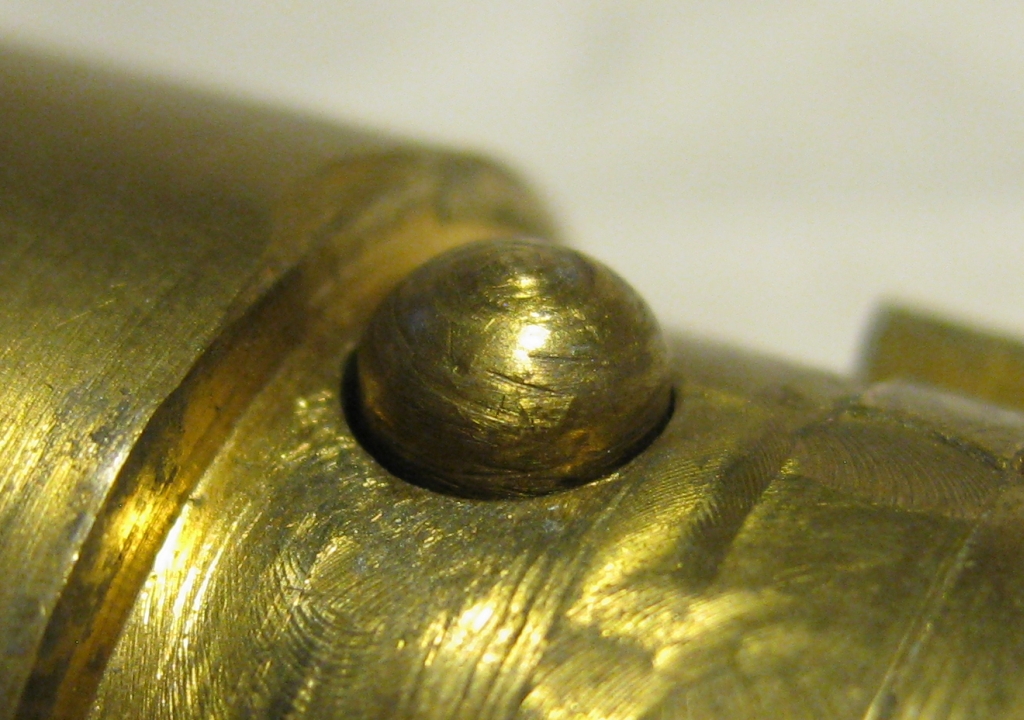
Once you get to this new hidden section of the maze, you’ll be able to extend the handle further than was possible previously, and like the larger rolling pin, you’ll find a brass pin that can be removed. Unlike it’s larger brother, the pin this time has a flat end, and a rounded end, which is the key to taking the handle out of the sleeve.

The secret to the way out

The secret to the way out

The secret to the way out flipped over

The secret to the way out flipped over


When I finished solving the puzzle, and removed the core, the top of the maze was covered in a thin silver film. It seems like the issue I was having with the larger maze was also present in the smaller version. Although I didn’t end up with silver hands when solving it, the friction between the sleeve and core was causing the same effect on the surface of the maze.

The maze looking a little grey

The maze looking a little grey

I think this is my favorite of the three puzzles because of the unique feature used to enter the maze. There’s nothing overly complicated in there, but it is well executed, and requires the solver to not assume how the puzzle works. There’s a few puzzle designs out there which could learn a lot from the relative simplicity of these puzzles. Harder is not always better, and as is proven with these puzzles, added complexity isn’t needed. The more complex the mechanism, the more things can go wrong with it. Each of these puzzles still works every bit as well as it did when they were made, and I am sure will continue to do so for the next 20 years.

The amount of enjoyment I had from solving these puzzles is hard to measure, however the ‘aha’ moment in each of them is unquestionable, and each puts a smile on my face having solved them. If you get the chance to play with any of these, take it. You’ll not be disappointed.

Marcel Gillen’s Bolt #6

This entry is part 2 of 3 in the series Marcel Gillen Hidden Mazes

After reviewing the first of Marcel Gillen’s hidden maze puzzles the rolling pin, this post will focus on one of his ‘bolt’ puzzles. I was lucky enough to be loaned #6 in the series.

Marcel Gillen Hidden Maze Puzzles

Marcel Gillen Hidden Maze Puzzles

The bolt is in the front right in the photo above. It certainly doesn’t look like a traditional bolt puzzle such as those from Lee Valley or Wil Strijbos. The goal of the puzzle is certainly the same though; remove the ring, or nut from the bolt.

Given that this is the first of Gillen’s bolt puzzles I’ve played with, I may have made things artificially more challenging, as this is the sixth puzzle in a series of at least 7 bolts. Each one increases in difficulty from the previous one so starting toward the end of the series may not have been the best plan.

Created from solid brass, measuring 4.5″ tall with a ring diameter of 1.75″ the bolt is a heavy puzzle weighing in at 777g. As I’m starting to learn from Marcel’s work, the puzzle is incredibly well made, and will take quite a bit of abuse from the solver, not that I recommend you abuse your puzzles. Despite how rare these puzzles are, it really is the sort of puzzle that you can hand round without fear of it being damaged.

Having said that, I have to admit that I spent an embarrassingly long time trying to solve this puzzle. I managed to understand the basics of what was going on in the puzzle, and you’ve probably guessed already that there’s some sort of hidden maze in the puzzle. I’d managed to ‘map’ the maze however there was an element in the puzzle which was preventing me from solving it, and I was too concerned about breaking the puzzle to try what I thought was needed. As a collector, I’m always concerned when solving a puzzle, especially one which is not mine, about doing something which might damage the puzzle. There are designers out there who use this knowledge against puzzlers, however Marcel is not one of those designers.

The problem I had is that the puzzle has a number of gravity pins which limit the movement of the ring. I found that it was possible to disengage the pins by holding the puzzle in a certain orientation, however I couldn’t solve the puzzle from that orientation. There is more than one gravity pin in there, and they interfere at different points as you move the puzzle. The obvious way to remove this obstacle is something I had avoided due to the large mass of the brass, and my fear that I would break something. As it turns out I really shouldn’t have been worried about that.

Marcel Gillen Bolt #6 Solved

Marcel Gillen Bolt #6 Solved

Having taken care of the gravity pins which were frustrating me no end, solving the rest of the puzzle was fairly quick, and took no more than around 10 minutes. The one comment I will make is that the puzzle needs a very specific orientation to solve it, which adds to the challenge. Understanding how the puzzle works, I can now repeatably solve it in under 30 seconds, and it’s a very satisfying puzzle to solve.

Marcel Gillen Bolt #6 Ring view

Marcel Gillen Bolt #6 Ring view

Having removed the ring, you can see what’s going on in there. The top two protrusions are a couple of the gravity pins which are present, and the protrusion on the left is a sprung pin which is used to navigate the maze which is etched into the bolt. The other element in there is a sprung ball bearing which just keeps a constant pressure against the bolt, and makes the movement of the puzzle much smoother.

I’m very happy to have had the chance to play with this puzzle, and will certainly be keeping my eyes open for any of these which become available for sale. They’re so well made, and such a fun puzzle to solve, that I’d love to add them to my collection.