Tag Archives: Glue

Building a Matrioshka (Part 1)

This entry is part 1 of 3 in the series Building a MaTRIOshka

I’ve had a bit of a break from working on my own puzzles, as work and life in general have been rather hectic meaning I’ve just not had the time. However over the Easter weekend, I had three whole days that I could do something puzzle related. I’ve still not been able to pick up some wood to get back to working on my burr cube, however I did have a lump of oak left over from the box project my oldest son wanted to make as a birthday present.

After reading Kevin’s review of the Matrioshka here. I noticed that the puzzle is entirely made of triangles. Now I just happened to have a number of leftover ‘scrap’ that would fit the bill perfectly from the box. So I sat down with a pencil and paper to figure out how Vinco created his box, and see if I could replicate it.

Note: This project is purely for my own learning, and experience in working with wood to build puzzles, at the scale I need to be working at to create my own puzzles. This is not for sale. If you like Vinco’s puzzles, please buy them, they really are great puzzles, and the craftsmanship is superb. I own several of Vinco’s puzzles, and highly recommend them.

With all that said, on to the build …

To break down how the puzzle is built, we need some good photos. Kevin happened to upload some excellent pictures, and I’ll not repost them here. Go read his review and have a look if you’re interested. The bottom line is that the outer shell is made of 54 idential pieces. They are equilateral triangles on the edge, with a piece length that is twice the length of the side. So, I set about creating 54 identical pieces.

The first thing was to cut the wedge shaped strips of wood which I would eventually cut to the correct length. I took out my mitre saw, and set about making the cuts. One small issue I had was that the amount of the blade in contact with the wood generated a lot of heat, which warped the strips I was cutting. As a result, I had to tape two together as they cooled to make sure the wood was going to end up straight again when I was ready to cut it to length.
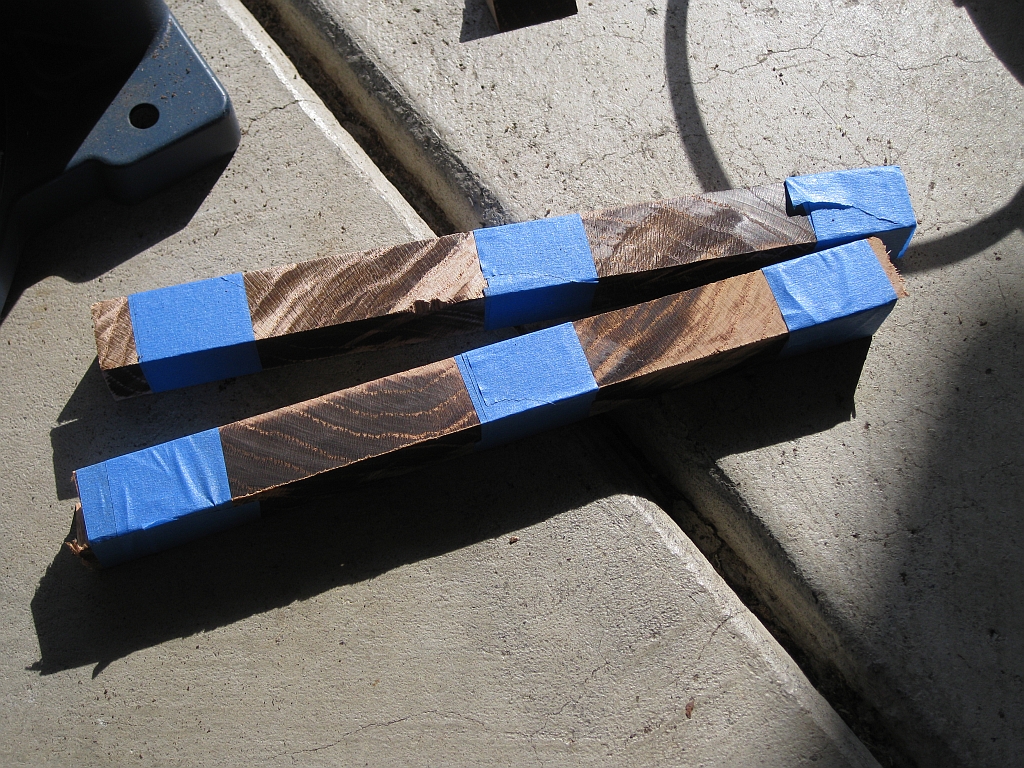

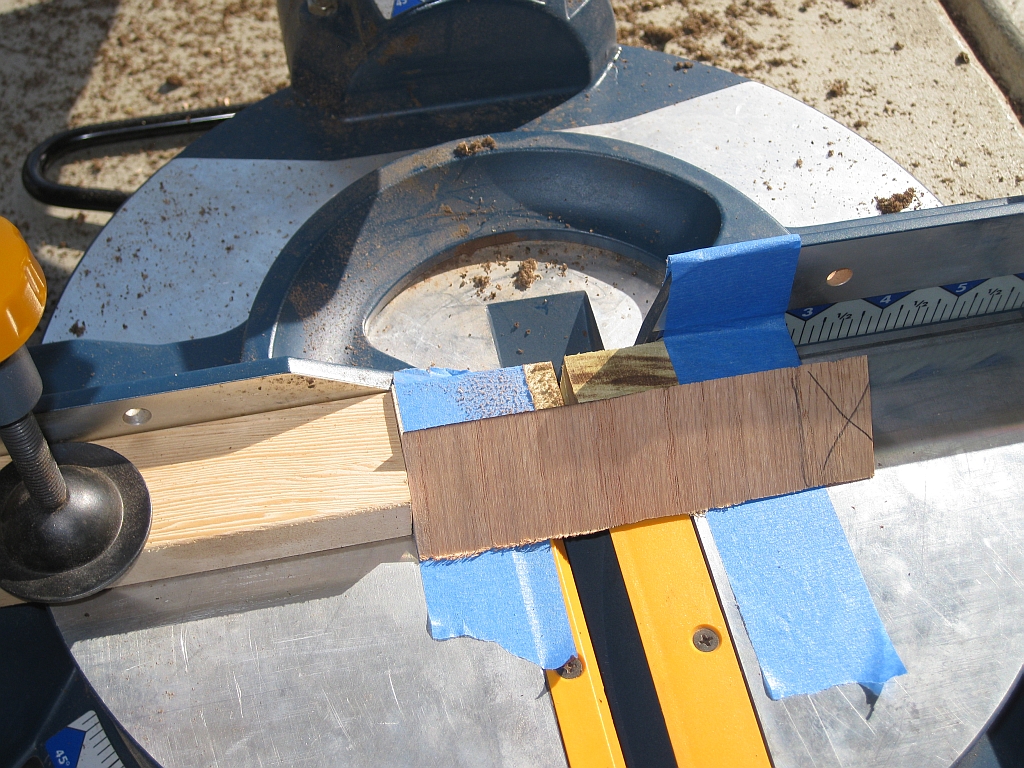
With all the strips cut, I had to cut them down to the correct size for each piece. I measured one piece, cut it and checked that it was exactly right. With that done, all I had to do was clamp down a stop, put a sacrificial fence in place and start cutting. As you’ll see from the photo, I used a scrap piece of wood as a zero tolerance fence to avoid chipout on the pieces I was cutting. It just saves some time later.

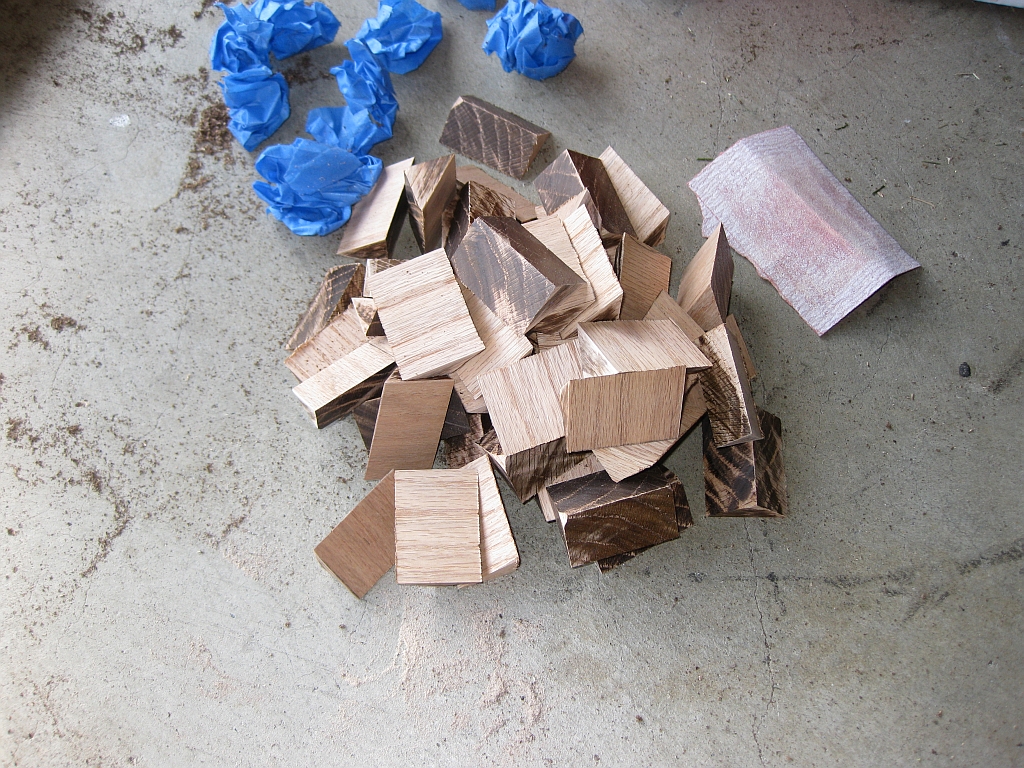
After about half an hour, I had a reasonable pile of pieces next to me, and it was time to do a little rough sanding before gluing up the pieces.

With the rough edges sanded down so that things were a bit neater, and all the pieces labelled to make the glue-up easier, it was time to get the clamps out. The shape of the pieces I was gluing up made things a little more challenging, but with a few of the scraps from cutting the pieces out, life was made simpler again.
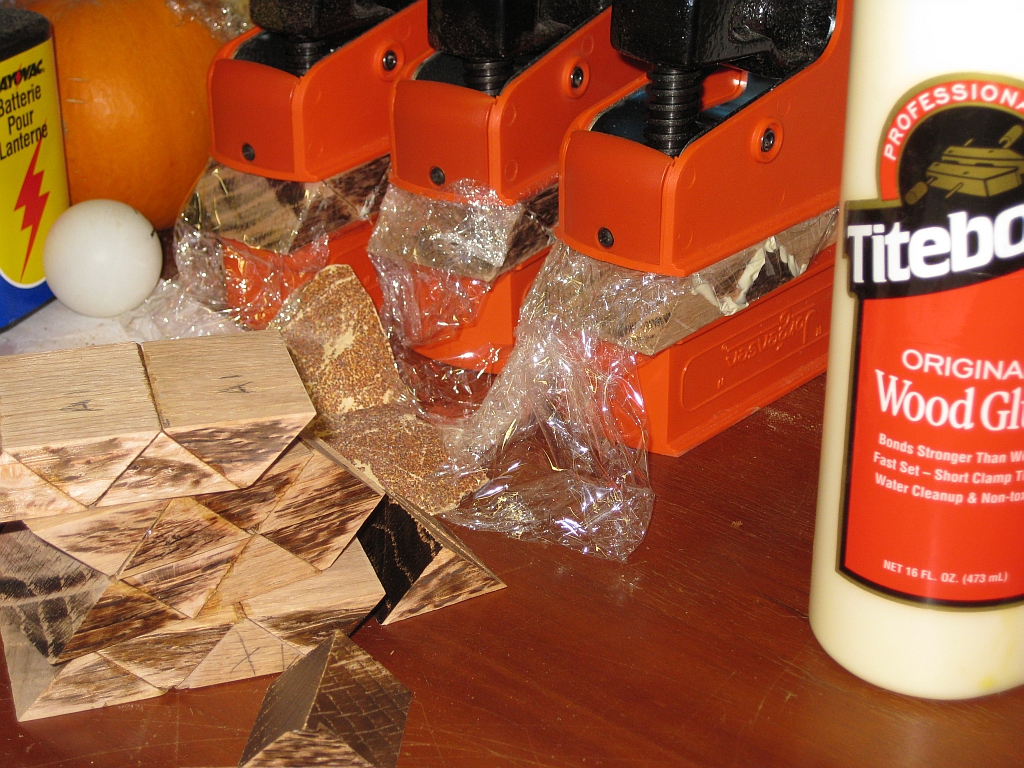

It’s worth noting at this point, that all these pieces are oversized. This gives me a little bit of material to work with so that I can sand and fine tune all the pieces. For this to look good, it has to have a tight(ish) fit, and the only way to do that is to make sure the pieces are all the same. Despite using the fence, and stops on the saw, not all my pieces came out to be the same size. After all, I’m still learning, and you could say that this is an ambitious project. That said, how do we learn if we don’t push ourselves?

In the next post, I’ll continue with building the Matrioshka and think about putting each of the six pieces together that will form the final puzzle.
So you want to build a burr

I’ve had a request sent to me about making puzzles from Lego, so I thought rather than reply to the person individually, I’d throw something up here, so that everyone can benefit.

I already commented in a previous post that LiveCube was a possibly way to create Burr puzzles, however as I already mentioned, they are not as easily available, and from what I have been told, when you add shipping from the US it’s a rather expensive way to go.

Given this, I was asked what Bricks and plates you’d need to be able to create Burr puzzles from Lego. This post is my attempt to answer that.

I should say, that there are many ways to go about creating a burr piece. There are a lot of Lego designers out there who are far better than I am, however at it’s simplest, the process is fairly easy.

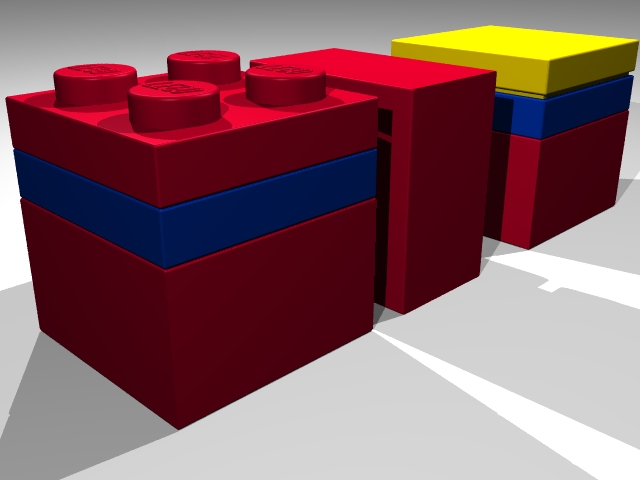
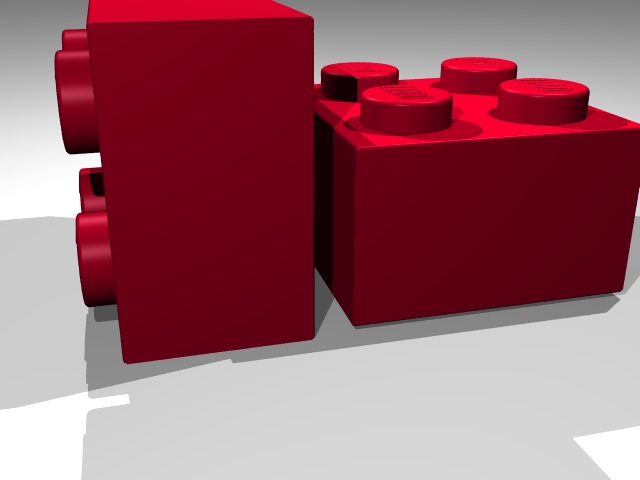
The first problem we have to overcome is that a brick is not a cube, as you can see here.

So to make it square, we need to add a couple of plates. Now the type of plate we add depends on whether the piece is going to form part of the Burr body, or the top of the Burr. For an ‘internal’ piece, we use a standard plate. For the top we use a ’tile with groove’. The images below show the two pieces we will use.

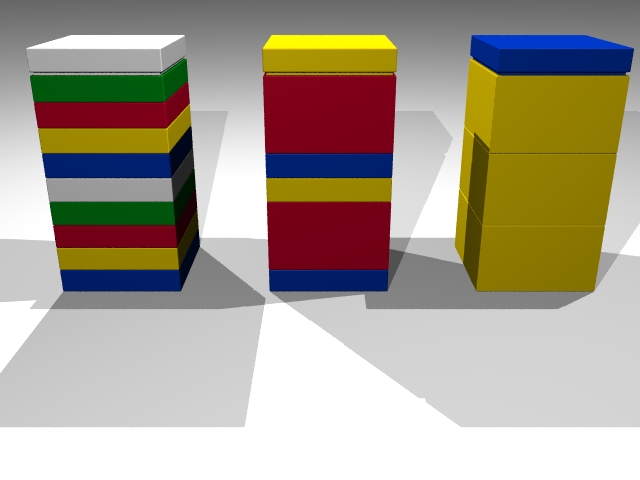
Now that we have the basic pieces, how do we make a cube? Well the dimensions of a lego brick ‘cube’ are 5x5x3. Each stud on a Lego brick represents 2.5 units. Each plate is 1 unit high. So to get a cube, we need one brick and two plates.

So as you can see, the height now matches the width, and we have a cube. Building up Burr pieces is fairly simple from this point. Take the piece you want to build, and using those dimensions, create the part in Lego. Having longer bricks and plates does help to make the whole thing more stable, as long as you remember that each brick requires 2 plates to make it square then you’ll be fine. Of course, if you think about the height of 2 bricks, that’s 10 units. You can make that from 3 bricks and 1 plate or 2 bricks and 4 plates, or 10 plates.

The skill comes in working out how to get the tiles in the right place so that you have smooth surfaces on the top of each Burr piece. Equally, the piece made from 3 bricks and one tile has far less pieces, and by definition less joins, so should be more stable. That’s not always true however , as the thin plates have a greater surface area per thickness, so don’t ‘bend’ as easily!

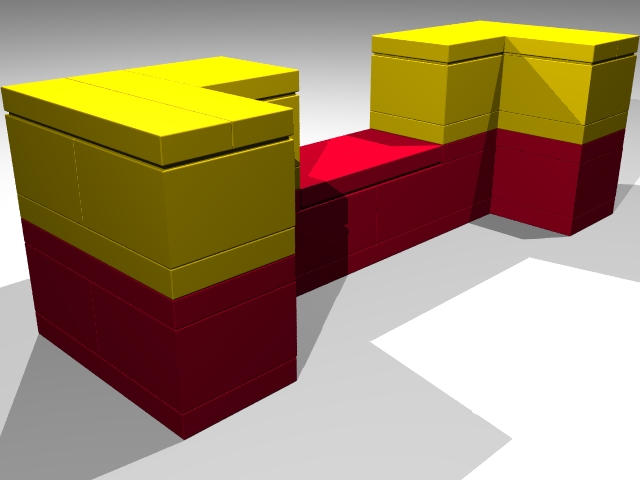
The example below shows a basic Burr piece made from Lego.

Each ‘layer’ is in a separate colour so that it is easier to see the height of the piece. Creating this piece is left as an exercise for the reader, however the parts used are:

4 – 2×2 brick (part #3003)
2 – 2×4 brick (part #3001)
2 – 2×6 brick (part #2456)
4 – 2×2 plate (part #3022)
6 – 2×4 plate (part #3020)
1 – 2×8 plate (part #3034)
6 – 1×4 tile (part #2431)
2 – 2×2 tile (part #3068b)

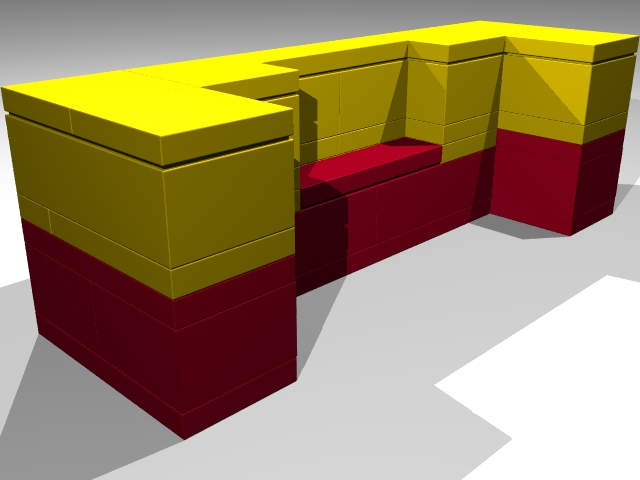
So that covers the basic burr parts. What happens when we need a half sized wall? Well it’s fairly simple, we just use a 1×2 brick and plates. The part above is modified to give a more complex piece just to show the difference.

So from that you should have the basics. I highly recommend getting LDraw, there’s a link under Puzzle Creation tools, and also a GUI designer such as MLCad for Windows or Bricksmith for Mac. There a good tutorials on using these on the LDraw website. The tools will help you to build the pieces ahead of time, and work out how best to build each piece. It can make things quicker, depending on how familiar you are with building in Lego. If I’m honest, most of the time, I build it in Lego first, and come back to LDraw later!