Tag Archives: Wood

Melting Block

Melting Block is a fun little packing puzzle designed by Tom O’Beirne. I was fortunate enough to get one of Tom Lensch’s special copies when he made a small run of these puzzles recently. Originally made in the 1970’s it’s great to see that this puzzle is so popular with a number of people still making it and it still being well received.

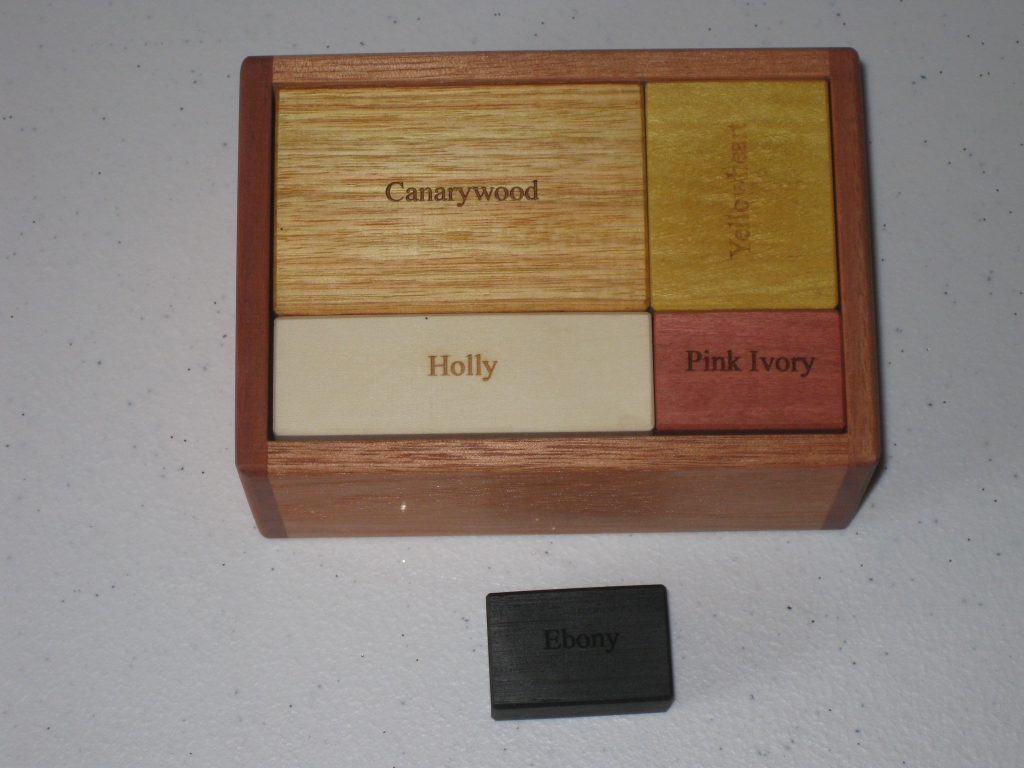
Melting Block.  That Ebony block has to fit there?

Melting Block. That Ebony block has to fit there?

The puzzle is a nine piece packing puzzle, plus the box. Some of the versions which have been made have a lid which fits on the box and may have a space for the ‘extra’ piece, however the version I have from Tom doesn’t. The puzzle measures 4.5″ x 3.25″ x 2″ and each of the pieces in my copy is made from a different wood, including the box, making this version really stand out.

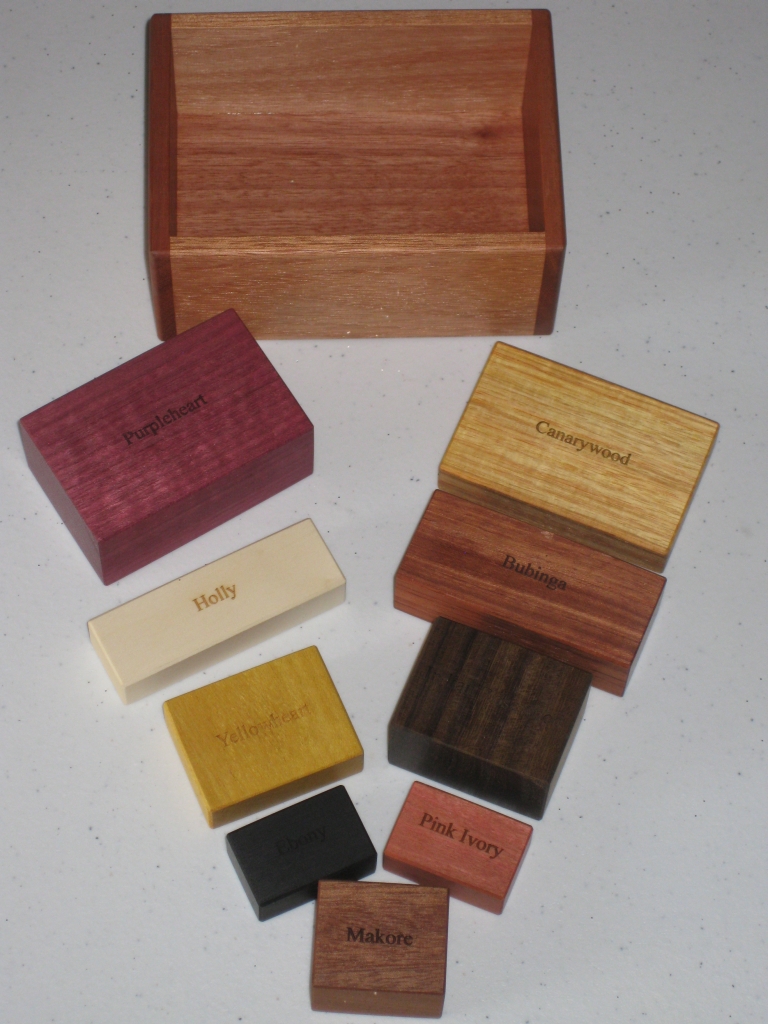
Each of the pieces is etched with the wood type

Each of the pieces is etched with the wood type

Each of the pieces has been engraved with the name of the species of wood which is a great touch (and a nice reference if you’re still getting to grips with identifying the woods). The box is made from Lyptus, and the pieces are Purpleheart, Canarywood, Holly, Bubinga, Yellowheart, Indian Rosewood, Ebony, Pink Ivory and Makore.

When the puzzle was sent to me, the first eight pieces were neatly packed in the box with one small piece wrapped separately. As you can see from the first photograph, the box is looking pretty packed even before you try to find space for that extra piece. Of course this is exactly why it’s called the melting block.

There really is space!

There really is space!

I spent around half an hour working on this puzzle, trying to figure out how I could re-arrange the eight blocks which were already packed into the box to make room for that ninth block. On initial attempts, I could find space for around half of that block, so I got all nine blocks into the box, with half a block sticking out. Not perfect, but it certainly gave me hope that there was more space to be found. When I found the combination that created the extra space, it really put a smile on my face, to see the ebony block slip into place perfectly.

Solving this one really needs you to use all the available space, and once the last block drops into place, you realise there really was a huge amount of free space when the blocks were first in the box, and now it’s truly full!

This is a great puzzle to pass around as it’s not going to get damaged and will really make you think. My son has had a good few attempts at solving it, but so far he’s not succeeded, however I expect he’ll solve it at some point when he comes back to it. The copy from Tom really is stunning, and the fit and finish is perfect, as you’d expect from a master woodworker like Tom.

If you’re interested, some of my fellow bloggers have reviewed some of the other versions out there. Head over to Allard’s blog to see what he had to say about the copy he bought from Wil Strijbos, Brian’s blog of the Creative Crafthouse version called Redstone Block, and finally Kevin’s blog to see what he has to say about it.

Overall, we’ve all enjoyed this puzzle, and I highly recommend you pick up a copy for yourself. You’ll not be disappointed! If you’d like a copy, Creative Crafthouse have their version available for a very reasonable price.

Houdini’s Torture Cell

This entry is part 4 of 6 in the series IPP 31

Carrying on in the IPP series, today I’m looking at Mr Puzzle’s IPP31 exchange puzzle “Houdini’s Torture Cell”. I was lucky enough to be given this one as a gift from my fiancée for my birthday, after dropping a few hints. Mr Puzzle (Brian Young) is great at making sure that his exchange puzzles are relevant to the location of that year’s IPP, and this is no exception. The puzzle celebrates Harry Houdini’s first public performance of The Torture Cell at the Circus Busch in Berlin on 12th September 1912. A small copy of the original poster from that show is printed on the presentation card as you can see below.

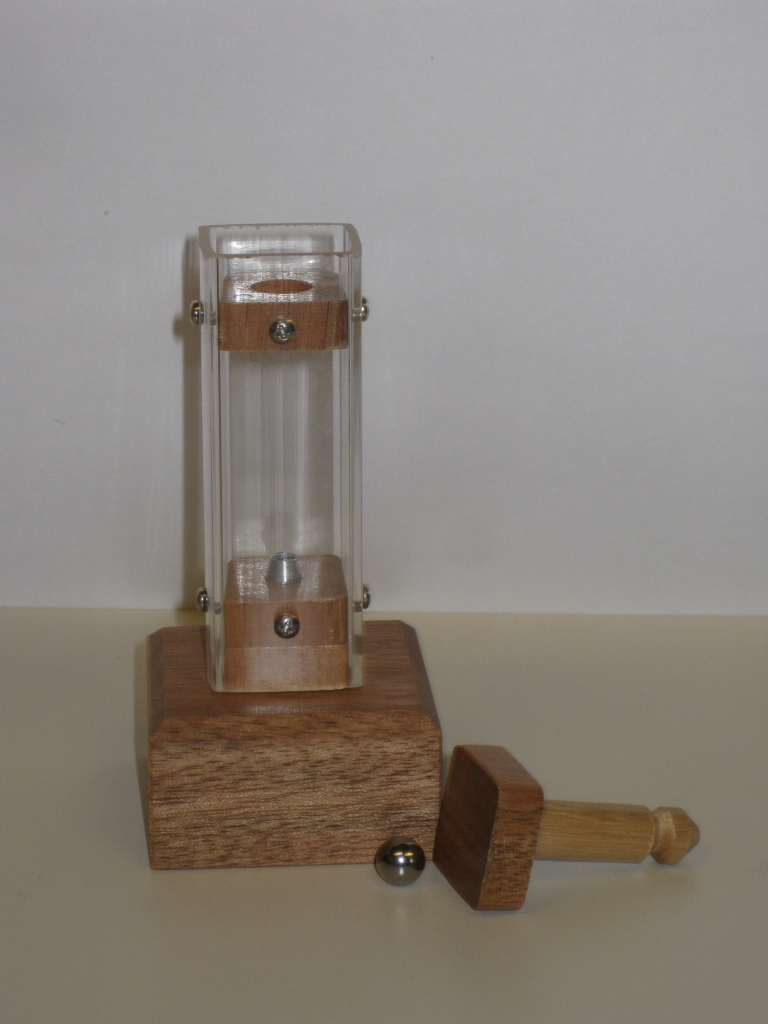
Houdini's Torture Cell

Houdini's Torture Cell

As the info card states, the object of the puzzle is to free Houdini from the torture cell. For those not familiar, during this illusion, Harry Houdini was suspended by his feet, locked through the top of the box which was filled with water, and escaped without drowning. Now having performed this illusion myself many years ago while I was still doing magic, I can confirm that there was no steel ball in the bottom of the tank, however the puzzle does recreate nicely the shape of a suspended figure, with no apparent way to escape.

The puzzle is very well made, as with all of Brian’s puzzles. The puzzle makes use of the wood and perspex together to create a very sharp looking puzzle. On the bottom of the puzzle you’ll find the Mr Puzzle Logo branded into the wood. Despite the very visible screws, there’s no screw driver required to solve the puzzle, so you can stop thinking along those lines! At just under 4″ tall, and a little under 2″ square at the base, this is a good sized puzzle, and feels good in your hands when you’re working on it. Not too small that it’s fiddly.

If you’re a seasoned puzzler, you’ll be tempted to get the compass out for this puzzle, as Brian states that there’s lots of magnets, but no “tapping” required to solve the puzzle. You’ll find a very strong magnet in the base, and a couple of others elsewhere. The question is what to do with them.

On the Mr Puzzle website, Brian states that the idea for Houdini’s Torture Cell came from one of the locks in the incredibly complex “The Opening Bat” puzzle. Brian felt the idea was unique and very satisfying to solve so he revisited the idea and changed it to present in a way that would suit IPP; this way it’s available for lots more people to experience a great ‘Ah Ha’ moment.

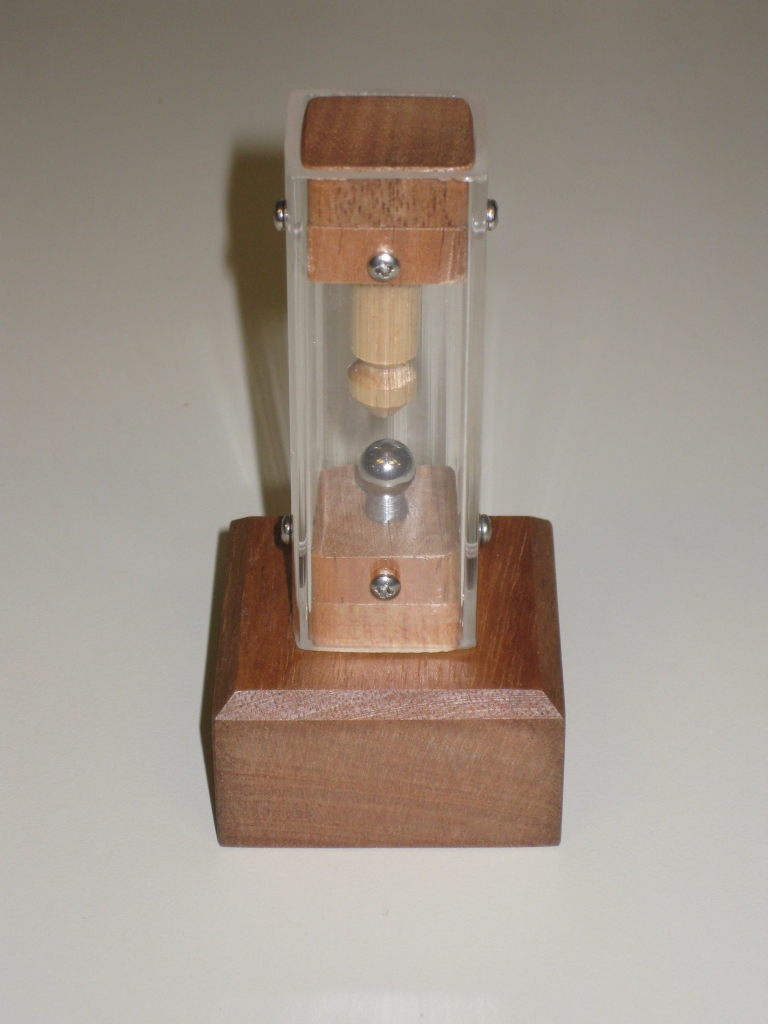
Houdini safely out of the cell

Houdini safely out of the cell

And the Ah Ha moment in this puzzle is excellent. The beauty of the puzzle is that everything is on show for you, so really you can; after a quick investigation; think about how to solve the puzzle and then go ahead and solve it. Well, when I say everything, I mean almost everything is on show for you. There’s a little bit of discovery required, and you’ll need to find a tool or two hidden in the puzzle to help you solve it, but everything you need is right there in front of you. If you really get stuck there is a solution provided in a folded piece of paper, so if you don’t want hints, don’t unfold that paper.

Balancing the Ball on the base is easier than it looks

Balancing the Ball on the base is easier than it looks

The puzzle’s party piece as I think of it is that once you’ve figured out how to solve it, you can leave it sitting on the shelf with the metal ball balanced on the podium at the bottom of the puzzle. Trust me, there’s no way you’re going to be able to get it there with dexterity alone, and leaving it in this state not only makes it look great on display, but also makes people wonder how on earth you got it there.

I highly recommend this to any and all. It’s a brilliant little puzzle, and solving it is a lot of fun. I have to agree with Brian’s thoughts, that this is a very satisfying puzzle to solve, and I’m really glad he decided to make this version of the puzzle as it’s unlikely I’ll get the chance to play with an Opening Bat. With Christmas coming up, this would make a great gift for the puzzler in your life. To see what other people think of it, read Allard’s review and Oli’s review for another perspective.

Check Me Out

This entry is part 3 of 6 in the series IPP 31

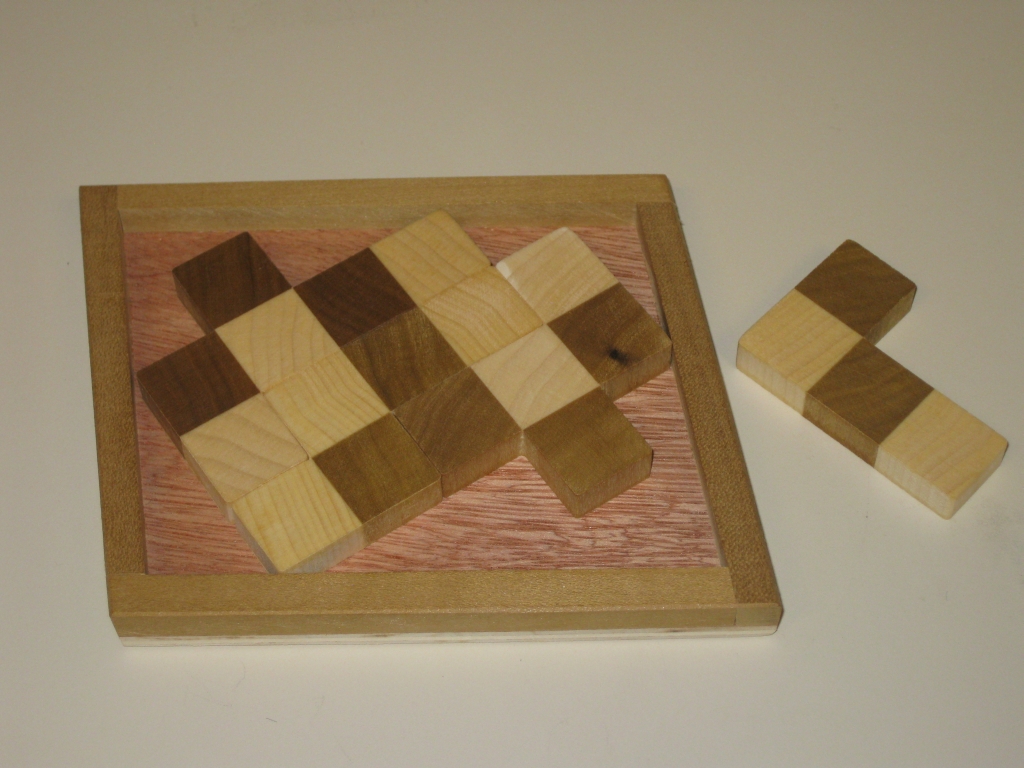
Quite some time ago now, I mentioned in the post about the Post IPP California Puzzle Party that I’d purchased a copy of Dave Rosetti’s exchange puzzle from IPP31 and that I’d write a review soon. It seems that soon wasn’t very soon at all and it’s taken me months to get round to writing it! But here at last is the review of ‘Check Me Out’ designed by Stewart Coffin, and numbered 256 in his numbering system.

STC #256 - Check me out

STC #256 - Check me out

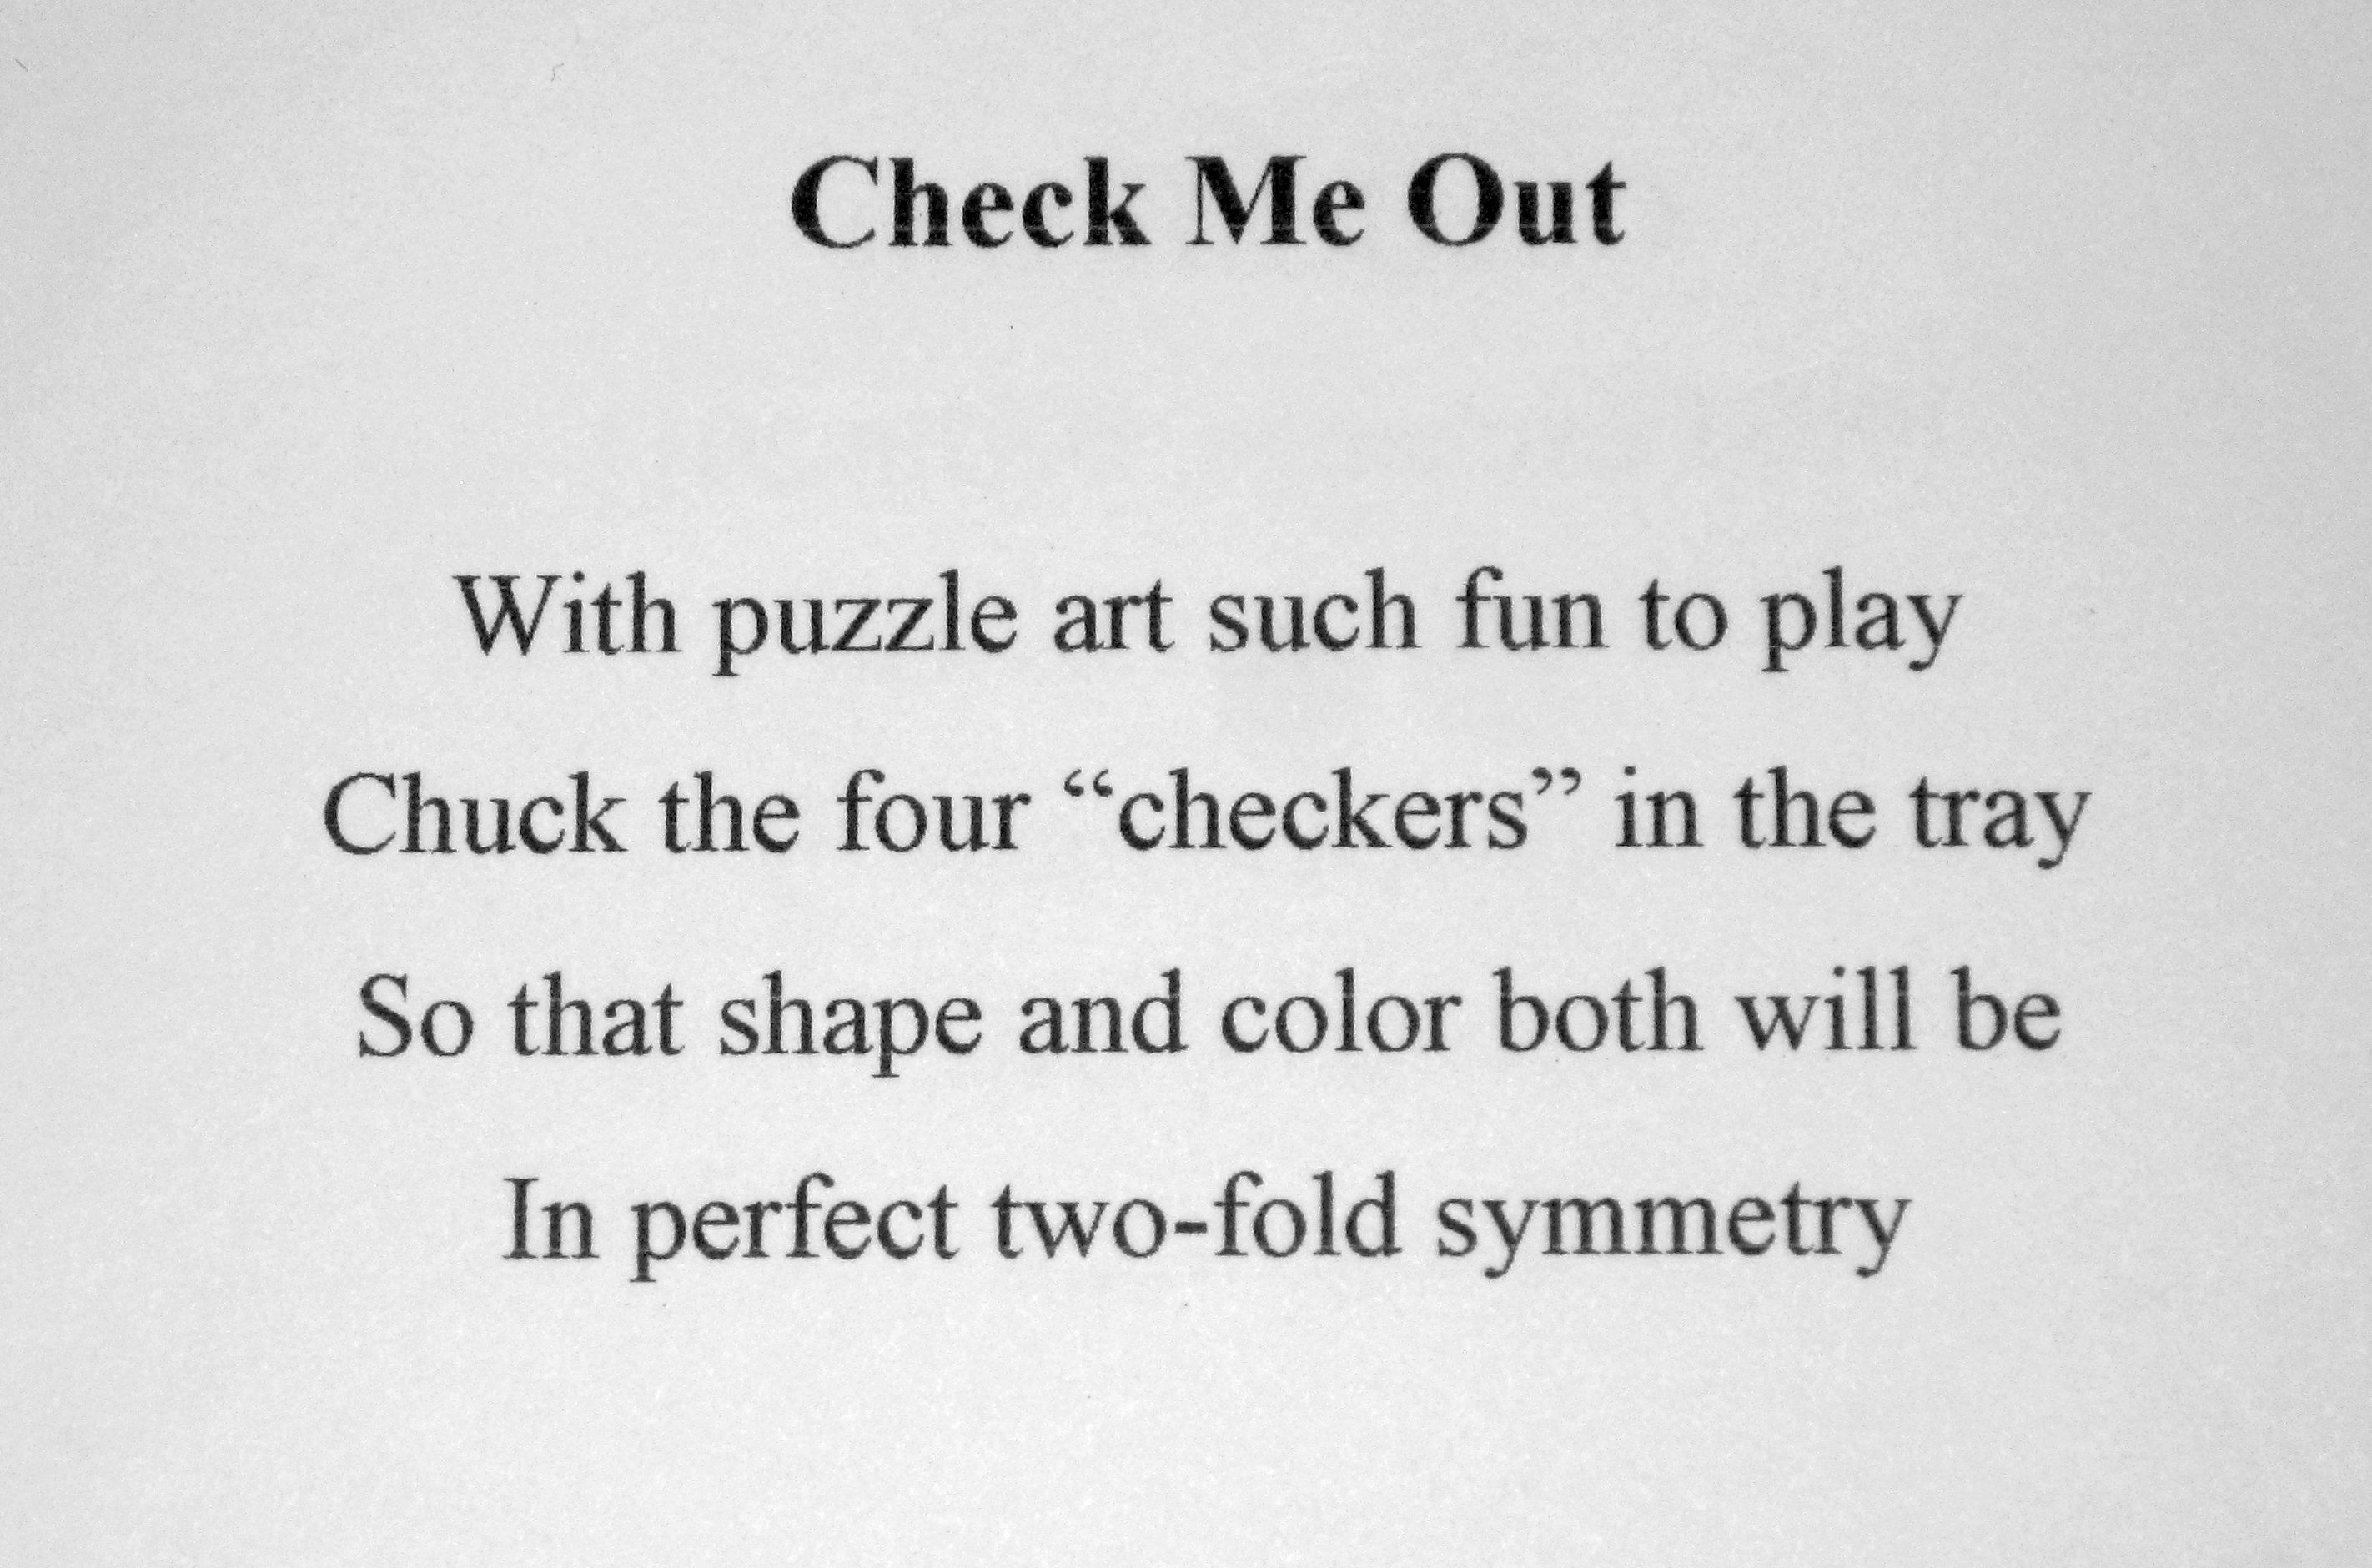
Check Me Out is another devious tray packing puzzle from Mr Coffin, where a mere four pieces have to be packed into the tray. To make things interesting, the tray isn’t square, it’s a nice parallelogram, and one piece is conveniently not placed in the tray. If that wasn’t hard enough, the card which comes with the puzzle kindly states


With puzzle art such fun to play
Chuck the four “checkers” in the tray
So that shape and color both will be
In perfect two-fold symmetry

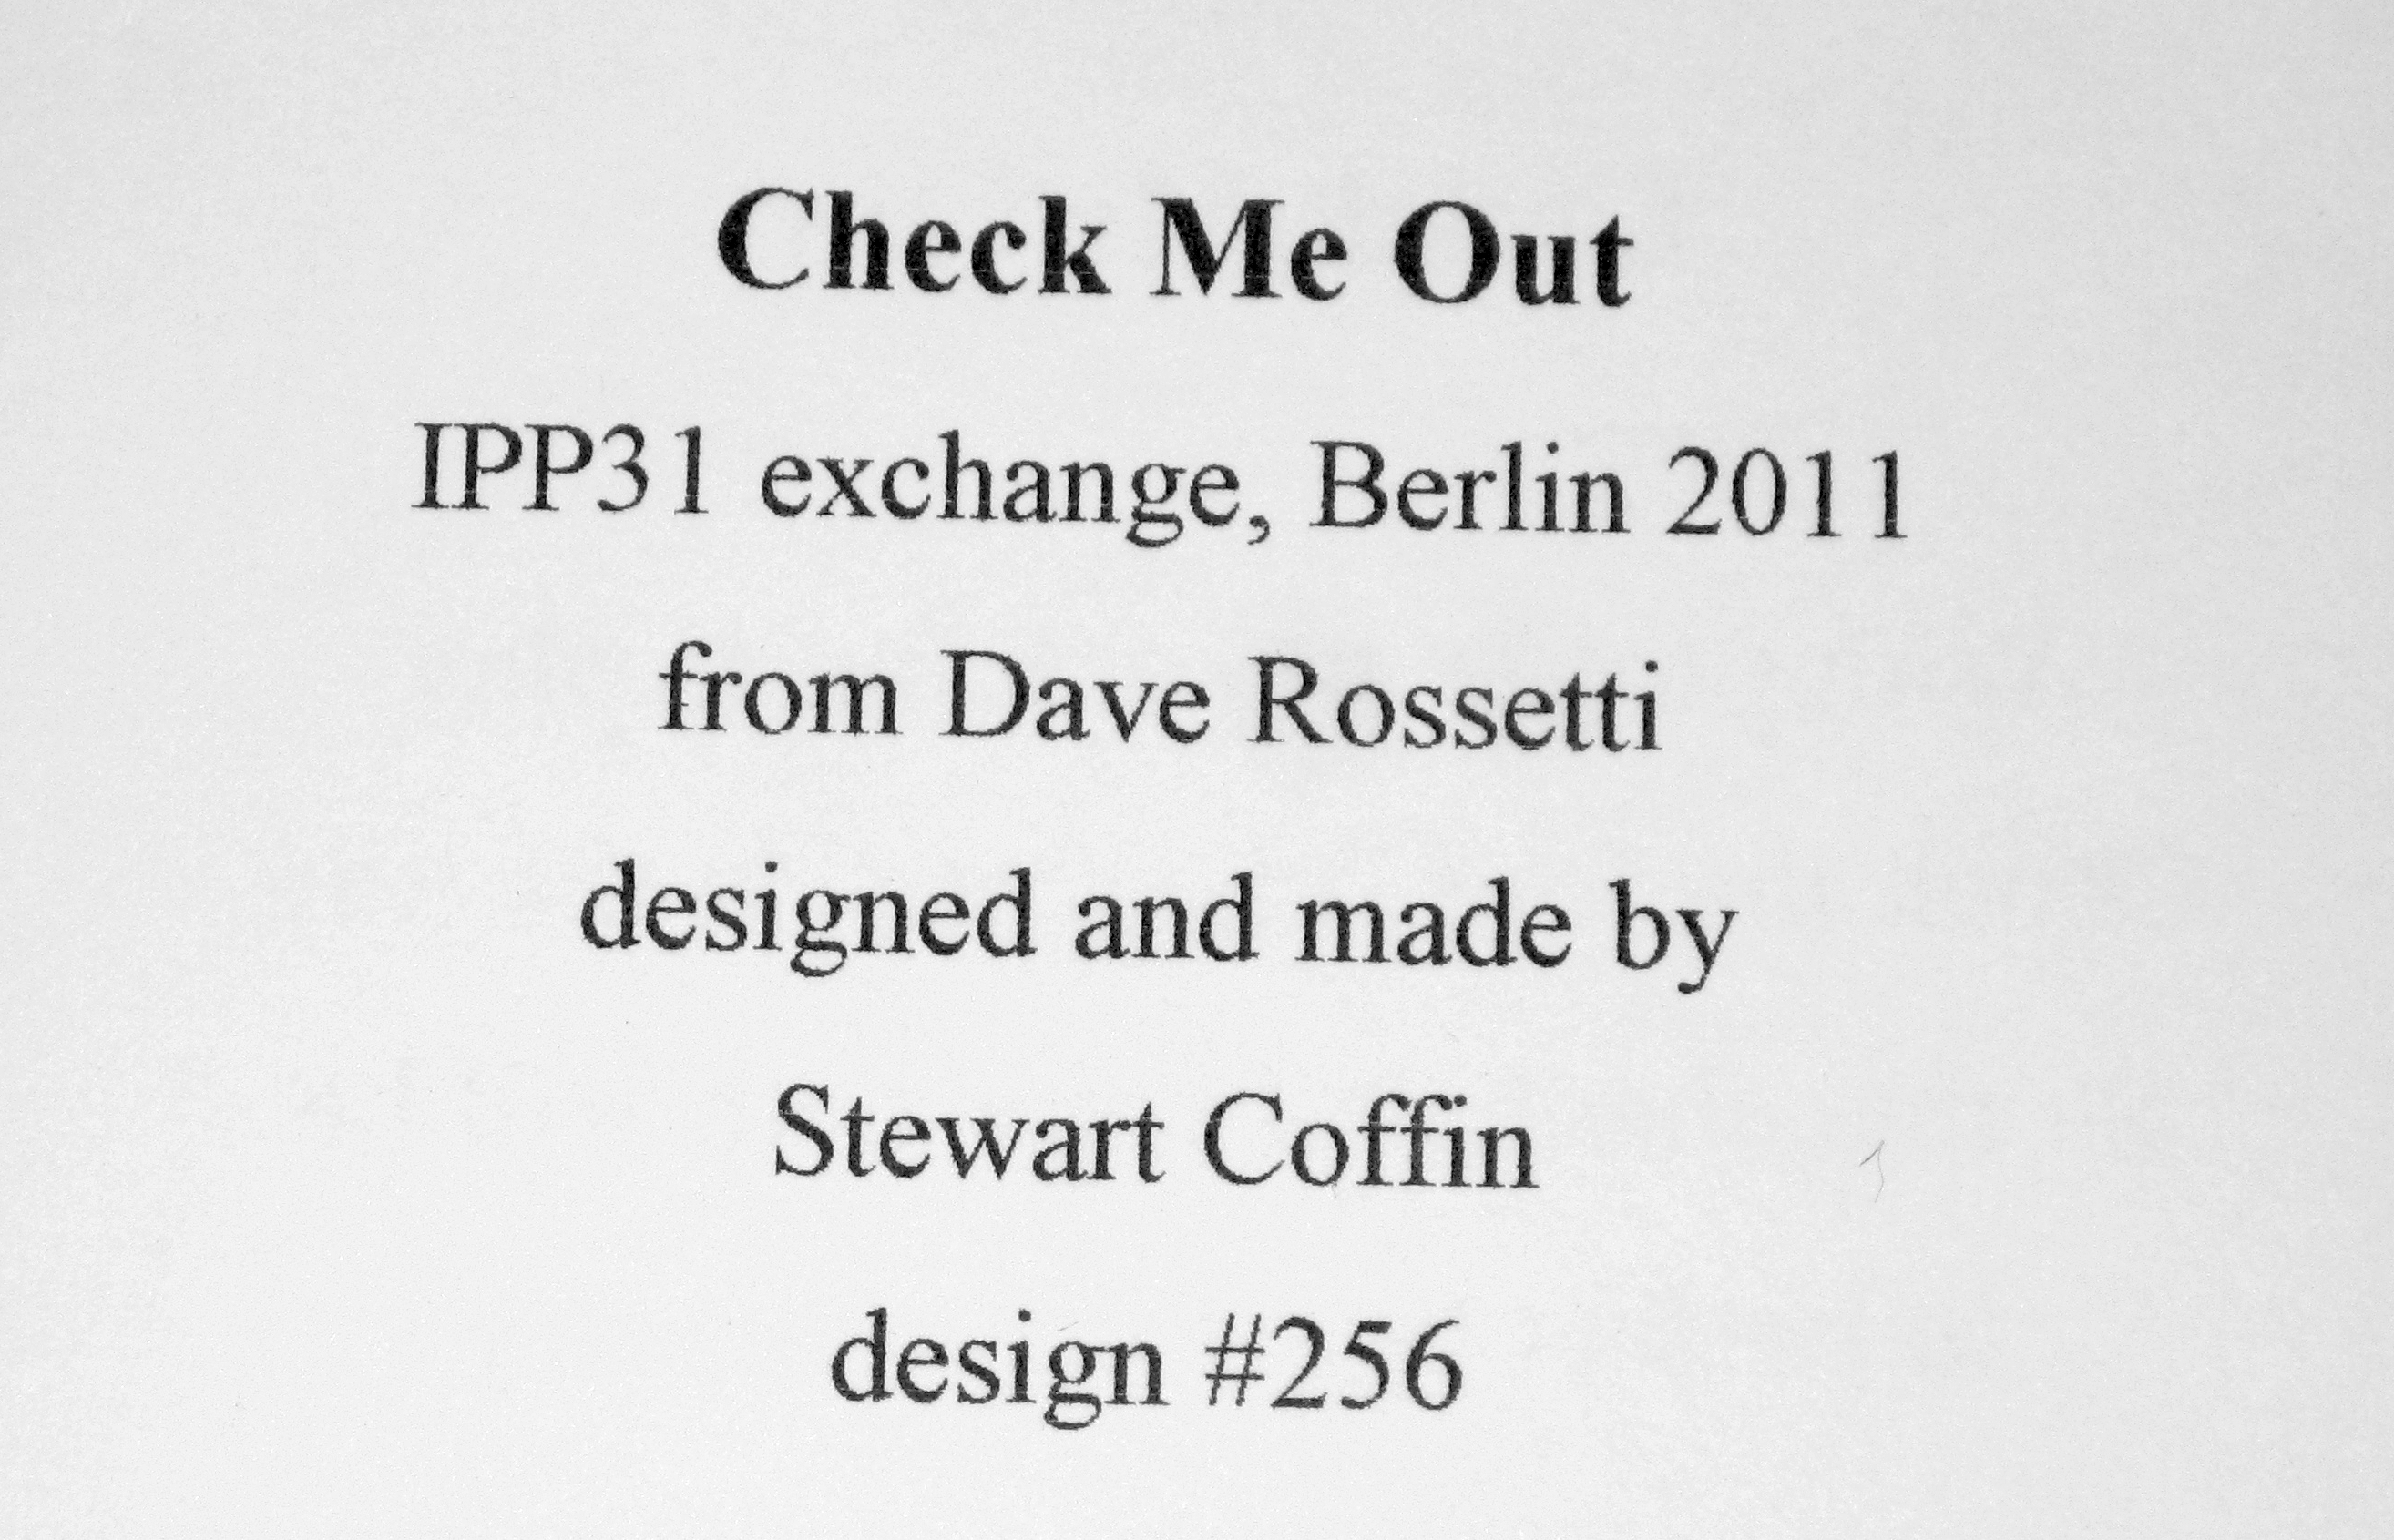
Front of the info card

Front of the info card

Back of the info card

Back of the info card


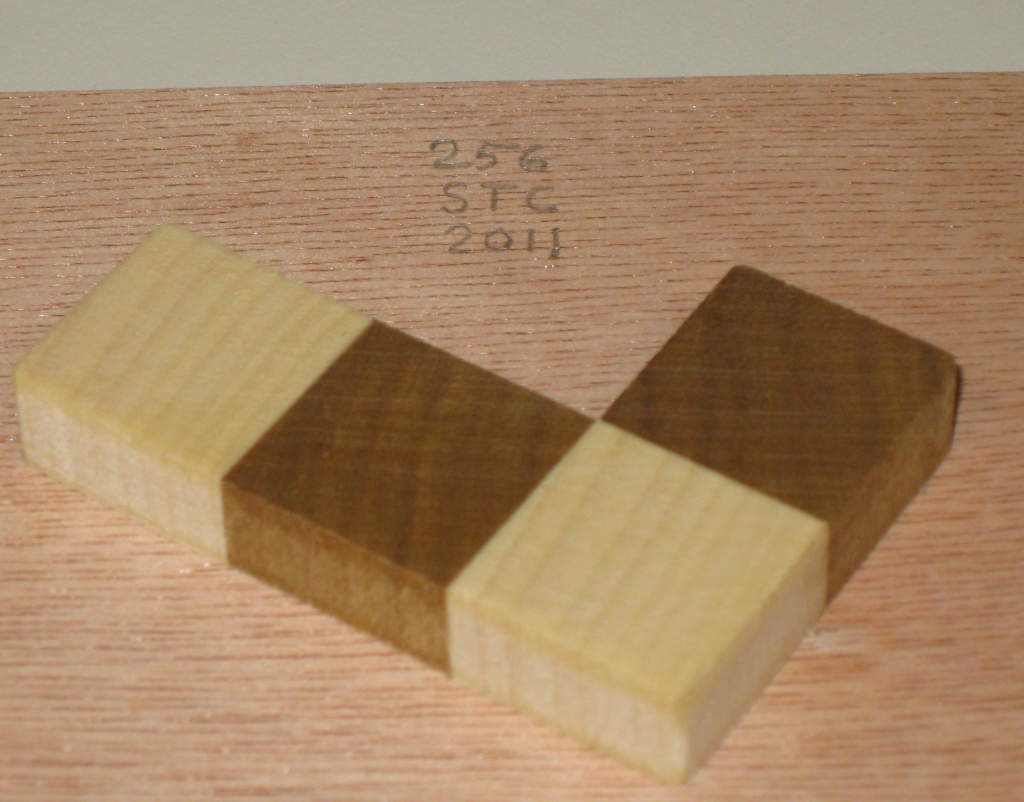
The Puzzle itself is fairly plain. There’s no exotic woods used here (possibly Maple for the lighter wood), and the base of the tray is made from a veneered 3 ply plywood. That said, the grain in the veneer of the base of the tray is nice enough and gives a good contrasting colour to the pieces. Add to that the fact that the grain is offset to the angle of the walls of the tray really helps to mess with your head as you’re solving it. The bottom of the tray is marked in pencil “256 STC 2011”.

Bottom of the tray

Bottom of the tray

Each of the four pieces is very accurately cut and has had the corners rounded very slightly to take the sharp edges away. It’s a small detail, but as a fellow puzzle maker pointed out to me when I started making puzzles, it really does make the puzzle far nicer in the hands when you’re solving it.

Solving this one really took quite a while for me. I spent several hours trying to find a combination where all four pieces could fit in, ignoring the symmetry part of the problem. This is an excellent puzzle that will likely keep you busy for a long time. Who would have known that four pieces could provide such a problem to placing them in a tray?

I’m not going to post the solution here, as that would spoil the fun. If you’re really stuck, then drop me a note and I might help you out by letting you know where one or two of the pieces go!

Sputnik

It’s time for another Vinco puzzle review, and this time we have another puzzle that’s not a co-ordinate motion puzzle. Yes Vinco does make them, and he has a fairly good range available. Sputnik is a beautifully shaped six piece puzzle where the object is to take the pieces apart, then re-assemble them into the space faring shape. Thanks to Puzzle Master for sending me this puzzle to review.

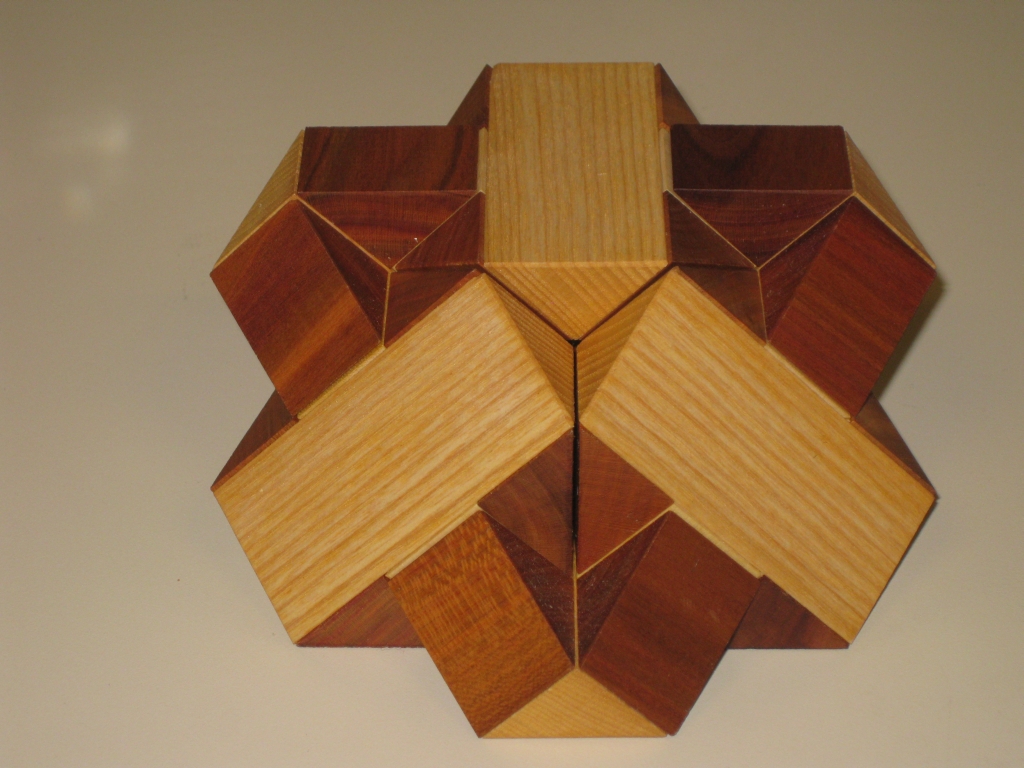
Vinco's Sputnik

Vinco's Sputnik

It almost goes without saying that this is another beautifully made and finished puzzle from Vinco. There really are few other people out there making puzzles at this quality for this price. The woods used have been waxed so the natural colour and grain is preserved, making for a great looking puzzle which will stand out, especially given the unique shape of this puzzle.

One thing I will note in this puzzle is that in order for the pieces to come together the way they are intended, there is a small gap between a couple of the blocks in each of the six puzzle pieces, and while it doesn’t detract from the puzzle at all, and you’ll not notice it in the solution shape, it does make solving the puzzle slightly easier, as you can use the gaps to tell where the pieces are joined into halves, before combining the halves into the final shape.

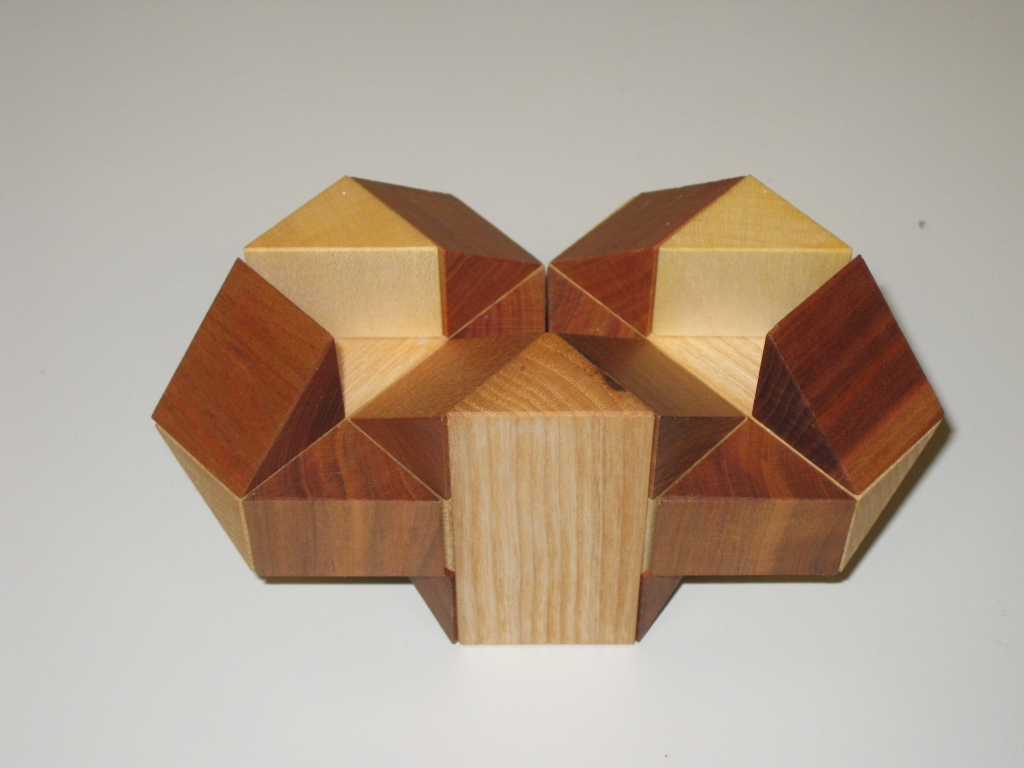
One of the two halves of the puzzle

One of the two halves of the puzzle

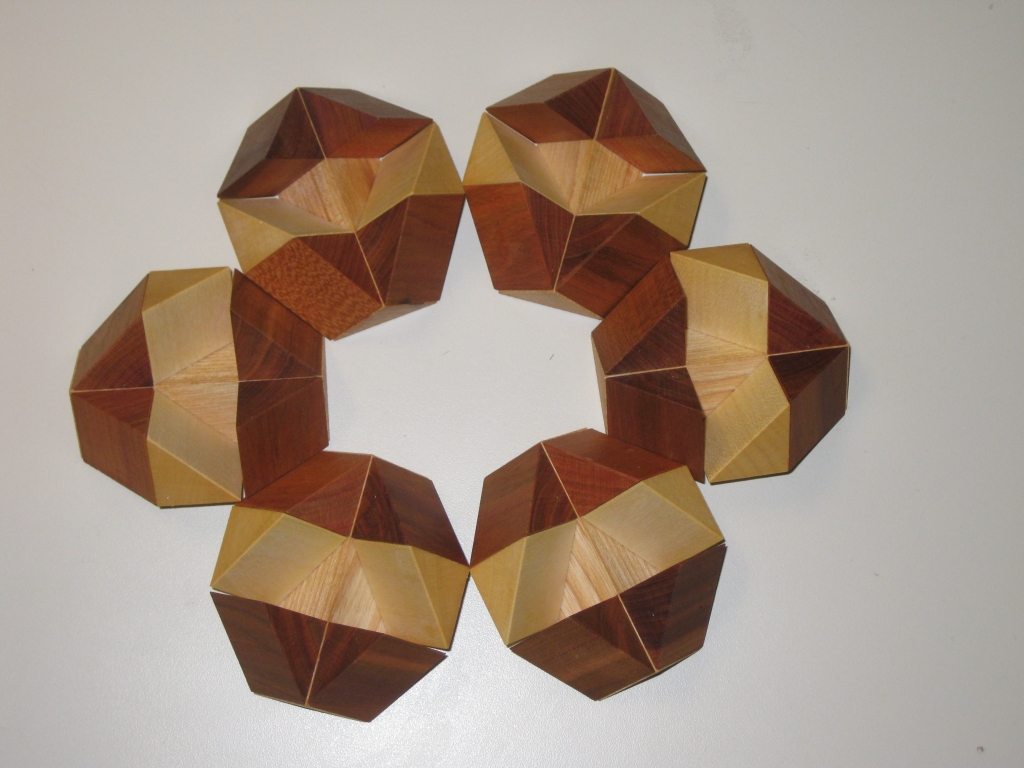
One of the challenges with this puzzle is that the way each of the six pieces are combined is not intuitive. Given that all six pieces are identical, it’s hard to see how you join the pieces to create a shape that will interlock into the UFO like solution.

Six identical pieces

Six identical pieces

This is another excellent puzzle from Vinco, and I highly recommend it. If you’re not a fan of co-ordinate motion puzzles, this will give you a good challenge, and no need to worry about growing a third hand to hold the pieces in place as you assemble it.

The Wine Barrel Puzzle

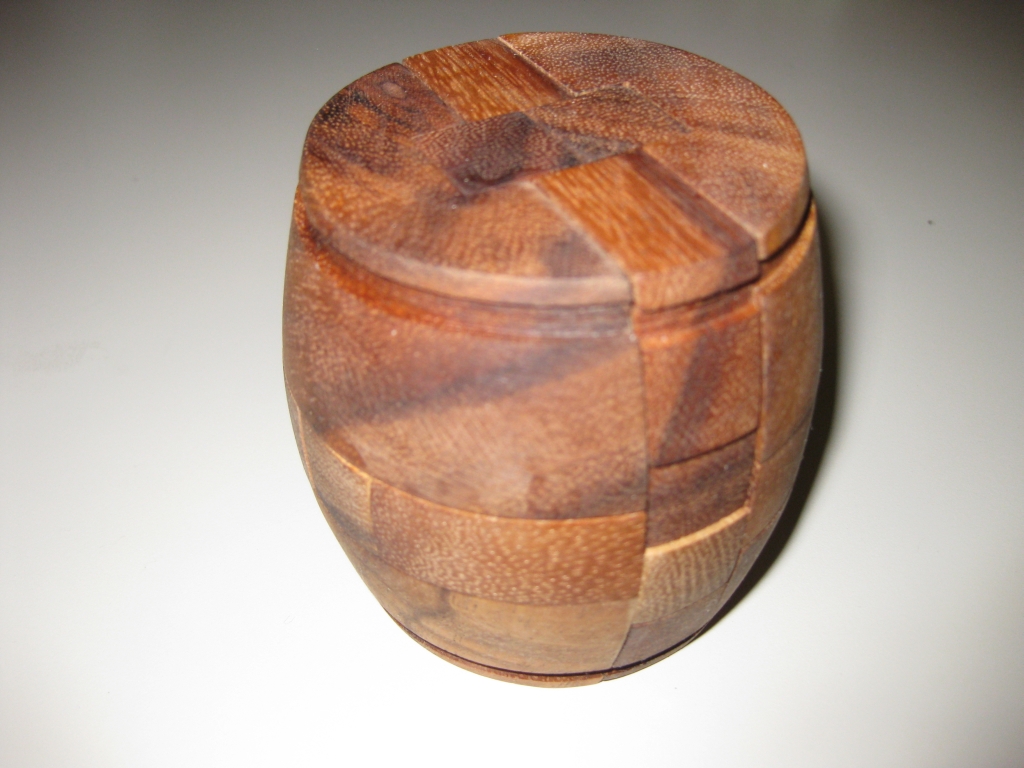
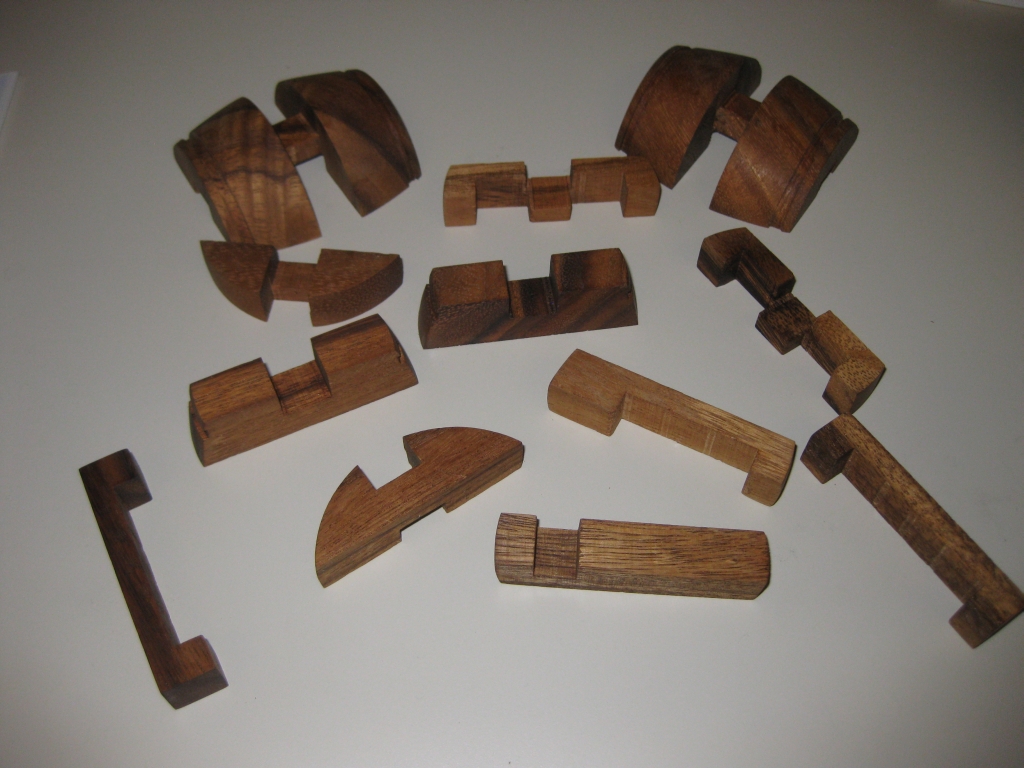
The Wine Barrel Puzzle is a 12 piece Burr Puzzle, and another of the Puzzles I picked up while in Calico (Death Valley). This is a nicely made puzzle from Creative Crafthouse. To read about some of the other puzzles I bought while in Death Valley head here.

Wine Barrel Burr puzzle from Creative Crafthouse

Wine Barrel Burr puzzle from Creative Crafthouse

This is an old puzzle, dating in origin to somewhere around the early 1900’s, and is an interestingly turned burr. When assembling the puzzle, the last two pieces are inserted together to form a key piece which keeps the puzzle in its barrel shape, holding all 12 pieces together. Fairly easy to take apart, once you find the key pieces, as with most Burr style puzzles, this isn’t as easy to put back together, however the Creative Crafthouse version does come with the solution on a folded sheet of paper if you get stuck.

I’m no expert on Burr style puzzles, but I managed to put this back together in a very respectable 15 minutes, having left the pieces alone for a bit after dis-assembly, so it was less likely I could just remember how they came apart.

This particular puzzle is offered in two different sizes, and the one I have is around 3″ high, and 3″ in diameter, making this the large version. I have no idea what the wood used is, however it has a very interesting grain pattern, and makes for a nice looking puzzle.

The 12 pieces of the puzzle

The 12 pieces of the puzzle

As I mentioned, the puzzle comes apart into 12 pieces, 5 pieces are pairs, which make up either side of the barrel, and the remaining two are unique. Overall, the build quality is fairly good. A couple of the pairs of pieces aren’t exactly the same size, so putting them into the solution back to front does leave a slightly misaligned finish, however it certainly doesn’t stop the puzzle going together very smoothly.

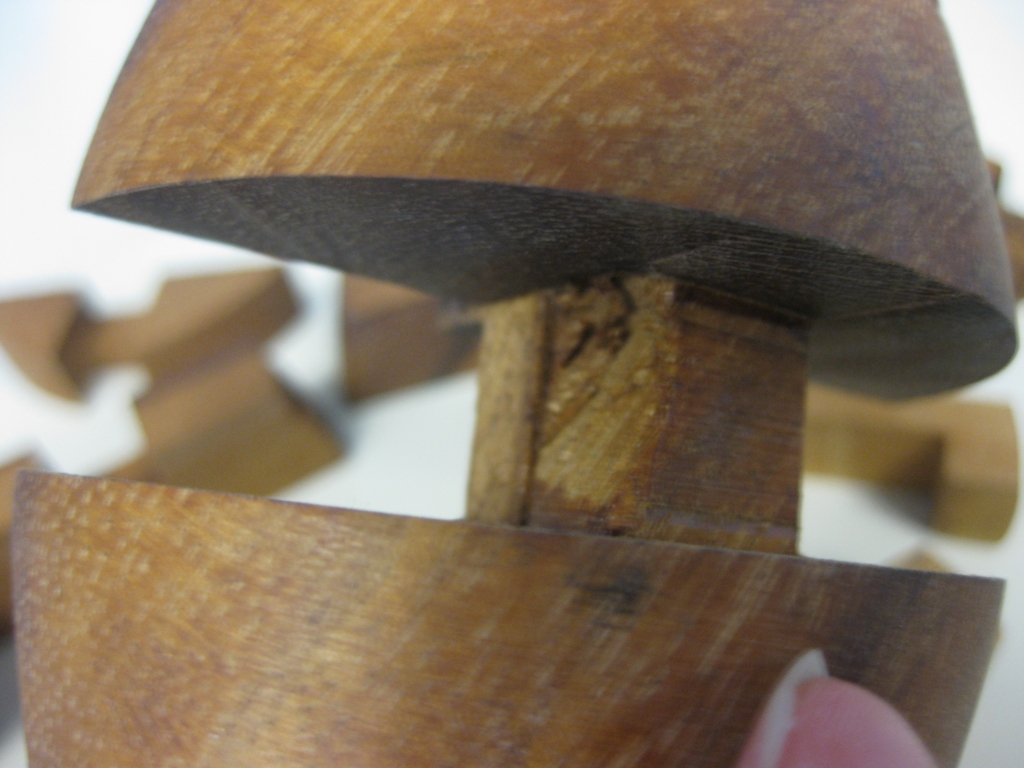
Slight damage on one piece

Slight damage on one piece

On one of the larger pieces in my copy, there’s a section of tearout, however again, this is entirely cosmetic, and hidden inside the puzzle, so really is of little consequence.

All in all a really nice version of this puzzle, offered for a very reasonable price. Well worth the money!

Unhappy Childhood

No, this isn’t a post about how I had a hard life growing up, or anything of that nature. I had a pretty happy childhood as it happens. Most of you will know already, that this is one of Stewart Coffin’s puzzle designs, #41 in his numbering system, consisting of 10 pieces, made from 5 cubes each, which come together to form a 5x5x2 rectangle with a checkerboard pattern.
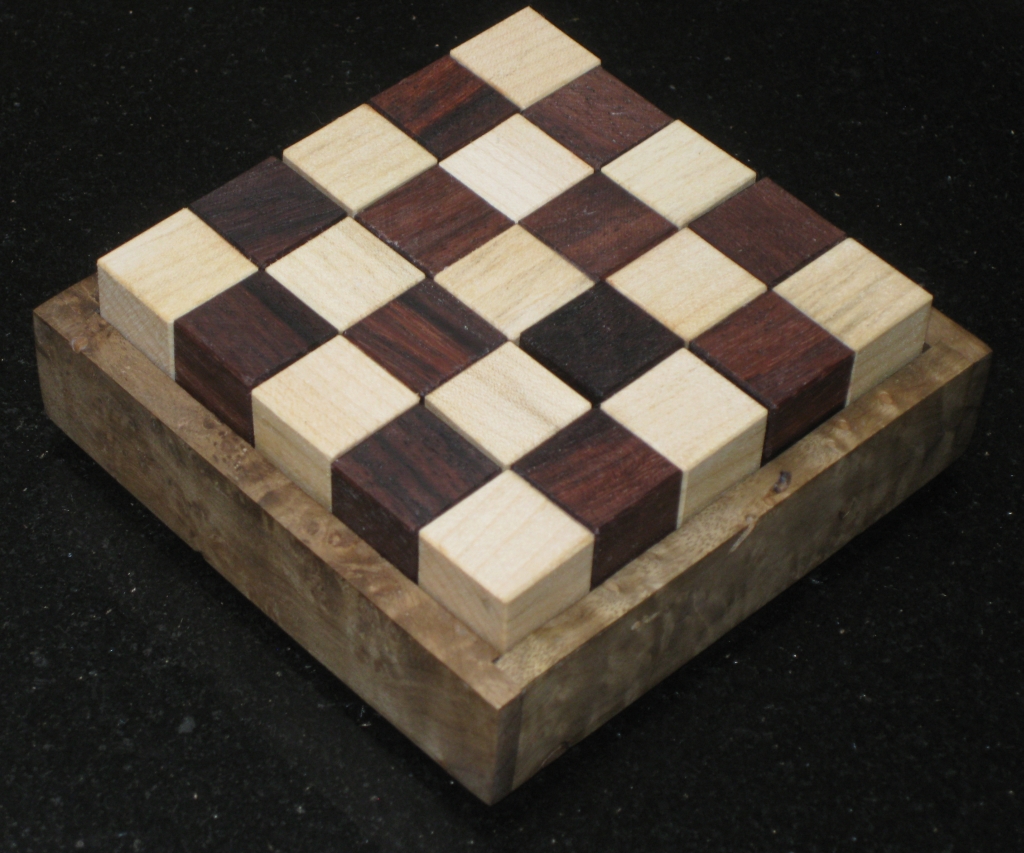
Unhappy Childhood, boxed in the unique checkerboard solution.

Unhappy Childhood, boxed in the unique checkerboard solution.

This particular copy was made by me and is made from Rosewood and Maple, with a Myrtle Burl box. It measures 3.7″ x 3.7″ x 1.5″ for the pieces, and 4.25″ x 4.25″ x 1.7″ in the box.

This is a pretty tough puzzle to solve, as there is only one solution where you end up with the checkerboard pattern on both bottom and top as you can see in the picture above. There are however 2,408 possible solutions if you ignore the checkerboard. So no shortage of ways to get a 5x5x2 solution! (Stewart Coffin reports that “a computer analysis by Beeler, these pieces pack into a 5 x 5 x 2 box 19,264 different ways”, however Burr Tools shows just 2,408)

The following is a look at the creation of this puzzle. Hope you enjoy!

This is one of the puzzle designs that I had been looking at making for a while, since it seems no-one has made any in some time, and I don’t have one in my collection. Really that’s where this all started, looking to add a new puzzle to my collection, and having spent (far) too much on puzzle already this year, what better way than to make it myself.
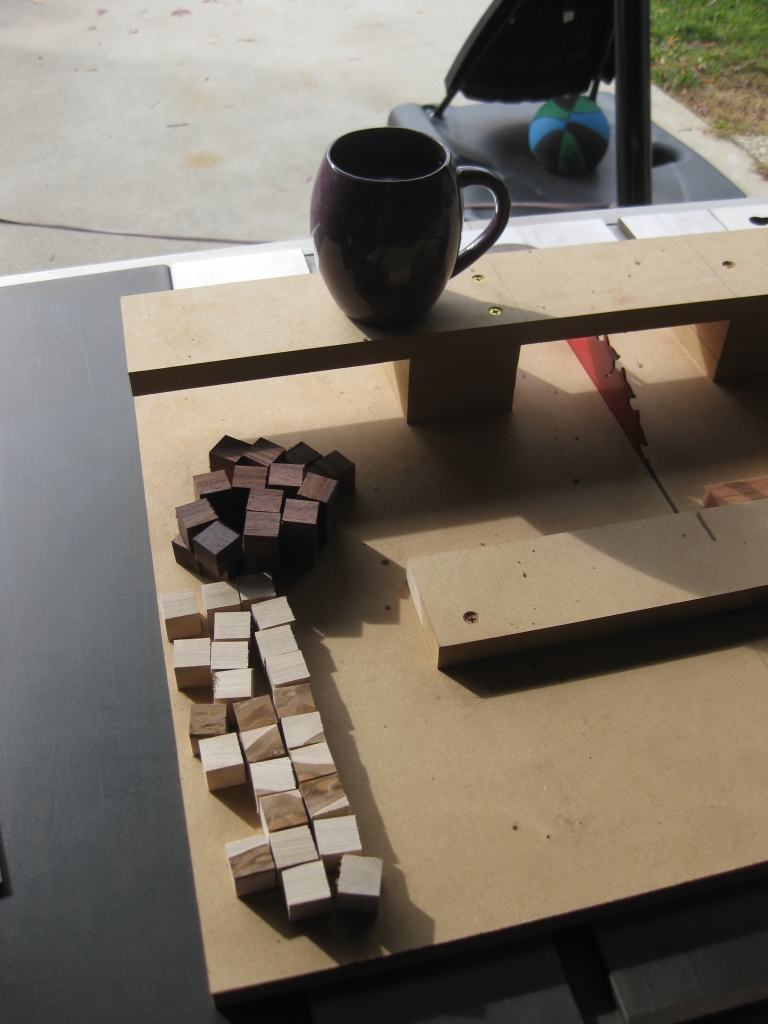
It all starts with cubes

It all starts with cubes

So the puzzles that I’m making currently are all cube based, and that’s where it all starts. 50 wooden cubes, 25 Rosewood, and 25 Maple is the starting point for the UC. The darker tops on some of the Maple cubes at the bottom of the picture is actually the natural wood. Since I love the look of wood, I’m not selectively removing pieces which don’t look perfect. After all each puzzle is unique given the grain and natural colour of the wood, which is something I love. When I put the pieces together, I’ll orient the pieces so that very little of this is visible, because I’m really aiming for the contrast between the two woods in this puzzle. If the couple I’ve made, only one has this distinctive colouring on some of the pieces.
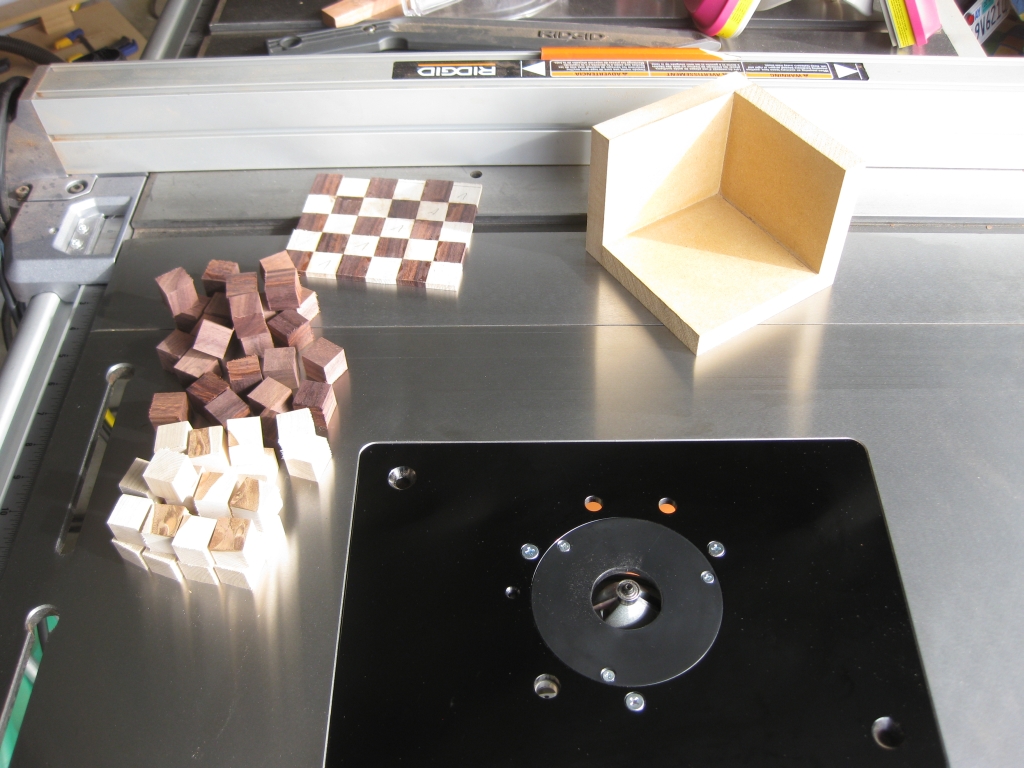
50 Cubes to be Bevelled
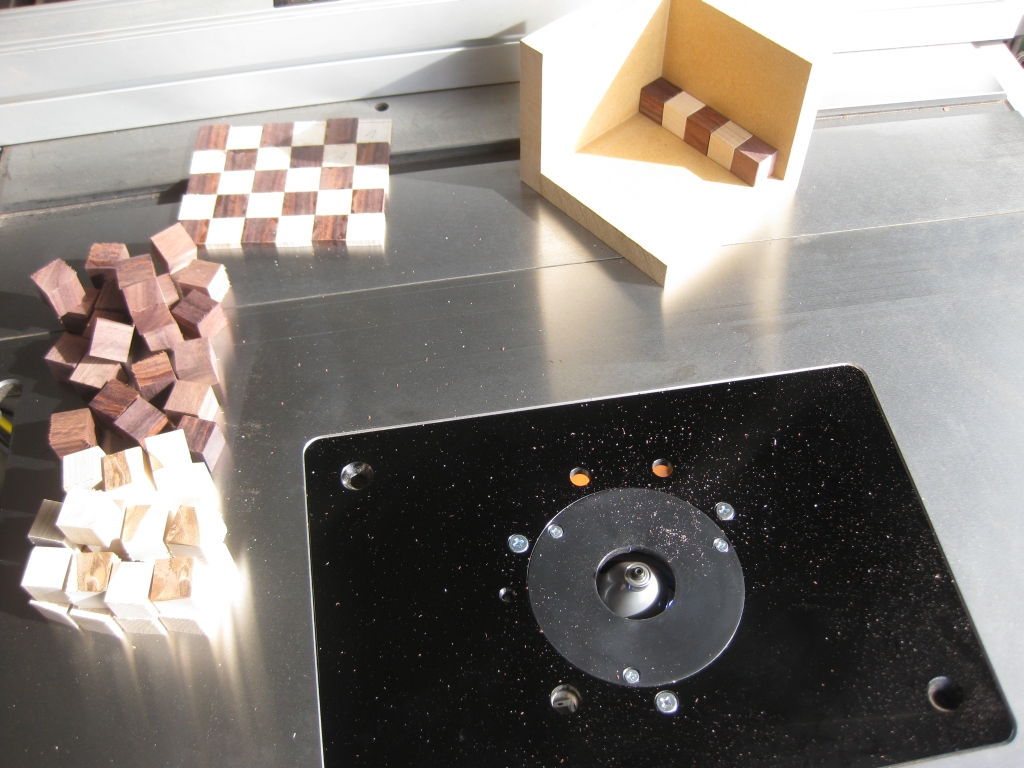
50 Cubes to be Bevelled

One row done, 9 more still to do!
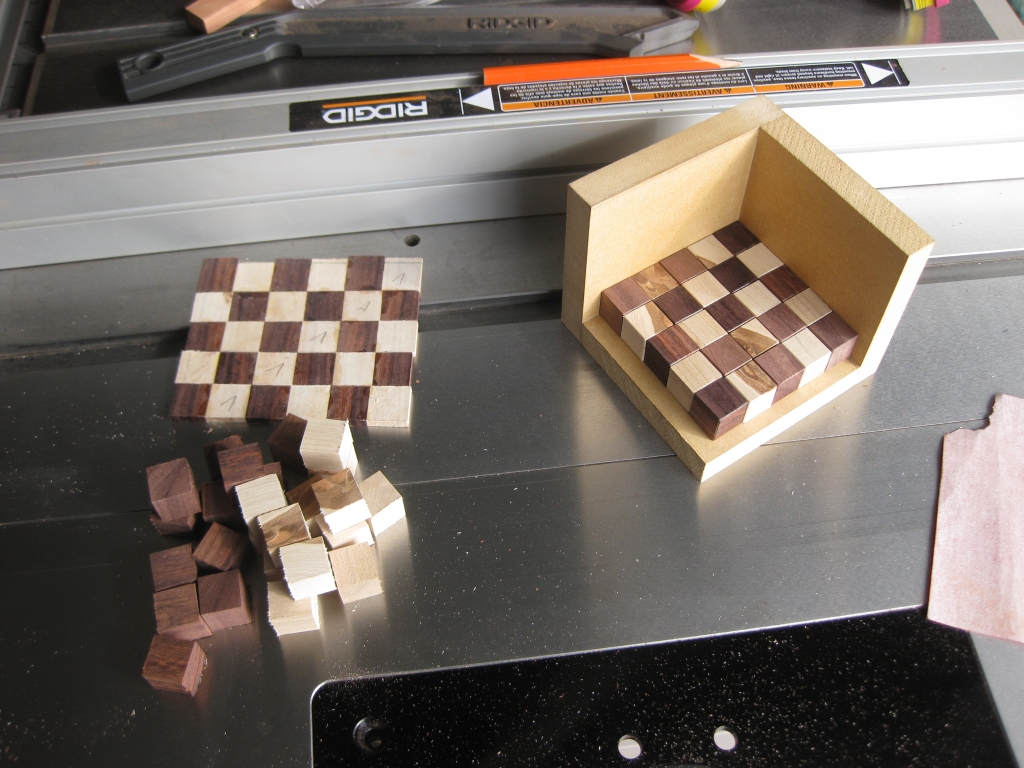
One row done, 9 more still to do!

Half way there!
Half way there!

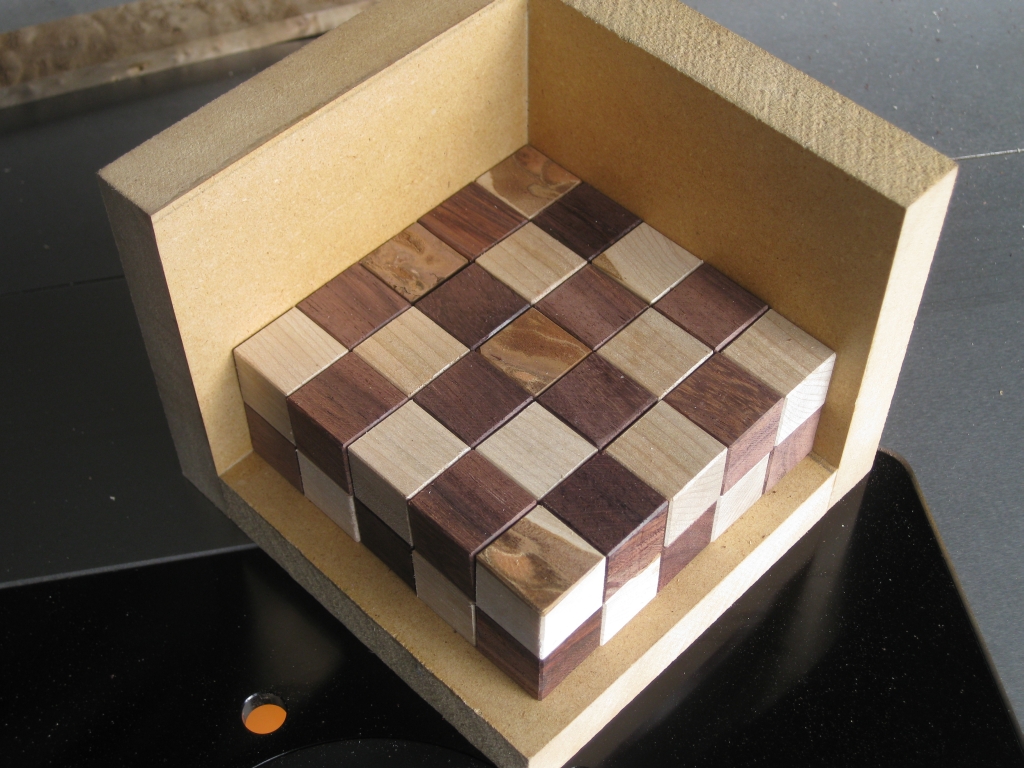
Some time later, and I'm done!

Some time later, and I'm done!

This is one of the most time consuming parts of the process (currently). I have to take all 50 cubes, and put a very small bevel onto each edge of the cube. All in all it takes between 1.5-2 hours with my current method. There’s been a fair old discussion in one of the puzzling forums about beveling cubes, so I’m sure I can cut this down significantly, but that’s going to need a new jig, and some more tools in the shop so for now I’m stuck with what I have.

If you’re interested, the checkerboard piece of wood in the pictures isn’t some sort of template, it’s actually what will become the base of the box that the puzzle sits in. I just happened to be working on it at the same time, hence it ended up in the pictures.

Next up I made the 10 pieces of the puzzle from those 50 cubies, and as it happens I don’t have any pics of the process. I’ll need to take a few from the next one I make and update this at a later point. Anyway with that done, I turned my attention to the box. I now had dimensions for the box, based on the final size of the pieces, so I took the burl I was using to the saw, and cut it to the right lengths for the box, and created a dado in the edges of two sides, to allow me to get a stronger joint for the corners.

The outside edges of the box

The outside edges of the box

Despite the very small contact area, wood glues are remarkably strong, and will hold the frame together with no issues. In fact, to take it apart would probably break the wood, before the glue would let go. Using blue tape, I tape the corners, (no clamping required) and that will hold the box well enough for the glue to set. I do a quick check to make sure that the corners are square, and leave it to dry, while I turn my attention to the base.
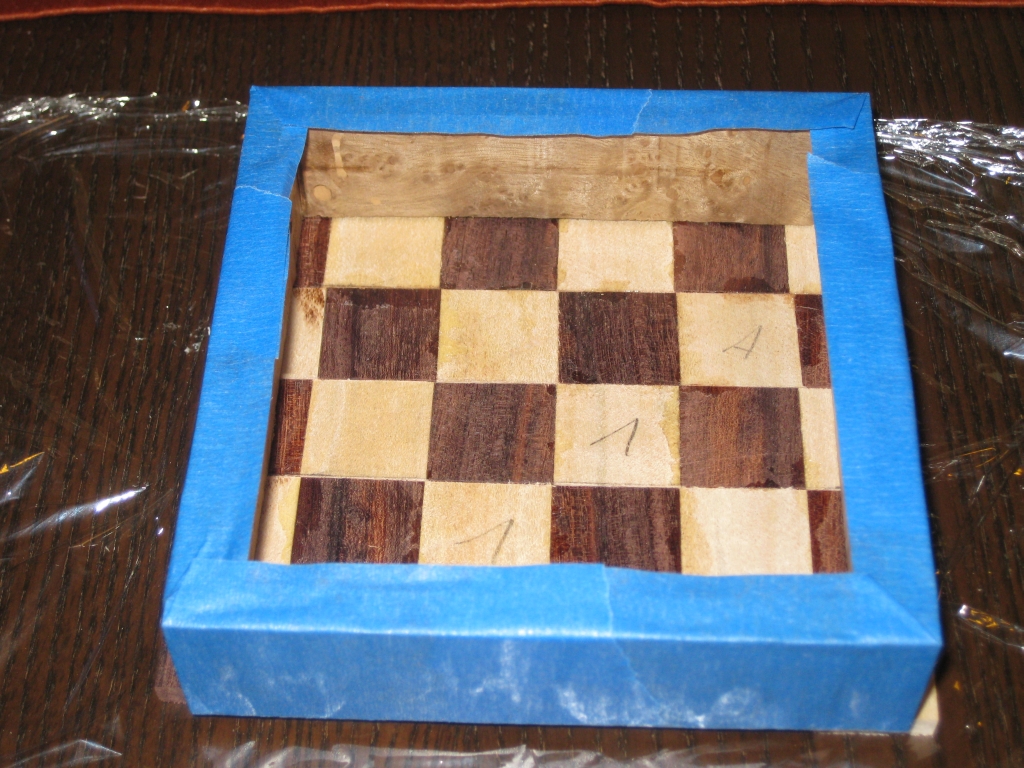
The unfinished base, with the sides sitting on top

The unfinished base, with the sides sitting on top

As you can see, the base is unfinished. The pencil marks were to allow me to line up each of the strips for gluing everything together. As you can see I still have some sanding to do, since there’s glue and all sorts on the base. Thanks to the random oscillating hand sander I got for my birthday, it will make short work of that!
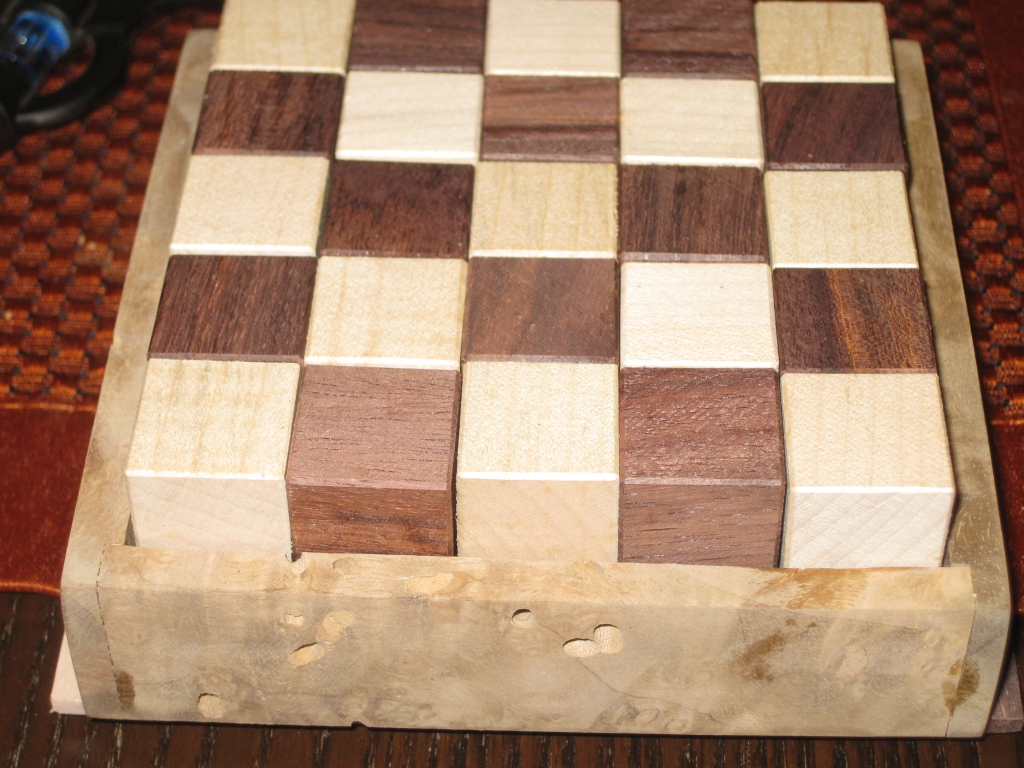
A quick dry fit before gluing the box together.

A quick dry fit before gluing the box together.

With the sanding done, I have a quick dry fit with the pieces in place to make sure everything fits as expected before gluing the base in place. Note at this point, Ive sanded the inside of the box to its final point, as it will be pretty touch to get into the corners once it’s all glued together, so best do that before the final glueup.
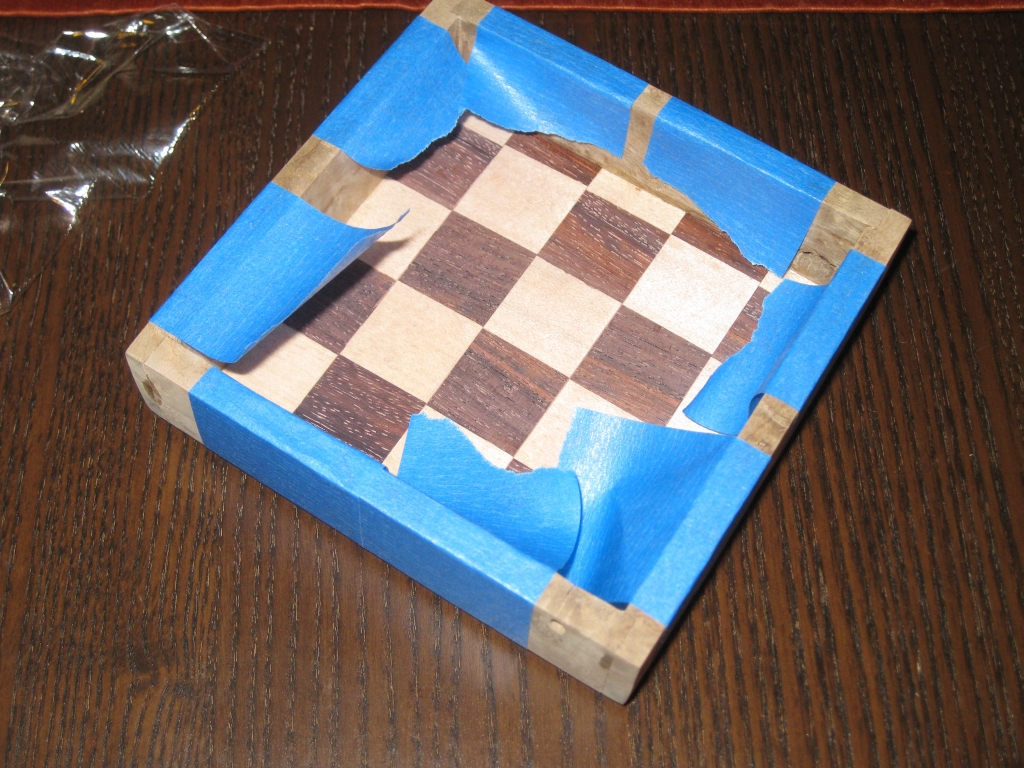
Box glueup from the top
Box glueup from the top


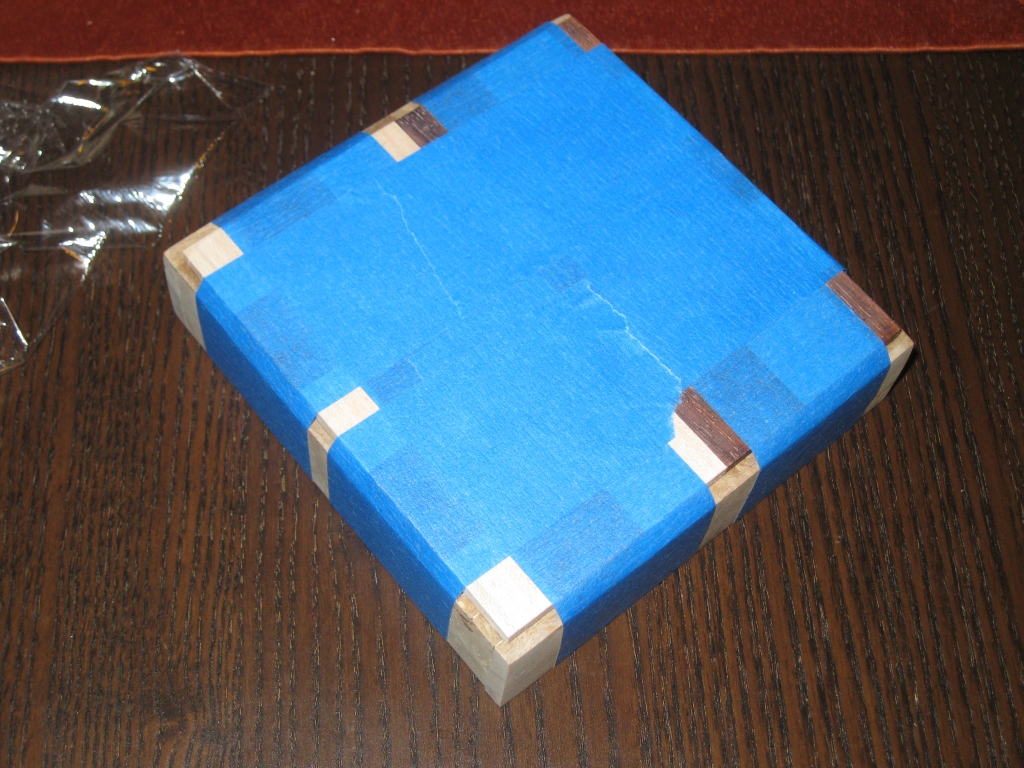
Box glueup from the bottom

Box glueup from the bottom

It’s probably worth pointing out at this stage, that I’ve spent around 3-4 hours making this box. Given that I decided I wanted a checkered base, that meant cutting thin, equally sized strips, gluing them together, then cutting them into strips once dry, flipping the strips to create the checkerboard, and re-gluing, then sanding, etc etc. All in all probably the most labor intensive part of the puzzle build, but hopefully worth it!
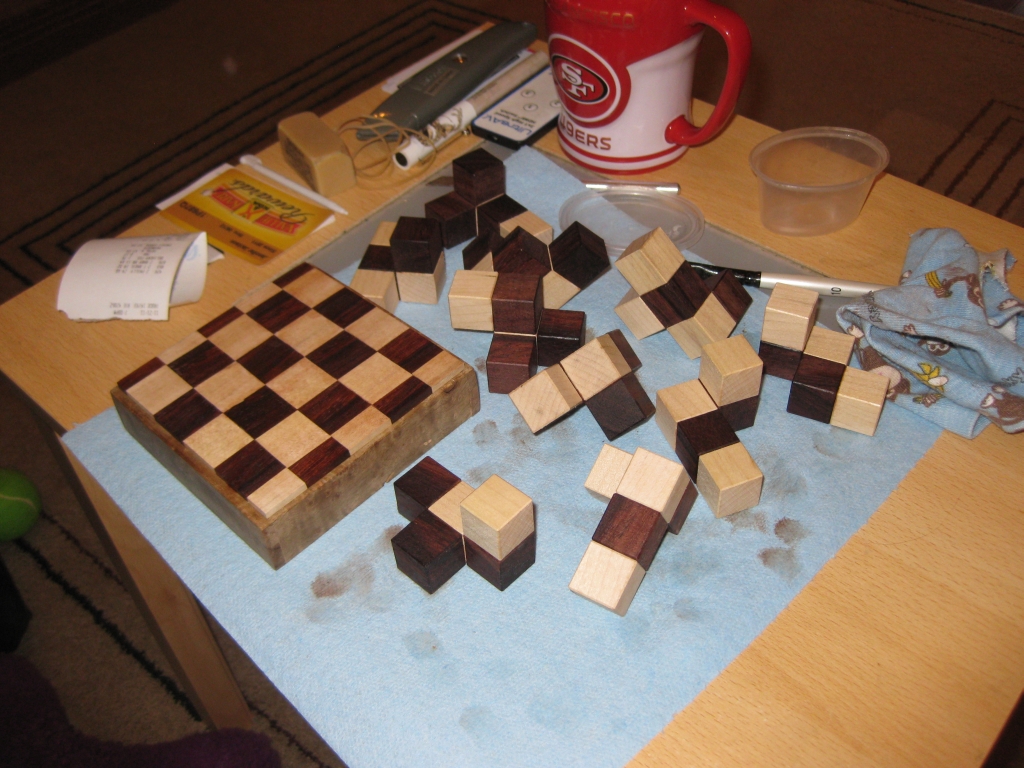
Finishing.  First coat of thinned lacquer applied

Finishing. First coat of thinned lacquer applied

With all the individual pieces ready, it’s time to look at finishing the puzzle. The box was all sanded on the outside, and it’s looking pretty good. I start off by applying a coat of thinned lacquer to all the pieces. It’s 1 part lacquer, 2 parts thinner that I’m using. It gives a very thin coat, but does the job or really making the grain pop. If you compare this to the pictures of the dry fir you’ll see what I mean.
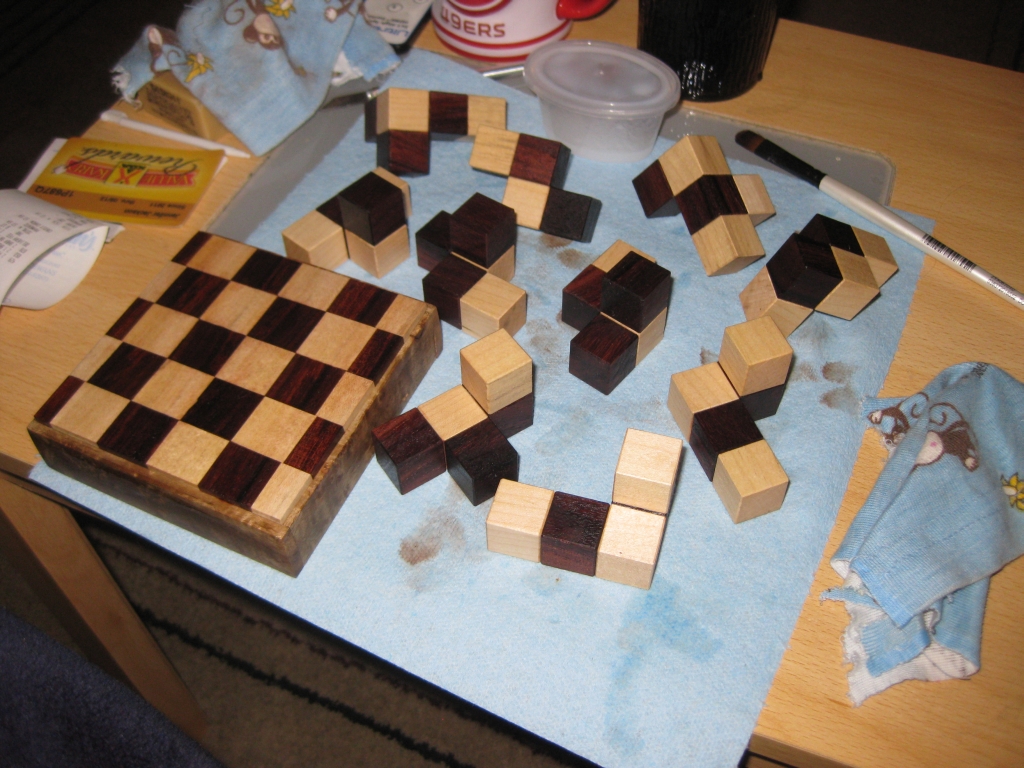
First Coat of Watco Satin Wax.
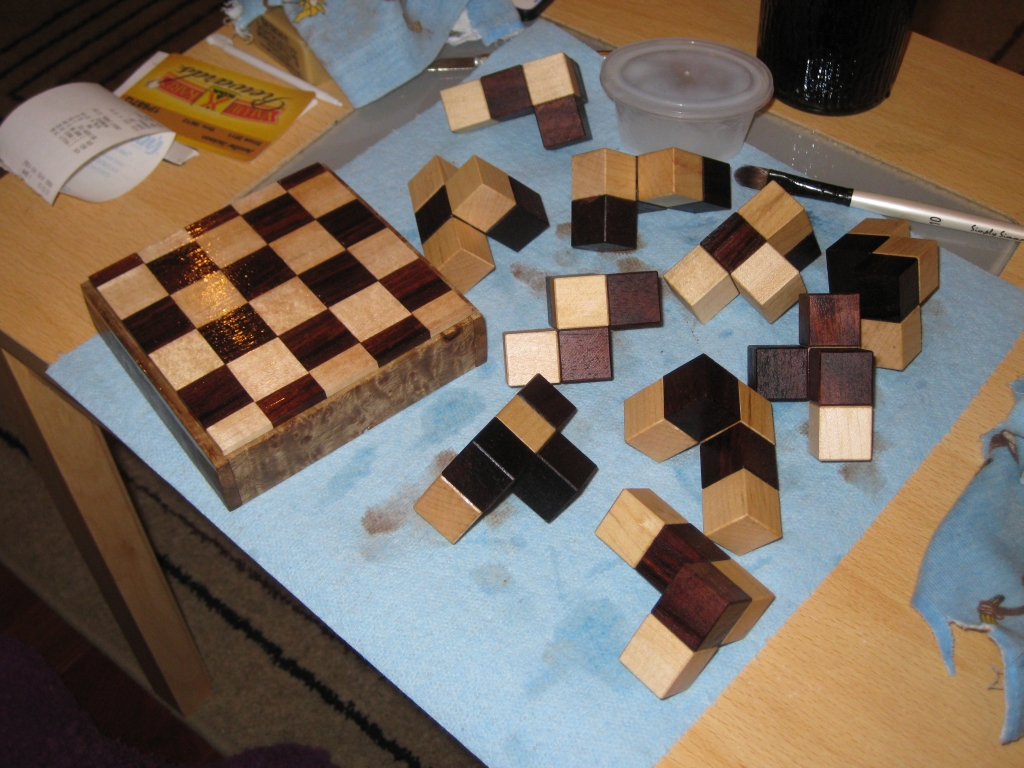
First Coat of Watco Satin Wax.

Second Coat of Watco Satin Wax.

Second Coat of Watco Satin Wax.

Once that’s dry, the puzzle gets two coats of wax. I’m using a liquid wax, Watco Satin Wax to do the job. I leave the wax for around 5-10 minutes, then wipe off any excess with a rag. This is building up a nice finish on the pieces, but there’s still one more step to complete the process. That’s a final buffing with some Renaissance Wax.
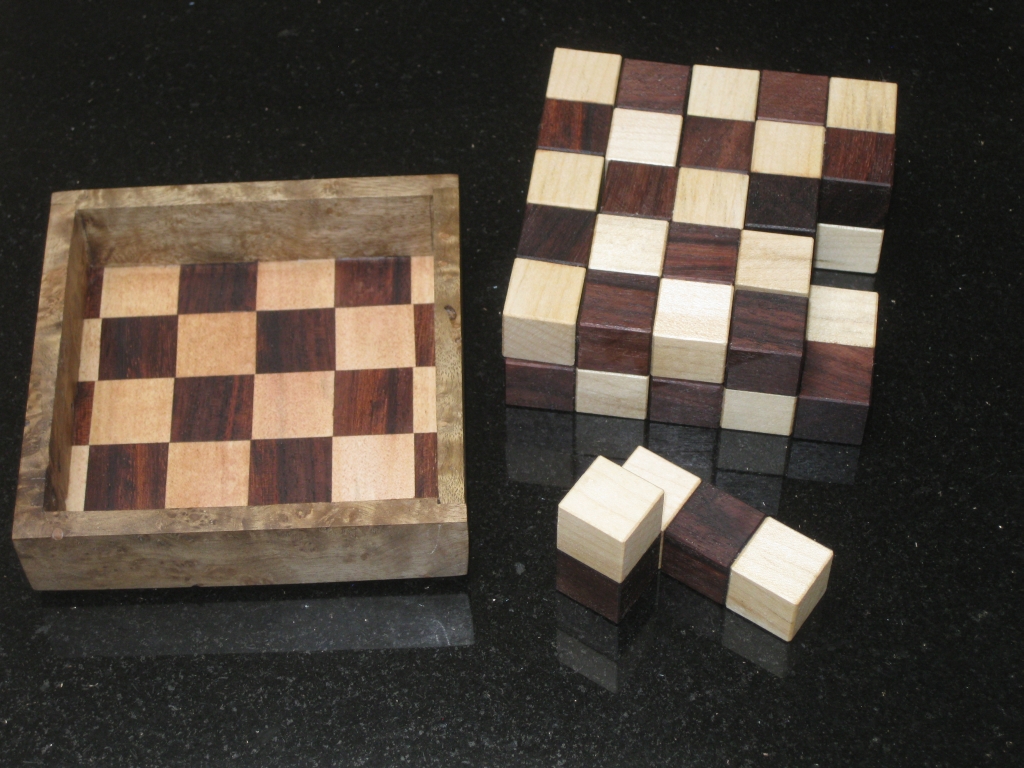
The pieces, next to the finished box
The pieces, next to the finished box

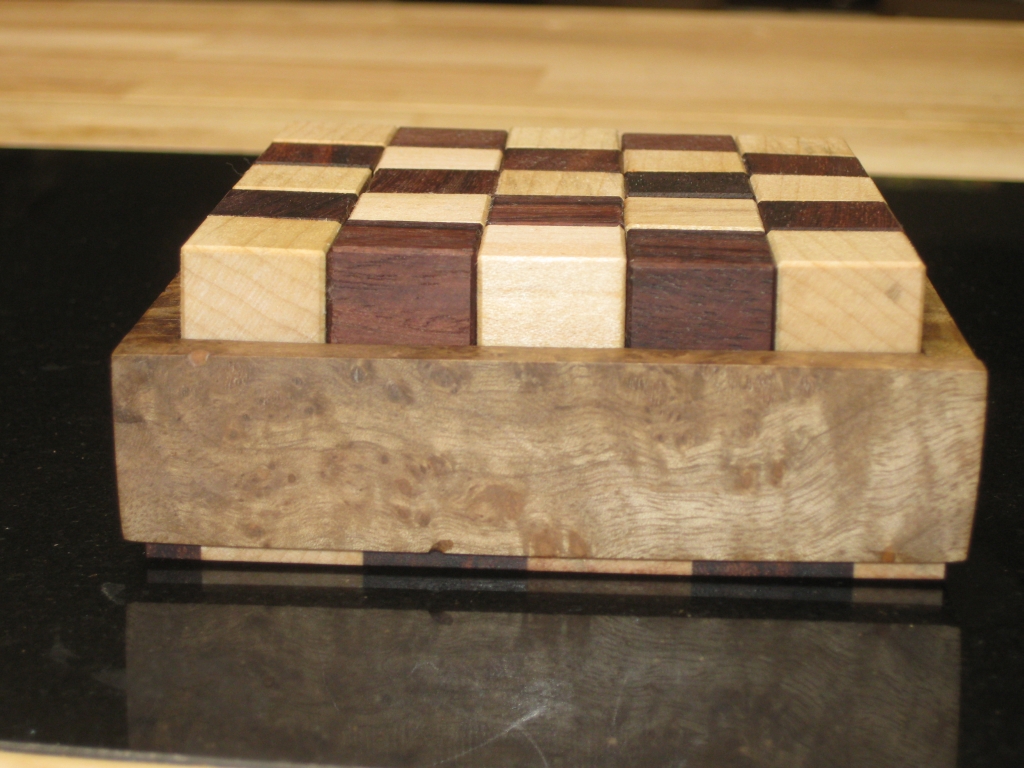
A final view from the side, showing the effect of the checkered base.  The myrtle burl box almost looks like its floating.

A final view from the side, showing the effect of the checkered base. The myrtle burl box almost looks like its floating.

The final puzzle ready to be played with!

So there you have it. I hope you enjoyed the build as much as I enjoyed making it.