Tag Archives: Wood

Impossible Cubes

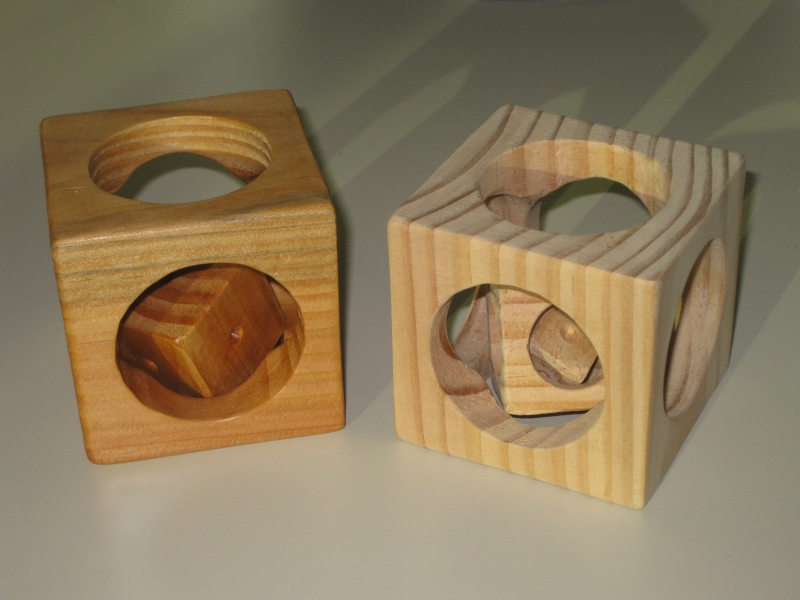
There’s been quite a lot of talk on a few of the forums I frequent over the last few months about impossible objects. These are things like packs of cards inside a glass bottle, still with the clear plastic wrapper on them, solid wooden arrows through bottles, and other such seemingly impossible items.

Some time ago, I created a couple of impossible objects as I had just bought some woodworking tools, and wanted a simple project.

Impossible Cubes

Impossible Cubes

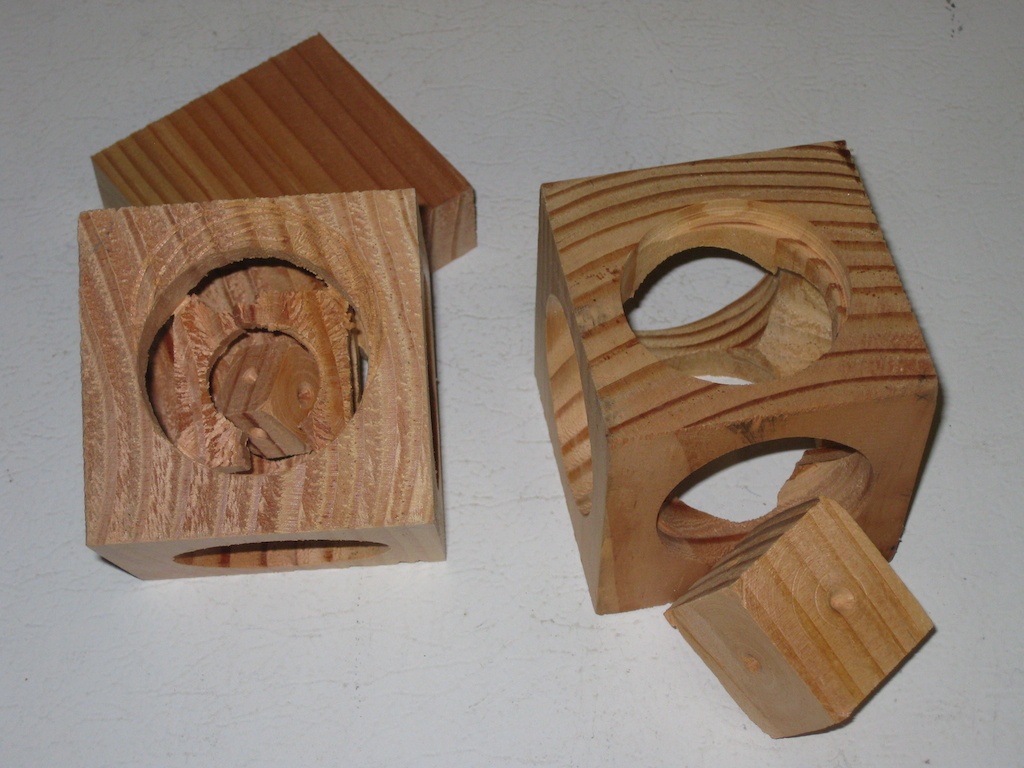
I’ll not explain how these are made, since there’s plenty of videos out there showing how it’s done, but the interesting thing about these is that the small cube trapped inside is too large to fit through the holes, making it a seemingly impossible object. The wood is the same for both of these, the only difference is that the one on the left has had a couple of coats of shellac added.

Having created the one on the left, I decided to see if I could go one further. The Cube on the right is the result of attempt number 2. The first attempt didn’t go too well as you can see below.

Impossible Fails

Impossible Fails

The problem with creating such an object in wood is that the end grain is much harder to cut through than the face grain is. As such, weak points appear in the outer cube, and care has to be taken when working on it. I found that by cutting through the end grain first I could minimise problems, as you have the maximum amount of wood supporting the most difficult cut, which reduces the chances of failure.

While I’m not suggesting that these are in any way masterpieces, or a wonderful showcase of my woodworking skills, they are a fun project that you can create in under an hour if you are so inclined. Hand it to and adult and they’ll try to figure out how to remove the inner cube. Hand it to a child, and they’ll roll it around like a die with no care for the internals.

The short video below shows the internal cubes rolling around inside their wooden prison.
Japanese Puzzle Box

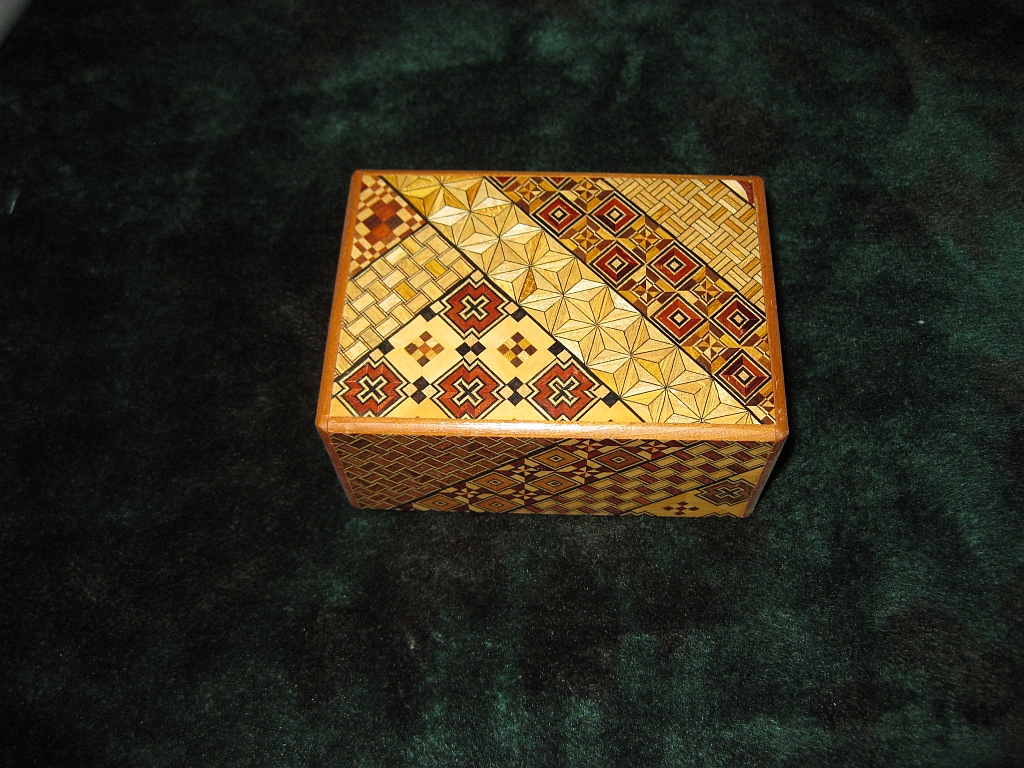
This Japanese puzzle box by an unknown maker takes me back in my puzzling history. This was the first puzzle box I ever bought, and was on a trip to San Francisco with my family when I was finishing University around 14 years ago. This is where my fascination with puzzle boxes stems from, and it’s still a box that I enjoy opening even today.

Japanese Puzzle Box

Japanese Puzzle Box

As you can see it’s a standard Japanese box, with Yosegi patterns on all six sides. This box is fairly large for a Japanese puzzle box and comes in at a 5 Sun box.

So if woodworking wasn’t confusing enough given that everything is measured in inches for cuts (yes I’m Scottish, and we use the metric system for everything except speed and distance – don’t ask me why), and board feet for buying lumber (It’s simple enough when you understand, but way to confuse someone new to woodworking), the Japanese have another system called Suns. What it actually equates to is the following:

Sun Size Size in Inches
1 Sun 1.22″ (Mame)
1.5 Sun 1.83″ (Mame)
2 Sun 2.44″
2.5 Sun 3.05″
3 Sun 3.66″
4 Sun 4.88″
5 Sun 6.10″
6 Sun 7.32″
7 Sun 8.54″

This particular box is a 36 move box. It’s by no means the most complicated box to open as the sequence is (mostly) the same from start to finish. Once you find the sliding panels, the box follows the same sequence until the top panel slides off. Well that’s mostly true. There is one sneaky move towards the end of the 36 moves where one slider actually moves back to a previous position to allow the next move to take place. This certainly caught me out the first time I tried to open it (as I threw the opening instructions away), and it catches most people I have given this box to as well.

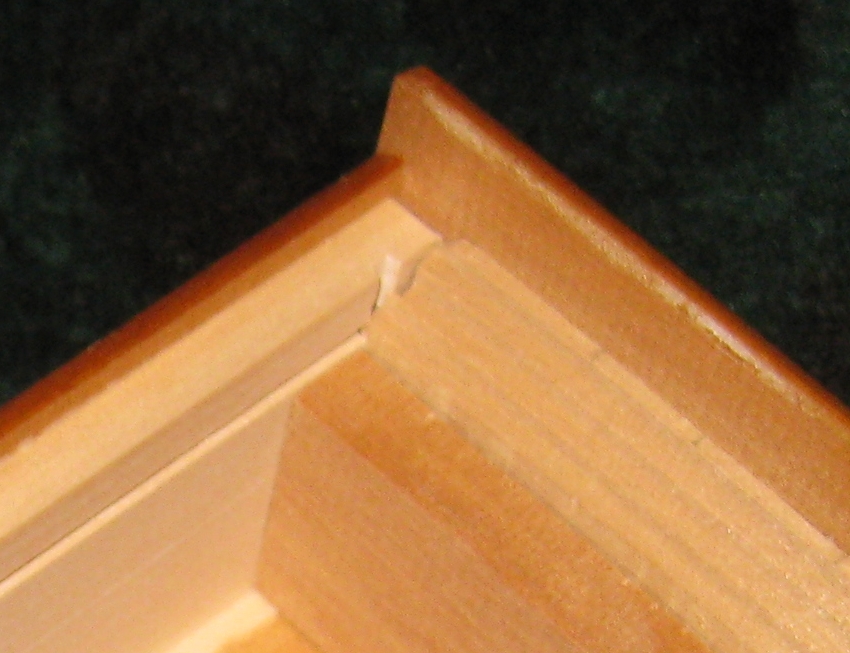
The image below shows a closeup of the internal mechanism for this box, which I find fascinating. If you click on the picture, you’ll see the full box, so if you don’t want to see the full box, don’t click the link. It doesn’t give anything away really, but now you’ve been warned.

Japanese Puzzle Box open

Japanese Puzzle Box open

The amount of work which went into this box is just stunning, especially when you consider that I paid less than $30 for it. This may be a mass manufactured box, but the quality of the fit and finish is excellent. Even the slides are well hidden with no visible gaps between the pieces.

As my first box, this holds a special place in my collection, and as a fairly large box it even has useful storage space inside if you want to keep a small object away securely hidden away. Just don’t use “The Big Bang Theory” method of opening it.

Polyhedral Puzzles visit with Scott Peterson

As you know from my blog, I’ve been learning about woodworking, and taking something of a journey from puzzle solver to puzzle creator. Over the weekend, I had the great pleasure to be able to visit Scott Peterson at his home to talk about how he creates puzzles, and his journey from 2003 to now in the world of woodworking and puzzle creation.

Scott and I have been talking back and forth via email for a while now and it was great to be able to meet him in person and spend some time with his family who made Jen and I so welcome. Not to mention the great lunch they made too!. I had a great time picking Scott’s brain for hints and tips on how to go about creating my ow puzzles. I really can’t thank Scott enough for all the help he’s given me so far. Let’s hope it all pays off, and I can start creating some puzzles worthy of showing off!

When I mentioned on the Renegade forums that I was going to visit Scott, a few people asked if it would be possible to get a shop tour. Well Scott and I may have gone one better. We recorded around 40 minutes of video, and after some editing, the results are here.

I hope you enjoy the shop tour, and seeing what Scott uses to make his puzzles. We also recorded an in-depth video about the jig Scott built to cut blocks for the Stewart Coffin puzzles that so many of us are familiar with, and finally we recorded a section showing an actual cut and glue-up. (Scott is pretty sure the glue-up is going to be controversial, but if you’ve seen the results, I don’t think you can argue! (Also as a side note, I’ve seen pictures of the way Stewart Coffin himself (or his kids) glued up puzzles. Enough said!)

It’s worth noting that in the Jig video, the stick used to show the tool marks is African Blackwood. The photo is taken using a macro lens so this is hugely magnified to show the tool marks. The tooling marks on the African Blackwood stick show up much more than one would notice on a Maple or Cherry stick. The very dense woods make the tool marks show up much more clearly than the softer woods. This isn’t an attempt to make Scott look bad! (Trust me, having seen his sticks up close, I can’t believe that they are unfinished. The quality is just stunning!)

The Shop Tour:

The Coffin Jig:

Cutting and Gluing Coffin Blocks:

Stickman #2 – Revisited

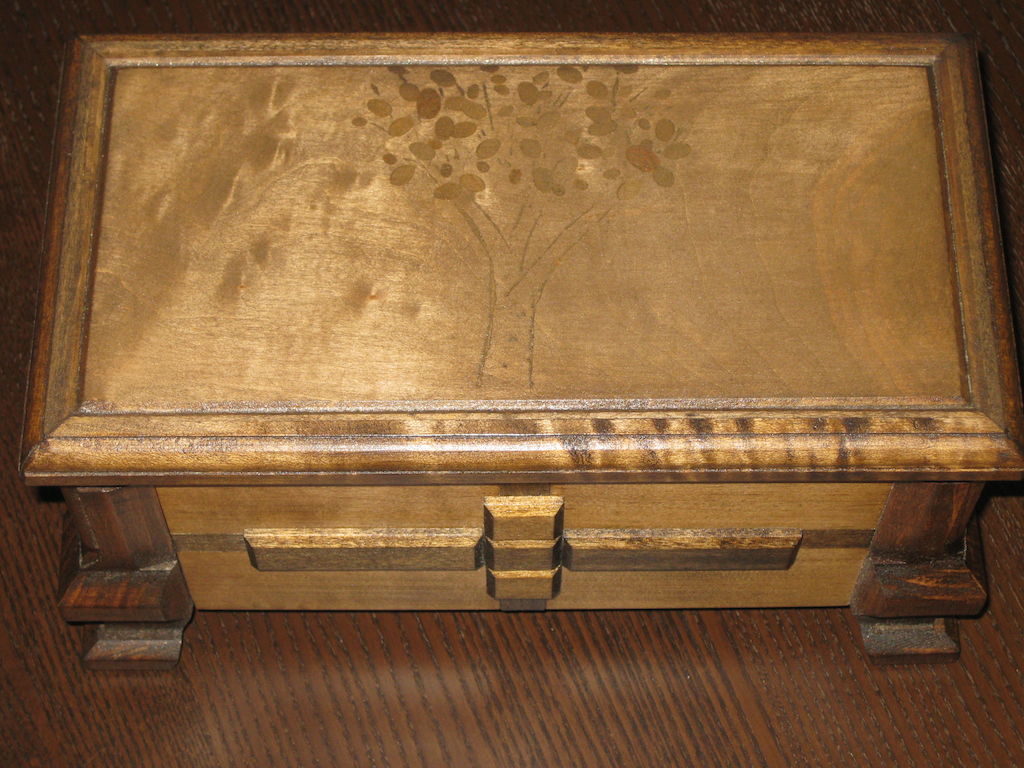
Some time ago I wrote about the Stickman puzzle box I’d won on a Puzzle Paradise auction. Since then the puzzle has been on a bit of a journey, and as a result I felt it was time to revisit this puzzle.

When I won the puzzle, I spent some time talking with its creator Robert Yarger, and he mentioned that it was a really solid puzzle, and he’d have no issues handing it round for people to try. Well with that in mind, I took it with me to the California Puzzle party. Unfortunately, when it was there, something went a bit wrong, and the puzzle jammed. I was able to shut the puzzle, but there was something very strange going on. Sadly, I had to put the puzzle back in my bag, and that meant no-one else was able to play with it that day.

I wrote to Robert and described what was happening. He instantly offered to take the puzzle back and see if he could figure out what had happened, even mentioning that if he couldn’t fix it, he’d find a way to make things right by me. (As a fellow puzzler has mentioned, nice bloke that Stick guy!) Interestingly, this was only the third Stickman puzzle that Robert has ever had to repair, and one of those was due to an accidental high dive from a shelf. Given the number of puzzles he’s made, and some of the incredibly intricate work he does, that’s a pretty good recommendation of his work.

So I packed the box up, and sent it off. A few days later Robert got in touch to tell me that he had found the problem and would be able to fix it. Before I knew what was happening, Robert had the box all back together and it was back in the mail to me.

The top before repair

The top before repair

Top after repair

Top after repair

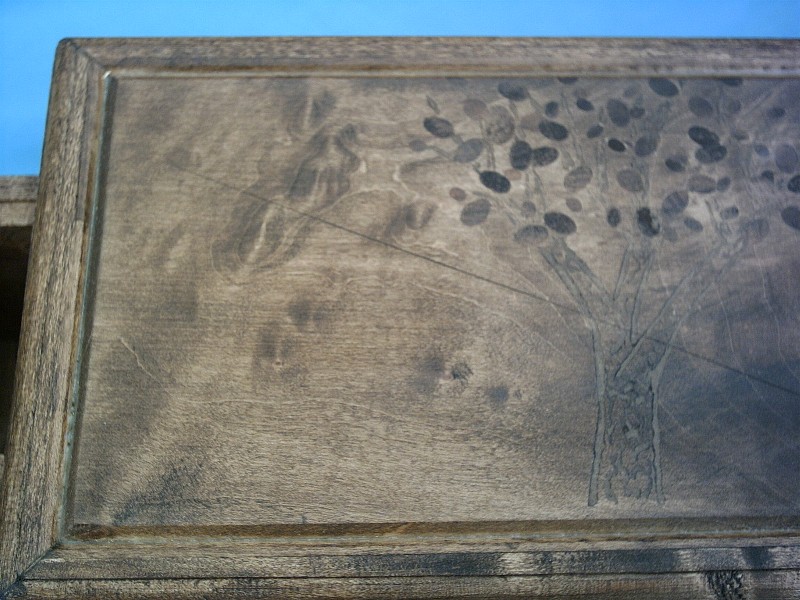
While Robert had the box, he did a little restoration on the top. As you may remember, there was a scratch on the top of the box from the original creation. Robert mentioned that it was common on his early work. Seems like he wasn’t too happy about that scratch being there as he sanded the box down to remove it, then refinished the box, so now it’s even better than new.

It turns out that what had happened is that on one side of the puzzle, the internal stops had broken and was now free floating inside the puzzle. For a 10 year old puzzle, it wasn’t anything anyone using the puzzle had done, but just a case of old age. To fix things, the part which came free has now been replaced and a much deeper groove cut into the side to embed things firmly. No chance of that coming free again.

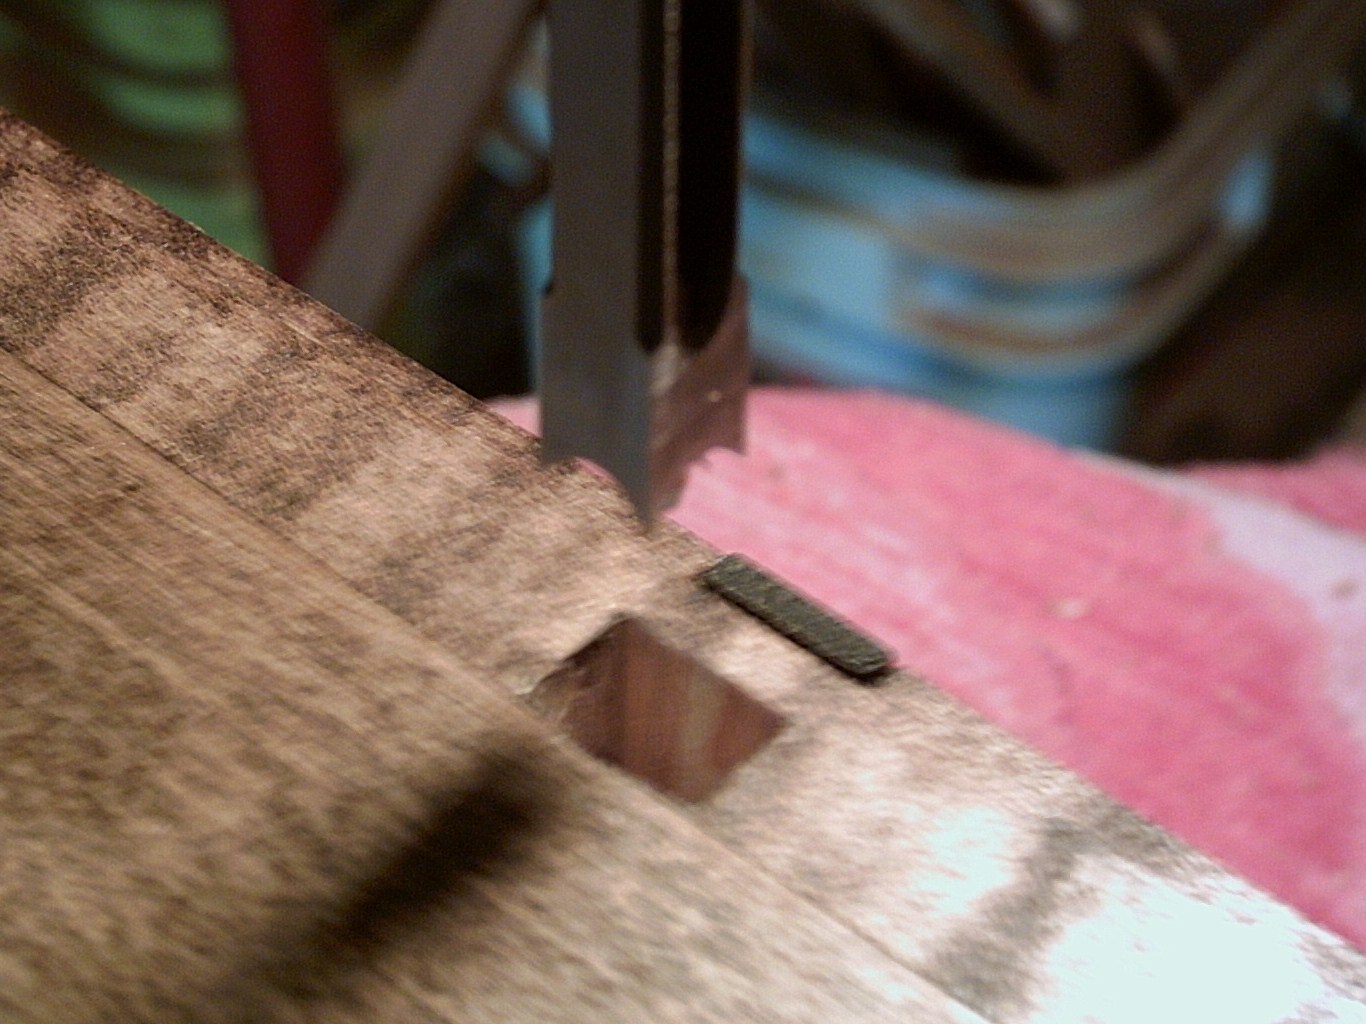
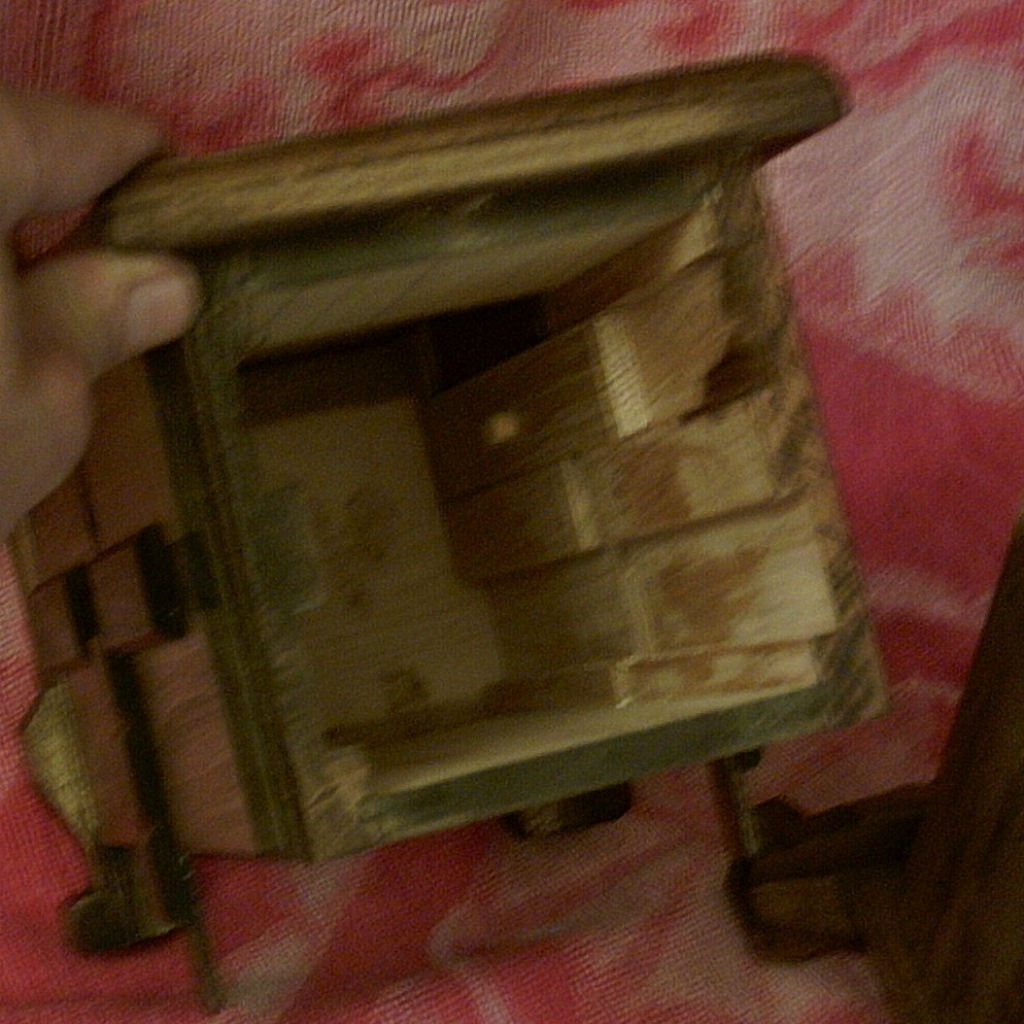
Here’s just a few pictures from Robert’s surgery. These don’t give anything away. I’ve kept the pictures of the internals for myself. Thanks have to go out to Robert though for sending me the pictures. He certainly didn’t need to show what goes on inside his puzzle!

This looks drastic, taking a mortiser to the bottom

This looks drastic, taking a mortiser to the bottom

The inside of the box

The inside of the box


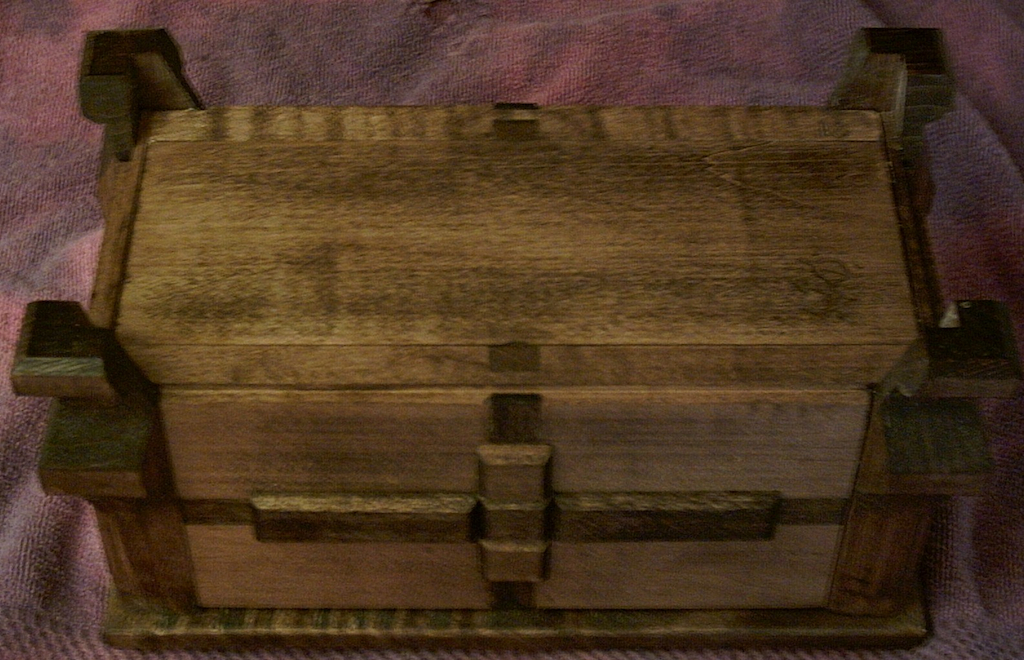
Back as good as new

Back as good as new

Building a Matrioshka (Part 3)

This entry is part 3 of 3 in the series Building a MaTRIOshka

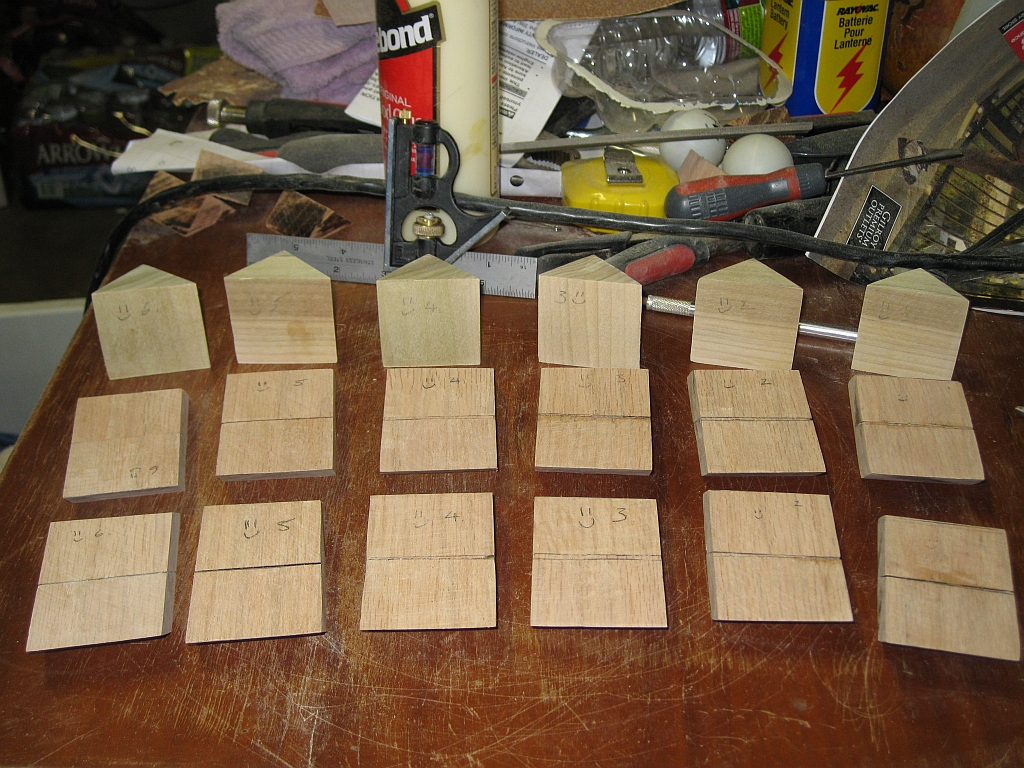
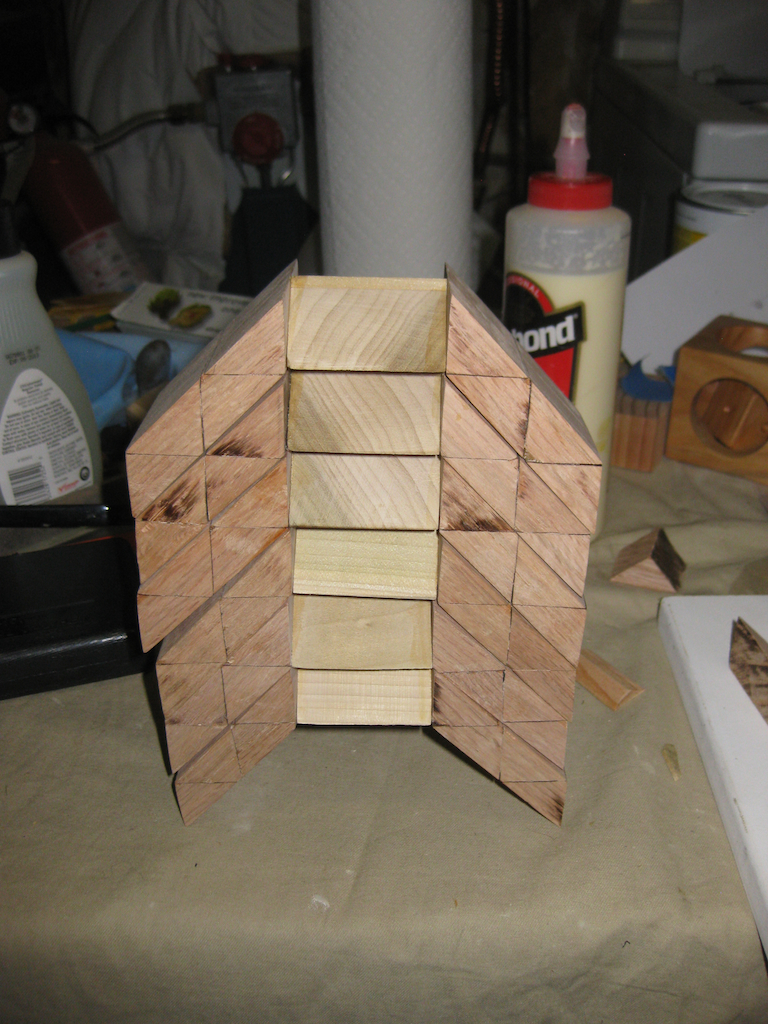
At the end of the last post, I’d finished making all the individual parts that would make up the puzzle, and was ready to start putting things together. The number of individual parts has reduced from the original 54 to just 18, but things are no less daunting at this stage.

All 18 pieces ready for final glueup

All 18 pieces ready for final glueup

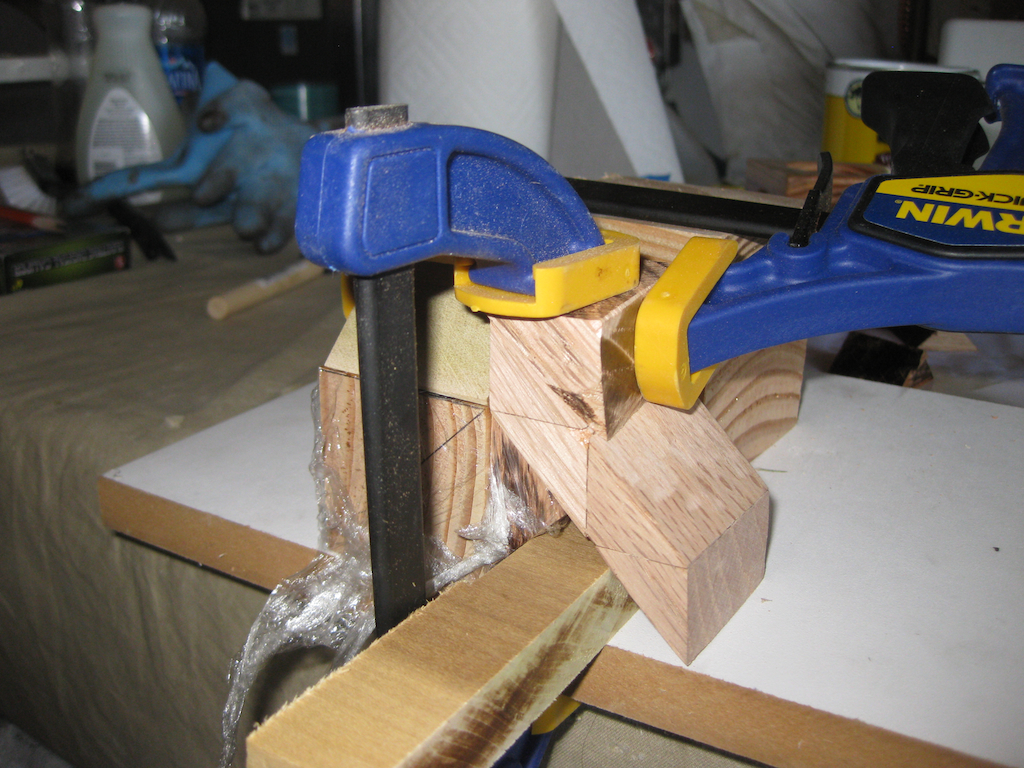
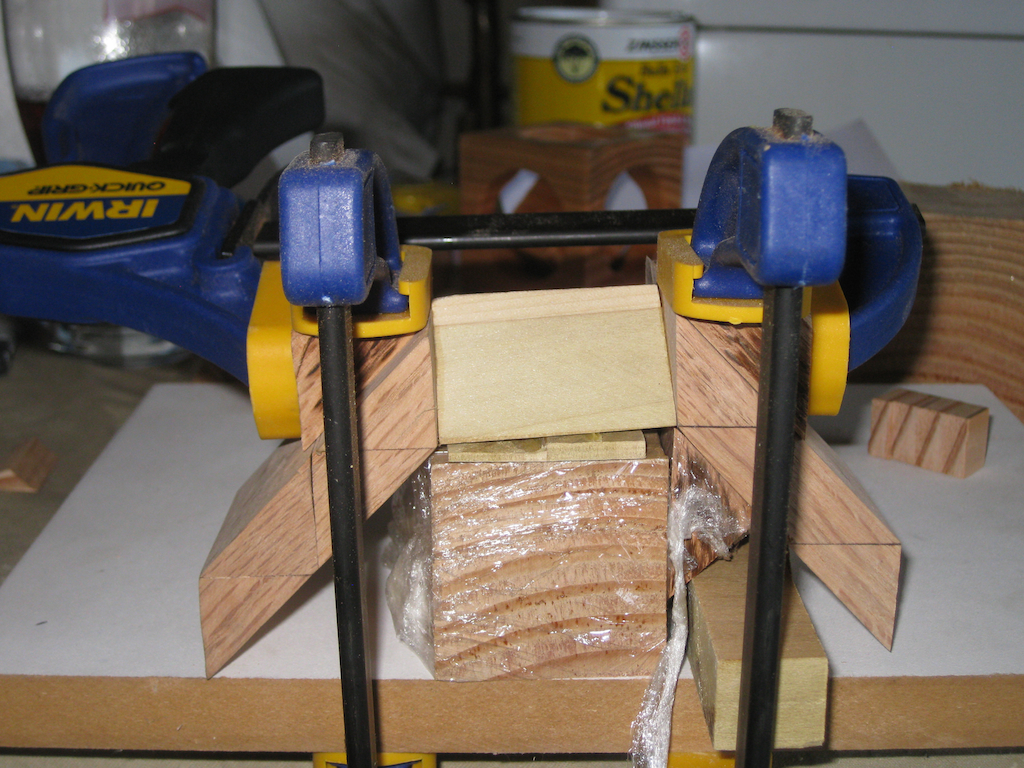
The biggest problem remaining was how on earth I was going to glue the ends to the bridge. There are no square ends on this thing that you can put a clamp on, so it makes holding the pieces together a real challenge. Building a gluing jig was probably the right way to go, but even that made for some interesting clamping!

Gluing Jig

Gluing Jig

I decided not to try to make a jig that would glue both ends at the same time. I wanted something simple that would support the pieces as I glued them, and in the end, the jig was much simpler than I thought it needed to be. Some of the original scrap pieces I had left served fairly well, and also meant that I could glue both sides at the same time. I’m not an expert woodworker, I don’t have a lot of ‘spare’ or scrap wood lying about (remember I’m only starting out doing this, so no reserve of wood to pick from) so this did the job.

Gluing Jig, yes it's ugly!

Gluing Jig, yes it's ugly!

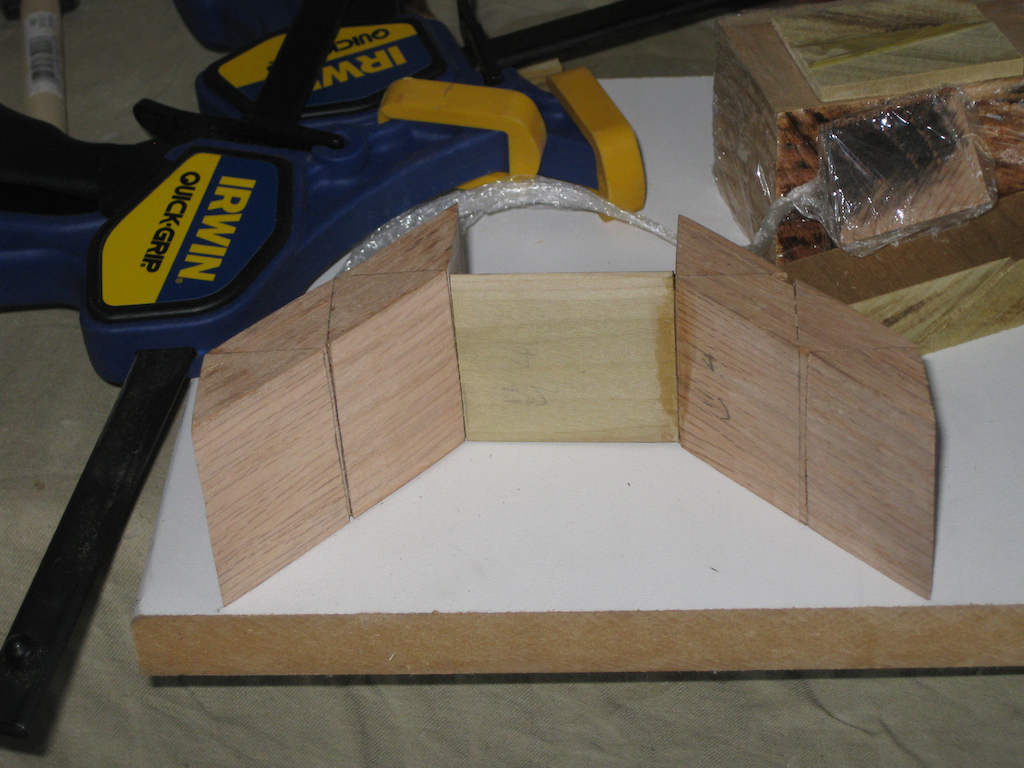
Sticking with the very simple jig above, I could glue one end at a time and create the pieces. Granted if I were doing this in bulk, or attempting to create something I could sell, I’d be thinking about a more efficient scheme. For now, this works, and is all I needed.

One down, 5 to go!

The first finished piece

The first finished piece

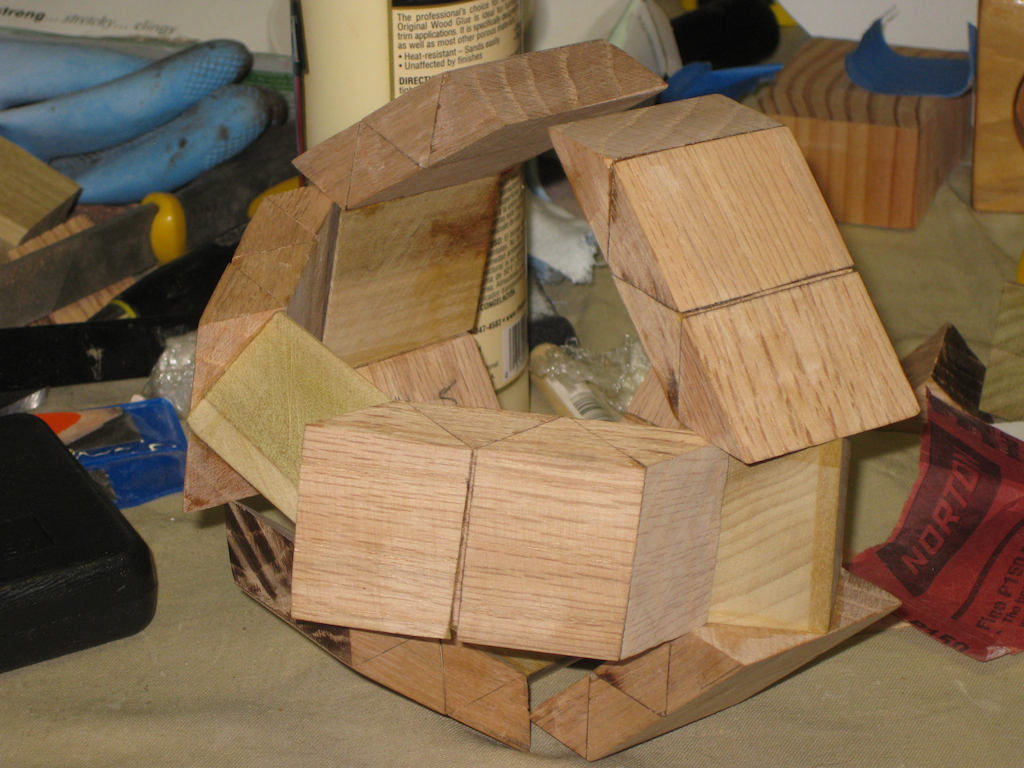
After several hours over the weekend (since I do all this in my spare time, which I don’t have a lot of just now!) I had 6 pieces glued up and ready for a test fit. Yes, the time had come to see how much of a mess I’d made of my first ever serious attempt at making a puzzle!

The six finished pieces

The six finished pieces

With some hesitancy, I took the plunge and tried to fit the pieces together into the final puzzle … It’s a tight fit, but things were taking shape! I spent a little time with the sandpaper and sanded the pieces down just a hair. Using my digital calipers, the bridge was 1.333″, and the edges were around 1.49″. So there really wasn’t a lot in it, but enough that some work was required. A little bit of sanding on each of the pieces, and I had them down to around 1.32″.

Test fit

Test fit

And here the story ends unfortunately. When I tried to put all six pieces together, tiny inaccuracies in the fit of the pieces, and minute misalignment between the ends meant that the whole puzzle is just enough off that it’s not going to go together and slide the way it is supposed to. Despite the end result, I don’t consider this a failure. You may remember back in the first post, I said that this was a learning experience for me. And I’ve learned a lot through the process. I’m sure I’ll come back to this puzzle in the future, and expect version two to be better!

Cube Vinco

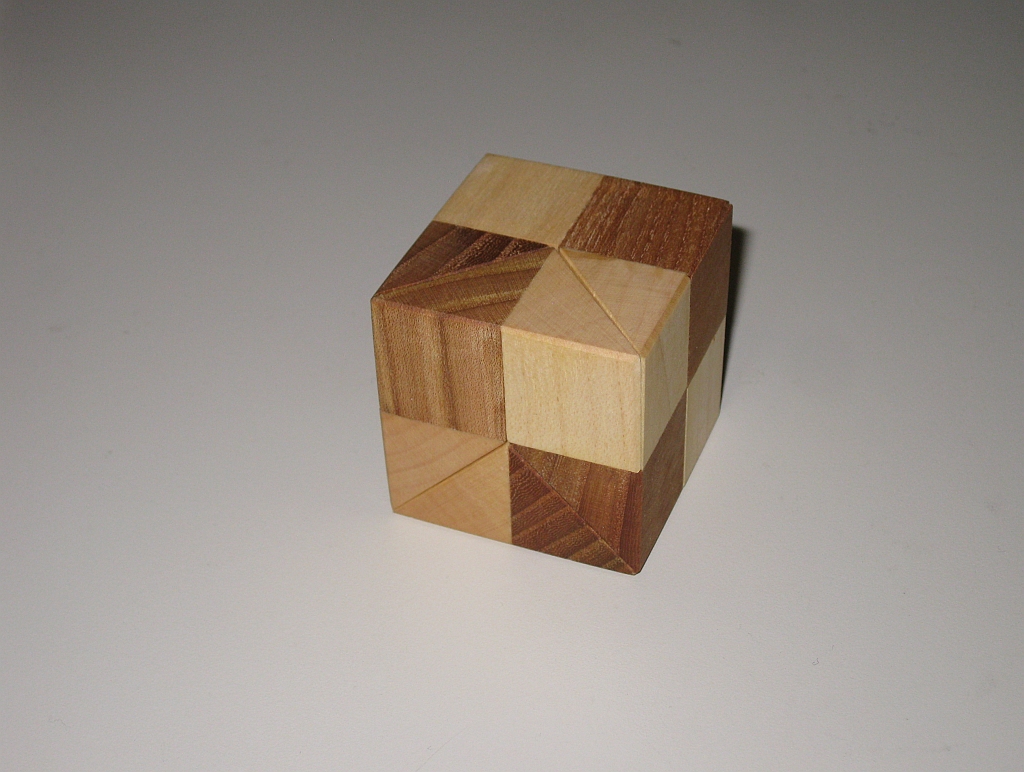
Cube Vinco is a beautifully made puzzle from Vaclav Obsivac. This modest wooden puzzle unlike many other of Vinco’s puzzles is not a coordinate motion, but rather a take apart puzzle, and is made just as well as any of the other items he sells. I got this one from Puzzle Master, for around $15, or you can get it from Vinco directly.

Cube Vinco

Cube Vinco

This is one of the smaller puzzles from Vinco at only 1 3/4″ cubed. The woods used are fairly plain, however the workmanship is excellent. Each of the four pieces fits together very tightly, so that although the seams are easily visible, determining how to take this puzzle apart is not obvious.

One of the nice features of the way this puzzle is created is that most people when they pick it up will hold it such that as they pull on the sides to try to free the pieces, they will actually be holding onto both sides of the same piece, and in fact holding it even more firmly together, making separation impossible. Even when you know how the pieces go together, it takes a few tries to be able to find the correct finger hold to be able to start moving the pieces apart.

Cube Vinco Halves

Cube Vinco Halves

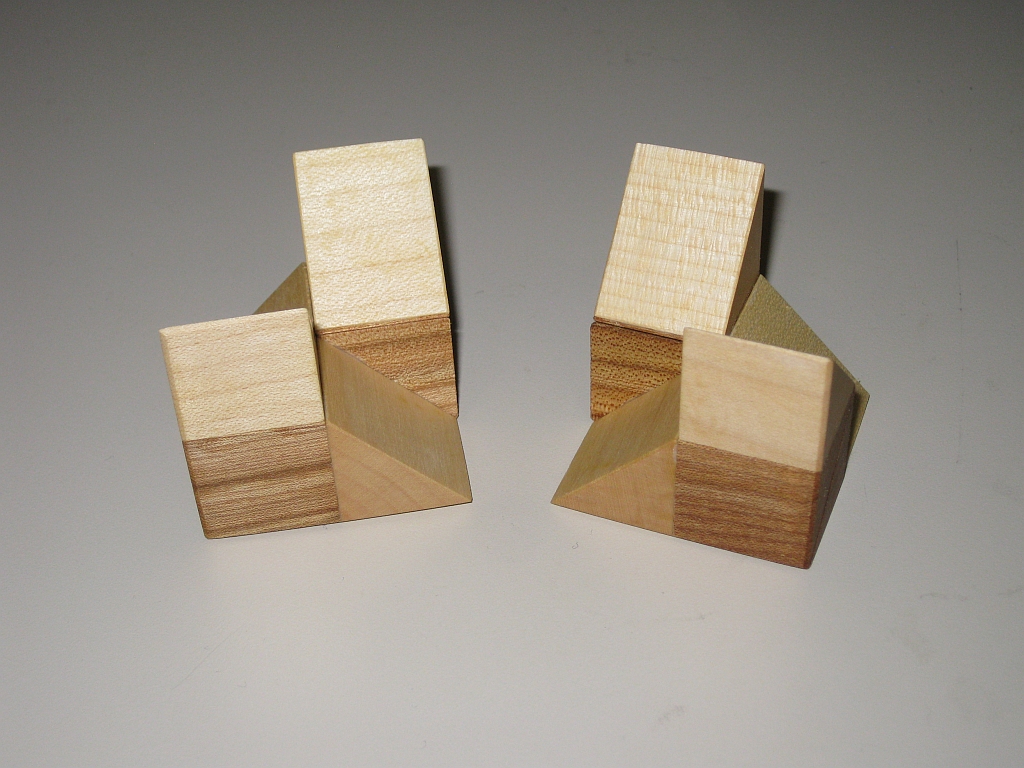
The puzzle is made up of four pieces, which are a set of two mirrored pairs. The only way to put the puzzle together is to create these pairs, then in turn join them together to create the finished cube.

Cube Vinco Halves

Cube Vinco Pieces

Without seeing the pieces being taken apart, this could be a difficult puzzle to put together, even with only four pieces. In fact when taking it apart, due to the very snug fit of the pieces, more often than not, the pieces fly apart in your hands (and across the room) so you’re not going to see how the pieces were assembled.

Puzzle Master rates this as a Level 8/10 puzzle – Demanding, however I have to think this is a little high. While it’s nicely made, quoting Stewart Coffin, “It is more of an amusement than a puzzle” ( taken from “The Puzzling World of Polyhedral Dissections”). That said, I still think this is a great puzzle to own, and at such a low price how can you resist adding it to your collection!