Tag Archives: Wood

Karakuri Small Box #1

When I won the auction on Puzzle Paradise recently for the Stickman Box #2, Robert was kind enough to throw a small extra into the package when he shipped it to me. He didn’t mention what it was, only that he’d include a little extra for me to pass around at Puzzle Parties.

When to package arrived, I found buried amongst the packing peanuts a Karakuri Small Box #1.

Karakuri Small Box #1

Karakuri Small Box #1

There are a number of different versions of this particular box, with a different outer appearance. The internal mechanisms however are the same. This particular box is KK-1-3 and is made from Keyaki, Katura and Walnut.

This should be a really simple box to open. The information from the Karakuri group themselves is “At first, we produced around 10 works through trial and error to create “Karakuri Small Box Series”. This was the most popular work among those works. If you know the solution, you can open it with only 3 moves. But, almost no one can open it without knowing the solution. We named it just “#1″, so we wouldn’t give you a hint with the name.”

I have to agree, that this is a tough little box. It took me around 20 minutes to open over several weeks messing with it for a few minutes each night before I went to bed to open it. The solution is really simple, but only the first move is obvious. After that two clever little tricks are used to make opening the box a little harder.

I really like this box, and it brought a smile to my face when I finally opened it. The Karakuri small boxes are a great way to get an affordable Japanese puzzle box that not only looks good, but has enough of a challenge to slow you down.

These can be bought from a number of sources including directly from the Karakuri Creation Group or through Puzzle Box world or Puzzle Master .

Building a Matrioshka (Part 1)

This entry is part 1 of 3 in the series Building a MaTRIOshka

I’ve had a bit of a break from working on my own puzzles, as work and life in general have been rather hectic meaning I’ve just not had the time. However over the Easter weekend, I had three whole days that I could do something puzzle related. I’ve still not been able to pick up some wood to get back to working on my burr cube, however I did have a lump of oak left over from the box project my oldest son wanted to make as a birthday present.

After reading Kevin’s review of the Matrioshka here. I noticed that the puzzle is entirely made of triangles. Now I just happened to have a number of leftover ‘scrap’ that would fit the bill perfectly from the box. So I sat down with a pencil and paper to figure out how Vinco created his box, and see if I could replicate it.

Note: This project is purely for my own learning, and experience in working with wood to build puzzles, at the scale I need to be working at to create my own puzzles. This is not for sale. If you like Vinco’s puzzles, please buy them, they really are great puzzles, and the craftsmanship is superb. I own several of Vinco’s puzzles, and highly recommend them.

With all that said, on to the build …

To break down how the puzzle is built, we need some good photos. Kevin happened to upload some excellent pictures, and I’ll not repost them here. Go read his review and have a look if you’re interested. The bottom line is that the outer shell is made of 54 idential pieces. They are equilateral triangles on the edge, with a piece length that is twice the length of the side. So, I set about creating 54 identical pieces.

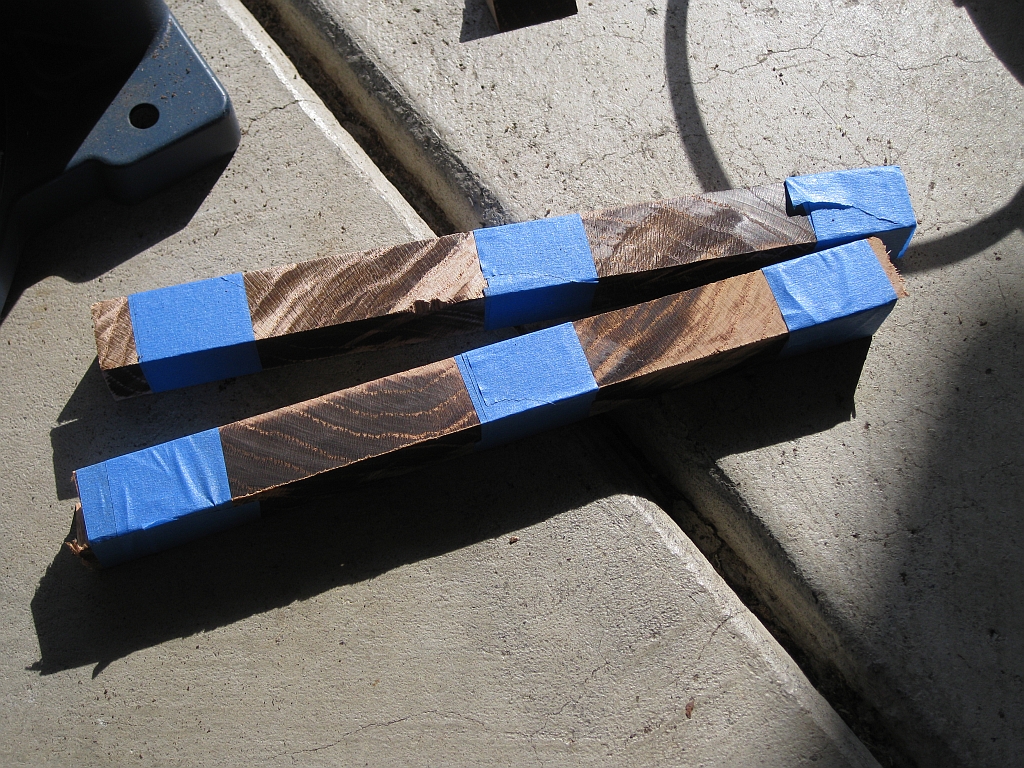
The first thing was to cut the wedge shaped strips of wood which I would eventually cut to the correct length. I took out my mitre saw, and set about making the cuts. One small issue I had was that the amount of the blade in contact with the wood generated a lot of heat, which warped the strips I was cutting. As a result, I had to tape two together as they cooled to make sure the wood was going to end up straight again when I was ready to cut it to length.

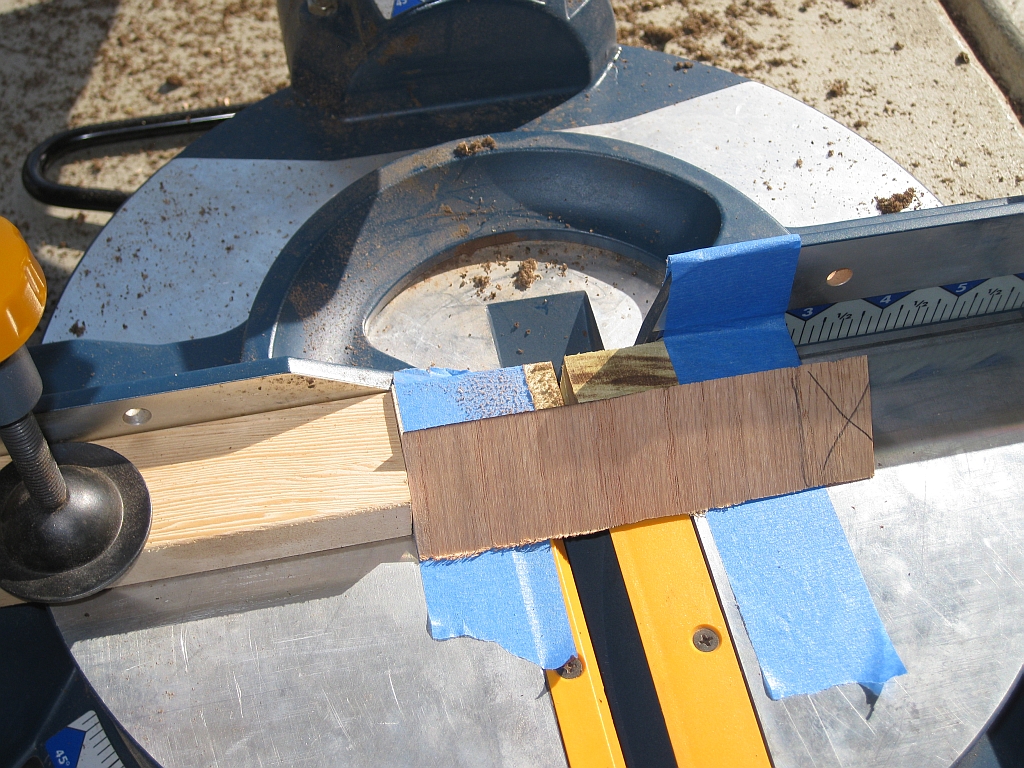
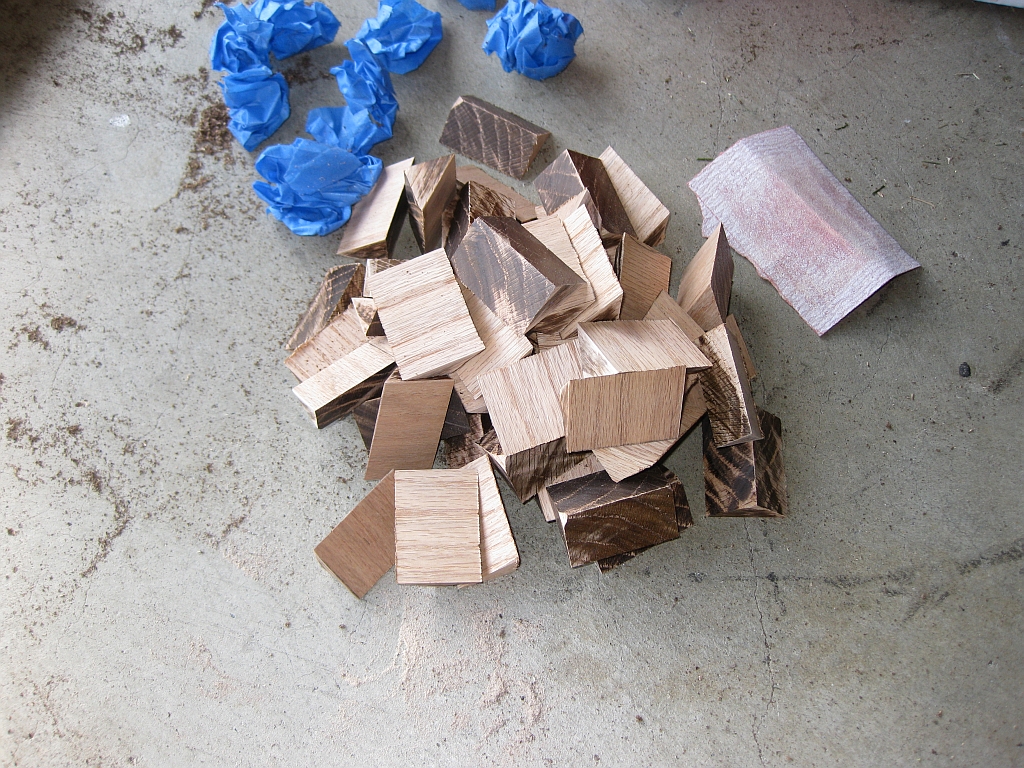
With all the strips cut, I had to cut them down to the correct size for each piece. I measured one piece, cut it and checked that it was exactly right. With that done, all I had to do was clamp down a stop, put a sacrificial fence in place and start cutting. As you’ll see from the photo, I used a scrap piece of wood as a zero tolerance fence to avoid chipout on the pieces I was cutting. It just saves some time later.

After about half an hour, I had a reasonable pile of pieces next to me, and it was time to do a little rough sanding before gluing up the pieces.

With the rough edges sanded down so that things were a bit neater, and all the pieces labelled to make the glue-up easier, it was time to get the clamps out. The shape of the pieces I was gluing up made things a little more challenging, but with a few of the scraps from cutting the pieces out, life was made simpler again.
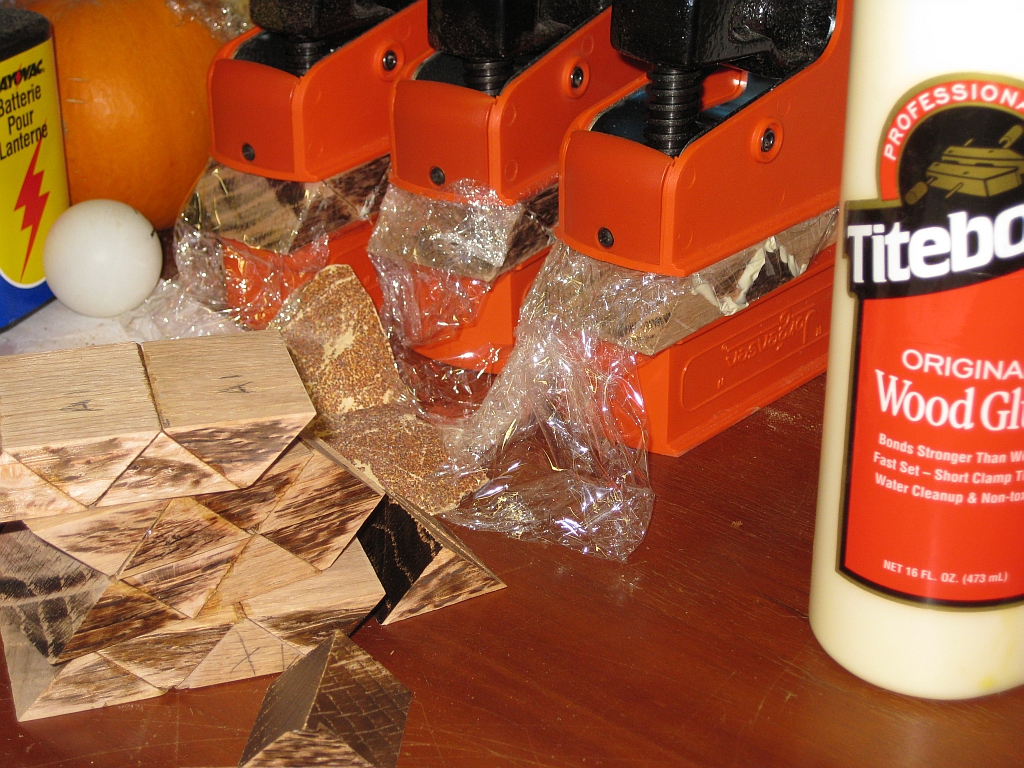

It’s worth noting at this point, that all these pieces are oversized. This gives me a little bit of material to work with so that I can sand and fine tune all the pieces. For this to look good, it has to have a tight(ish) fit, and the only way to do that is to make sure the pieces are all the same. Despite using the fence, and stops on the saw, not all my pieces came out to be the same size. After all, I’m still learning, and you could say that this is an ambitious project. That said, how do we learn if we don’t push ourselves?

In the next post, I’ll continue with building the Matrioshka and think about putting each of the six pieces together that will form the final puzzle.
Wood is sharp

This is not directly related to puzzles, but I felt it worth posting regardless as it does tie in to my progress from puzzle solver to puzzle designer.

Last night I was asked by my oldest son to help him to make a box for my youngest son who’s 13 today. So given that I plan to look at building puzzle boxes, that’s my tenuous link for posting this. (Run with it … there’s good info in here!)

So he wanted to make a box to hold his brothers Bakugan toys. A nice gesture, and who doesn’t want more storage, especially when it’s made from wood? We picked up some Red Oak to use as the sides and some Yellow Poplar as a base. The different coloured woods should give a nice enough contrast, and given that this was last minute, it had to be something we could put together in one night. Nothing like a last minute challenge!

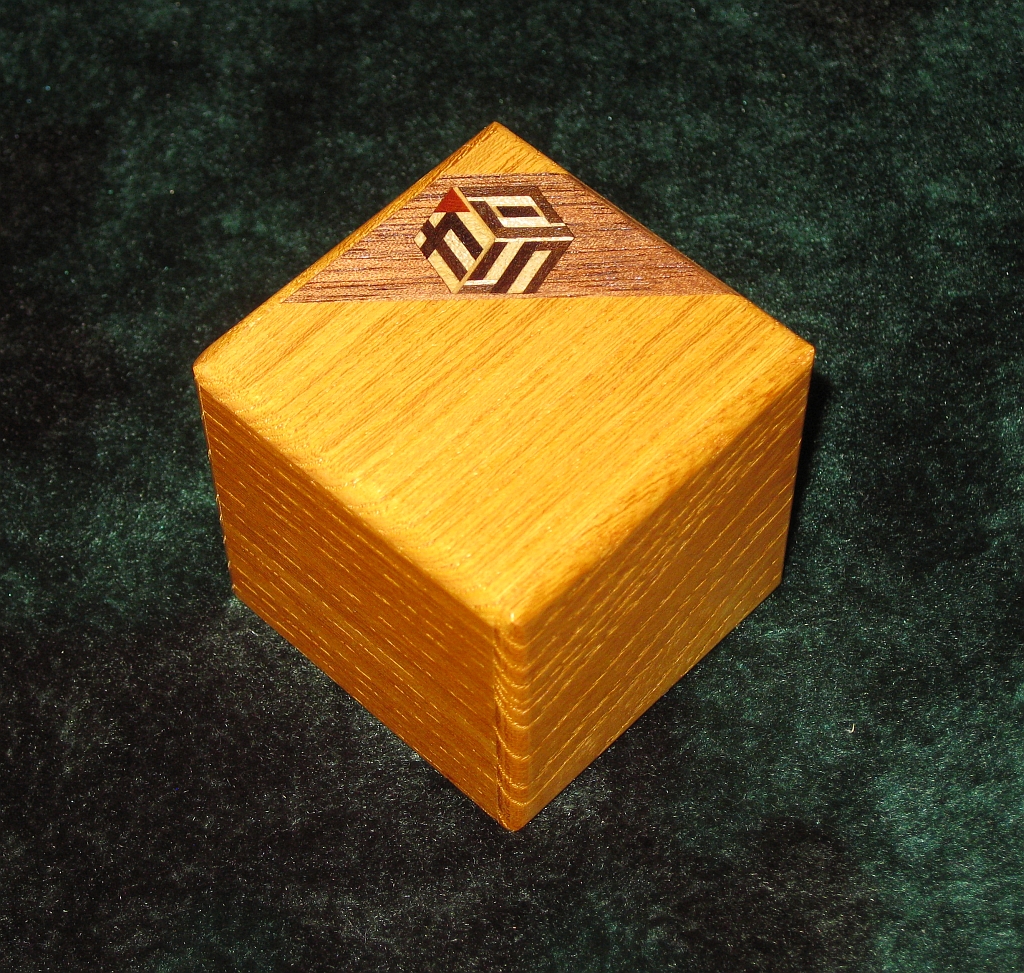
Given that this was to be a simple box, I went with a straight forward 45 degree cut at each corner to create the outside of the box, which would be glued together creating the walls. After the first piece was cut, I picked it up to move it to the side, and in doing so, sliced my finger open at the side of the nail. But it’s only wood, surely it can’t be that sharp?

The problem is that the Red Oak has a hardness of 1290, and is a reasonably dense wood. While it’s not the most dense, or hard, it’s substantial. What that meant was that when we’d cut the 45 degree angle, the thinnest point was really thin, and it kept its edge. IT effectively created a knife on edge of the cut.

So if you’re looking at building puzzles, and you’re going to put angles in there, remember, wood is sharp.

For all those experienced wood workers out there who are currently thinking “Well duh, of course it is”, I apologise. I am neither an experienced woodworker, or puzzle crafter. I learned something very useful last night, and hopefully others will take something from my experience.

More real puzzle stuff coming soon.

Stickman #2

If you read my post on the Puzzle Paradise auction, then you’ll already know that I had won this puzzle, and was eagerly waiting it’s arrival. Before I delve into the review, there’s a few things I want to mention.

This puzzle came directly from Robert Yarger’s personal collection, so I had the pleasure of talking directly with Robert about the puzzle. Robert is a great person to deal with. He was really open about the puzzle, and we have chatted back and forth since the auction finished. Not only did he send #2, but he also threw in a Karakuri small box as well for me to take to puzzle parties for anyone there to have a go at.

While we were talking, Robert mentioned that Stickman #2 was one of his favourite designs, due to the rhythm of the moves when opening it. He plays guitar as do I, and likened it to playing “Babe I’m Going to Leave You”, by Zepplin. Having been able to play with it myself, I know what he means.

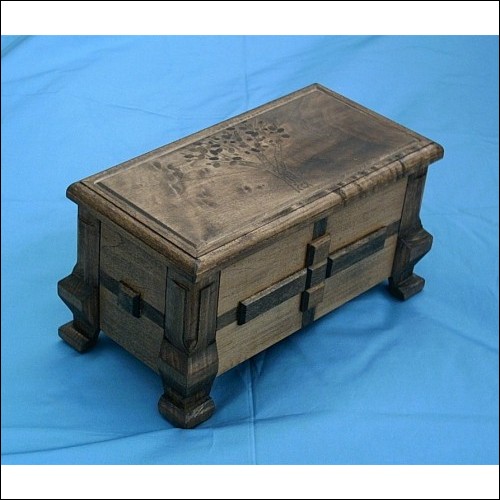
So the puzzle itself is a good size, at 11″ x 6″ x 5″. And it’s solid. This is not a puzzle you would be worried about passing to someone to try. One small thing to note is that one of the sliders (the one on the back of the puzzle) is a little loose, and tends to move on it’s own, with the help of gravity. That does mean that for some of the moves, you need to take a little care that it doesn’t move before you want it to. On the whole not a big issue, but it does mean you have to watch what you’re doing.

Solving the puzzle for the first time is really nice. There’s a few obvious moves, then you hit a wall. There seems to be nothing else to do, but you’ve not opened the box yet. After a little more exploring, you find out what to do, and get a bit further. Another 10 minutes of playing and you can remove the first hidden compartment, which reveals the second … and third although you don’t realise it at first!

Knowing that there are 4 hidden compartments in the box, you know there is more to find, but at this point nothing else will move. The final step is really clever and needs some out of the box thinking which I really like. Overall, I really enjoyed this and am very pleased to have it in my collection. Robert tells me that it can be opened in 30 seconds (all 55 moves) so I have some practice to do!

There are a couple of things that disappointed me slightly. The box comes with a small book which gives the number of the box in the series, and a little bit of background to Stickman. That’s great. But The next page is the start of the solution. Now I quite happily put the book down without reading the solution, but I’d rather the solution had been sealed so you had to make the decision to read it, rather than it being a little too easy. Again, not a big issue, but something I’d rather have seen done differently.

The last thing is a little oddity, which I’ll have to ask Robert about. The book tells me I have number 24/50. Stamped on the bottom of the box along with the Stickman logo is 18. I have to believe that this means it’s #18 out of 50, but I’m not sure. Again not an issue but a little inconsistency.

If you get the chance to own one of these, then I’d say go for it, you’ll not be disappointed. And Robert, if I’m in your neck of the woods, or you’re out by me, the beer is on me.

Everyone loves Cake.

This time I have a review of the four Karakuri Cake Boxes, 1 through 4. I picked these up from PuzzleBoxWorld.Com a family run business specialising in puzzle boxes.

I am already a member of the KaraKuri Club, however these were at a good price, and I can’t really say no to adding new puzzle boxes to my collection.

Each box is an inch wide by 2 inches long, so none of these are big boxes, and by Japanese measurements would be considered as 2 sun boxes.

In general all the boxes are superbly made, and each has it’s own unique opening mechanism, making all of them worth having. None of them are difficult to open, requiring no more than 3 moves, so I had each of them open in less than a minute. If you like this style of puzzle, then I’d say they’re worth picking up, but don’t expect them to challenge you.

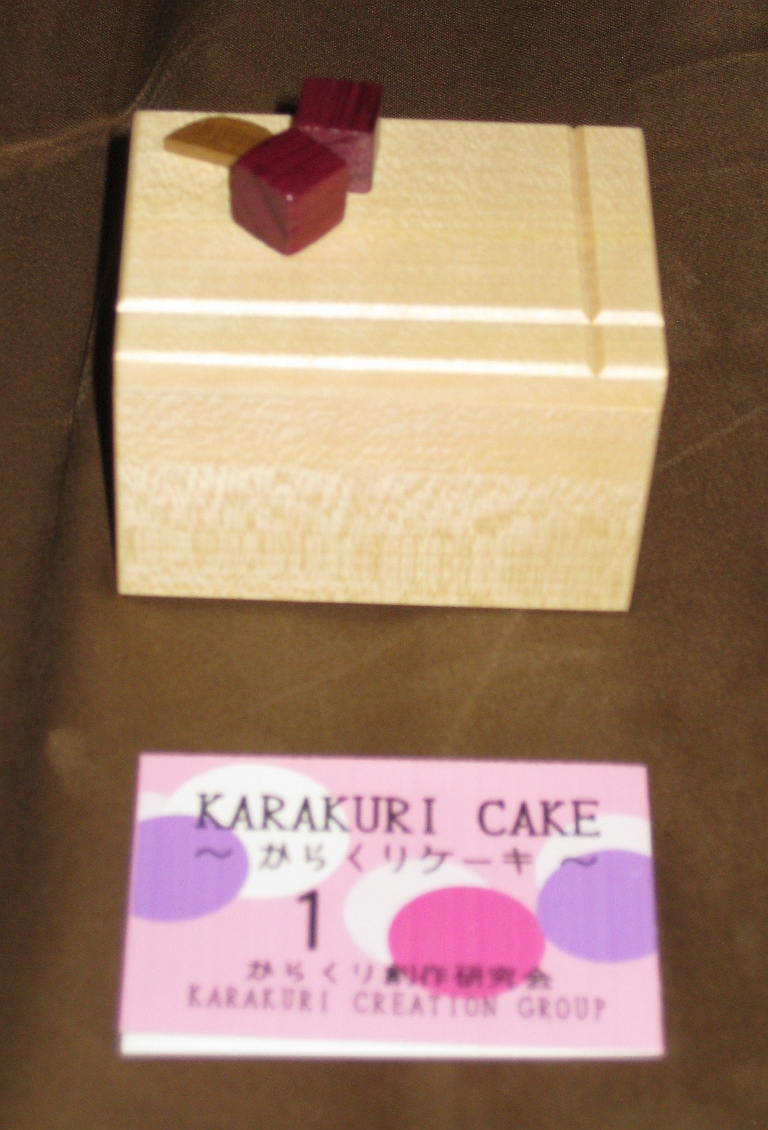
The first box entitled “Cheese Cake” is what I would consider the most ‘standard’ of the boxes to open. It follows the usual pattern of sliding end panels, and is fun for it’s design more than it’s solution.

The second in the series entitled “Fruit Cake”, and it’s easy to see why, is a little unconventional. At first, the lid will move a millimetre and no more. There seems to be nothing else which moves, and it leaves you wondering. After a short time exploring, you’ll come across the solution. It’s not a standard puzzle box, but does follow a fairly simple locking mechanism that is well enough hidden to keep people guessing.

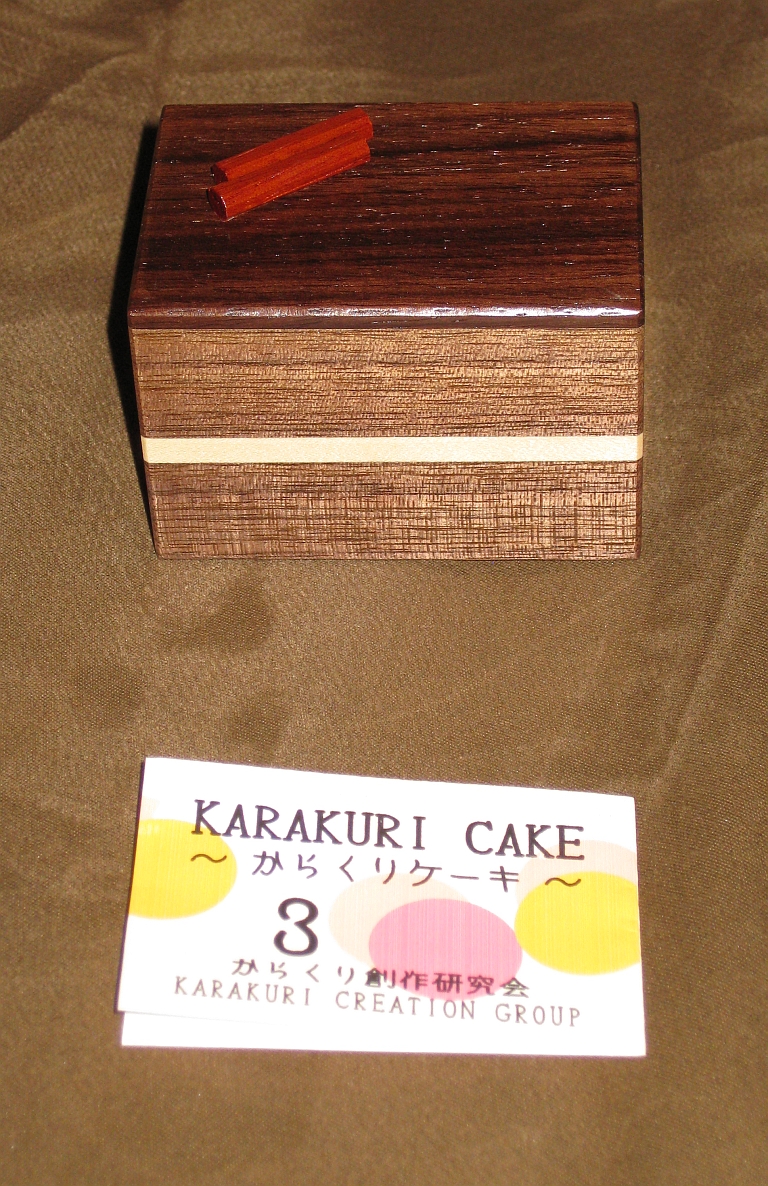
Number three in the series is entitled “Chocolate Cake”, and judging by the dark brown wood used, it would be a fairly rich cake at that. No huge surprises here, it’s pretty standard and won’t pose any real challenge to someone familiar with puzzle boxes. Again more fun for its looks than the challenge.

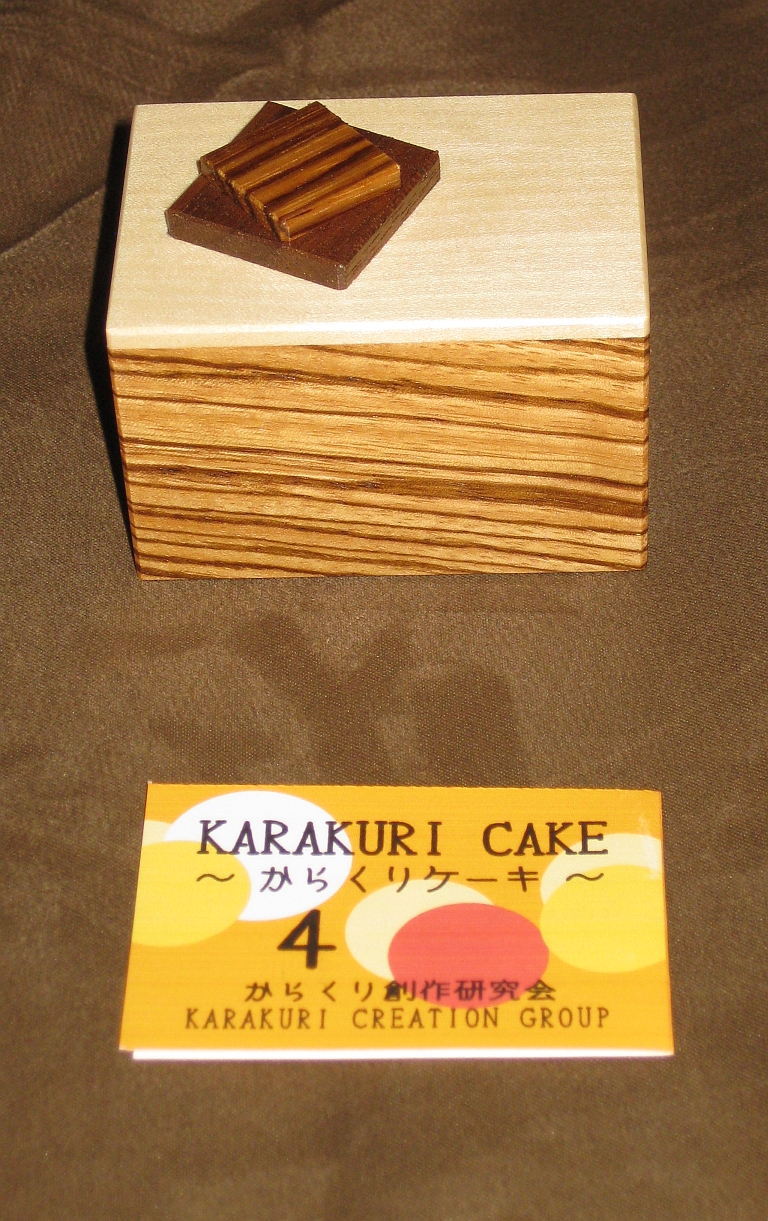
Finally we have “Marble Cake”. The Zebra wood used in this box giving it it’s distinctive look. This one had me stumped for the longest time. When you’ve been looking for and finding sliding panels, to find that none of the panels on this box move at all tends to throw you off the solution. I think this is my favourite of the four just because of the mechanism used. If you were only to buy one, I’d make it this one.

Vinco Cross Box

So little has changed with the state of my own puzzle, with many other jobs needing done, I’ve not had the time to work on it. However here’s a review of Vinco’s Cross box instead.

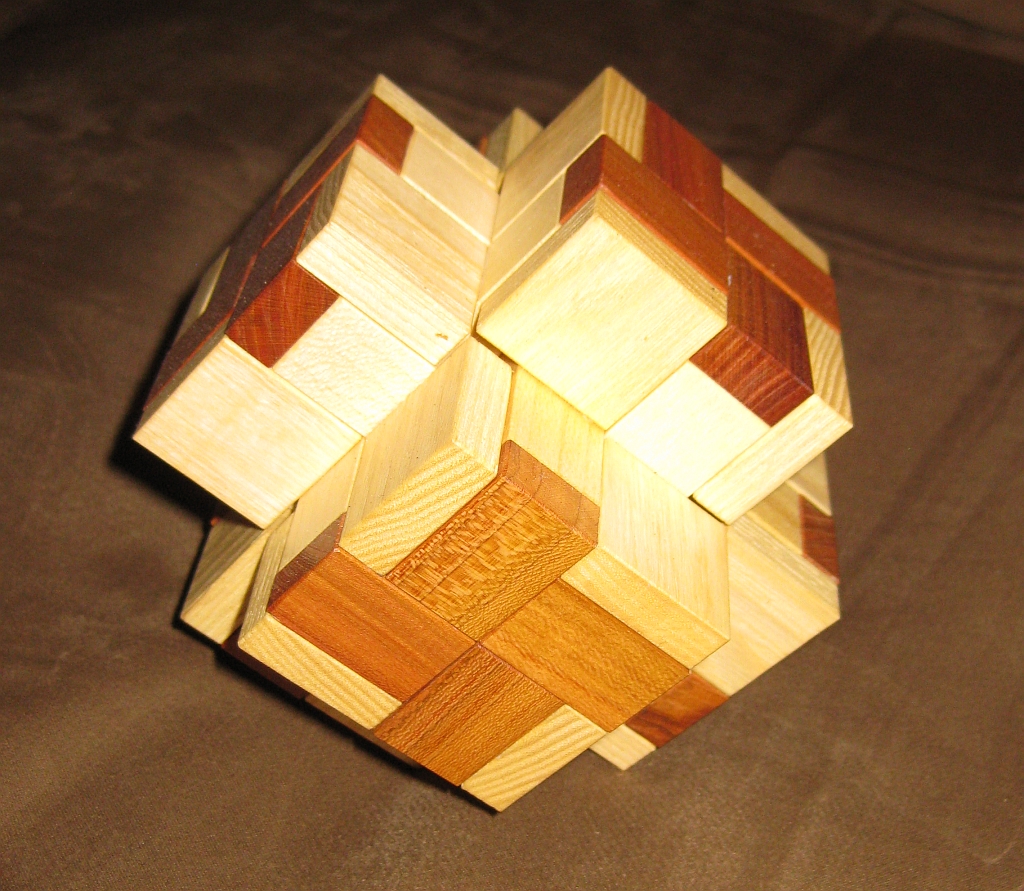
Vinco's Cross Box in the closed position

Vinco’s Cross Box in the closed position

If you’re not familiar with Vinco, these are mostly wooden puzzles made by Vaclav Obsivac, who is generally regarded as the master of coordinate motion puzzles. As you can see from the photograph, the work is superb. These are beautifully made wooden puzzles, which for the most part are composites of many different woods glued together to make the puzzles. One of the things that I hear most often about these puzzles is that people think they must be very expensive. The craftsmanship is excellent, and they carry an air of quality about them. The truth is that they are not that expensive, with each piece being less than $50 on average.

Cross Box, is made from six identical pieces which require a coordinate motion to assemble and disassemble. When I first got this puzzle, it was very tight. The finish used had left the pieces very slightly tacky, and to take it apart, I had to get my fingers inside the puzzle, and pull with significant force. After it was taken apart once, the motion is much smoother, and it now almost explodes when you slide the pieces apart.

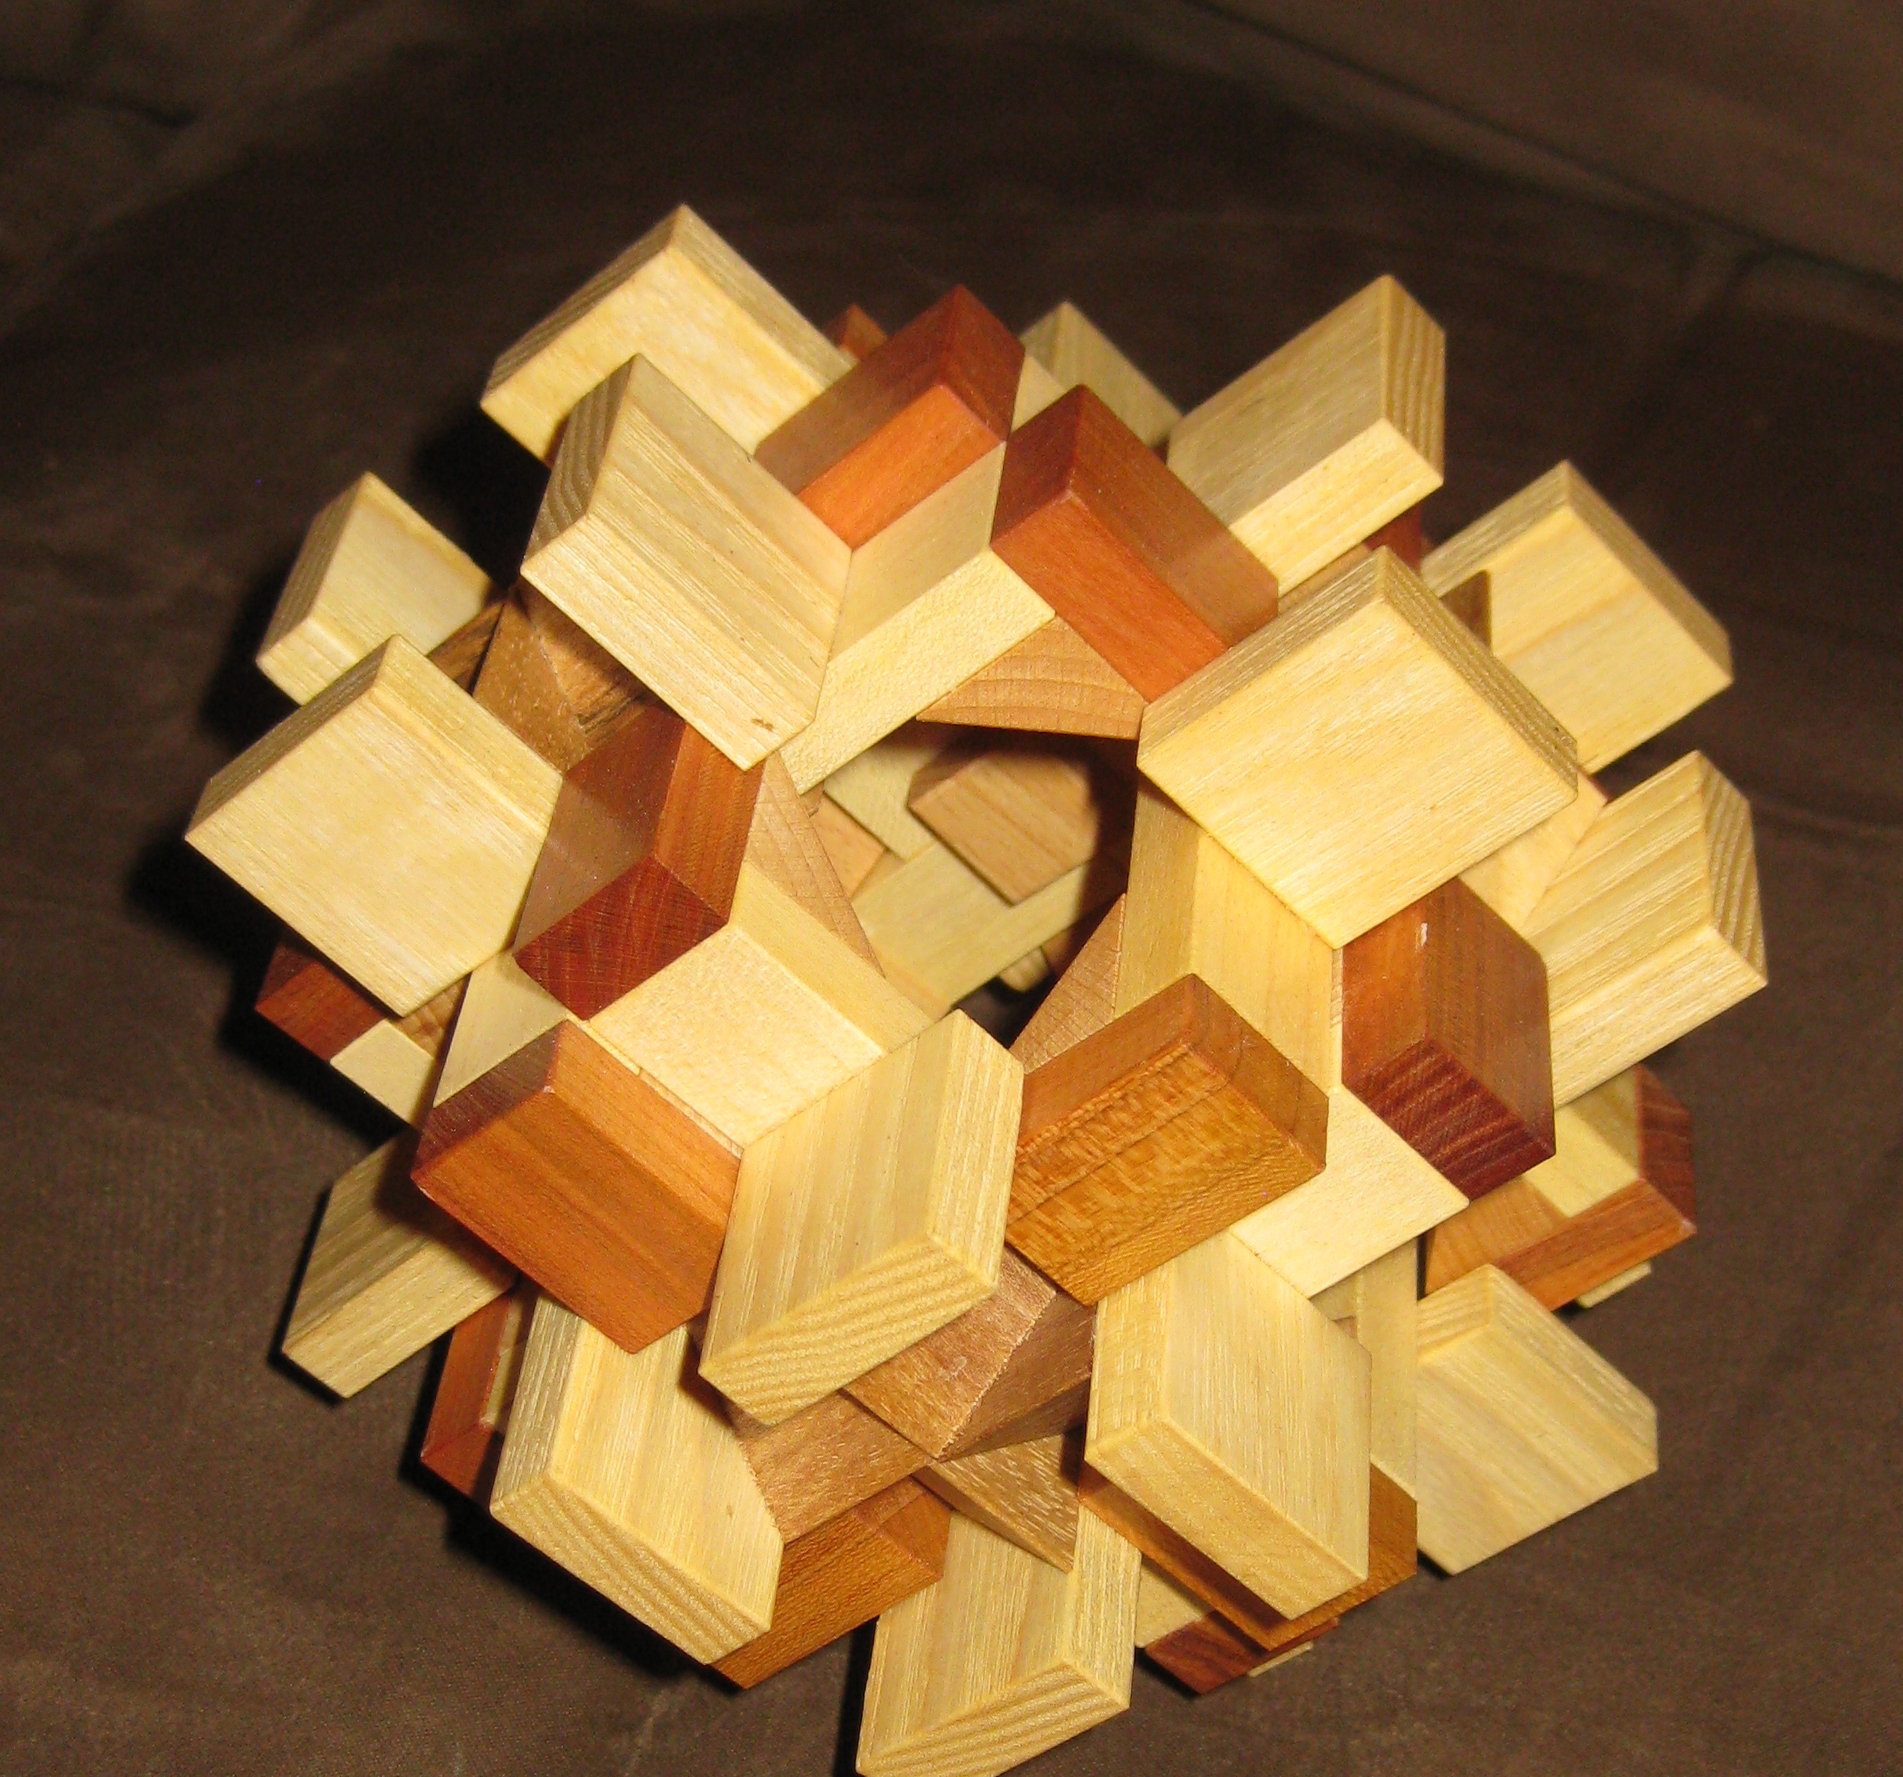
Almost opened to the point of collapse

Almost opened to the point of collapse

As you can see, when the puzzle starts to come apart, it increases significantly in size. Each piece sliding against four others to create the puzzle. This isn’t particularly difficult to put together, and only took me a few minutes. The shape is fairly stable with a couple of the sides in place, and it makes it possible to work without needing a jig or rubber bands to hold everything in place as you put it back together.

Overall, I really like this piece. It’s a great show piece, and when you take it apart, people seem quite amazed at just how much bigger it becomes. Well worth adding this or any other Vinco to your collection.

I bought this from PuzzleMaster who carry a selection of Vinco’s puzzles.