The Opening Bat by Mr Puzzle is a pretty serious sequential discovery puzzle which was ten years in the making. When the puzzle was first released in 2010 I looked longingly at it, but had to resist the urge to buy one as I couldn’t justify it at the time. A year later, and Brian still had a few copies available. Well the money was burning a hole in my pocket, and even though I’m not a huge cricket fan (despite playing in my youth) I’d heard a lot of good things about the puzzle, so took the plunge and ordered a copy.
A few weeks later, the puzzle arrived very carefully wrapped and I excitedly opened the box to find the bat, and wickets securely stowed along with a couple of other puzzles I’d ordered at the same time. To give you an idea of scale and the look and feel of the puzzle, I’ve put together the video below. Read on for my full thoughts, and a rather scary moment when I was solving the puzzle for the first time.
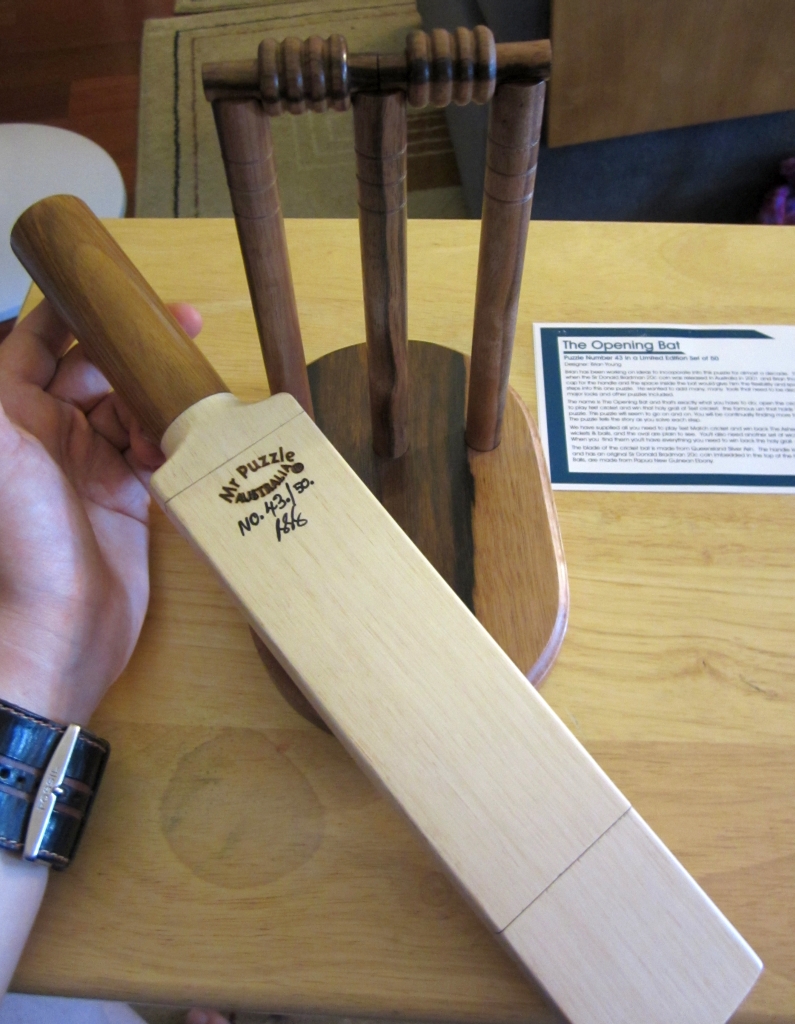
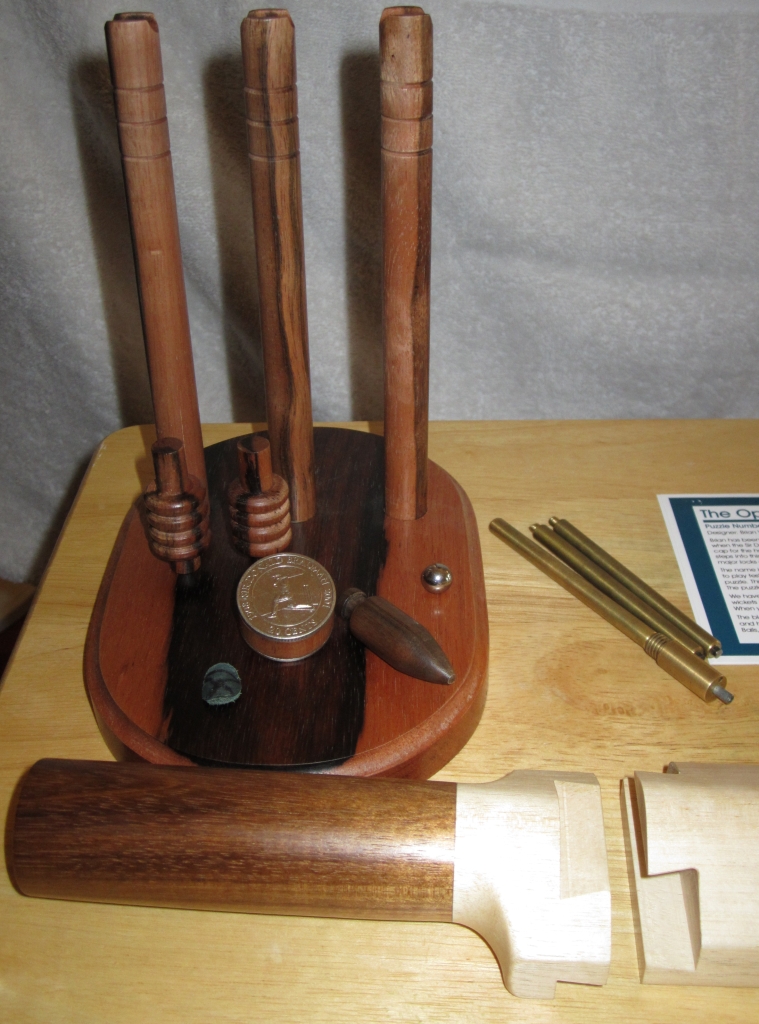
As you can see from the video, the puzzle is not small. The Bat measures 13.75″ x 2.3″ x 1.3″, the Oval is 7.25″ x 5″ and the wickets stand 7.9″ tall. Limited to just 50 copies, there’s not too many of these around, so I’m pleased to have been able to get one. Brian tries to use local Australian woods wherever possible, and The Opening Bat is no exception. Normally cricket bats are made from willow, as it stands up well to the impacts from the hard cricket ball. Unfortunately it’s not a great wood for making puzzles from. Brian uses Queensland Silver Ash for the blade of the bat in the puzzle. The handle is Tasmanian Blackwood and the Oval, Wickets and Bails are all Papua New Guinean Ebony. Overall it’s a stunning looking puzzle, and given it’s size certainly has a presence on my puzzle shelves. (Not to mention that I had to re-arrange the shelves somewhat to accommodate its height!) There is a small brass pin embedded in the base of the oval which matches with a similar hole in the bottom of the bat, which allows the bat to sit as though it is resting against the wickets. It’s a nice touch and makes for a great display piece.
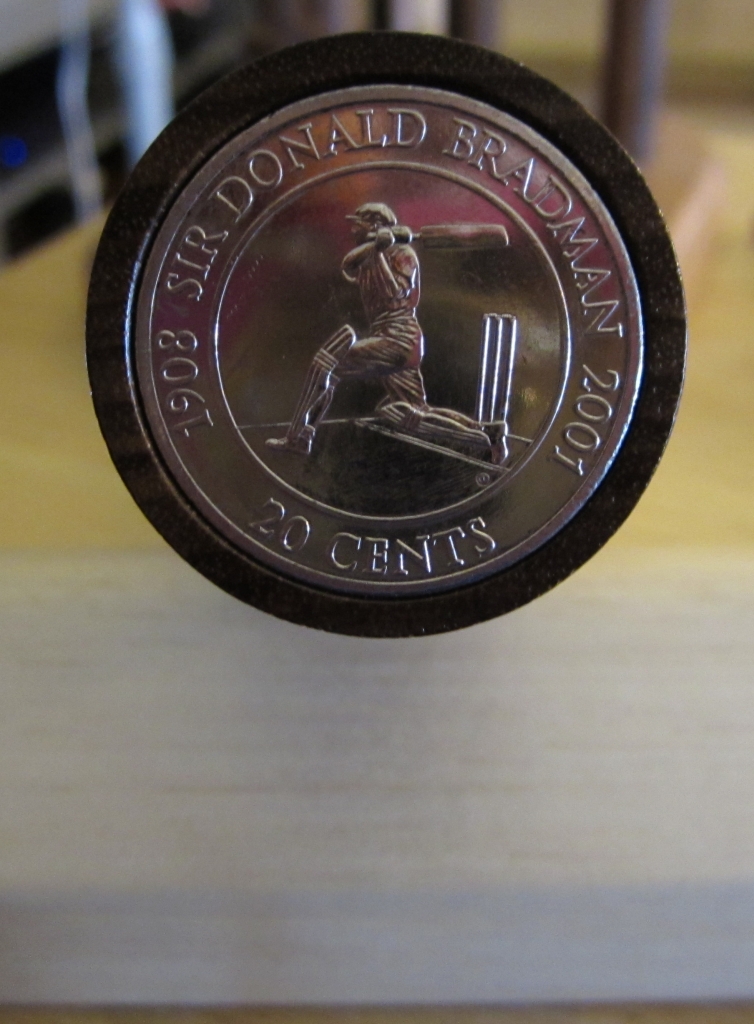
The final goal of the puzzle is to remove the Sir Donald Bradman coin from the top of the handle. There’s no chance of prising the coin out of its current spot, and certainly not without damaging the handle, so I’ll save you the trouble of thinking like that and tell you to forget that idea now. Besides, if you could get to the end of the puzzle without taking the journey then you’d really be missing out.
The coin itself is really the inspiration for the puzzle and according to Brian, the first ideas for the puzzle came around when the coin was released in 2001. From that point, it seems like Brian’s mind went into overdrive and he continued to add elements to the puzzle. Now some people may disagree given the difficulty, but I for one am pretty happy with all the work Brian put into the puzzle. The size and shape of the bat has given Brian a lot of space to work with, and he’s crammed a lot of steps into that space. The puzzle consists of three main puzzle locks, which must be solved to release the coin at the top of the handle. However there are many more steps along the way to find all the tools required to open each lock. In Brian’s own words, “As far as sequential discovery puzzles go this one’s on steroids!”
When it came to solving the puzzle, I’ll admit it took around two months for me to solve the puzzle with probably around 5-6 hours of time actually spent working on the puzzle. Why so long? Well sadly work had been hectic and I simply didn’t have the time to sit and play with puzzles. As a result there were long periods where the puzzle and the tools I’d found sat on a table taunting me with my lack of progress.
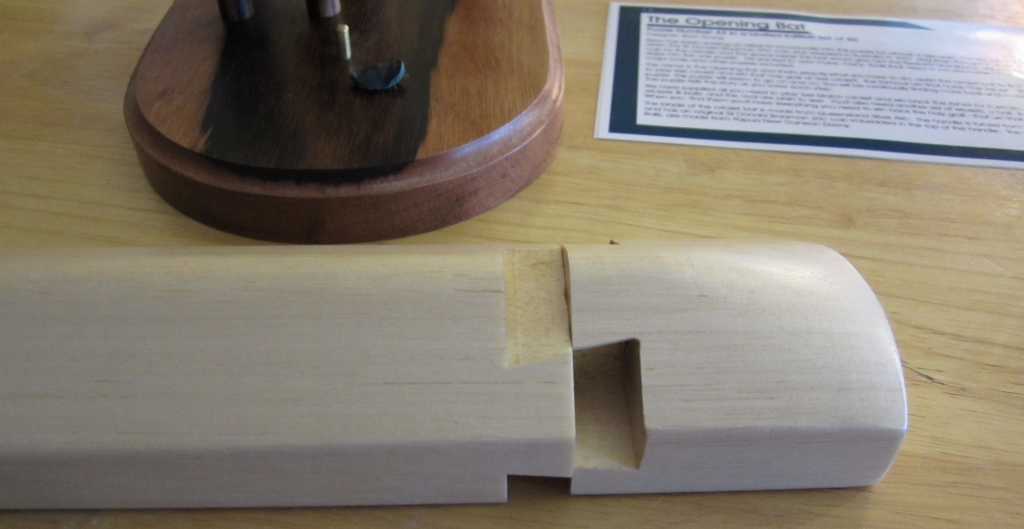
Nothing in the puzzle is quite what it seems. Brian has managed to conceal tools in every possible part of the puzzle, and some very close attention is required to be able to find everything you need. I was fairly lucky and found the first hidden tool fairly quickly, which also revealed the Baggy Green Cap. Another ten minutes or so, and I’d successfully navigated the first lock, and removed the bottom of the bat.
With the first piece of the bat removed, it can be set aside. There’s nothing else useful in there. What you’re presented with now is the head of two hex bolts and the lock from the first stage, neatly hiding in holes drilled into the main section of the bat. Now being a good puzzler, I know that external tools are not required, so I didn’t go hunting in my tool box for a way to remove those bolts. Instead, more investigation of the puzzle is required. As it happens, I was remarkably lucky, and stumbled upon the tool I needed by pure luck.
I was sitting with the pieces of the puzzle on my table, and happened to have a folding knife sitting on the table. At one point I must have nudged one of the pieces, and it rolled across the table, un-noticed by me. After a while fiddling, I looked across and found that the piece was stuck to the blade of the knife!
Well Brian mentioned that there were lots of magnets used in the puzzle, and it seems I’d found one! As it happens this piece if the puzzle is so well disguised, I have no idea how long it would have taken me to find this tool had it not been for that piece of luck. I have to commend Brian here, as the grain matching, and fit of the particular piece is incredible!
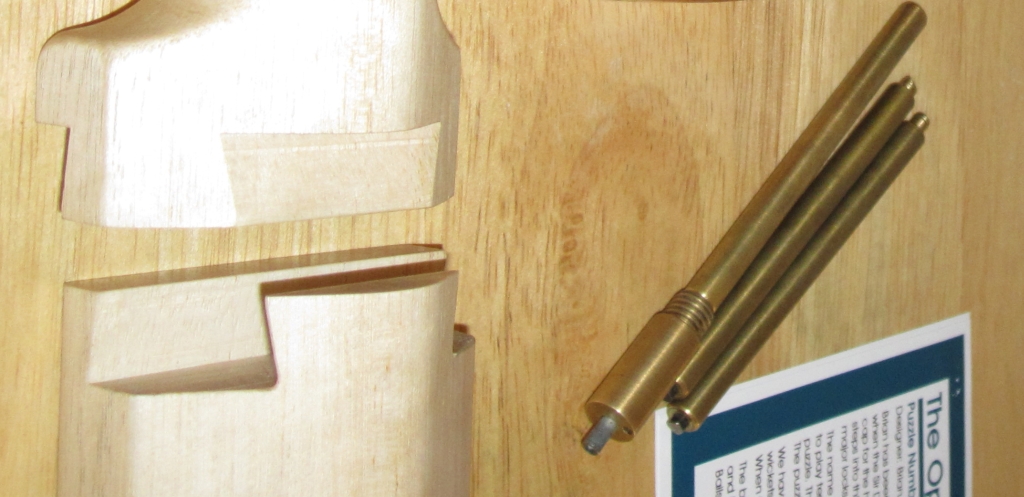
So with a new tool found, I quickly removed the rods on either side of the second section of the bat, before hitting another dead end. I had no idea how to remove the central rod, but there is a small clue as to what you might need to help with that process. It took probably another half an hour, or more for me to find the well disguised tool needed and be able to remove the third rod. At this point I’ve now managed to discover the three extra wickets needed to play Cricket, but I’m still no closer to opening that second lock!
From here I sent several hours trying to combine the various tools I’d found up to this point, along with a torch to try to see to the bottom of those long holes in an attempt to open the second lock. I lost count of the number of combinations of things I’d tried, and none of them seemed to help. In a fit of desperation, I placed a particular tool I’d found into the hole, thread first, and then used a different tool to reach to the bottom of the hole, and turn it. Now, that was a pretty bad idea, as the first tool ended up stuck and I was pretty sure at this point that I’d gone wrong.
I sent an email to Brian who helped me confirm exactly what I’d done then gave me a few suggestions as to how to fix the problem, and the assurance that regardless of what I’d done, in the worst case, I could send it back to him and he’d fix it. Now I appreciate that I’ve been remarkably vague here, but I’m trying not to give anything away. As it happens Brian’s suggestion worked, and I was back in business. If you want to see what I did, then click here. And if you have this puzzle yourself, don’t drop anything down the holes that you can’t reach to pull back out! as it turns out, I’m not the only person to have put something into the puzzle that wasn’t intended… at least I used something that came with the puzzle.
So with my panic over, I was back on track to solve the puzzle, however I still hadn’t opened the second lock. Fortunately, it didn’t take too much more time to be able to remove the final piece holding that dovetail joint in place and I had the second lock open!
All that remained now was the handle of the bat, and the third lock. Now I already knew that the puzzle here was the same as the one contained in “Houdini’s Torture Cell” as Brian had noted that the reason he made the Torture cell was so that more people could have access to this little puzzle, however that didn’t make solving it any easier. Unlike the Torture Cell where you can see what’s going on, here everything is blind. That said, you can figure out what’s going on fairly easily, and with a little luck, you’ll have that coin rising out of the handle fairly quickly.
True to Brian’s word, when you open the last lock, not only is the coin removed, but you’ll find you have a second set of wickets (brass rods), the cricket ball (silver ball bearing) and at this point, you should be good for that game of cricket to win back the Urn containing the ashes, which is also there.
For the observant amongst the readers, you’ll notice that I’m not really showing many of the tools in the pictures, and that is entirely deliberate. I don’t want to give anything away, that might spoil the discovery should you get a chance to play with this puzzle yourself. I’ve also been very careful not to give any clues when it comes to how things are hidden in the puzzle. Really a huge part of this puzzle is the journey of discovery as you find each element, and I’d hate to spoil that. It’s too good a puzzle to ruin it for you.
Overall, I really enjoyed the puzzle, and highly recommend it should you get the chance to own one, or if someone is willing to let you play with their copy, don’t pass on the opportunity. Brian has done a great job and there’s clearly a lot of time and care went into the puzzle. Hat’s off to you sir, it’s a great puzzle!
Allard and Brian have also reviewed the puzzle on their blogs, so if you want another opinion, then go read what they have to say.
Mine is right in front of me now! I have been at it on and off for 2 weeks! I have managed to open the first lock, retrieve the 3 extra wickets and associated bits. I have thought about doing what you did but having done it with the thread on a wicket, I have realised it doesn’t get me anywhere! Currently stuck on the 2nd lock!!
I lurve this puzzle!!
Kevin
PuzzleMad
Damn, now I regret not buying one when I still had the chance a while back. Kevin is right…..when in doubt, just buy it!!!