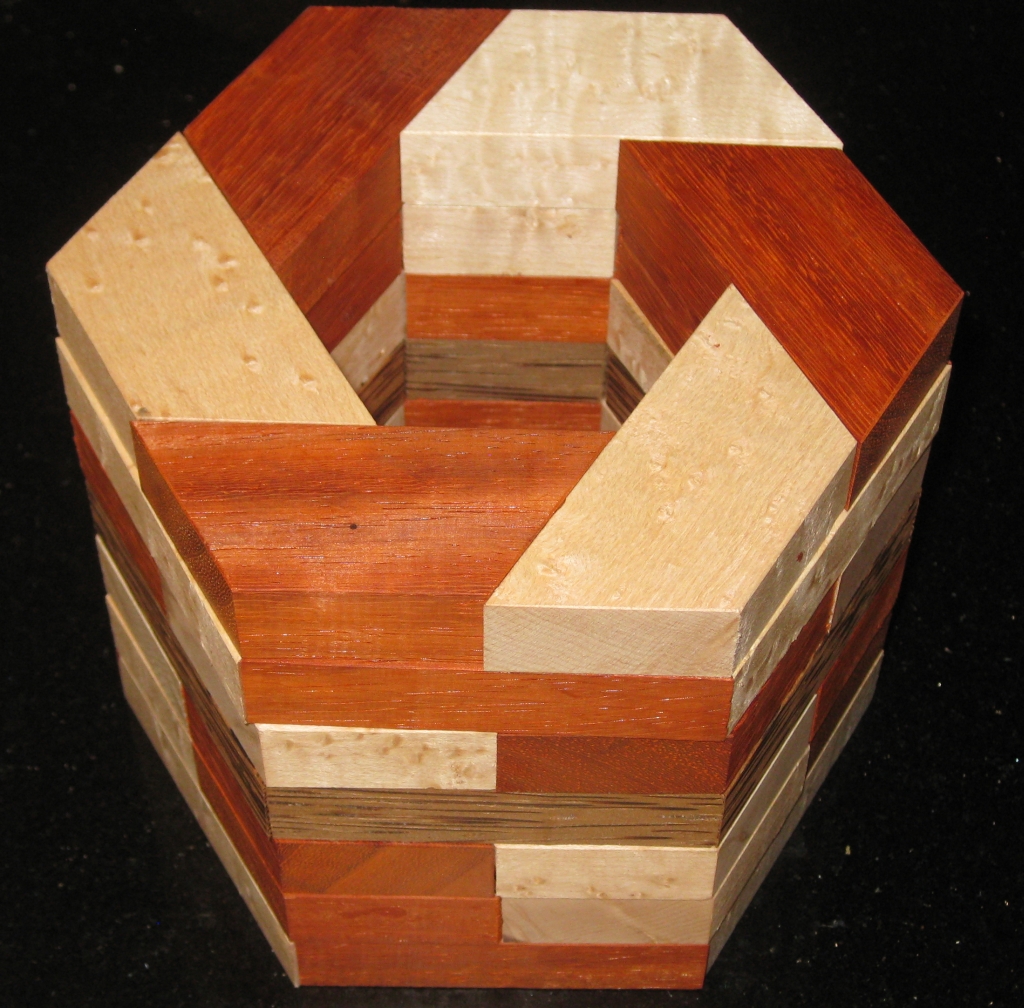
Not too long ago, I posted a few pictures of some of the puzzles I’d been making on Facebook. One of those was a copy of Oskar van Deventer’s design “Oskar’s Domino Tower”. I’ll write about that in another post, however when I did, my good friend Derek Bosch got in touch about a similar design he’d created called Hex Stair. To his knowledge, the design had never been made, and I decided that it would be a fun puzzle to try to build after seeing the design.
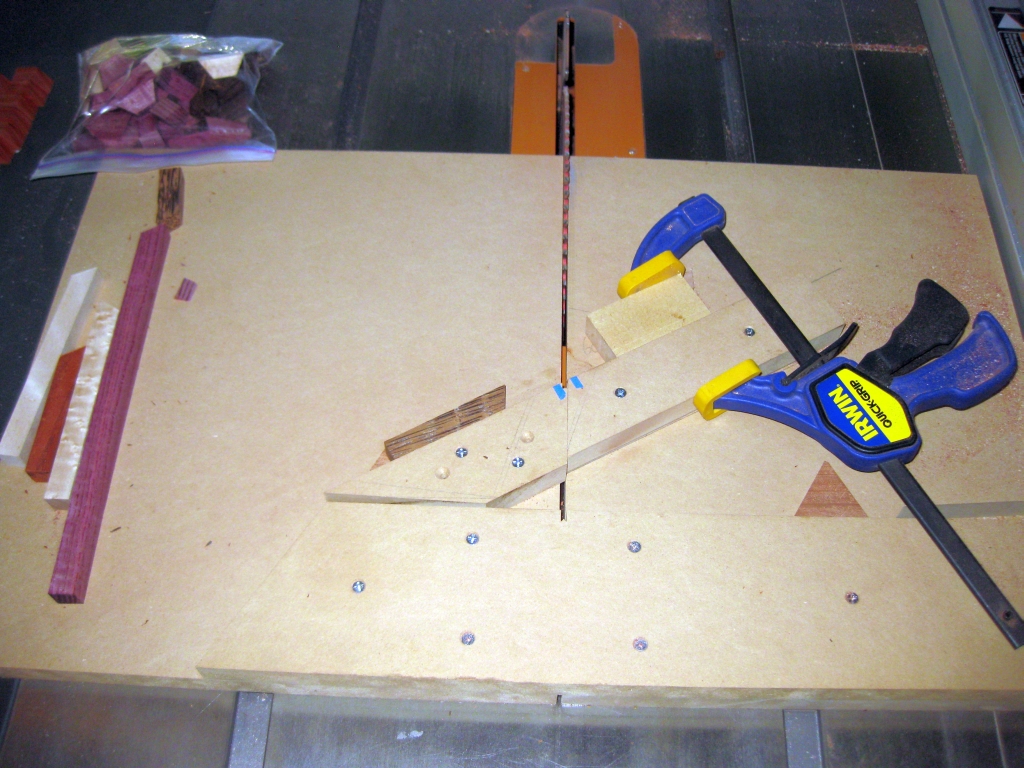
As you can see the design is based on a hexagon. So that means making cuts at a 60 degree angle. To do so repeatedly, I was going to need a new jig, specifically a cross cut sled setup for that angle. I’ve gone through the process to create a cross cut sled before, so I’m not going to go over that again here. I used the same basic MDF construction using 3/4″ boards, and I cut myself some maple runners as guides for the sled. If you want more info about creating the sled, then have a look at my post about going From Square Sticks to Cubes. Clearly rather than a 90 degree angle on the sled I was looking for 60 degrees, and with a little tuning, and a few practice cuts, I had the sled producing perfect angles.
To do that, there’s no point in measuring just one cut. Rather it’s better to make 6 cuts, creating a hexagon frame, and bring those pieces together. If they come together with no gaps, then you’re golden. If not then you need to adjust the angle of the backstop on the sled. Ed: The reason for doing this is that it multiplies any error in your sled by a factor of 6. I didn’t get things perfect on my first attempt, so I adjusted slightly and then re-cut the test pieces. This time I was pretty close and didn’t think I was going to get much better so I called it good. To make tiny adjustments, a strip of tape can be used to adjust the angle. Obviously I could create a sled with a variable back stop, and have screws to push or pull it for a perfect fit, but for now I’m not looking at spending too much time. If I find many puzzles which require 60 degree angles that I want to make, then I’ll consider making a more advanced jig. Ed: What is it about us that we’re never happy with what we have, we always want it to be better?
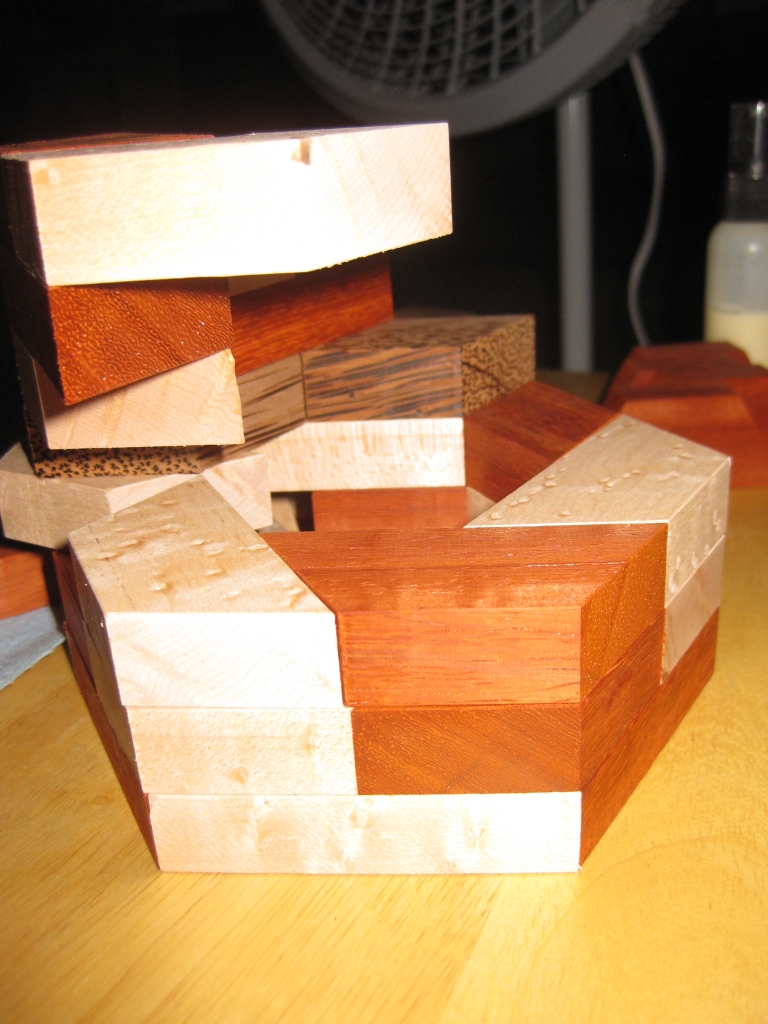
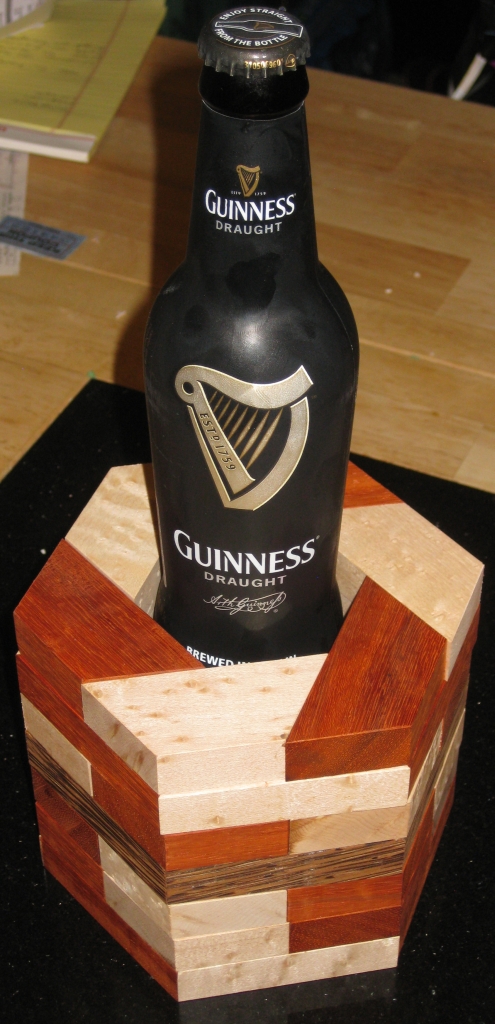
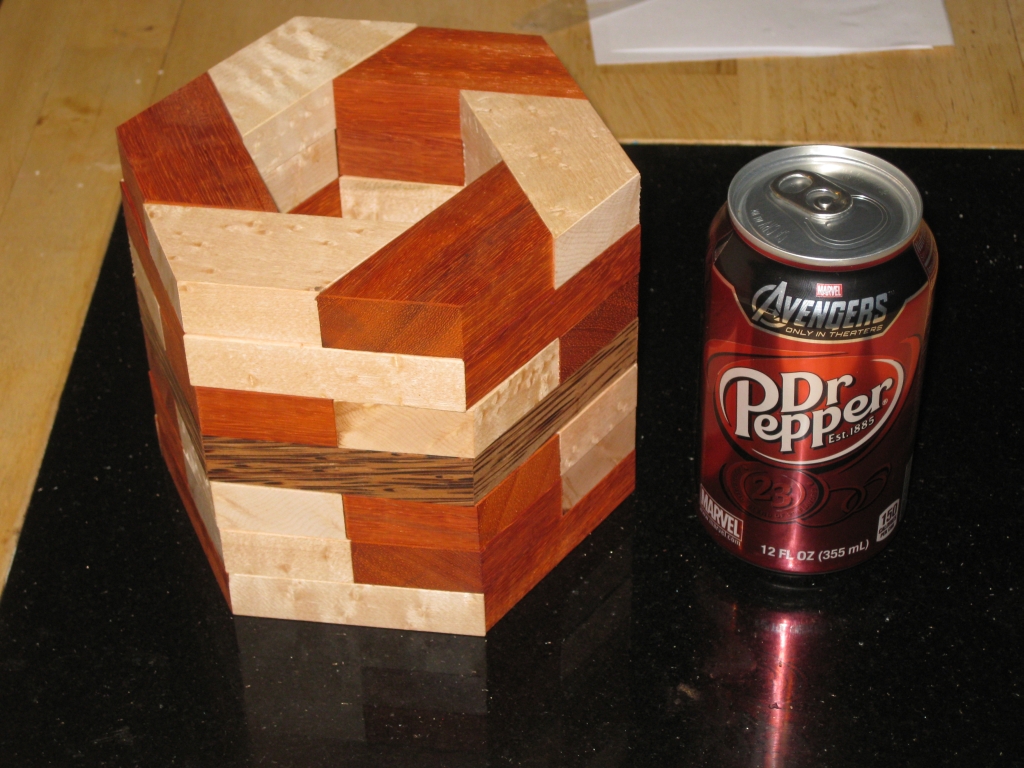
With the sled ready, I milled my stock, selecting some Paduak, Birdseye Maple and Red Palm that I’d had sitting for a while, and got to work on the new jig. There are 42 pieces required to make this puzzle and given that there are 7 layers, I decided to create a band in the centre of the puzzle. Since it’s never been made before, I’m not biased by something someone else has done, and I thought it would look fairly good. You can be the judge, based on the photos! I got to work cutting 18 pieces each of the two main woods, and 6 pieces for the centre ring. With that done, I took the pieces to the router and added a very subtle bevel to the long edges. I quickly found out here that beveling the pointed edges can’t be done on the router as there is nothing for the guide to reference off, and given the thin nature of the pieces, this would be a fairly dangerous cut, so I opted not to bother. I think in the finished puzzle, it works out very well, as it makes it look as though there’s seven rings, rather than 42 individual pieces. Again it’s all personal taste, but I’m happy with the results!
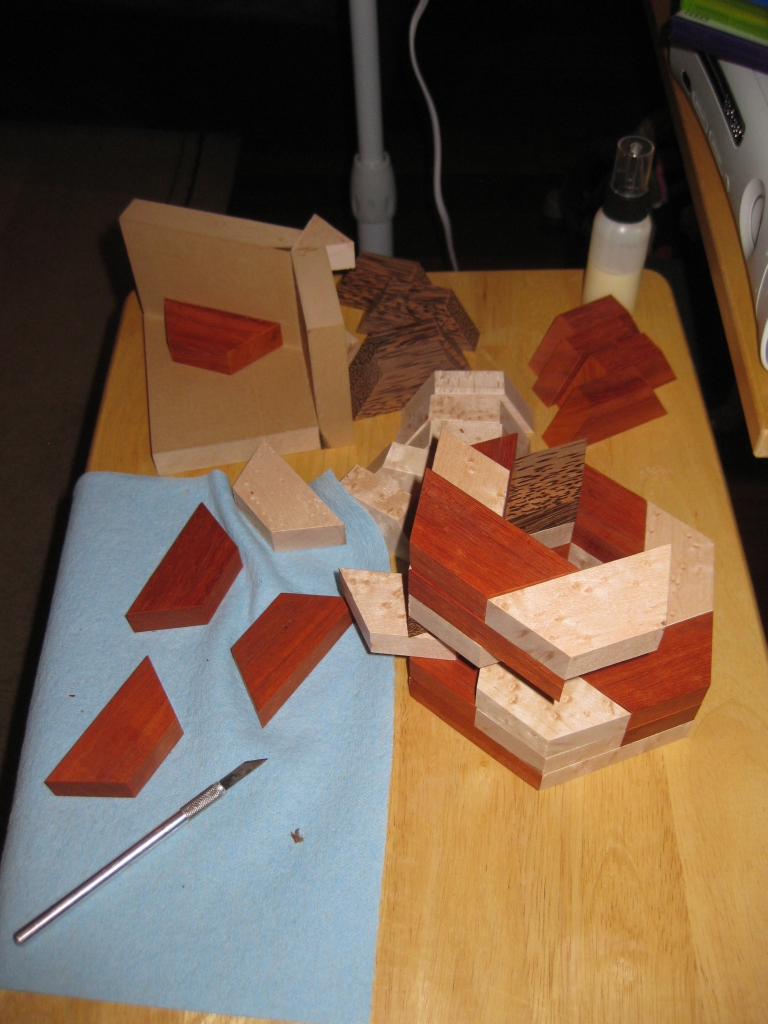
Gluing the pieces together into a finished puzzle presented me with a few interesting challenges. Firstly, it’s not square, so my current gluing jigs are no use. Also the puzzle is fairly tall, with each individual piece of the puzzle having a very small footprint, making it unstable without a lot of support, so ensuring that everything is glued up perfectly alighted is an interesting challenge.
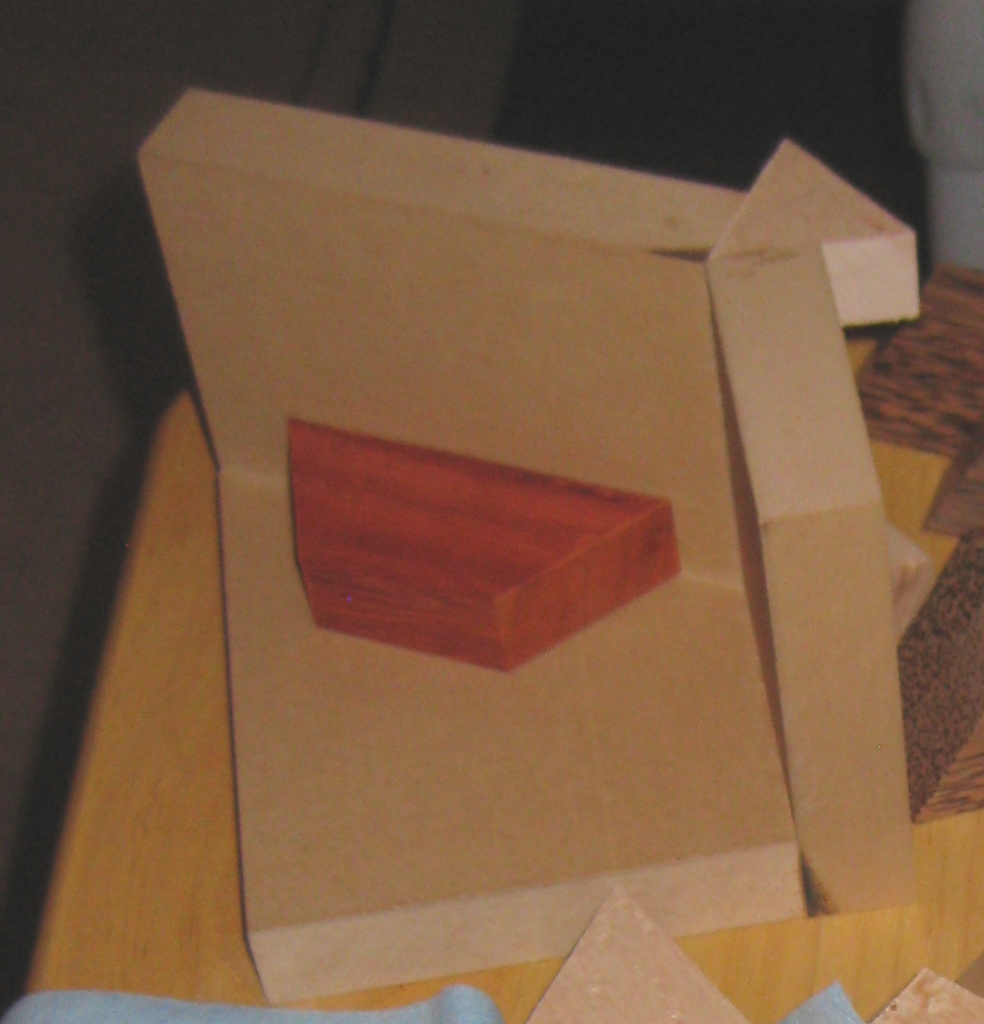
My first gluing jig was a pretty simple progression from my square corner gluing jig. Using the 60 degree crosscut sled I was able to create a simple base and walls at the correct angles, and re-inforced the centre angle with a couple of the equilateral triangles I’d cut when I was cutting the original pieces. The inner surface was waxed to prevent glue sticking to it (and hence sticking the pieces to the jig) while I was working. This worked pretty well, and I created the original puzzle using this jig, and the pieces I’d not glued in place to support and align the piece I was gluing.
All said it worked fairly well, and the end result was reasonable. I did find that there were a couple of pieces which hadn’t lined up perfectly. But I used an interesting trick to fix that. With the six pieces of the puzzle together in the solution shape, I put the whole thing in the microwave for about a minute and a half on high. With my now warm puzzle, the glue is softened enough to allow the pieces to shift slightly if enough pressure is applied. By doing this I was able to re-align the couple of pieces I wasn’t happy with and get a near perfect fit. Now I’m not suggesting that this is a solve all for bad initial gluing as it really isn’t, bit in the few hundredths of an inch that I was misaligned on one or two pieces it can be corrected, rather than throwing away an entire piece.
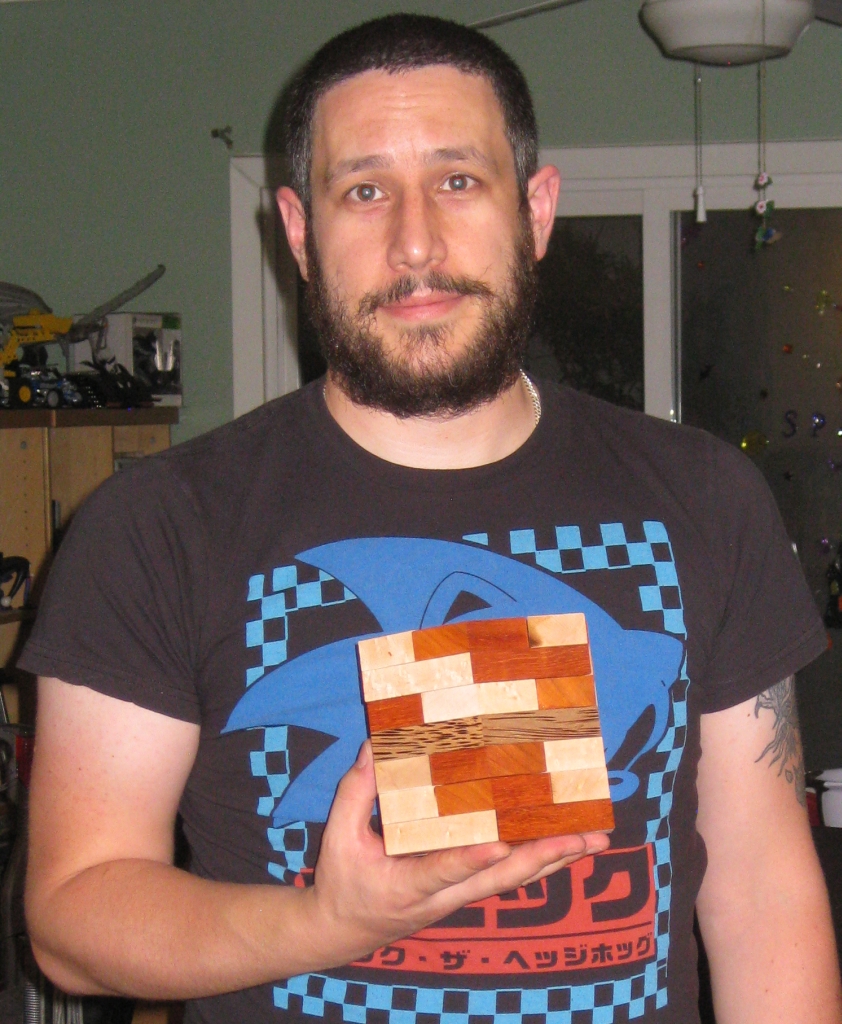
Overall I’m pretty happy with the results, although the size is certainly an issue. As you can see it’s a big puzzle, and not really realistic in terms of making them in a production run. It seems that I’m pretty good at forgetting how big a puzzle ends up when you glue all these ‘small’ pieces together. Part of the learning curve I’m on just now, but it’s all valuable information.
In part two I’ll look at making the puzzle in a more sensible size, and talk about the unique jig I built to help. Since I’ve had several requests, in part three I’ll talk a little about finishing.
Puzzles and beer!?!?!?! Nice:)
I want a version that has a base, and can double as a cooler for my wine! I need one for the office. Hmm big enough to slide in an icepack? Can you have it for me by IPP.?
I certainly could have one ready for you for IPP. That would not be a small puzzle though! I’d estimate around $200, but I could have it done by Monday to pack and bring with me if you’re serious ….
Of course I’m serious, but don’t cut off your fingers. Stay safe and make it when you get back! It can always be shipped. (I wasn’t serious about the IPP bit! That’s way too close.)