After completing the run of Unhappy Childhood puzzles I’d been making, I decided that I wanted to make something different and rather than making another cube based puzzle, I’d turn my attention to making the first puzzle box of my own design. In order for me to do that I need to look at a new tool or two as my shop doesn’t currently have a Jointer or Planer.
Given that I’m looking at puzzle boxes, I need to be able to get the boards I’ll be working on flat and coplanar. Luckily for me one of my work colleagues is also a woodworker, so I asked him if he had a planer and jointer that I could use. Now I was hoping that I could go round for an afternoon and use the tools, however he said that although he didn’t have a jointer, he did have a planer that he’d been given and had never used. I was welcome to have it on an extended loan, but he couldn’t vouch for how good it was as he’d never used it. So I said thanks and he duly brought it in for me. So this weekend I spent some time seeing what I had.
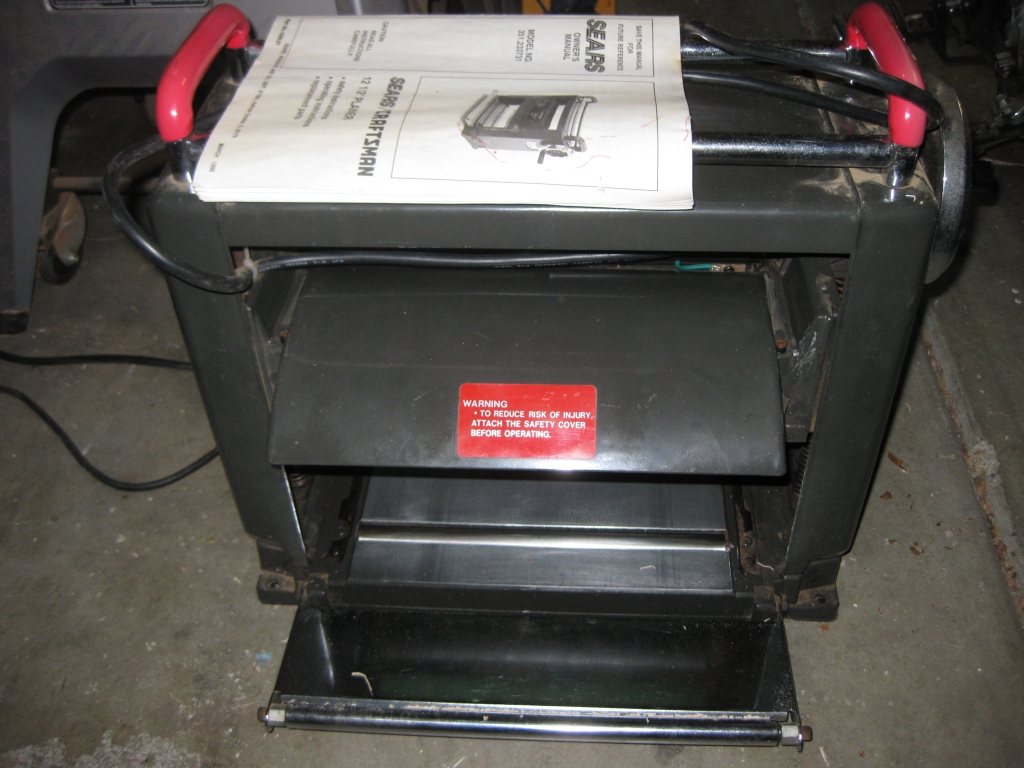
The planer is a 2 knife craftsman planer and is fortunately fairly compact and not too heavy which fits nicely into my shop space. The base is cast iron, and is self feeding. It has a 2 HP motor and the drive chain is fairly solid and looked to be in good condition. So I plugged it in, and standing back turned it on. It ran and seemed pretty stable. So far so good. So I took one of the unfinished boards I have sitting and ran it through. It took a few attempts to get the height of the blades right so that it cut and fed cleanly, but it did make some nice shavings, and was making the board flat. Once I had the bevel taken out of the board on both sides, I had a look at the board and there were a few issues.
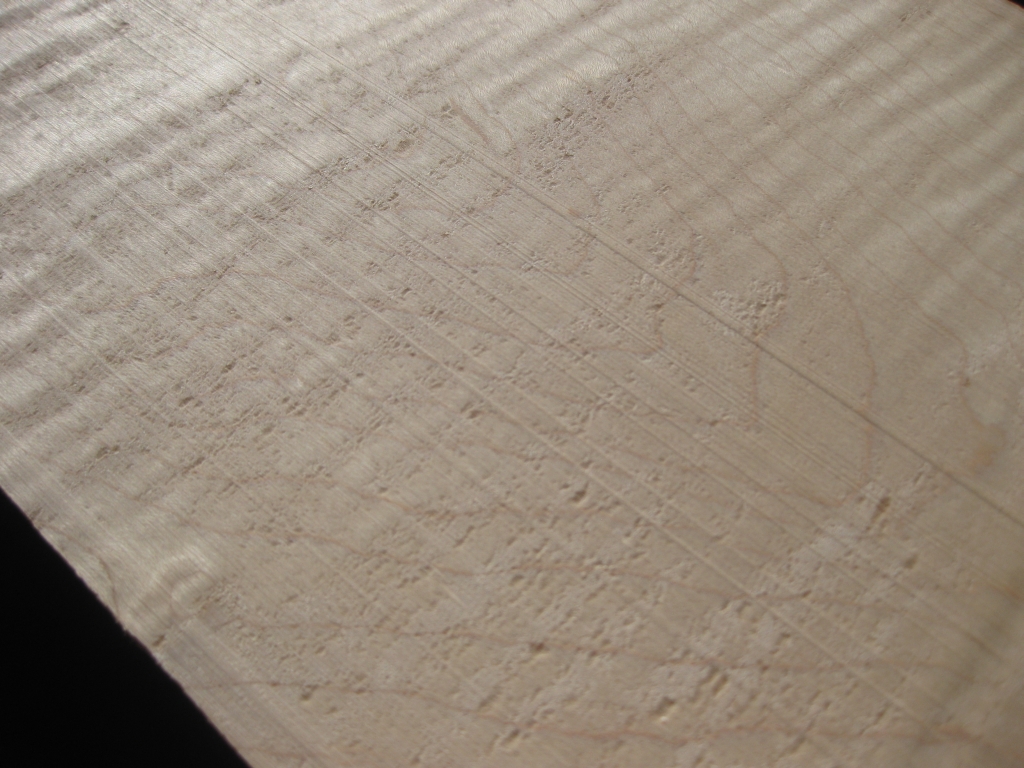
As you can see, the board wasn’t really flat. There were a number of ridges in the surface, and some rusty marks. The ridges were from nicks in the blades and the rust is pretty self explanetary. So I pulled out the instructions, and started figuring out how to take it apart.
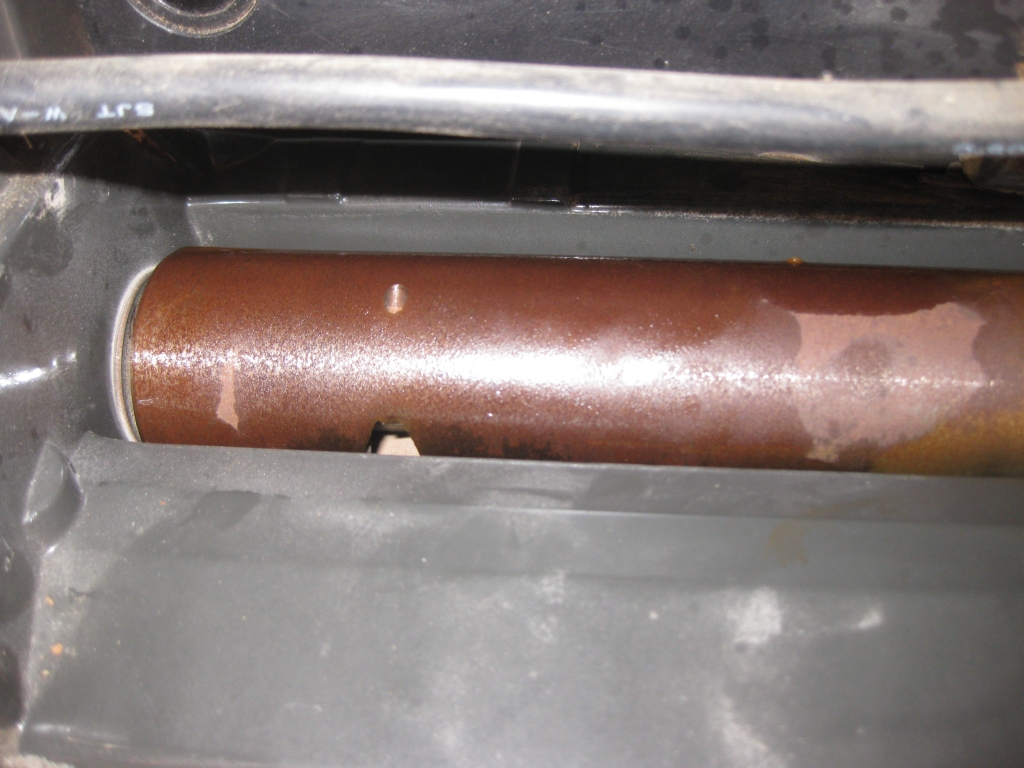
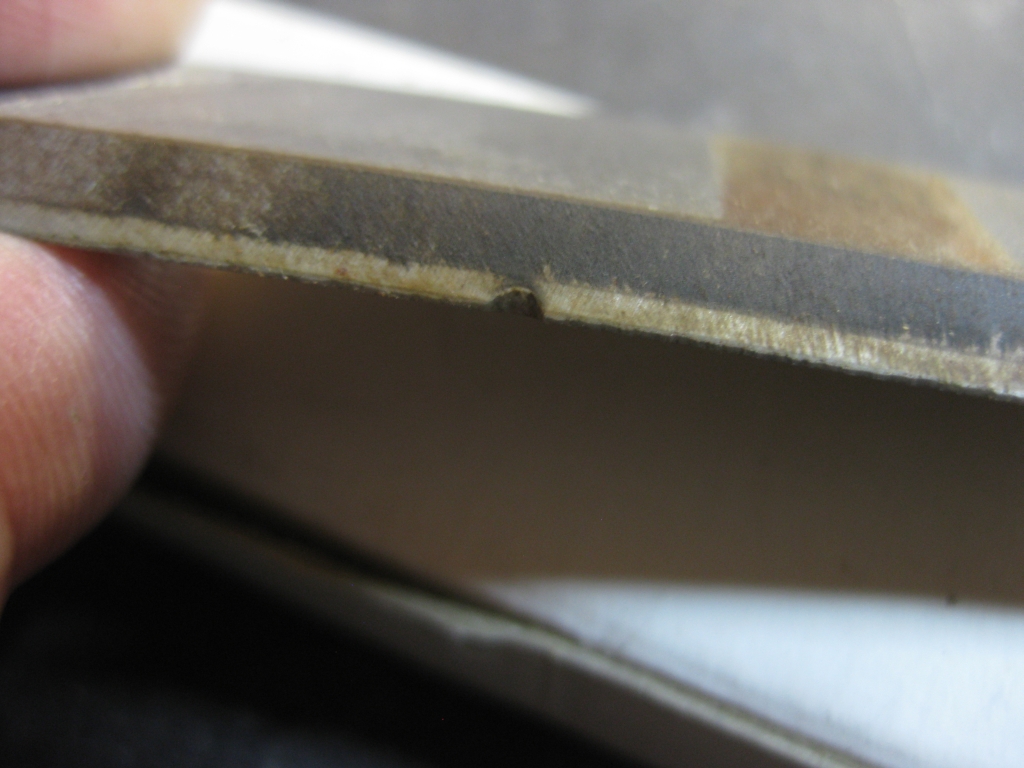
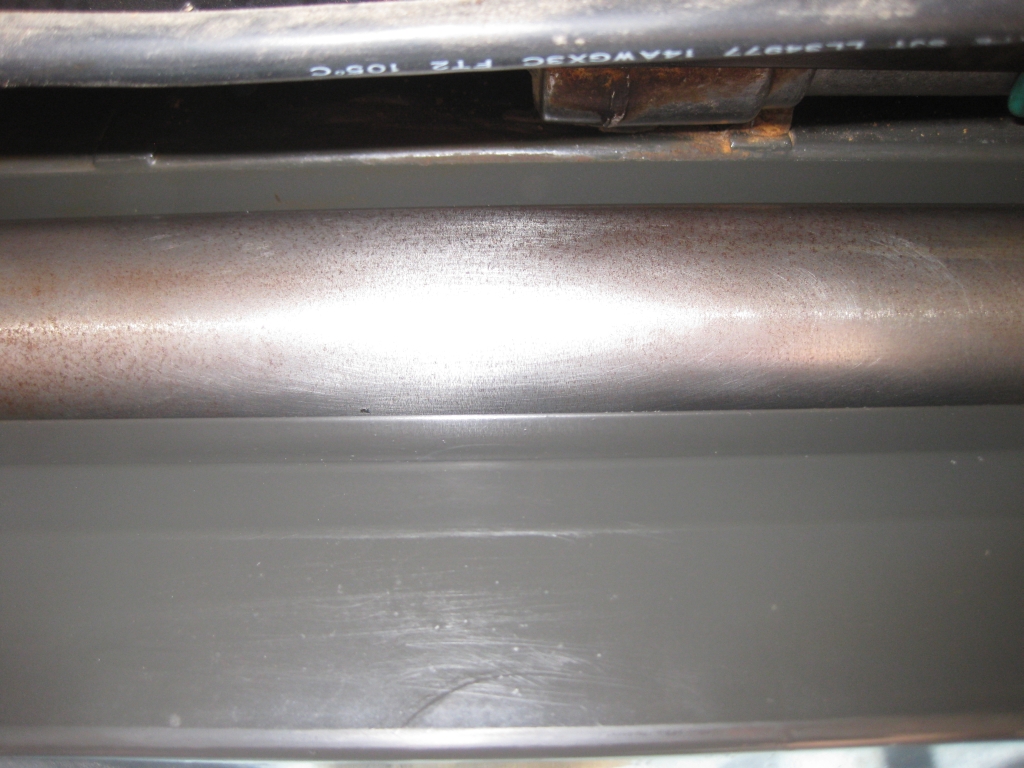
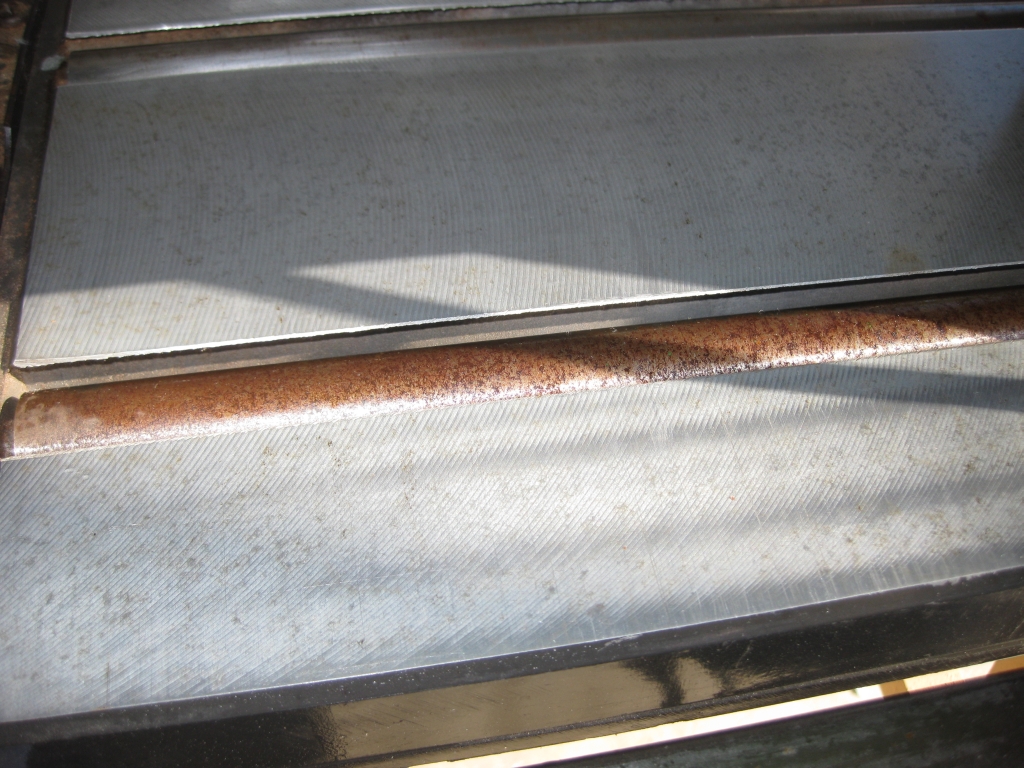
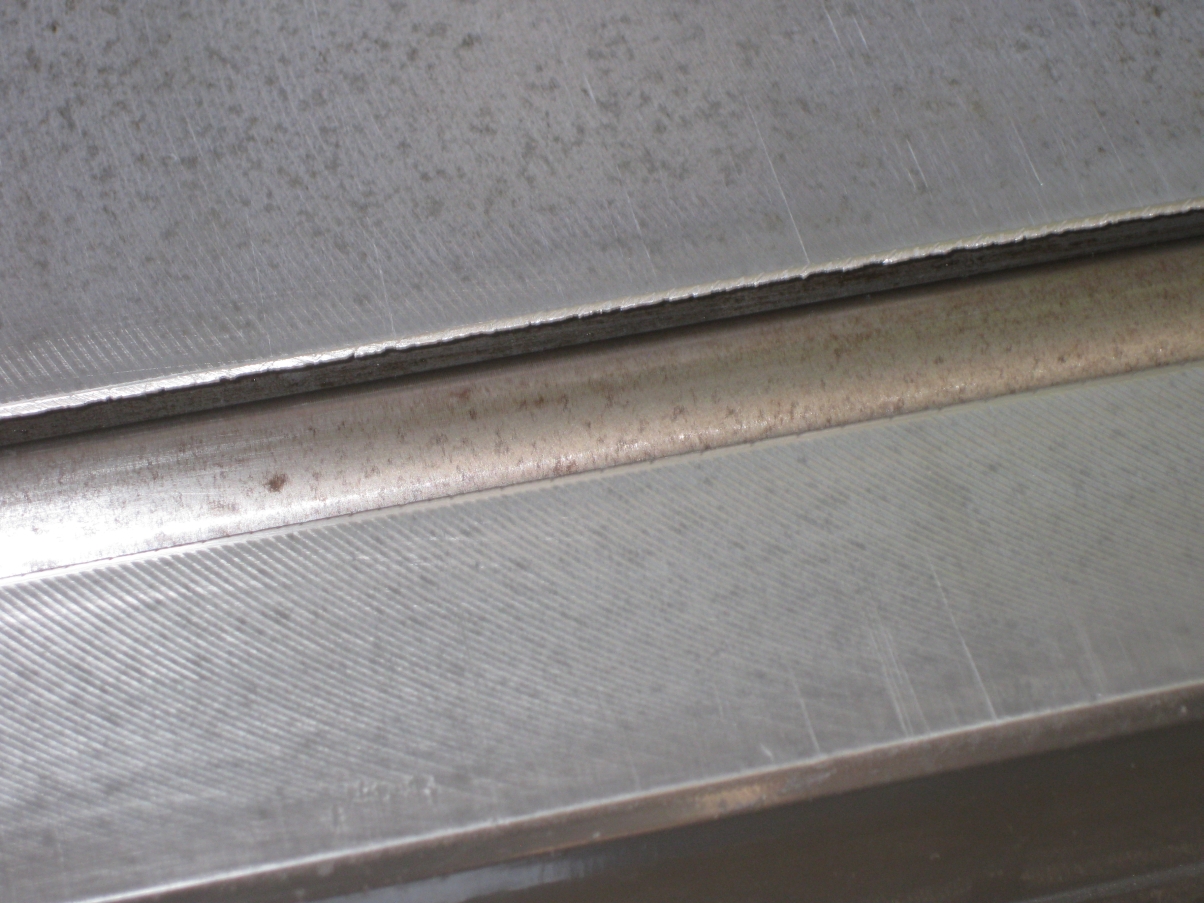
Taking the knife guard off and having a look, there were some pretty obvious nicks in the blades, and the roller that holds the knives was badly rusted. I removed the knives and set about cleaning up the rollers. I had some 600 grit wet/dry sandpaper and a can of WD 40 so set to work. WD40 contrary to popular belief isn’t a lubricant, its a de-greaser, and does a pretty good job of removing rust. It took a couple of hours but working slowly and wiping away the brown gunk as I went with a roll of rags I ended up with some good results.
Once the rollers were clean, and I’d removed all the gunk, I reinstalled the blades. I was fortunate that my colleague had two brand new sets of blades for the tool, so I was able to put in a new clean set, which should greatly improve the cut. sadly I don’t have the height adjustment tool which is used to ensure that the blades are both at the same height relative to each other and either side of the blade, so I set them based on touch, lining the back of the edge to the roller. I will have to see if I can buy a replacement tool somewhere but for now I believe the blades are close enough.
Next I turned my attention to the bottom table and the rollers there. Much like the roller that holds the knives, there was some rust on the rollers here, so I continued to work with the sand paper and WD40 to clean those up too. It was a lot of work and all told took a good part of the afternoon, and so far I had no idea if it had been worthwhile. At least if nothing else I now have a very clean tool!
Putting the knife guard back on I once again turned the tool on this time with even more caution than I had before since this tile the security of the blades was all down to me. Not that I’m saying I hadn’t tightened the bolts well enough, but I’m always cautions with high speed rotating metal. Fortunately, everything seemed ok, and there were no thunks or sounds of grinding metal.
So fairly happy that the planer was still in one piece, I took the board I’d been using earlier and ran it back through. This time as you can see I ended up with a much cleaner surface with no ridges and the surface looks great. You can really see the beauty of the quilted maple, and I’m very happy with the afternoon of work.
So with the tool working perfectly, and everything nice and clean I can start looking at that puzzle box design. I don’t have a jointer yet, but the planer is one less tool I need to look at buying.
Excuse the ignorance, but why exactly do you need this tool? I mean what does it do?
Hi Rox, So you know all those beautiful wooden puzzle boxes you have in your collection, well they all start with getting a flat piece of wood. And wood tends not to come flat, it’s curved or bowed in some way or another. Well this tool helps me to get it flat and parallel on both faces. From there I can make pretty puzzles or the furniture my good lady wants me to make.