Some time back, Jen asked me to make a few pieces of furniture for her. Now I’ve been pretty busy with work, and making the puzzles, so I’ve not really been able to do much for her, but since it was something of an unwritten agreement when I started buying all the tools it was about time to start paying up. If you’re only interested in puzzles, then skip this one, but if you want to see a little more on the woodworking I’m doing then keep reading.
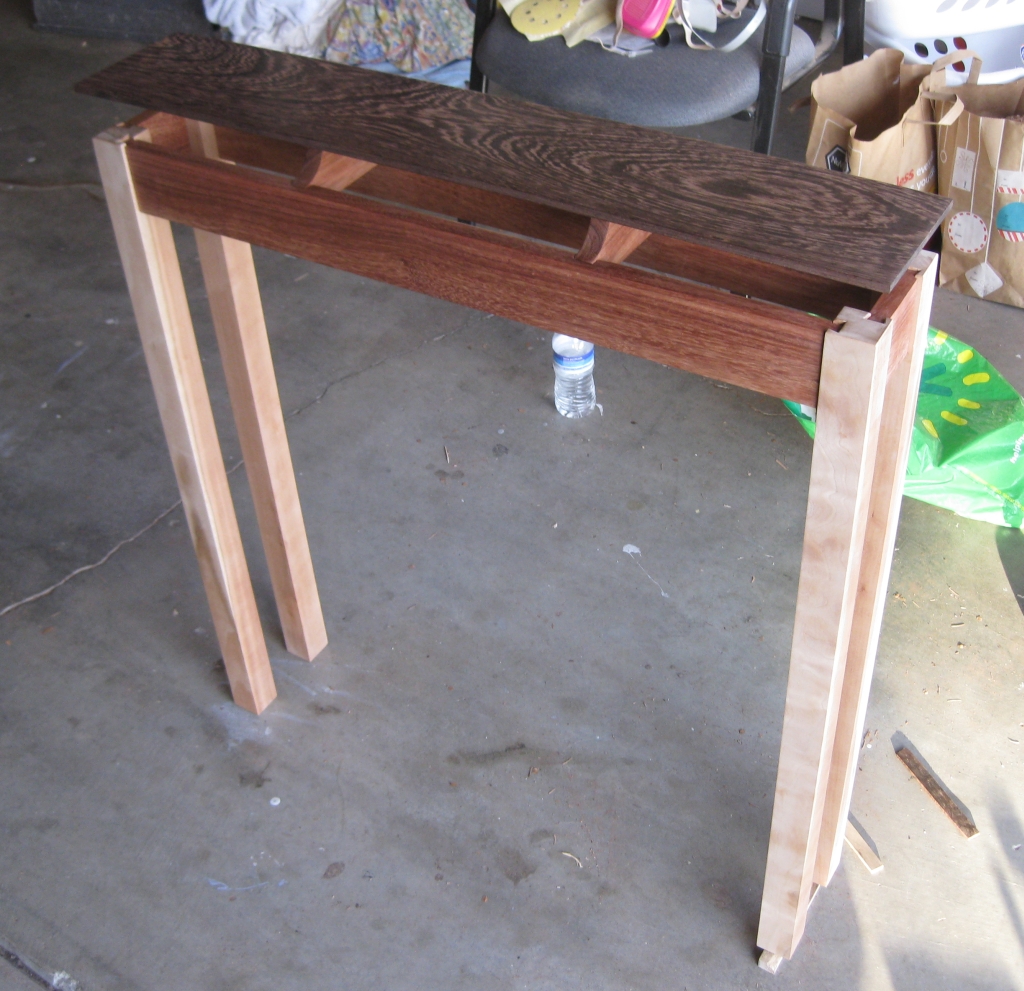
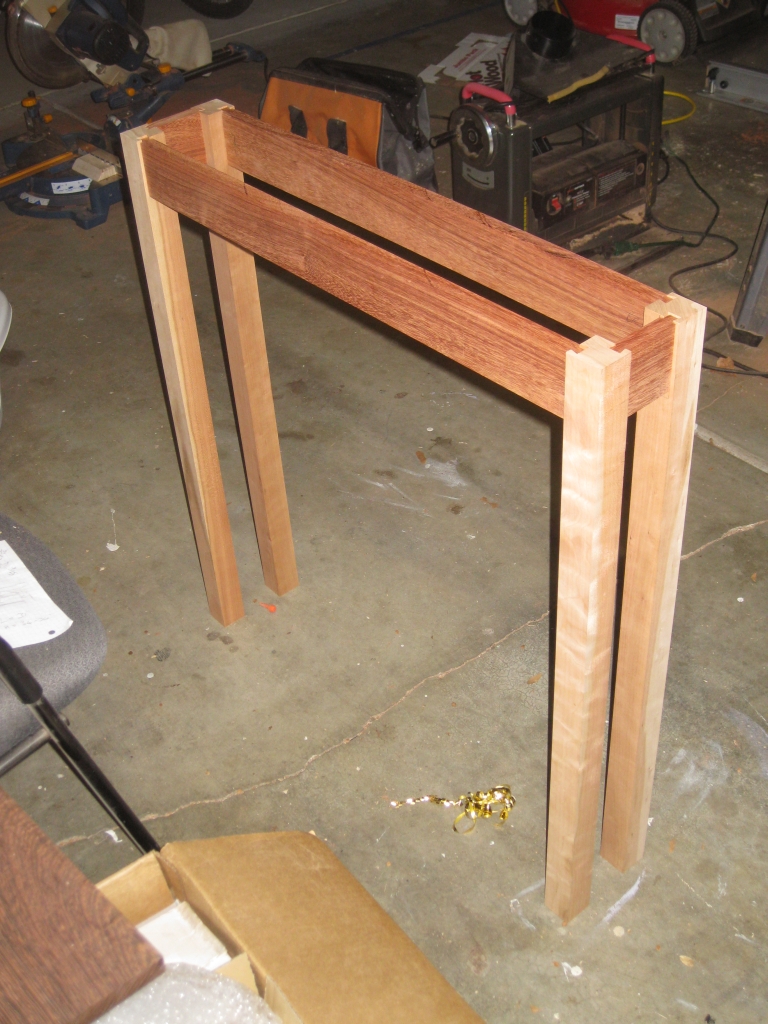
The first project that I’ve tackled is the narrow table above which Jen wanted for putting keys and other stuff on just inside the door to the house. It needs to be thin as it has to hide behind the door when it’s opened so really a custom piece was the only way to go. I left choice of woods up to Jen as it was her table, I was merely making it. We settled on Cherry for the legs (one of which when we finished it we found out is actually highly figured quilted Cherry!), Grenadillo for the frame and Wenge for the table top.
I’m going to use this post to work thought the build process and design decisions I made when building the table, as I have learned a lot from the project, and even though it’s not puzzle related, it will certainly help me in puzzle making going forward. Hopefully you find the journey interesting.
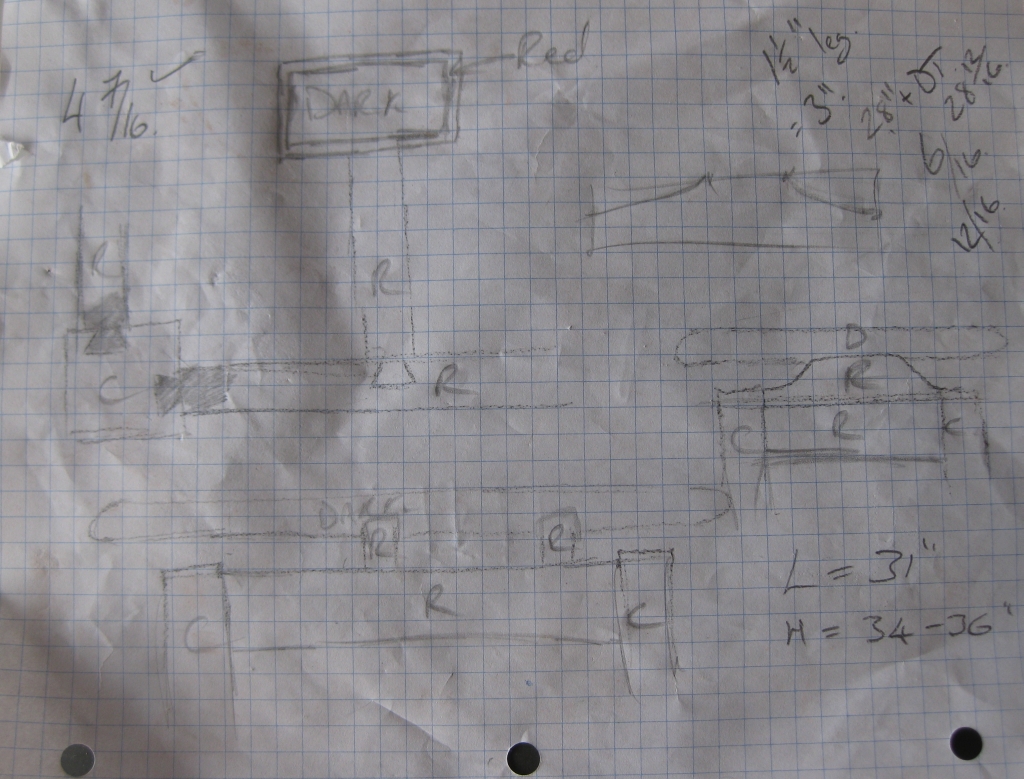
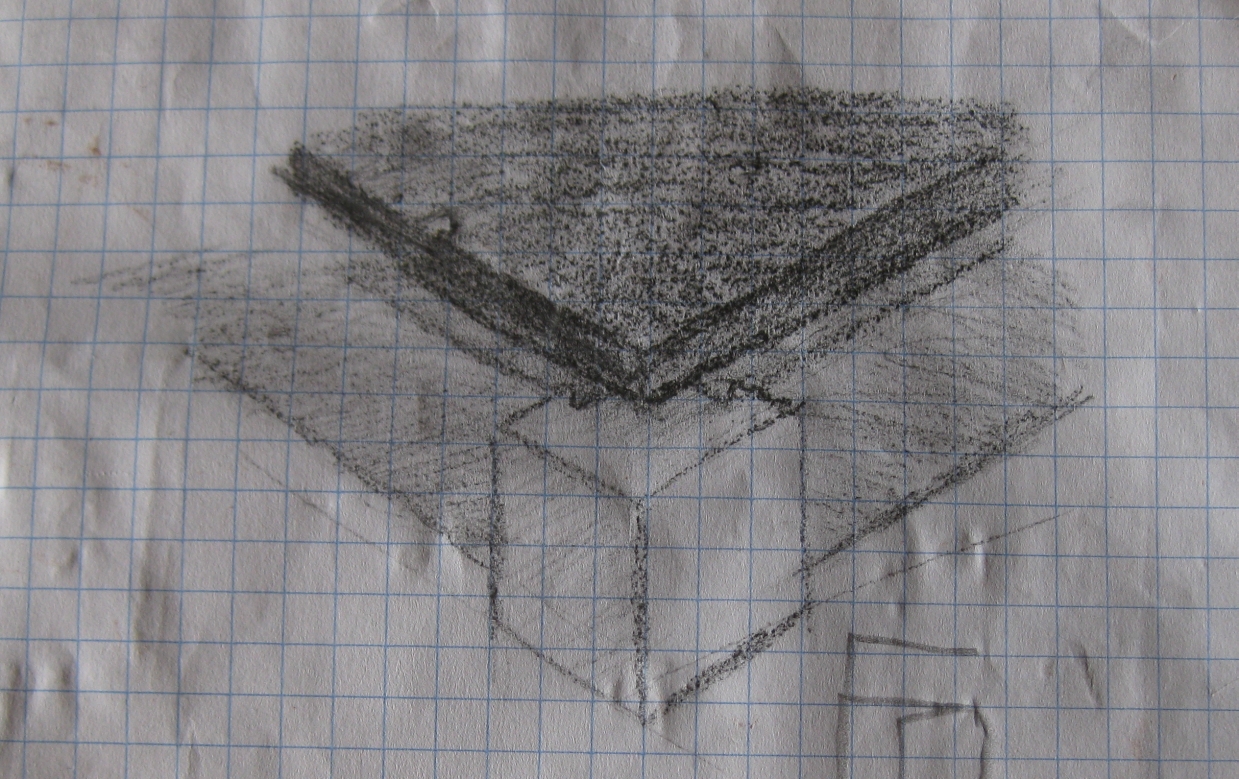
When I started the project, there were a number of things I wanted to try to accomplish. Initially I wanted to push myself in terms of the woodworking, and not necessarily play it safe. Now by that I mean not just sticking to things I’ve done before, really trying to use this to step out of my current comfort zone. I decided that I wanted to create a table with a floating top, and as such the joints into the legs were going to be stopped dovetail joints since they would be visible in the finished table, and become a feature. I appreciate that I was asking a lot of myself, having never attempted any joinery before and jumping straight to a dovetail may seem crazy, however I was fairly confident that I could do it so why aim low?
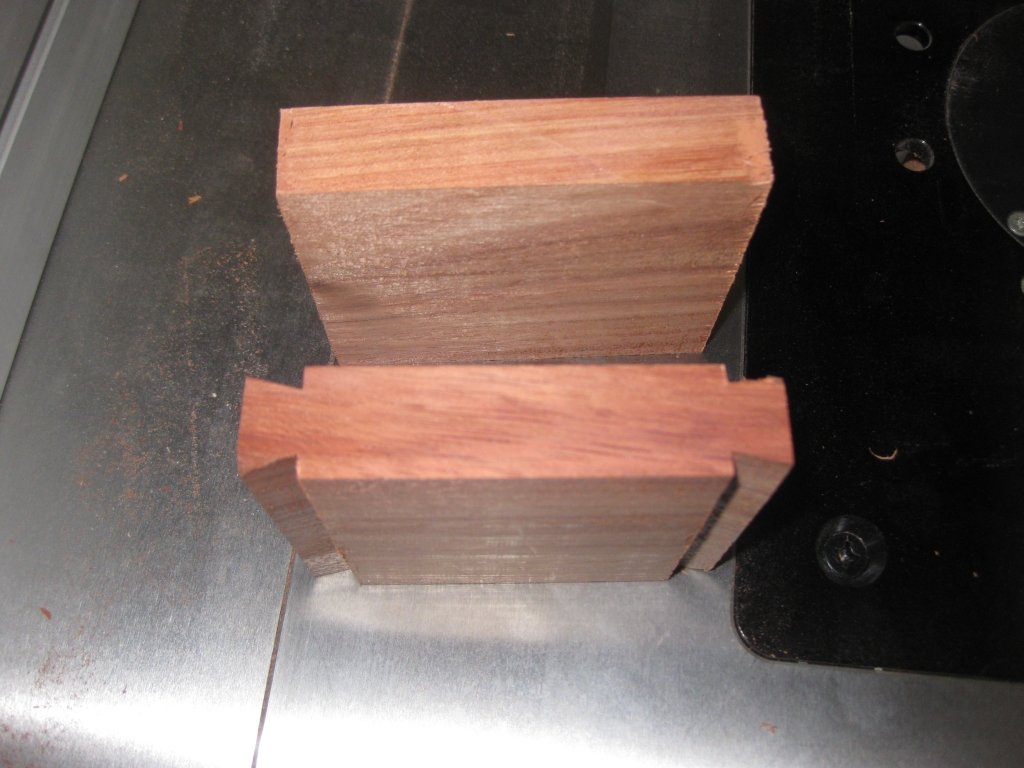
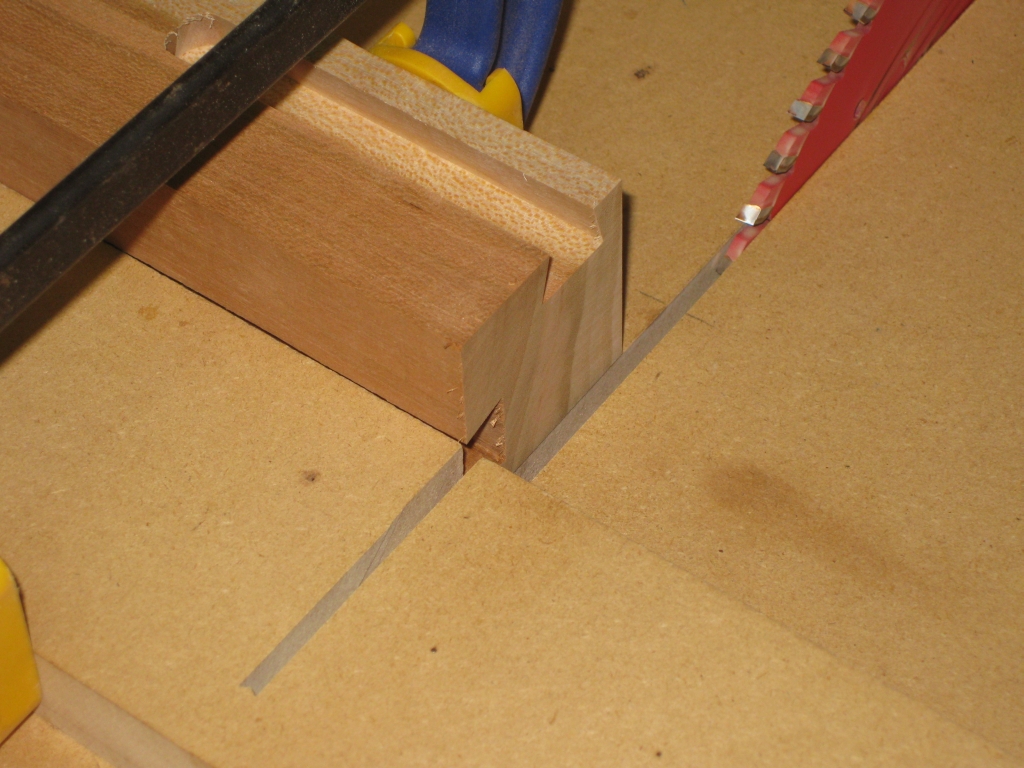
With all the dimensions written down, I started off by cutting the pieces for the frame of the table. I even remembered to take into account the size of the dovetail, so I didn’t end up cutting the sides too short. Starting off with some scrap pieces of wood, I setup the dovetail bit and made both sides of a joint to see what problems I was going to encounter and how close I could get the fit (which turns out to be so close I needed a mallet to separate the two pieces). The biggest issue was putting the dovetail into the ends of the long boards. Supporting them wasn’t easy, but given that I have a friend visiting, he was able to help out.
All of the male dovetails on the frame were cut at the same time, so the bit was setup once and there were no issues in getting the dovetails the same size. After that I moved on to setting up for the female size of the dovetail on each of the legs. Two female dovetails need to be cut into each of the legs, and they need to be the same distance from the outside edge on each leg to make the table look right when finished. Given that the setup for each dovetail in the leg is different I cut one dovetail in each leg before coming back and resetting the spacing for the second.
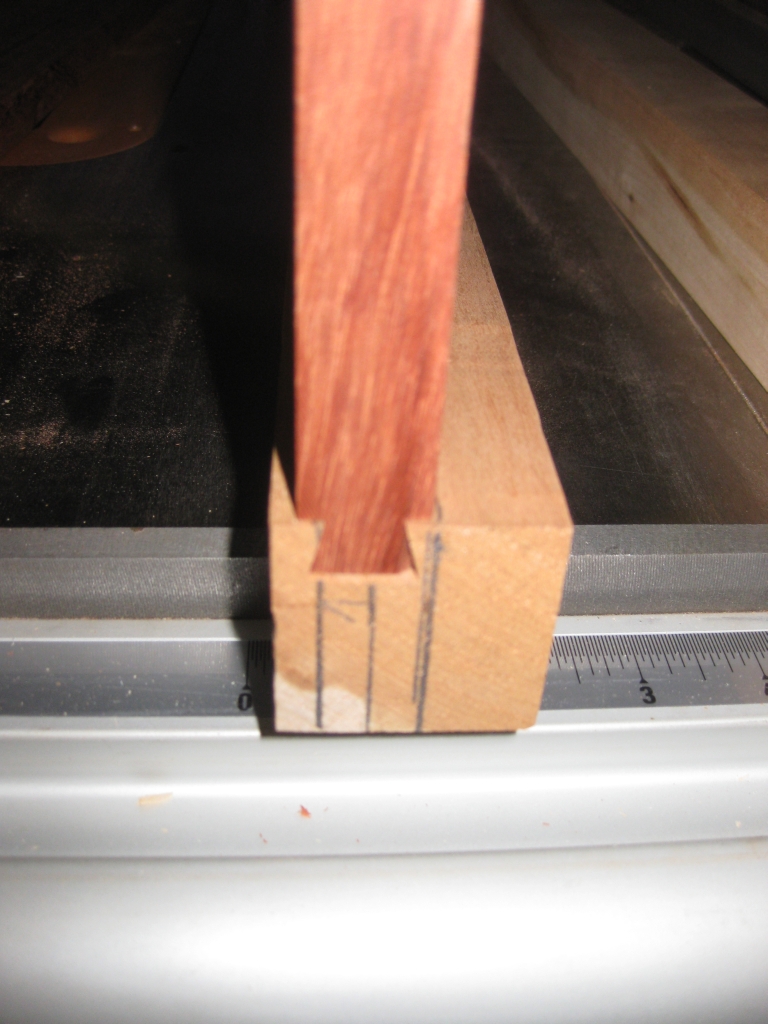
This was the first joint completed. As you can see, I’d marked the top of the leg with the centre of the dovetail, and the width of the dovetail to help with setting up the cut. The width of the joint is wider than the width of the bit I’m using, so that allowed me to creep up on the perfect fit. The joint is tight, and requires some persuasion to come out but there’s enough room to account for the swelling of the wood when I add the glue to the joint.
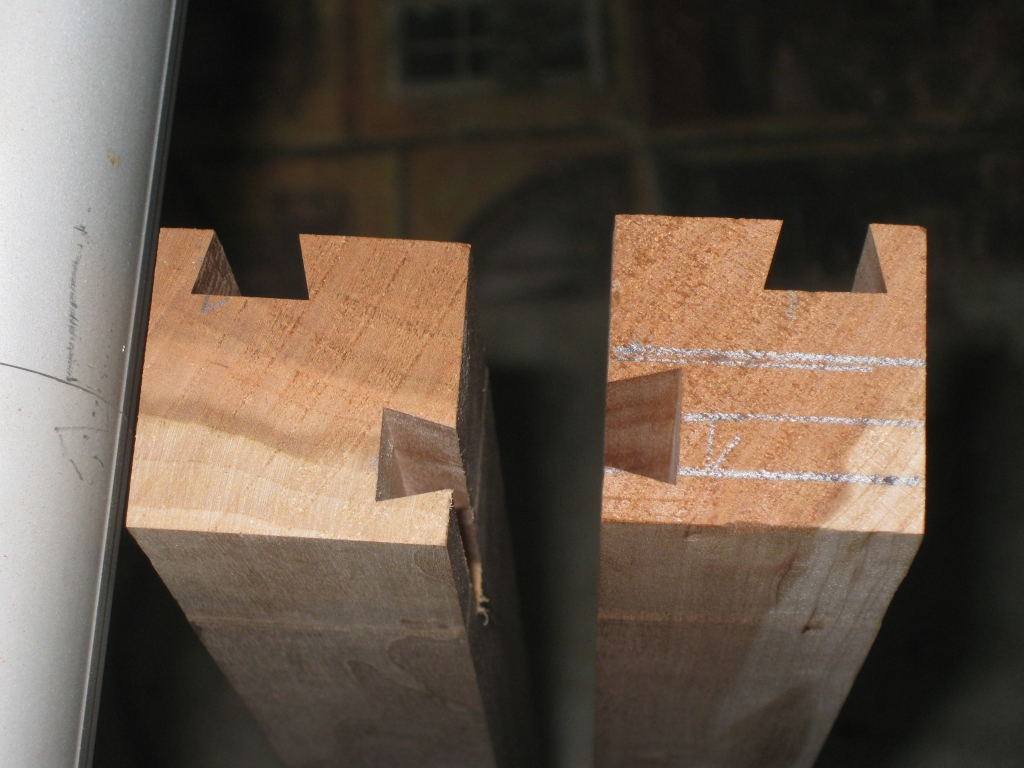
As you can see from the photo above, there is quite a difference in width between the first pass in the joint, and the final dovetail. You’ll also note that only the first cut was marked up. After that, the fence was set to allow the rest to be cut knowing that they were an exact duplicate of the first. When it came to ensuring that the adjoining dovetail was spaced exactly, I started the first cut closer to the centre of the final joint, and then crept back to the correct starting point by measuring the gap between the front of the leg and the top of the joint with my digital calipers, until they were exactly the same width (the gap on the bottom in the photo above).
With all the dovetails cut, I trimmed up the top of the legs, so that I knew everything was square, and that the depth of the dovetail was where I wanted it. As you’ll have noticed, the male dovetail is slightly inset in the female groove, and this was by design. I wanted to have the dovetail really stand out, rather than being flush with the top I wanted to have it inset slightly. I’m sure other people would disprove of this choice, but I like the effect.
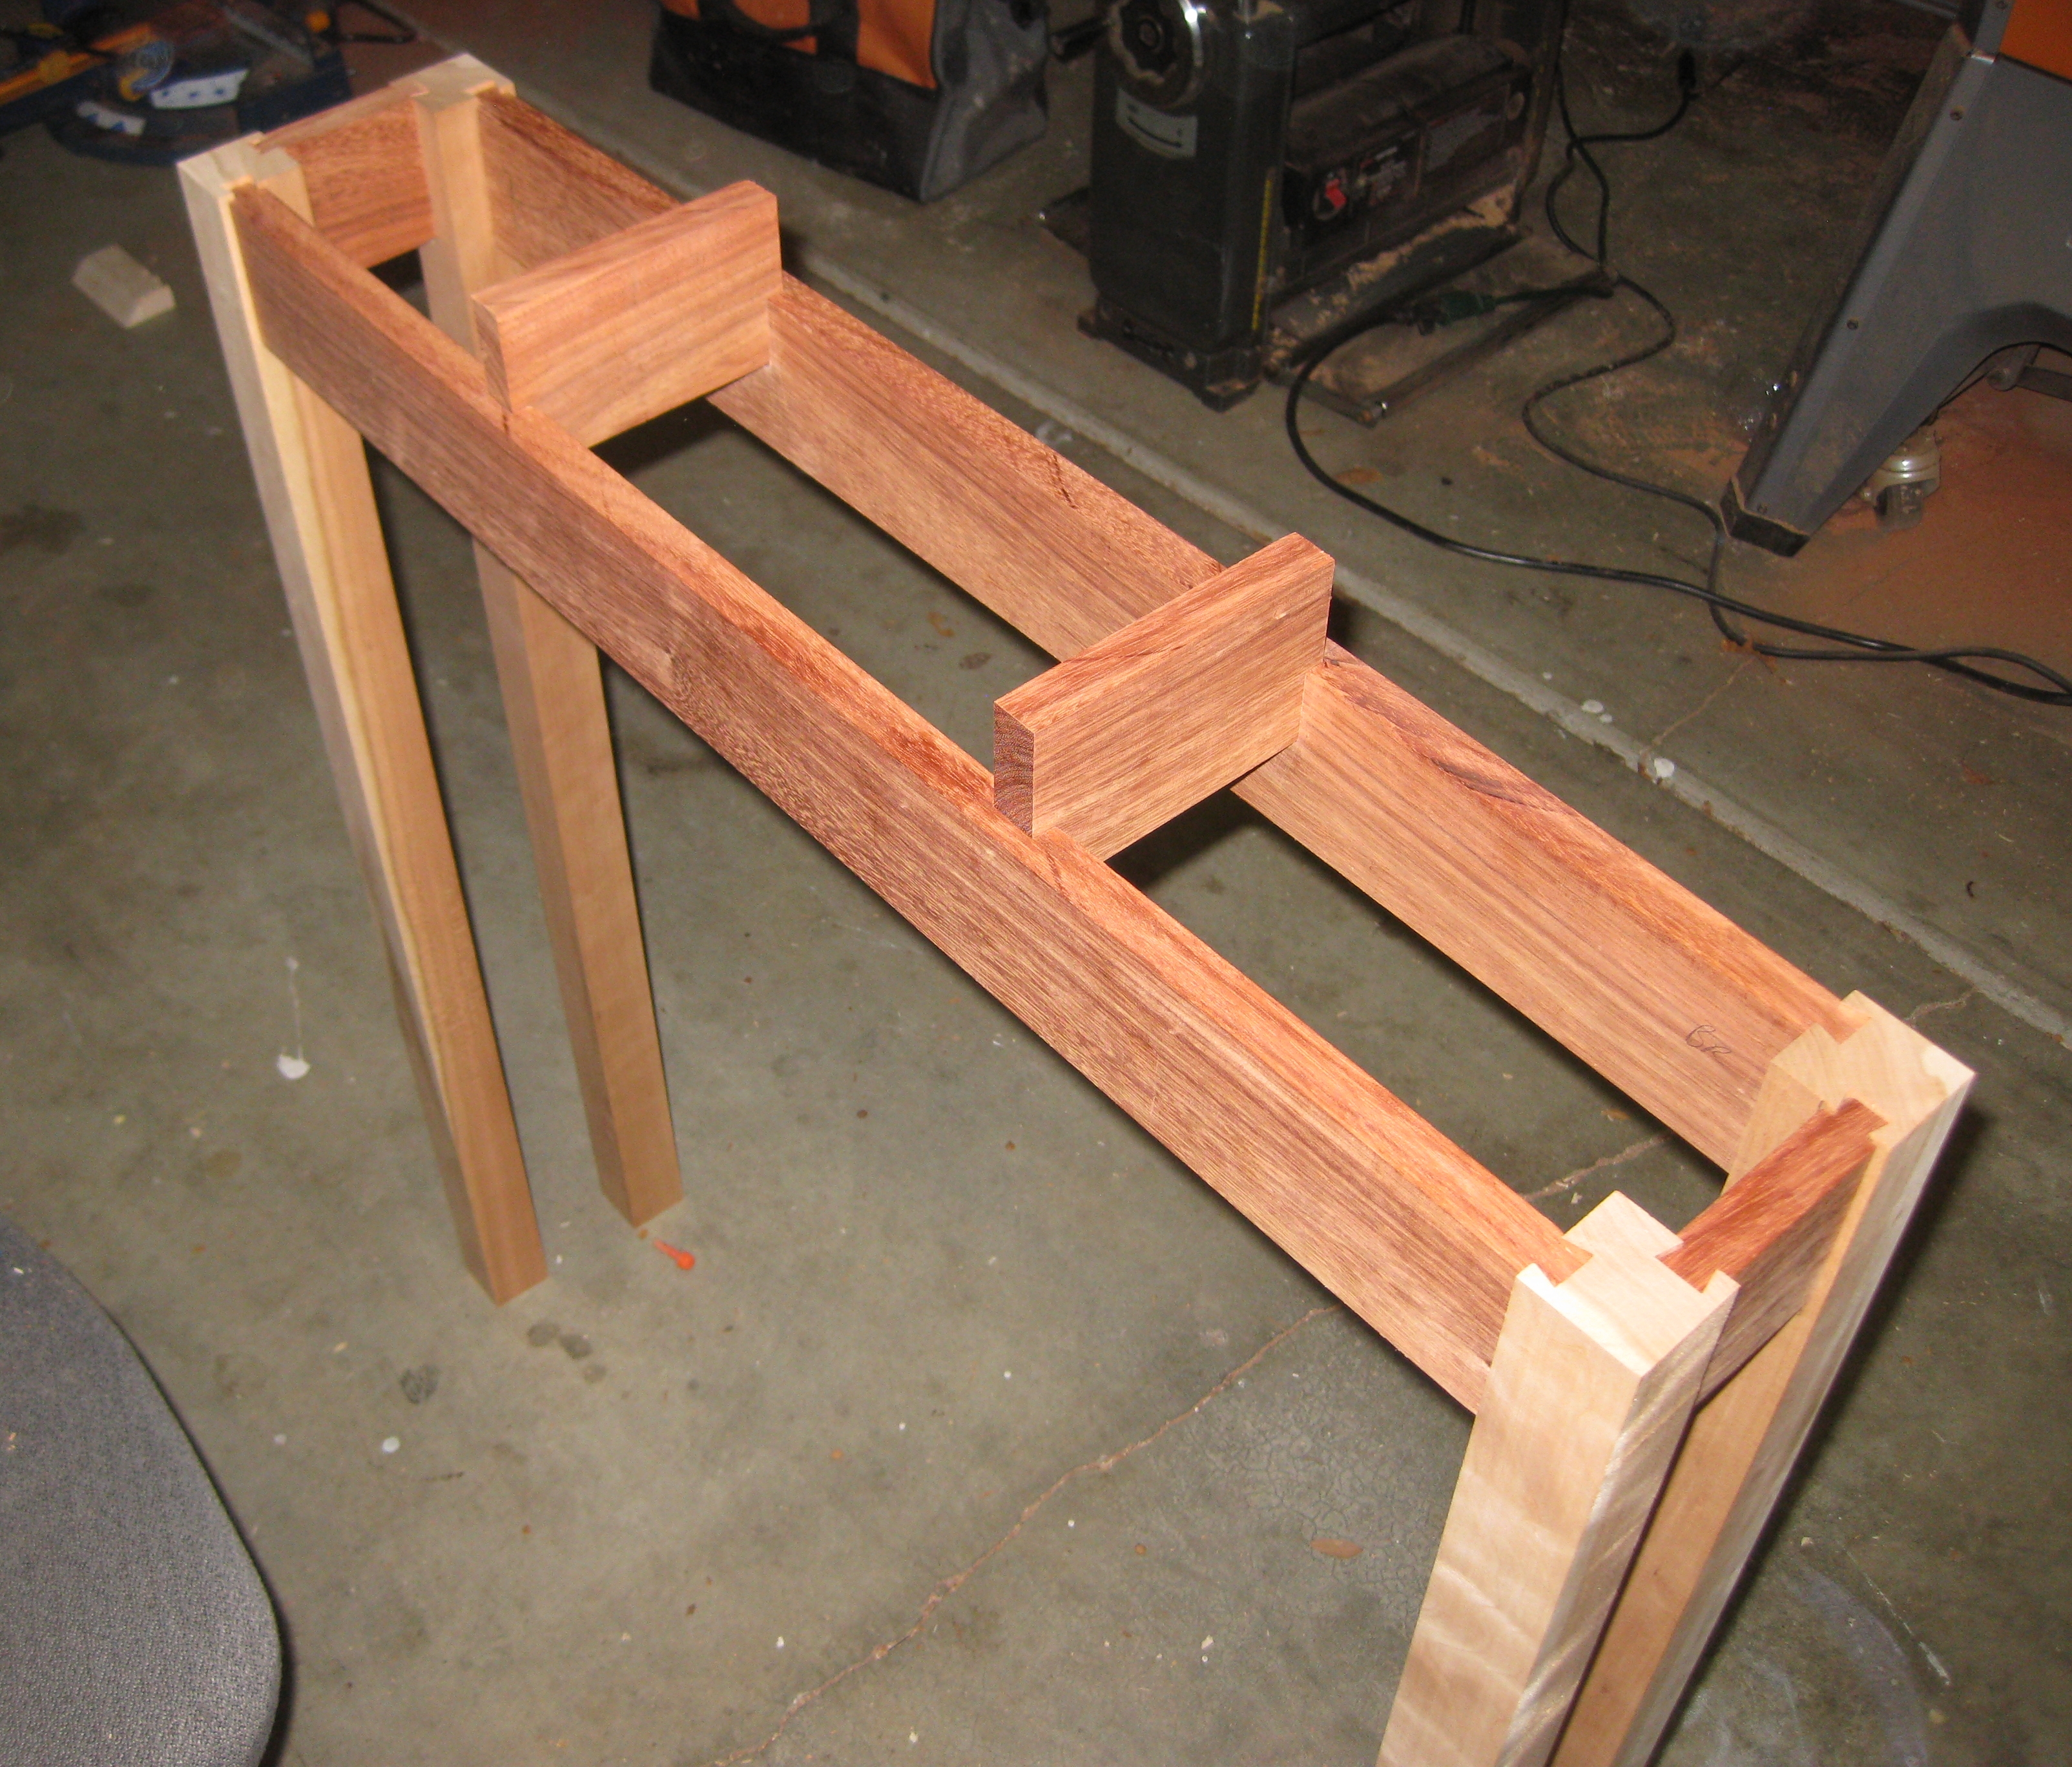
With all of the joinery cut for the main frame of the table, I put it all together on a dry fit. This allows me to test the fit without gluing things together, and see that everything is square and sitting the way I want it. At this point, I still have to add the supports for the table top to make it float, but I was happy that everything went together the way I had planned, it was square, and it was looking good!
Next up was to cut the groove for the supports and also size them to fit correctly. I decided to make life simpler here, and go for a straight stopped dado, rather than a stopped dovetail. After all, the wood is the same so it won’t be a contrast like on the legs, and the entire point is to make the top appear to be floating above the legs, so drawing attention to the supports wasn’t the effect I was going for. The intent is to add a curve to the supports, so they start flush with the frame and curve under the table top. At this point though, I was happy just having the stopped dado cut and the height of the float set.
It seemed like most of the hard work was done now but there was still one last piece which would in my mind make or break the project, and that was getting the table top in place correctly.
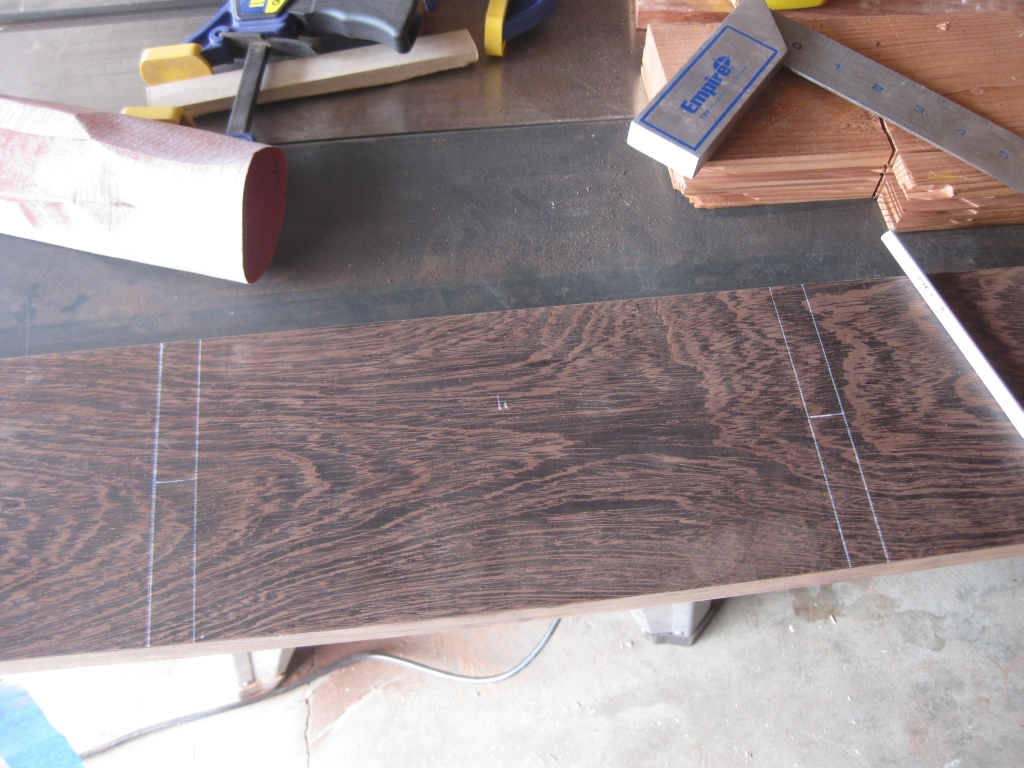
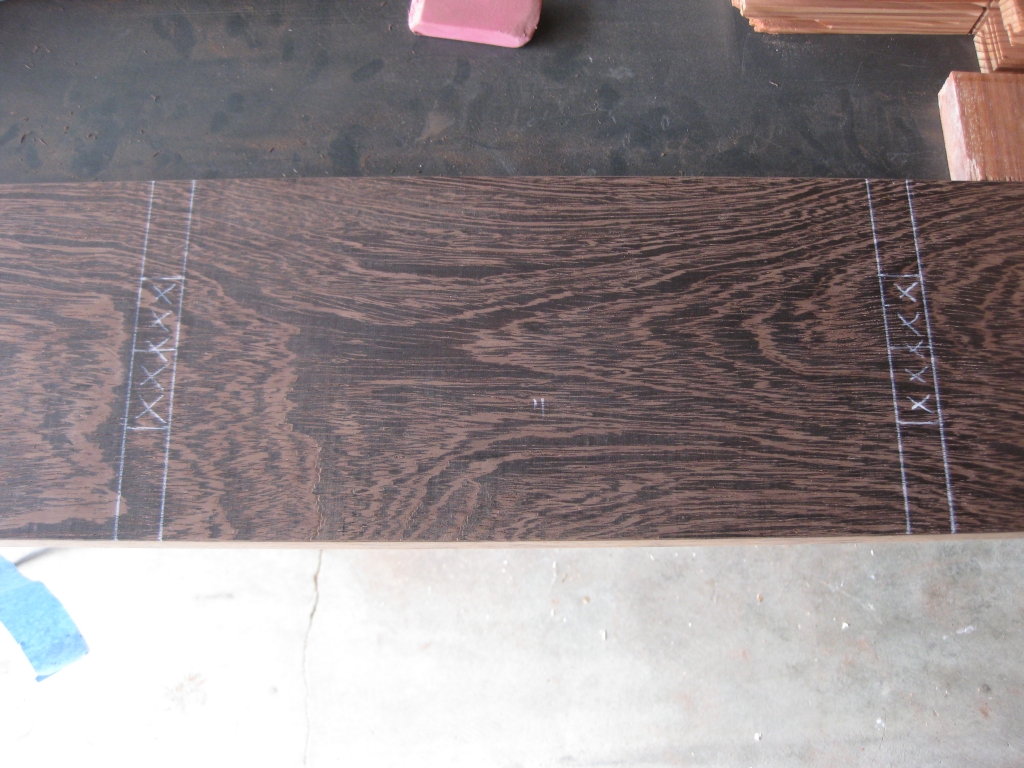
The Table top is 1/4″ longer than the frame at each end, and 1/8″ wider than the frame, front to back, so there is a slight overhang. When marking up the locations for the dado’s that the floats will drop into, I had to take this into account, to ensure that the table top is exactly centred over the frame. Without this, I’d end up with scrap rather than a table top! (And I’ve put a lot of hours into this to end up with scrap).
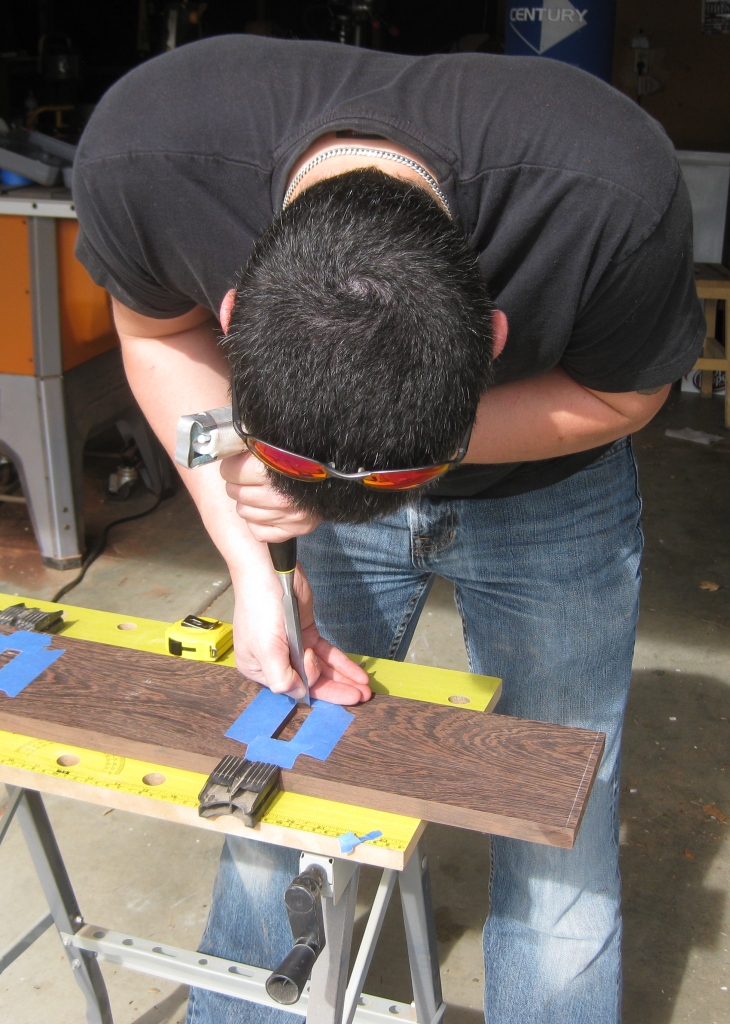
I marked up the width of the floats, then marked the centre of the top before marking the area to be removed. Having checked and double checked the markup, it was time to go ahead and remove the material so that I’d have a table top. Part of this project has been trying new things and learning more woodworking techniques, and this was no different.
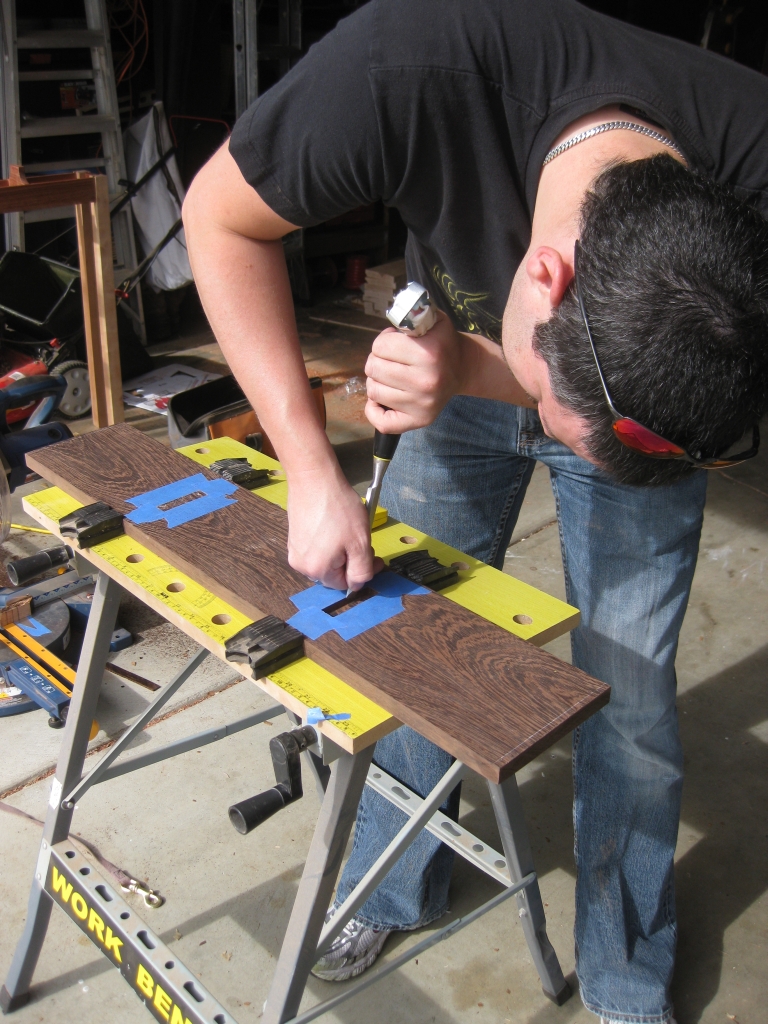
I decided to do this is a more traditional method, and use a chisel to remove the material. While it may not be the fastest way, it certainly was the safest, and by keeping my chisel sharp cutting through the wood really wasn’t difficult. Not only that, but it gave me a chance to work with some hand tools, and really get a feeling for some ‘serious’ woodworking. (And if it all went wrong, it was under the table where no-one would see it!) By going back to the frame frequently, I could check the fit, and ended up with a very tight fit. Tight enough in fact that I could put the top onto one of the floats, with the entire top hanging over the outside of the frame, with no glue, and it wouldn’t fall off.
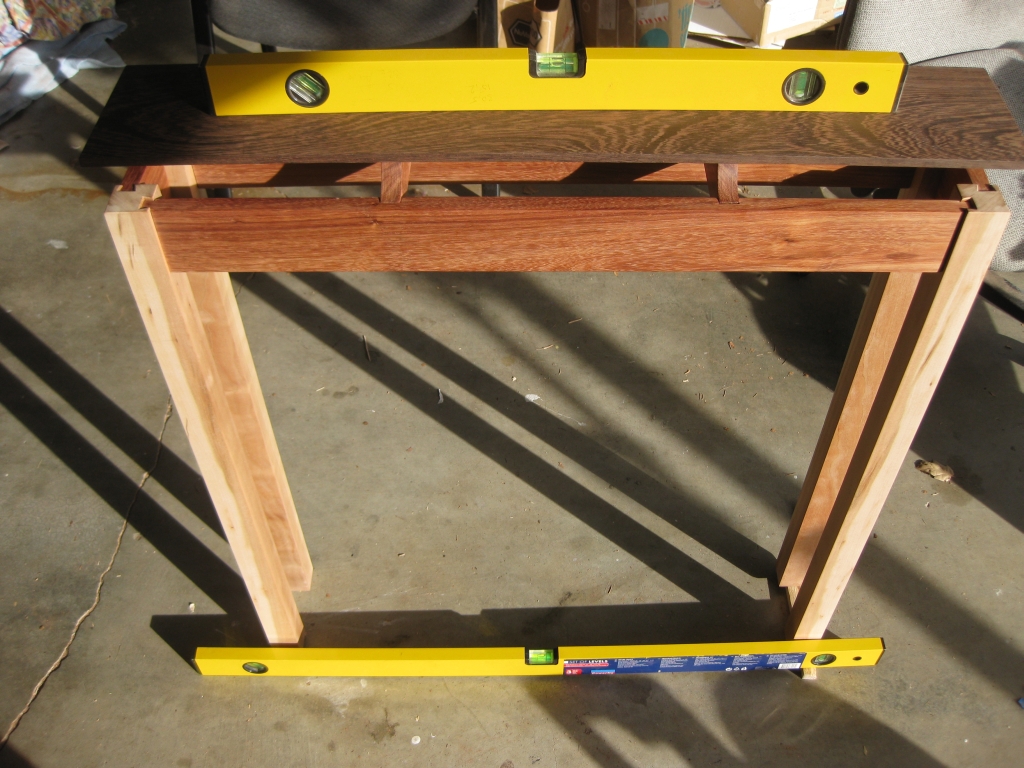
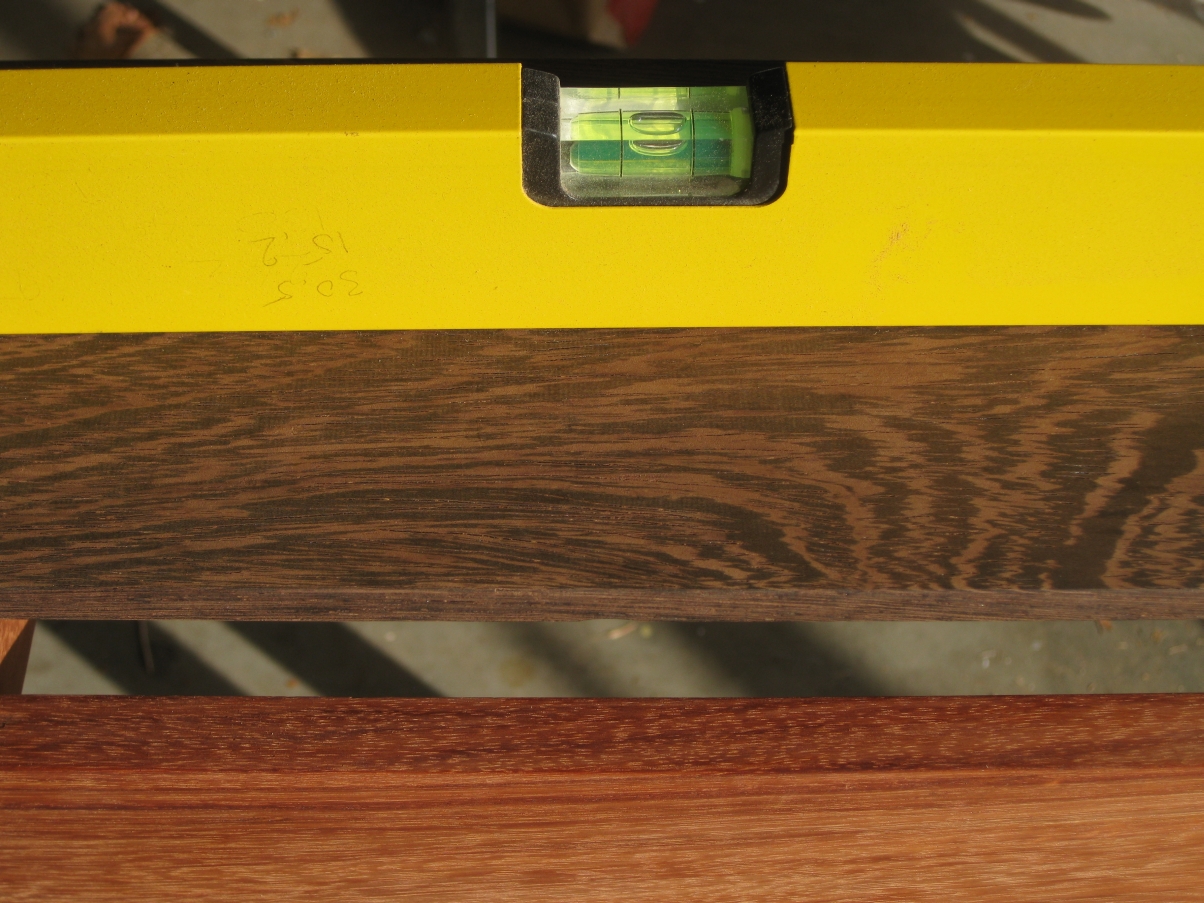
With the slots cut, I checked that the top was level. Unfortunately, my garage floor isn’t level, so I had to shim one side of the table legs to get it level first.
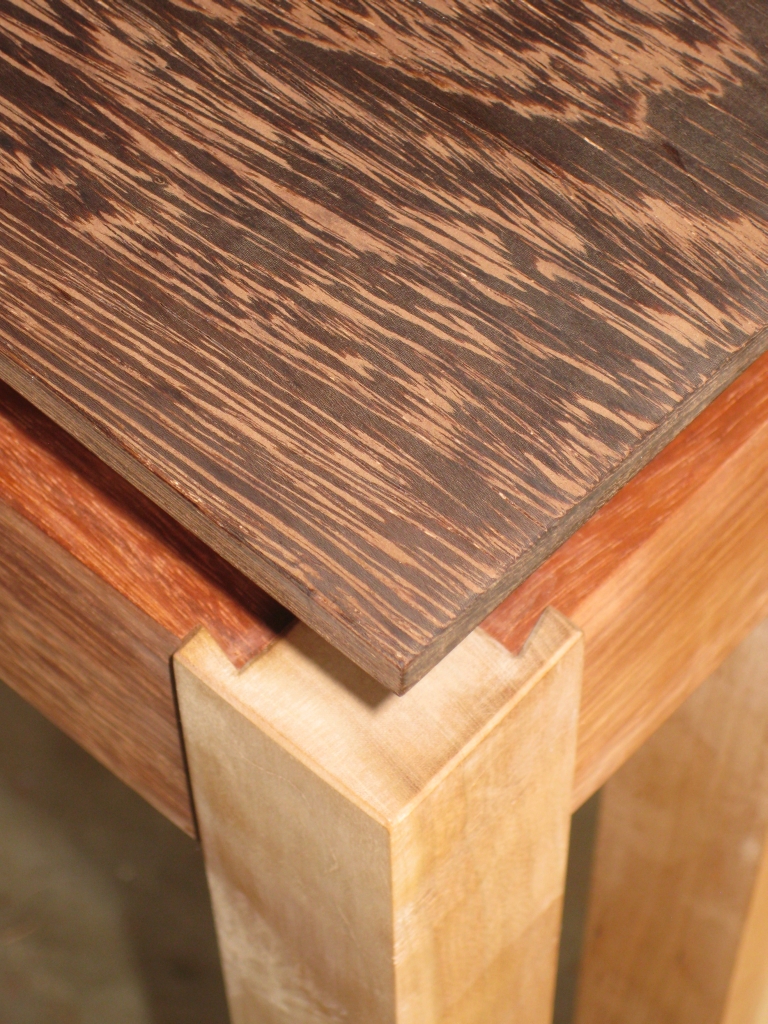
So there you have it, one table, built from a few boards to the finished product. The photos don’t show it, but with the wood polished to 600grit, there is a mirror shine to the faces, even without any finish on them, to the point that you can see your reflection in it. I’ll come back a little later and show you the table once it’s been lacquered, but until then I’ll leave you with a detail shot of the corner with the dovetails. I think it matches the original design drawing. I also added the bevel into the top and bottom of the legs to really finish the table. Clearly it’s the details that make the project.
I’d also like to say a huge thanks to my friend Callum who’s over from Scotland visiting me at the moment and helped throughout the whole project. I know that without his help much of the work would have been far more difficult.
Marvellous piece of work Neil, and so nice to read a story behind it.
Designer and builder in one, you are going fast forward.
I am now in the ‘creating cross cut sled’ phase, using your older blog posts as a guideline. One day I’ll make a dovetail joint, and maybe scroll back to this blog post.
Amazing! I am in awe yet again!
I still want to do it myself but my old kitchen is currently sitting in my garage and I can only set up a workshop when it is removed! God only knows when my builder will get round to that!
Kevin
PuzzleMad
A very good table. Especially dovetail joints are fine.
Erhan
Very nice work Neil and great read!
Neil that’s a fantastic bit of work there. Really interesting read too, well done chap 😀
Pingback: Havanas #1 & #2 – Chris and Heather « Neil's Puzzle Building Blog