After the quick interlude as I prepare for IPP, here’s the third part of the Hex Stair saga. Despite only having 11 puzzles made in the last month, it feels like I’ve been working on this project a fair bit longer. Still seeing all the puzzles finished and ready to go to IPP with me I’m really pleased with the results.
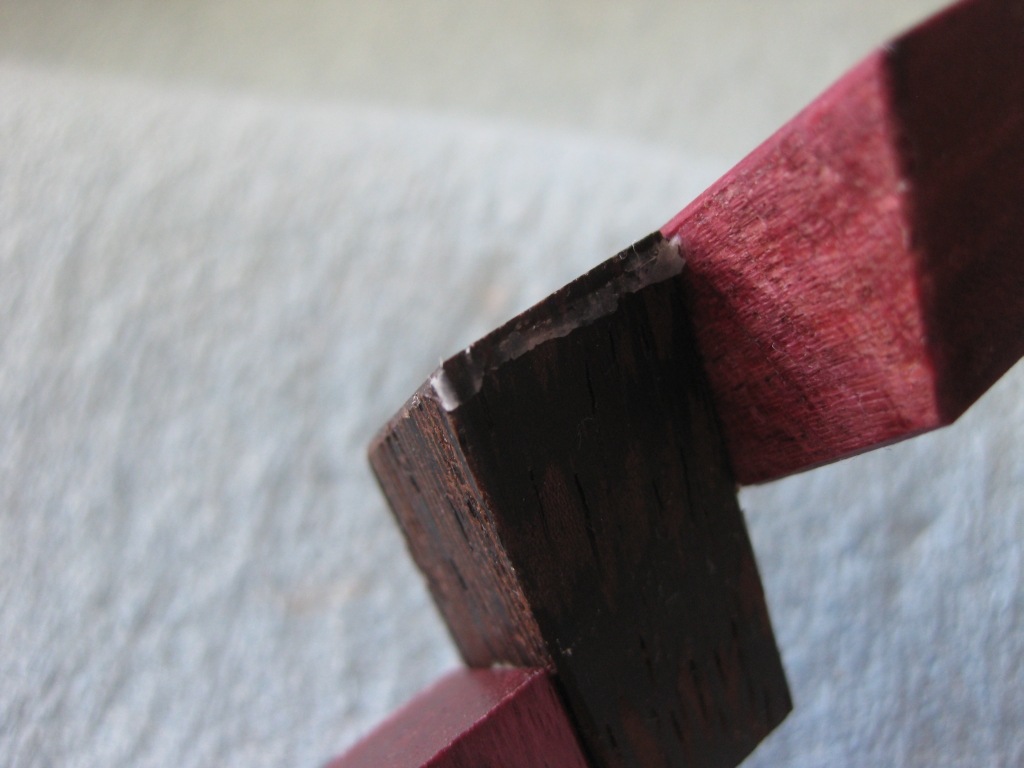
I’m not sure how anyone else views the finishing process, but for me it starts long before you ever get out a brush or some lacquer. Much of the look of a finished puzzle, or any wooden object really comes from the choices you make when you’re putting it together. There are subtle details which really help to ‘finish’ a project. For the Hex Stair (and the Domino Tower) puzzles, adding the very slight 45 degree bevel to the edges of the pieces really adds to the overall look. Without it, the puzzle looks incomplete. So for me that’s the first part in the finishing process. After each of the blocks are cut to size, I add a tiny bevel to each piece. It’s a time consuming process, but without it the pieces just lack that little edge that they’d otherwise have.
Getting ready, each of the puzzles are assembled, as I will be sanding only the outside of the pieces. The reason for this is that I send a lot of time ensuring that the pieces are all the exact same size, to ensure a tight fit on the assembled puzzle. If I were to sand the pieces, then I’d lose that fit, and the puzzle would become too loose, or not fit at all! You’ll remember that I aim for one thousandth of an inch tolerance between pieces. Sanding will remove much more than that!
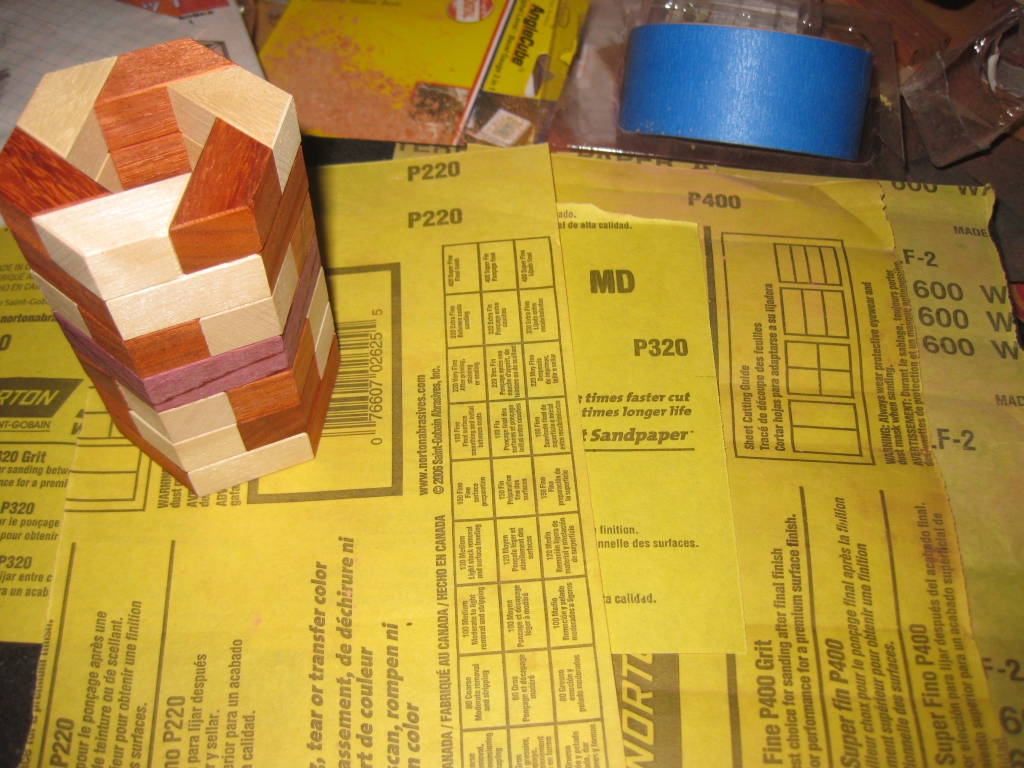
Given the finish I get from the blade of the saw, you could ask why sand the puzzle at all? The main reason is the feel of the puzzle in your hands when it’s sanded. Although the puzzle if perfectly dimensioned, the feel of the wood can still be a little rough. By working up through the various grit of sandpaper, we’ll take the wood to being silky smooth to the touch, and make it something that you’ll want to hold. Given that I’m starting off with something which is close to a finished surface, I’ll start sanding at 220 grit, then move up to 320, 400, and eventually 600 grit. The last two grits are more polishing the wood than removing imperfections, so very light passes are all that’s required at that stage.
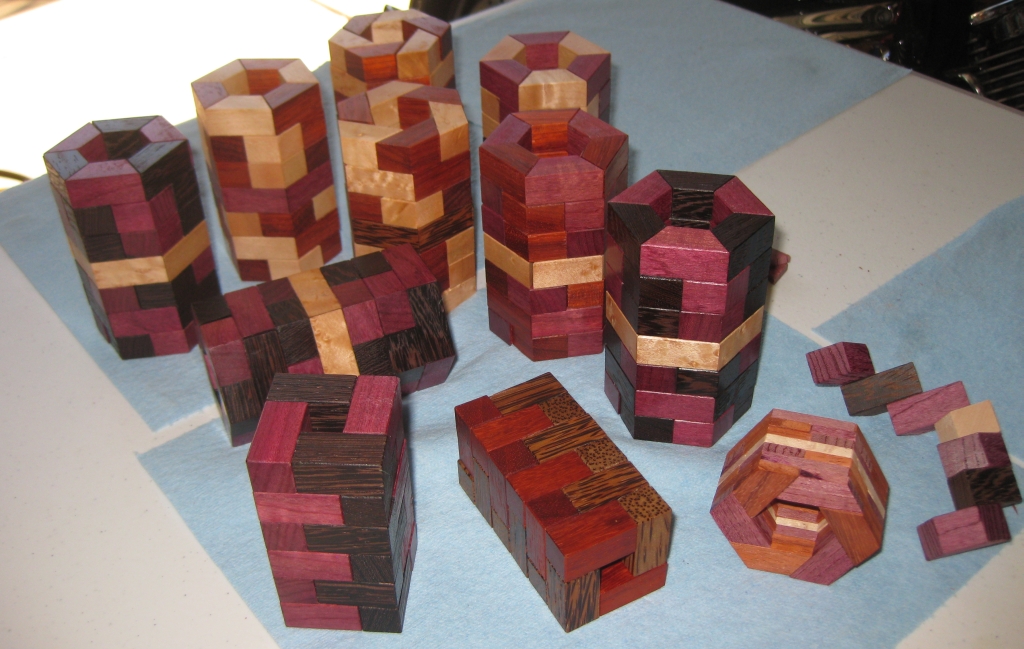
With each of the sides, and both top and bottom sanded, the puzzle is left coated in a fine sawdust. You’ll notice that I’m working with the sandpaper attached to my granite block. I work the puzzle across the paper rather than take the paper in my hand and bring it to the puzzle. The former ensure that the surface is dead flat, and I don’t over sand any particular area, where there latter, the different pressure from my fingers would lead to imperfections. Before moving to the next grit, the dust has to be taken off, otherwise it will be ground into the surface of the wood, and you will end up working harder to get the surface you’re looking for. To do this I use two processes. First up, I have an air compressor with a fine nozzle on it. Using that at about 60 PSI, I blow most of the dust off the surface, taking care to ensure I get any dust out of the pores of the wood. On wood like the Paduak I’m using which has fairly deep pores, the air easily clears them out.
Once I’ve blown the dust and cobwebs away, I use a Tacky cloth to take care of anything that’s left on the surface. The Tacky cloth is has an almost waxy feel to it, and does a great job of taking anything loose off the surface. With that done, I can continue up through the grit until I finally reach 600. All in all it takes about forty minutes per puzzle, but since I was working with all the puzzles, around 3 hours in total.
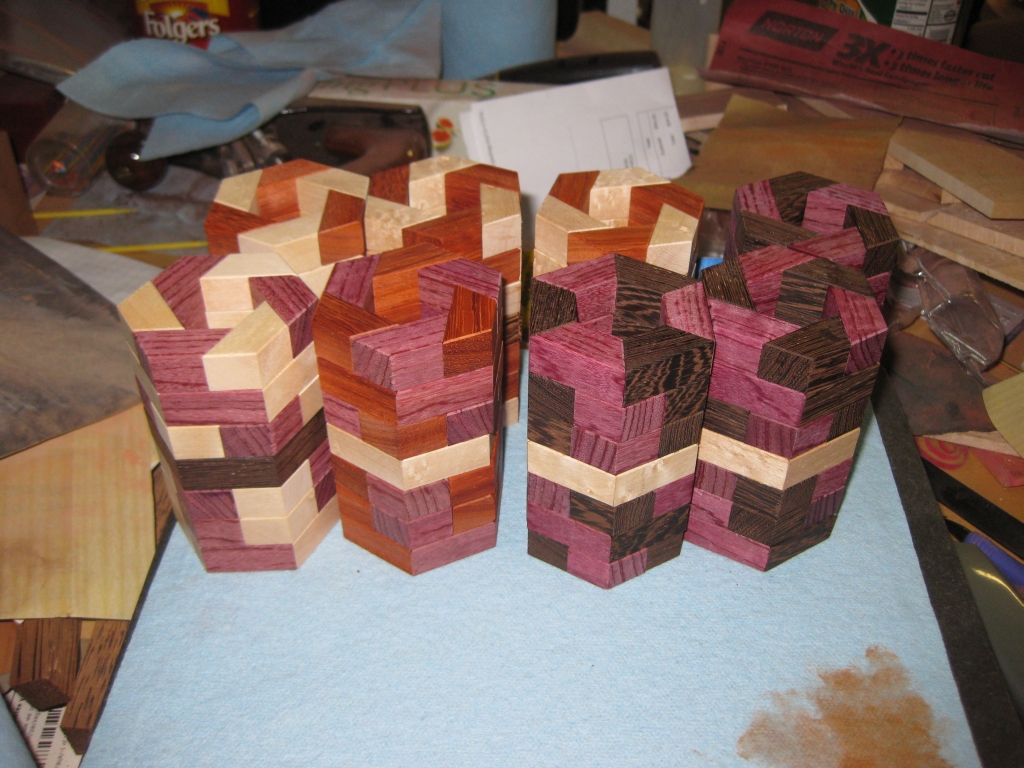
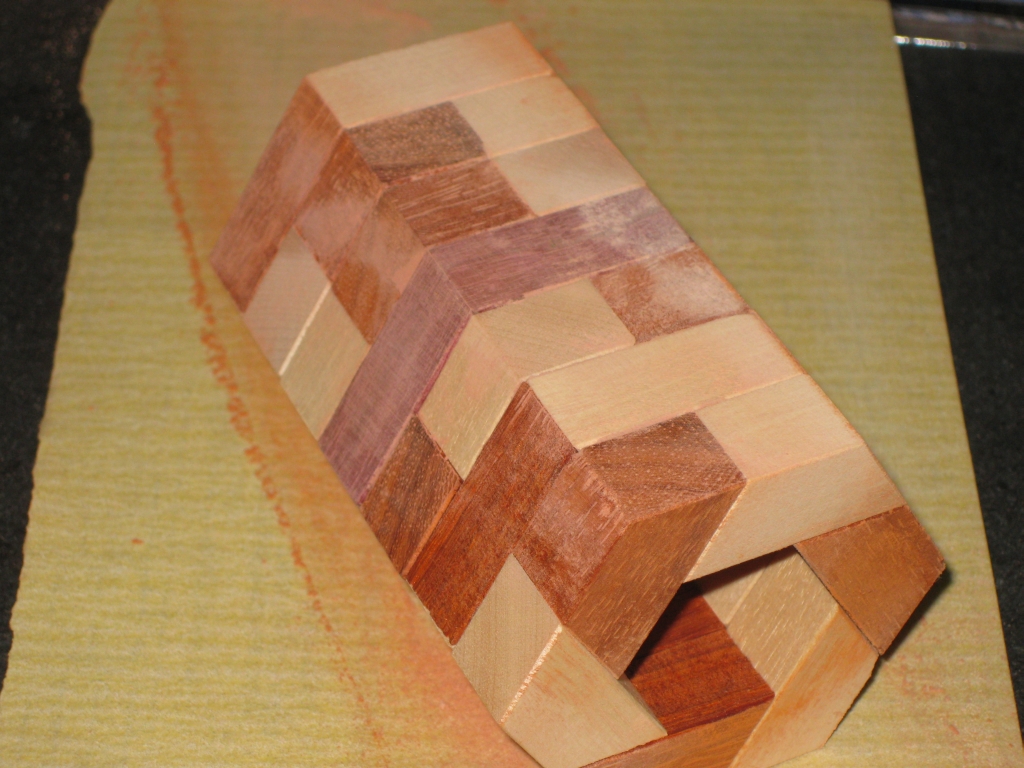
It may be a little hard to tell the difference from the photograph, but this is the puzzle sanded up to 600 grit. The real difference is in the feel of the wood. Now much smoother, the finish is almost like glass.
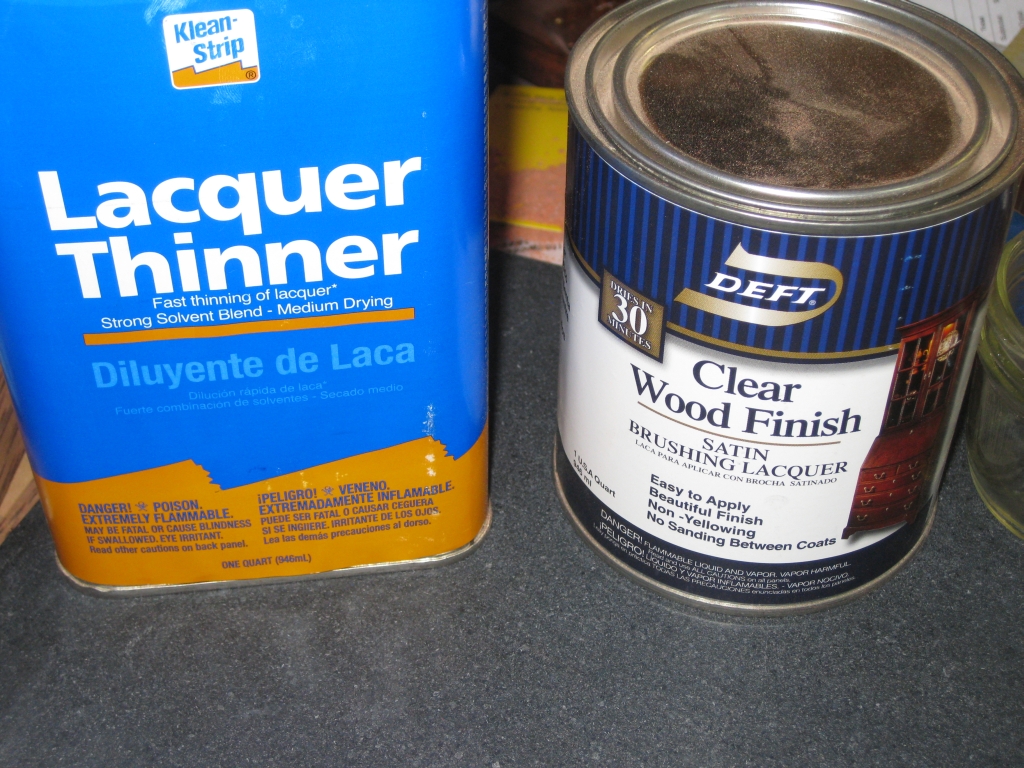
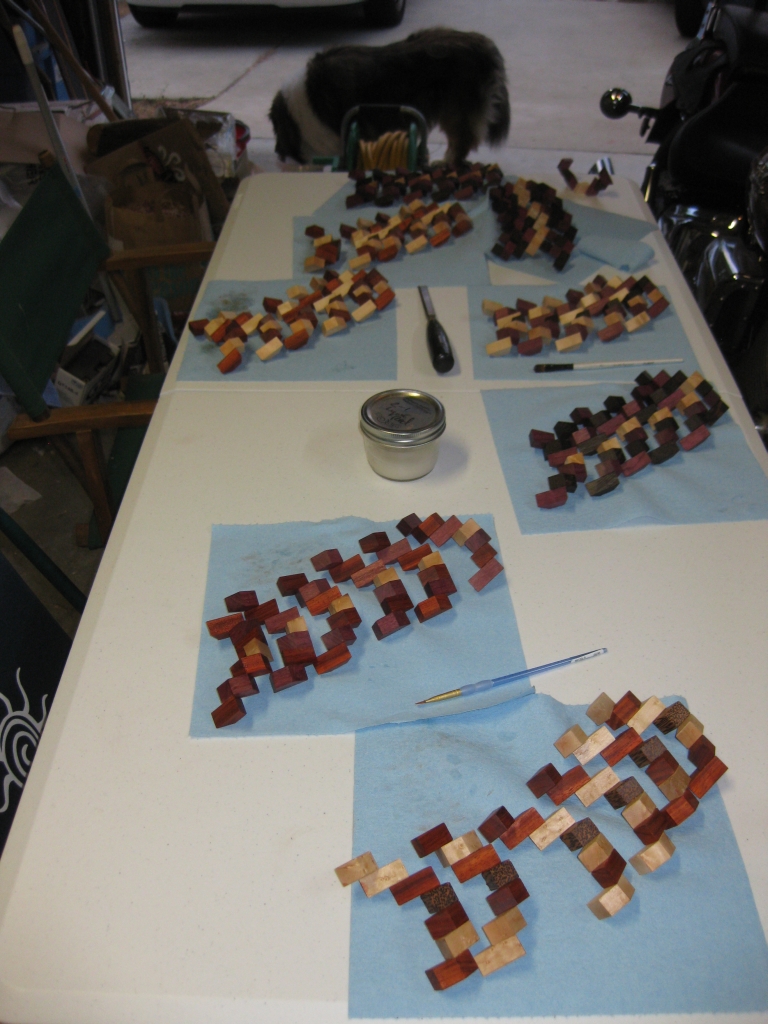
Next up in the process is to apply the finish. I use a three stage process currently. First up is to apply a couple of thin coats of lacquer. I mix the lacquer 50/50 with thinner, and apply two coats to the puzzle pieces. Working with the lacquer thinned like this, I have found I don’t end up with runs or drips. Given the size of the pieces I’m working with I use a small brush to apply the finish which could leave brush stokes with a thicker mixture. Each coat is applied and allowed to dry overnight before adding the next coat in the morning.
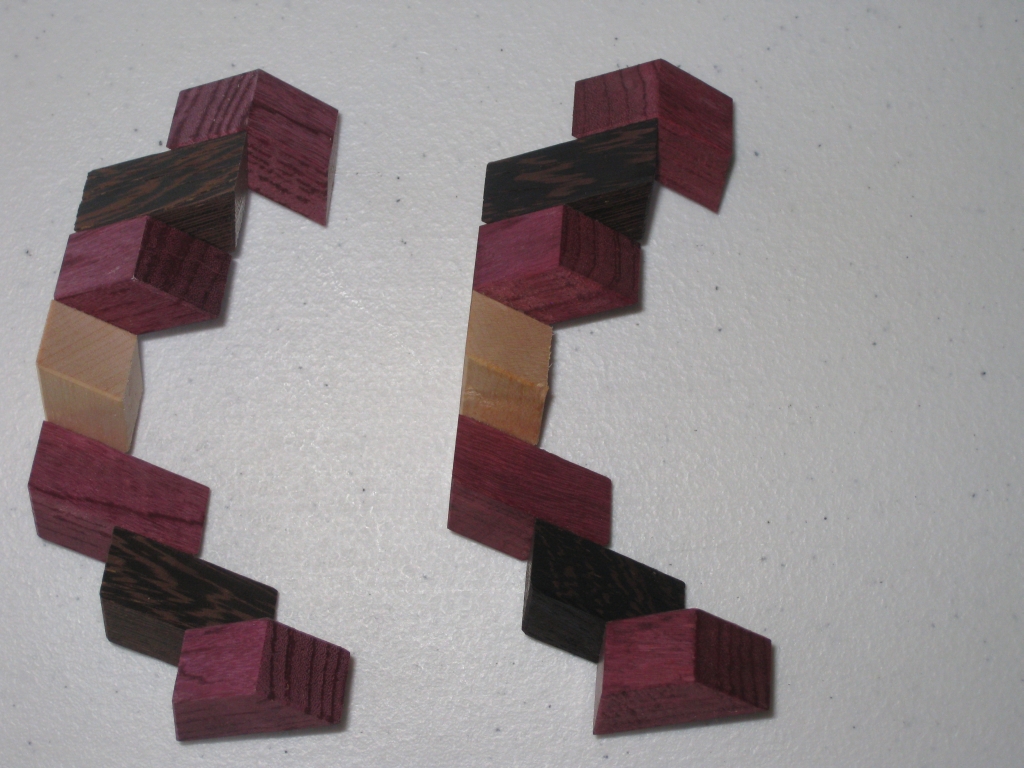
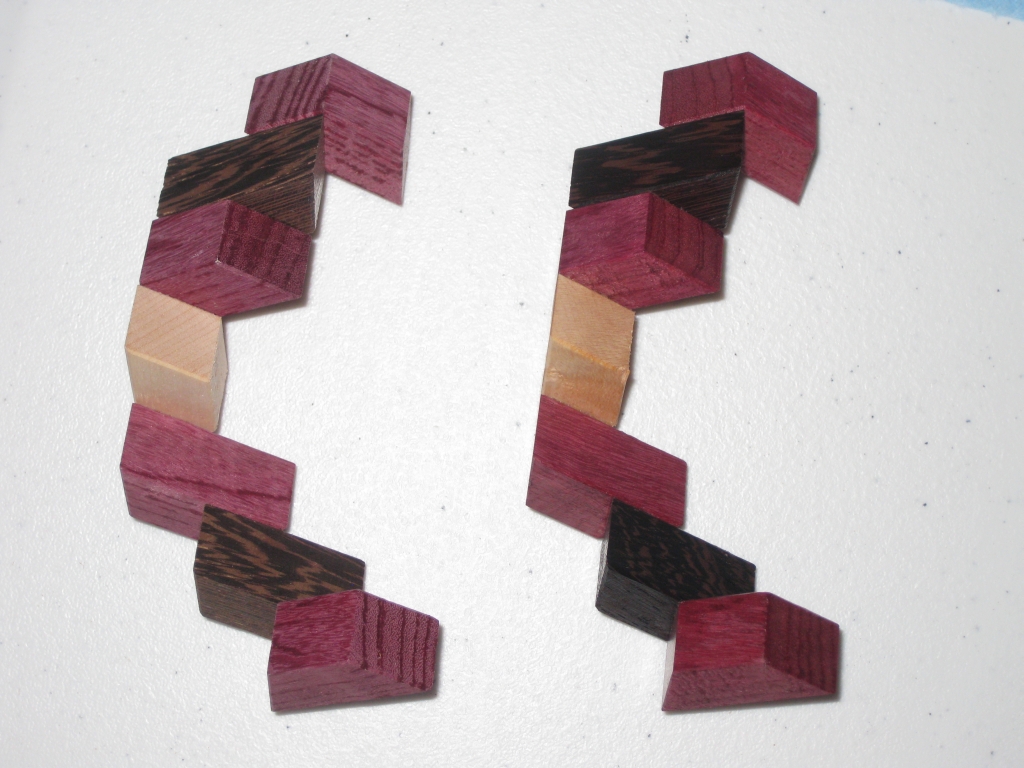
It takes around 20 minutes per puzzle to apply a coat of finish, and then it’s left to dry. I’ll show side by side photos below, so you can see the difference after each stage. It will probably not be too obvious, however the before and after shot shows worlds of difference!
After the two coats of lacquer are applied, I take a good look at each of the pieces. Sometimes the wood absorbs the lacquer more in certain areas, and the finish can appear uneven. If that’s the case, I’ll go back and apply a third, or even fourth coat of lacquer until the wood has absorbed the lacquer evenly. After each coat, the lacquer is left to soak in for around thirty minutes, and then I’ll come back and rub off any excess with a clean cloth. If the lacquer pools on the surface, it will dry hard and uneven, which can affect the fit of the puzzle, and certainly doesn’t make it look any better!
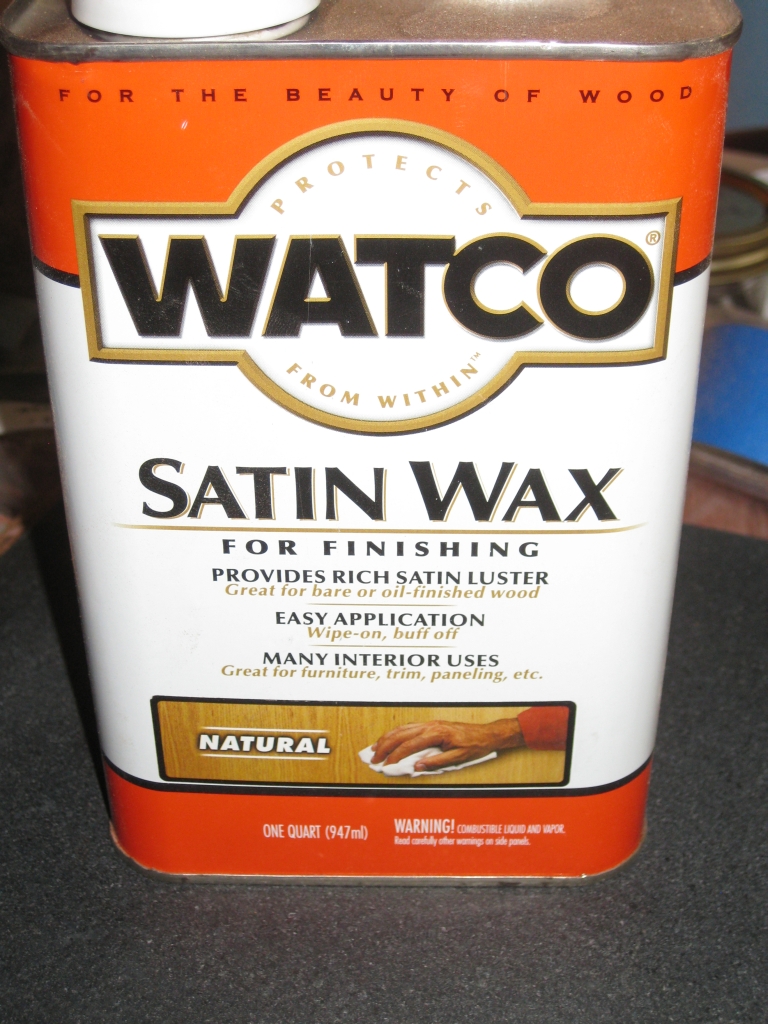
Once I’m happy, I’ll apply a liberal coat of the Watco finishing wax. This helps the pieces to slide past each other, and adds another layer of protection for the puzzle. After all these will be played with, so I want the wood to be protected. I leave the wax on the puzzle for around 15-20 minutes, then with another clean cloth, rub the excess off. Part of this process I also buff the pieces as I work the wax into the surface, but mostly I’m removing the excess.
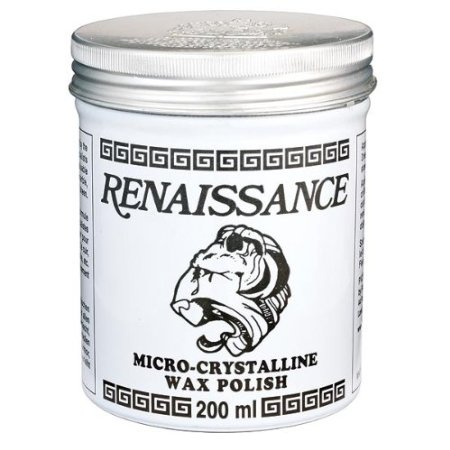
The final part to the finishing process is to apply a coat of Renaissance Wax. This incredible substance (which is not cheap!) brings up an amazing shine on the wood. Applying it leaves the wood with a slightly tacky feel, and a finish which is less than mirror. I apply the wax as evenly as possible, and then let it sit for 20 minutes. After that I take a clean cloth and start buffing the surface. It takes about 20 minutes per puzzle, but the wax really polishes up the surface and starts to make the wood shine.
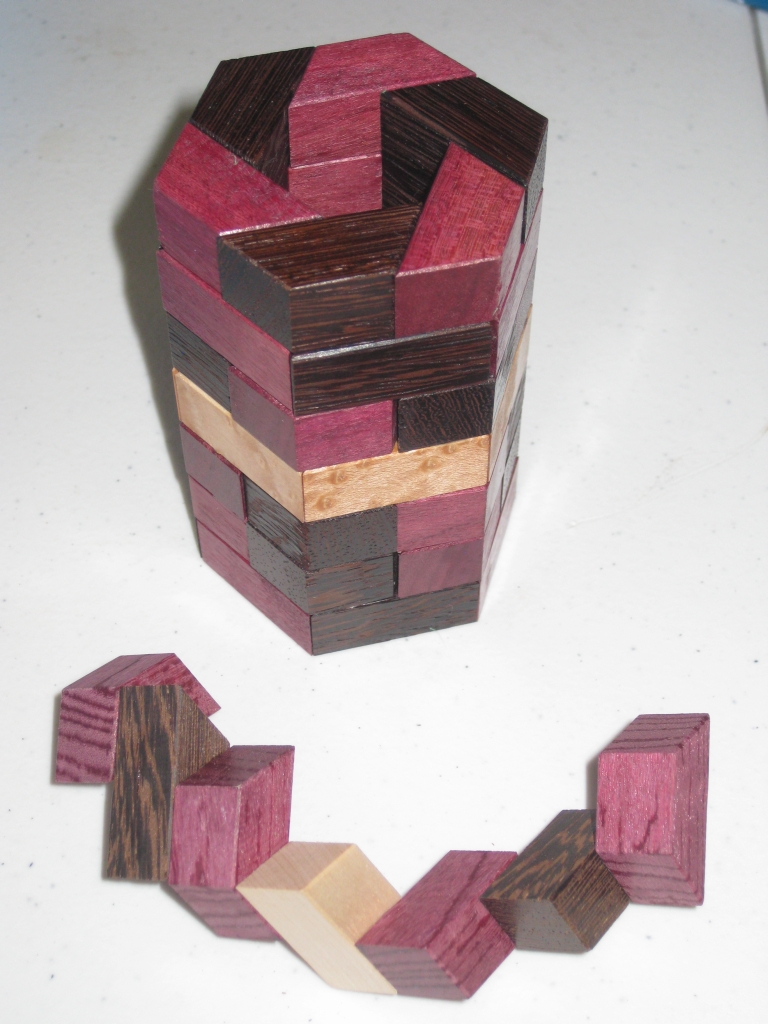
After the initial buffing, I take the puzzle apart, as the wax gets pushed into every little gap. This needs to be cleaned out before the puzzle is re-assembled and given another buffing. All told the process takes nearly 45 minutes per puzzle, but as you will see below, the results are worth every minute of it!
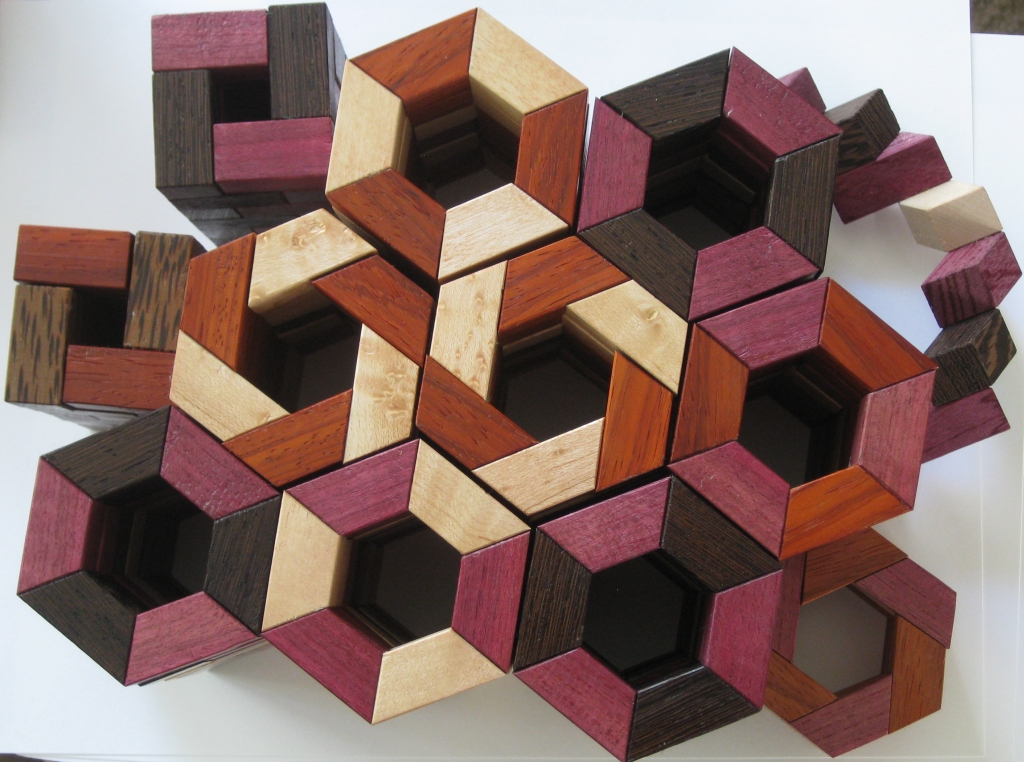
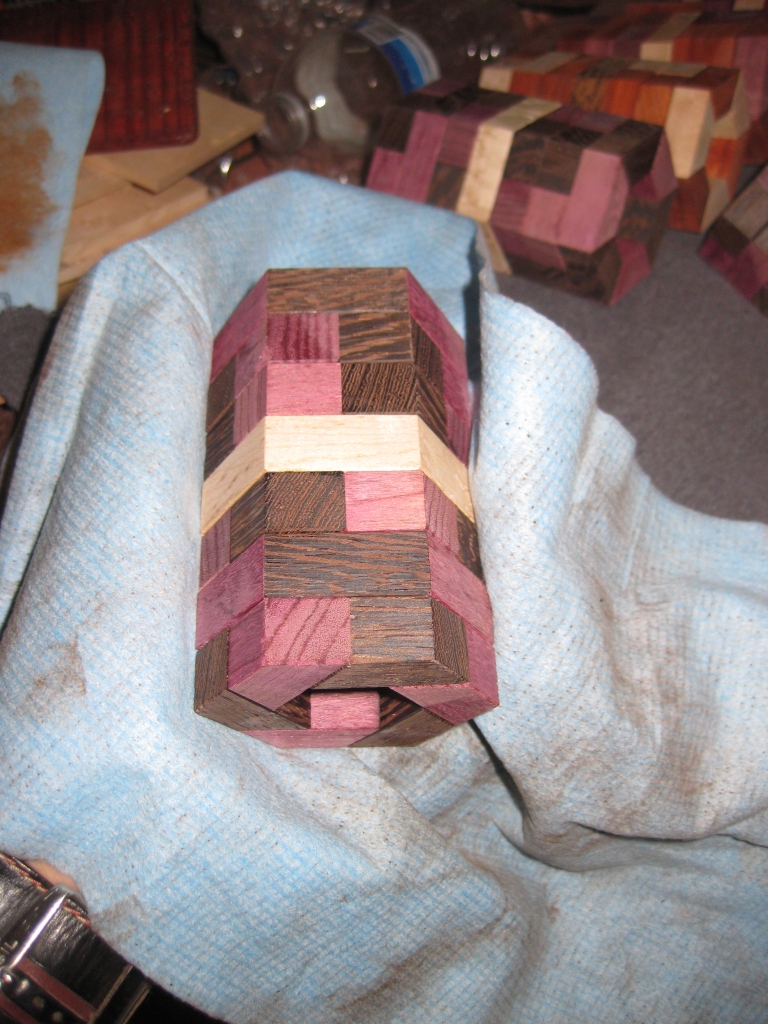
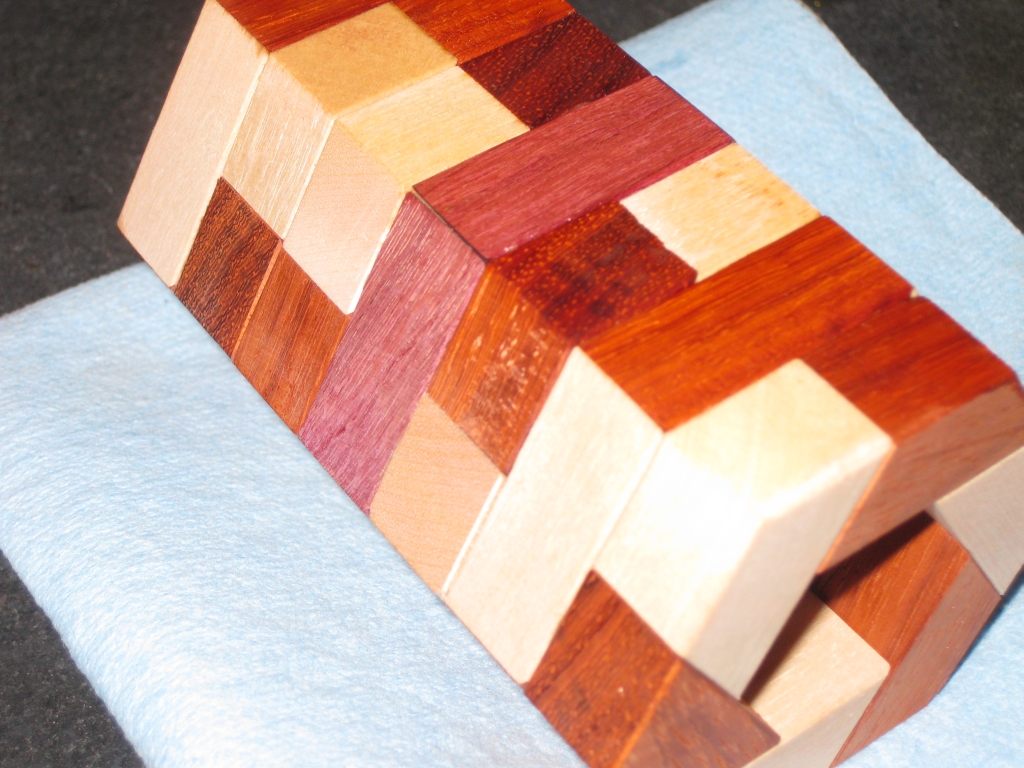
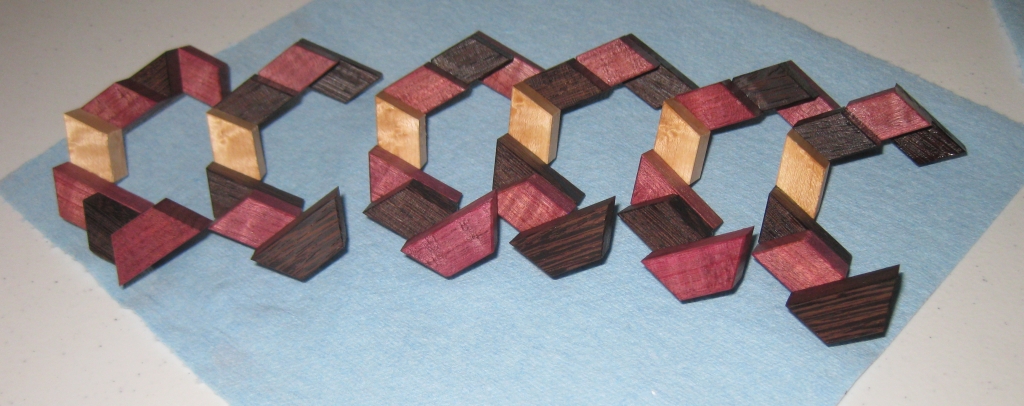
As you can see the difference from start to finish is dramatic. The surface ends up being quite reflective, and really brings out the grain in the wood. It may take ~4 hours per puzzle but the results speak for themselves.
The images below show each stage of the process compared with the unfinished puzzle. It may not be too easy to see the difference, as the changes are subtle.
I hope you’ve enjoyed the writeup of my finishing process. I freely admit that I’m no expert, and I’m learning as I go, however several of my readers have asked so hopefully this is useful to you. This is by no means the definitive guide to finishing, and certainly isn’t appropriate for all applications, however it does work for me when finishing puzzles, and I’m happy with the results. From the feedback I’ve had from those who’ve bought my puzzles, they seem to agree that I’m doing something right!
These are beautiful, Neil! It certainly shows that you are putting in so much work. You are rapidly becoming a master at this and I am very envious of your time and skills. Maybe one day I will have time to try it. In the mean time, I will hav to mek do with playing with whatever puzzles you make!!!
Enjoy IPP! (jealous of that too!)
Kevin
Puzzlemad
…the results speak for themselves – cracking job Neil – they look excellent! See you in a couple of days. allard
Hi,
Nice puzzles. Don’t you have any Hex stairs left (even if I doubt cause it’s longt time ago)?
Thx