Monthly Archives: January 2012

Planers, Trains and Rusty tools

After completing the run of Unhappy Childhood puzzles I’d been making, I decided that I wanted to make something different and rather than making another cube based puzzle, I’d turn my attention to making the first puzzle box of my own design. In order for me to do that I need to look at a new tool or two as my shop doesn’t currently have a Jointer or Planer.

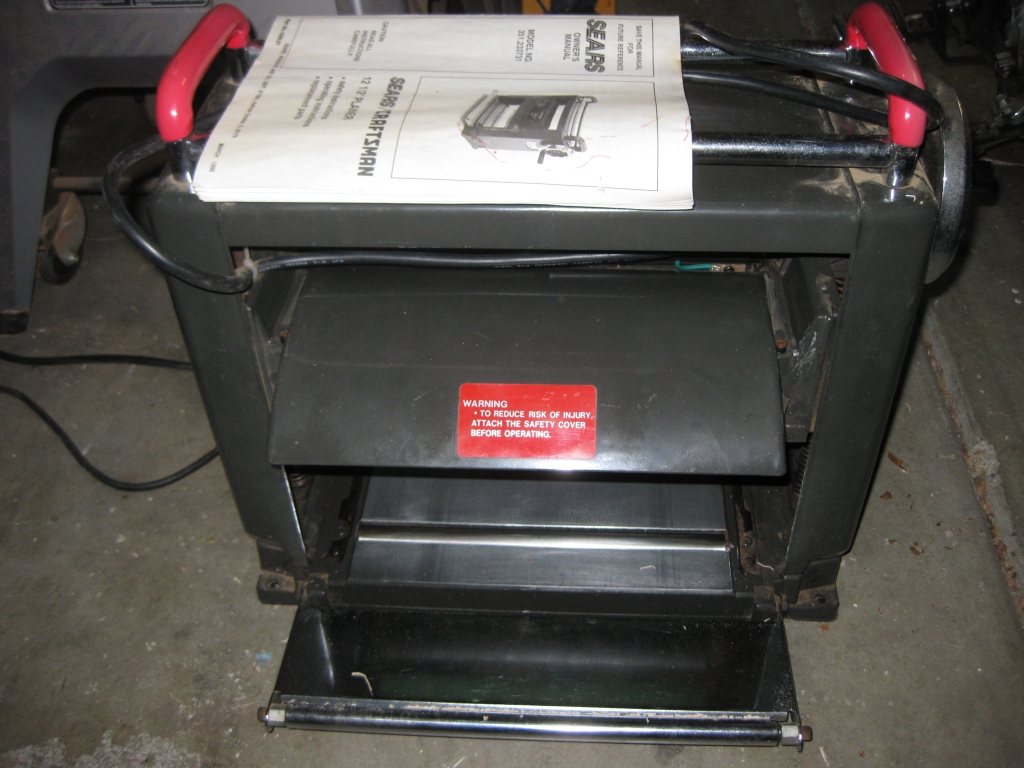
Given that I’m looking at puzzle boxes, I need to be able to get the boards I’ll be working on flat and coplanar. Luckily for me one of my work colleagues is also a woodworker, so I asked him if he had a planer and jointer that I could use. Now I was hoping that I could go round for an afternoon and use the tools, however he said that although he didn’t have a jointer, he did have a planer that he’d been given and had never used. I was welcome to have it on an extended loan, but he couldn’t vouch for how good it was as he’d never used it. So I said thanks and he duly brought it in for me. So this weekend I spent some time seeing what I had.

The Planer

The Planer

The planer is a 2 knife craftsman planer and is fortunately fairly compact and not too heavy which fits nicely into my shop space. The base is cast iron, and is self feeding. It has a 2 HP motor and the drive chain is fairly solid and looked to be in good condition. So I plugged it in, and standing back turned it on. It ran and seemed pretty stable. So far so good. So I took one of the unfinished boards I have sitting and ran it through. It took a few attempts to get the height of the blades right so that it cut and fed cleanly, but it did make some nice shavings, and was making the board flat. Once I had the bevel taken out of the board on both sides, I had a look at the board and there were a few issues.

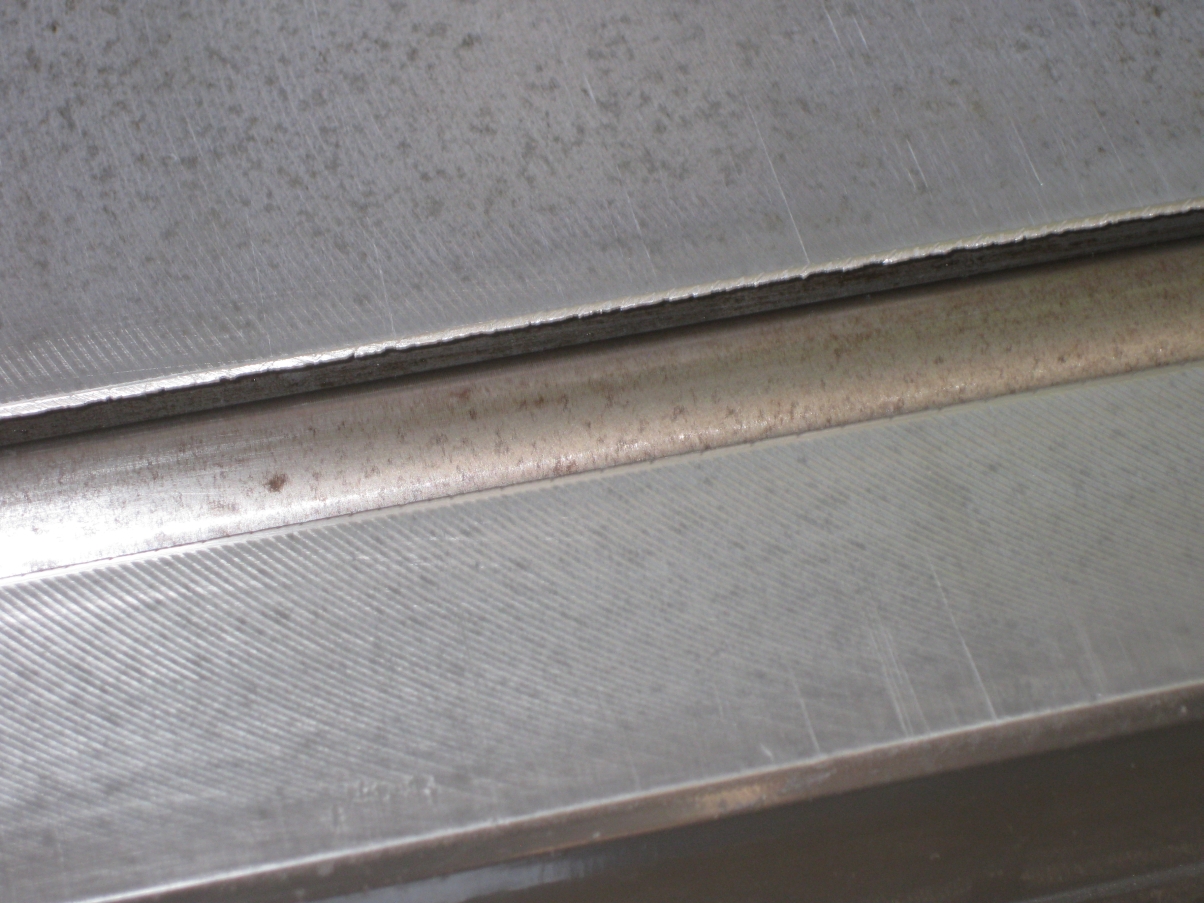
Train tracks in the board

Train tracks in the board

As you can see, the board wasn’t really flat. There were a number of ridges in the surface, and some rusty marks. The ridges were from nicks in the blades and the rust is pretty self explanetary. So I pulled out the instructions, and started figuring out how to take it apart.

Rusty Rollers

Rusty Rollers

Nicked Blades

Nicked Blades

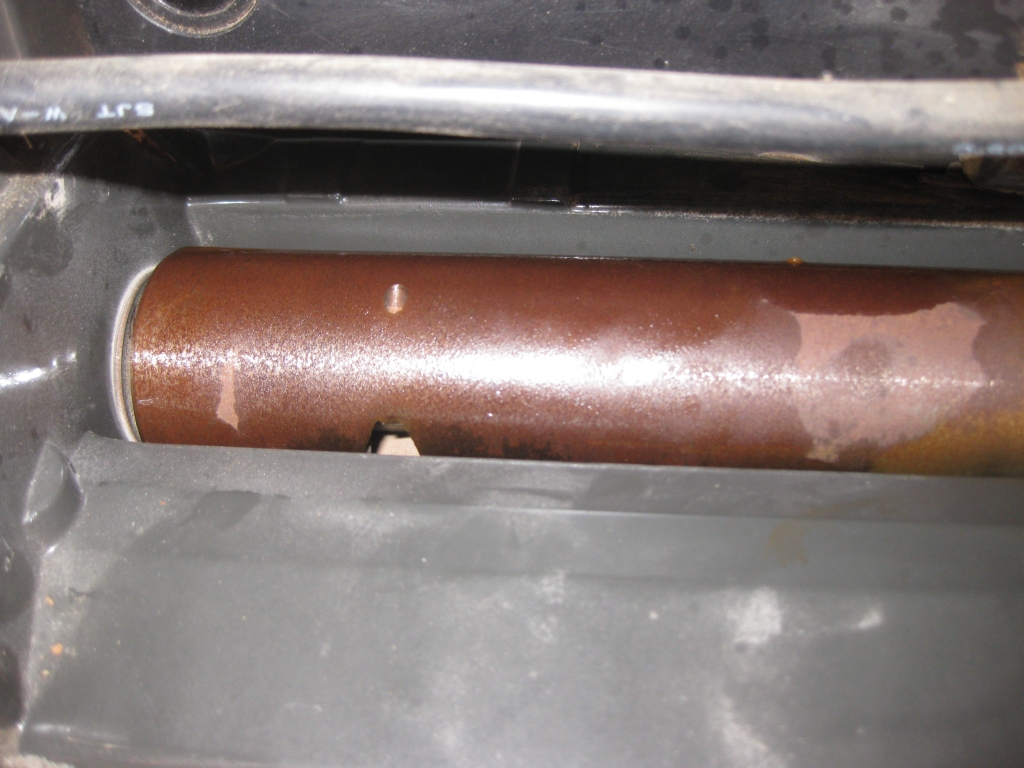
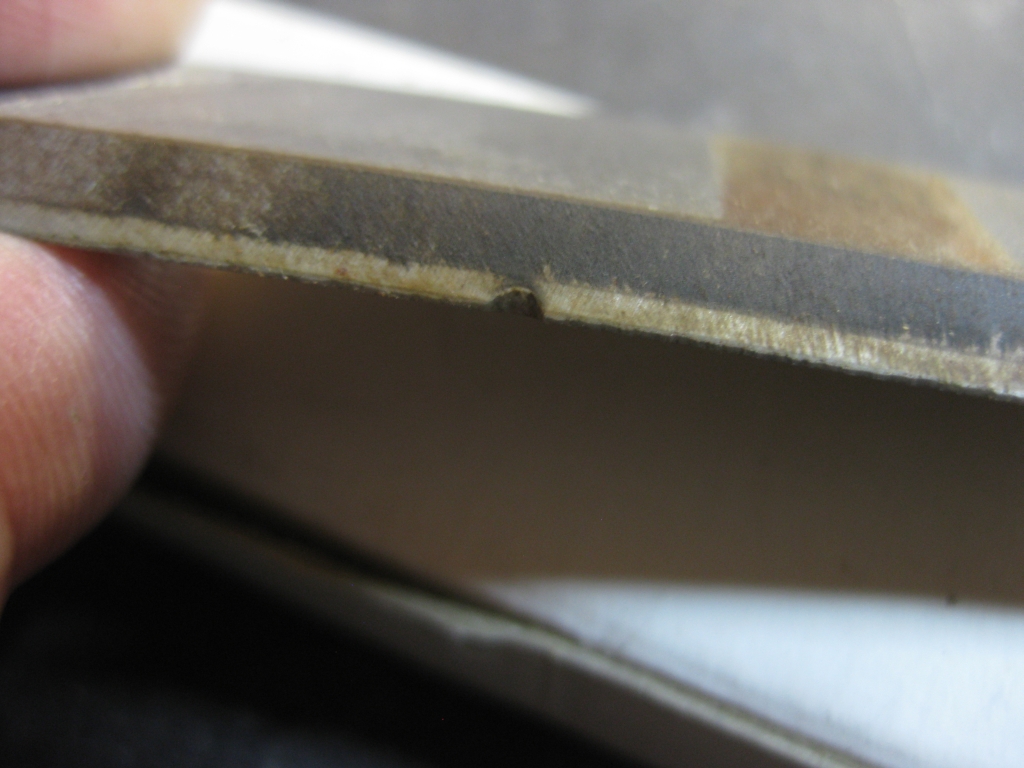
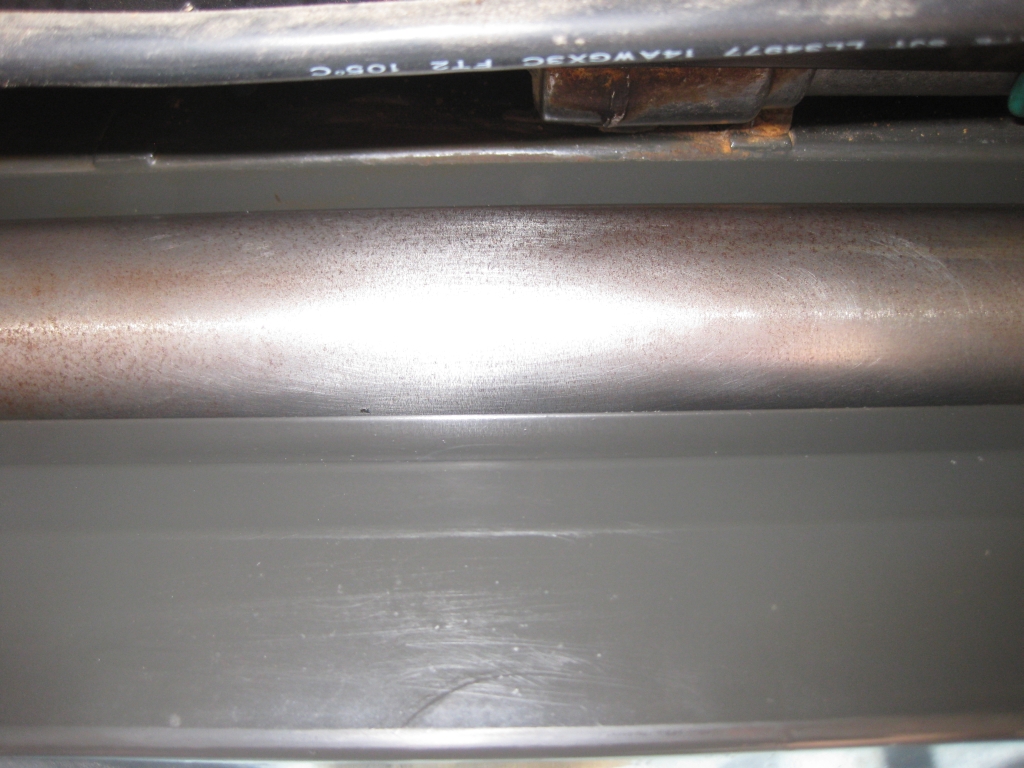
Taking the knife guard off and having a look, there were some pretty obvious nicks in the blades, and the roller that holds the knives was badly rusted. I removed the knives and set about cleaning up the rollers. I had some 600 grit wet/dry sandpaper and a can of WD 40 so set to work. WD40 contrary to popular belief isn’t a lubricant, its a de-greaser, and does a pretty good job of removing rust. It took a couple of hours but working slowly and wiping away the brown gunk as I went with a roll of rags I ended up with some good results.

The Roller after some TLC

The Roller after some TLC

Once the rollers were clean, and I’d removed all the gunk, I reinstalled the blades. I was fortunate that my colleague had two brand new sets of blades for the tool, so I was able to put in a new clean set, which should greatly improve the cut. sadly I don’t have the height adjustment tool which is used to ensure that the blades are both at the same height relative to each other and either side of the blade, so I set them based on touch, lining the back of the edge to the roller. I will have to see if I can buy a replacement tool somewhere but for now I believe the blades are close enough.

The roller on the base of the planer

The roller on the base of the planer

The roller after some more TLC

The roller after some more TLC

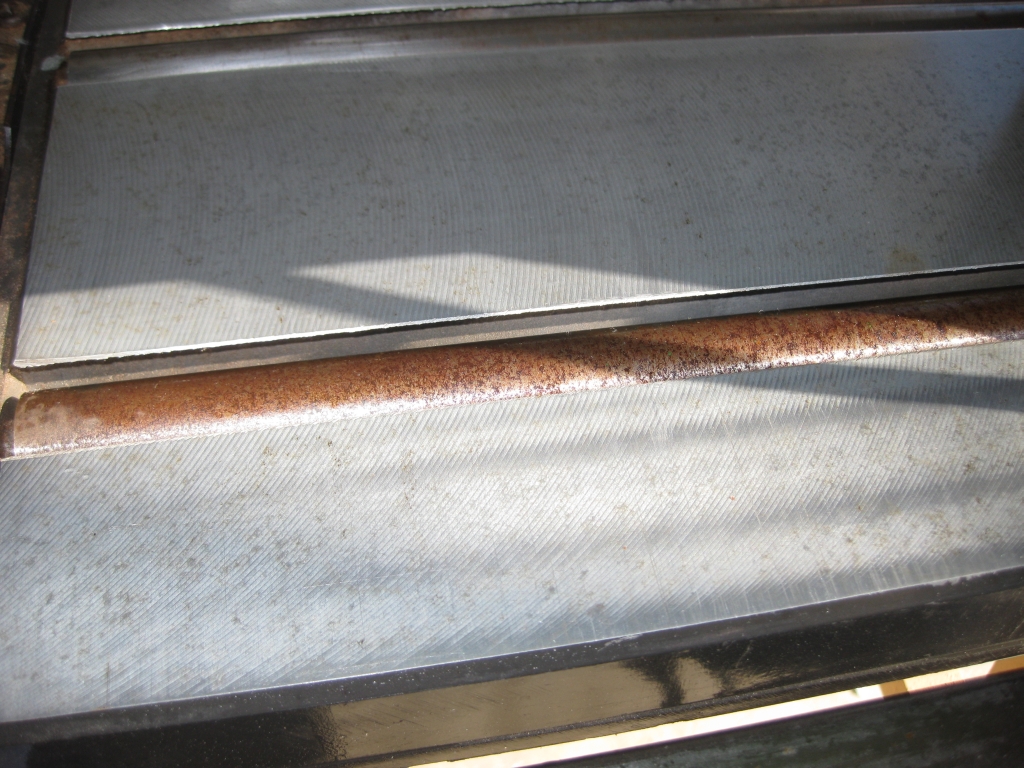
Next I turned my attention to the bottom table and the rollers there. Much like the roller that holds the knives, there was some rust on the rollers here, so I continued to work with the sand paper and WD40 to clean those up too. It was a lot of work and all told took a good part of the afternoon, and so far I had no idea if it had been worthwhile. At least if nothing else I now have a very clean tool!

Putting the knife guard back on I once again turned the tool on this time with even more caution than I had before since this tile the security of the blades was all down to me. Not that I’m saying I hadn’t tightened the bolts well enough, but I’m always cautions with high speed rotating metal. Fortunately, everything seemed ok, and there were no thunks or sounds of grinding metal.

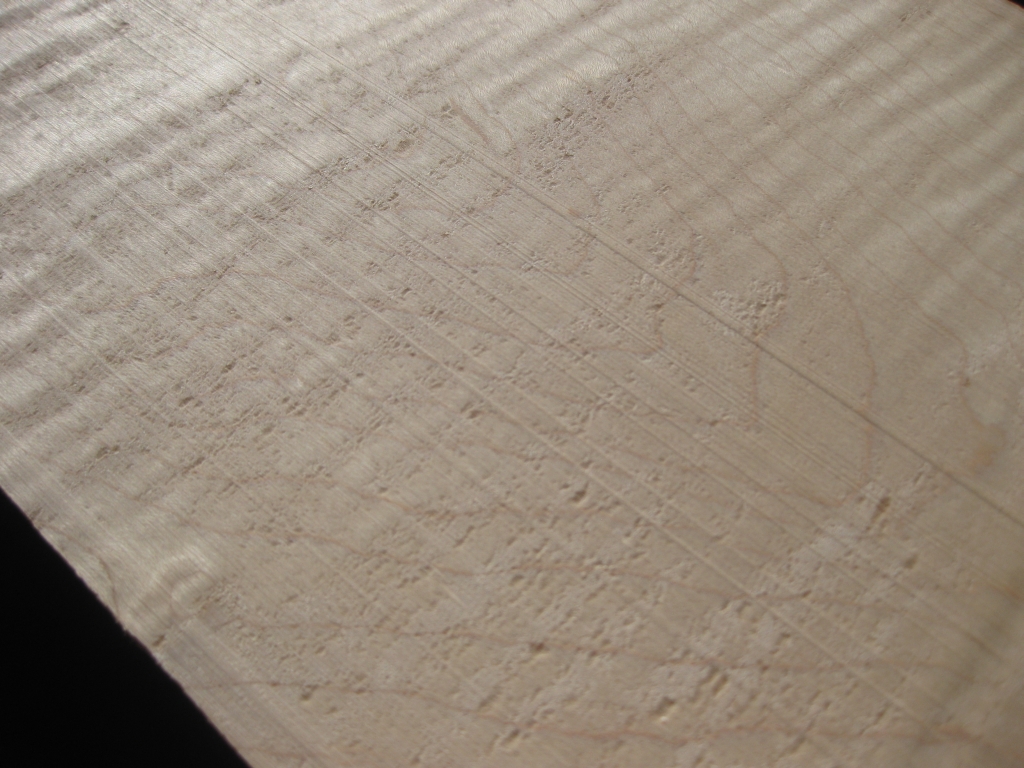
No more train tracks in the board, and the quilting looking stunning

No more train tracks in the board, and the quilting looking stunning

So fairly happy that the planer was still in one piece, I took the board I’d been using earlier and ran it back through. This time as you can see I ended up with a much cleaner surface with no ridges and the surface looks great. You can really see the beauty of the quilted maple, and I’m very happy with the afternoon of work.

So with the tool working perfectly, and everything nice and clean I can start looking at that puzzle box design. I don’t have a jointer yet, but the planer is one less tool I need to look at buying.
Cyclone Puzzle

The Cyclone puzzle is a fun and very cheap plastic puzzle, made from 30 thin, flexible plastic pieces, which combine together into a tricontrahedron, and is based on the original lamp from Holger Strøm. To find out more about the original have a look at the IQ Light site. I got my copy of the puzzle in Black and Red from Puzzle Master, but there are lots of colour combinations available. This version is produced by The Lagoon Group

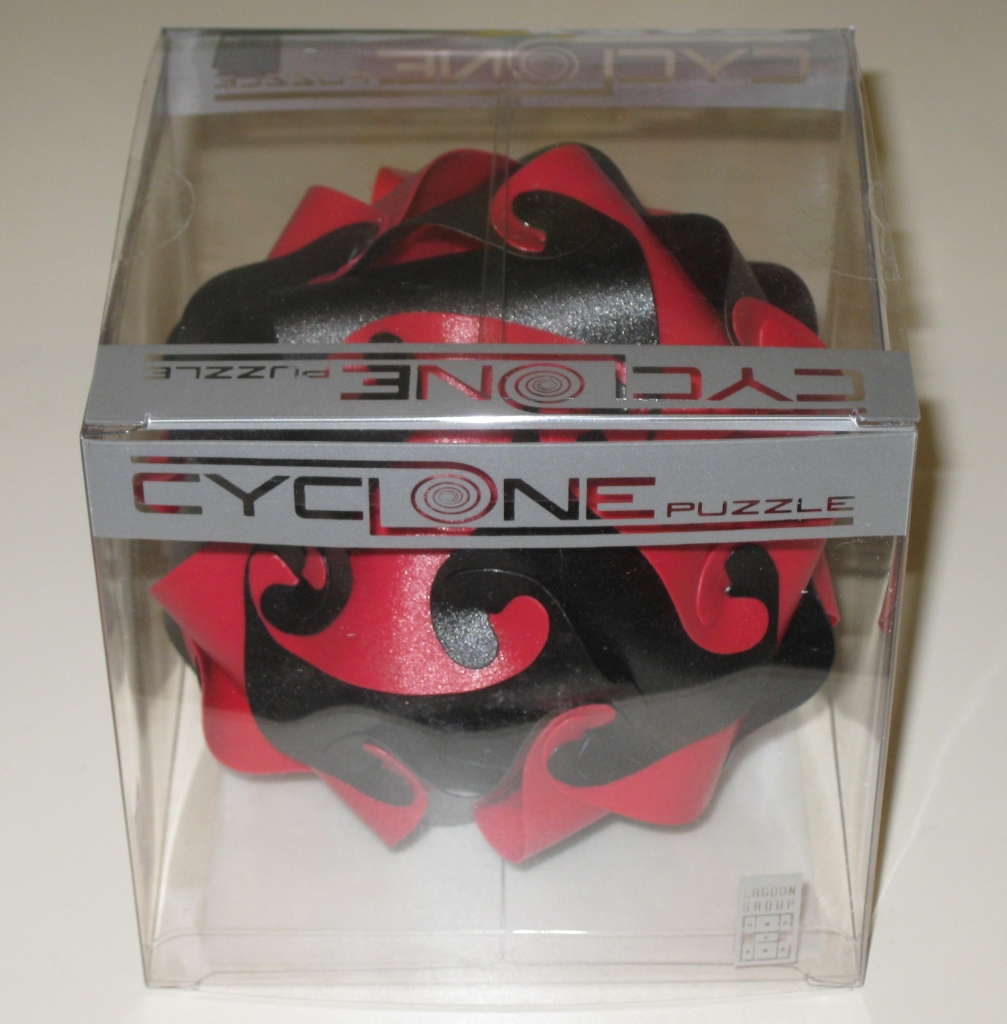
Cyclone Puzzle in its box

Cyclone Puzzle in its box

The puzzles comes in a simple plastic box with the instructions “Can you take apart this devilishly difficult Cyclone Puzzle and then Rebuild it? Take our word for it, this is not a quick puzzle to master!” The box is fairly plain, but the silver banks which outline the text really make it stand out, and it seems to set the puzzle off very nicely. The contrast between the Red, Black and Silver really works, giving a very classy look to the whole package.

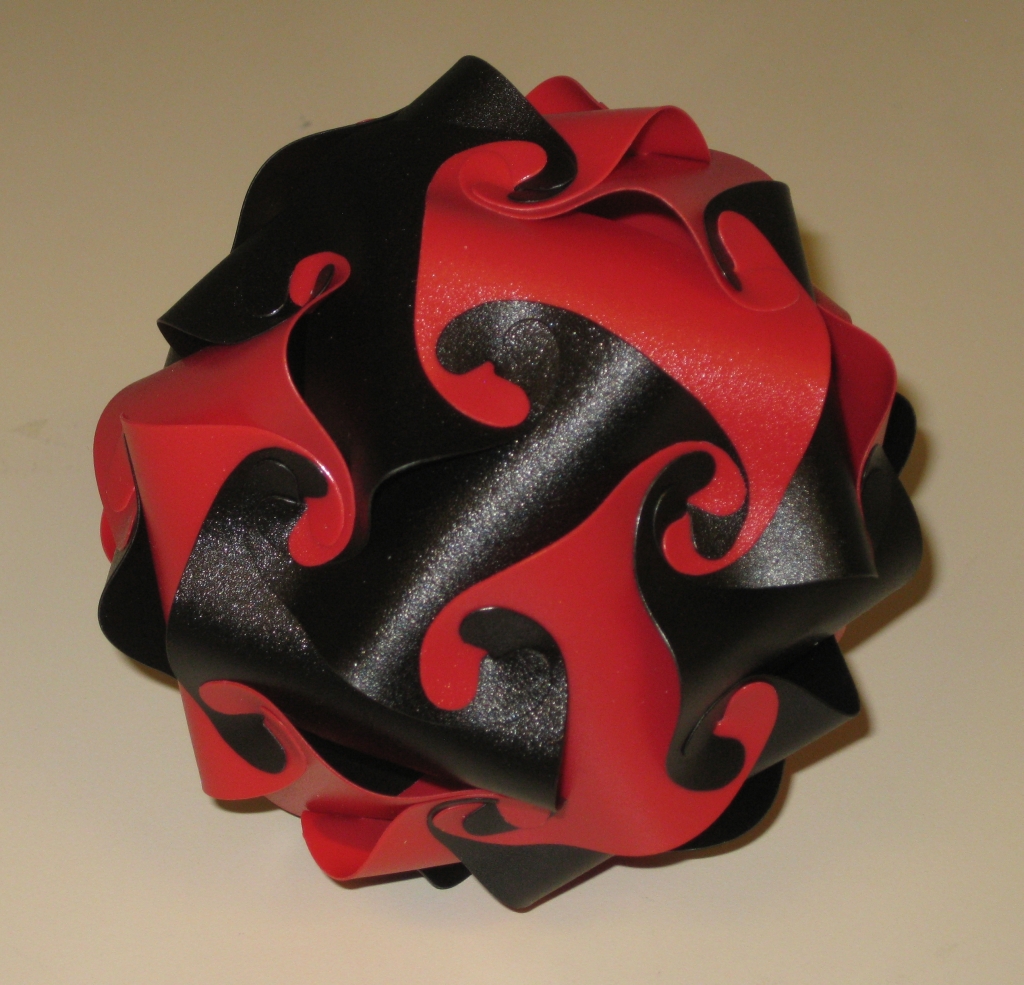
Cyclone Puzzle

Cyclone Puzzle

Taking it out of the box, it’s clear that the structure is very stable. Despite each of the individual pieces being very thin and flexible, once they are joined in the tricontrahedron shape, they have a lot of strength. Removing the first piece is a challenge, as you don’t know quite how strong the pieces are, and you do need to pull and wiggle the pieces with reasonable force to get the tabs to separate. There really is no need to worry though as the plastic is tough, and will take a fair amount of abuse. Once the first piece is out, removing the rest is much easier. While the structure doesn’t fall apart, there’s less tension in the rest of the pieces, so you’ll find the rest of the tabs come apart with relative ease.

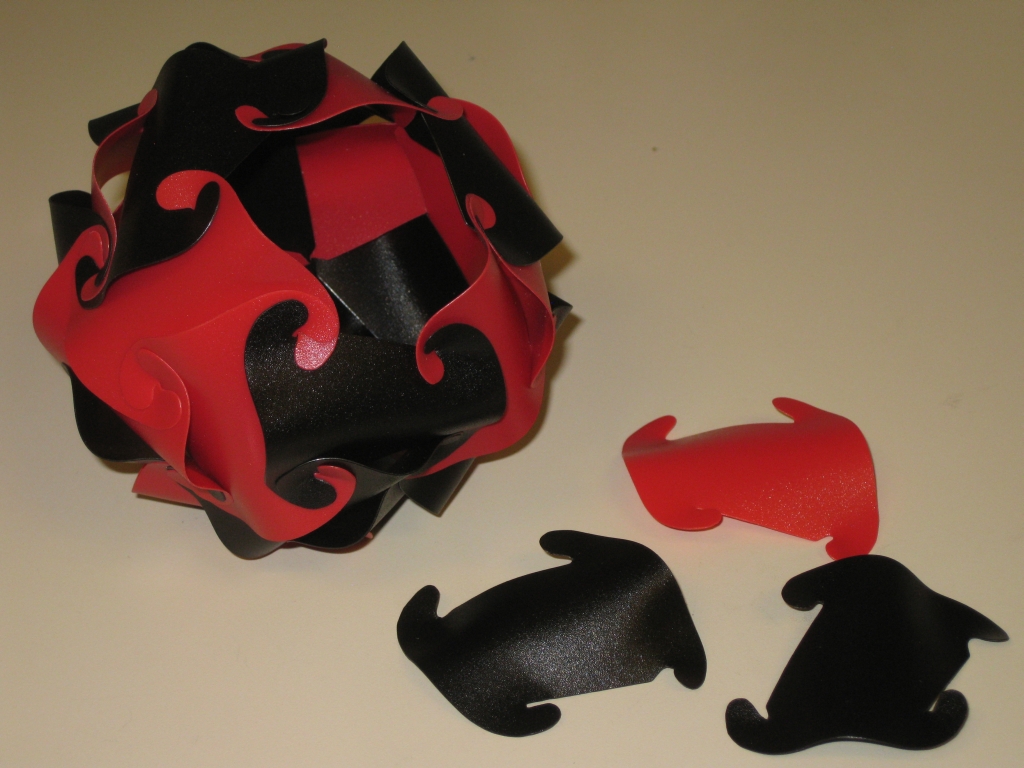
Cyclone Puzzle pieces

Cyclone Puzzle pieces

As I mentioned before, each of the thirty pieces in the puzzle are identical, so with a pile of pieces in front of you, it shouldn’t be too hard to put this back together. Puzzle Master rate this as 8/10 – Demanding, but I didn’t find it overly difficult, as the pattern to assemble repeats as you progress, so it’s a fairly fun puzzle to take apart and solve. The difficult part comes in the initial assembly steps being able to keep the pieces in place. If you are stuck, there’s a solution here. Depending on your preference, you can build it with all similar colours together or in an alternating pattern. Either way you’ll end up with a good looking sculpture. Personally I think I prefer the contrast with the alternating colours.

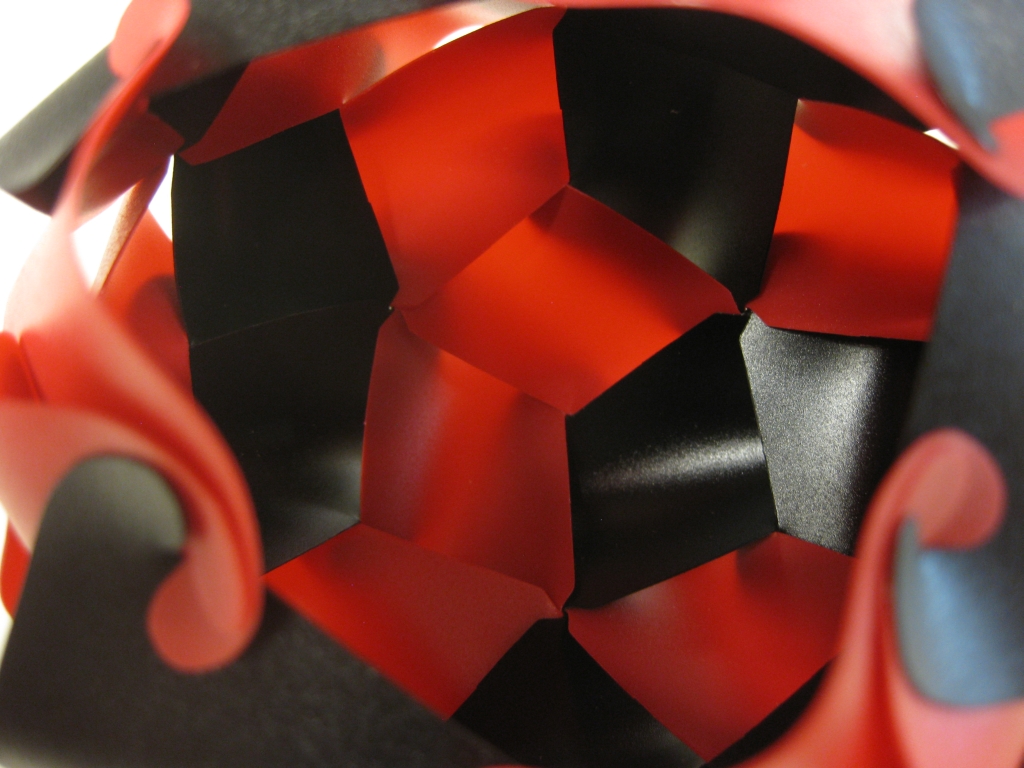
Cyclone Puzzle looking inside

Cyclone Puzzle looking inside

As you’re rebuilding, the inside looks every bit as good as the outside, with the faces of the tricontrahedron easily identifiable.

When I was invited to my first Puzzle Party at Stan Isaacs house, last year, as part of the tour of his puzzle collection, Stan actually has one of the original lamps hanging in his living room. After seeing it, I had to pick up a copy myself. I may not have the lamp, but this is a really good second place. And to be honest, I’m tempted to get a small LED bulb and put it inside this puzzle. It might not let out much light, but it would be fun.

Oli also reviewed this puzzle a while back, so have a look at his review too.

As a very cheap puzzle, and a fun build, this is a good one to have in your collection. The kids will enjoy playing with it (if they like this sort of thing) and if not, it will look good hanging from your ceiling.

The Granny’s Tea Box

Towards the end of 2011, Kelly Snache; Snake, started producing a series of puzzle boxes designed around old wooden tea boxes. “The Granny’s Tea Box” is the second puzzle in the series. Sadly I didn’t manage to get one of the first boxes, but seeing this come up, I was fortunate enough to be able to get one. At the time of writing, there are still a couple available on puzzleparadise.ca so if you’re quick, you may still be able to pick one up.

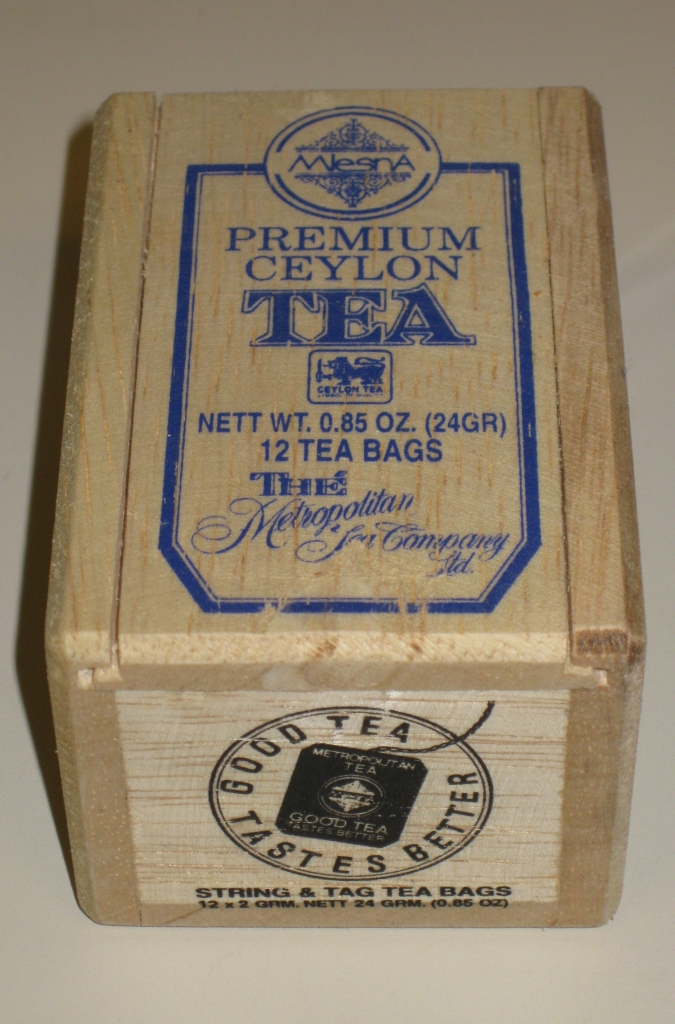
The Granny's Tea Box side view

The Granny's Tea Box side view

As I mentioned when I reviewed Snake’s Goliath puzzle box, Kelly works almost entirely with reclaimed wood, so taking existing wooden boxes and retro fitting puzzle mechanisms to the boxes is something of a passion of his. And I have to say, he’s very good at it.

The Tea box itself exudes charm, as it still has all the original printing from when it was used to store Ceylon tea (and I’m rather partial to a cup of Ceylon), and all the imperfections in the box really add to its character.

The Granny's Tea Box end view

The Granny's Tea Box end view

The first thing that strikes you about the box is the weight. The wood of the original box is incredibly light, probably some sort of balsa wood, and Kelly has done nothing to make it any heavier.

There’s only one part of the box that moves which is the original sliding lid. At first it won’t move far at all, and there is nothing else external that will help you. Snake has named this “The Pendulum Box” and that’s the only hint you get. Before too long, you should be able to get the lid to start sliding, and you’re instantly shown the mechanism that was preventing the lid from moving to start with.

After that though, there’s still more to do, the box isn’t open yet. With some more investigation, you’ll find the way to open the rest of the way, and if you’re anything like me, it will make you smile. The mechanism is simple, but clever enough to slow you down.

The Granny's Tea Box signature

The Granny's Tea Box signature

Snake has signed the bottom of the box, and numbered the puzzle in the run. Given that this is the second in the series, it’s marked as #2. I have box #21 out of 24.

From what I gather, this is an easier puzzle than the first box, but I still found it to be a fun puzzle, even if it was quick to solve, and not overly challenging. Snake’s ability to take old boxes and convert them into puzzles really adds new life to old boxes, and is a great way to reuse boxes that may otherwise be gathering dust. If you’d like to make some of your own, Kelly sells the plans on his new website woodlockplans.com.

Sunrise – Sunset

Sunrise – Sunset is a Stewart Coffin design which I recently found for sale on Ebay with a Buy it Now option. Seeing it, I didn’t hesitate as this is a Coffin original, which was going for a very good price so I couldn’t resist. Labelled as design #181 in the Coffin numbering system it was used by Jerry Slocum as his IPP exchange puzzle at IPP22.

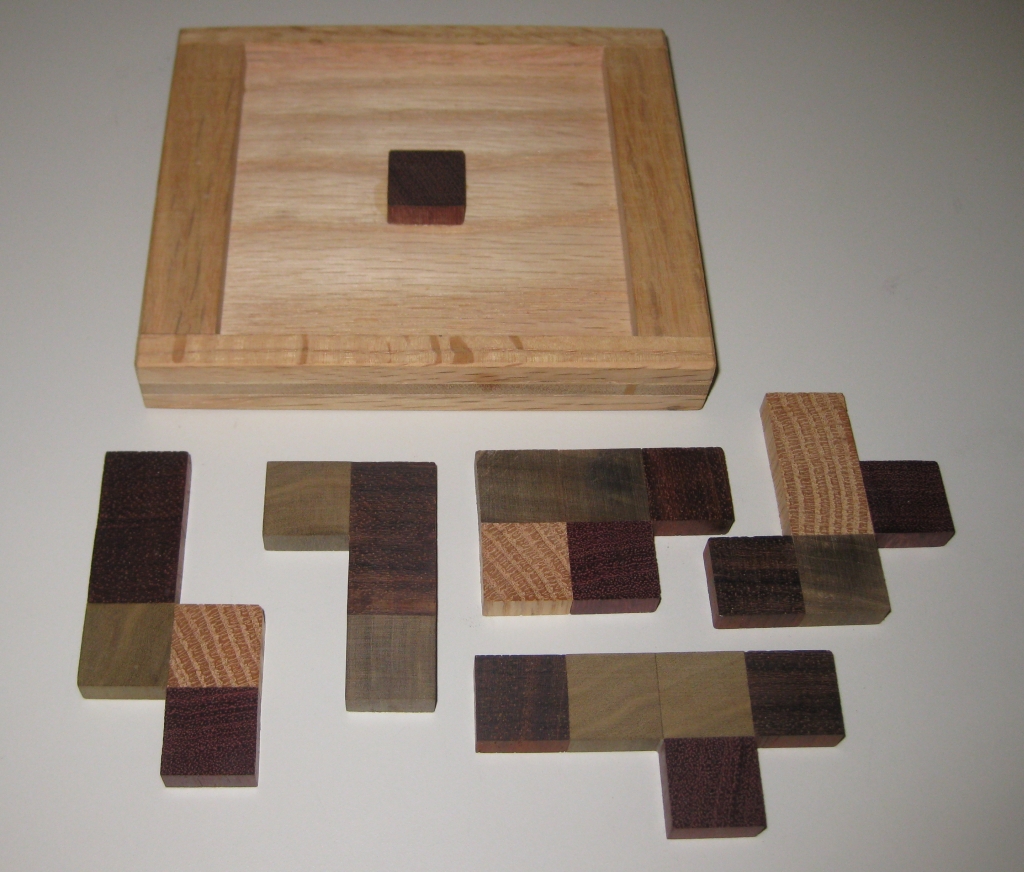
Sunrise - Sunset top tray

Sunrise - Sunset top tray

This is another tray packing puzzle from Stewart, and as I’ve noted in the past, I’m terrible at tray packing puzzles, so I didn’t hold out much hope for this one. If you’ve seen previous reviews of Coffin Packing puzzles, like the Check Me Out puzzle, you’ll know that Coffin is a real sod when it comes to messing with your head, and how you normally go about putting pieces into a square box.

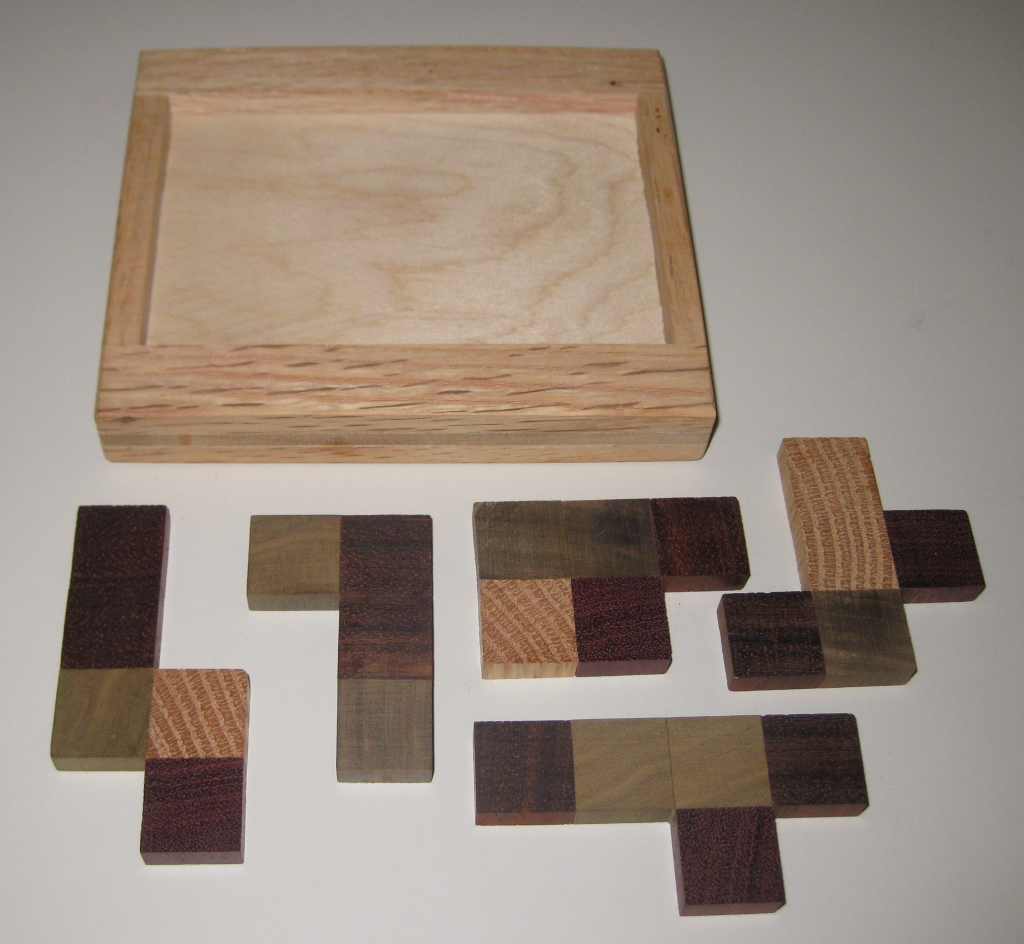
The puzzle itself is a twofold puzzle, hence the name. The tray is two-sided, so you get twice the puzzle from the same pieces. On one side of the tray is a 5×5 grid, with the centre cube permanently stuck in place (representing the sun if I were to guess), and the other side is a 4×6 grid. The idea is simple pack the pieces into one side, then flip the tray over and do the same on the other side.

The base is make from three layers, making for a very solid frame. Guessing I’d say the frame is Mahogany, but that’s a wild guess! Four of the five pieces are five units in size and the fifth is four units and are made from three different woods. If I were to guess, I’d say Bubinga (the almost purple looking wood), Lignum Vitae (green), and Mahogany (light). As you can tell from some quick math, the pieces match the grid sizes, so they’re going to fit exactly in this one, which for me is a good thing, as these strange sized grids really mess with my head!

Sunrise - Sunset bottom tray

Sunrise - Sunset bottom tray

When I sat down to solve the puzzle, I expected to be at this for hours, as I have been with other tray puzzles, but I was shocked and pleasantly surprised when I had solved the first side within 5 minutes. So I flipped the puzzle over and tried the other side, thinking it was going to be a lot tougher. Again I solved it fairly quickly and was very happy with myself. So on the difficulty scale I’d rate this one as easy, but rewarding.

Once of the really nice features of this puzzle is that the solutions (and there is only one per side) have a degree of symmetry to them, which really adds to the effect of the Sunrise / Sunset theme of the puzzle.

This is a great little puzzle, and if you’re like me and not very good at packing puzzles, if you can find a copy of this one, pick it up as you’ll feel better about yourself having solved one!

PS: I make no guarantees about your feelings or success at solving this puzzle 😉

Trigemino

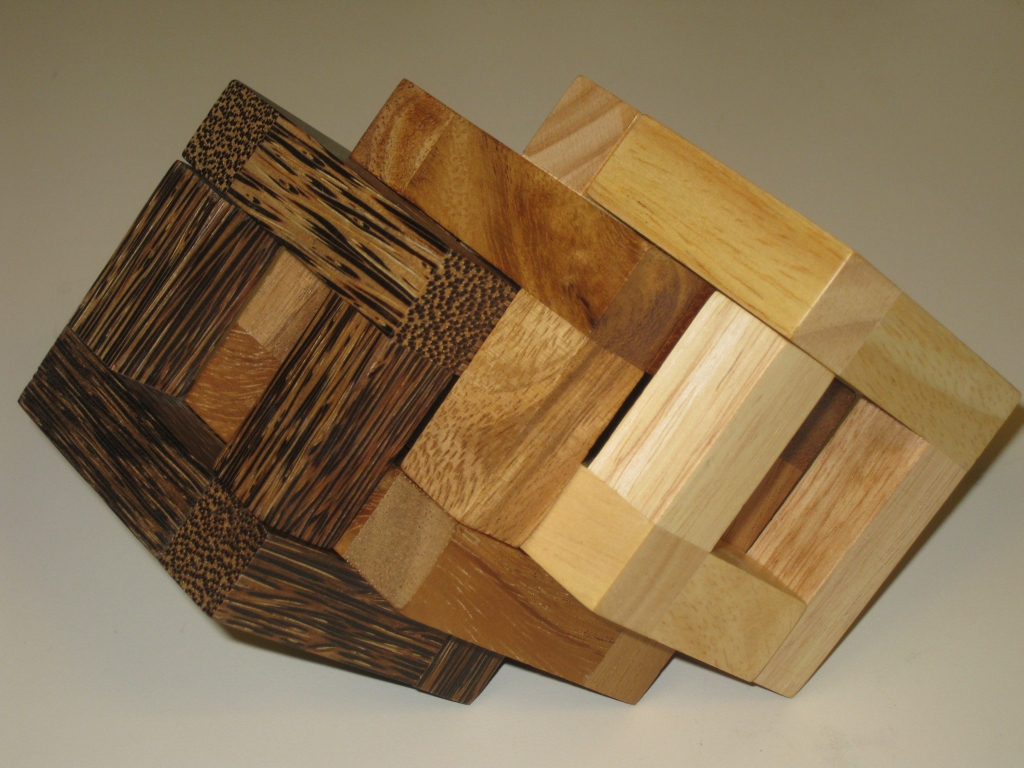
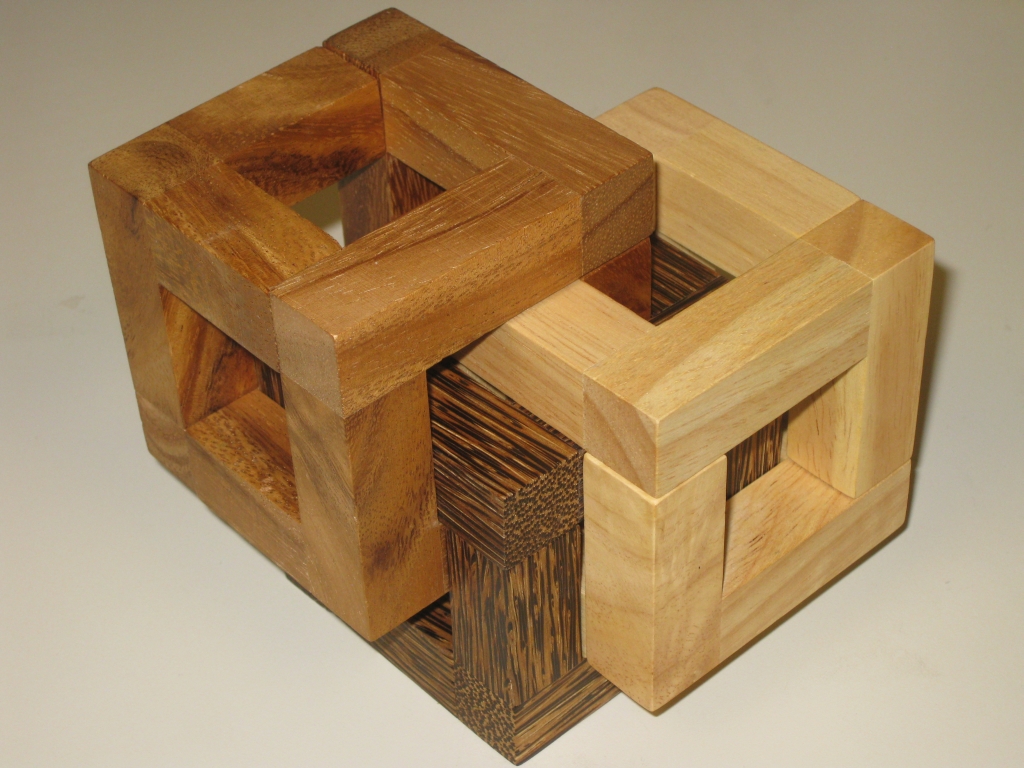
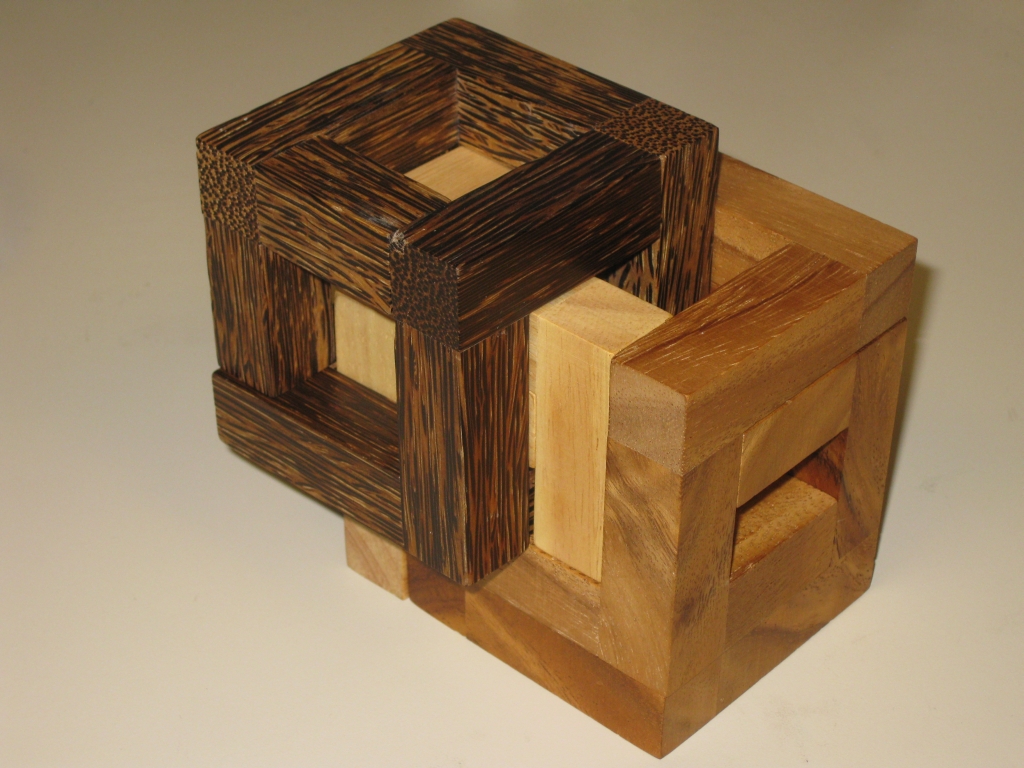
Trigemino is a six piece interlocking puzzle designed by Sonja Heinz which is currently being made by Philos games. There are a number of places to get this puzzle, and I received mine from Puzzle Master.

The first of five solutions proposed for Trigemino

The first of five solutions proposed for Trigemino

The goal of the puzzle is to disassemble and reassemble the geometric shape constructed from the six identical pieces. The puzzle comes shipped in a clear plastic box, already in the configuration shown above, and the box contains the solution for this shape, but also a challenge for four other geometric shapes which can be made from the pieces where no solutions are supplied.

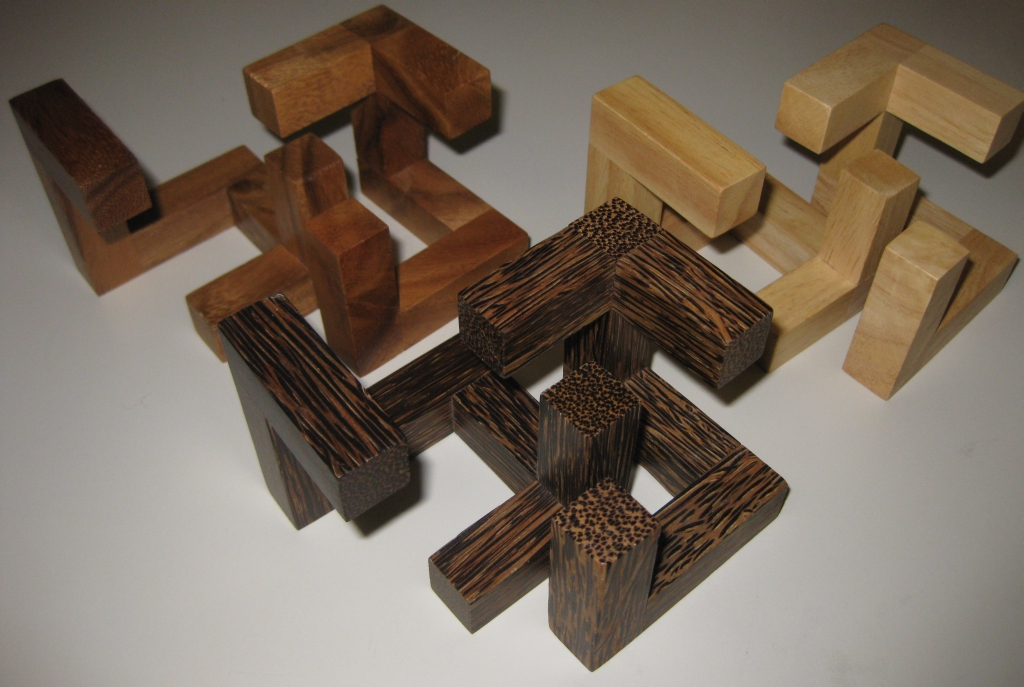
Six identical pieces (if you don't count wood types)

Six identical pieces (if you don't count wood types)

The three pairs of pieces are made from Havea (the light wood), Samena (darker brown wood) and Black Palm which is the wonderful wood with leopard like spots on the end grain and stunning dark light contrast on the face grain. In case you hadn’t guessed I love the look of the Palm woods, and have some sitting at home waiting to be made into a nice puzzle. Anyway, I digress.

The original solution is a nice interlocking shape, which needs you to poke and prod the pieces until you find the one piece which will move, and from there take each piece out until you’re left with a pile of six pieces through a variety of lifts and slides of the pieces. Once the puzzle has been taken apart, there’s a good challenge to get them put back together again.

While it’s not the most difficult of this style of puzzle, rated 4/10 on the instructions, and 6/10 by Puzzle Master (whose scale remember starts at 5) it is a fun puzzle, and is very nicely made. The fit and finish of the pieces is very good, and the pieces are solidly made, so there’s no worry about them falling apart as you play with the puzzle.

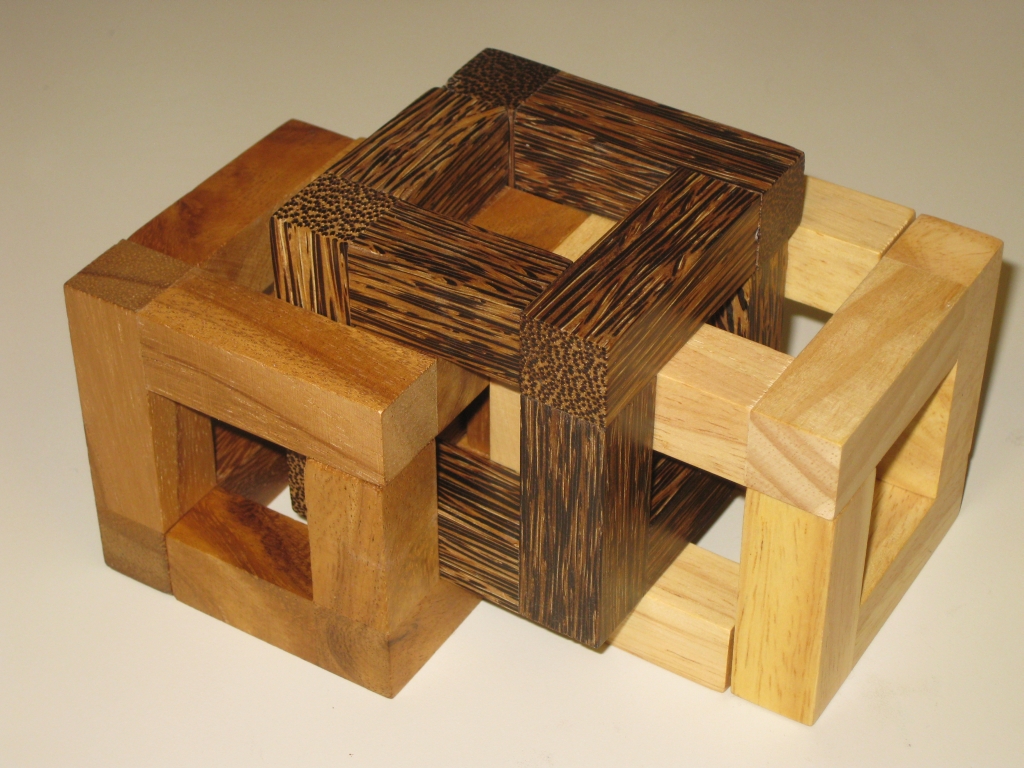
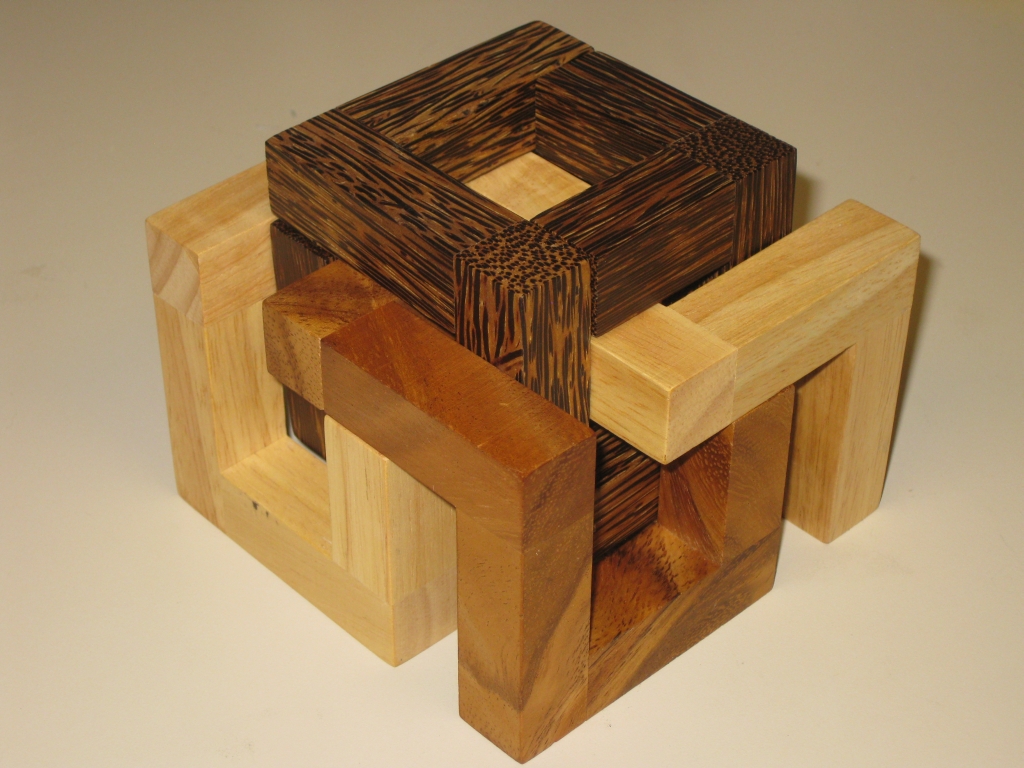
Alternate solutions

Alternate solutions

Alternate solutions

Alternate solutions

Alternate solutions

Alternate solutions

Alternate solutions

Alternate solutions

As well as the original shape, the puzzle comes with an instruction sheet offering four more possible geometric shapes for you to make, which really extends the challenge of the puzzle. The alternates range from the Aztec like pattern on the top left which is probably the easiest to find, the double box like solution on the bottom right which is slightly more difficult, but at first look on the diagram seems impossible, and the linked configurations of which the bottom left is interlocking and probably the most challenging to create.

Overall, this is a great puzzle, both in terms of looks and challenge. Well worth picking up if you’re looking for another good wooden puzzle for your collection.