Following on from by first post on the Hex Stair (Part One), I’m moving from the initial copy which I made for myself and realised it was far too big, onto a smaller version, which I’ll be making a small run of puzzles to sell. Making things smaller adds new challenges so read on to see what I had to do to overcome them.
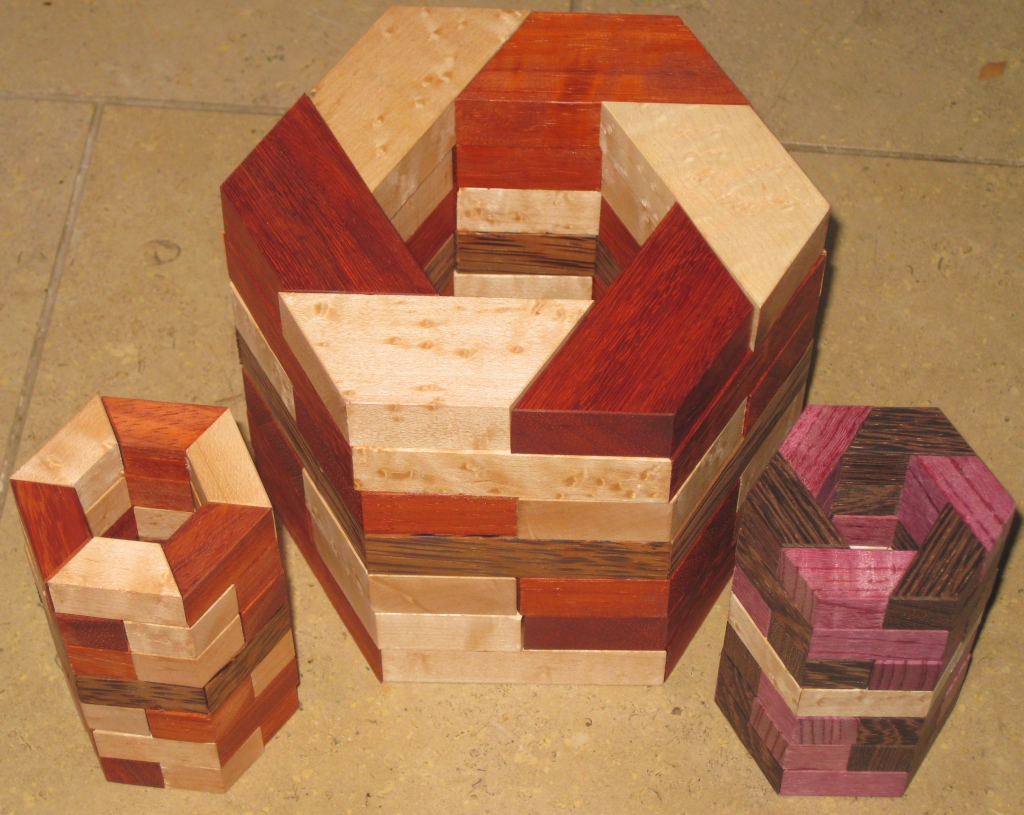
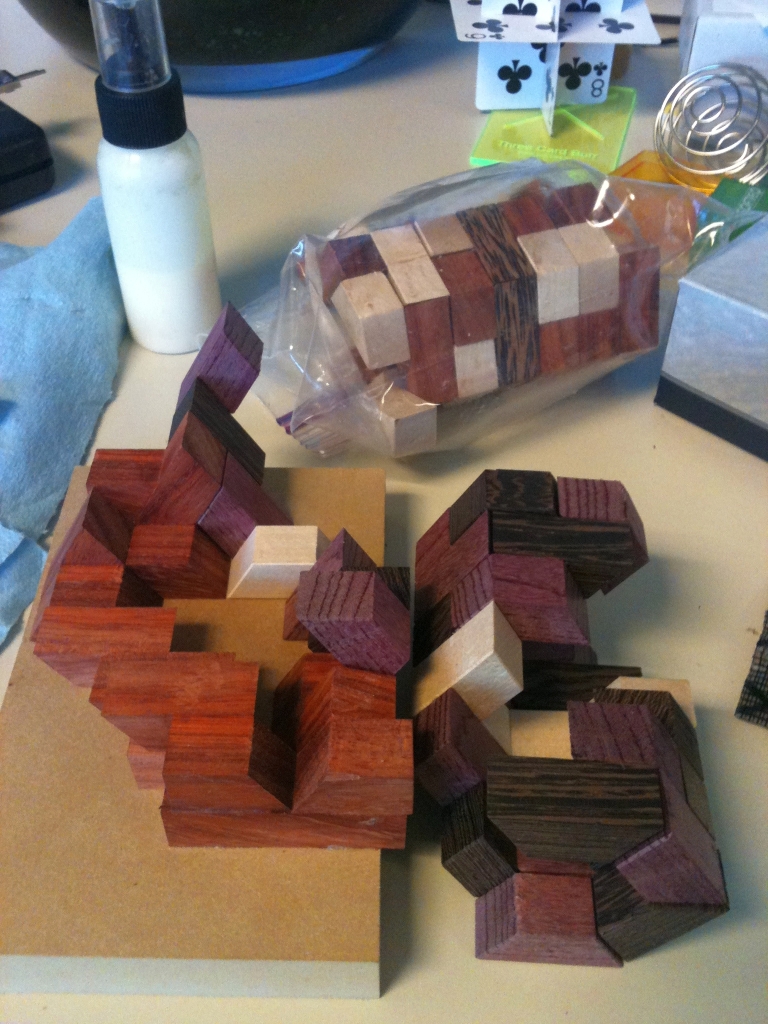
As you can see above, I have seriously scaled down the size of the pieces, which makes for a much more manageable puzzle size. I am slightly torn in all honesty; I love the big solid chunky copy I made initially, but also appreciate that it’s far too big for most people, and the more compact size is far easier to work with … or is it?
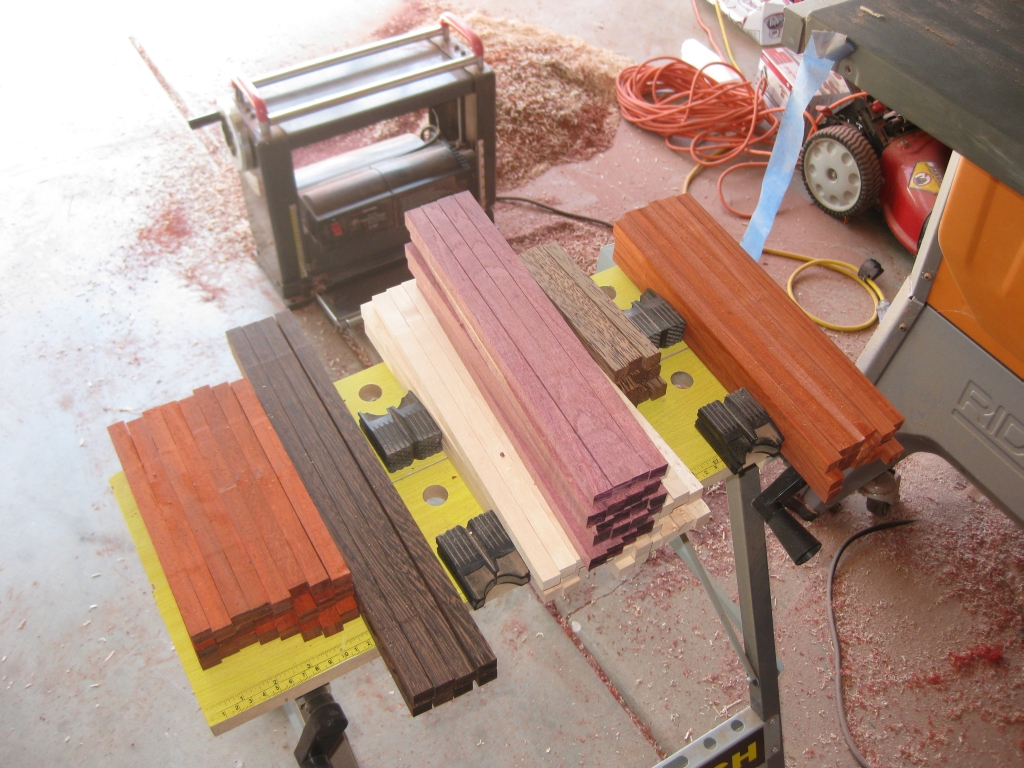
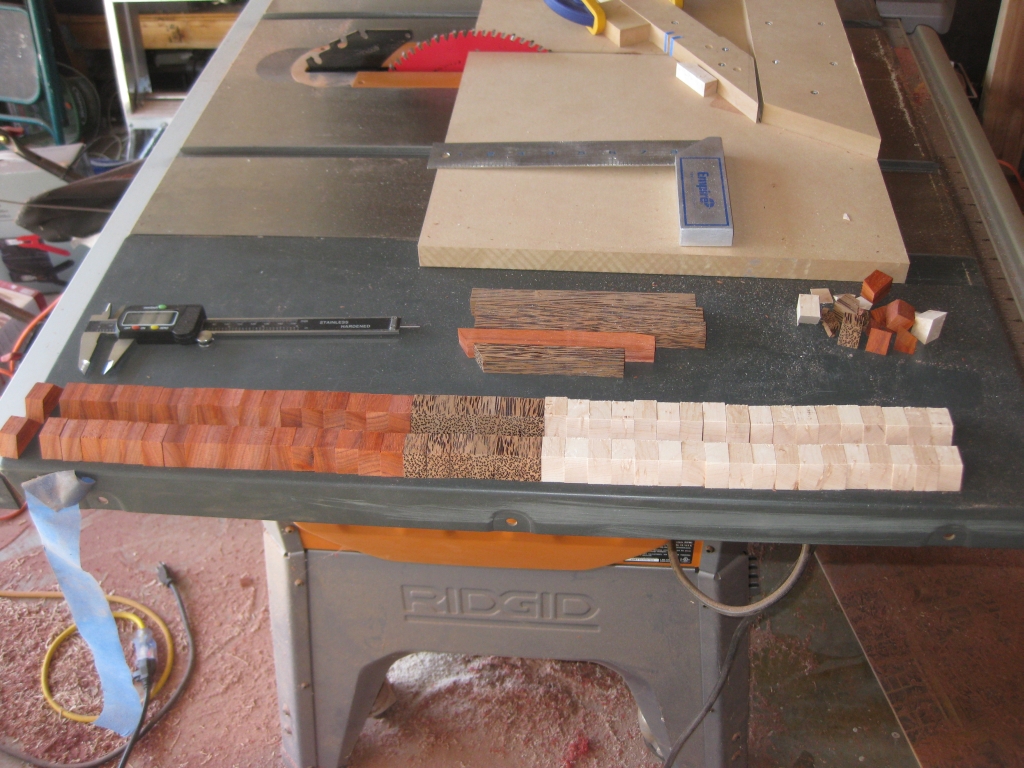
Having decided on the dimensions for this smaller version, I cut and milled my stock, cutting what I hoped would be enough sticks to make a reasonable run of puzzles. The pile of sticks looks like a lot, but I have no doubt that I’ll get through them pretty quickly. If you’re interested, the woods are (from left to right) Paduak, Wenge, Curly Maple, Purpleheart (on top), Birdseye Maple, Red Palm, Paduak.
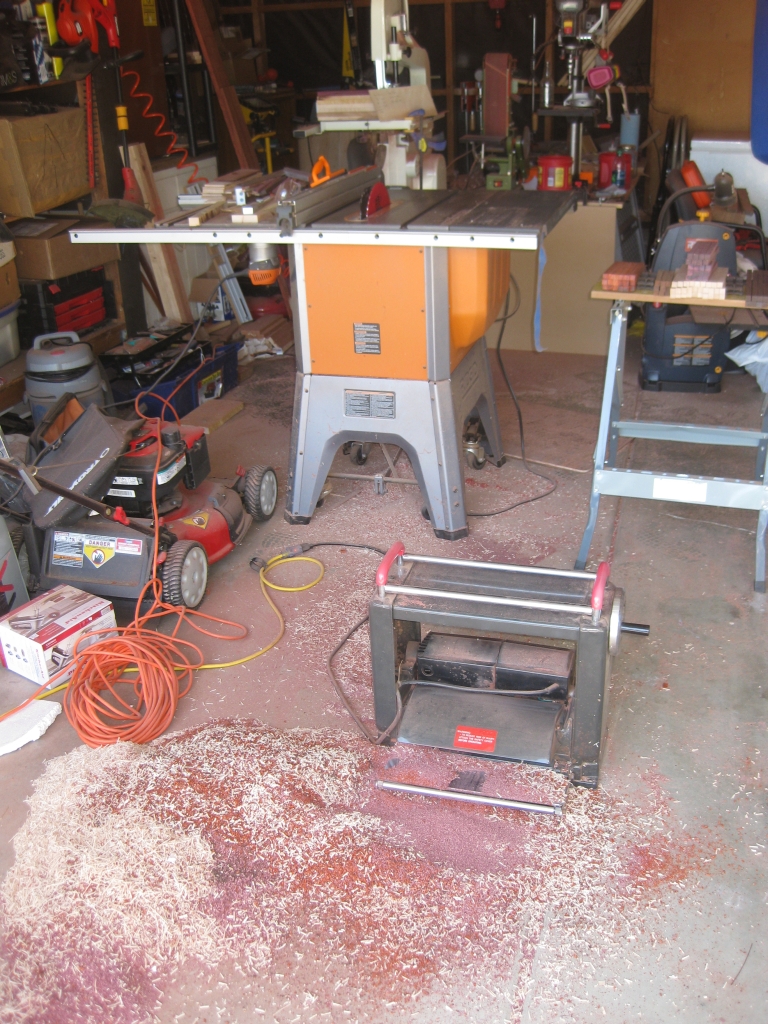
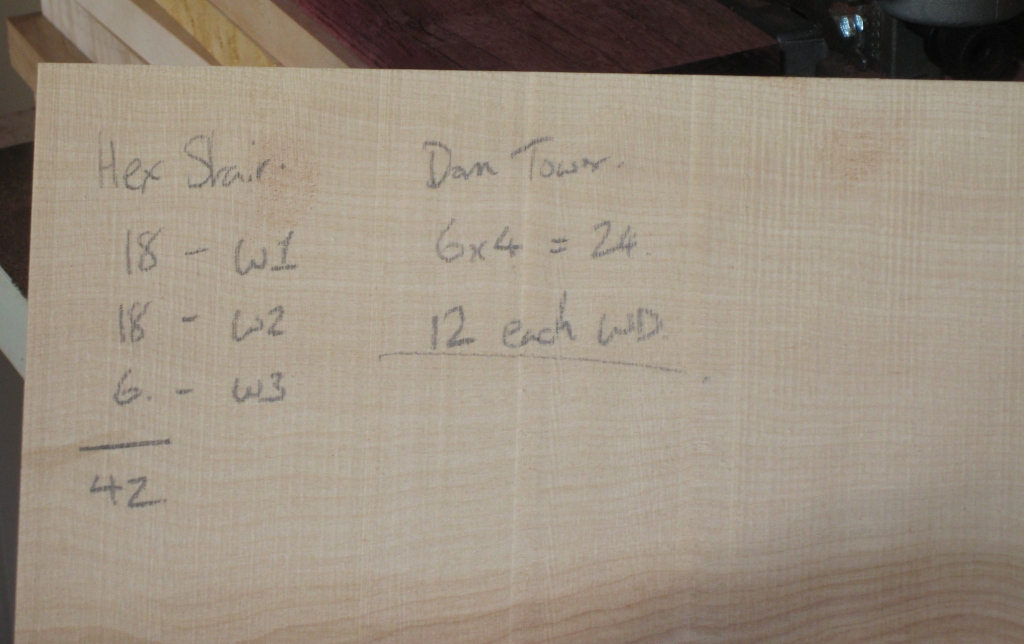
With everything setup, I started batching through the cutting of the pieces, and despite needing 42 pieces per puzzle, once everything is setup, this goes fairly quickly. I keep my digital calipers beside me and keep checking the cuts as I go to make sure I’ve not had any errors introduced, as the biggest reason I have found for a puzzle not fitting correctly is tiny differences in the tolerances of cuts. Anything more than about five thousands of an inch between pieces and the fit will not be good enough. Ok, five thousands is pretty small I hear you cry, but I try to get my pieces to less than two thousandths to make sure I don’t have problems. Sadly I’ve learned from experience that even small margins like this make the world of difference and cause a lot of frustration when gluing pieces together in the type of puzzles I’m making.
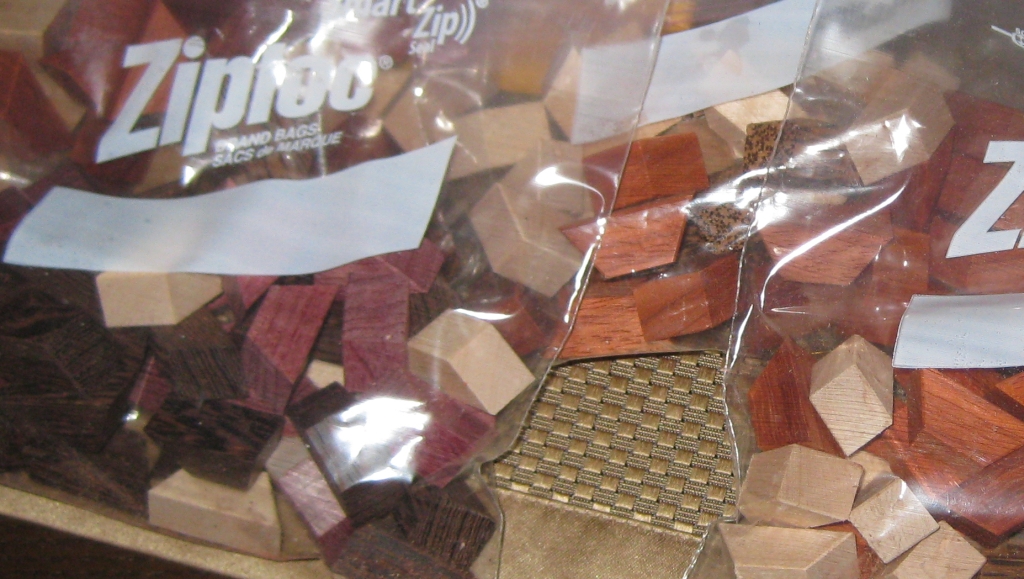
Having batched out a good few pieces; enough to make a few puzzles; I take a break from cutting the pieces and move to the router to add the bevel to the edges of the pieces. I find that taking a break like this keeps me focused and alert, rather than becoming complacent as the motions get repetitive, and it’s all too easy to lose focus … and as I have already experienced, a tiny lapse can be very costly!
With all the pieces cut and beveled, it’s time to start gluing the puzzles together. You’ll remember the crude jig that I made for the initial puzzle, which worked pretty well. I found out though that with the smaller pieces, there’s not a lot of gluing surface, and I made the pieces almost as tall as the are wide. (They’re not perfectly square!) Because of this, it’s easy for the pieces to get misaligned, so I felt I needed a better jig…
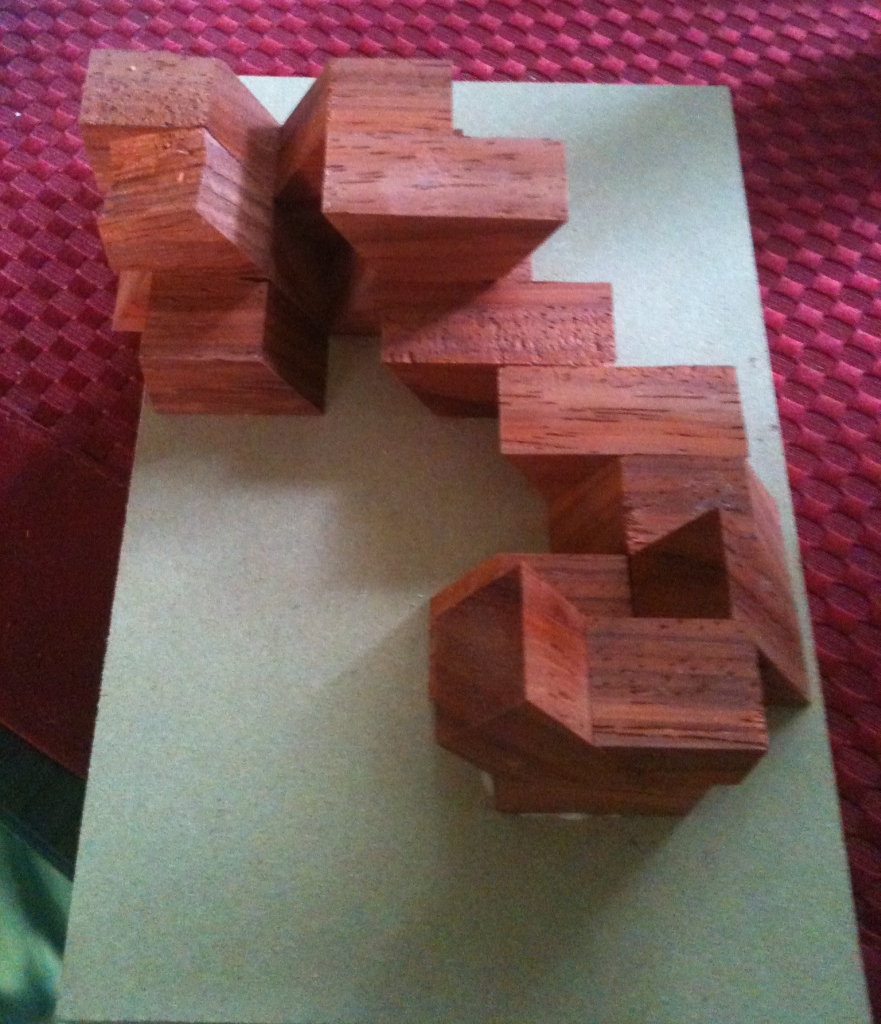
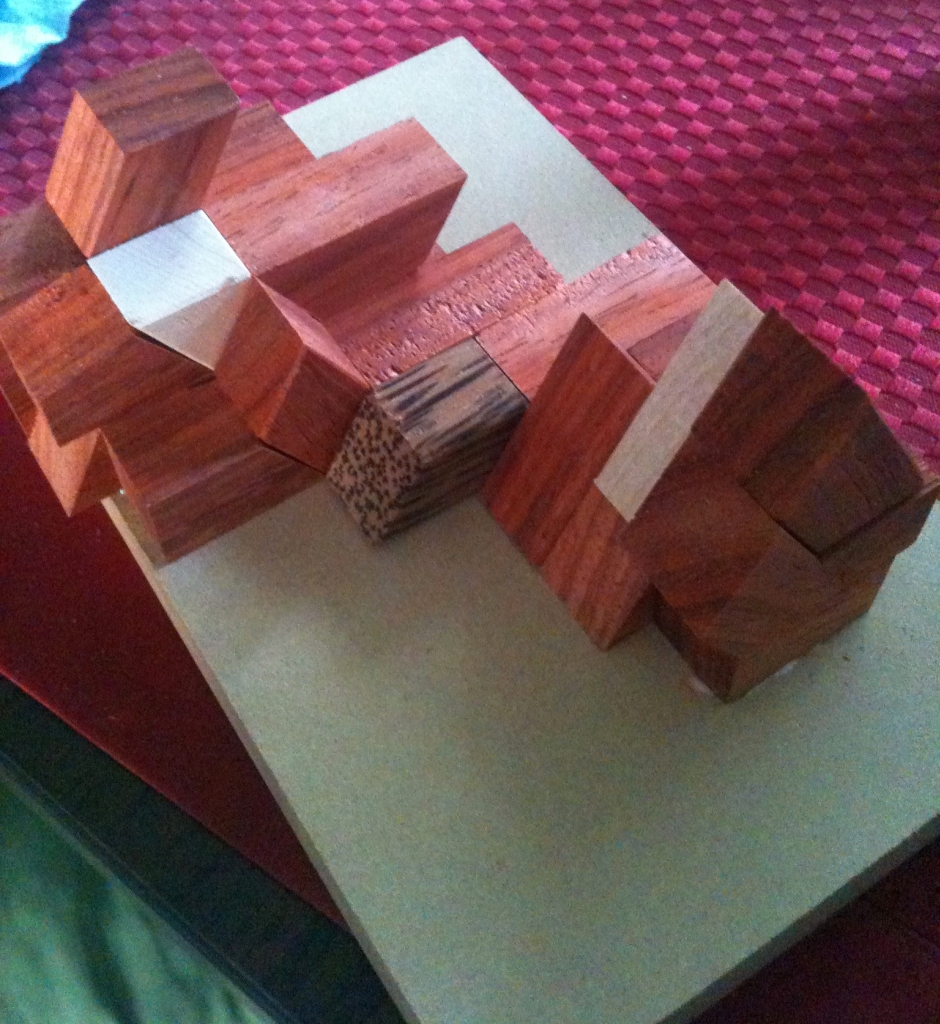
As you can see this jig is a little more advanced than the original, however the main drawback is that it will only work for this puzzle, and only for pieces cut to the exact sizes that I have used. While that may seem like something of a waste, for the most part, the jig is made from offcuts from the sticks I used so really it’s putting small cuts which would otherwise be used in my fireplace to good use. The jig is a very snug fit for each piece, and as you can see each piece is well supported meaning that each completed piece I make in the jig will be identical and it’s also very quick to use, since there’s no way to misalign a piece. With this jig, it takes around 15 minutes to make each individual puzzle piece, meaning that I can make a complete puzzle in around 2 hours (allowing for the curing time of the glue). This as nearly 2.5 times faster than previously. While it may seem like it still takes a long time, I’d rather take my time than rush and end up with a useless pile of firewood. After all, a high quality puzzle doesn’t get made in a minute.
With the jig doing all the hard work for me, it doesn’t take too long to make a copy of the puzzle, to the point where the outside faces get sanded and then finish applied. In Part Three, I’ll cover some of the finishing process.
One thing I noticed when assembling this version of the puzzle is that it’s actually easier to put together than my original version. One of the reasons is that I’ve found a particular rotational move which allows the alignment of the pieces to happen much more easily. I didn’t find this on my original version, I think partly because it is much more squat than the new dimensions. The extra height makes it easier to do this move (although I have gone back and found that it is also possible on the original copy).
These small versions are staggeringly beautiful, Neil! Such wonderful woods and contrasting beautifully!
I can’t wait for the 3rd installment.
Kevin
Puzzlemad
Great work Neil! I really like the one with the purpleheart.
Nice woods and great puzzles. And you work really very organized in your work shop. Putting pieces in bags is a good idea.