Tag Archives: Interlocking

Hex Stair (Part Two)

Following on from by first post on the Hex Stair (Part One), I’m moving from the initial copy which I made for myself and realised it was far too big, onto a smaller version, which I’ll be making a small run of puzzles to sell. Making things smaller adds new challenges so read on to see what I had to do to overcome them.

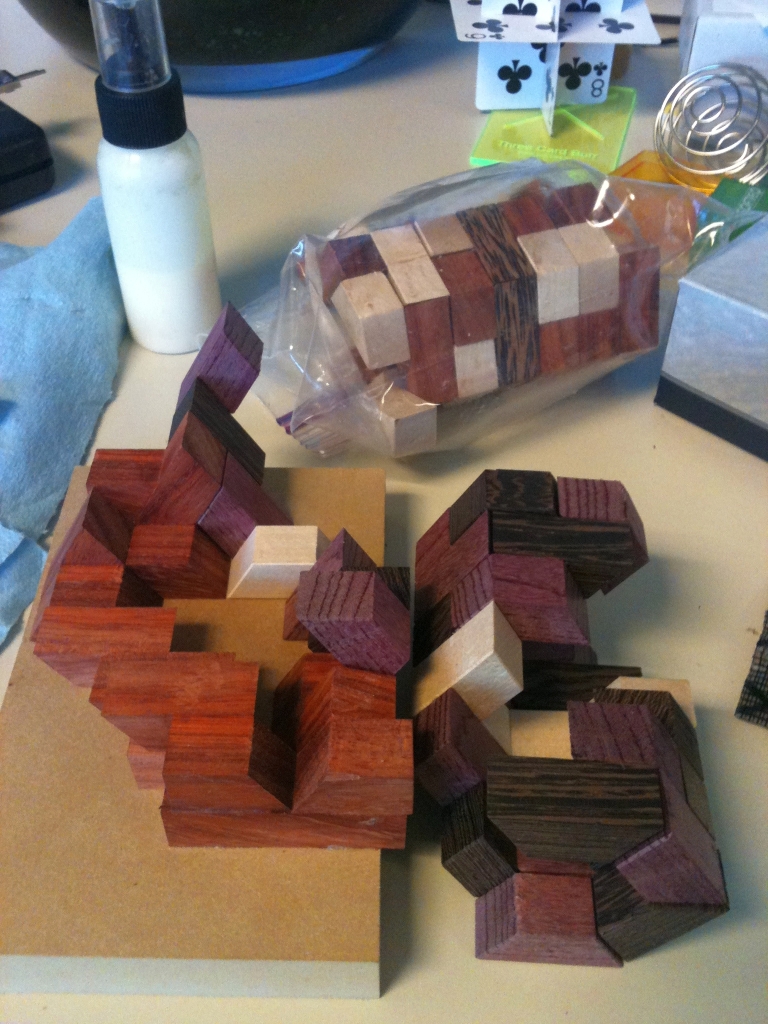
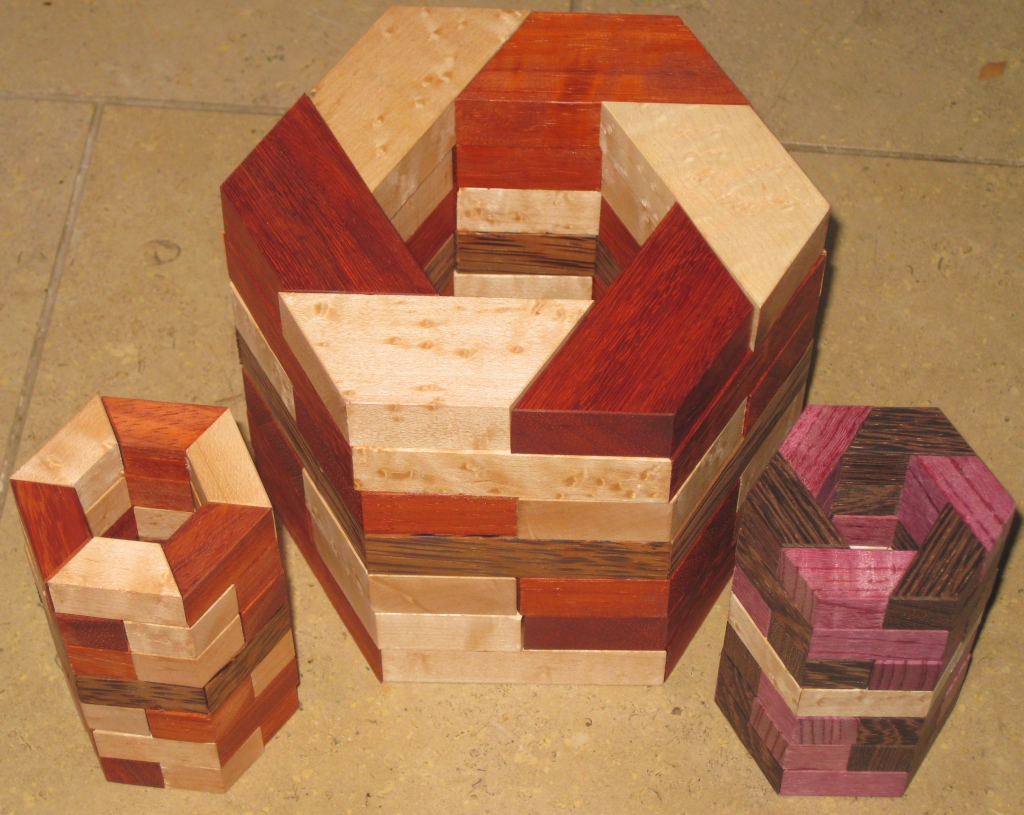
The original and the new scaled down versions

The original and the new scaled down versions

As you can see above, I have seriously scaled down the size of the pieces, which makes for a much more manageable puzzle size. I am slightly torn in all honesty; I love the big solid chunky copy I made initially, but also appreciate that it’s far too big for most people, and the more compact size is far easier to work with … or is it?

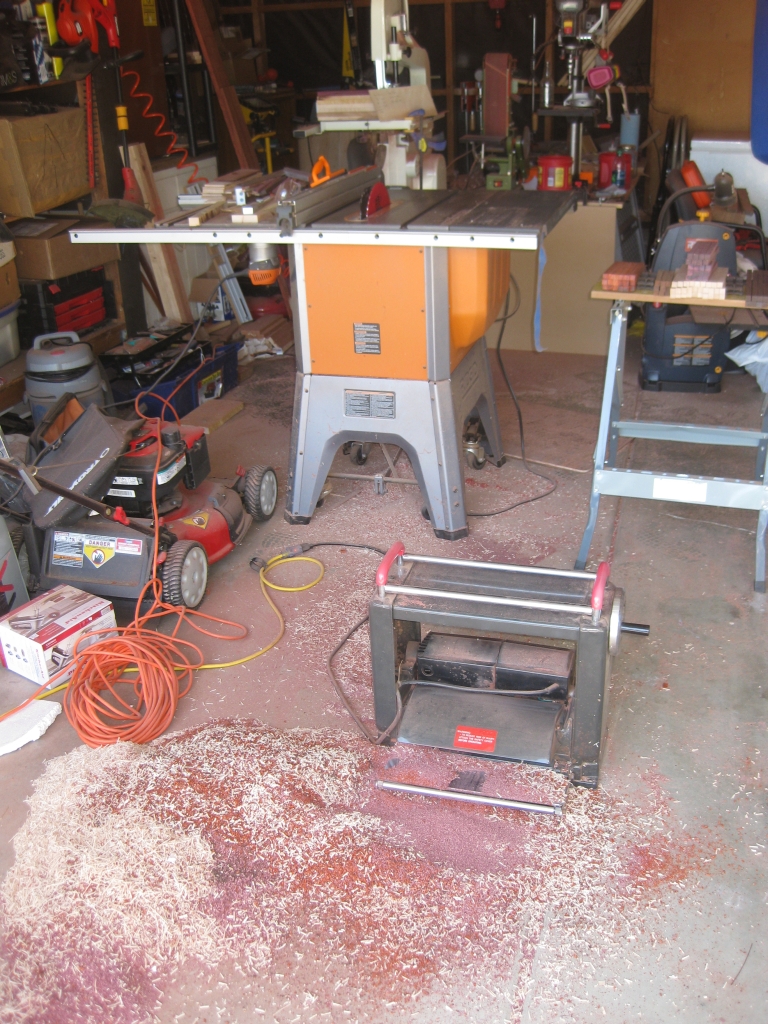
Lots of cleanup required after milling the boards

Lots of cleanup required after milling the boards

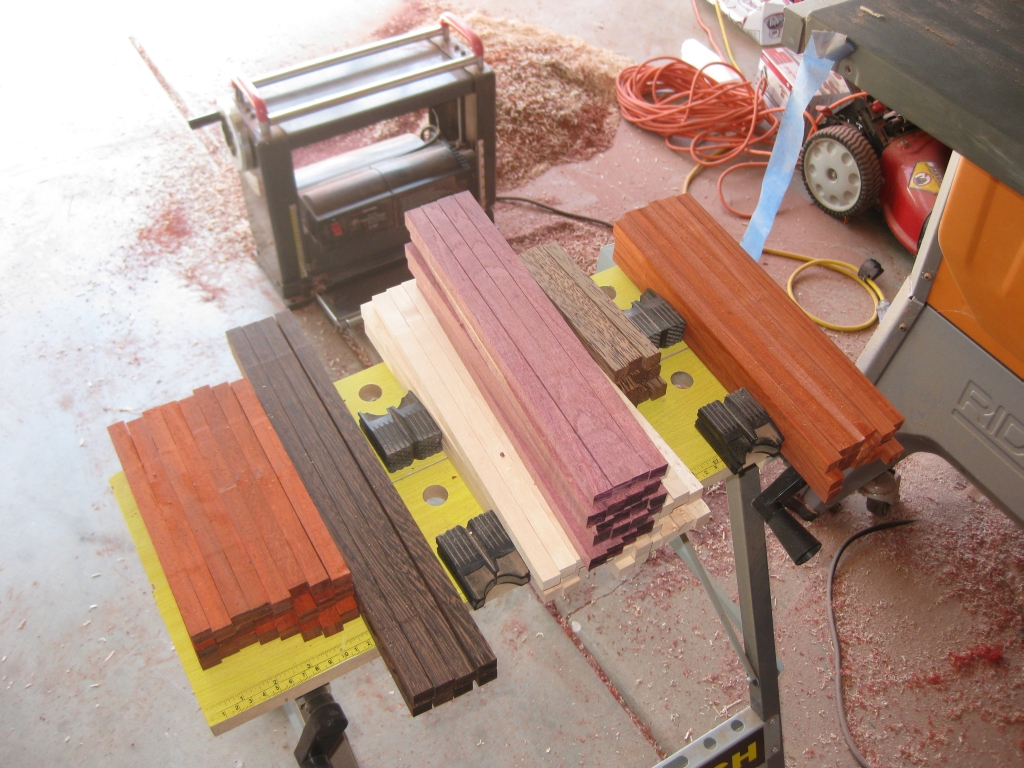
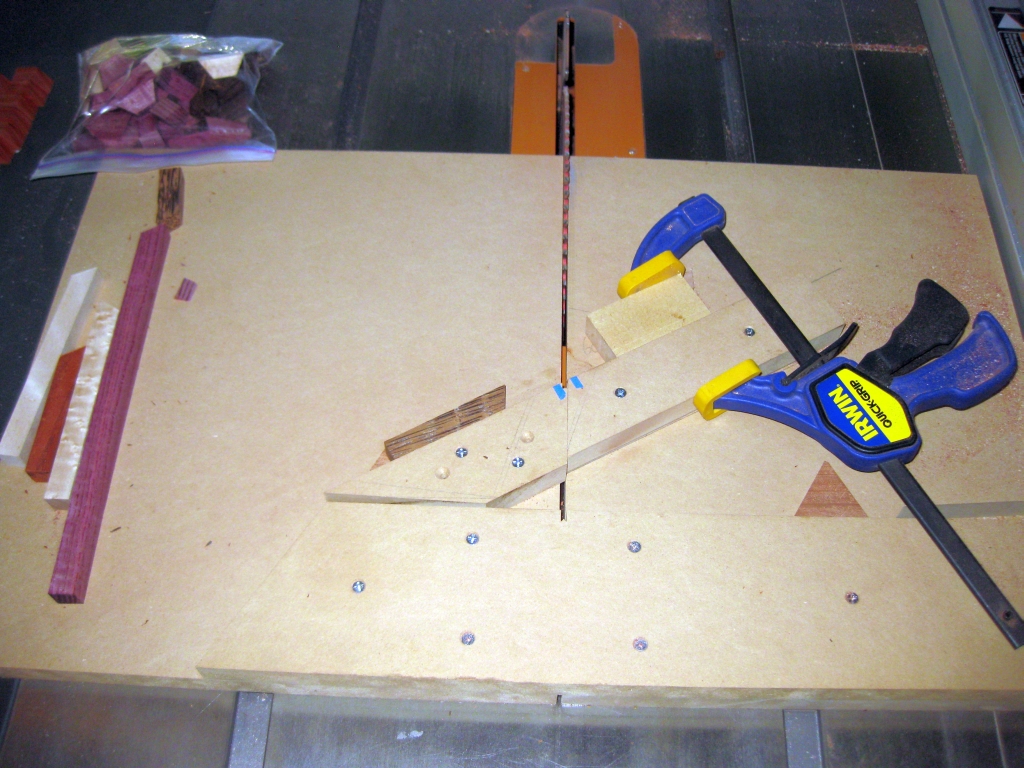
Having decided on the dimensions for this smaller version, I cut and milled my stock, cutting what I hoped would be enough sticks to make a reasonable run of puzzles. The pile of sticks looks like a lot, but I have no doubt that I’ll get through them pretty quickly. If you’re interested, the woods are (from left to right) Paduak, Wenge, Curly Maple, Purpleheart (on top), Birdseye Maple, Red Palm, Paduak.

All the sticks cut and sized ready for making into blocks

All the sticks cut and sized ready for making into blocks

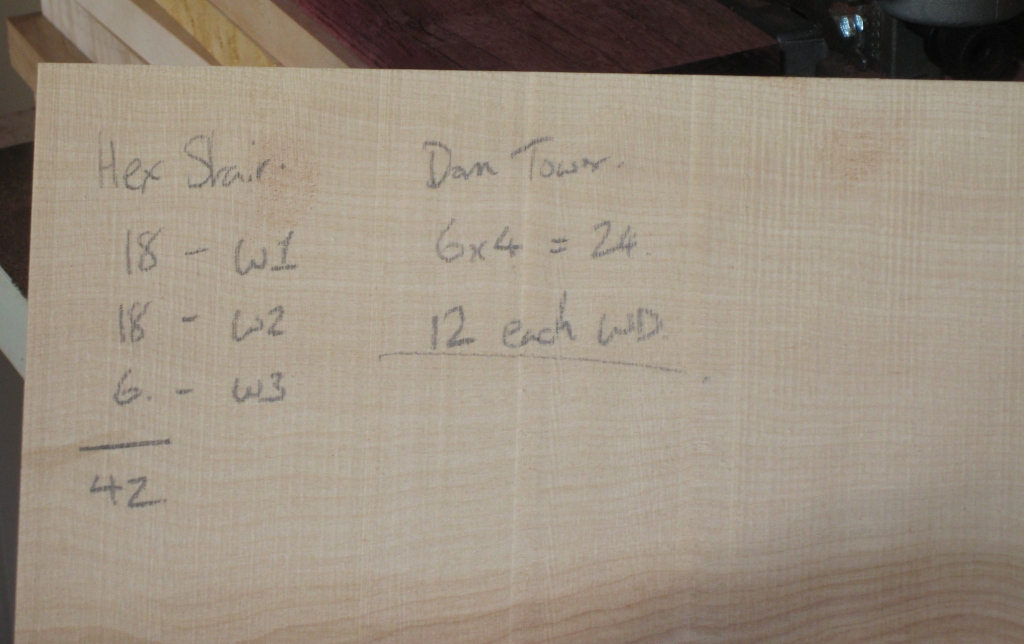
I didn't have paper handy so some curly maple left over from the rough cutting worked great

I didn’t have paper handy so some curly maple left over from the rough cutting worked great

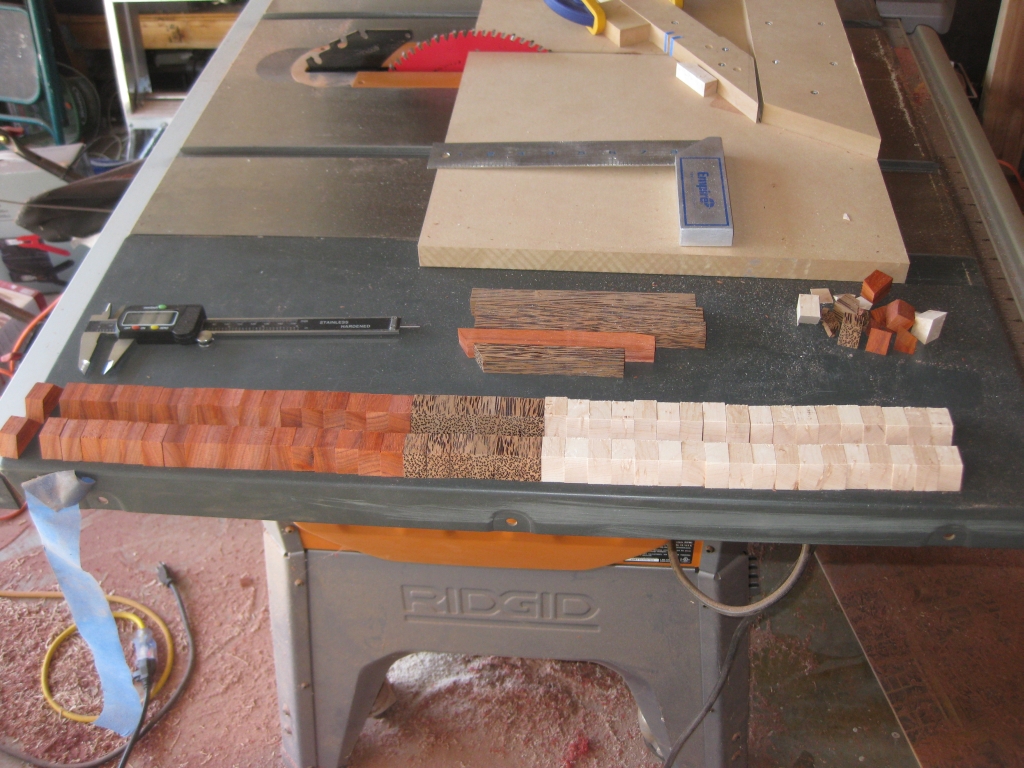
With everything setup, I started batching through the cutting of the pieces, and despite needing 42 pieces per puzzle, once everything is setup, this goes fairly quickly. I keep my digital calipers beside me and keep checking the cuts as I go to make sure I’ve not had any errors introduced, as the biggest reason I have found for a puzzle not fitting correctly is tiny differences in the tolerances of cuts. Anything more than about five thousands of an inch between pieces and the fit will not be good enough. Ok, five thousands is pretty small I hear you cry, but I try to get my pieces to less than two thousandths to make sure I don’t have problems. Sadly I’ve learned from experience that even small margins like this make the world of difference and cause a lot of frustration when gluing pieces together in the type of puzzles I’m making.

Several puzzles worth of pieces cut and ready to be beveled.

Several puzzles worth of pieces cut and ready to be beveled.

Having batched out a good few pieces; enough to make a few puzzles; I take a break from cutting the pieces and move to the router to add the bevel to the edges of the pieces. I find that taking a break like this keeps me focused and alert, rather than becoming complacent as the motions get repetitive, and it’s all too easy to lose focus … and as I have already experienced, a tiny lapse can be very costly!

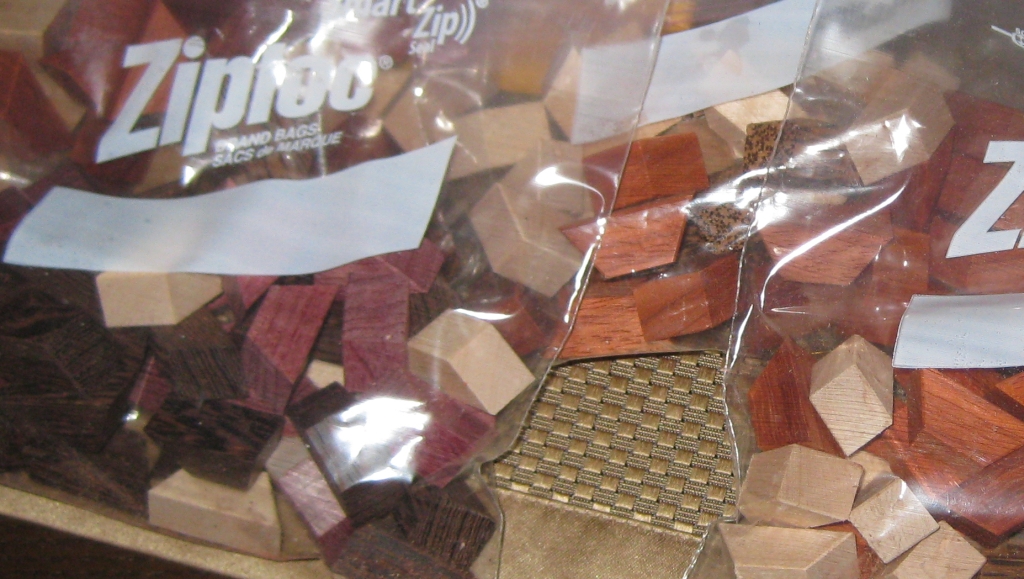
Bags of blocks beveled and counted out per puzzle.

Bags of blocks beveled and counted out per puzzle.

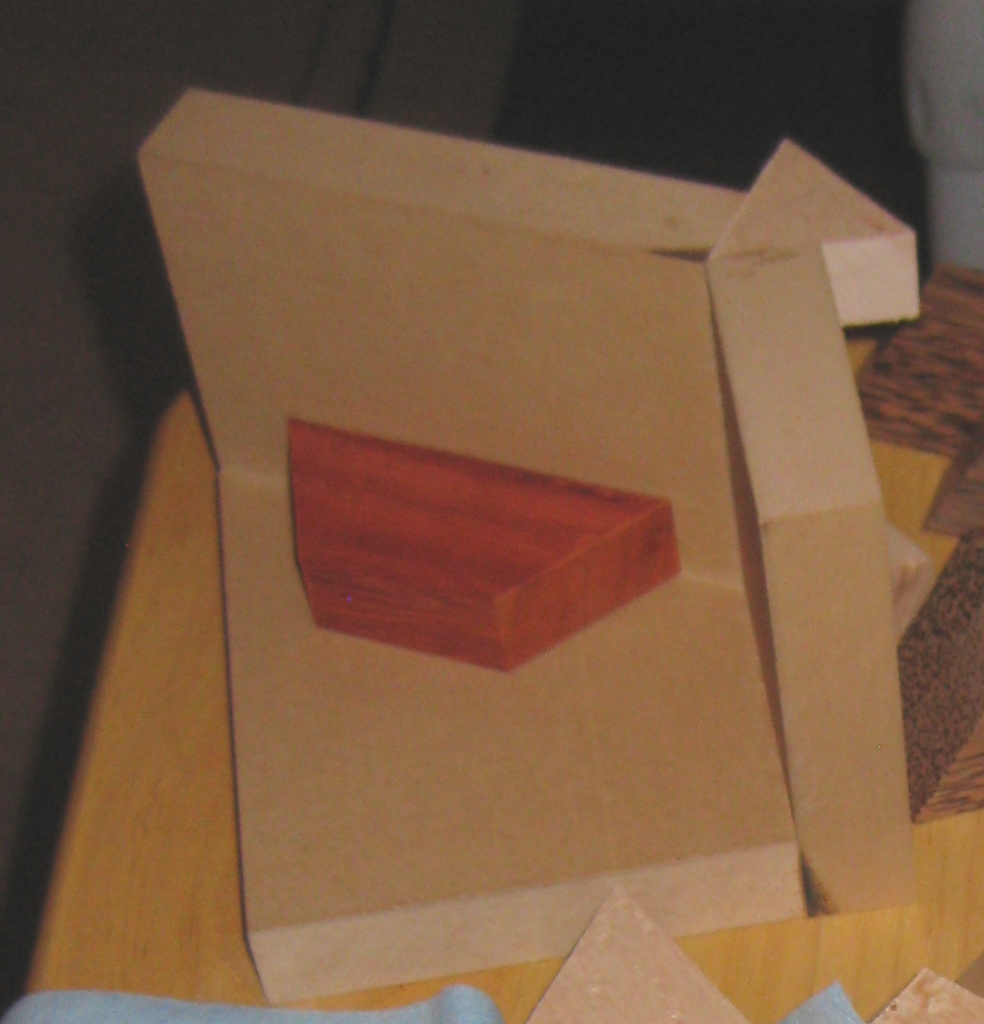
With all the pieces cut and beveled, it’s time to start gluing the puzzles together. You’ll remember the crude jig that I made for the initial puzzle, which worked pretty well. I found out though that with the smaller pieces, there’s not a lot of gluing surface, and I made the pieces almost as tall as the are wide. (They’re not perfectly square!) Because of this, it’s easy for the pieces to get misaligned, so I felt I needed a better jig…

Hex Stair Speciality Jig

Hex Stair Speciality Jig

Speciality Jig showing piece in place

Speciality Jig showing piece in place

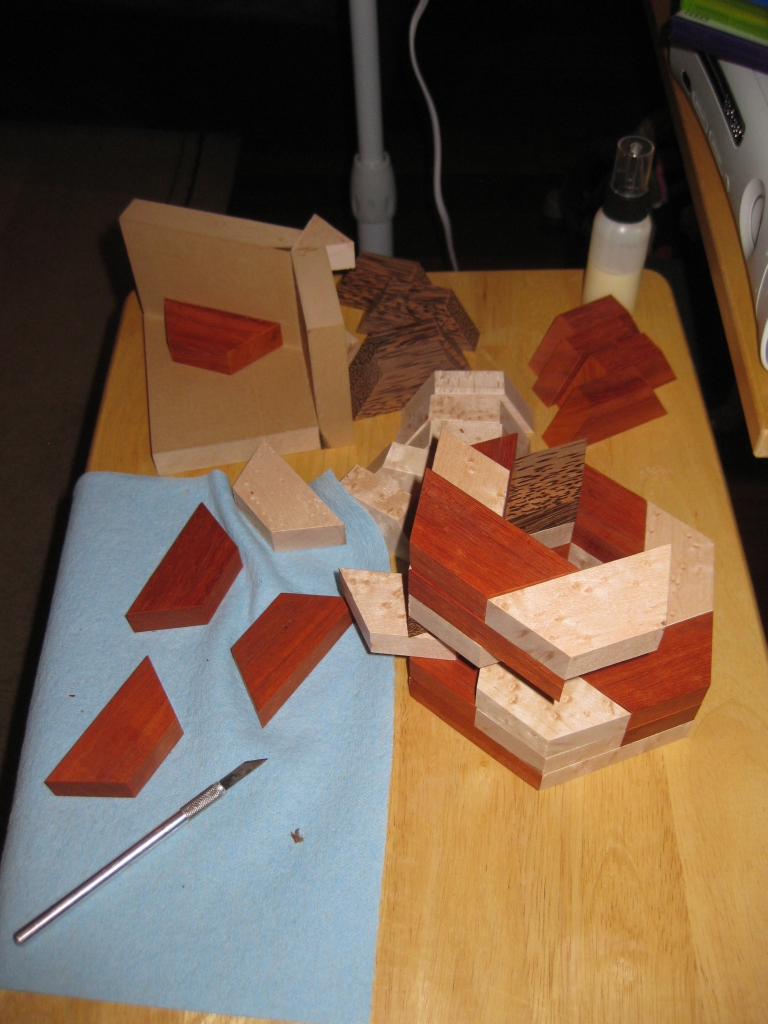
Speciality Jig showing piece completed

Speciality Jig showing piece completed


As you can see this jig is a little more advanced than the original, however the main drawback is that it will only work for this puzzle, and only for pieces cut to the exact sizes that I have used. While that may seem like something of a waste, for the most part, the jig is made from offcuts from the sticks I used so really it’s putting small cuts which would otherwise be used in my fireplace to good use. The jig is a very snug fit for each piece, and as you can see each piece is well supported meaning that each completed piece I make in the jig will be identical and it’s also very quick to use, since there’s no way to misalign a piece. With this jig, it takes around 15 minutes to make each individual puzzle piece, meaning that I can make a complete puzzle in around 2 hours (allowing for the curing time of the glue). This as nearly 2.5 times faster than previously. While it may seem like it still takes a long time, I’d rather take my time than rush and end up with a useless pile of firewood. After all, a high quality puzzle doesn’t get made in a minute.

With the jig doing all the hard work for me, it doesn’t take too long to make a copy of the puzzle, to the point where the outside faces get sanded and then finish applied. In Part Three, I’ll cover some of the finishing process.

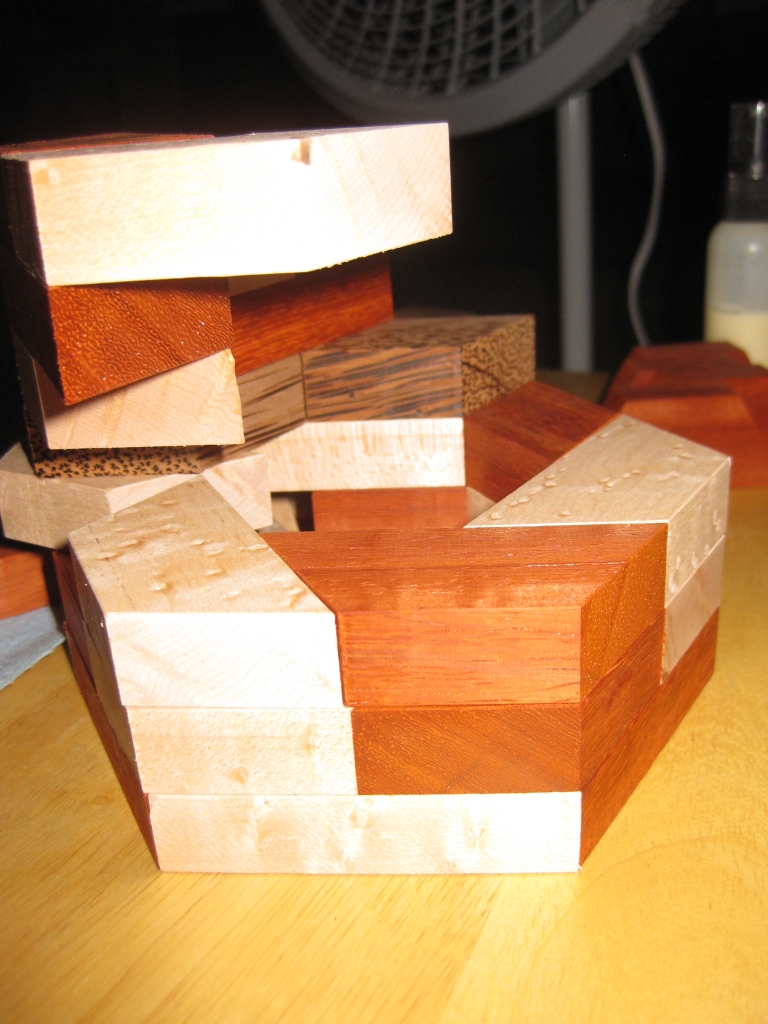
One thing I noticed when assembling this version of the puzzle is that it’s actually easier to put together than my original version. One of the reasons is that I’ve found a particular rotational move which allows the alignment of the pieces to happen much more easily. I didn’t find this on my original version, I think partly because it is much more squat than the new dimensions. The extra height makes it easier to do this move (although I have gone back and found that it is also possible on the original copy).
Hex Stair (Part One)

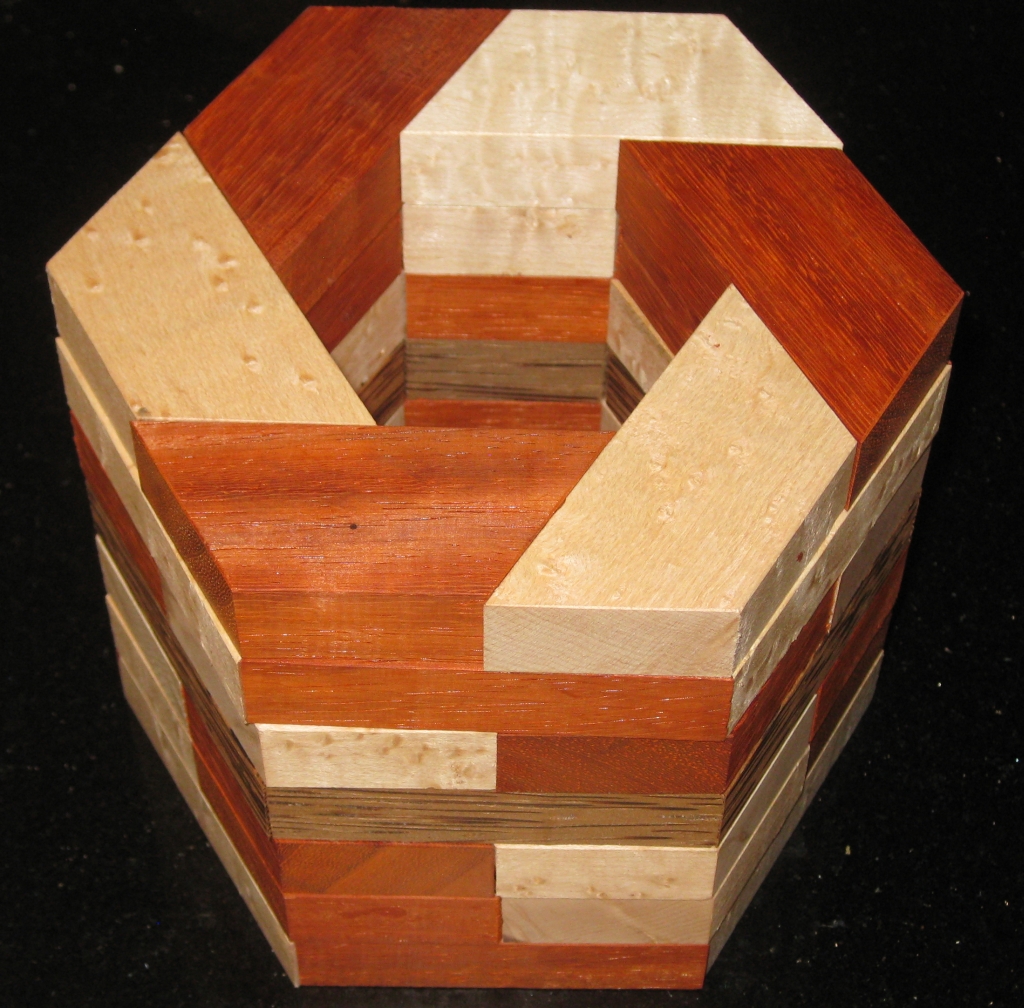
Not too long ago, I posted a few pictures of some of the puzzles I’d been making on Facebook. One of those was a copy of Oskar van Deventer’s design “Oskar’s Domino Tower”. I’ll write about that in another post, however when I did, my good friend Derek Bosch got in touch about a similar design he’d created called Hex Stair. To his knowledge, the design had never been made, and I decided that it would be a fun puzzle to try to build after seeing the design.

Hex Stair Solved

Hex Stair Solved

As you can see the design is based on a hexagon. So that means making cuts at a 60 degree angle. To do so repeatedly, I was going to need a new jig, specifically a cross cut sled setup for that angle. I’ve gone through the process to create a cross cut sled before, so I’m not going to go over that again here. I used the same basic MDF construction using 3/4″ boards, and I cut myself some maple runners as guides for the sled. If you want more info about creating the sled, then have a look at my post about going From Square Sticks to Cubes. Clearly rather than a 90 degree angle on the sled I was looking for 60 degrees, and with a little tuning, and a few practice cuts, I had the sled producing perfect angles.

60 degree Crosscut Sled.

60 degree Crosscut Sled.

To do that, there’s no point in measuring just one cut. Rather it’s better to make 6 cuts, creating a hexagon frame, and bring those pieces together. If they come together with no gaps, then you’re golden. If not then you need to adjust the angle of the backstop on the sled. Ed: The reason for doing this is that it multiplies any error in your sled by a factor of 6. I didn’t get things perfect on my first attempt, so I adjusted slightly and then re-cut the test pieces. This time I was pretty close and didn’t think I was going to get much better so I called it good. To make tiny adjustments, a strip of tape can be used to adjust the angle. Obviously I could create a sled with a variable back stop, and have screws to push or pull it for a perfect fit, but for now I’m not looking at spending too much time. If I find many puzzles which require 60 degree angles that I want to make, then I’ll consider making a more advanced jig. Ed: What is it about us that we’re never happy with what we have, we always want it to be better?

With the sled ready, I milled my stock, selecting some Paduak, Birdseye Maple and Red Palm that I’d had sitting for a while, and got to work on the new jig. There are 42 pieces required to make this puzzle and given that there are 7 layers, I decided to create a band in the centre of the puzzle. Since it’s never been made before, I’m not biased by something someone else has done, and I thought it would look fairly good. You can be the judge, based on the photos! I got to work cutting 18 pieces each of the two main woods, and 6 pieces for the centre ring. With that done, I took the pieces to the router and added a very subtle bevel to the long edges. I quickly found out here that beveling the pointed edges can’t be done on the router as there is nothing for the guide to reference off, and given the thin nature of the pieces, this would be a fairly dangerous cut, so I opted not to bother. I think in the finished puzzle, it works out very well, as it makes it look as though there’s seven rings, rather than 42 individual pieces. Again it’s all personal taste, but I’m happy with the results!

Gluing the pieces together into a finished puzzle presented me with a few interesting challenges. Firstly, it’s not square, so my current gluing jigs are no use. Also the puzzle is fairly tall, with each individual piece of the puzzle having a very small footprint, making it unstable without a lot of support, so ensuring that everything is glued up perfectly alighted is an interesting challenge.

60 degree basic gluing jig

60 degree basic gluing jig

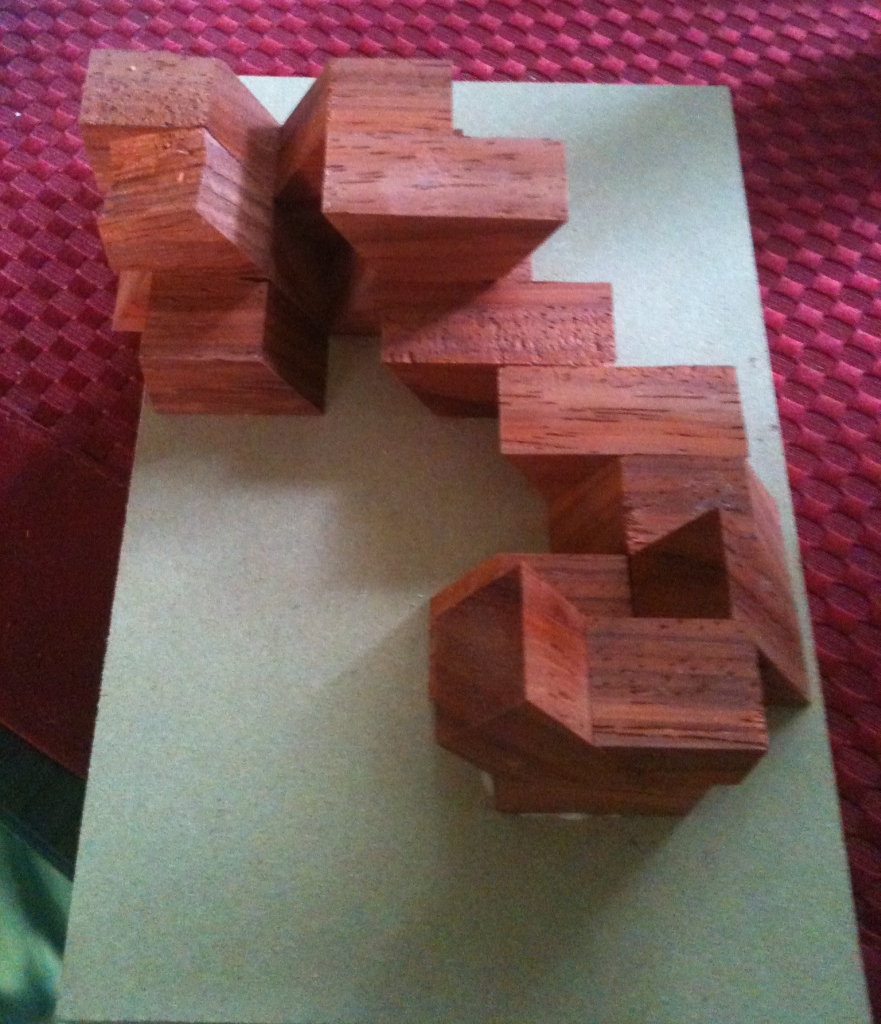
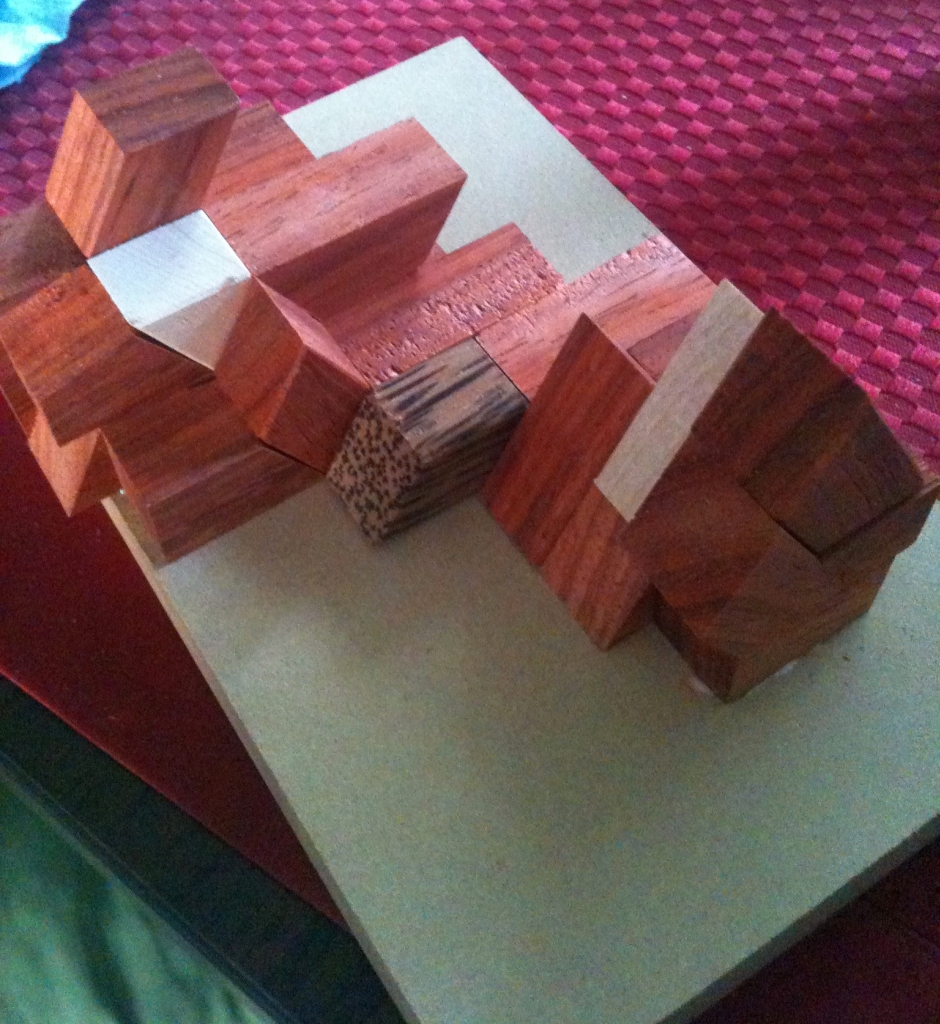
My first gluing jig was a pretty simple progression from my square corner gluing jig. Using the 60 degree crosscut sled I was able to create a simple base and walls at the correct angles, and re-inforced the centre angle with a couple of the equilateral triangles I’d cut when I was cutting the original pieces. The inner surface was waxed to prevent glue sticking to it (and hence sticking the pieces to the jig) while I was working. This worked pretty well, and I created the original puzzle using this jig, and the pieces I’d not glued in place to support and align the piece I was gluing.

Supporting the pieces while gluing

Supporting the pieces while gluing

Supporting the pieces while gluing

Supporting the pieces while gluing

All said it worked fairly well, and the end result was reasonable. I did find that there were a couple of pieces which hadn’t lined up perfectly. But I used an interesting trick to fix that. With the six pieces of the puzzle together in the solution shape, I put the whole thing in the microwave for about a minute and a half on high. With my now warm puzzle, the glue is softened enough to allow the pieces to shift slightly if enough pressure is applied. By doing this I was able to re-align the couple of pieces I wasn’t happy with and get a near perfect fit. Now I’m not suggesting that this is a solve all for bad initial gluing as it really isn’t, bit in the few hundredths of an inch that I was misaligned on one or two pieces it can be corrected, rather than throwing away an entire piece.

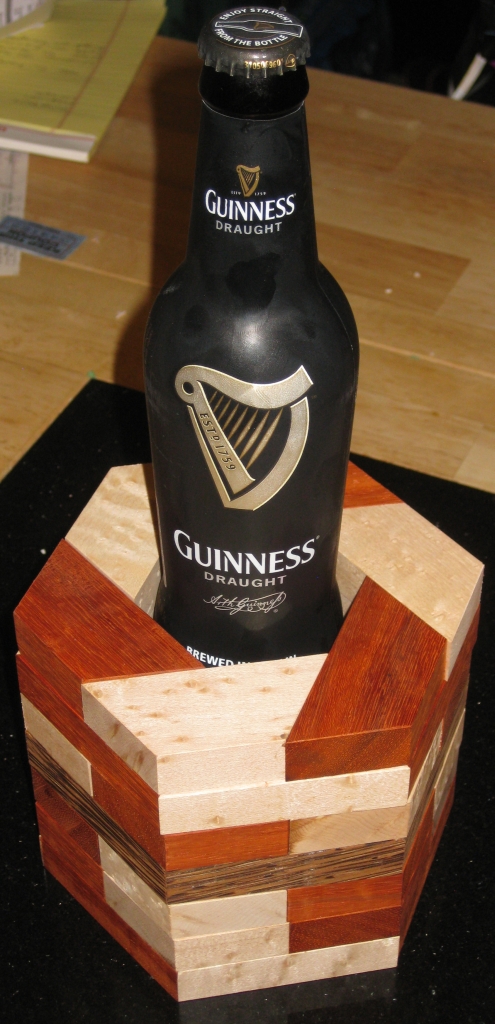
Puzzles and Beer...

Puzzles and Beer…

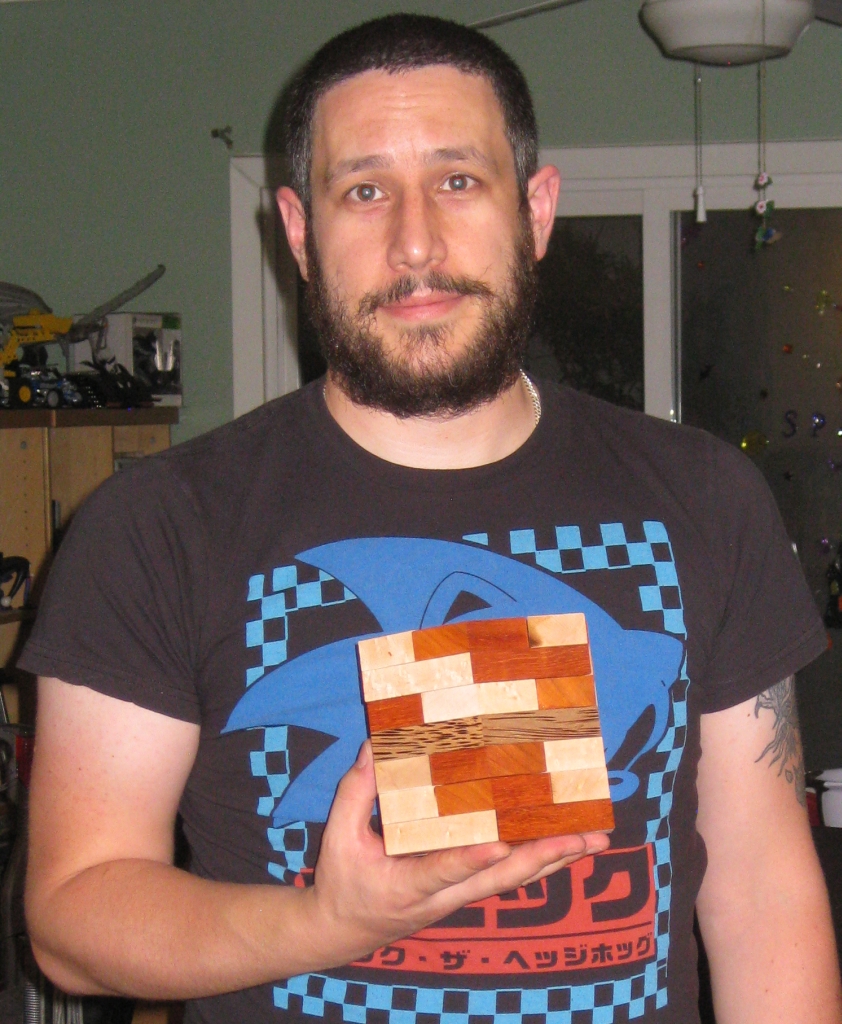
Me holding the puzzle

Me holding the puzzle

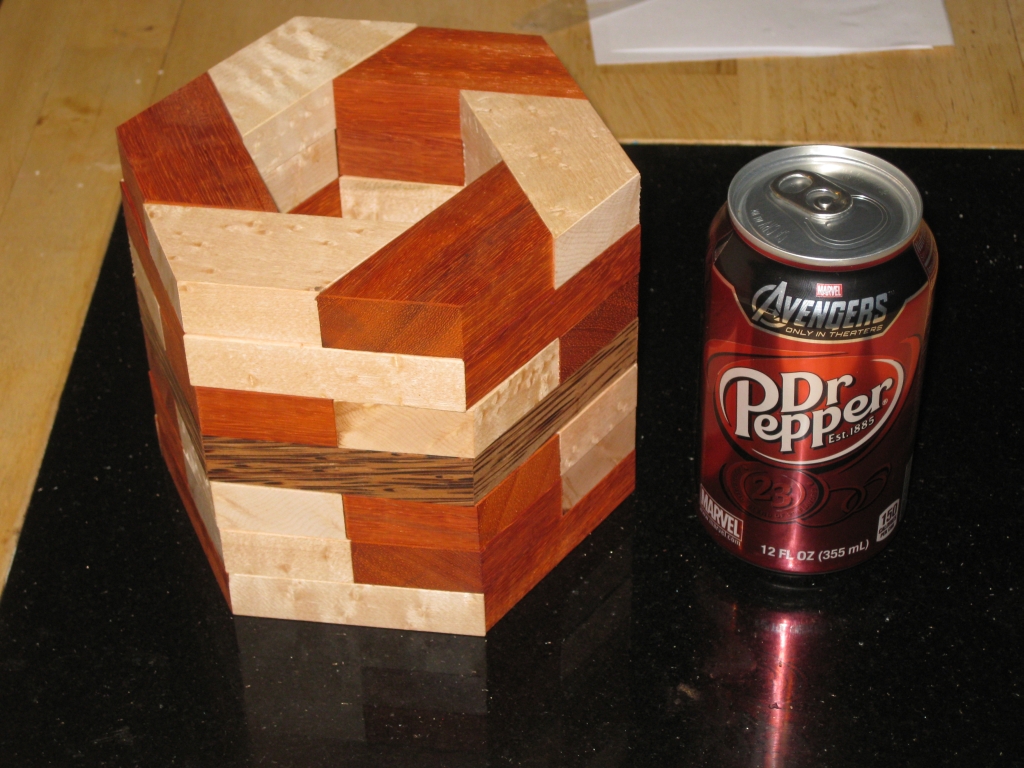
Scale next to a soda can

Scale next to a soda can


Overall I’m pretty happy with the results, although the size is certainly an issue. As you can see it’s a big puzzle, and not really realistic in terms of making them in a production run. It seems that I’m pretty good at forgetting how big a puzzle ends up when you glue all these ‘small’ pieces together. Part of the learning curve I’m on just now, but it’s all valuable information.

In part two I’ll look at making the puzzle in a more sensible size, and talk about the unique jig I built to help. Since I’ve had several requests, in part three I’ll talk a little about finishing.

Three Piece What ‘sit

This entry is part 6 of 6 in the series IPP 31

At IPP 31 in Berlin George Bell exchanged his Three Piece What ‘sit made by Bernhard Schweitzer in the New Pelikan workshop. The goal, and the only hints you get are to “Assemble the 3 pieces to an allside symmetrical 3D shape”

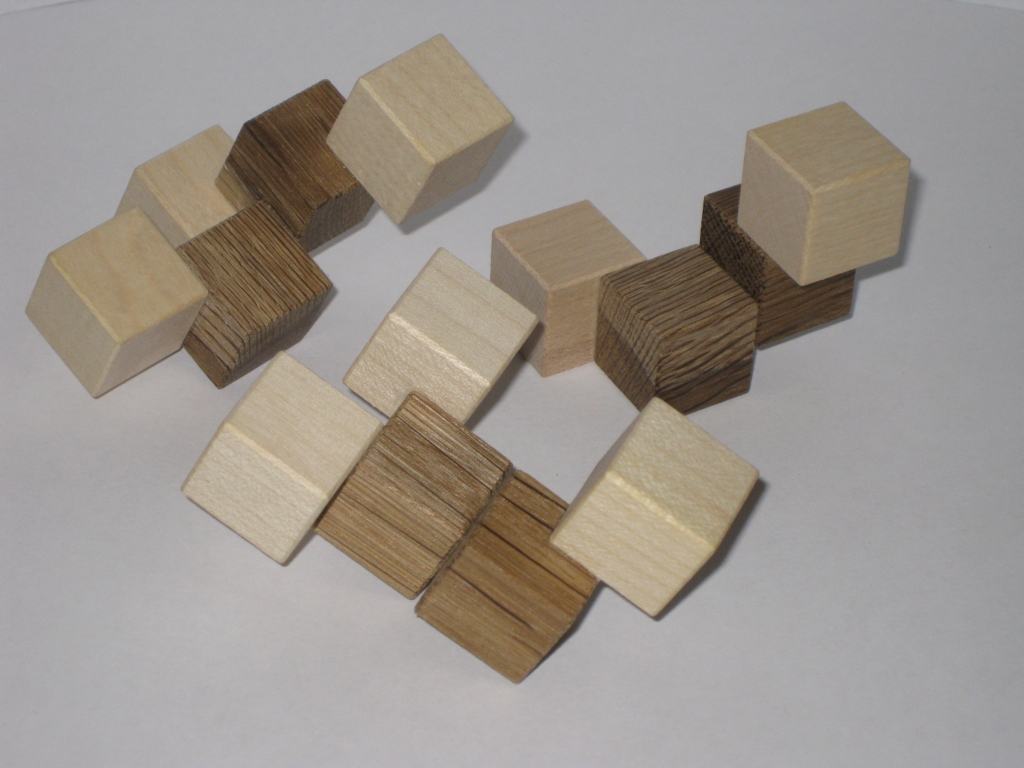
The Three Piece Whatsit Pieces

The Three Piece Whatsit Pieces

This great looking puzzle is made from Maple and Robina and measures 2.75″ x 2.75″ x 2.75″. The three pieces are a good size in your hands and give little away about how they should be combined. Playing around you’ll quickly find several ways that two of the pieces can be joined, which leave no room for the third to fall into place.

I probably spent around 10 minutes before I found the correct orientation of the first two pieces to allow the third to drop into place correctly, leaving a very pleasing solution shape. Taking it apart and photographing it for the review, it then took me around another 10 minutes to get it back to its solved state again. Since then I’ve taken it apart and put it back together again several more times, and I can solve it fairly reliably now. I’m sure if I left the pieces separate for a while then came back to it, it would take a little time before I could solve it again, so the level of difficulty is reasonable on this one.

Interestingly, at the at same time as George designed this puzzle, Don Charnley also designed the same puzzle, and named it Donz Q’b. The interesting thing is that the puzzles pieces are mirror images of each other. So you may find this puzzle referred to by either name, but in the end it’s the same puzzle.

Solution shape of the What 'sit

Solution shape of the What 'sit

I’ve deliberately, not included the picture of the solved shape as part of the gallery since that’s part of the challenge, but since it’s readily available in a number of places on the web, if you want to see it, click on the image above to see the full shape. Overall, a fun puzzle, and highly recommended if you can get a copy.

Tom’s Square Dance

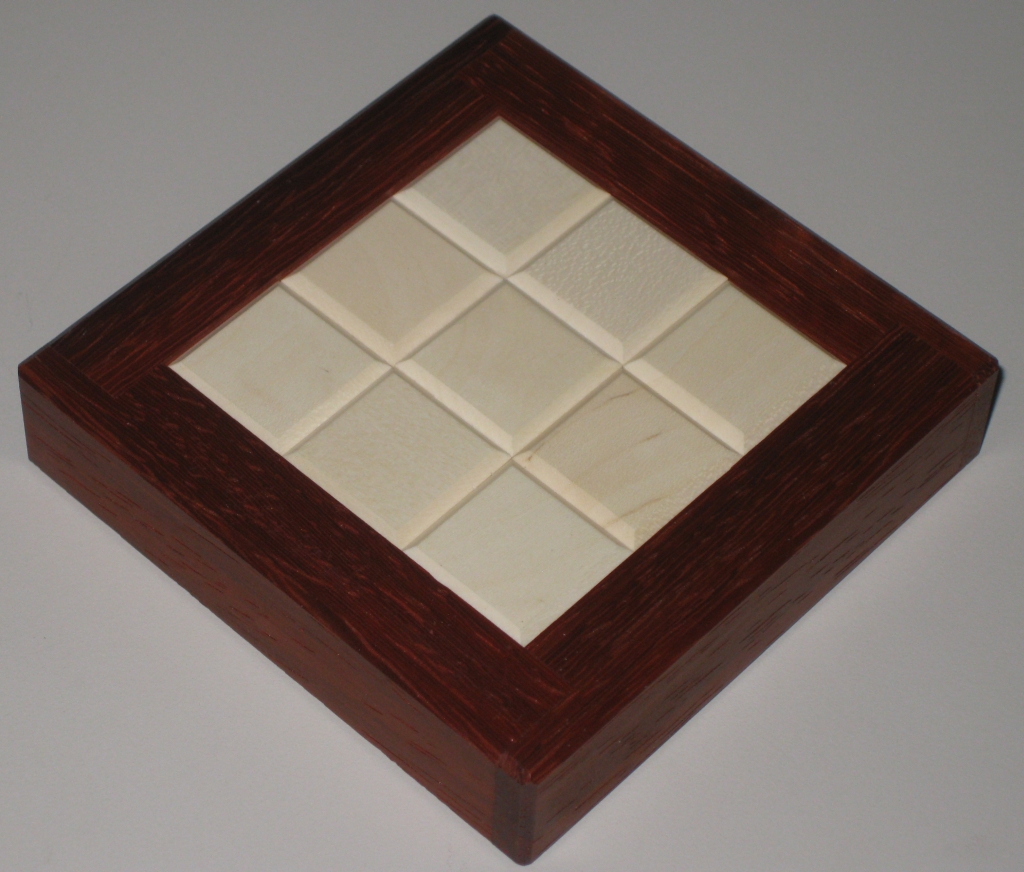
In the most recent round of puzzles from Eric Fuller, he offered a few copies of Tom’s Square Dance. Sadly I was too slow this time and didn’t manage to get a copy myself. Fortunately my good friend Derek did get a copy, and he happily lent me the puzzle to play with! As the name hints, this is another great puzzle design from Tom Jolly.

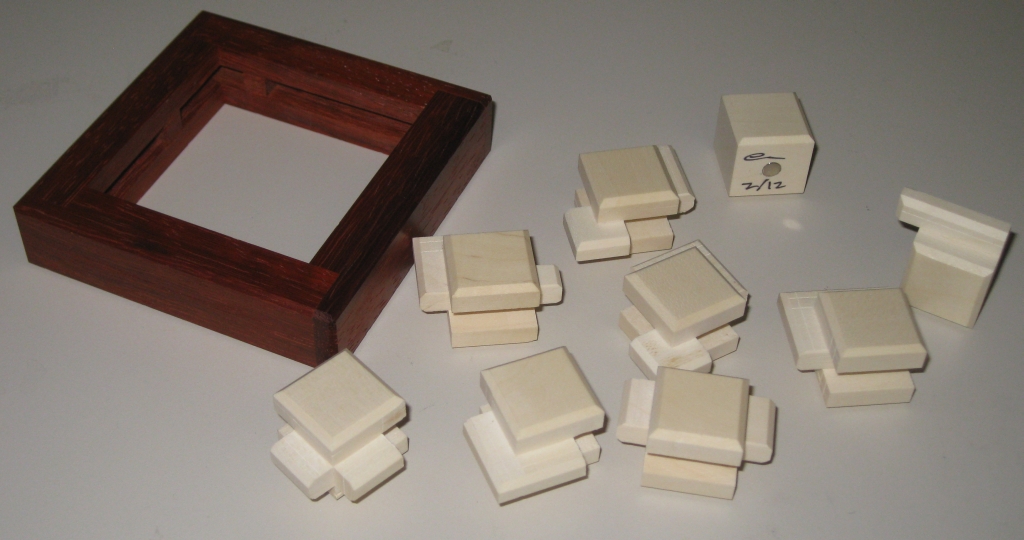
Tom's Square Dance in Paduak and Holly

Tom's Square Dance in Paduak and Holly

The Puzzle measures 3.3″ x 3.3″ x 0.75″ with the ‘cubes’ being 0.75″. The goal of the puzzle is to remove the pieces from the frame and then return them back to their original positions. One of the corner blocks is held in place with a small magnet, and once removed the rest of the blocks can be slid around inside the frame. While it may sound like there’s not much to this puzzle, you soon realise that there’s more to it than it first looks.

First piece signed by Eric

First piece signed by Eric

The blocks are not simple pieces, and have various bits sticking out of them so that they both slide against each other, and interact with each other allowing and preventing various pieces from moving. To make things more interesting, hidden around the frame are various blocks which also prevent the inner blocks from moving around!

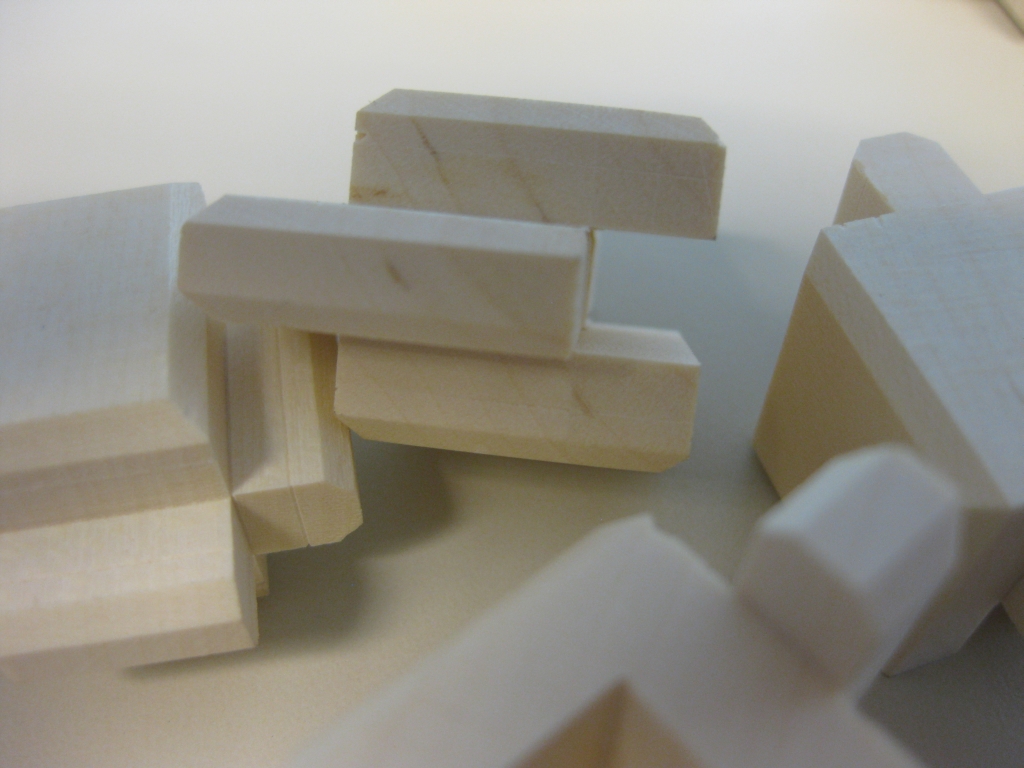
Closeup of the pieces showing solid construction

Closeup of the pieces showing solid construction

Eric really went all out in making this puzzle. Offered in two different frame options, Bubinga and Paduak, with Holly pieces, the contrast looks great. Over time, the Paduak frame will change from the bright red/orange it is now to a very dark brown. The beauty of this will be that the inner frame which is hidden from the light will remain bright orange, so on solving; it will make for a very pretty reveal.

The thing that really makes this special is that the puzzle pieces are all milled from solid pieces of holly, and not layered pieces glued together. As such the pieces are very strong, and the time to create these pieces is much more labor intensive than gluing the blocks together. Eric has created the pieces such that the tabs are several thousands of an inch thinner than the grooves they run in. The precision of the pieces is really stunning, and shows the quality of Eric’s work. What it leaves you with is some really beautiful pieces, where the grain flows through the entire piece, something that could only be achieved with the time Eric put into the making of the puzzle.

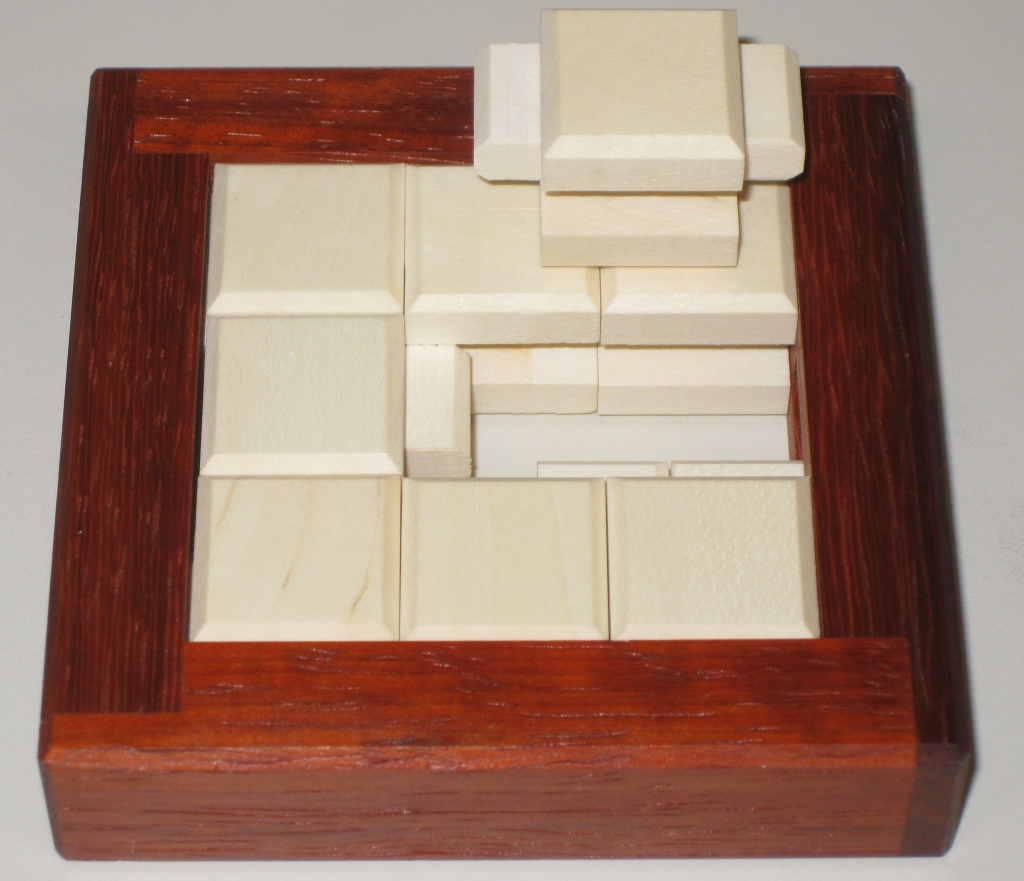
The Second piece removed (oh, and the pic won't help you solve it!)

The Second piece removed (oh, and the pic won't help you solve it!)

To solve the puzzle, after removing the first block, it takes 8 more moves to remove the second piece, and as Allard and Oli have already commented in their reviews, the first piece comes out in a rather unexpected manner. It’s not too difficult to remove the first piece, and the second follows not too long after that. I think the reason is that the obstructions as well as hindering also mean that there’s a fairly linear path to follow to removing the pieces.

All the pieces removed

All the pieces removed

Putting the pieces back into the frame once you’ve taken them out and jumbled them up is a far greater challenge. It took me around 5 minutes to take the pieces out, but a couple of hours to get them all back in. It’s not impossible, but certainly a good challenge.

It total, the solution is listed as a 1.8.5.3.4(.2.2.3.3). The part in brackets really doesn’t count as there’s so much space at that point, that things just fall out! To my mind there is really only one solution however, if you plug the pieces into burr tools once you’ve solved it, you’ll find that it reports a second solution, with a different move count 1.8.5.3.2(.3.2.3.3). Now this alternate solution is actually identical to the original, the only change is that the two identical pieces in the puzzle are placed in the puzzle in a different order. Talking to Andreas about this, he notes that the tool will try to find a short path from the current point to removing the next piece. Depending on the state of the puzzle, this may be different, really only the count to remove the first piece is accurate.

I have to admit, I really enjoyed this puzzle. I think it’s around the right level between frustration, difficulty and solvability. Eric’s copy is superbly made, and while I’m a little sad I didn’t manage to get a copy of my own, I’m very happy to have been able to play with it thanks to the kindness of my puzzling friends.

Daedalus

Daedalus is one of the IPP31 Design entries from Gregory Benedetti. A simple 3×3 cube where the goal is to take the pieces apart. As an eight piece puzzle, from the outside it doesn’t seem that this can be too challenging, however as is so often true, this puzzle is far from simple! I was fortunate enough to be able to buy my copy from Puzzle Paradise when Gregory offered a few for sale there after the IPP.

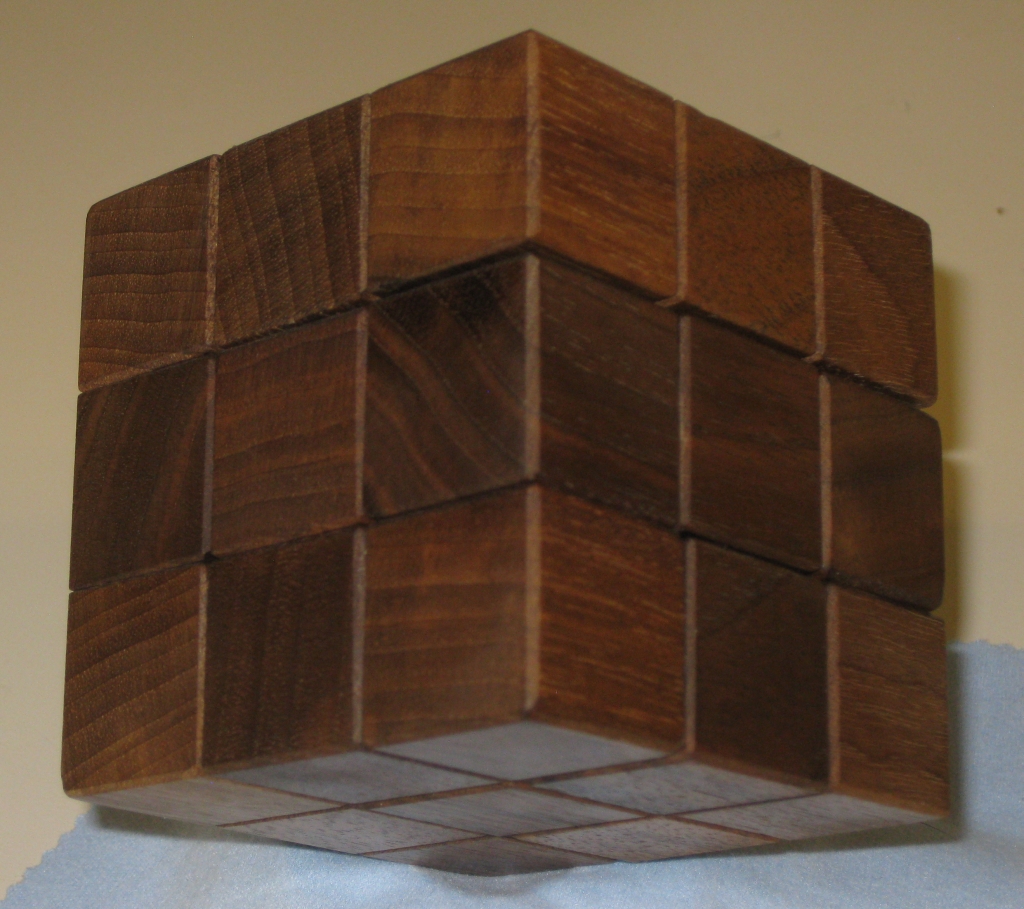
Daedalus in Walnut

Daedalus in Walnut

Measuring in at just under 3″ x 3″ x 3″ my copy is made from Walnut with some very interesting grain running through the cubes. Gregory made the puzzle available in a number of different woods including Marblewood and a few others. Made by Maurice Vigouroux this is a beautifully crafted puzzle with bevelled edges on each of the cubes and a mirror smooth finish to the sides of the cubes, which I’ve learned myself can only be achieved through very accurate cuts.

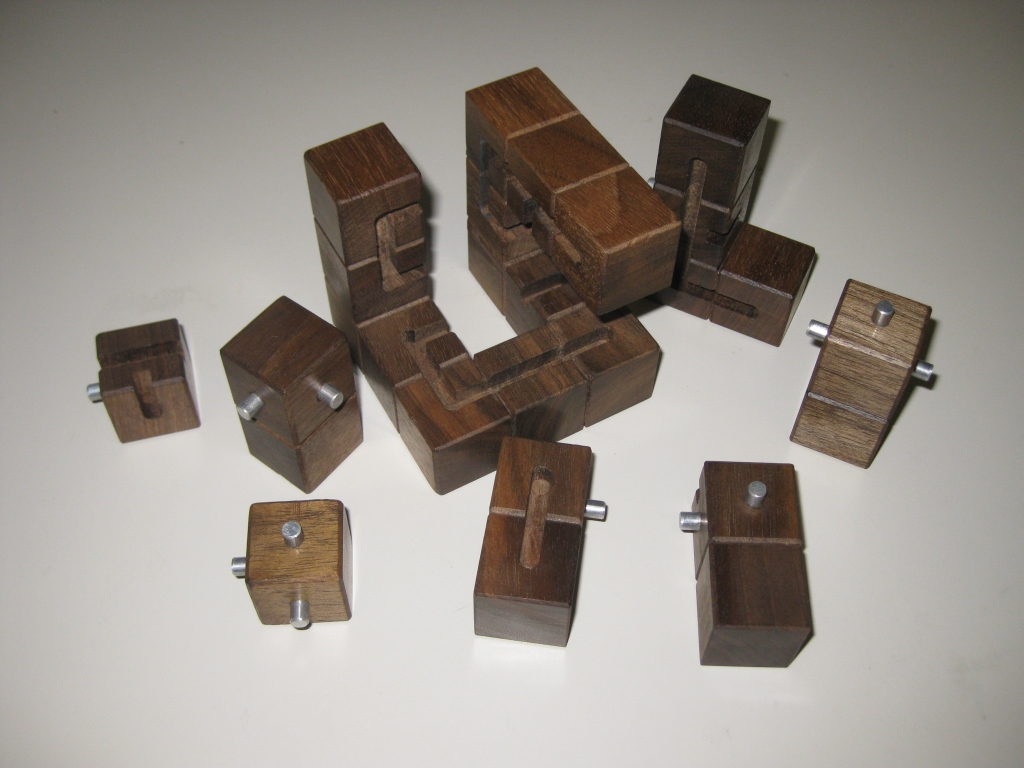
The puzzle consists of a main outer frame, with 7 moveable pieces contained within that frame. What makes this rather different to your standard 3×3 cube is that the pieces have rods and tracks embedded in them, making a maze of sorts through which the pieces must be moved in order to remove them from the puzzle. Of course this is made more challenging because the internal maze changes as you move the pieces around, since the maze is part of the pieces themselves!

Now if that wasn’t hard enough, Gregory makes things more complicated (and removes the use of Burr Tools by throwing rotations into the mix too. When you find out how to move the pieces around you find that you have created enough space to allow some very interesting rotations to take place, including some that completely change the orientation (top->sides etc) of some pieces, which will either get you closer to the solution or just further lost in the maze.

Growing arms and legs to get the first piece out

Growing arms and legs to get the first piece out

The puzzle doesn’t remain in a cube shape for long, and appears to grow arms and legs as you manipulate the pieces. It took me just a few seconds to find the first piece which moved, and then several minutes more before I found the second piece which would move. After this several more hours were spent sliding pieces back and forward, and exploring rotations and really trying to understand what is possible in the constraints of the pieces. Lets just say that there’s plenty of dead ends, blind alleys and red herrings (yes, this puzzle is like the Tardis … much bigger on the inside than the outside) to keep you busy. It certainly kept me busy for more than long enough. Taking 22 moves to remove the first piece it’s no small challenge. In total there’s 22.8.7.2.2*.1 to remove all the pieces. (* 2 pieces are removed at this point) I’d call that a challenge!

Daedalus open

Daedalus open

After several hours spent over several days, I had this puzzle open, and all the pieces out. As you can see all the pieces are unique, and other than the tracks that make up the maze, there are no internal voids when closed. Returning the puzzle back to the starting point is every bit as much of a challenge. Since it had taken me a couple of days to open this one, I had forgotten the orientation of the pieces and even which pieces came out first, so it took another few hours to get this even close to being a cube again. All in all great value.

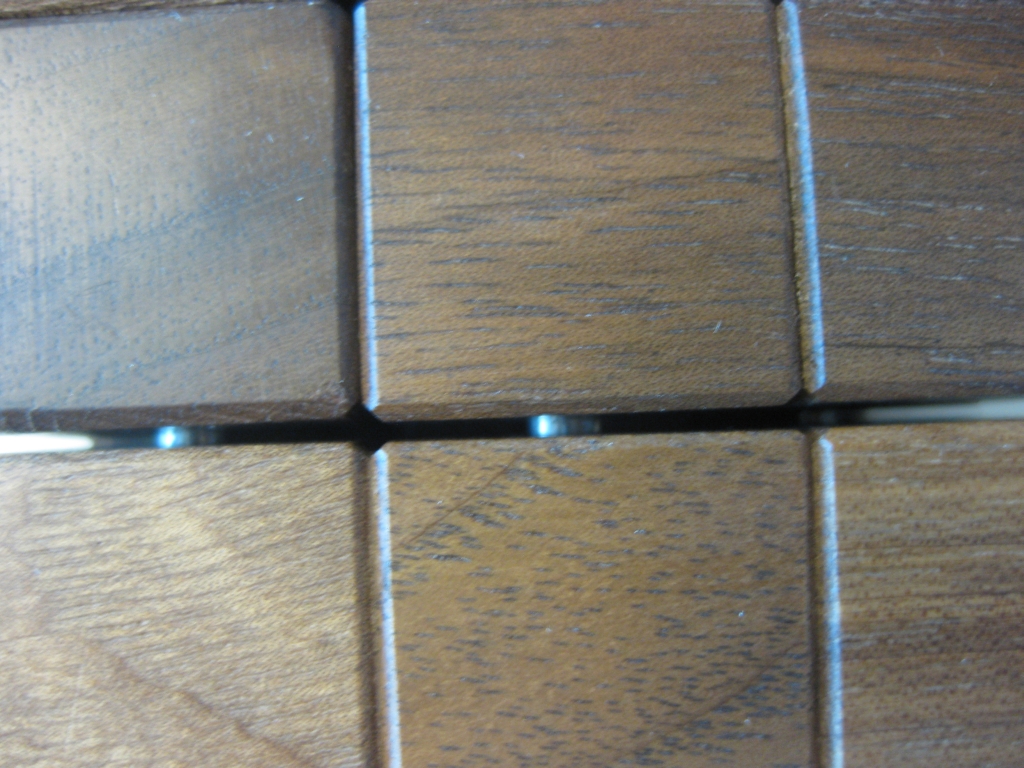
The gaps between pieces

The gaps between pieces

One small issue in my copy is that the outer frame which forms the largest of the pieces isn’t perfectly square which does mean that the pins can be seen through gaps in the cubes. While it doesn’t prevent the puzzle working in any way, and certainly doesn’t make things any easier, it does slightly spoil the surprise of finding out that this is not an ordinary cube, by giving that little secret away early.

Overall I really enjoyed this puzzle, and I’m very happy to have a copy. I know I’ll keep going back to this one as the challenge is tough but not impossible, and the range of movement that is achieved is excellent, making you want to go back to it time and again, simply because you can’t believe that some much complexity can fit into a 3×3 cube.

Thanks for this one Gregory, it’s a great puzzle, and I love it.

Sun

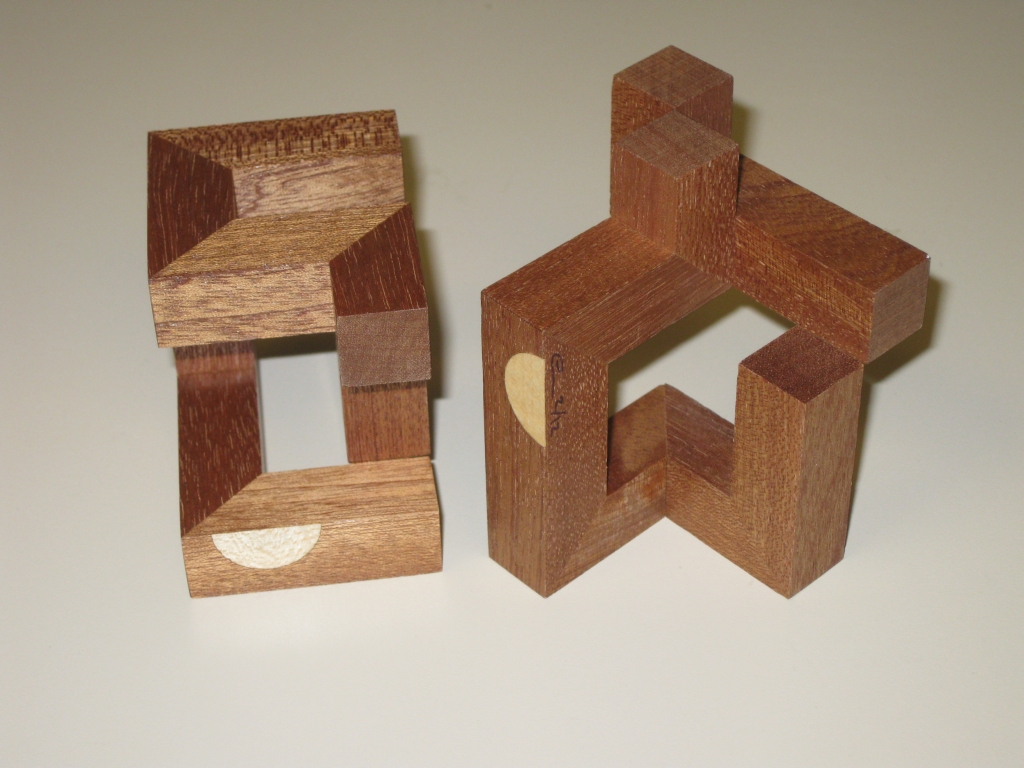
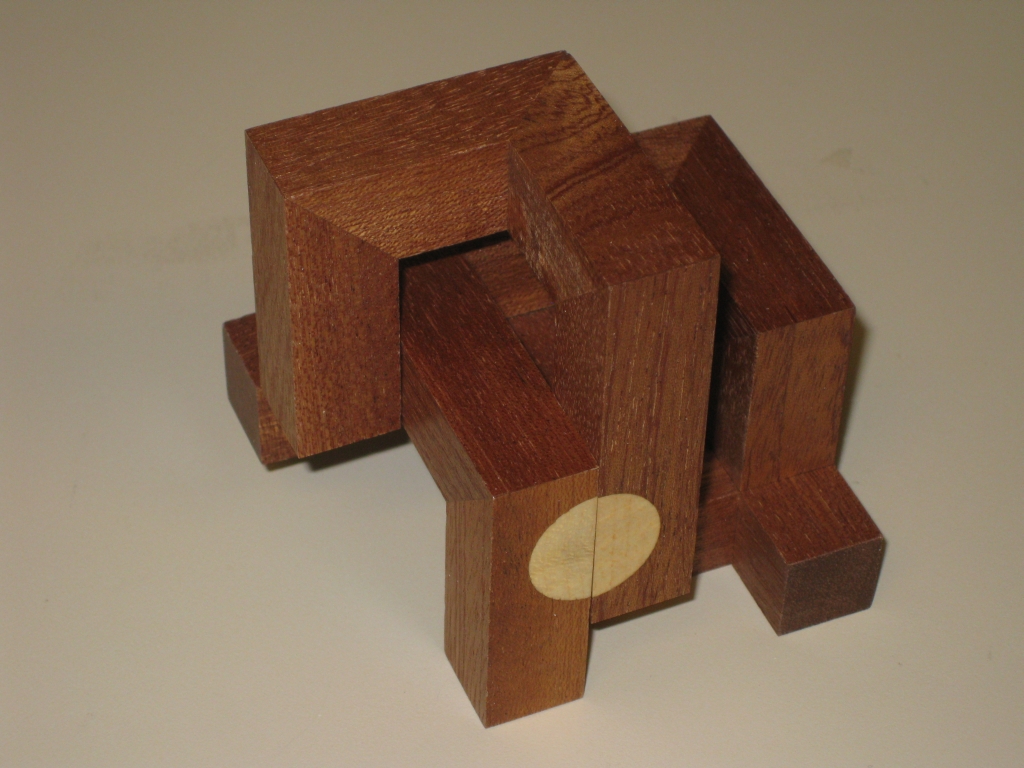
Sun is a very interesting interlocking puzzle designed by Jos Bergmans. Two separate pieces which form almost closed loops require to be connected in such a way that the two semi-circles end up fitting together to form a completed circle, the sun.

The two pieces of the Sun

The two pieces of the Sun

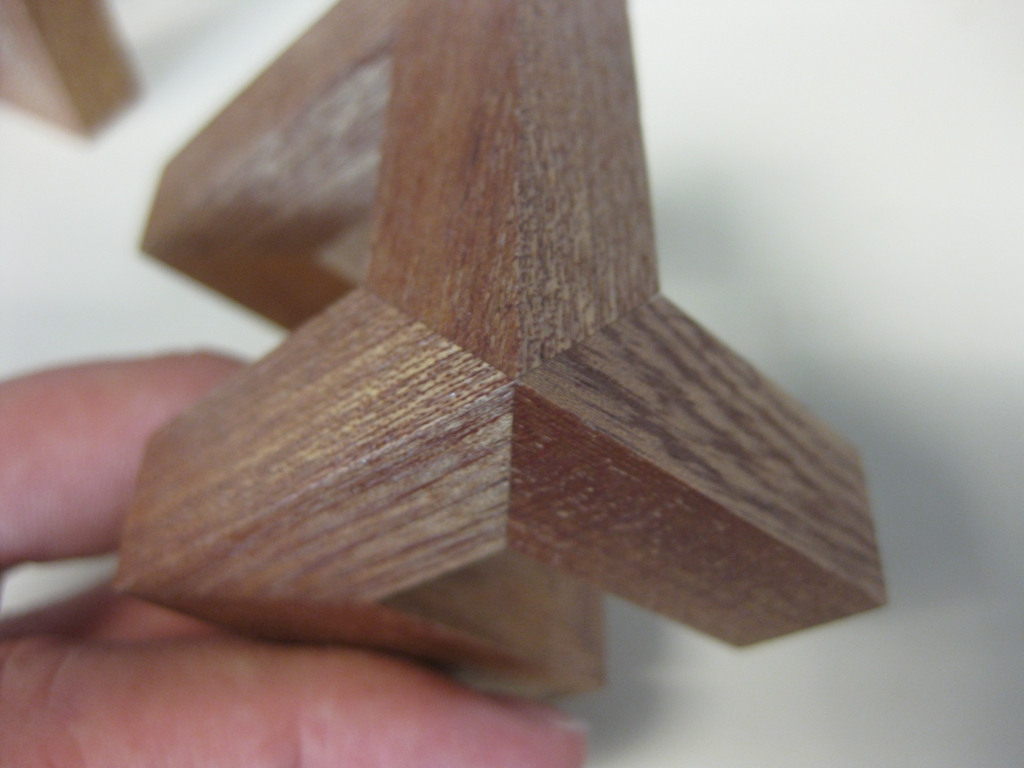
The copy I have is made by Eric fuller and was offered in his most recent set of puzzles at Cubic Dissection. Made from Sapele with a Maple veneer for the sun the puzzle measures 2.6″ x 3″ x 3″ so it’s a good size and the construction is superb. Eric hand glued each joint, including a couple of triple mitre joints using a granite plate and a machinists square to ensure that every joint was at exactly at right angles, and it really shows in the finished puzzle. Attention to detail is superb. Three different wood combinations were available when Eric produced the Sun, including the inverse of my copy, Maple with a Sapele sun, and Walnut with a Maple sun. As always Eric has signed and dated the puzzle. 36 copies were made available.

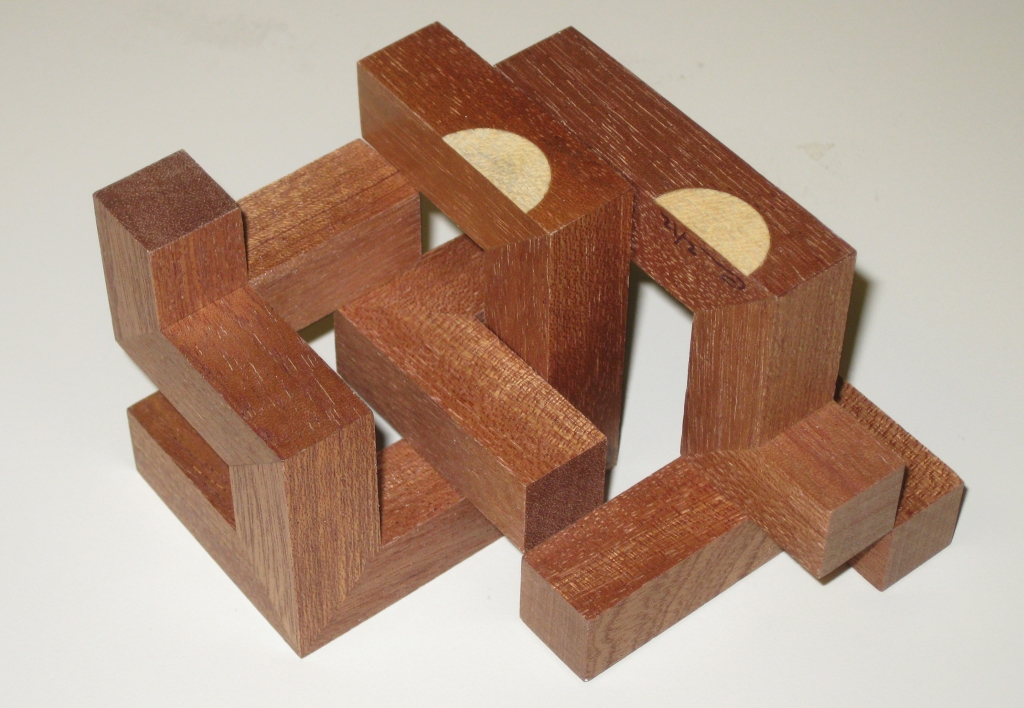
Sun Partially Solved

Sun Partially Solved

The goal of the puzzle is to interleave the two pieces of the puzzle, to create one solid object where the two halves of the sun line up. Looking at the pieces, they initially seem like closed loops so joining them together at all seems impossible. With a little study though, there is one place where the two pieces will allow for an initial move to link them together, and that’s where the fun starts.

Normally with this sort of rectilinear puzzle, some of the pieces have rounded edges, or parts of the edges have been taken away to allow the pieces to move past each other, such as the Cast Coil from Hanayama. This puzzle however has no corners or edges rounded, and all the moves, slides and rotations happen because there’s just enough room for the pieces to move past each other, making this as close to a perfect example of this style of puzzle as is possible.

Sun in its solved state.

Sun in its solved state.

Once you have the two pieces intertwined, there’s a couple of easy rotations, then you find yourself at a dead end. (At least I seem to every time I solve this puzzle!) I’ve solved it a good few times now, and each time I spend several minutes trying to figure out where to go next. There are a good few dead ends in the puzzle, so the challenge is fairly good. I seem to go though the same set of wrong moves at the start each time before finding that magic move and from there the solution seems to just flow, and I have it solved very quickly thereafter. I took around 20 minutes to solve this for the first time, but each time after that it still takes me 10 minutes, so I’d say is has some good replay value.

Taking the two pieces apart seems much easier than putting them together, so I’m glad that Eric shipped the puzzle in its unsolved state. It’s a really fun puzzle, and very well made. I’m happy to have been able to get a copy of this for my collection.

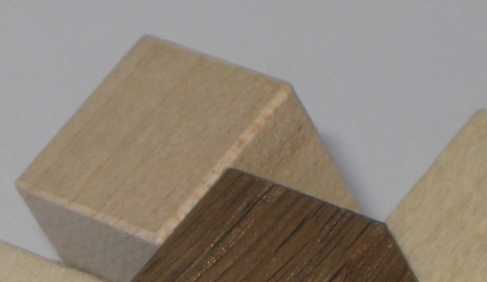
One of the triple mitre joints

One of the triple mitre joints

As I mentioned earlier, the detail and quality of the work in this copy of the puzzle is superb. Just look at the triple mitre joint above, and you’ll see what I’m talking about. Despite Eric commenting that the construction was painstaking, I think he’s right to be very pleased with how these turned out!