IPP 32 – Day One

The first official day of the IPP 32 started on Thursday and many more puzzles were arriving. There was an organised tour of DC however Jen and I weren’t on the list. Originally our youngest son was coming with us, and at 14, being stuck on a bus and having to do something organised probably wasn’t going to be the best idea, so we’d not booked any of the trips. As it turns out he decided he didn’t want to go after all, so it was just Jen and I but we were too late to get on the tour. Instead we ended up doing some more sight seeing ourselves, and took in the Air and Space Museum, Native American Museum and the Art gallery.

Heading back to the hotel in the early afternoon, I spent some time in the design competition room playing with a few more of the entries I’d not played with the night before. I plan to write about each of the entries I played with so I’ll not talk about them here, just stay tuned for more posts coming soon. I did manage to solve over 50 of the 80 entries without the solutions, but there were a few I didn’t even play with. Given that I love puzzle boxes I started with those, and from there played with the puzzles that looked interesting to me. With so many puzzles to play with you really have to make some choices and perhaps even ignore some. For me I mostly passed by the twisty puzzles, as it’s not something I really enjoy (or am very good at) but that still left a lot of excellent puzzles to spend my time on.

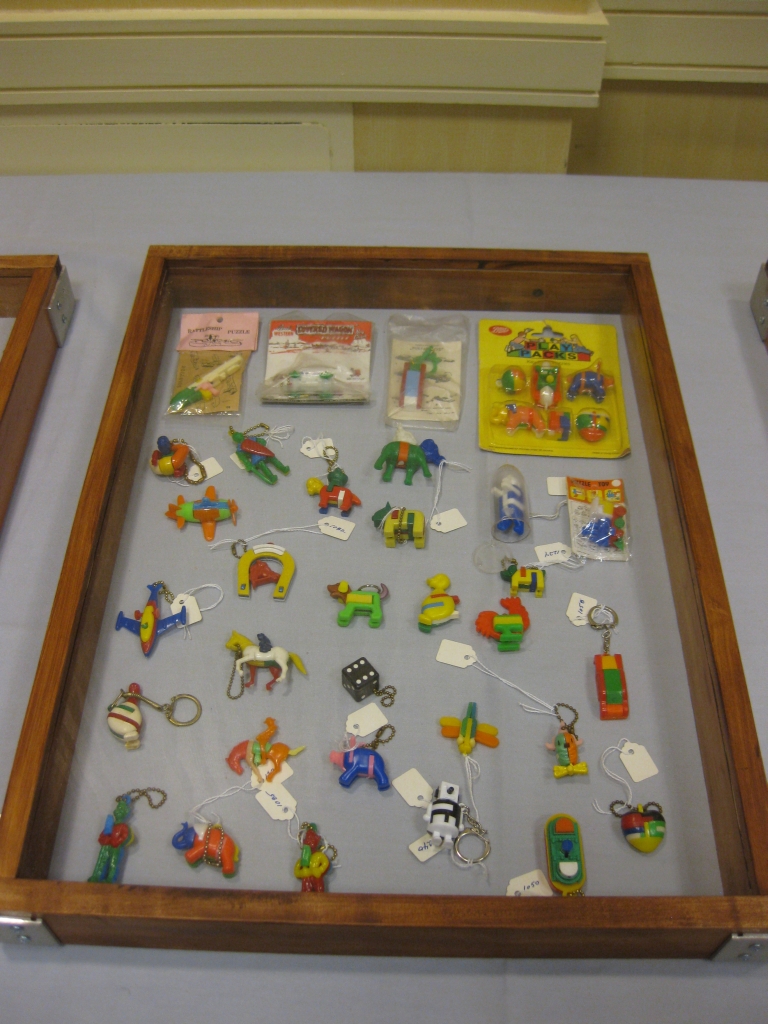
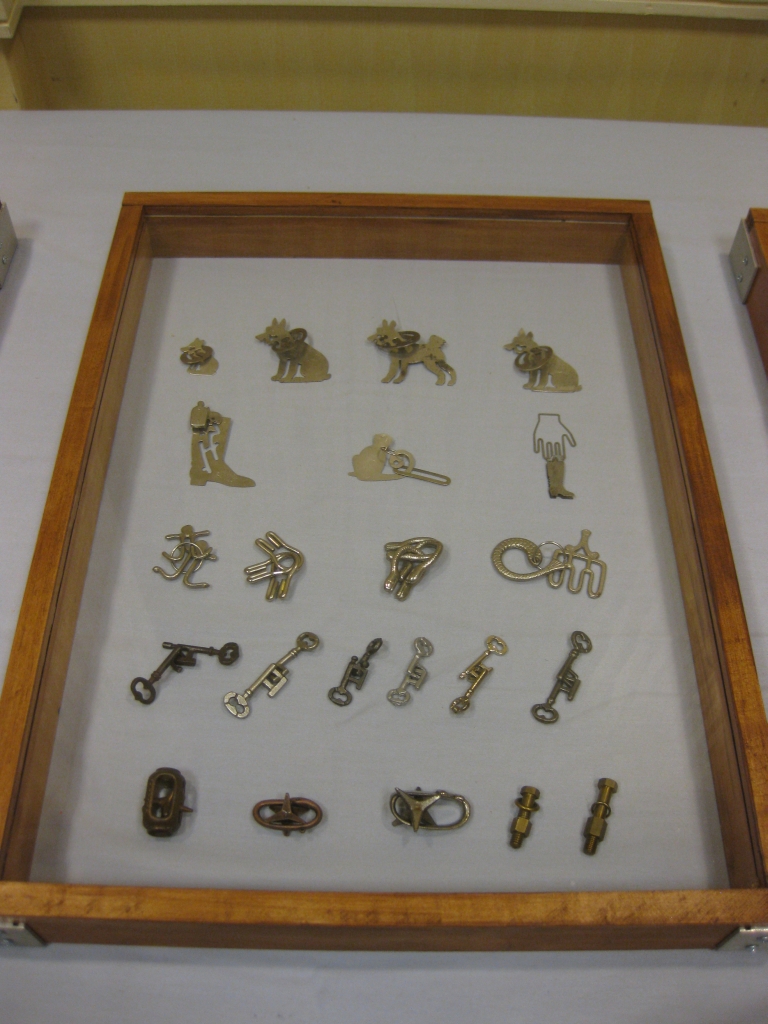
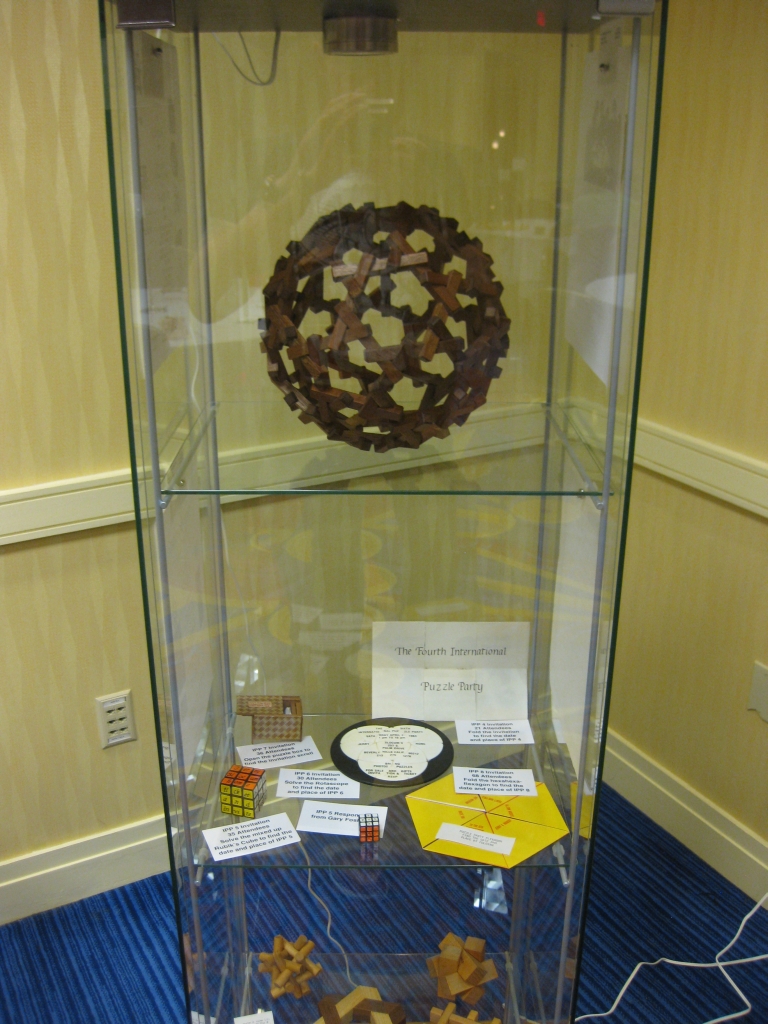
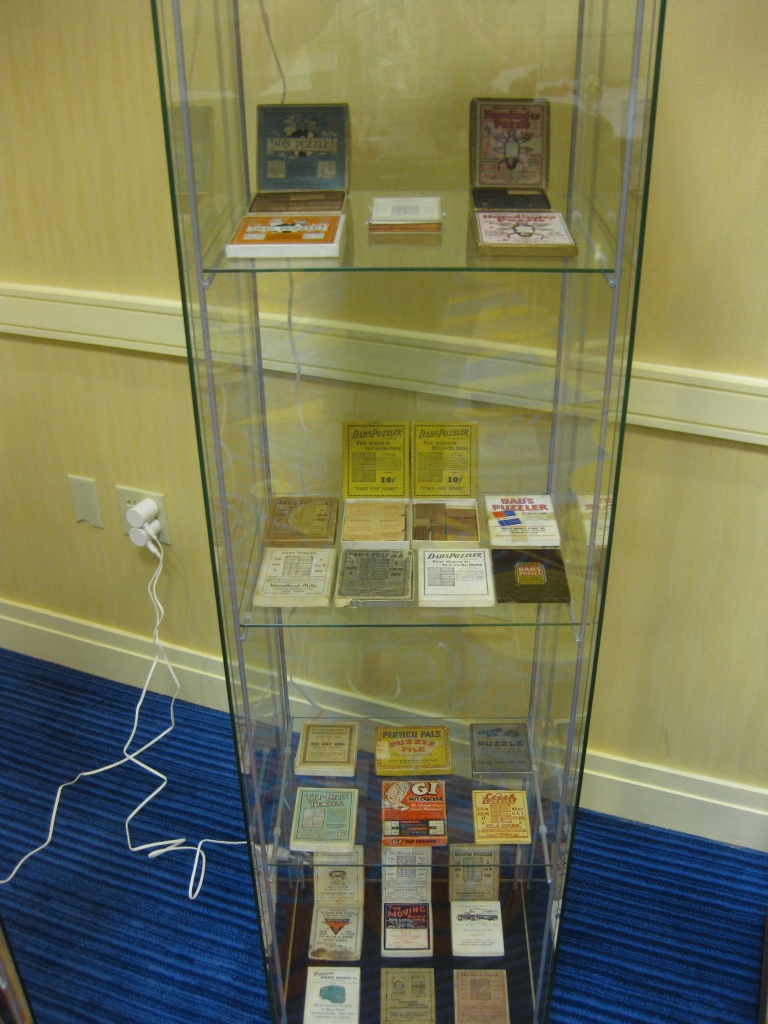
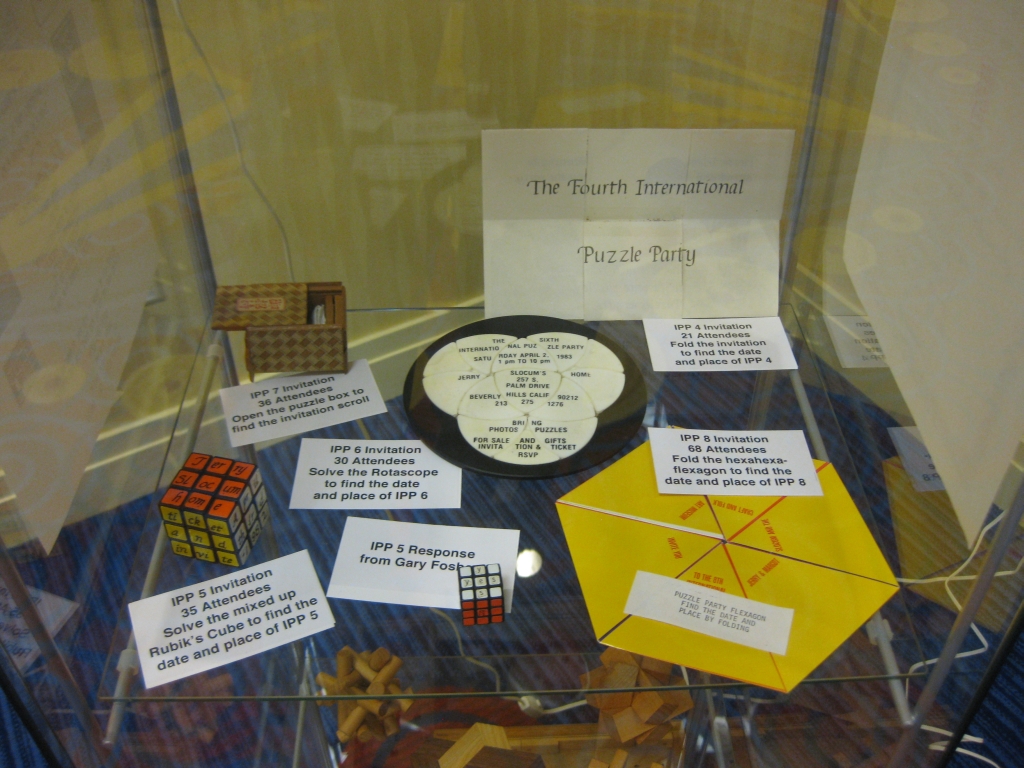
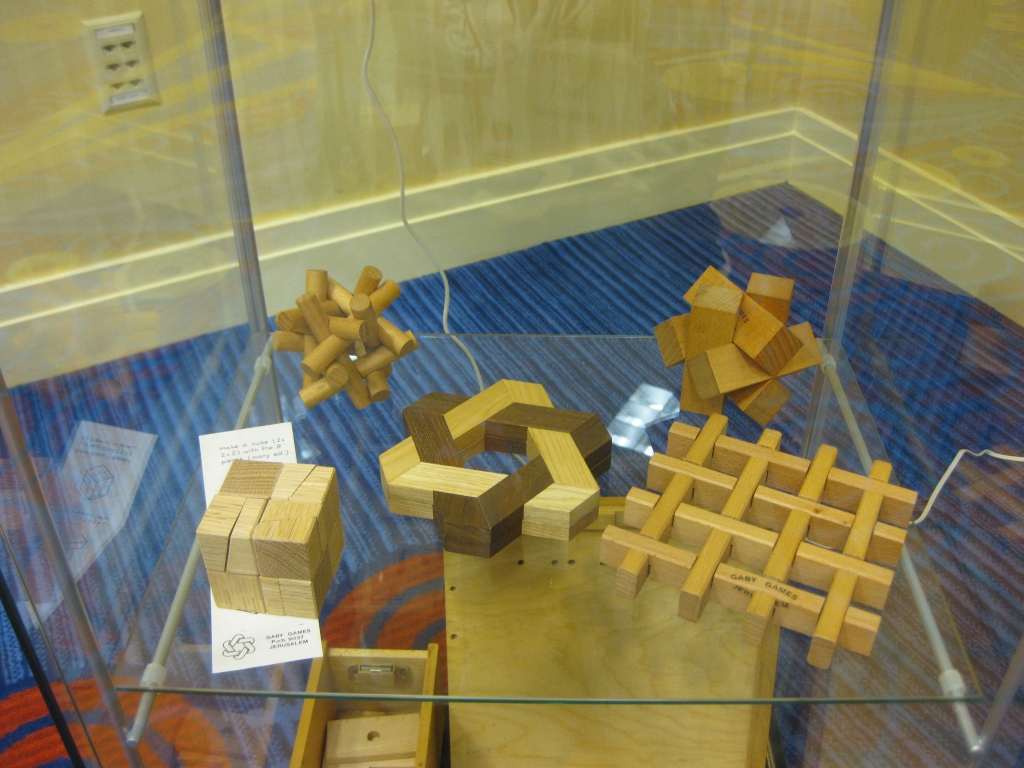
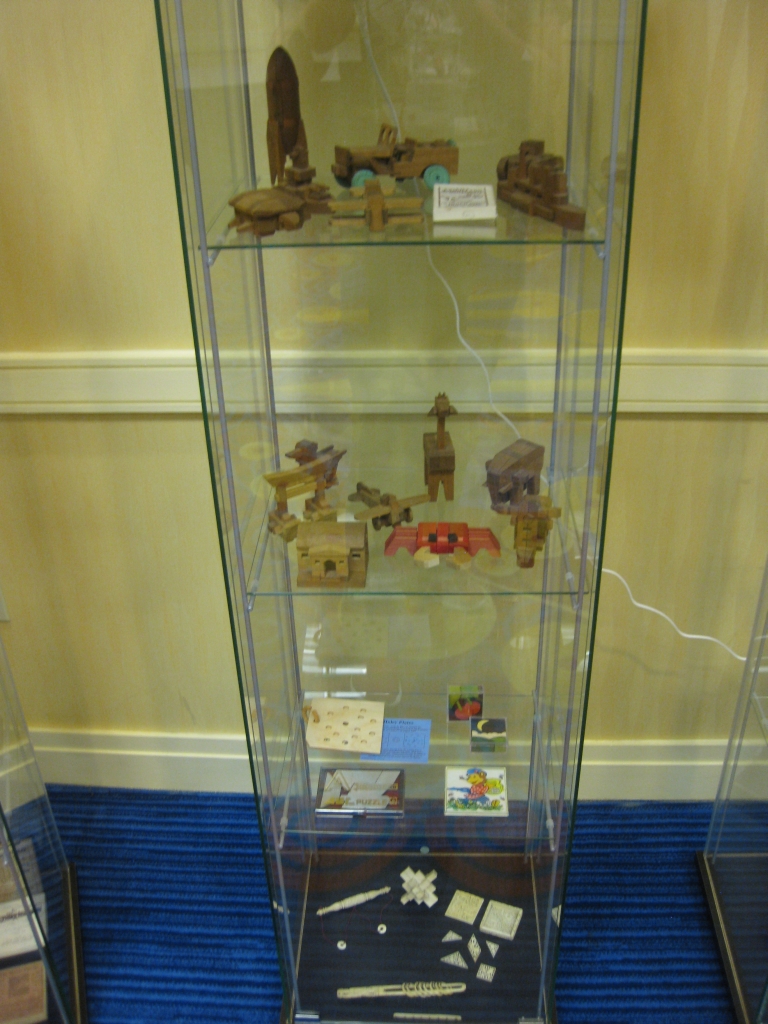
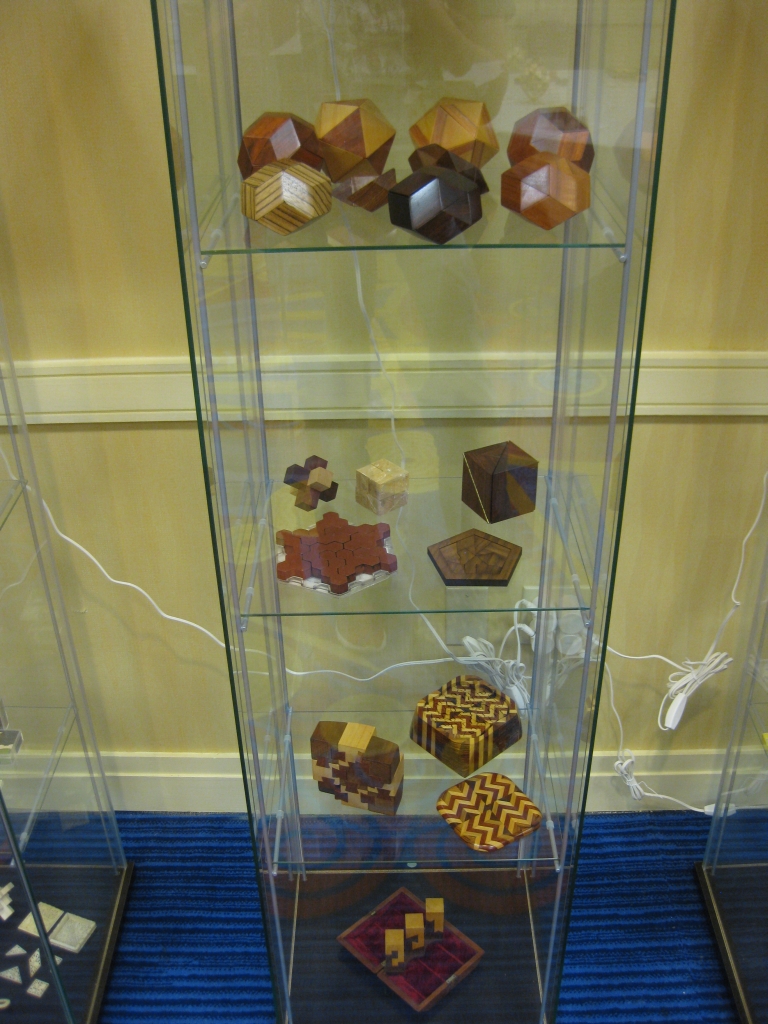
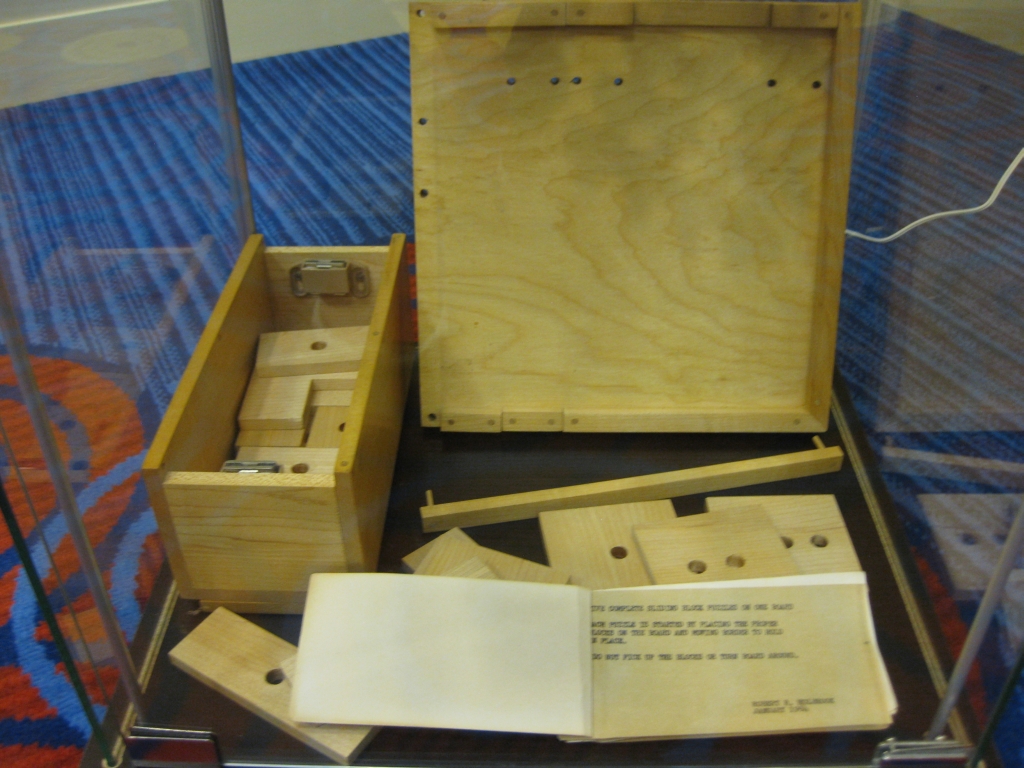
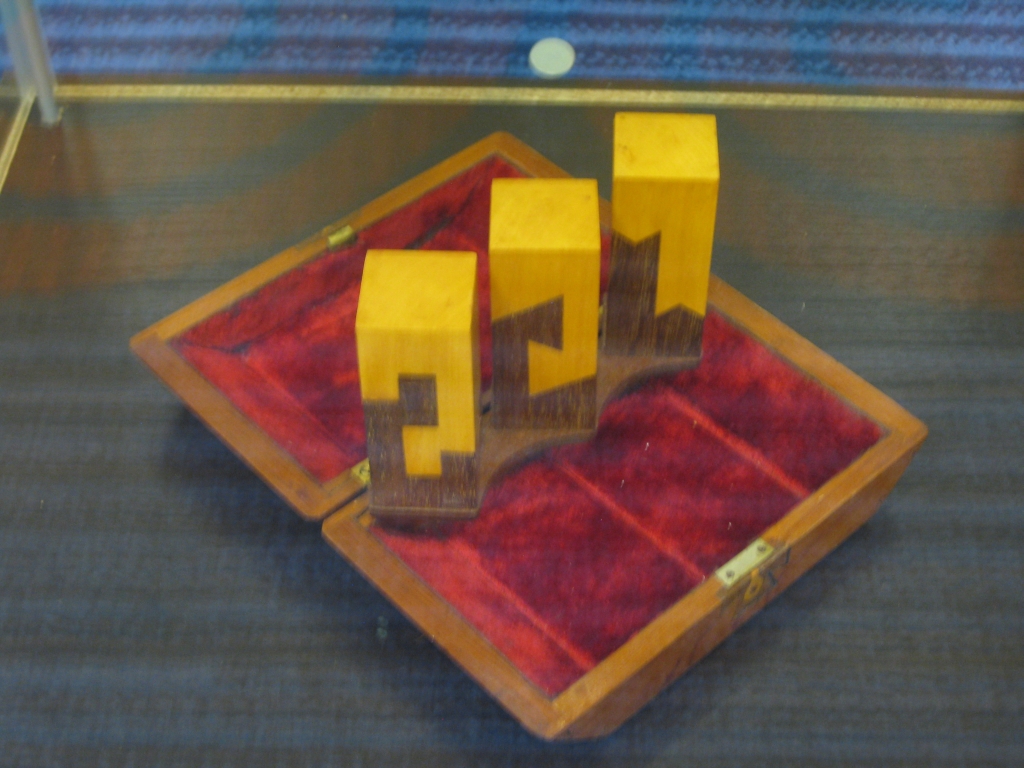
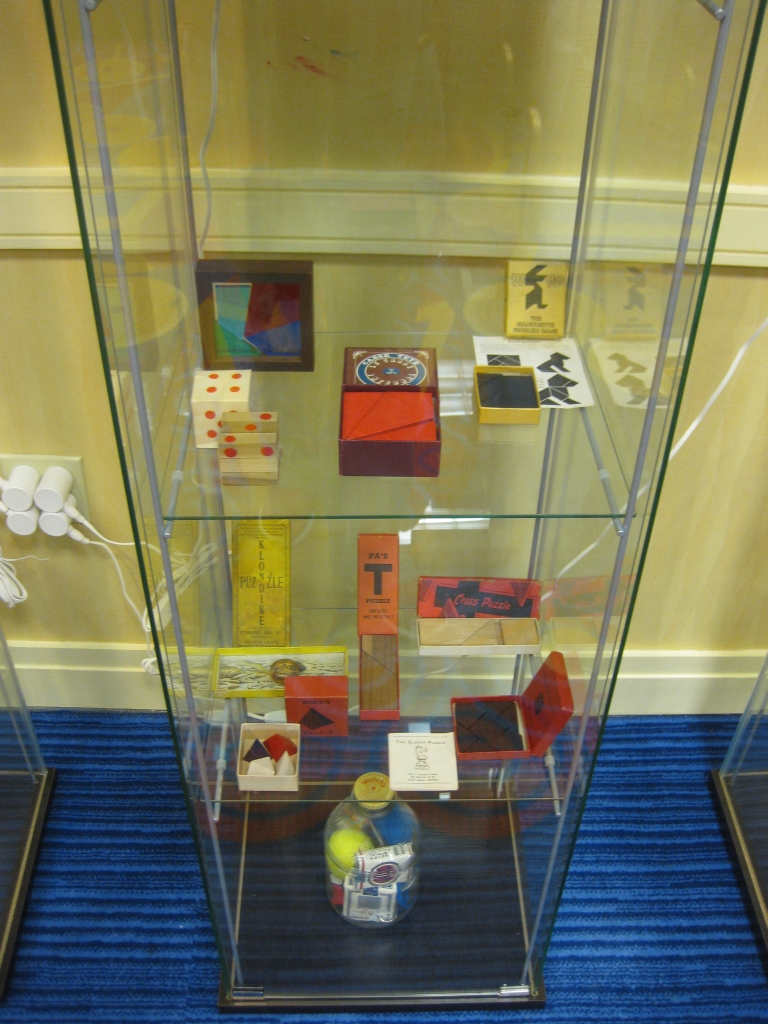
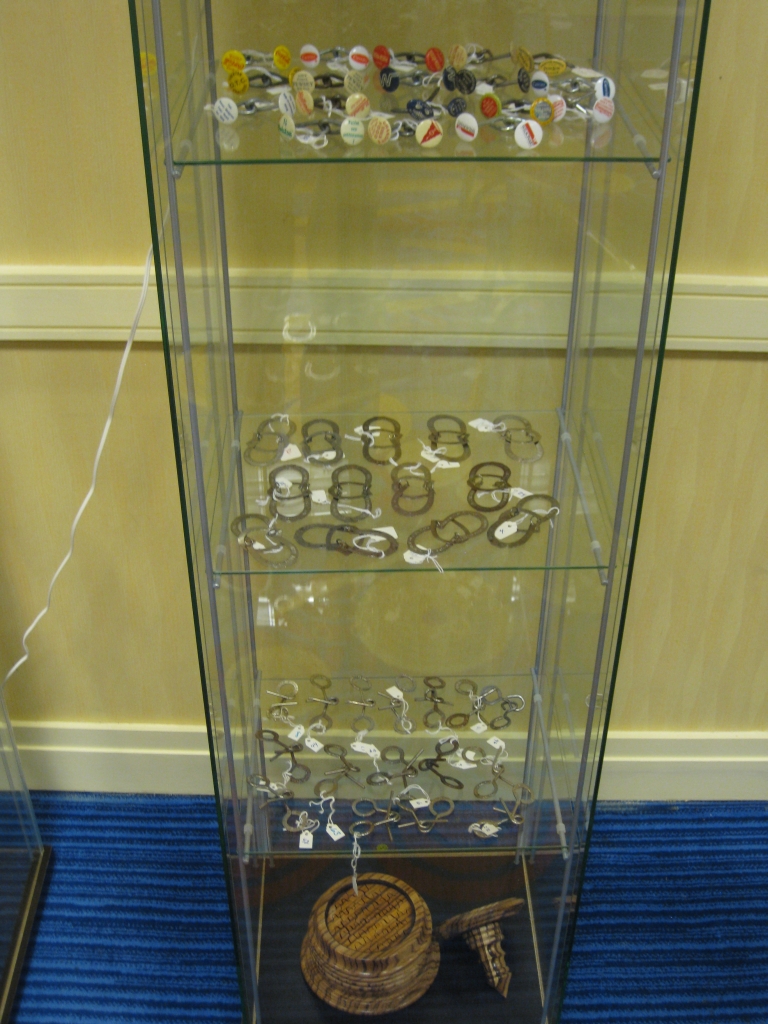
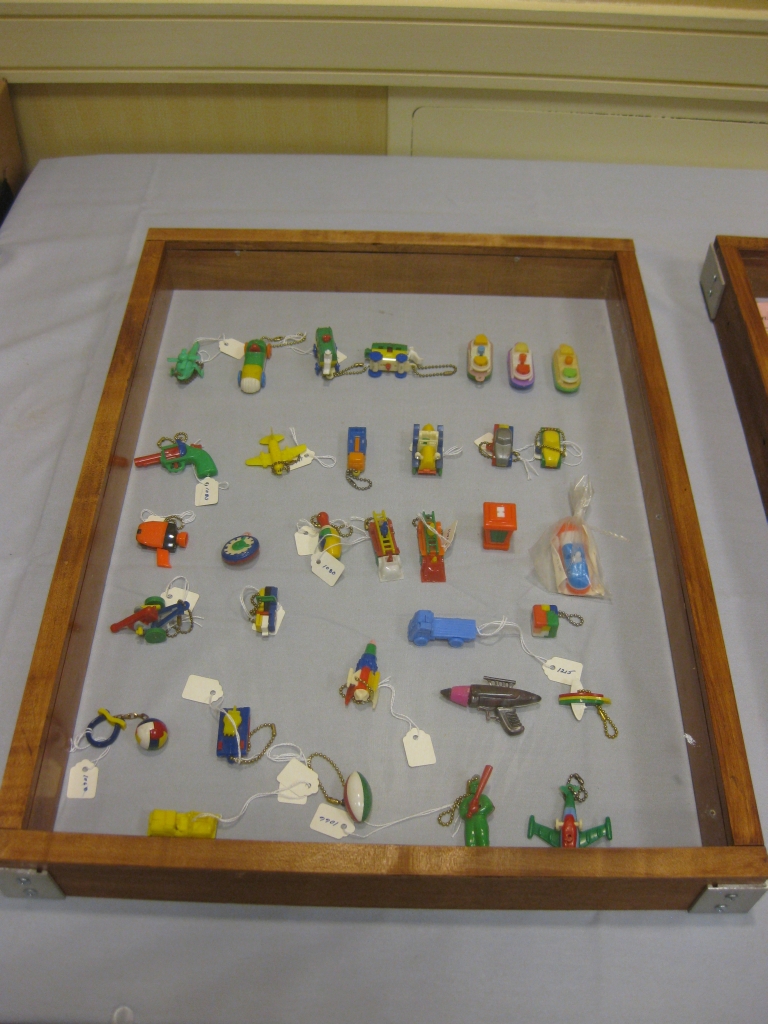
Also in the Puzzle Design room was the Holbrook Puzzle Collection Exhibit. This included a number of superb puzzles from the Holbrook Collection. Rather than try to describe them all, just have a look at the photos below. There’s some superb puzzles in there, and also some great IPP history.

Holbrook collection

Collection Pictures

Holbrook collection

Collection Pictures

Holbrook collection

Collection Pictures

Holbrook collection

Collection Pictures

Holbrook collection

Collection Pictures

Holbrook collection

Collection Pictures

Holbrook collection

Collection Pictures

Holbrook collection

Collection Pictures

Holbrook collection

Collection Pictures

Holbrook collection

Collection Pictures

Holbrook collection

Collection Pictures

Holbrook collection

Collection Pictures

Holbrook collection

Collection Pictures

Holbrook collection

Collection Pictures

When the puzzle room shut for the day, I took the time to have a quick shower and freshen up before the Founder’s reception. I’ll be honest, it really wasn’t what I was expecting. Given the cost of the ‘dinner’ I expected a sit down meal with some sort of formal event organised. Instead, it was a buffet style finger food with sliders and salads. Not only that but the drinks were not on the house, and had to be bought separately. Now at this point you’re probably thinking that I’m some sort of tight Scotsman. That is far from the truth as anyone who knows me will tell you, but when you’re being asked for $4 for a glass of coke, and you don’t even get a full can for that, you can tell that things were a bit steep. Even the main bar downstairs wasn’t nearly as pricey. That said, it was more of a meet and greet with only a few words from Jerry Slocum and Chris Morgan who was this years Host.

There were even more great people to spend time with and talk to at the evenings Founder’s reception. This was the end to the first official day of IPP, and I found myself introduced to many more giants in the puzzle world including the founder of IPP, Jerry Slocum himself, Marcel Gillen, John Rausch, Robert Yarger, Eric Fuller, Tom Lensch, Gregory Benedetti, Laurie Brokenshire, Stephen Chin, James Dalgety, Scott Elliot, Rocky Chiaro, Robert Sandfield as well as meeting up with my good friend Derek Bosch and his wife Michelle who had made it in late the previous night. I realise now that despite having my camera with me all the time, I really didn’t take that many photos of all the great people I was meeting. Fortunately Rox did, so you can see all the people photos that she took instead! Of course there were many people who I know from the local puzzle meets like Stan Isaacs, Abel Garcia, Marc Pawlinger, Bram Cohen to name just a few.

It was fascinating talking to Marcel about his puzzles, and relating my experiences with his rolling pins to him. To hear him talking about the problems working in metal and that he now creates puzzles using a CNC machine and MDF! Having seen his exchange puzzle from this year’s IPP, you can be assured that even though he’s no longer making puzzles in metal, he’s still making great puzzles! The thing that really amazes you when you talk to some of the people who have been in the business of collecting or designing for a long time is that everyone is very open and approachable, and really wants to help you. The number of people who gave me advice or help is incredible, and everyone interested in what I was doing and making.

As people started to drift off myself, Peter Wiltshire, Allard and Derek Bosch with our respective other halves grabbed a few chairs and had a seat. It turns out Peter is a pretty good magician and had a few tricks up his sleeves to keep us entertained. His presentation and patter is superb, and it really took me back to they days when I used to do magic too. He had a particularly fun trick with the key from his minibar in the hotel room (or so he was telling us). A solid wooden bar which had a hone in one end and a chain passing through the hole with the key looped through the chain. Passing it behind his back the hole moved from one end of the bar to the other then back …. ok so not the real magic. The real magic was when the hole moved from the end of the bar to the centre of the bar. At all times, the chain could be pulled through the hole showing nothing tricky was going on. Peter had shown me the trick the night before and I’d been puzzling over how it was done all night. I had a pretty good idea, and from the position I was sitting in at the reception I was able to see the full mechanics of the puzzle. When Peter had finished the puzzle, he turned to me and asked if I’d had a good view of it that time, so he knew that from the position I was in I could see what was going on. That shows a lot of trust as normally a magician will not give anyone the advantage of seeing how a trick is done. It turns out I was right as to how it was done but Peter’s presentation keeps the secret perfectly.

As we were sitting one of my friends from back in California Marc Pawlinger wandered over with his son. The funny thing is that Marc lives just a few miles from me, however seems we only manage to meet up at puzzling events! Peter had another great trick with a little mouse which he showed to Marc’s son and got a great reaction. So much so that he had to show it to the adults as well who also really appreciated it. Peter also had a really nice card trick that he showed us. Both Derek and myself thought we knew how it was done, but it turns out we were both wrong. I thought I saw something as Peter was showing us, but despite being close to understanding the method, I was a little off…. That had to puzzle me until the Sunday night where Peter showed me how it was done. Thanks Peter!

With the reception over, a few of us drifted back downstairs to the bar area to continue conversations, and eventually end up in the puzzle design room again playing with more of the competition entries. There certainly are a few die hard puzzlers out there who you could find in the design room pretty much any time it was open. I’ll not mention names as you know who you are…

Next up is the day of the Puzzle Exchange.
IPP 32 – Day Zero

Over the weekend of the 9th to 12th August IPP 32 was held in Washington DC. I was lucky enough to be invited and as my first year attending IPP I’ve found it very difficult to write about it all. I have sat down several times over the last week to try to write about my experiences and have thrown away everything I wrote as rubbish. Hopefully this will be good enough, although I seriously doubt it!

IPP 32 logo

IPP 32 logo

To sum up the experience is really challenging. There were so many great people there, and so much happening, that I’m not sure I remember everything, nor could I describe half of it even if I could. It’s a completely overwhelming experience, and something I will not forget. It’s going to take a good few posts to cover all the events, so keep reading over the next few days and I’ll try my best to share my experiences. ( I’ll also note up front that I’ve avoided reading the posts from my fellow bloggers over the last week, just in case I repeat anything they’ve said!)

For anyone who doesn’t know, IPP is the International Puzzle Party. An annual invitation only event which has been taking place for 32 years now, and was originally started by Jerry Slocum, where a small number of Puzzle enthusiasts were invited to his home to share their puzzles, trade and generally talk about puzzles and the like. Today, over 400 puzzle collectors attend the party and it alternates between locations in the USA, Asia and Europe. The party includes a puzzle design competition, a puzzle exchange and a sale of puzzles. I was fortunate to be able to take part in all of the above, so I’ll talk about each and share some thoughts with you.

I arrived in DC with Jen on Tuesday fairly late on, around 10pm by the time we finally made it to the hotel. There were a few puzzle people hanging around the lobby playing with string but I didn’t talk to anyone as we had luggage to get to the room, and we were both pretty hungry, so we headed out for some food. By the time we got back the place was deserted. Given that we were still on California time, and thinking it was still 7.30pm and not 11.30pm I was a little surprised that everyone had gone to bed so early!

Getting up reasonably early the next morning so Jen and I could do some sight seeing before the IPP really got under way, we headed down for breakfast, and on coming out of the elevator, I was greeted by Jim Strayer who I didn’t recognise, but he recognised me from my blog and videos. He promptly introduced himself and his wife, and welcomed me to the IPP. I think that really set the tone for my weekend, where people were going to know me, and I was going to recognise the names, but not the faces! In fact it got better. I’m the only Scottish IPP’er. I’d be standing talking to someone and without anyone seeing my face, they’d know who I was. Sadly, Scotland didn’t get a pin on the IPP map as I’m based in California now, so I’m considered a US attendee!

The Whitehouse, complete with snipers on the roof!

The Whitehouse, complete with snipers on the roof!

With the IPP registration not opening until later in the afternoon, Jen and I went off to do some sightseeing around DC. Walking through the lobby of the hotel to head to the tube, I spot a figure walking towards me, and am promptly given a great big hug (and a few strange looks from Jen!). Rox was in the lobby with her daughter and on spotting me had to say hello.

I’ve never really been to the east coast US, as all my business trips have been over in California, so I was looking forward to seeing some of DC. I’ll not bore you with all the tourist pics, but I think the one above should be ok. I have no idea how far I walked that day, but I’ll say this much… my feet were sore, and I was ready for a shower and a seat when I get back to the hotel. The weather in DC is hot and humid. The heat I’m used to from California, but the humidity is a killer! That said I had a great day with Jen and was ready to meet some puzzling people when I got back.

Once we were freshened up, we took the trip down to the registration room and after being stopped by one or two new faces who recognised me, where we were given badges, and had our photos taken. Each year there is a souvenir book produced which includes a photo of every attendee. With that sorted out, I wandered into the lobby where Jim Strayer once again said hello and introduced me to a few other puzzle names I knew, including a few I’ve worked with quite closely over the last few months including Rob Stegman (I’ll get back to that though!).

A gift from Peter Wiltshire and the start of a new tradition?

A gift from Peter Wiltshire and the start of a new tradition?

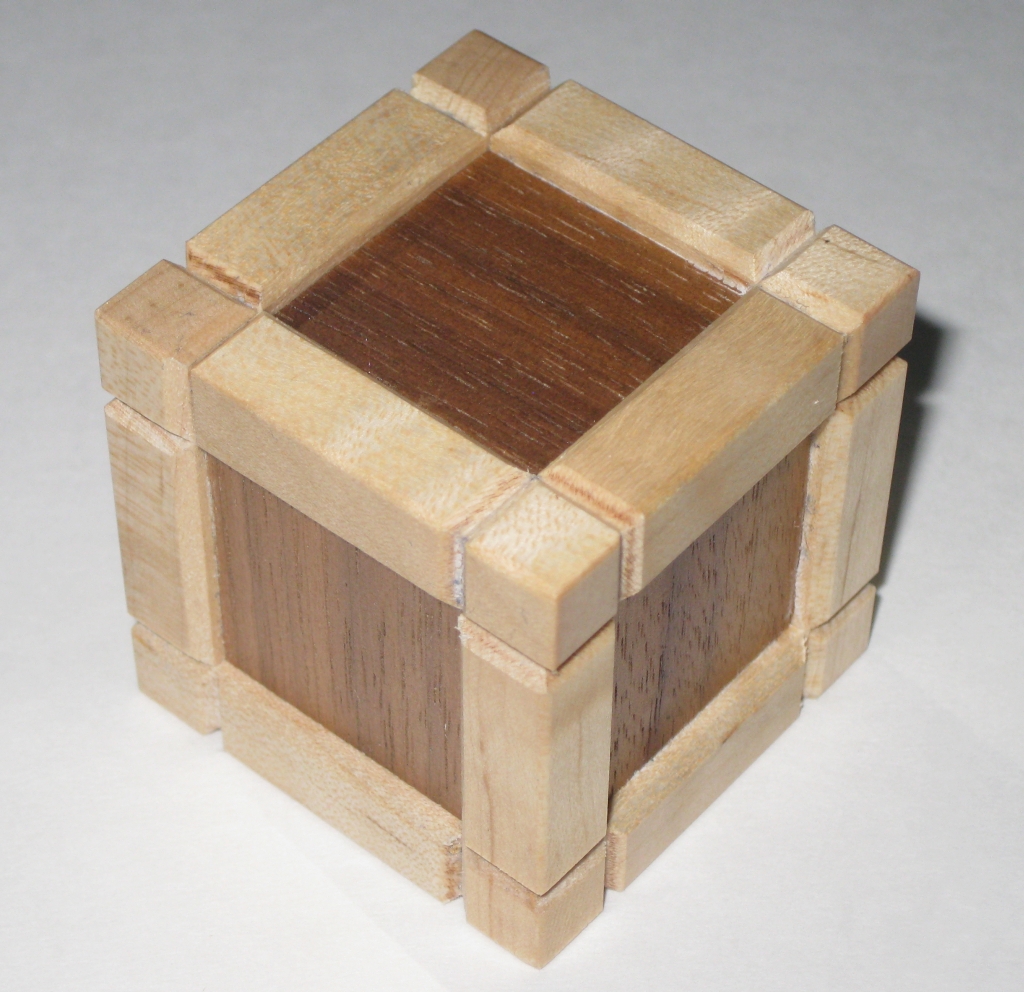
I met Peter Wiltshire, Brett Kuehner, and I’m sure one or two others who happened to be standing around chatting, and making dinner plans. Peter who knew this was my first IPP, without even looking at my badge given discussions on the Renegades forums said he had something for me, that had a little story to go with it. It turns out that when Peter attended his first IPP, Ginda Fisher had given him a copy of a little puzzle he’d made as a gift for people at IPP. I’ll not give away more that that other than to say that Peter told me that the info about the puzzle, the designer, and the name of the puzzle were all inside, and would probably help me open it.

Something of a welcome to IPP and a way to make the new guy feel welcome. So Peter tells me that he wants to give me a copy of his puzzle gift since it’s my first IPP, and hopes that at some point in the future I’ll be able to do the same. I’m quite flattered by the offer and think it’s a great idea. Peter’s puzzle is superb, as I find out later when he hands me the copy, and I hope that I’ll be able to give someone else a puzzle of my own in the future!

With enough of a crowd gathered, we depart to the local mall for some food, and end up taking two tables to fit all of us in. I end up sitting at a table with Dor Tietz, Yael Meron and two other veteran IPPer’s that I can’t even remember now (it was nearly 2 weeks ago). We had a great chat over dinner about many things, not just puzzle related, and both Jen and I are made to feel very welcome. With appetites quenched, we returned to the hotel lobby and ended up standing around chatting with a few new faces who’d shown up.

As I stood there chatting a familiar name came up and introduced himself, having recognised my voice (I did say it was going to be a bit of a theme for me). Allard Walker tapped me on the shoulder and said hi. Little introduction was needed as I recognised him instantly, and we both introduced our respective other halves, who hit it off instantly. It seems that Gillian, Jen and Leslie (Peter’s wife) all share similar interests, and started making their own plans, which meant I didn’t feel as guilty spending so much time puzzling or talking about puzzles.

Amazing Card folding gift

Amazing Card folding gift

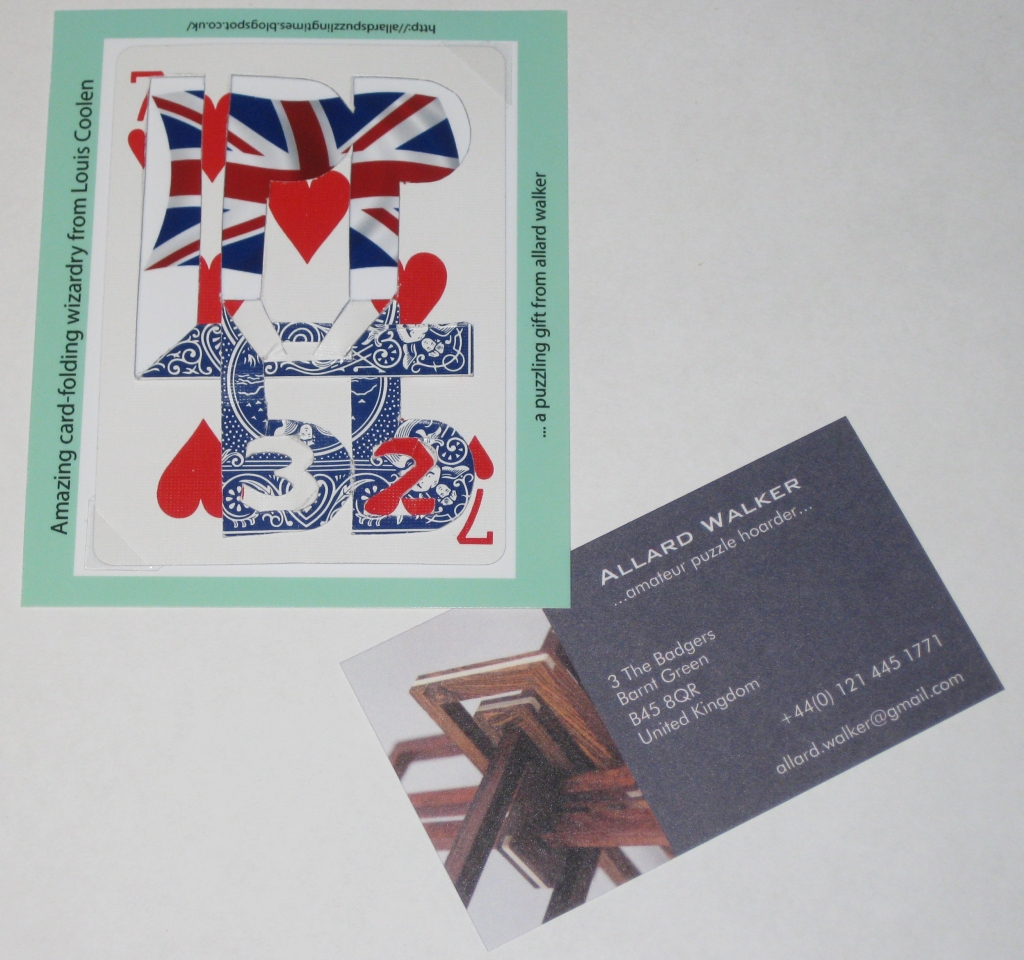
Allard hands me a small gift. One of Louis Coolen’s impossible cards which you can read all about over here and I seriously suggest that you do. The card is superb. I’d seen some of Louis’ early attempts at card folding, and I knew he was getting pretty good at this, but really nothing does the card justice. It’s a work of art, and a truly beautiful item. I’m very happy to have added this to my collection, so thanks Allard and Louis!

Shortly thereafter Wil Strijbos appears and Allard who knows Wil quite well asks me “You know who this is don’t you?” I have to reply that I don’t (since Wil isn’t wearing a name badge, and doesn’t throughout the whole weekend). We’re quickly introduced, and Wil hands Allard some metal rods asking for help. Apparently, customs took apart his peppermint twist puzzle, and Wil’s not had time to put it back together. However knowing that Allard has a copy and has solved it, he just asks Allard to put it back together. Allard takes the pieces and sits down next to where we’re standing and starts trying to put the pieces together. As I watch I ask if there’s a trick to which I’m told yes and Allard shows us how to best go about putting it together. After a couple of minutes, Allard looks up and asks Wil if he’s having him on. It seems that Wil is a bit of a joker, and Allard knows this! (As it happens, Wil is joking as he’s already shown Peter and myself that fifth piece which is needed to put the puzzle together. Allard suspects something is up, but all Wil has in his hands is a small black kitten with glowing blue eyes which makes noise. Wil finally gives in after Allard concedes that the four pieces he has don’t go together, and gives him the fifth piece. With the puzzle back together, Wil tries to give Allard the puzzle as a gift, but Allard isn’t going to take it. I should probably have offered Wil some money for it, but really I wasn’t thinking!

Finding a table in the hotel lobby Peter, Allard myself and our other halves sat and had a drink while the boys talked puzzles, and the girls talked about something else entirely less boring to them! Allard pulls out a copy of Louis’ Amazing Box #3, which was great fun to play with, and I really look forward to seeing what else he produces, as he’ll be making some great puzzles before long I assure you! I take a trip up to my room to get Allard his copy of the Hex Stair puzzle he’d ordered which is passed around the table (Rob Stegman and Jim Strayer have joined us by this point) and all have a shot of the Amazing box, and the Hex Stair which they seemed to enjoy. He also puzzled out a copy of Wil’s Washer Cylinder which he handed to Peter and we taunted him as he explored that for a while.

As we’re sitting Nick Baxter spots me and tells me that the competition room has been opened if I’m interested in looking at the design entries. Rather excitedly, I go back to the table and let the guys know, and we promptly decant to the puzzle room, since it’s not officially opened till the Thursday, so we take the opportunity to get a first look at the puzzles. Jen and the ladies leave us to it, as we excitedly hurry to see new puzzles.

Playing with a cats cradle

Playing with a cats cradle

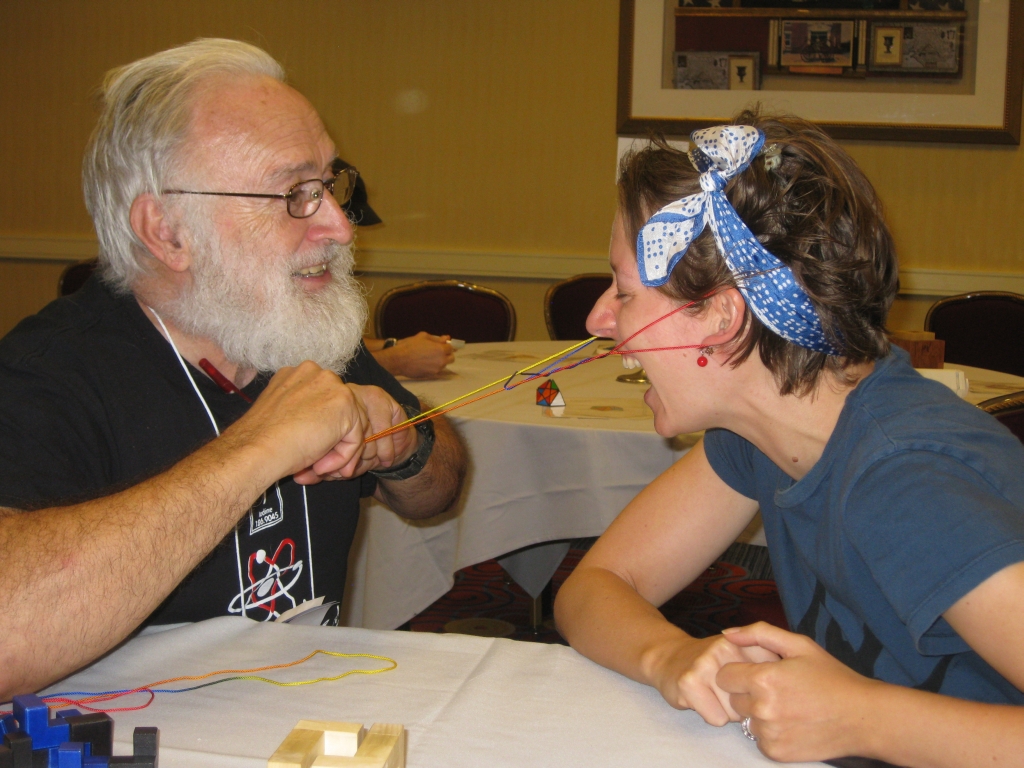
While in the puzzle room Brett Kuehner’s father was wandering around and Brian, his wife Kellian and I ended up talking to him about the Cats Cradle. You’ll remember that I mentioned the puzzlers playing with string when I arrived on the Tuesday night. Well it turns out this is why. Brett’s dad was explaining that he’d sit in a shopping mall somewhere and play with a cradle in the hope that people would come up and ask him about it. Turns out that lots of people do, but mostly people his age who remember playing with one as children. He’d show them a few possible patterns, and learn one in return. His parting gift was to give them the string and ask them to then teach a child a few patterns. I didn’t end up getting a string but I do remember playing with one as a child (although I was never very good) so perhaps I should pick one up again and learn once more. Here you can see Kellian getting to see how to check a heartbeat, with the string wrapped round your ears!

Brian Pletcher playing with "Ze House of Mouse Ze Duong"

Brian Pletcher playing with “Ze House of Mouse Ze Duong”

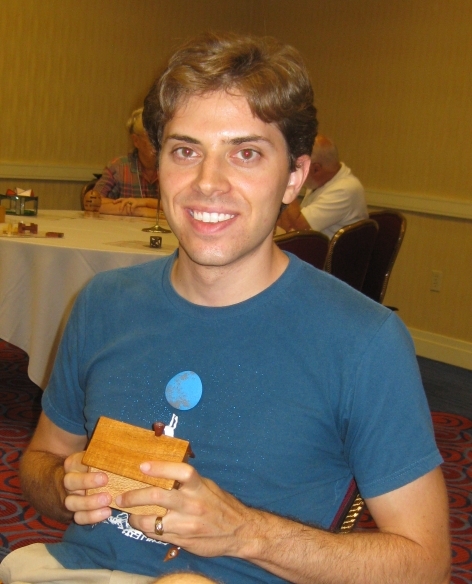
It’s in the puzzle room as I’m looking for the next puzzle I want to play with that I spot Brian Pletcher sitting and introduce myself. I’ve followed Brian’s blog for a long time, and recently worked with him on the Black Letter labs puzzles, so it was great to meet another of the puzzlers I knew but had never met in person.

I ended up sitting playing with puzzles until it was just Brian and I left in the room and we were sitting talking about a couple of the puzzles we’d played with. At 1.30 am we called it a night and Brian locked up the puzzle room. All in all a fantastic first day to my IPP, and only the start of a truly memorable weekend.

Next up, the Design Competition is officially started and IPP Day 1. I’ll post more pics there I promise!

Hex Stair (Part 3) – Finishing

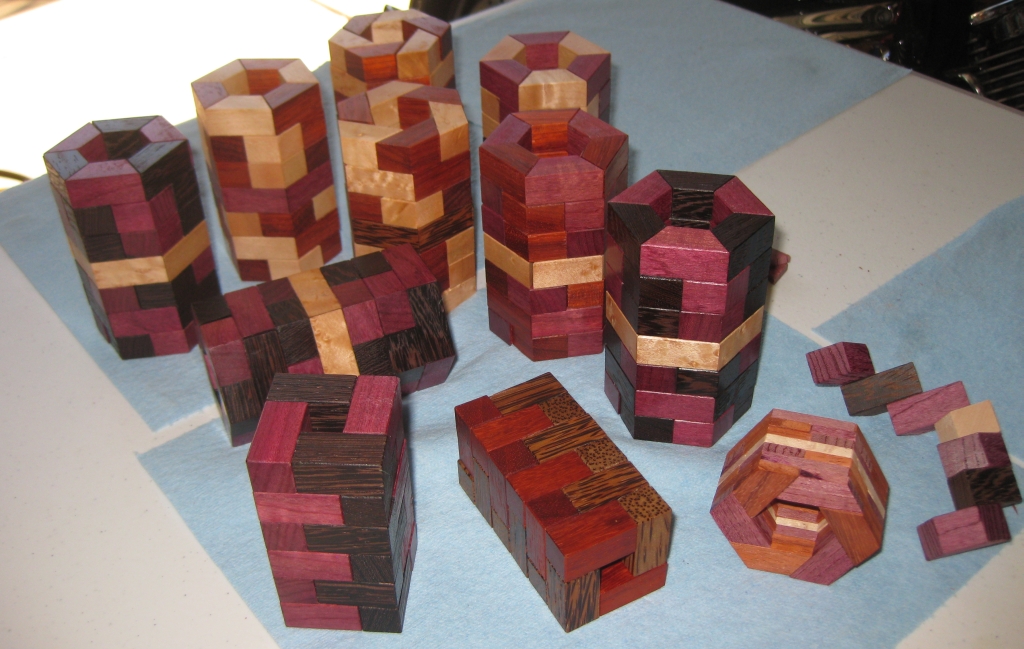
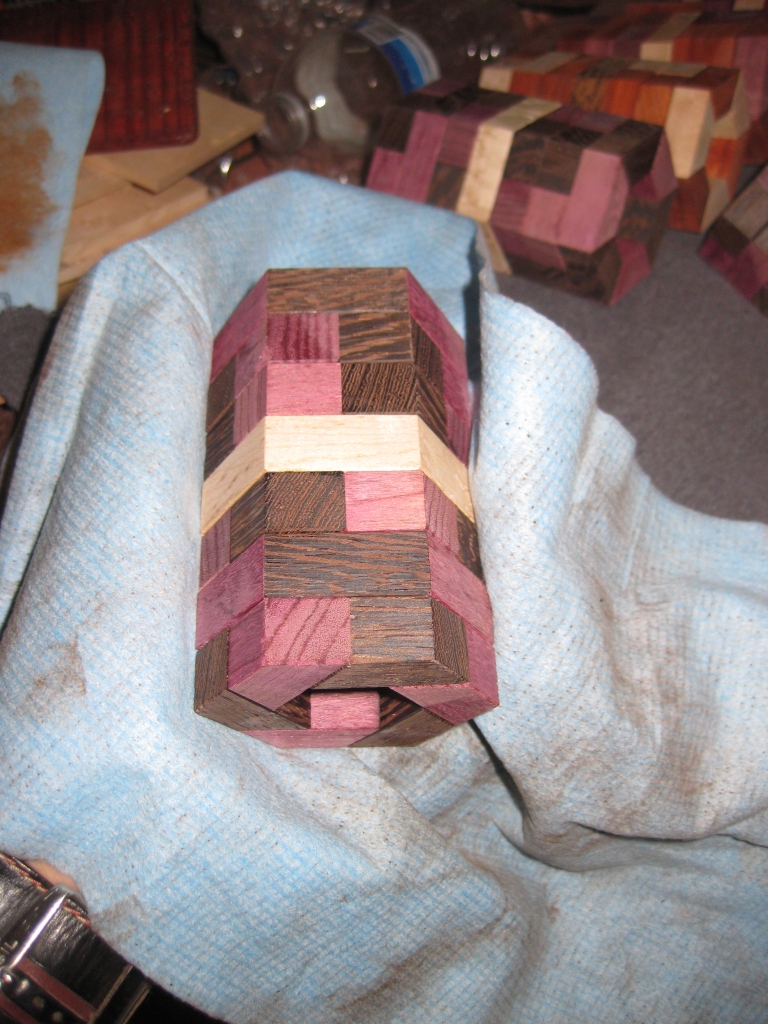
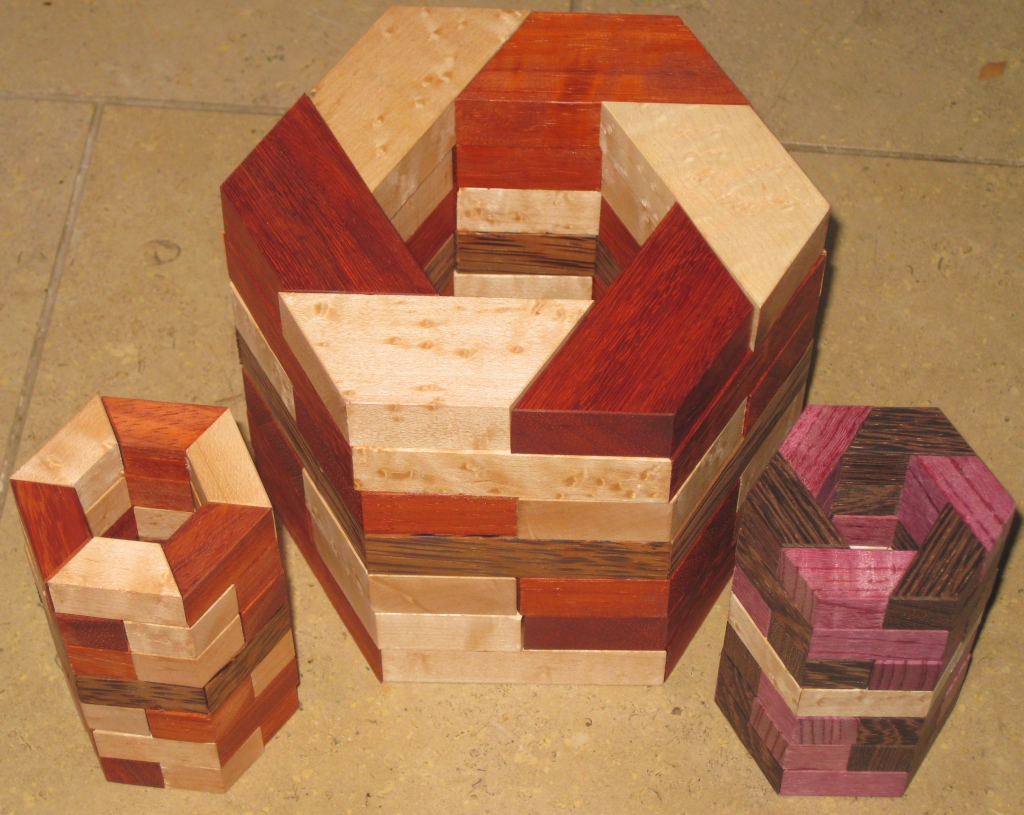
After the quick interlude as I prepare for IPP, here’s the third part of the Hex Stair saga. Despite only having 11 puzzles made in the last month, it feels like I’ve been working on this project a fair bit longer. Still seeing all the puzzles finished and ready to go to IPP with me I’m really pleased with the results.

A Collection of Hex Stair's (and a couple of Domino Towers too)

A Collection of Hex Stair’s (and a couple of Domino Towers too)

Another view of the set of puzzles finished and ready to go

Another view of the set of puzzles finished and ready to go

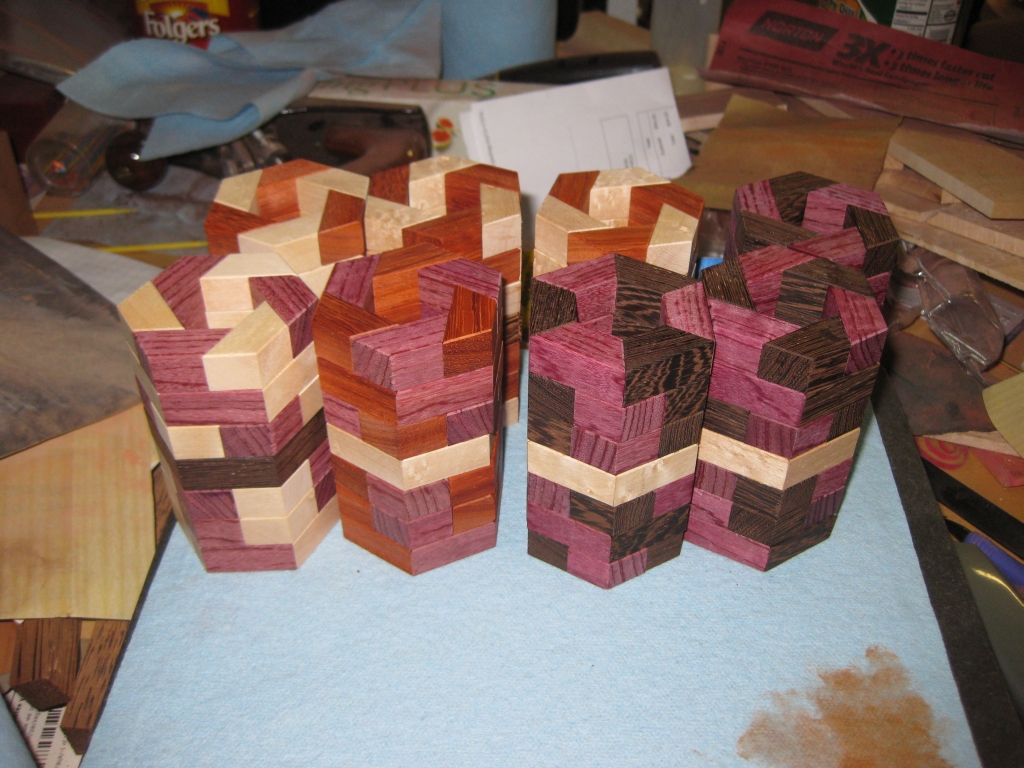
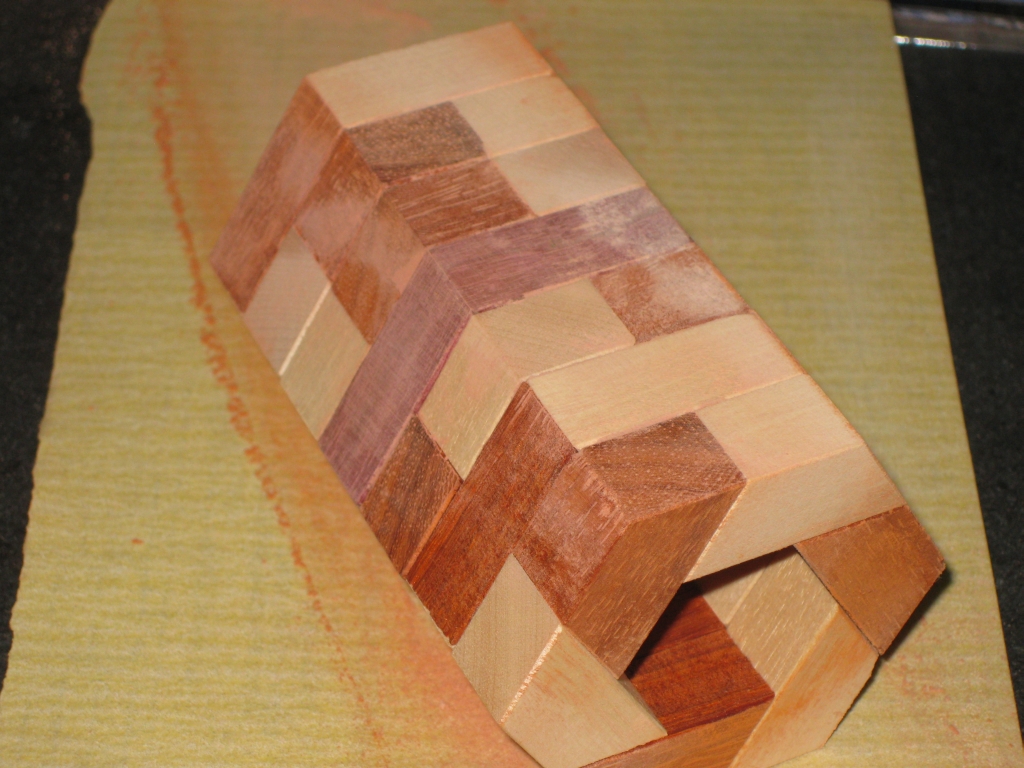
I’m not sure how anyone else views the finishing process, but for me it starts long before you ever get out a brush or some lacquer. Much of the look of a finished puzzle, or any wooden object really comes from the choices you make when you’re putting it together. There are subtle details which really help to ‘finish’ a project. For the Hex Stair (and the Domino Tower) puzzles, adding the very slight 45 degree bevel to the edges of the pieces really adds to the overall look. Without it, the puzzle looks incomplete. So for me that’s the first part in the finishing process. After each of the blocks are cut to size, I add a tiny bevel to each piece. It’s a time consuming process, but without it the pieces just lack that little edge that they’d otherwise have.

The puzzles pre-finishing.  Here they are unsanded.

The puzzles pre-finishing. Here they are unsanded.

Getting ready, each of the puzzles are assembled, as I will be sanding only the outside of the pieces. The reason for this is that I send a lot of time ensuring that the pieces are all the exact same size, to ensure a tight fit on the assembled puzzle. If I were to sand the pieces, then I’d lose that fit, and the puzzle would become too loose, or not fit at all! You’ll remember that I aim for one thousandth of an inch tolerance between pieces. Sanding will remove much more than that!

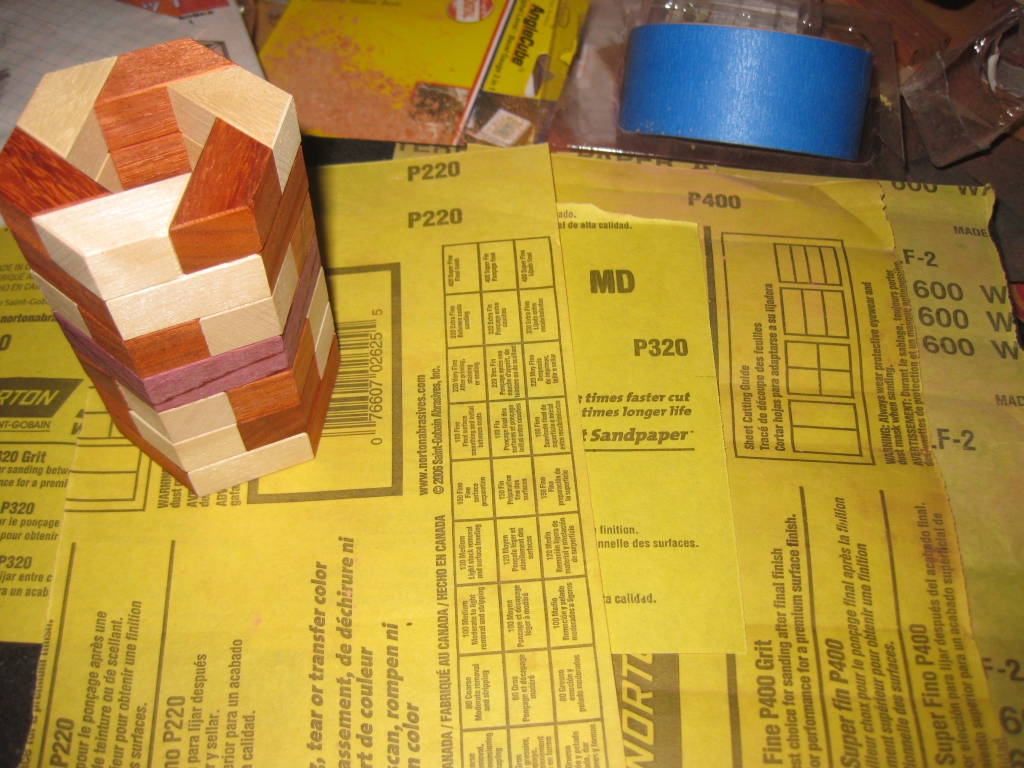
Each grit will be used from lowest to highest.

Each grit will be used from lowest to highest.

Given the finish I get from the blade of the saw, you could ask why sand the puzzle at all? The main reason is the feel of the puzzle in your hands when it’s sanded. Although the puzzle if perfectly dimensioned, the feel of the wood can still be a little rough. By working up through the various grit of sandpaper, we’ll take the wood to being silky smooth to the touch, and make it something that you’ll want to hold. Given that I’m starting off with something which is close to a finished surface, I’ll start sanding at 220 grit, then move up to 320, 400, and eventually 600 grit. The last two grits are more polishing the wood than removing imperfections, so very light passes are all that’s required at that stage.

First pass sanding is done, and the dust needs cleaned off before continuing

First pass sanding is done, and the dust needs cleaned off before continuing

With each of the sides, and both top and bottom sanded, the puzzle is left coated in a fine sawdust. You’ll notice that I’m working with the sandpaper attached to my granite block. I work the puzzle across the paper rather than take the paper in my hand and bring it to the puzzle. The former ensure that the surface is dead flat, and I don’t over sand any particular area, where there latter, the different pressure from my fingers would lead to imperfections. Before moving to the next grit, the dust has to be taken off, otherwise it will be ground into the surface of the wood, and you will end up working harder to get the surface you’re looking for. To do this I use two processes. First up, I have an air compressor with a fine nozzle on it. Using that at about 60 PSI, I blow most of the dust off the surface, taking care to ensure I get any dust out of the pores of the wood. On wood like the Paduak I’m using which has fairly deep pores, the air easily clears them out.

The Tacky Cloth used to remove dust from the surface.

The Tacky Cloth used to remove dust from the surface.

Once I’ve blown the dust and cobwebs away, I use a Tacky cloth to take care of anything that’s left on the surface. The Tacky cloth is has an almost waxy feel to it, and does a great job of taking anything loose off the surface. With that done, I can continue up through the grit until I finally reach 600. All in all it takes about forty minutes per puzzle, but since I was working with all the puzzles, around 3 hours in total.

The puzzle sanded up to 600 grit.

The puzzle sanded up to 600 grit.

It may be a little hard to tell the difference from the photograph, but this is the puzzle sanded up to 600 grit. The real difference is in the feel of the wood. Now much smoother, the finish is almost like glass.

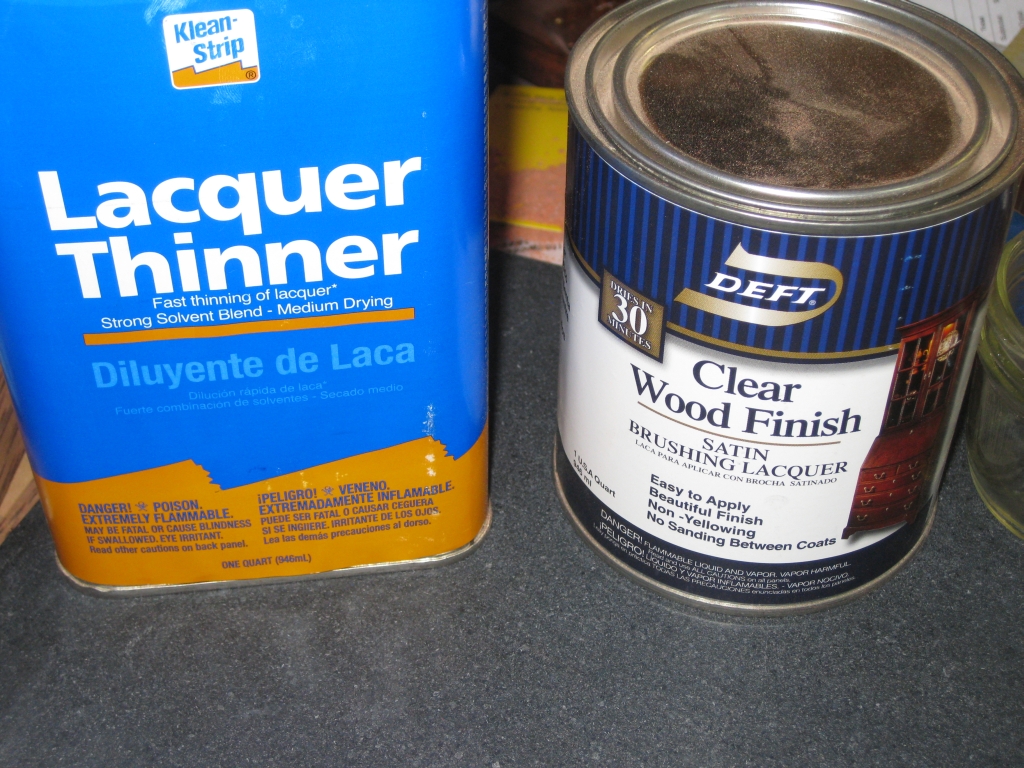
The Satin Laquer for finishing

The Satin Laquer for finishing

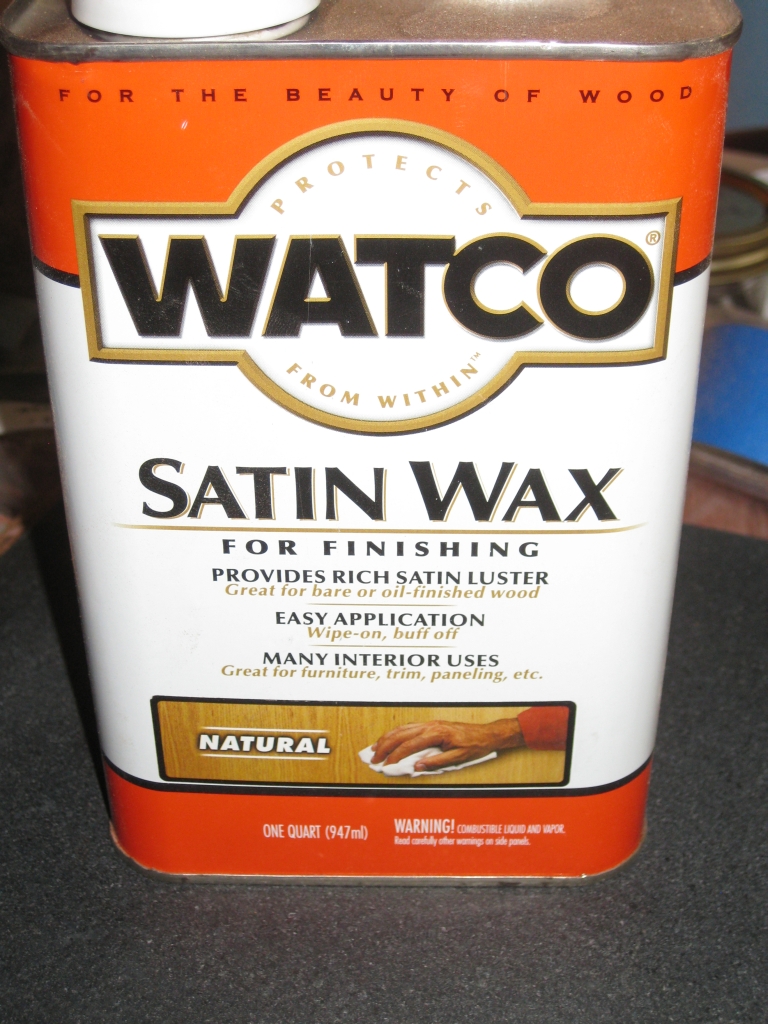
Watco Finishing Wax

Watco Finishing Wax

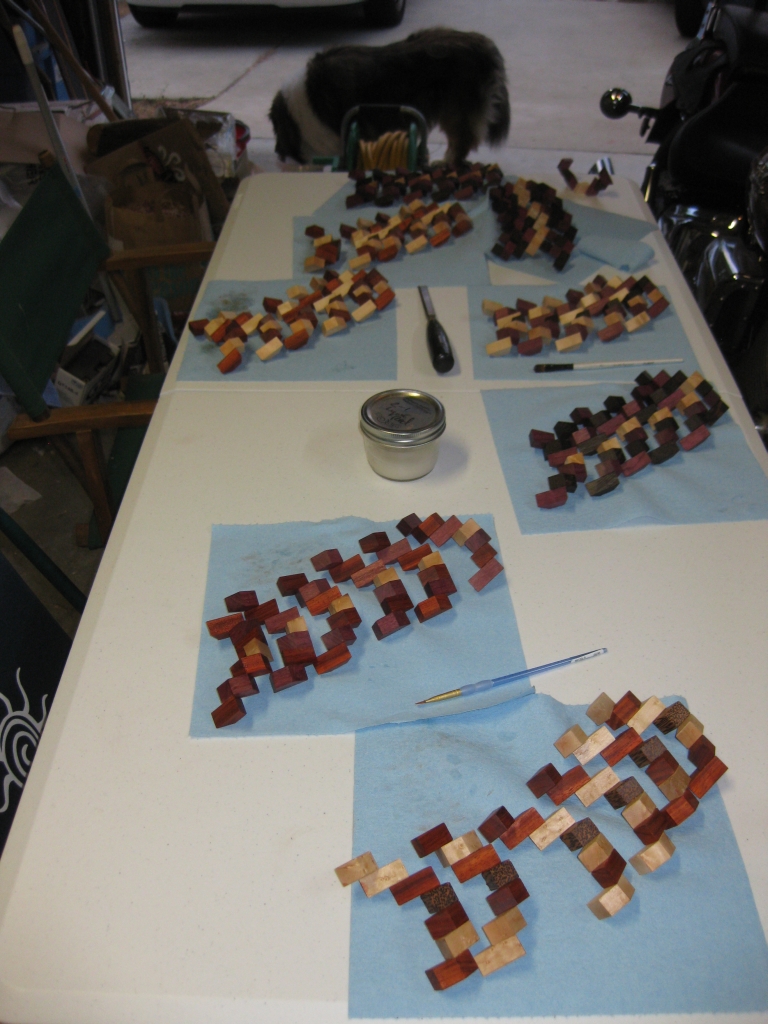
Next up in the process is to apply the finish. I use a three stage process currently. First up is to apply a couple of thin coats of lacquer. I mix the lacquer 50/50 with thinner, and apply two coats to the puzzle pieces. Working with the lacquer thinned like this, I have found I don’t end up with runs or drips. Given the size of the pieces I’m working with I use a small brush to apply the finish which could leave brush stokes with a thicker mixture. Each coat is applied and allowed to dry overnight before adding the next coat in the morning.

End of day one in the finishing process

End of day one in the finishing process

It takes around 20 minutes per puzzle to apply a coat of finish, and then it’s left to dry. I’ll show side by side photos below, so you can see the difference after each stage. It will probably not be too obvious, however the before and after shot shows worlds of difference!

First coat applied, and the pieces left to dry

First coat applied, and the pieces left to dry

After the two coats of lacquer are applied, I take a good look at each of the pieces. Sometimes the wood absorbs the lacquer more in certain areas, and the finish can appear uneven. If that’s the case, I’ll go back and apply a third, or even fourth coat of lacquer until the wood has absorbed the lacquer evenly. After each coat, the lacquer is left to soak in for around thirty minutes, and then I’ll come back and rub off any excess with a clean cloth. If the lacquer pools on the surface, it will dry hard and uneven, which can affect the fit of the puzzle, and certainly doesn’t make it look any better!

Once I’m happy, I’ll apply a liberal coat of the Watco finishing wax. This helps the pieces to slide past each other, and adds another layer of protection for the puzzle. After all these will be played with, so I want the wood to be protected. I leave the wax on the puzzle for around 15-20 minutes, then with another clean cloth, rub the excess off. Part of this process I also buff the pieces as I work the wax into the surface, but mostly I’m removing the excess.

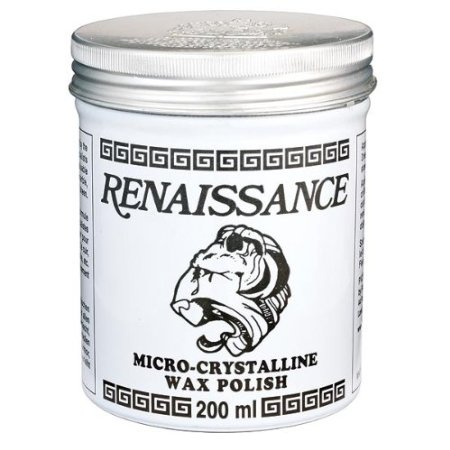
Renaissance Wax is used to apply the final coat to the finish

Renaissance Wax is used to apply the final coat to the finish

The final part to the finishing process is to apply a coat of Renaissance Wax. This incredible substance (which is not cheap!) brings up an amazing shine on the wood. Applying it leaves the wood with a slightly tacky feel, and a finish which is less than mirror. I apply the wax as evenly as possible, and then let it sit for 20 minutes. After that I take a clean cloth and start buffing the surface. It takes about 20 minutes per puzzle, but the wax really polishes up the surface and starts to make the wood shine.


The Ren Wax gets inside the puzzle, and needs to be cleaned out

The Ren Wax gets inside the puzzle, and needs to be cleaned out

After the initial buffing, I take the puzzle apart, as the wax gets pushed into every little gap. This needs to be cleaned out before the puzzle is re-assembled and given another buffing. All told the process takes nearly 45 minutes per puzzle, but as you will see below, the results are worth every minute of it!

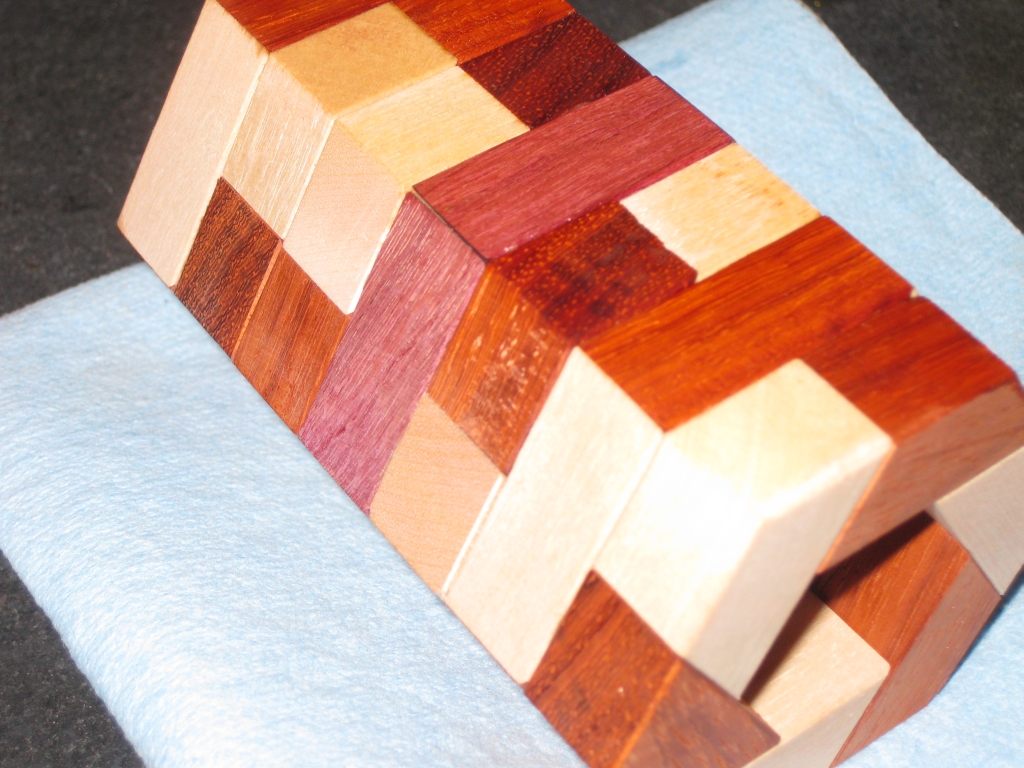
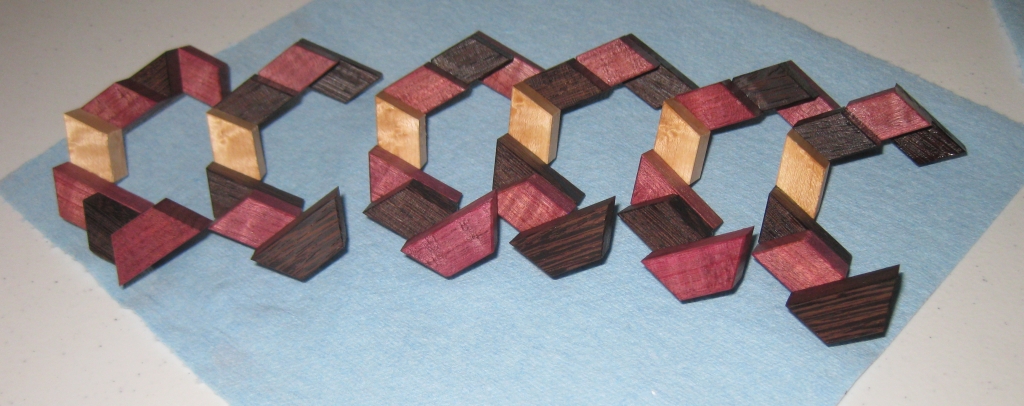
The finished finish, next to an unfinished piece

The finished finish, next to an unfinished piece

As you can see the difference from start to finish is dramatic. The surface ends up being quite reflective, and really brings out the grain in the wood. It may take ~4 hours per puzzle but the results speak for themselves.

The images below show each stage of the process compared with the unfinished puzzle. It may not be too easy to see the difference, as the changes are subtle.

Both coats of lacquer applied to the piece on the right

Both coats of lacquer applied to the piece on the right

The coat of wax applied to the piece on the right.

The coat of wax applied to the piece on the right.


I hope you’ve enjoyed the writeup of my finishing process. I freely admit that I’m no expert, and I’m learning as I go, however several of my readers have asked so hopefully this is useful to you. This is by no means the definitive guide to finishing, and certainly isn’t appropriate for all applications, however it does work for me when finishing puzzles, and I’m happy with the results. From the feedback I’ve had from those who’ve bought my puzzles, they seem to agree that I’m doing something right!

Twas the week before IPP

It’s getting close … something to make you all smile.

Twas the week before IPP

Twas the week before IPP, when all through the house,
Not a puzzle was stirring, not even a burr.
The puzzles were packed in the case with care,
In hopes an exchange would soon be here.

The puzzlers were nestled all snug in their beds,
While visions of puzzles danced in their heads.
And mamma in her ‘kerchief, and I in my cap,
Had just engaged out brains after a long summer’s nap.

When out on the table there arose such a clatter,
I sprang from the bed to see what was the matter.
To the puzzle room I flew like a flash,
Tore open the door and saw Jenga toppled fast.

The moon on the top of the new-fallen blocks
Gave the lustre of mid-day to puzzles below.
When, what to my wondering eyes should appear,
But a miniature coffin, and 30 design entries to play.

With a little packing problem, so lively and quick,
I knew in a moment it must be time.
More rapid than eagles his coursers they came,
And he whistled, and shouted, and called them by name!

“Now Stickman! now, Keagen! now, Fuller and Rox!
On, Devost! On, Deventer! on, on Rolly and Chinny!
To the top of the porch! to the top of the wall!
Now design away! Design away! Design away all!”

As puzzle solvers that before the wild hurricane fly,
When they meet with an obstacle, think ‘my oh my”.
So off to the puzzle room the coursers they flew,
With the room full of Toys, and Brian Pletcher too.

And then, in a twinkling, I heard on the floor
The prancing and pawing of each little piece.
As I drew in my head, and was turning around,
Along came the solution from my mind did abound.

He was dressed all in black, from his head to his foot,
And his papers were all tarnished with puzzles and loot.
A bundle of Toys he had reviewed with his team,
And he looked like a judge, all bristling with gleam.

His eyes-how they twinkled! his dimples how merry!
His cheeks were like roses, his nose like a cherry!
His droll little mouth was drawn up but no folly,
And the beard of his chin was as white as the holly.

The stalk of a trophy he held tight in his arms,
And the room it grew silent awaiting his charms.
He had a broad face and a little round belly,
That shook when he laughed, like a bowlful of jelly!

He was chubby and plump, a right jolly old elf,
And I laughed when I saw him, in spite of myself!
A wink of his eye and a twist of his head,
Soon gave us to know the results were soon read.

He spoke not a word, but went straight to his work,
And set all the trophies, then turned with a jerk.
And laying his finger aside of his nose,
And giving a nod, to all he then spoke!

The winner this year, from all the puzzles so great,
Can go to one only, the greatest he said.
But then I awoke, and I know not the end,
“Another Puzzle Party, what else my friend!”

Hex Stair (Part Two)

Following on from by first post on the Hex Stair (Part One), I’m moving from the initial copy which I made for myself and realised it was far too big, onto a smaller version, which I’ll be making a small run of puzzles to sell. Making things smaller adds new challenges so read on to see what I had to do to overcome them.

The original and the new scaled down versions

The original and the new scaled down versions

As you can see above, I have seriously scaled down the size of the pieces, which makes for a much more manageable puzzle size. I am slightly torn in all honesty; I love the big solid chunky copy I made initially, but also appreciate that it’s far too big for most people, and the more compact size is far easier to work with … or is it?

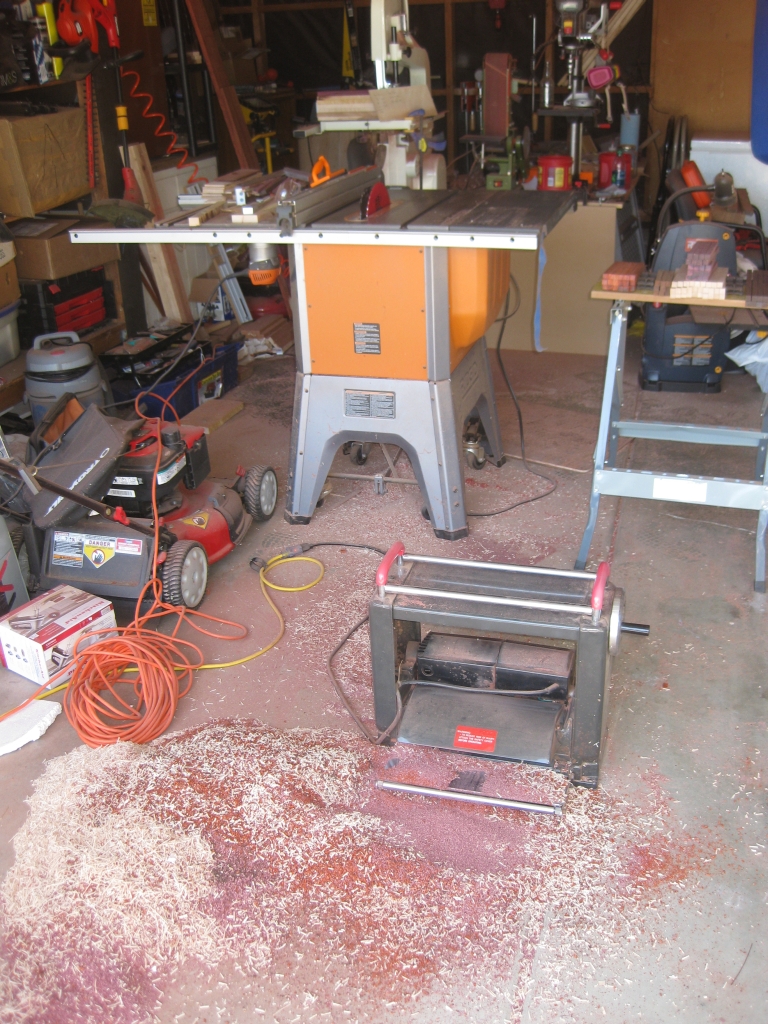
Lots of cleanup required after milling the boards

Lots of cleanup required after milling the boards

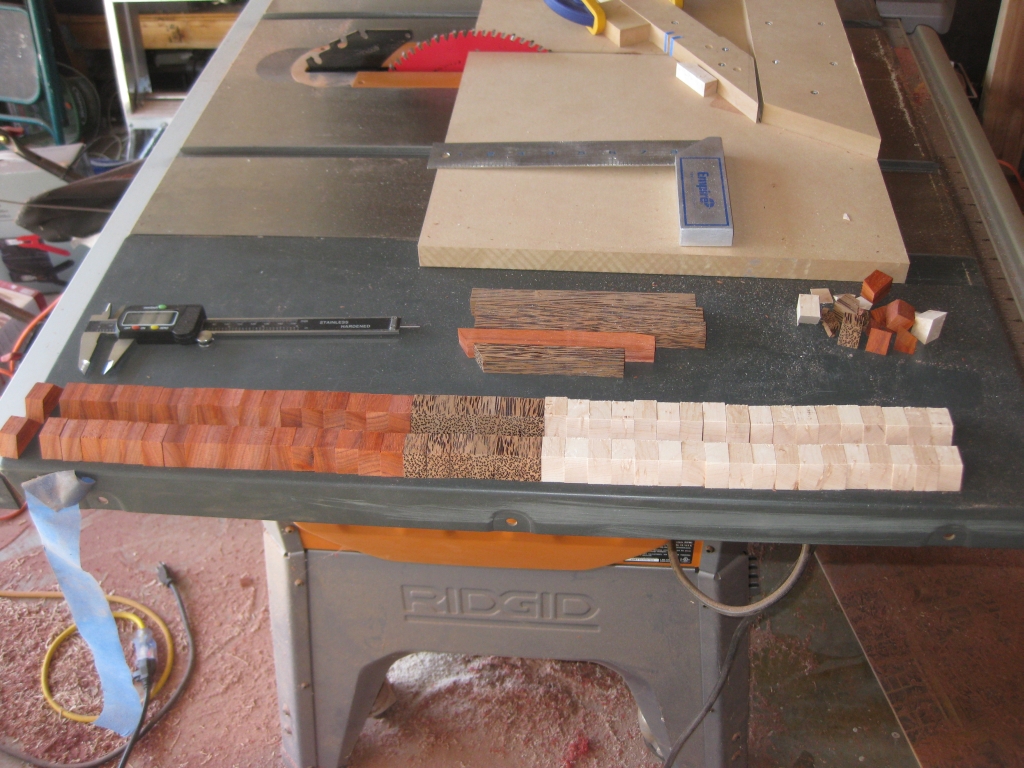
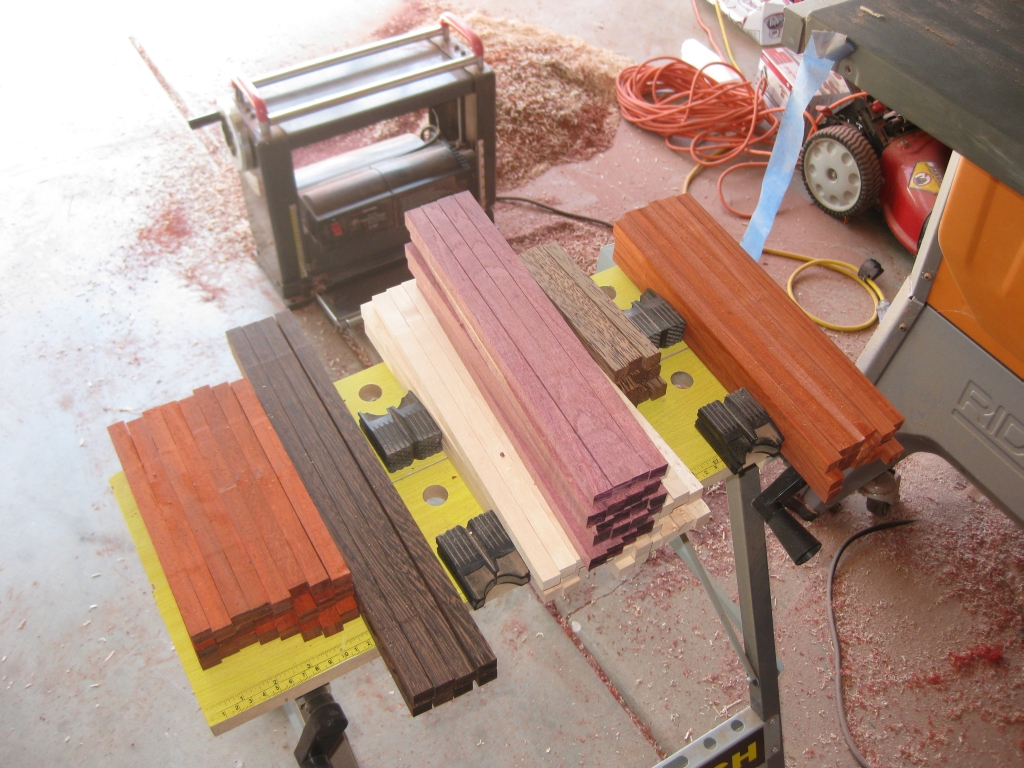
Having decided on the dimensions for this smaller version, I cut and milled my stock, cutting what I hoped would be enough sticks to make a reasonable run of puzzles. The pile of sticks looks like a lot, but I have no doubt that I’ll get through them pretty quickly. If you’re interested, the woods are (from left to right) Paduak, Wenge, Curly Maple, Purpleheart (on top), Birdseye Maple, Red Palm, Paduak.

All the sticks cut and sized ready for making into blocks

All the sticks cut and sized ready for making into blocks

I didn't have paper handy so some curly maple left over from the rough cutting worked great

I didn’t have paper handy so some curly maple left over from the rough cutting worked great

With everything setup, I started batching through the cutting of the pieces, and despite needing 42 pieces per puzzle, once everything is setup, this goes fairly quickly. I keep my digital calipers beside me and keep checking the cuts as I go to make sure I’ve not had any errors introduced, as the biggest reason I have found for a puzzle not fitting correctly is tiny differences in the tolerances of cuts. Anything more than about five thousands of an inch between pieces and the fit will not be good enough. Ok, five thousands is pretty small I hear you cry, but I try to get my pieces to less than two thousandths to make sure I don’t have problems. Sadly I’ve learned from experience that even small margins like this make the world of difference and cause a lot of frustration when gluing pieces together in the type of puzzles I’m making.

Several puzzles worth of pieces cut and ready to be beveled.

Several puzzles worth of pieces cut and ready to be beveled.

Having batched out a good few pieces; enough to make a few puzzles; I take a break from cutting the pieces and move to the router to add the bevel to the edges of the pieces. I find that taking a break like this keeps me focused and alert, rather than becoming complacent as the motions get repetitive, and it’s all too easy to lose focus … and as I have already experienced, a tiny lapse can be very costly!

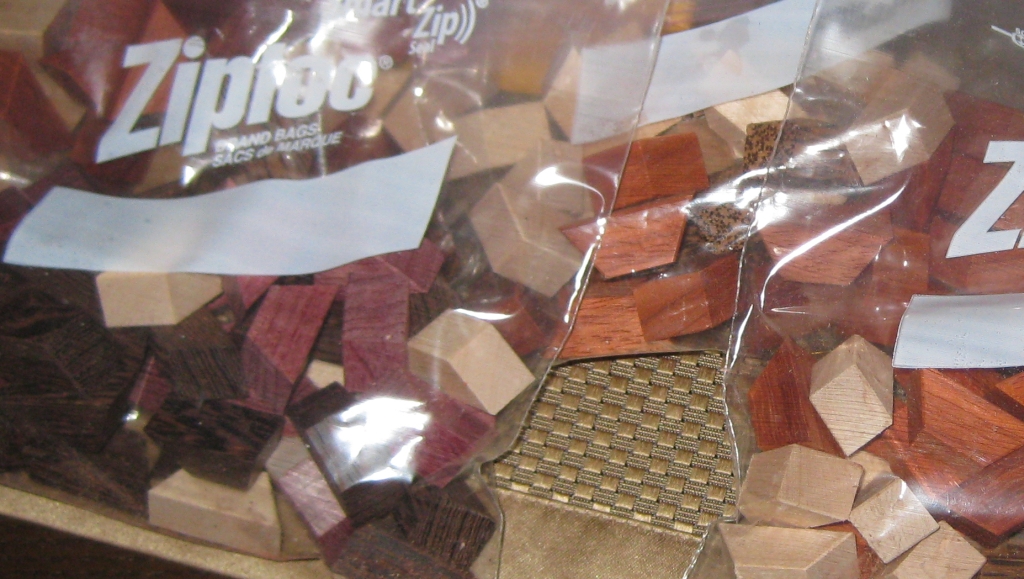
Bags of blocks beveled and counted out per puzzle.

Bags of blocks beveled and counted out per puzzle.

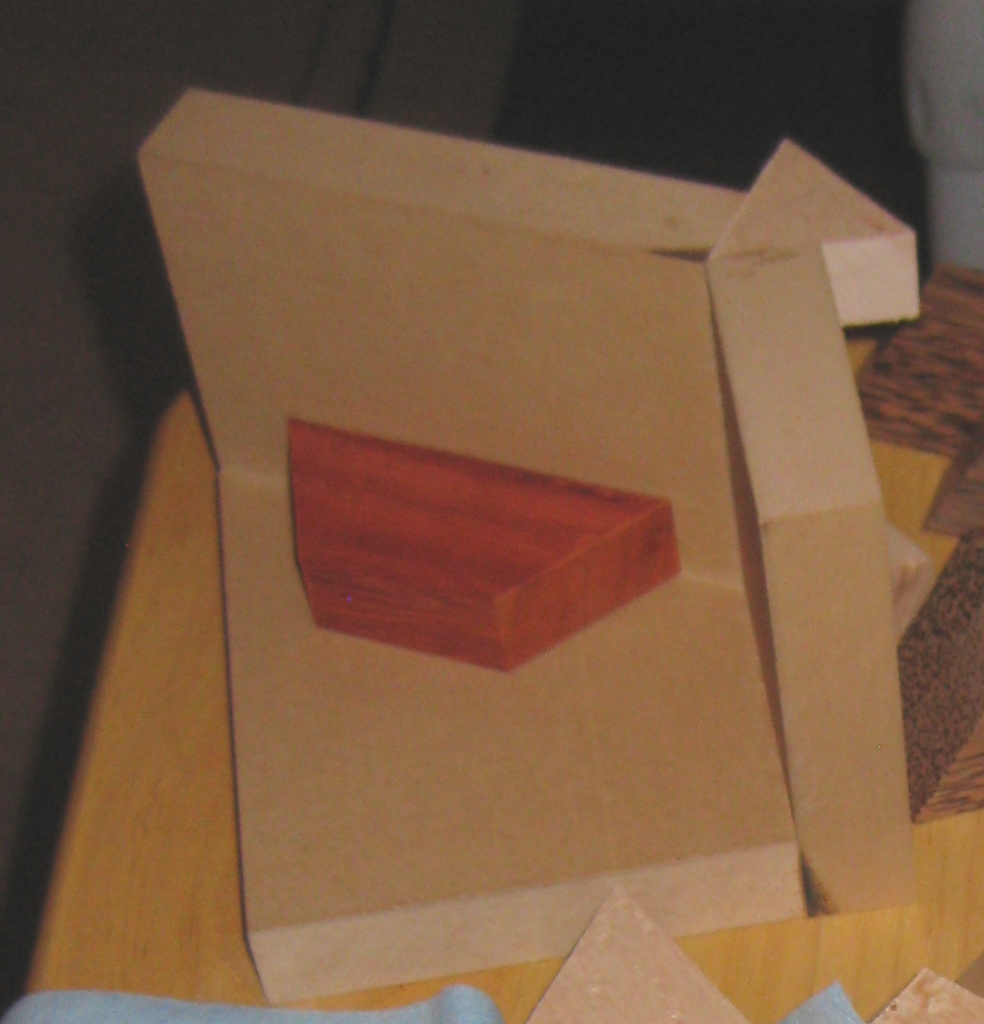
With all the pieces cut and beveled, it’s time to start gluing the puzzles together. You’ll remember the crude jig that I made for the initial puzzle, which worked pretty well. I found out though that with the smaller pieces, there’s not a lot of gluing surface, and I made the pieces almost as tall as the are wide. (They’re not perfectly square!) Because of this, it’s easy for the pieces to get misaligned, so I felt I needed a better jig…

Hex Stair Speciality Jig

Hex Stair Speciality Jig

Speciality Jig showing piece in place

Speciality Jig showing piece in place

Speciality Jig showing piece completed

Speciality Jig showing piece completed


As you can see this jig is a little more advanced than the original, however the main drawback is that it will only work for this puzzle, and only for pieces cut to the exact sizes that I have used. While that may seem like something of a waste, for the most part, the jig is made from offcuts from the sticks I used so really it’s putting small cuts which would otherwise be used in my fireplace to good use. The jig is a very snug fit for each piece, and as you can see each piece is well supported meaning that each completed piece I make in the jig will be identical and it’s also very quick to use, since there’s no way to misalign a piece. With this jig, it takes around 15 minutes to make each individual puzzle piece, meaning that I can make a complete puzzle in around 2 hours (allowing for the curing time of the glue). This as nearly 2.5 times faster than previously. While it may seem like it still takes a long time, I’d rather take my time than rush and end up with a useless pile of firewood. After all, a high quality puzzle doesn’t get made in a minute.

With the jig doing all the hard work for me, it doesn’t take too long to make a copy of the puzzle, to the point where the outside faces get sanded and then finish applied. In Part Three, I’ll cover some of the finishing process.

One thing I noticed when assembling this version of the puzzle is that it’s actually easier to put together than my original version. One of the reasons is that I’ve found a particular rotational move which allows the alignment of the pieces to happen much more easily. I didn’t find this on my original version, I think partly because it is much more squat than the new dimensions. The extra height makes it easier to do this move (although I have gone back and found that it is also possible on the original copy).

Hex Stair (Part One)

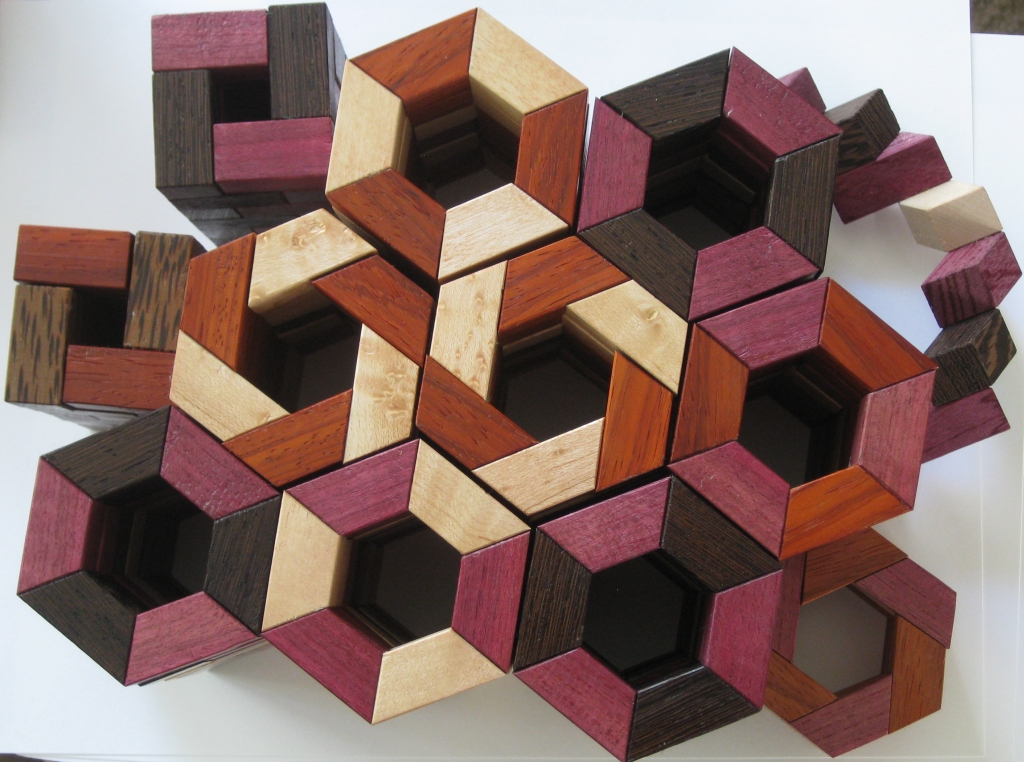
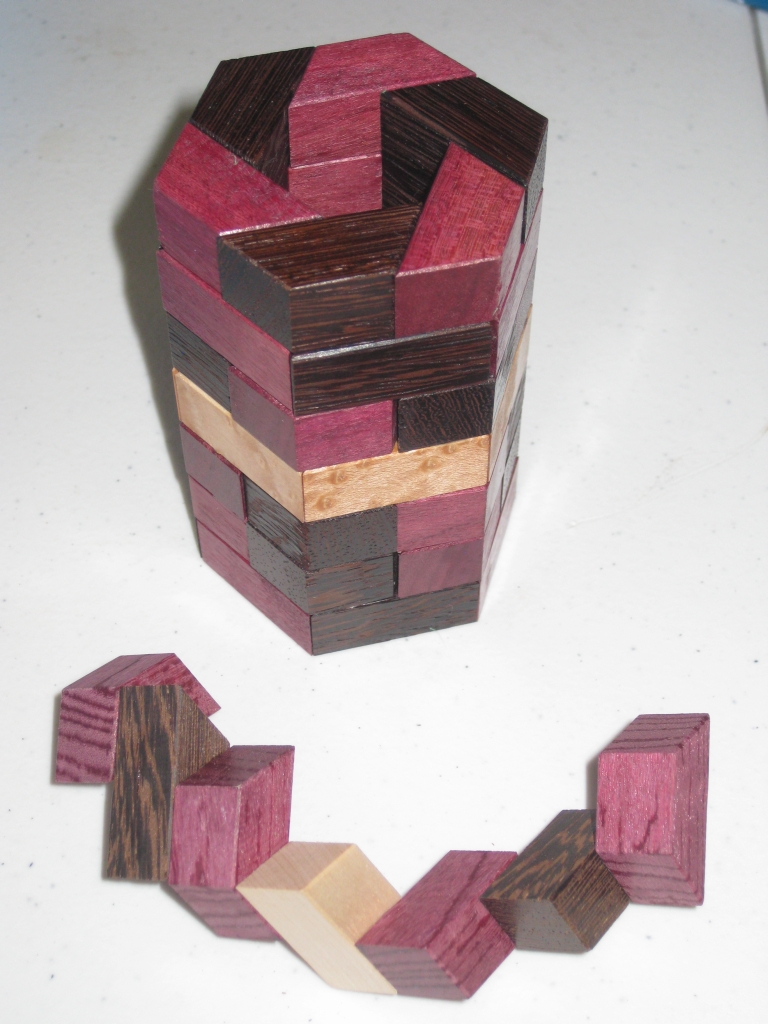
Not too long ago, I posted a few pictures of some of the puzzles I’d been making on Facebook. One of those was a copy of Oskar van Deventer’s design “Oskar’s Domino Tower”. I’ll write about that in another post, however when I did, my good friend Derek Bosch got in touch about a similar design he’d created called Hex Stair. To his knowledge, the design had never been made, and I decided that it would be a fun puzzle to try to build after seeing the design.

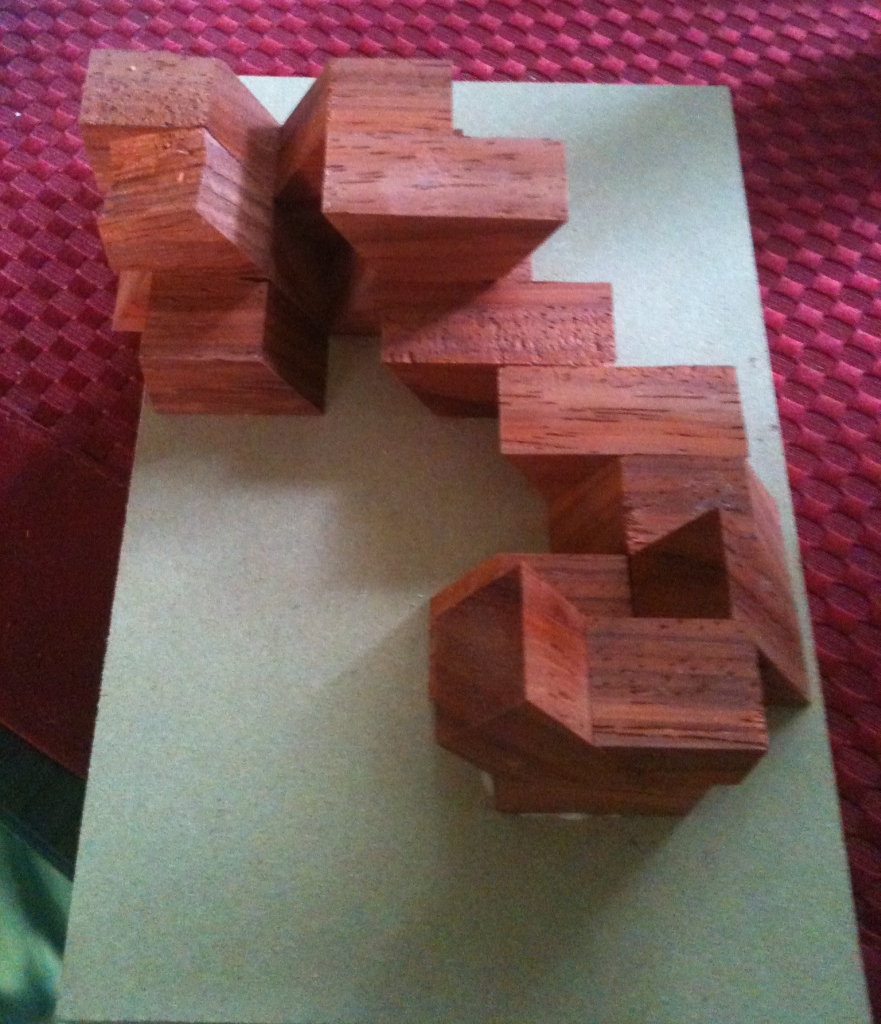
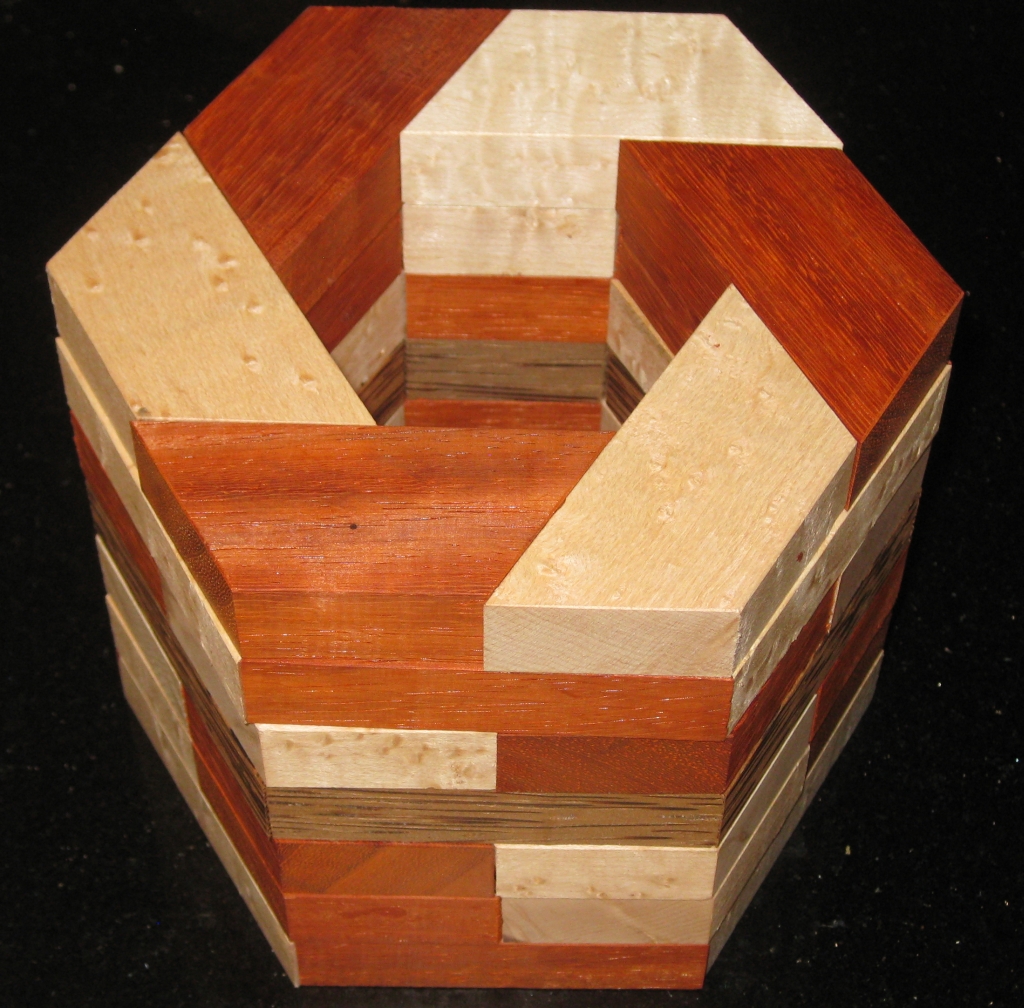
Hex Stair Solved

Hex Stair Solved

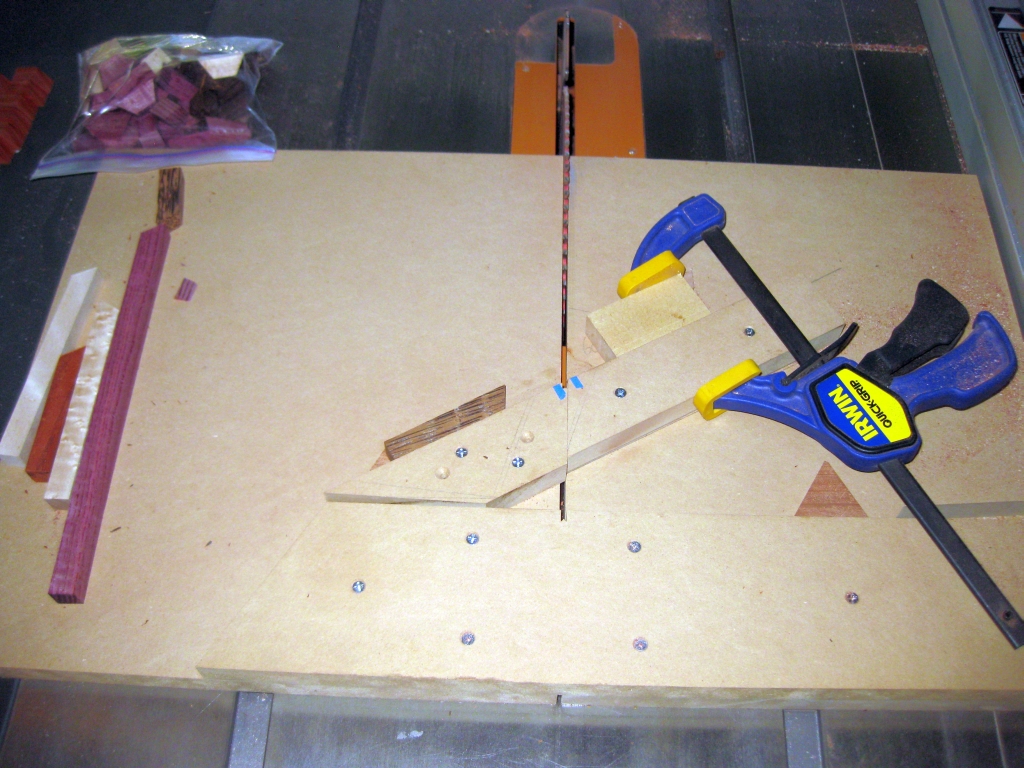
As you can see the design is based on a hexagon. So that means making cuts at a 60 degree angle. To do so repeatedly, I was going to need a new jig, specifically a cross cut sled setup for that angle. I’ve gone through the process to create a cross cut sled before, so I’m not going to go over that again here. I used the same basic MDF construction using 3/4″ boards, and I cut myself some maple runners as guides for the sled. If you want more info about creating the sled, then have a look at my post about going From Square Sticks to Cubes. Clearly rather than a 90 degree angle on the sled I was looking for 60 degrees, and with a little tuning, and a few practice cuts, I had the sled producing perfect angles.

60 degree Crosscut Sled.

60 degree Crosscut Sled.

To do that, there’s no point in measuring just one cut. Rather it’s better to make 6 cuts, creating a hexagon frame, and bring those pieces together. If they come together with no gaps, then you’re golden. If not then you need to adjust the angle of the backstop on the sled. Ed: The reason for doing this is that it multiplies any error in your sled by a factor of 6. I didn’t get things perfect on my first attempt, so I adjusted slightly and then re-cut the test pieces. This time I was pretty close and didn’t think I was going to get much better so I called it good. To make tiny adjustments, a strip of tape can be used to adjust the angle. Obviously I could create a sled with a variable back stop, and have screws to push or pull it for a perfect fit, but for now I’m not looking at spending too much time. If I find many puzzles which require 60 degree angles that I want to make, then I’ll consider making a more advanced jig. Ed: What is it about us that we’re never happy with what we have, we always want it to be better?

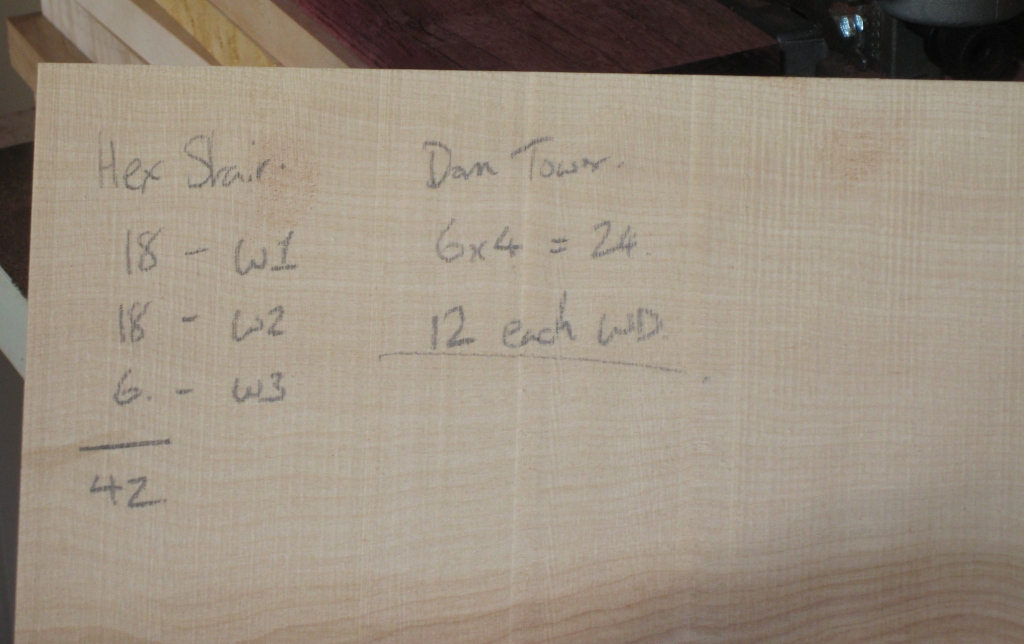
With the sled ready, I milled my stock, selecting some Paduak, Birdseye Maple and Red Palm that I’d had sitting for a while, and got to work on the new jig. There are 42 pieces required to make this puzzle and given that there are 7 layers, I decided to create a band in the centre of the puzzle. Since it’s never been made before, I’m not biased by something someone else has done, and I thought it would look fairly good. You can be the judge, based on the photos! I got to work cutting 18 pieces each of the two main woods, and 6 pieces for the centre ring. With that done, I took the pieces to the router and added a very subtle bevel to the long edges. I quickly found out here that beveling the pointed edges can’t be done on the router as there is nothing for the guide to reference off, and given the thin nature of the pieces, this would be a fairly dangerous cut, so I opted not to bother. I think in the finished puzzle, it works out very well, as it makes it look as though there’s seven rings, rather than 42 individual pieces. Again it’s all personal taste, but I’m happy with the results!

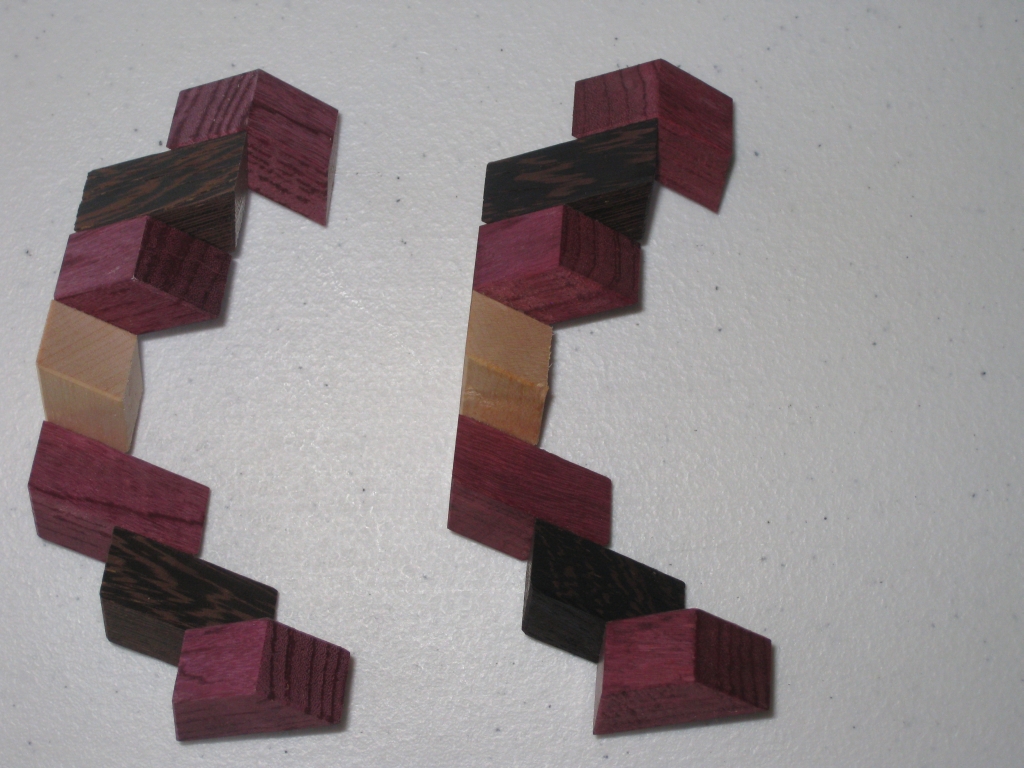
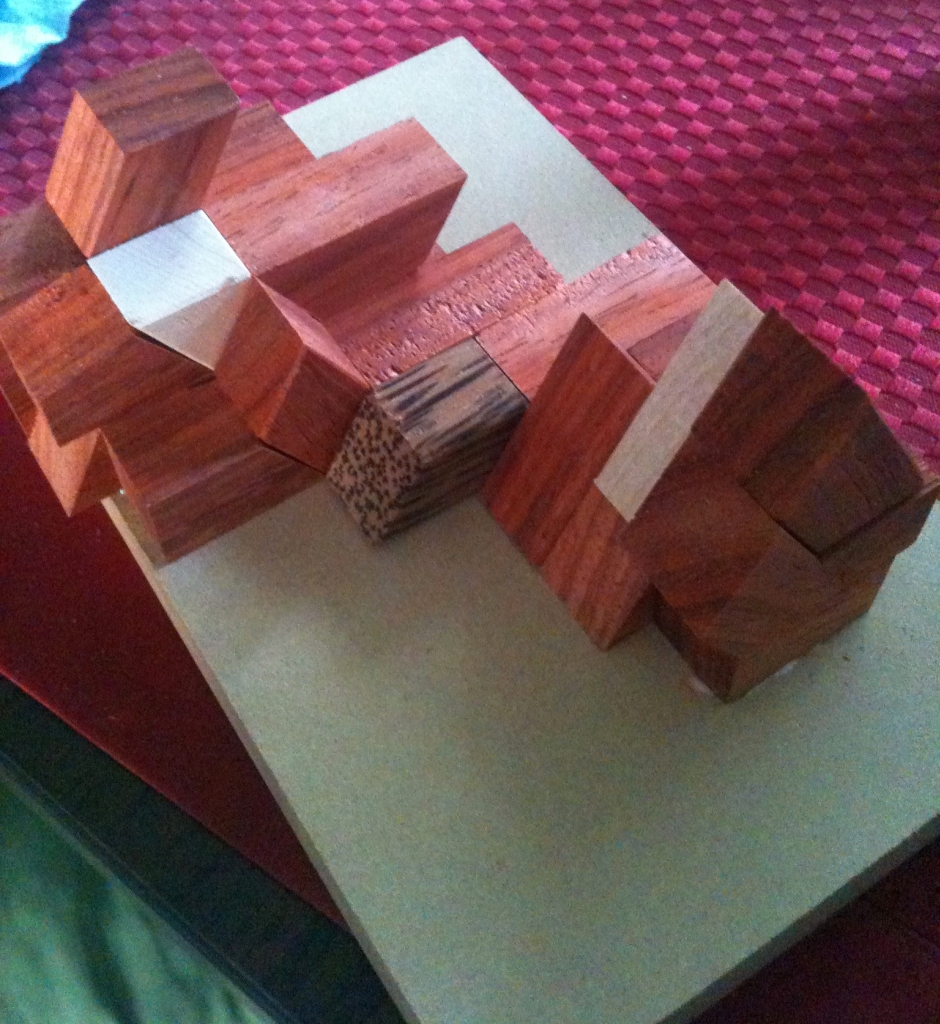
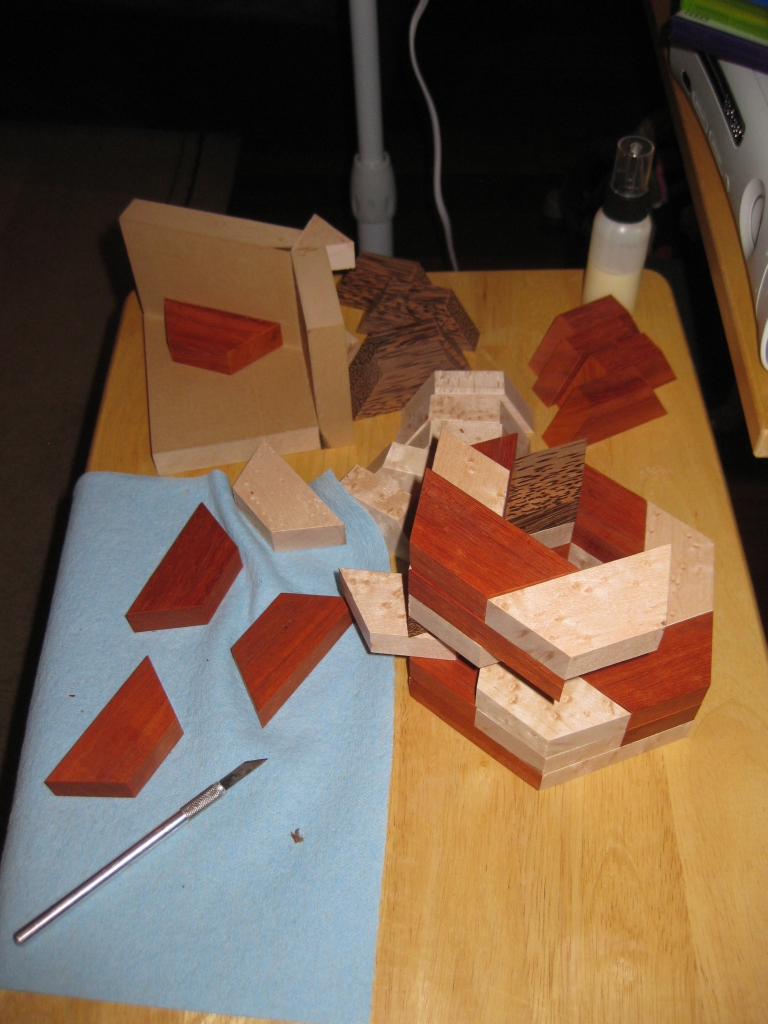
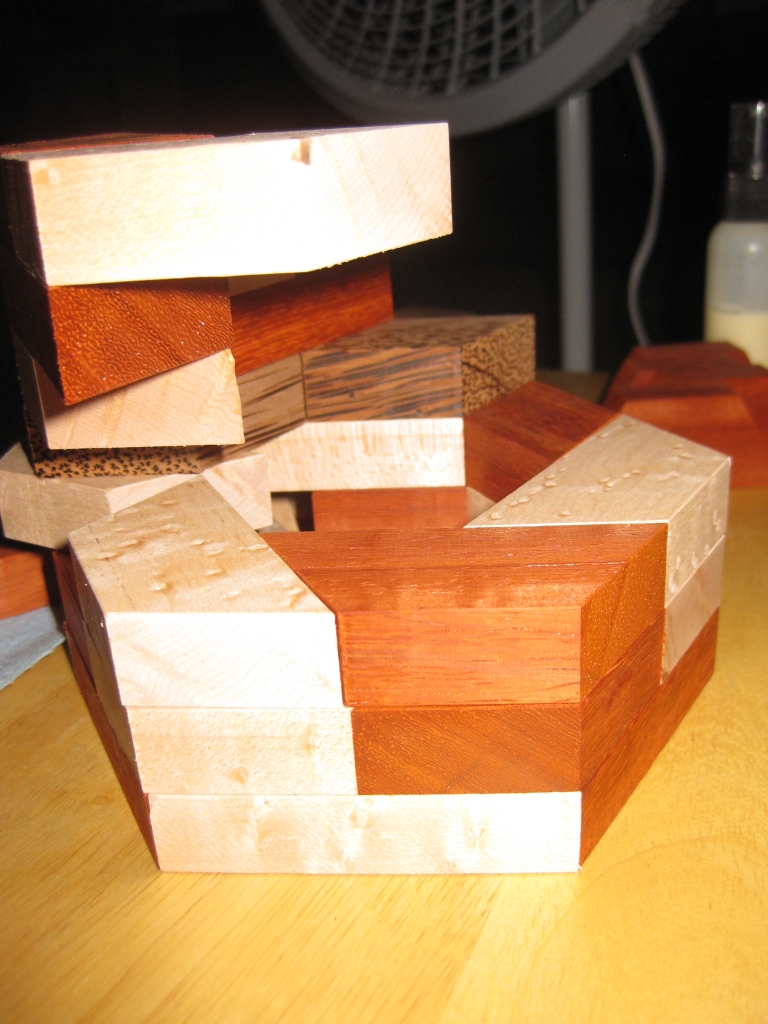
Gluing the pieces together into a finished puzzle presented me with a few interesting challenges. Firstly, it’s not square, so my current gluing jigs are no use. Also the puzzle is fairly tall, with each individual piece of the puzzle having a very small footprint, making it unstable without a lot of support, so ensuring that everything is glued up perfectly alighted is an interesting challenge.
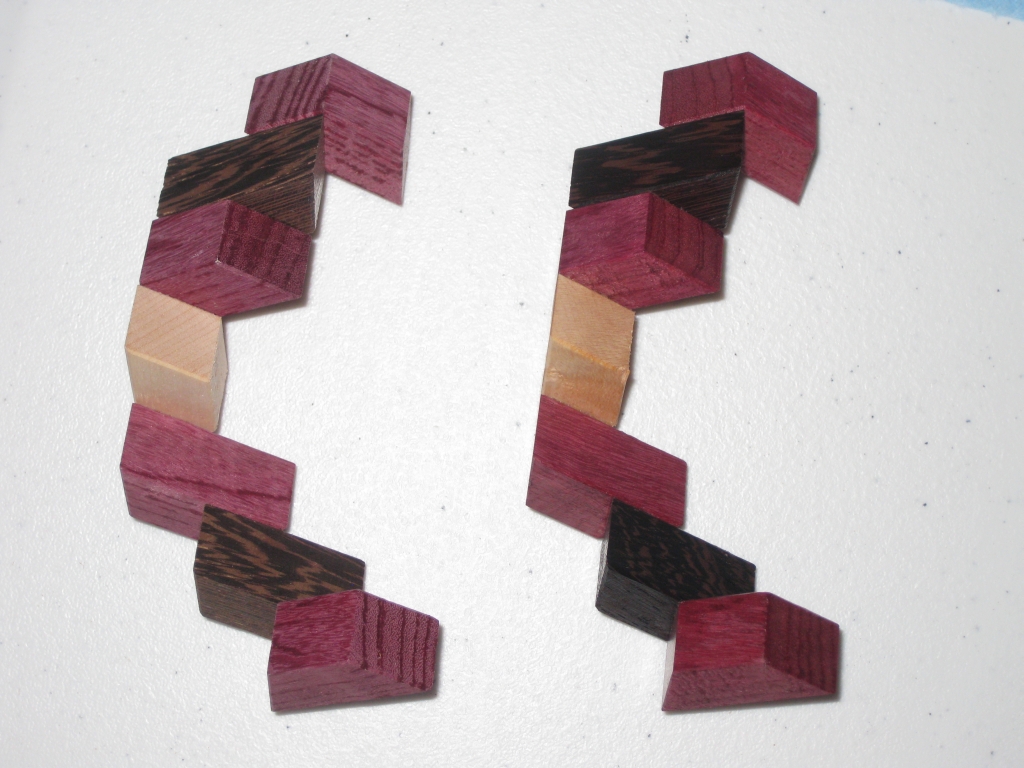
60 degree basic gluing jig

60 degree basic gluing jig

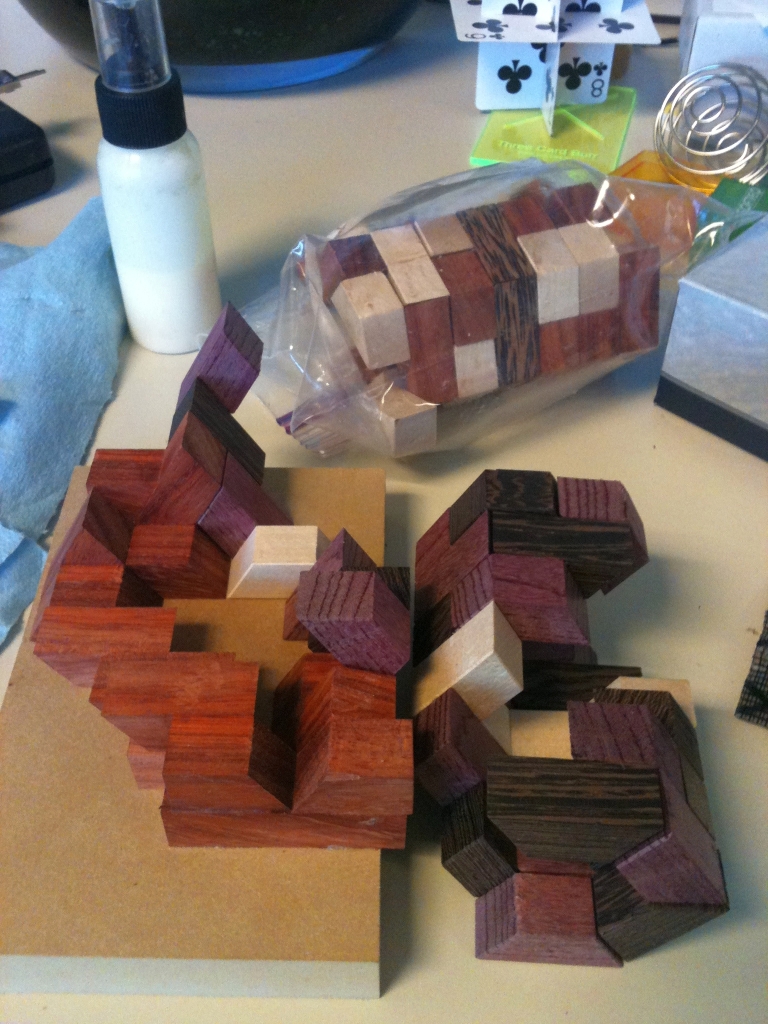
My first gluing jig was a pretty simple progression from my square corner gluing jig. Using the 60 degree crosscut sled I was able to create a simple base and walls at the correct angles, and re-inforced the centre angle with a couple of the equilateral triangles I’d cut when I was cutting the original pieces. The inner surface was waxed to prevent glue sticking to it (and hence sticking the pieces to the jig) while I was working. This worked pretty well, and I created the original puzzle using this jig, and the pieces I’d not glued in place to support and align the piece I was gluing.

Supporting the pieces while gluing

Supporting the pieces while gluing

Supporting the pieces while gluing

Supporting the pieces while gluing

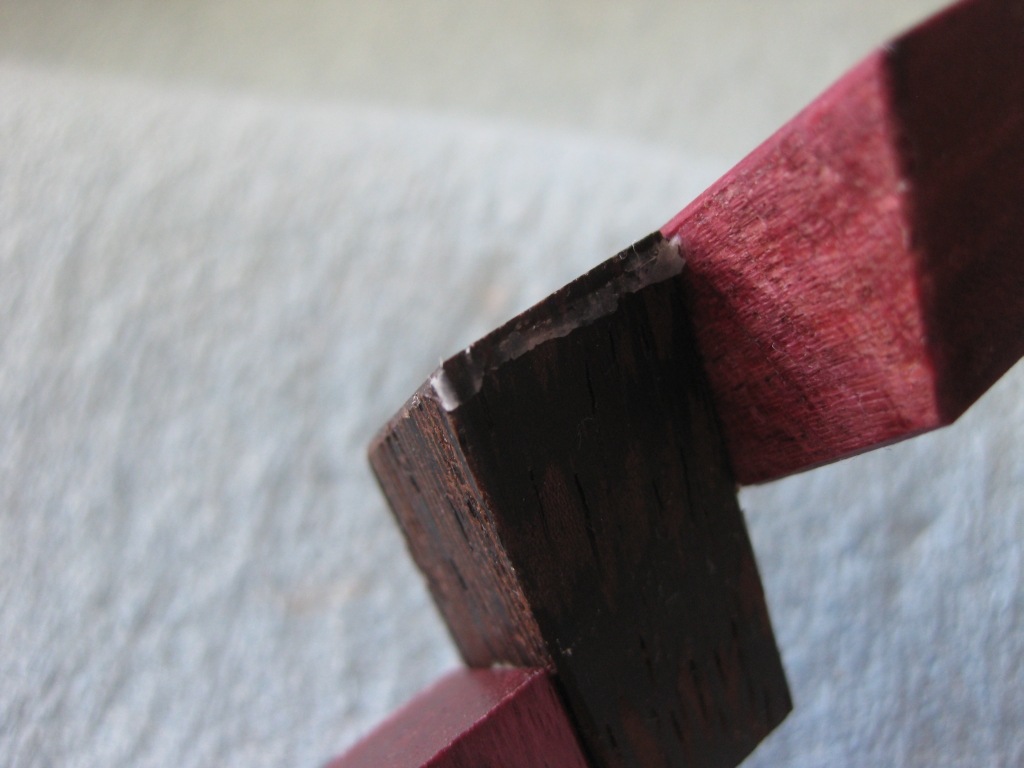
All said it worked fairly well, and the end result was reasonable. I did find that there were a couple of pieces which hadn’t lined up perfectly. But I used an interesting trick to fix that. With the six pieces of the puzzle together in the solution shape, I put the whole thing in the microwave for about a minute and a half on high. With my now warm puzzle, the glue is softened enough to allow the pieces to shift slightly if enough pressure is applied. By doing this I was able to re-align the couple of pieces I wasn’t happy with and get a near perfect fit. Now I’m not suggesting that this is a solve all for bad initial gluing as it really isn’t, bit in the few hundredths of an inch that I was misaligned on one or two pieces it can be corrected, rather than throwing away an entire piece.
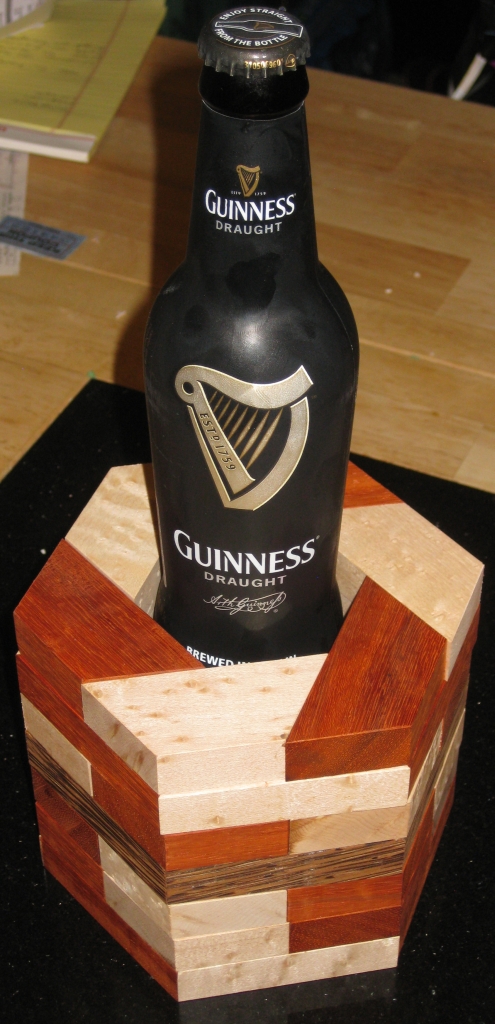
Puzzles and Beer...

Puzzles and Beer…

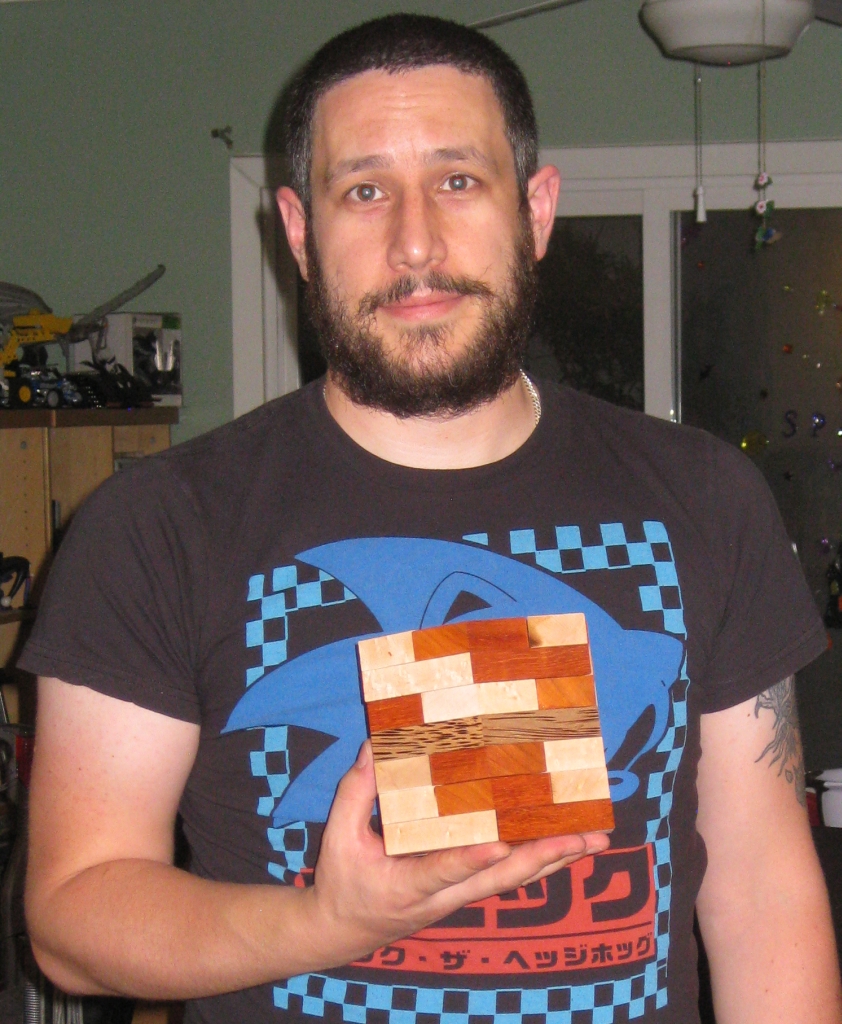
Me holding the puzzle

Me holding the puzzle

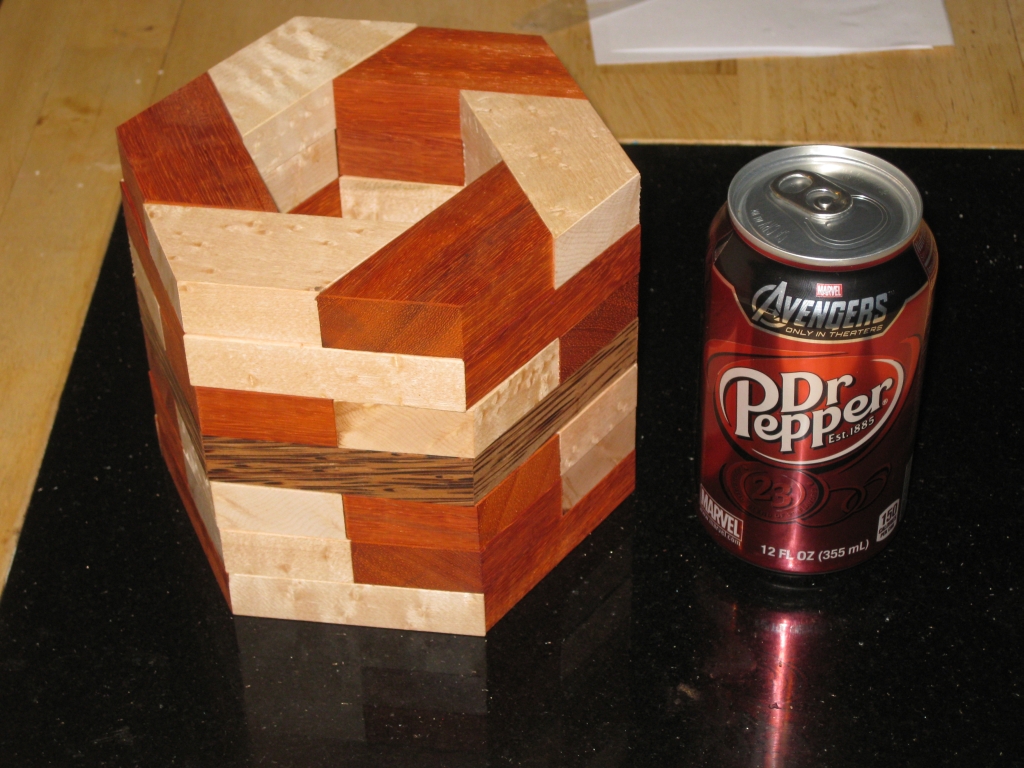
Scale next to a soda can

Scale next to a soda can


Overall I’m pretty happy with the results, although the size is certainly an issue. As you can see it’s a big puzzle, and not really realistic in terms of making them in a production run. It seems that I’m pretty good at forgetting how big a puzzle ends up when you glue all these ‘small’ pieces together. Part of the learning curve I’m on just now, but it’s all valuable information.

In part two I’ll look at making the puzzle in a more sensible size, and talk about the unique jig I built to help. Since I’ve had several requests, in part three I’ll talk a little about finishing.